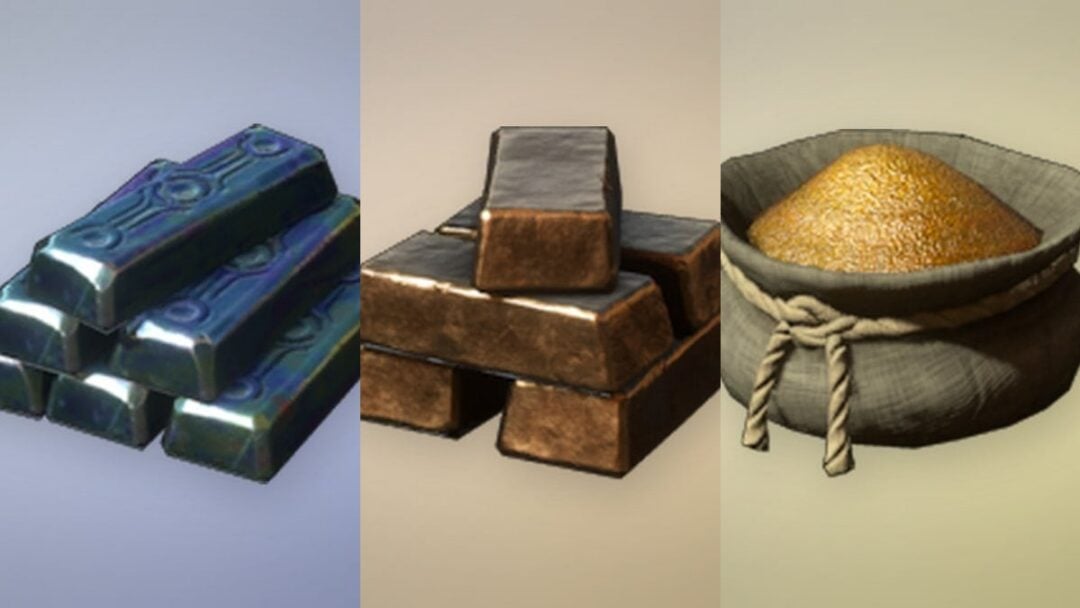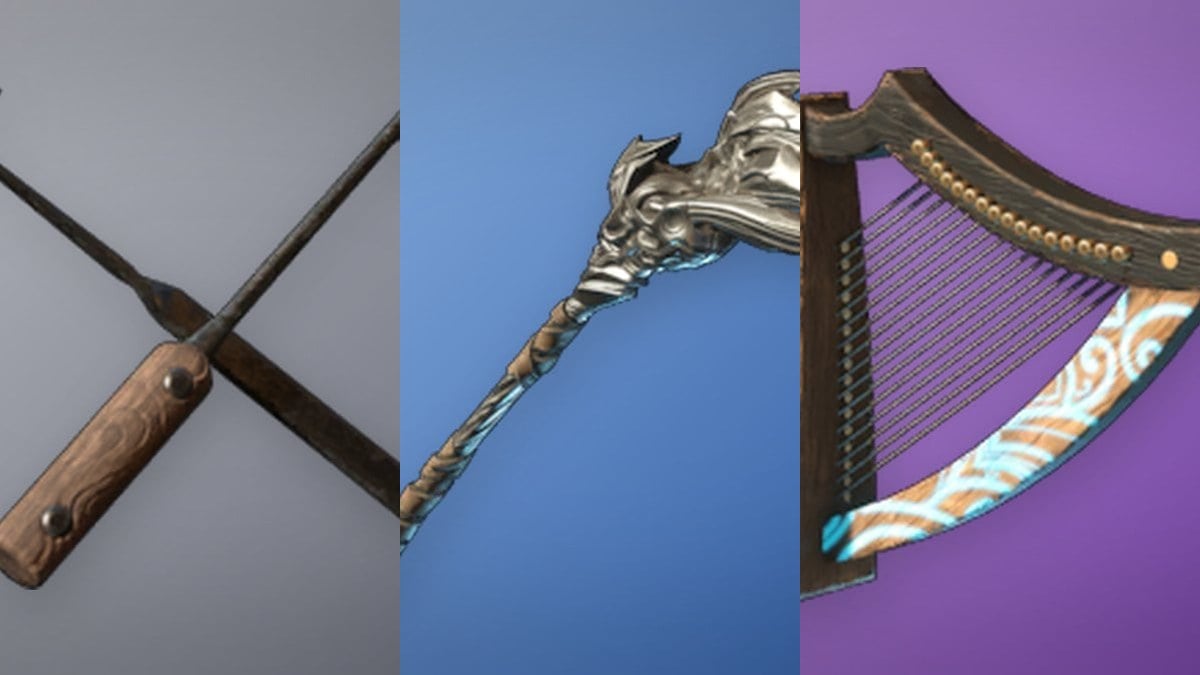
A top-grade weapon and a rare clan do not guarantee big numbers in Jujutsu Zero. Damage in this game is stacked from several separate systems, and each one can be left half-finished without any warning on screen. Most builds that feel weak are not missing a better item — they are missing an upgrade, a substat, an ailment, or a buff that was used in the wrong order.
Quick answer: Max every upgrade, pick gear by substats rather than grade, keep set and weapon-specific amps intact, apply ailments, and fire buffs before you attack. Then time a kill to confirm.
Where damage in Jujutsu Zero comes from
Your final hit is built from layers that each scale separately. Base weapon and gear stats come from upgrade level and rank. On top of that sit amplification effects, which are often tied to one named weapon or one set. Then come ailments, consumable vows, and active buffs that only apply while they are running.
Break any one of those layers and the loss is invisible in the menus. That is why two players with the same weapon can post wildly different clear times.
Unfinished upgrades on weapons and gear
This is the single largest and most common loss. A weapon sitting at Level 1, Rank 1 is showing you a fraction of what it will eventually do, and the Upgrade button is easy to skip when the item already looks rare.
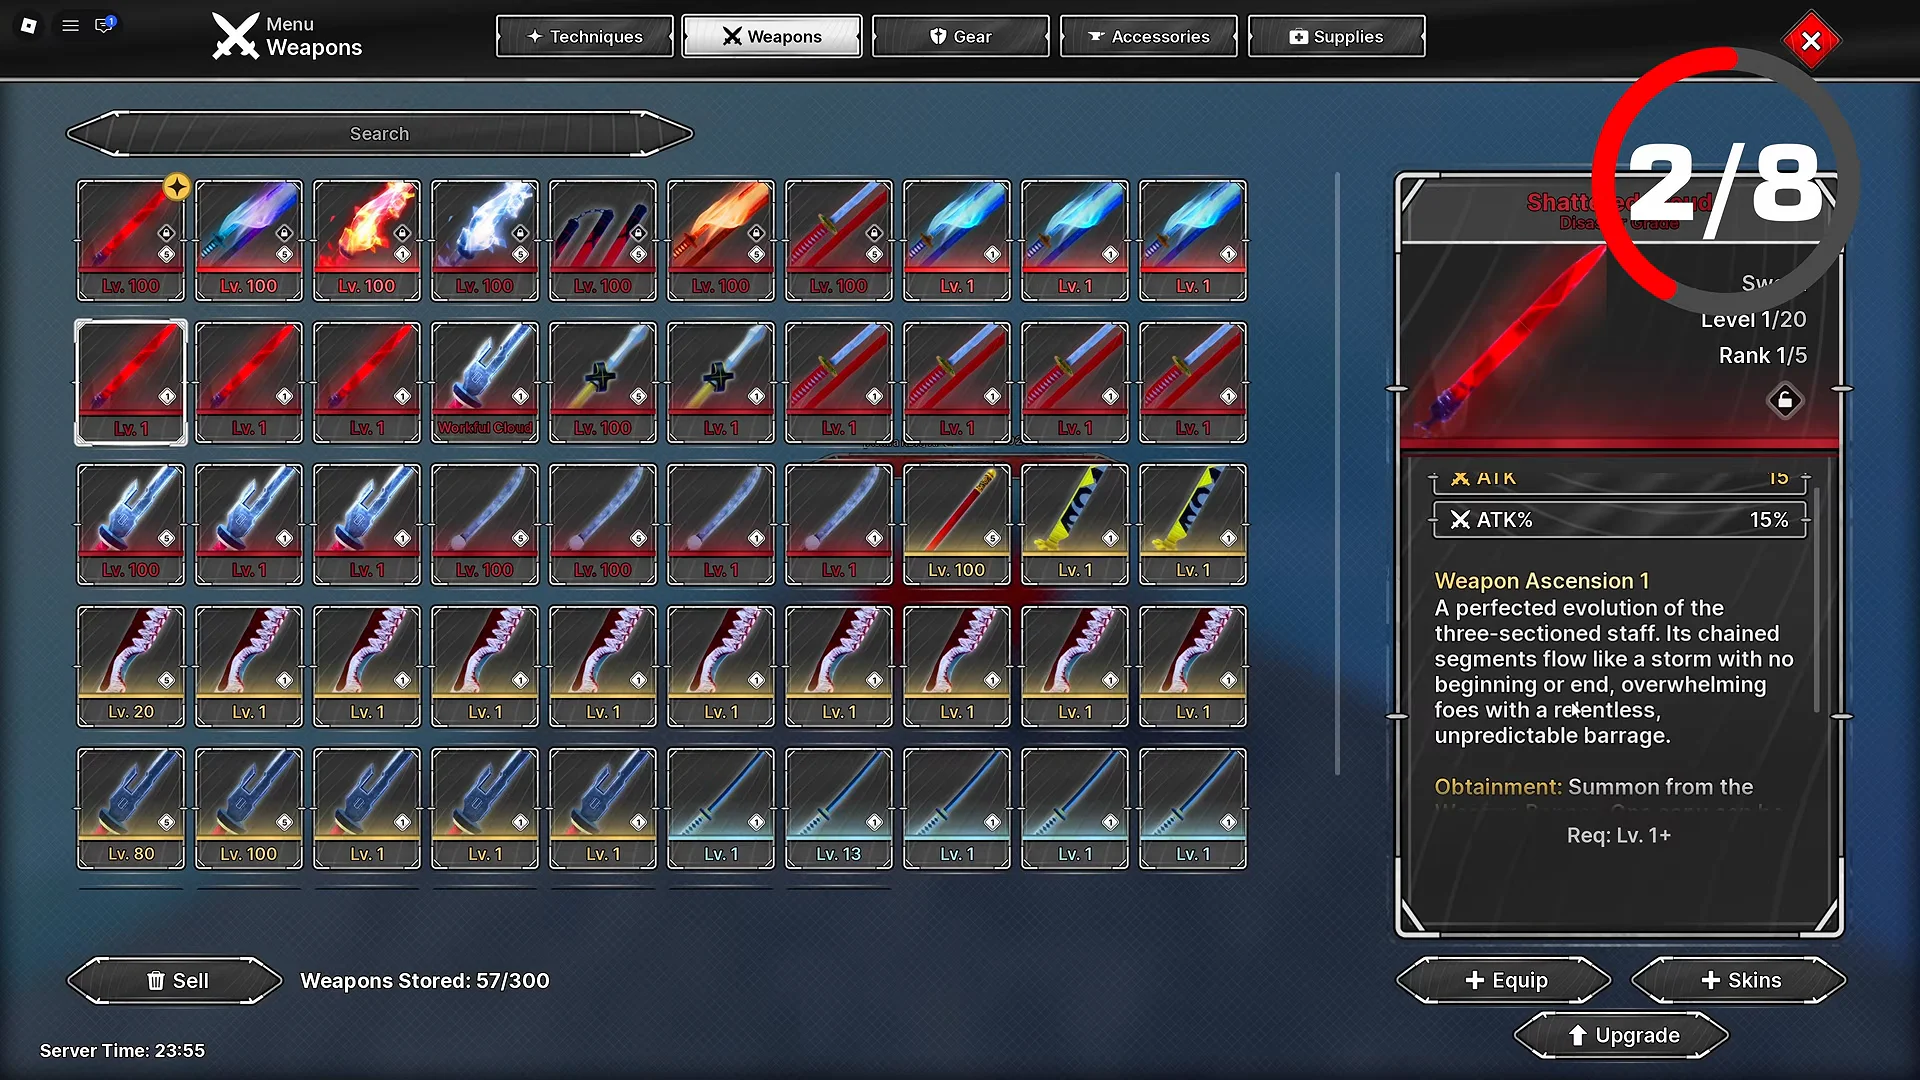
Take Shattered Cloud to Level 100 and Rank 5 and the same weapon jumps by roughly ten times on both flat and percentage attack. Honoyagi behaves the same way on its own stat line.
| Weapon | State | Stats |
|---|---|---|
| Shattered Cloud | Base | 15 attack, 15% attack |
| Shattered Cloud | Lv. 100 / Rank 5 | 163.5 attack, 163% attack |
| Honoyagi | Lv. 100 / Rank 5 | 130.8 attack, 33% cooldown reduction |
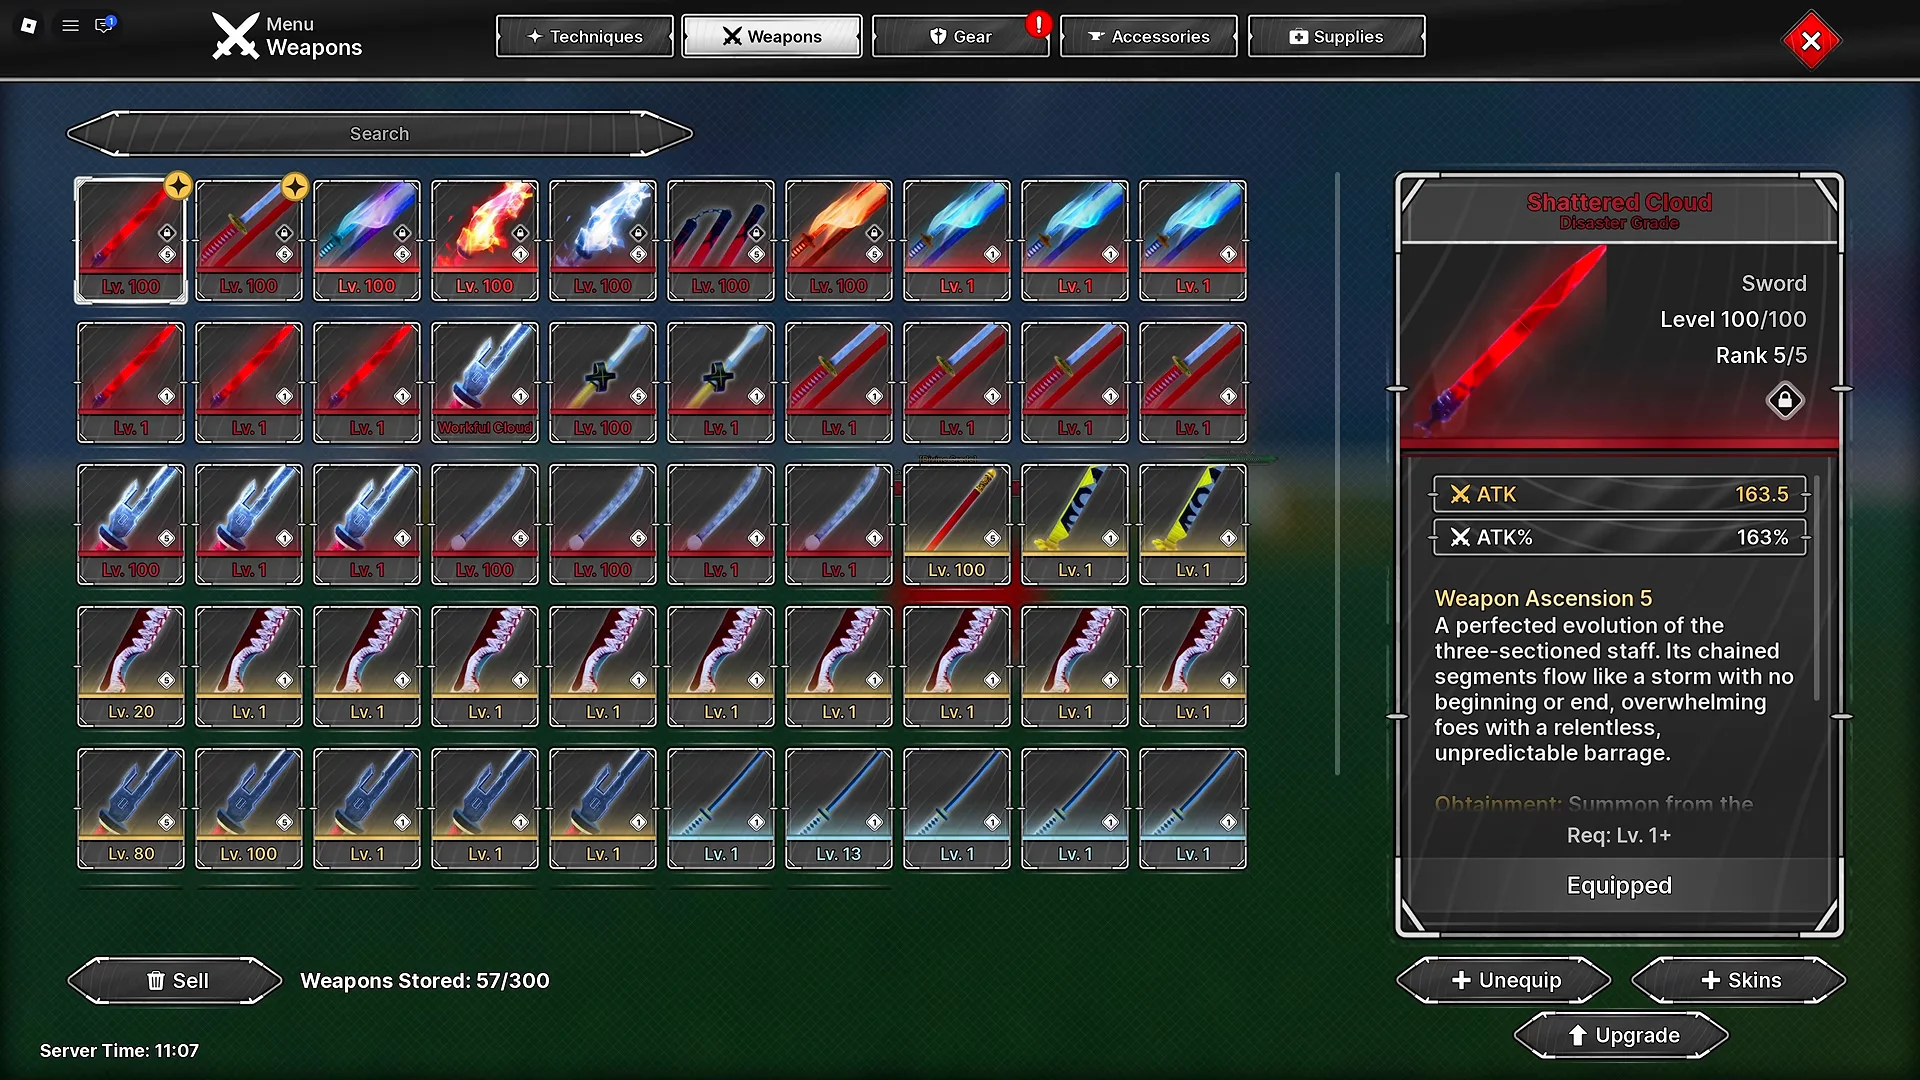
Gear follows identical rules. Equipped pieces only pay out their full attack and critical damage once they are fully ranked, so a half-upgraded endgame item can lose to a finished mid-tier one.
Choosing gear and emblems by grade instead of substats
Gear pieces and emblems roll random substats. The colour of the grade tells you the ceiling of the roll, not what the roll gave you. A lower-grade piece stacked with attack stats beats a higher-grade piece that rolled defense, health, or cursed energy on a damage build.
- Flat attack
- Attack percentage
- Critical damage
- Critical chance
- Cooldown reduction
For emblems on a weapon build, rank the rolls in order of flat damage, damage percentage, critical damage, then critical chance. If you own two copies of the same emblem, compare the actual numbers before you equip one. The name on the tooltip does not decide which copy is stronger.
Broken set bonuses and weapon-specific amplification
Plenty of amplification in Jujutsu Zero is written for one specific weapon. Thug Flamingo Floatie is the clearest example: it carries general offensive bonuses that any weapon uses, plus a separate Summer Blade bonus that does nothing at all unless Summer Blade is the weapon in your hand.
The Awakening Set works the same way, paying out in tiers as you add pieces.
| Pieces equipped | Bonus added |
|---|---|
| 1 of 3 | +15% amplification for all weapons |
| 2 of 3 | +15% Honoyagi amplification |
| 3 of 3 | +15% Shattered Cloud amplification |
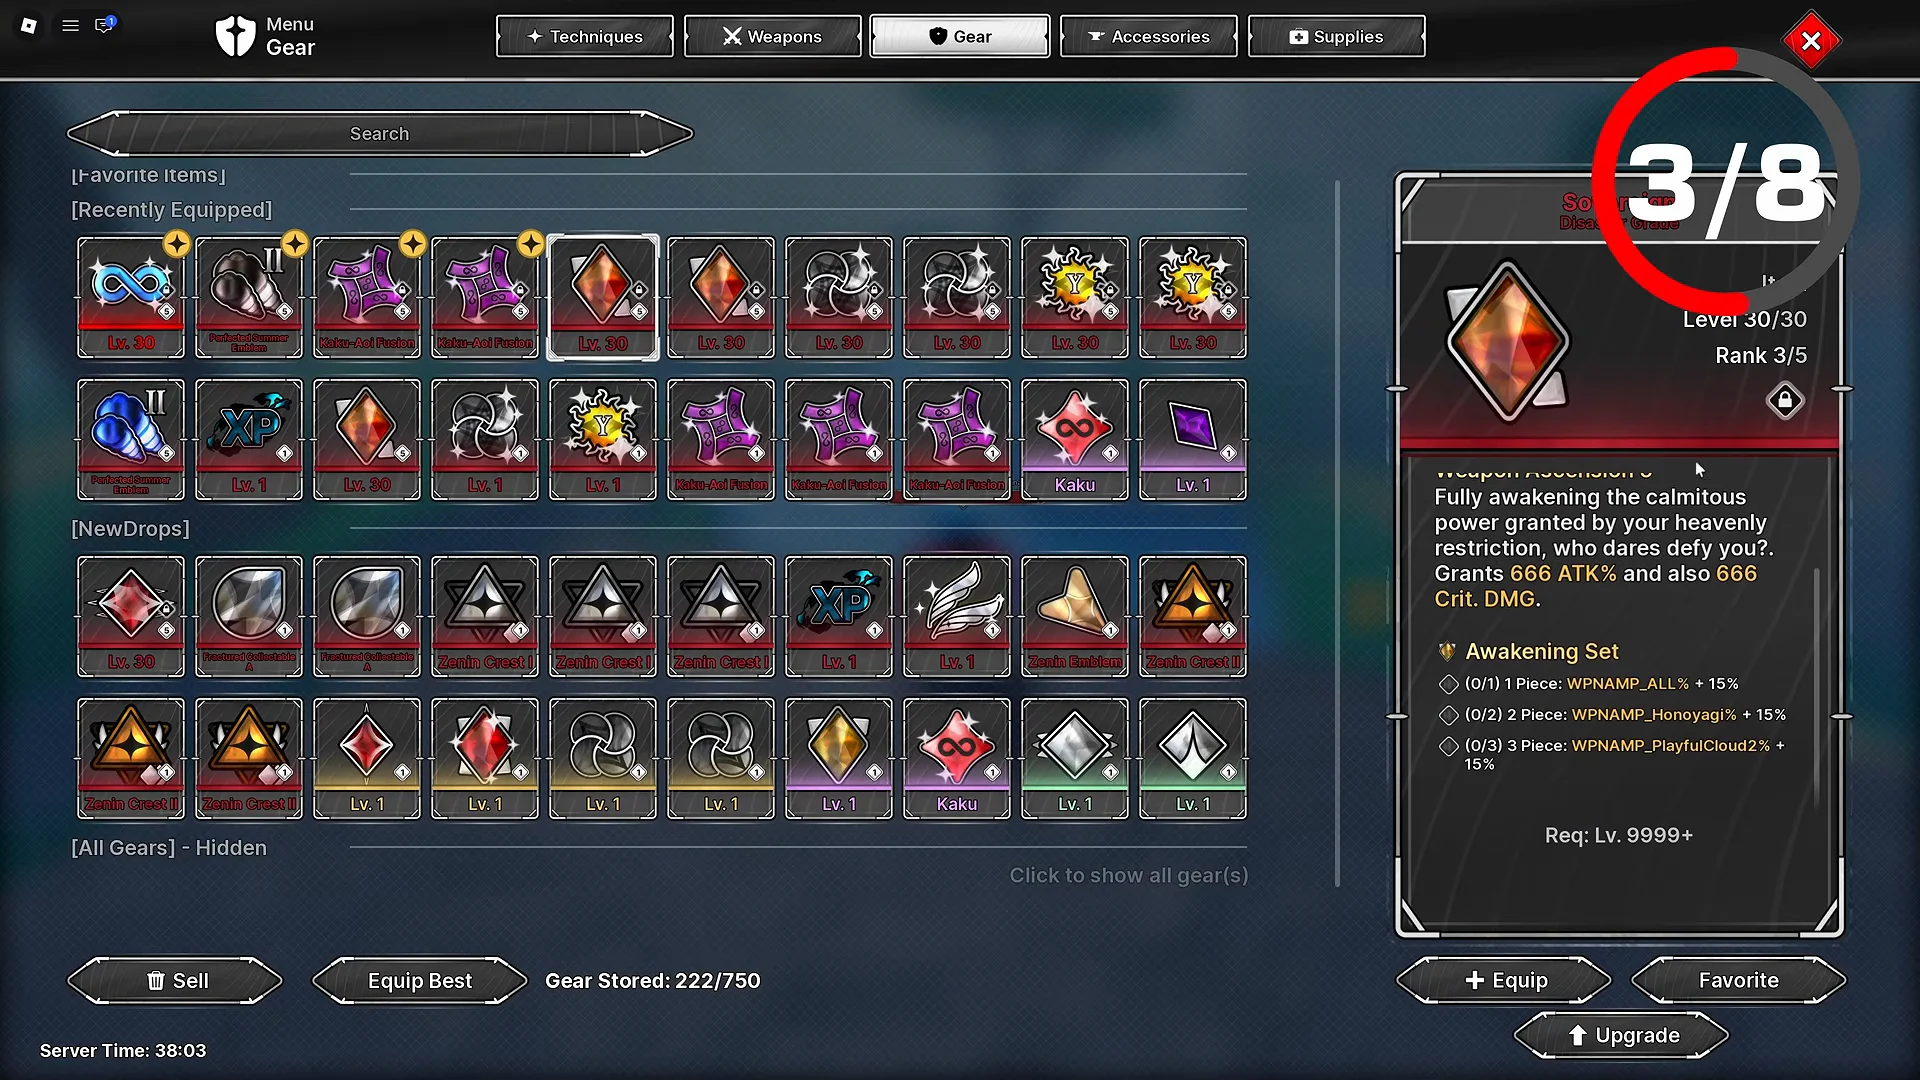
Swapping one slot for a piece with better raw stats can quietly delete the three-piece tier. Before you change anything, add up what the new item gives against what the broken set takes away.
The endgame target for this set is three fully upgraded Sovereign pieces, each providing 386.1 flat attack, 666% attack, and 666 critical damage. Sovereign also carries a level 9,999 requirement and a heavy cursed energy penalty, which is why it suits a physical weapon build rather than a sorcery one.
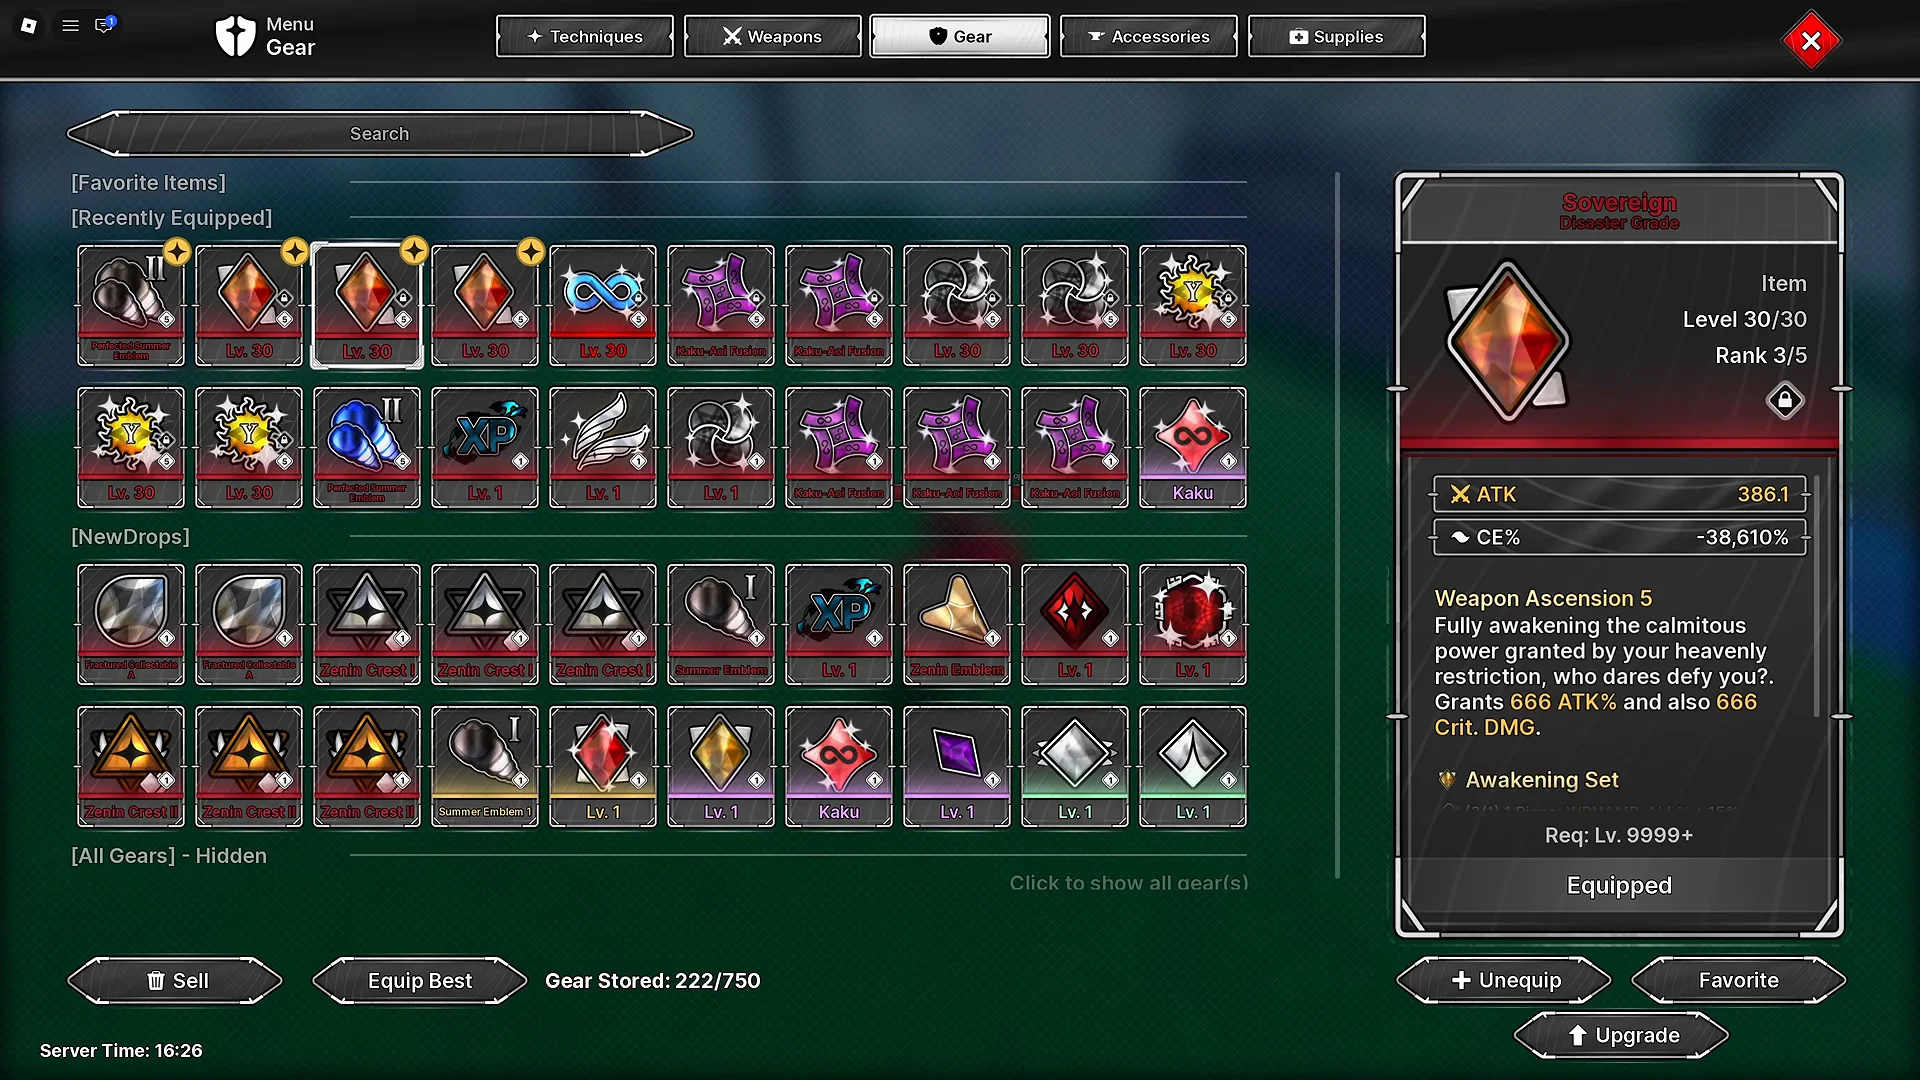
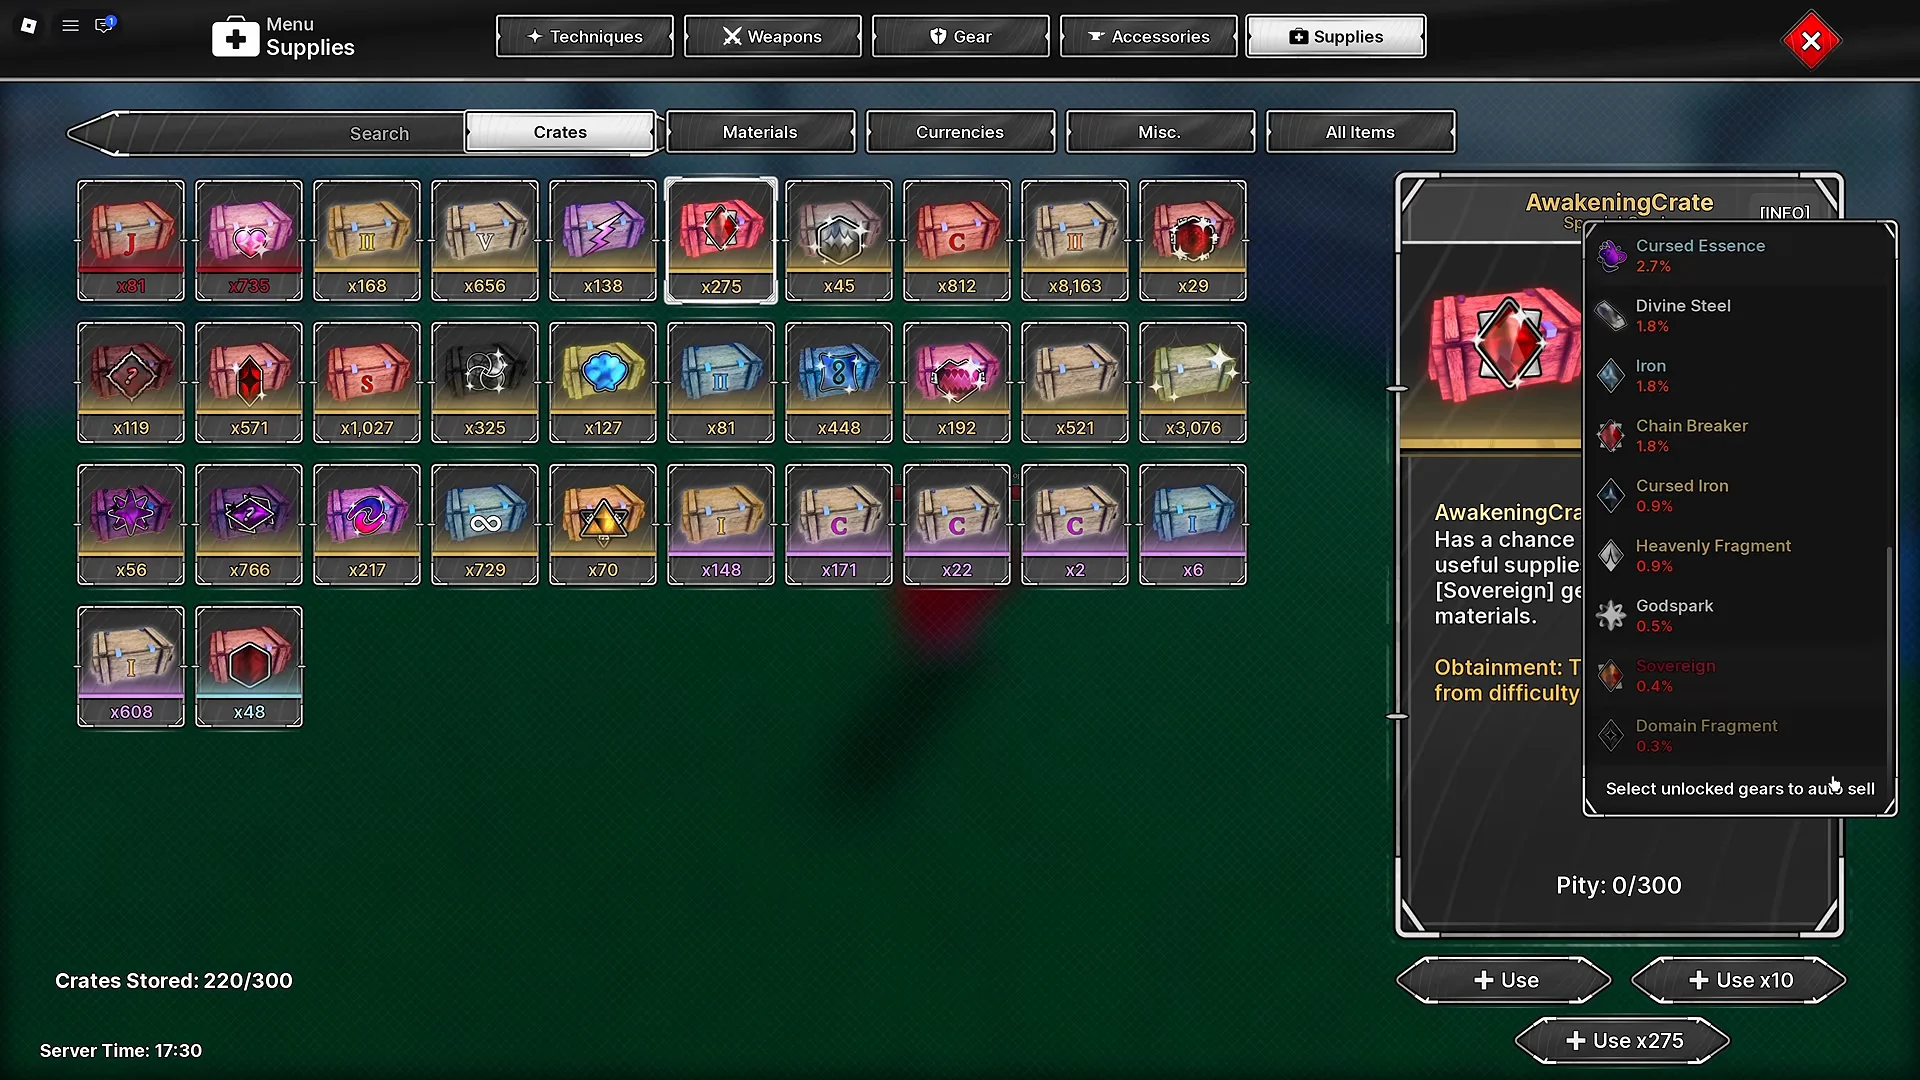
Sovereign has a listed 0.4% drop rate from Awakening Crates, which come from the Tsurugi Raid. As you farm them, Heavenly Burden and Chain Breaker are pieces of the same set and can jointly contribute to its three-piece bonus.
Missing ailments on weapons and emblems
Every weapon and every emblem should be carrying an active ailment. Water Prison is the stronger option if you have the Bubbles to apply it, and Thunderbolt, which applies Electrocute, is the fallback when you do not.
Apply the ailment through the Supplies menu, then check your emblem separately. Finishing your weapons does not carry over. Replacing a piece of equipment also strips the ailment from it, so every gear swap needs a reapplication pass.
Restrictions such as Sukuna’s Mark explicitly disable status ailments. With one of those running, the ailment you paid for will never trigger.
Incomplete technique branches and Apotheosis nodes
Unlocking a cursed technique is the start of the investment, not the end of it. Awakened Limitless, for instance, is far weaker than it should be until the Lapse and Reversal branches are filled in, including Reversal: Red, Reversal: Redline, and Reversal Burst, along with the Domain Expansion node.
Sitting behind that is the evolution tree, which runs through seven levels across Apotheosis, Paragon, Zenith, and Epitome. Players often unlock the flashy technique, skip the nodes, and then wonder why the rotation hits like an early-game build.
Forgetting Attack Vows before a farming run
Vows are consumables with long durations, which makes them easy to forget and expensive to skip. Attack Vow VI grants +250% attack for 60 minutes, long enough to cover a full raid session rather than a single fight.
Once you pass level 6,000 you can craft it at the Shadow God NPC by handing in three Attack Vow V. Defense Vow VI and Sorcery Vow VI exist alongside it, but for a damage build the attack version is the one to keep stocked.
Pop the vow before you queue, not after the boss appears, so none of the hour burns down in a loading screen or a lobby.
Buff order: Bloodthirst, Maculation, then Shattered Cloud
Buffs only apply to damage dealt while they are live. Firing your biggest skill first and then activating the amplifier wastes the whole window, and this is where a lot of otherwise correct builds lose their numbers.
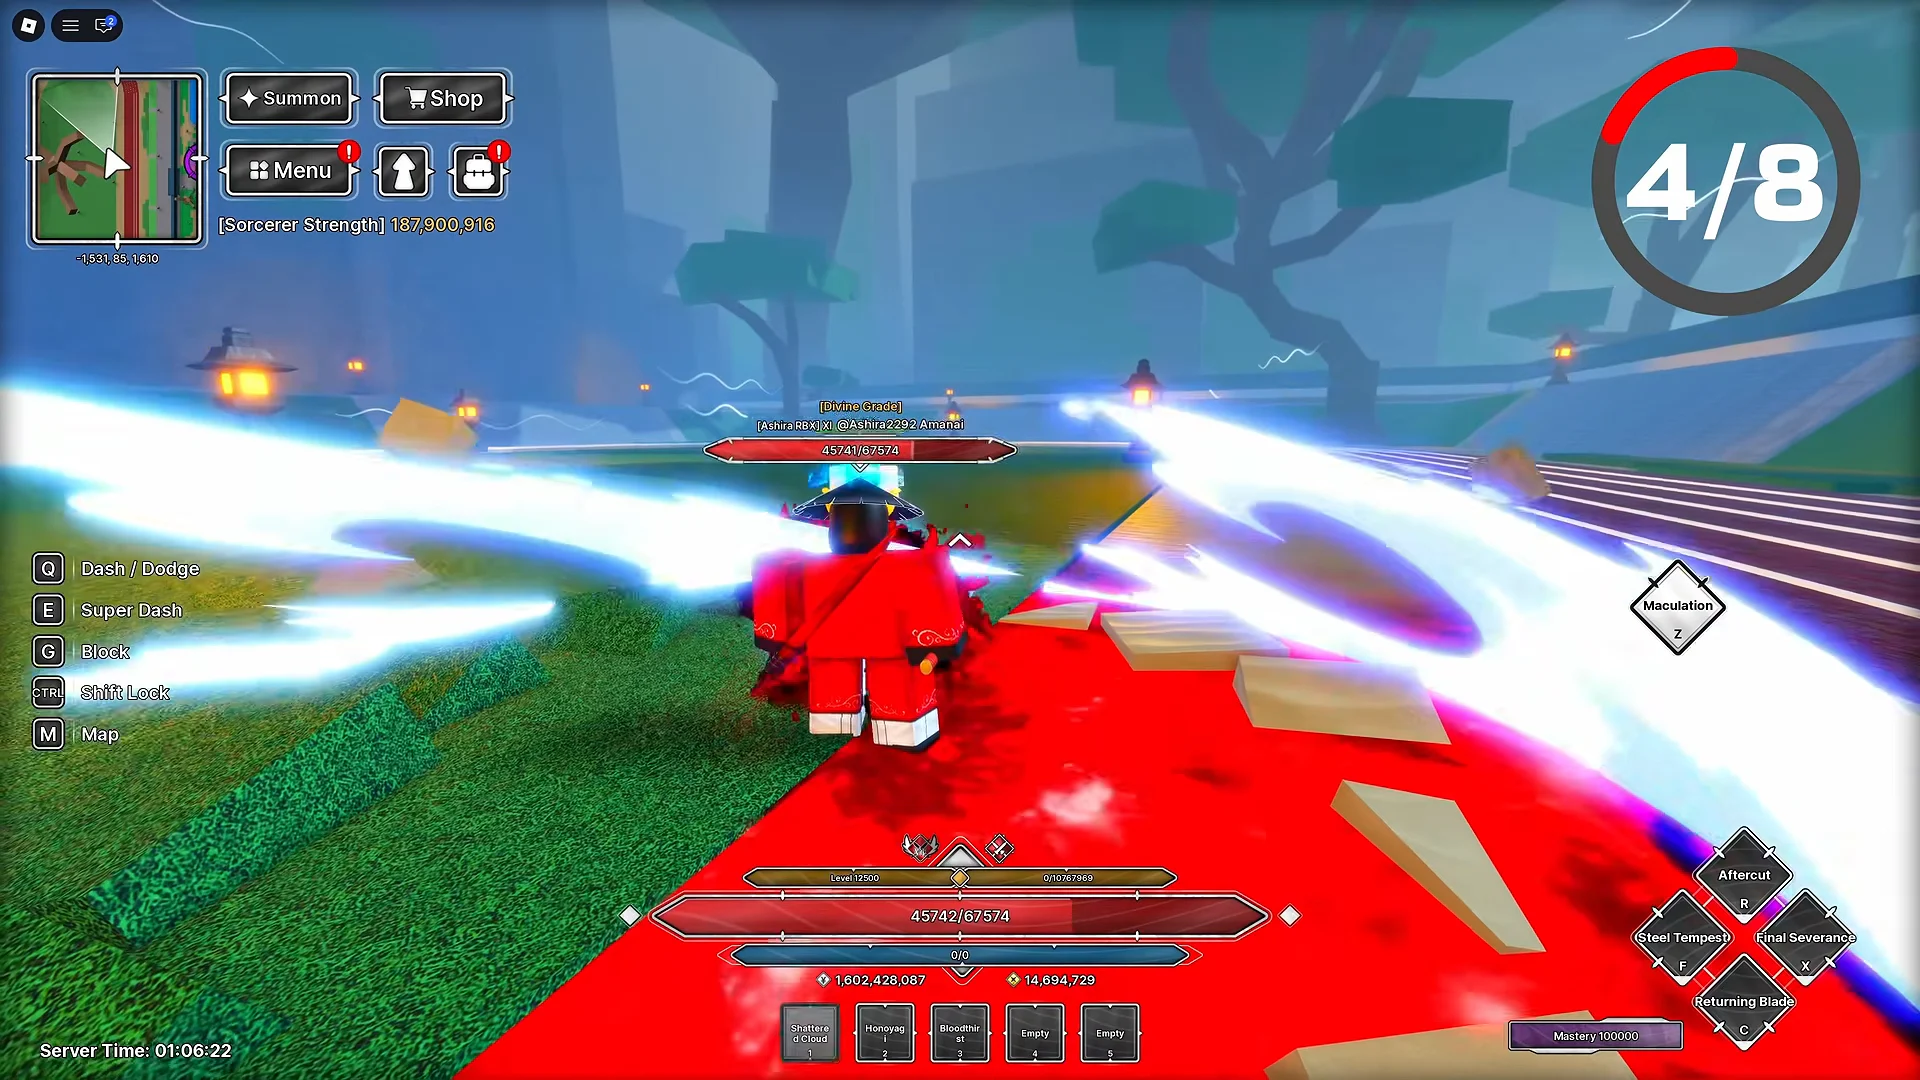
One detail worth holding onto: equipped-only bonuses belong to whichever weapon is in your hands. Honoyagi’s large attack and critical damage values do not follow you across the swap, so the reason to use it is Maculation, not its tooltip stats.
Sorcerer Strength is not your DPS
The Sorcerer Strength number on the HUD is an aggregate figure. It rolls defensive stats, health, and cursed energy into one total, so it can climb while your real damage drops. It also knows nothing about your cooldowns, your rotation length, or how much of a fight you spend waiting on a skill.
Measure the build instead. Run your full rotation on a punching bag and watch the damage popups, or time a boss kill and compare. Keep the target identical between tests, change one item or one node at a time, and the number that matters is the clear time, not the rating.
That test is also how you confirm each fix landed. If a full upgrade pass, a reapplied ailment, or a corrected buff order does not shorten your kill time on the same target, the change did not do what you expected and something else in the stack is still missing.