

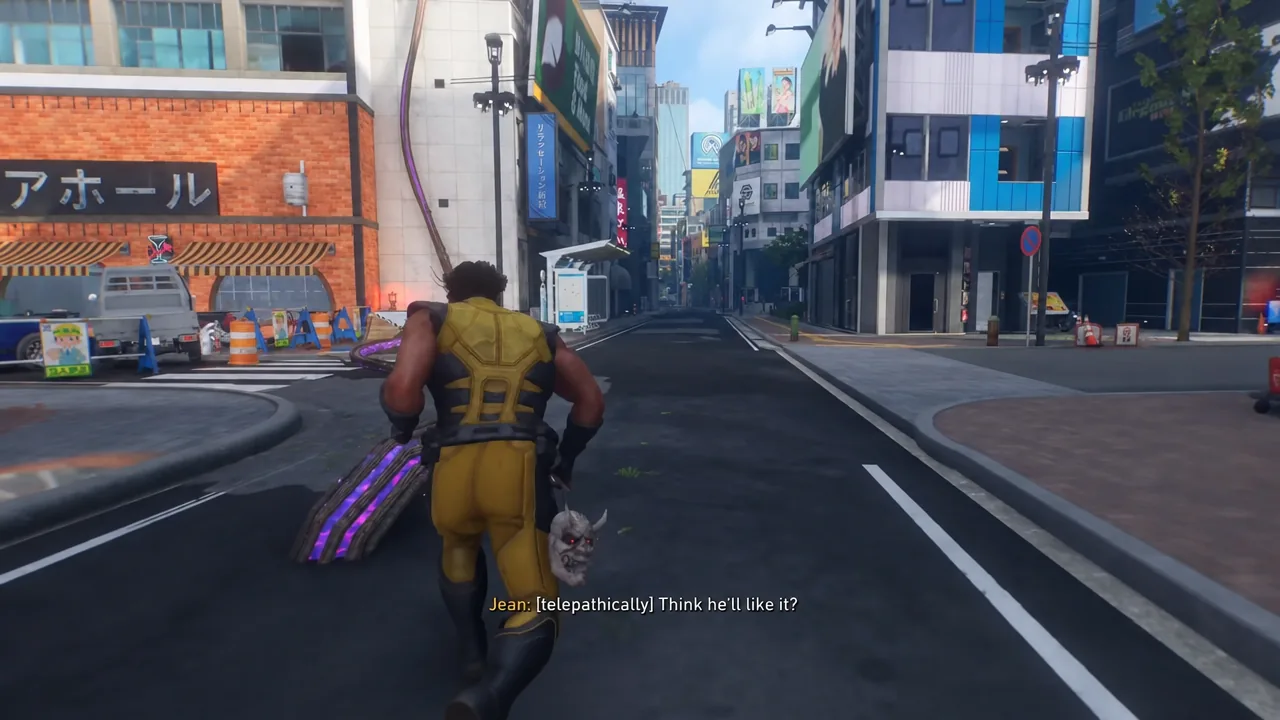
Bad Blood is the 15th mission in Marvel’s Wolverine and the point where Logan works his way up through Shinjuku toward Shiro’s penthouse. It holds six collectibles spread across rooftops, a construction alley, and one Nightmare Door, and every one of them sits slightly off the yellow objective marker.
Quick answer: Bad Blood contains six collectibles — four Material Crates, one whisky bottle (Fatal Attractions), and the Shinjuku Shuffle Nightmare Door. None of them are missable.
Bad Blood collectible list in play order
Pick them up in the order below rather than backtracking. The mission funnels Logan upward, and several of these spots close off once you follow Jean to the next building.
| # | Collectible | Active objective | Where |
|---|---|---|---|
| 1 | Material Crate | Head to Shiro’s | Rooftop past the zipline |
| 2 | Nightmare Door | Meet Jean outside Shiro’s | Greenhouse doorway |
| 3 | Material Crate | Climb to Shiro’s penthouse | Alley scaffolding |
| 4 | Material Crate | Climb to Shiro’s penthouse | Upper-floor workshop |
| 5 | Whisky Bottle | Climb to Shiro’s penthouse | Same workshop, by the crates |
| 6 | Material Crate | Climb to Shiro’s penthouse | Rooftop behind the lift |
Each Material Crate pays out +50 Materials, which feed straight into suit crafting. The whisky bottle counts toward Adaptation progress, and the Nightmare Door feeds the trial and memory totals, so all three types tick separate counters in the pause menu.
Material Crate locations in Bad Blood
All four crates are tucked behind breakable wooden boxes or inside side rooms that the story route skips. Clear the area, then look around before moving on.
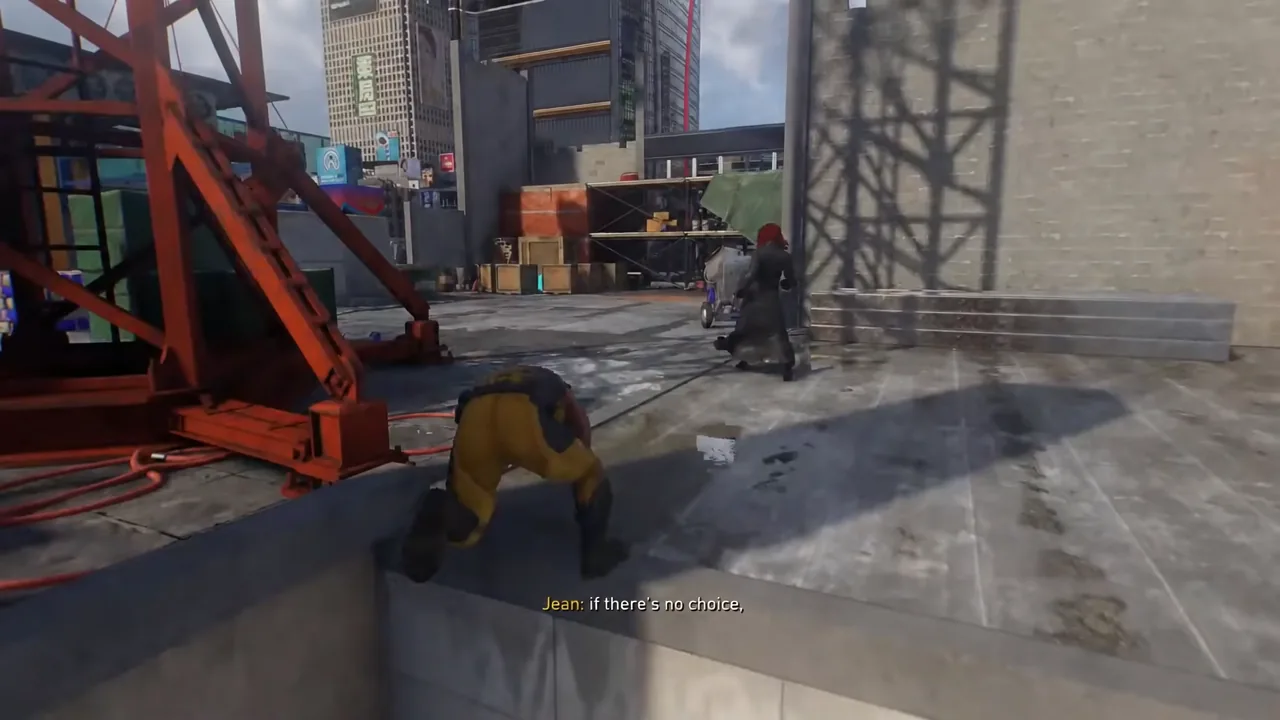
Crate 1: Rooftop past the zipline
This one comes up almost immediately while the objective still reads Head to Shiro’s. After the rope lift and zipline near the start of the mission, drop off the roof, swing across the gap with your claws, and climb the wall on the far side. Sprint across the rooftops and smash the wooden crate to expose the chest underneath.
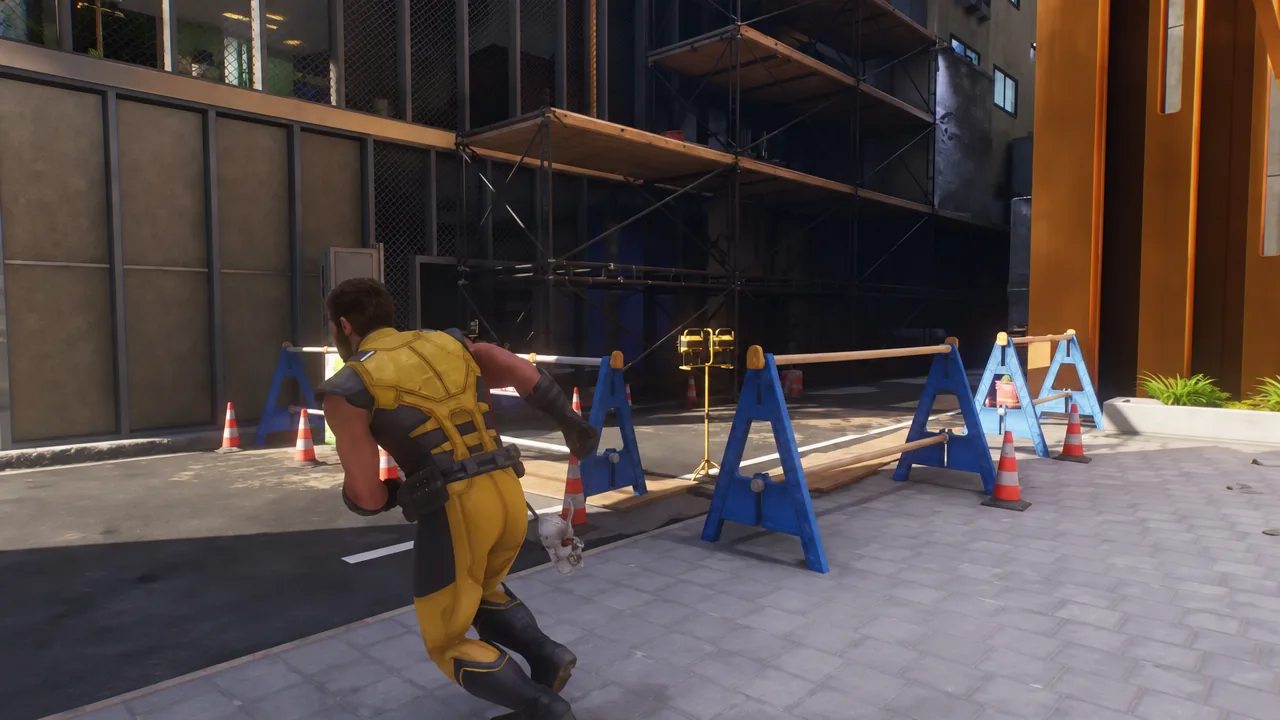
Crate 2: Alley scaffolding near Jean
Once you meet Jean outside the building and the objective switches to Climb to Shiro’s penthouse, don’t start the climb yet. Head into the narrow alley beside her, past the traffic cones, and climb the scaffolding. The chest sits on a wooden platform at the top.
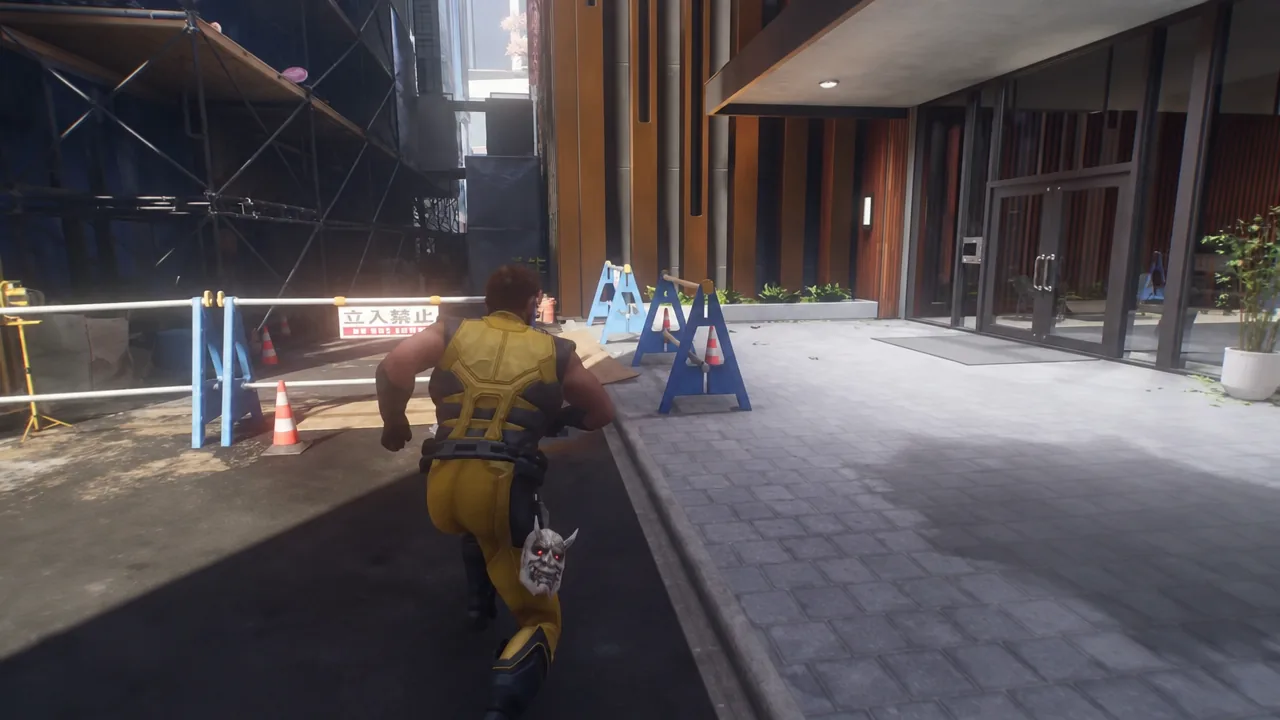
Crate 3: Upper-floor workshop
Carry on down the alleyway, then wall-run and climb up to the open window on the upper floor. Inside is a workshop area with a wooden crate against the wall. Break it open for the chest. In the following building you can also reach this pocket by ignoring the left-hand route toward Jean and dropping down on the right.
Crate 4: Rooftop behind the lift
After Jean uses her powers to move the blue hanging lift across to the next building, resist the urge to climb straight ahead. Turn around, drop down onto the rooftop below, and go through the doorway on the right into the fenced-in area. The final crate is in there.
Whisky Bottle: Fatal Attractions
Bad Blood has a single bottle, and it shares a room with the workshop crate. Once you’re inside through the upper-floor window, look at the table and the blue-wrapped crates nearby — Fatal Attractions is sitting right there. If you cleared the crate and left without it, turn around and follow the blue scent trail back with Enhanced Senses; it points straight at the pickup.
Wait for the “New Collectible” banner to appear before you move. The bottle only counts once that pickup registers.
Nightmare Door: Shinjuku Shuffle location and medal times
The door opens up while the objective reads Meet Jean outside Shiro’s building. After the street fight, purple roots sprout in front of Logan. Follow that trail through the streets, climb the building with the orange brickwork using the pipe on the wall, and step into the flower-covered greenhouse doorway at the top. Activating the portal starts the trial.
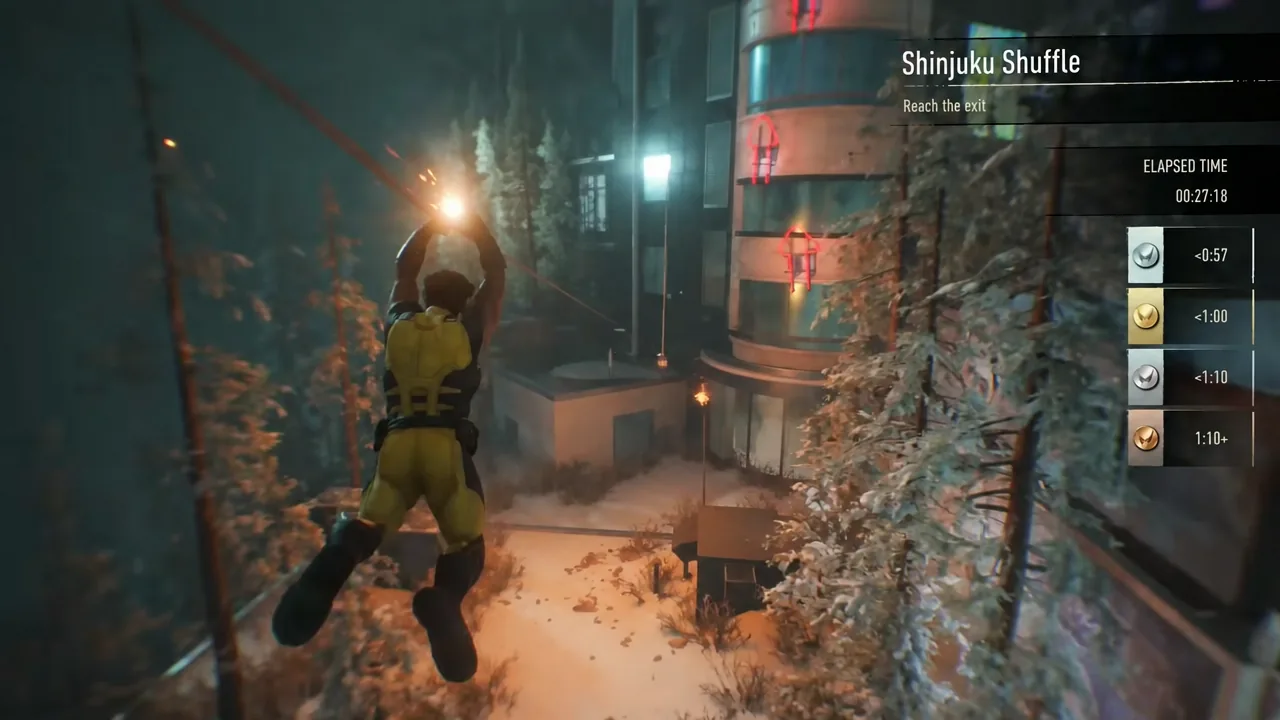
Shinjuku Shuffle is a traversal challenge in a floating, broken-up version of the city. The objective is simply to reach the exit, and you’ll be swinging from poles, wall-running along billboards, and jumping between platforms against a clock.
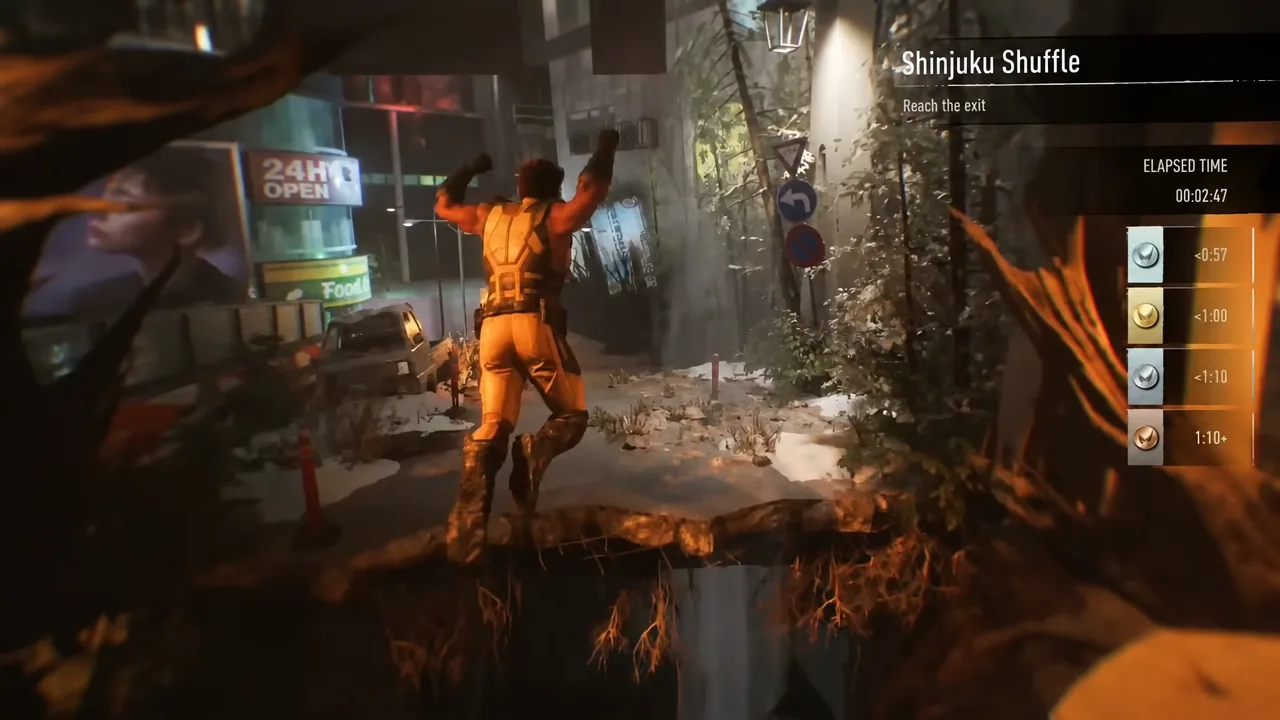
| Medal | Time | Reward |
|---|---|---|
| Adamantium | 0:57 | +1 AP |
| Gold | 1:00 | +1 AP |
| Silver | 1:10 | +1 AP |
| Bronze | 1:10+ | +1 AP |
Every tier grants an AP point, so faster runs are worth repeating if you want the full payout. Just finishing the course still counts the door itself toward the collectible total.
Freeing the memory after the trial
Clearing the course isn’t the end of it. When Logan steps back out of the portal, a memory is held in place by roots — cut the roots to free it. That unlocks the accompanying text log, dated March 7, 1914 in Asahikawa, covering the death Logan learned about secondhand from a neighbor and the drift through Hokkaido that followed. Skipping this step leaves the memory counter short even though the door is marked as discovered.
How to confirm Bad Blood is fully cleared
Open the collectible tracker in the pause menu and check the mission entry. A finished Bad Blood reads four Material Crates, one whisky bottle, and one Nightmare Door. Each crate confirms itself with a +50 Materials pop-up, and the bottle throws up a “New Collectible” card naming Fatal Attractions.
Story objects and collectibles aren’t the same thing. If the counter hasn’t moved after an interaction, that object didn’t count — go back and look for the actual chest or pickup.
Replaying Bad Blood later
Nothing here is permanently missable. Once Mission Replay unlocks through the bed in the Nightmare Cabin, you can jump back into Mission 15 and grab whatever the tracker still lists. Anything you already collected stays collected, so you only need to chase the gaps.
That makes a clean first run entirely optional. If you’d rather keep the story moving, note which category is short, replay the chapter, pick up the missing items, and leave as soon as the counter matches — four crates, one bottle, one door, and you’re done with Bad Blood.





