

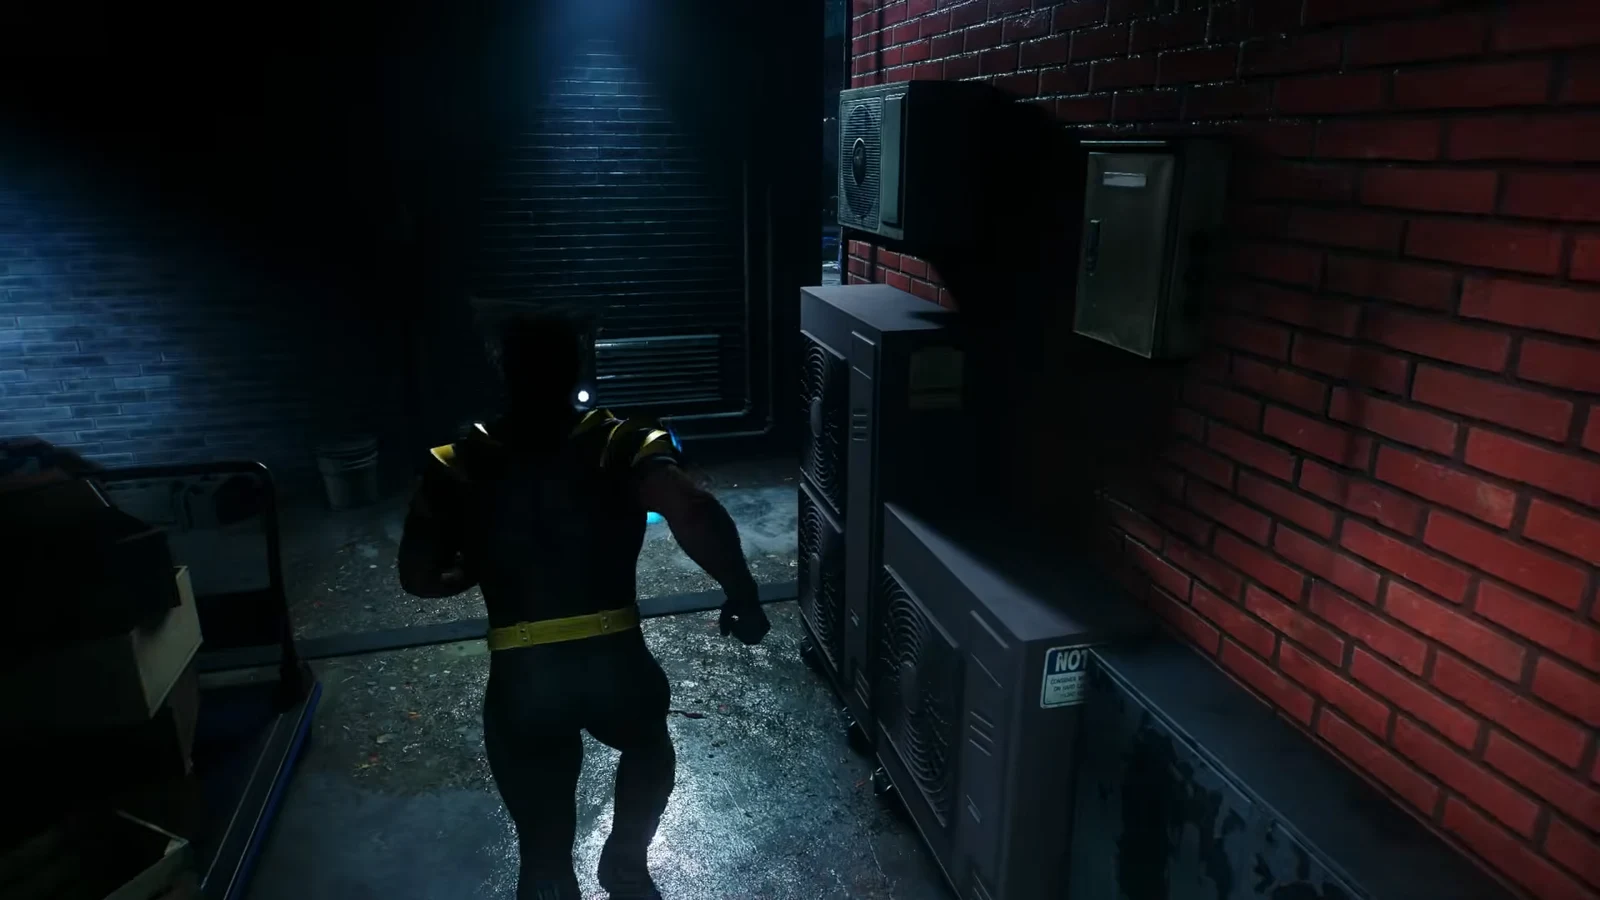
Get Angry is the second mission of the Japan chapter in Marvel’s Wolverine, and it covers a lot of ground: a neon street hunt for Jean Grey through Kabukicho, a hidden bar with a trapdoor into The Hand’s territory, and a long descent into a cave network under Shinjuku. It is also one of the denser collectible missions in the chapter, with items tucked into side alleys, a basement corridor, and one bridge most players walk straight past.
Quick answer: Get Angry holds seven collectibles — five Material Crates, one Whisky Bottle, and one Nightmare Door. Pick each up as you pass it, following the route below from the streets down into the caves.
Get Angry collectibles checklist
| Collectible | Name | Location |
|---|---|---|
| Material Crate #1 | — | Alley past the Smash.Compete! advert |
| Whisky Bottle #1 | Patch | Bar basement, behind the mask wall |
| Material Crate #2 | — | Right-hand path outside the basement elevator |
| Material Crate #3 | — | Corridor right of the cave entrance |
| Material Crate #4 | — | Far end of the bridge after the locket scene |
| Nightmare Door #1 | Death By 1000 Cuts | Room where control returns after the illusion |
| Material Crate #5 | — | Storage room at the top of the final elevator |
Each Material Crate awards 50 Materials, which feed straight into suit crafting and gear upgrades at the Gear menu.
Tracking Jean through Kabukicho: Material Crate #1
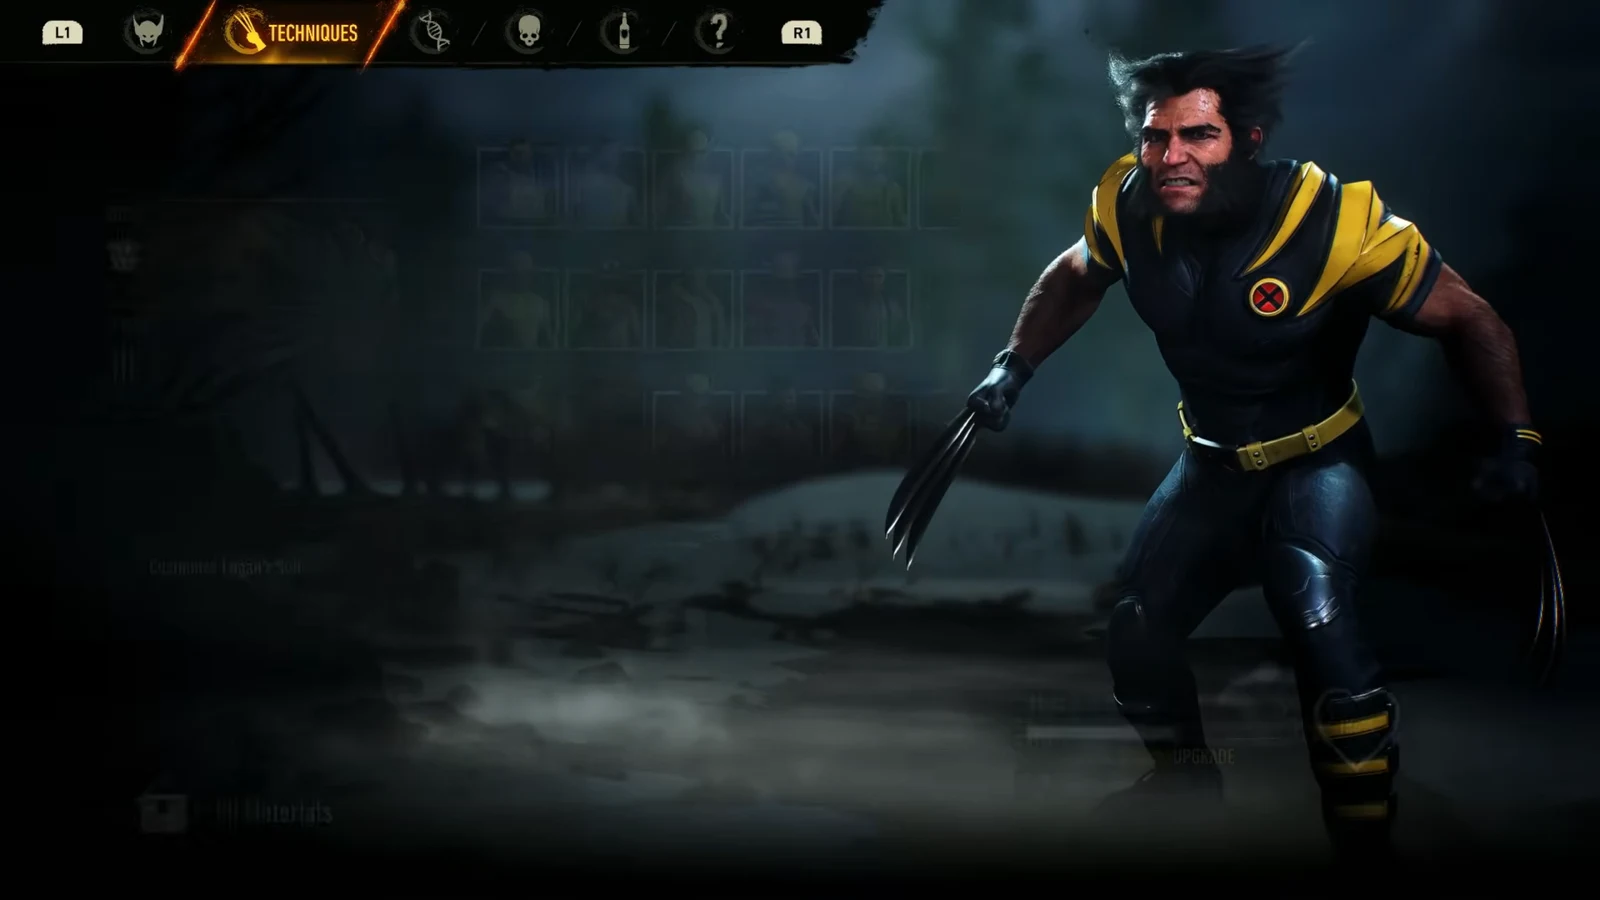
Keep following the blue trail through the commercial corridors. You will pass a sealed red door covered in Hand markings along the way — note where it is, but the trial you can actually start in this mission comes later, underground.
Finding the bar and Whisky Bottle #1 (Patch)
Jean projects an image of a bar with a face on its sign. That sign is an illuminated Hyottoko mask, and the bar itself is called Tickled Fancy. Navigate the alleys until you spot it, then break in and work your way past the patrons toward the back.
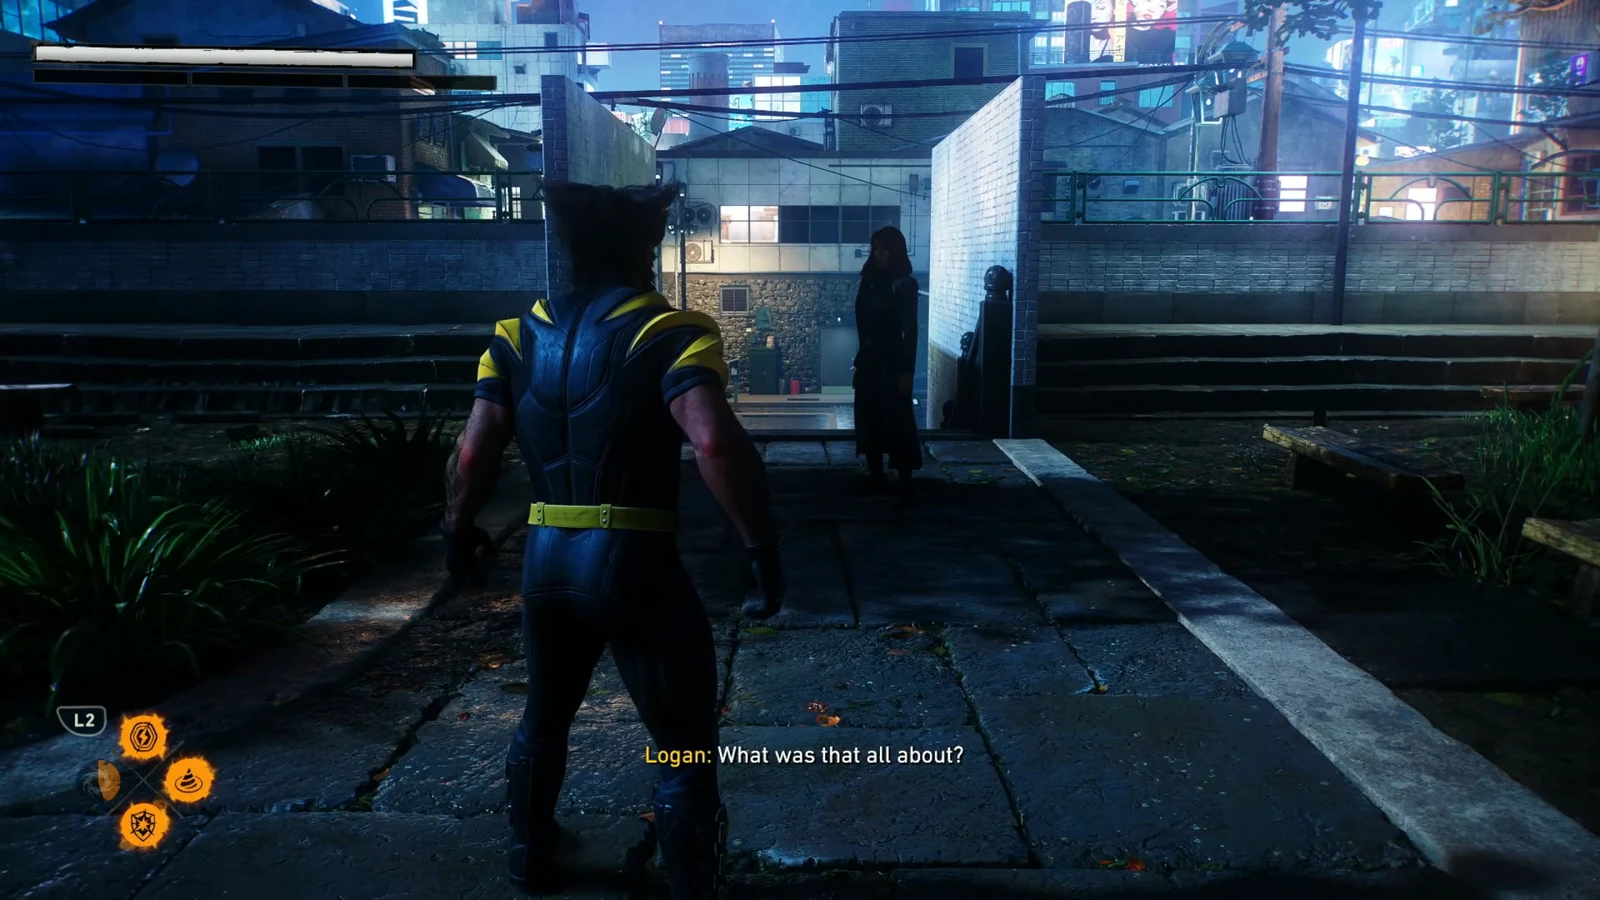
In the basement, go right instead of left. Interact with the mask on the wall in the next room and let the illusion play out, then walk down the corridor it opened. The Whisky Bottle, named Patch, is on the right-hand side.
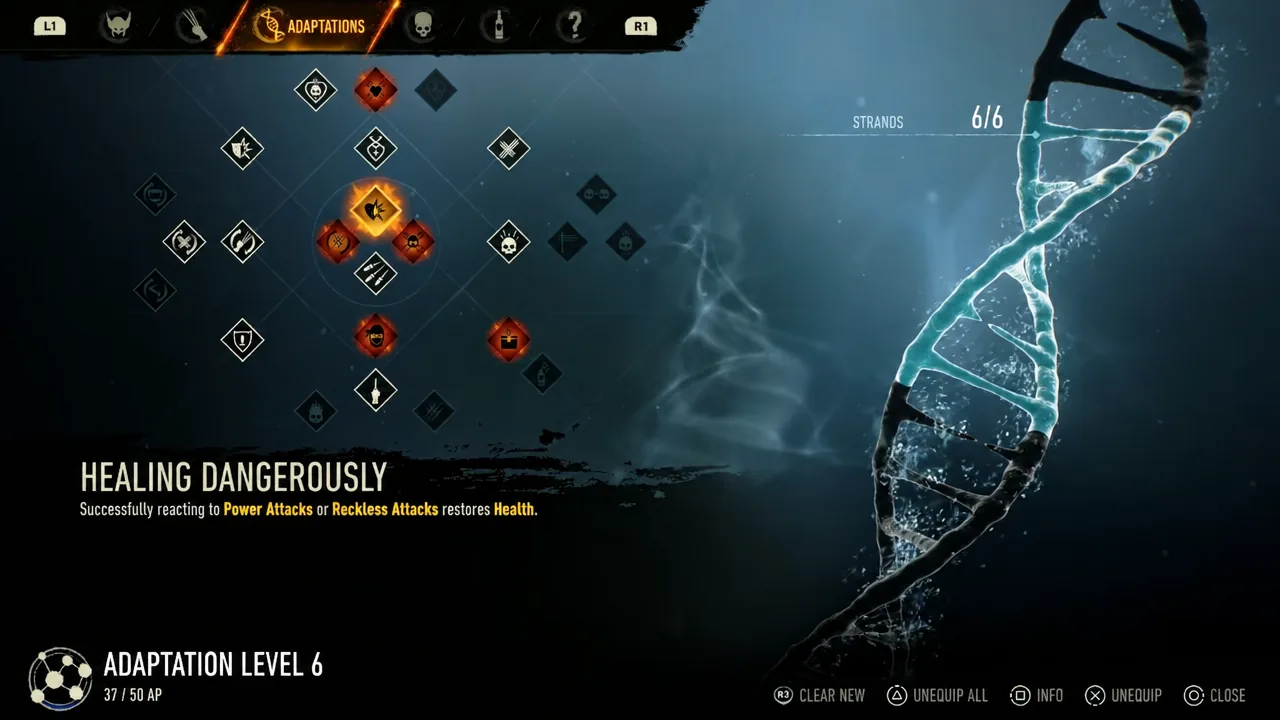
Before you drop deeper, open the Adaptations menu and slot an offensive option such as Enraging Barrage into the active tree. The cave fights ahead throw large groups of archers and swordsmen at you.
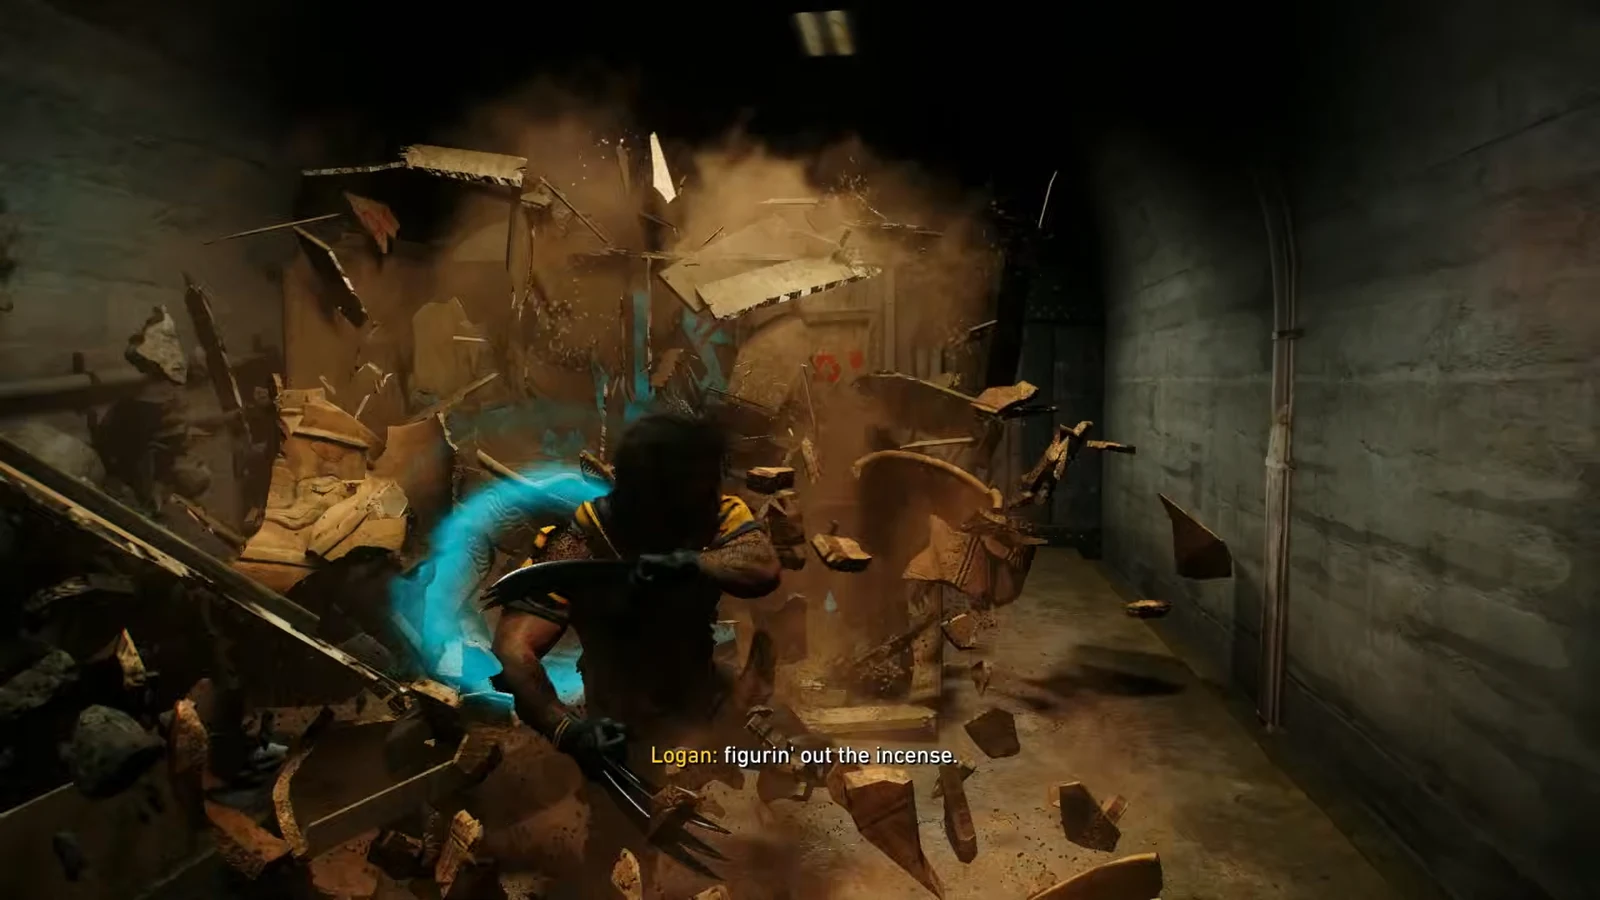
The Hand’s hideout: Material Crates #2 and #3
Behind the storage door is a bunker with a bulletin board detailing the owner’s family, plus a Hand beacon cache you can destroy for bonus XP. Take the industrial elevator down with Jean.
The chasm and Material Crate #4
A second freight elevator drops you into a huge underground cavern. Jean clears boulders from a tunnel with telekinesis, and further in, Logan finds a discarded dog tag locket marked Yuriko among bound prisoner remains — the cutscene that follows is your marker for the next crate.
After that scene you climb, swing and jump along the scent path. When you reach the top of a bridge and the game points you into a doorway, turn around instead and walk to the opposite end of that same bridge. Material Crate #4 is waiting there.
This stretch is also a good moment to spend resources. The Gear menu lets you craft the X-Force suit and equip Angular Claws, and hitting Level 18 during the bridge fights unlocks enough points for Double Takedown. Expect Hand swordsmen, fire hazards and an iron cell full of civilians you can free by slicing the door open.
Nightmare Door #1: Death By 1000 Cuts
Climbing toward the Telepath triggers the mission’s set piece: a shifting dojo bathed in orange firelight, filled with elite Hand assassins. Fight through the illusion and finish the Telepath’s avatar with a claw execution to shatter the chamber.
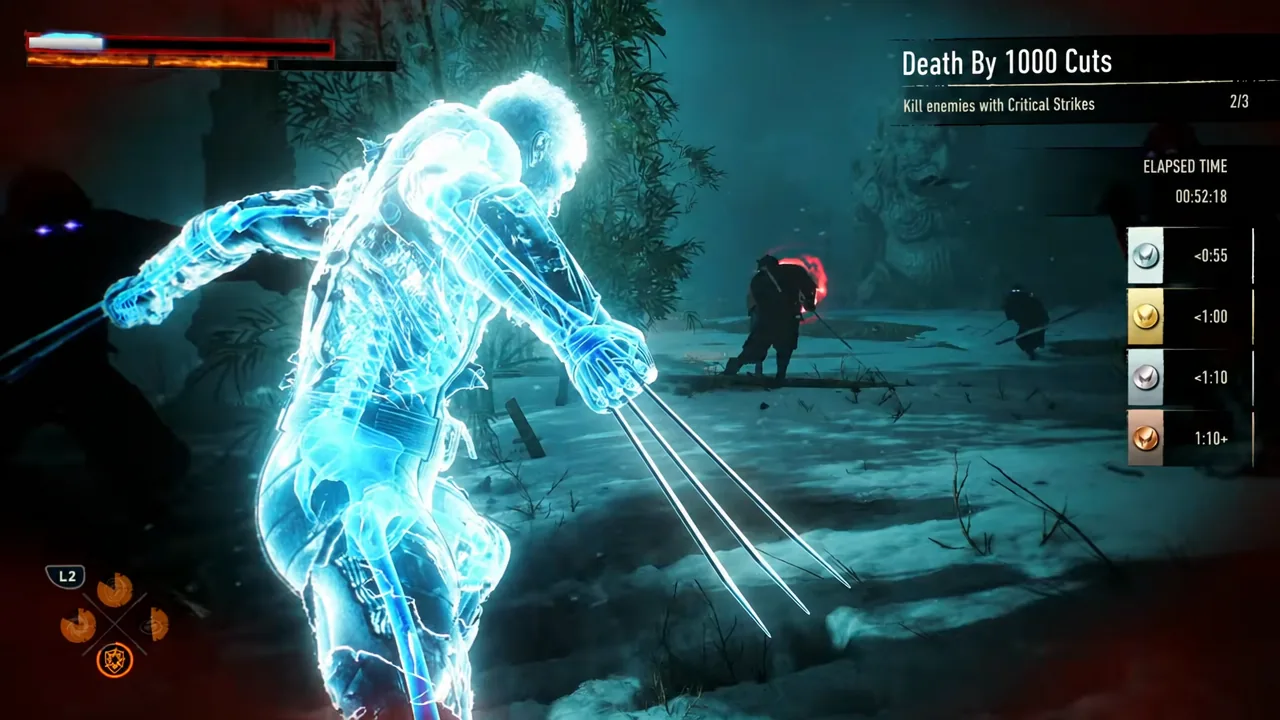
The Nightmare Door appears in the room where you regain control of Logan straight after that hallucination sequence. Interact with the purple rift to start the Death By 1000 Cuts trial, which asks you to kill enemies using Critical Strikes. Clearing it at Adamantium rank also unlocks a memory audio log about Sapporo in 1904.
Material Crate #5 and the end of the mission
Cross the cavern bridge again, clearing out the remaining swordsmen, and meet Jean at the lift. When the elevator brings you out of the cave network you arrive in a storage room — Material Crate #5 is at the back and hard to walk past.
From there you search Walter’s abandoned laboratory, where there is another cache to destroy and research papers and whiteboard diagrams to inspect. Nathaniel Essex appears as a hologram to look over the artifact notes, and a Hand rocket blows you and Jean out of an upper window onto the street below. Win the daylight brawl against the ninja squad and Essex arrives to explain that The Hand has a Helix Engine, pointing Logan toward Shiro.
To confirm you are finished, open the pause menu during or immediately after the mission. The collectible tracker should read 5 of 5 Material Crates, 1 of 1 Whisky Bottles and the Nightmare Door marked complete before the story rolls on to Bad Blood.





