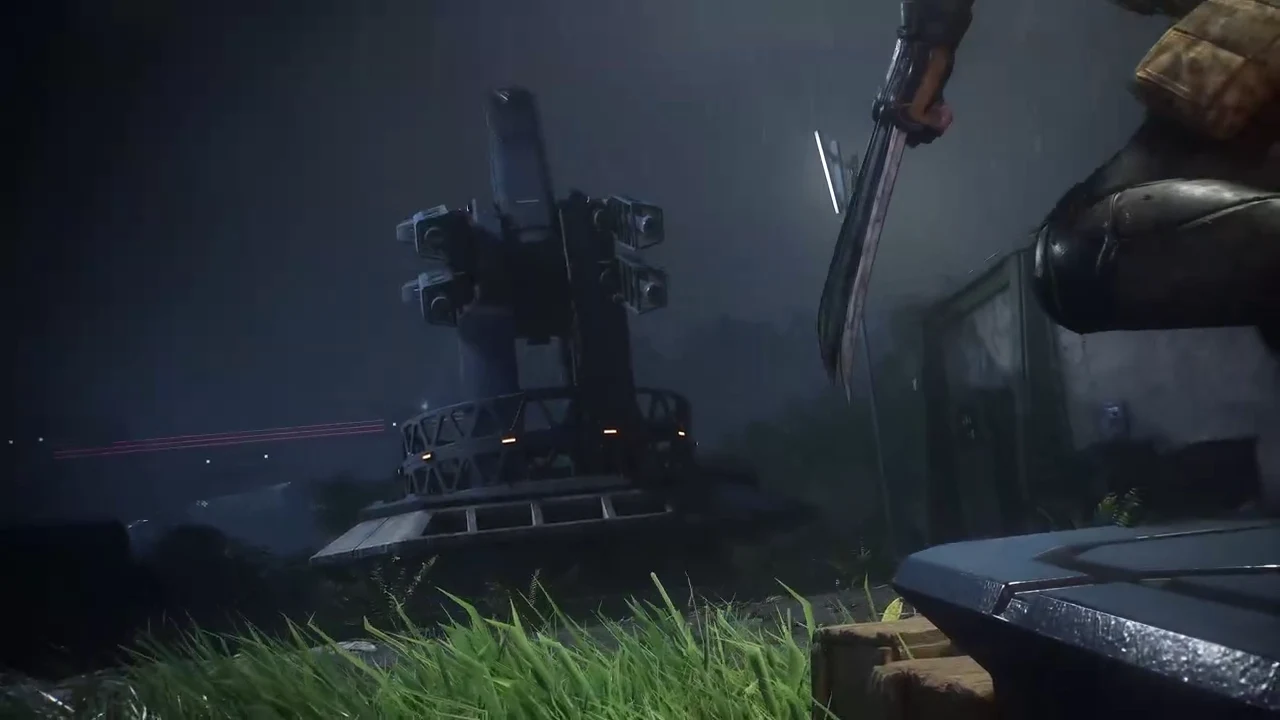
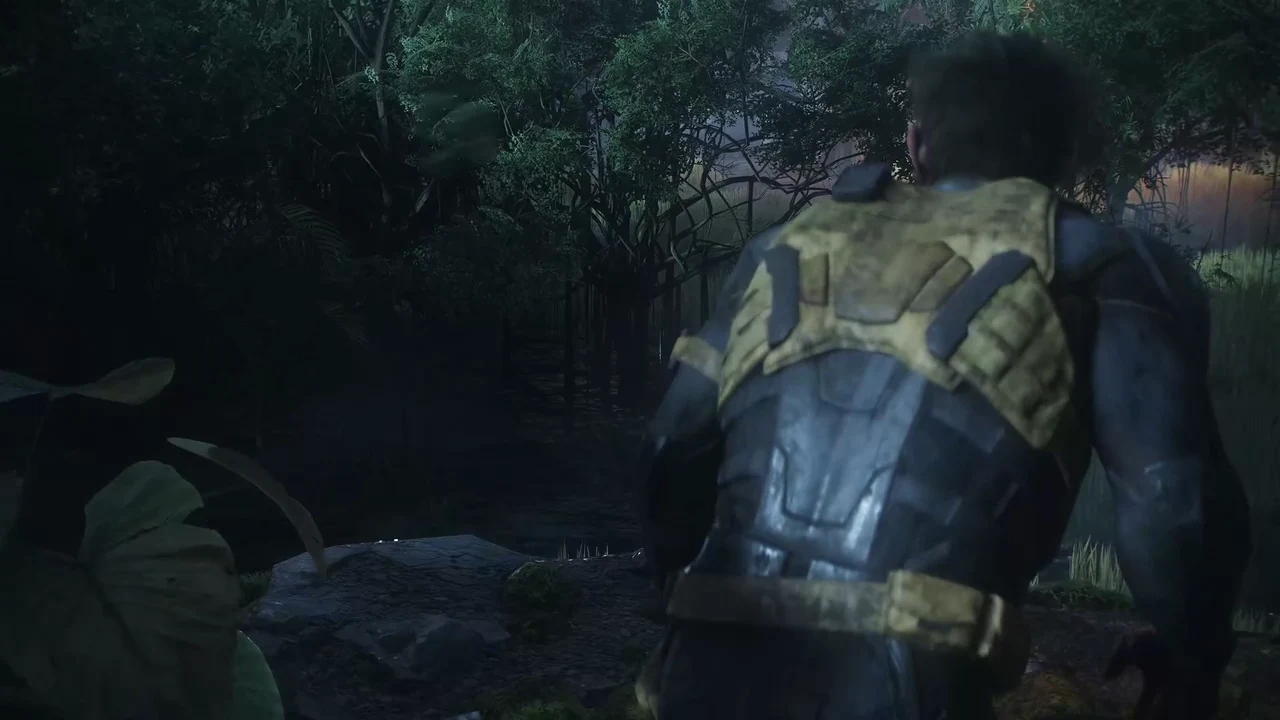
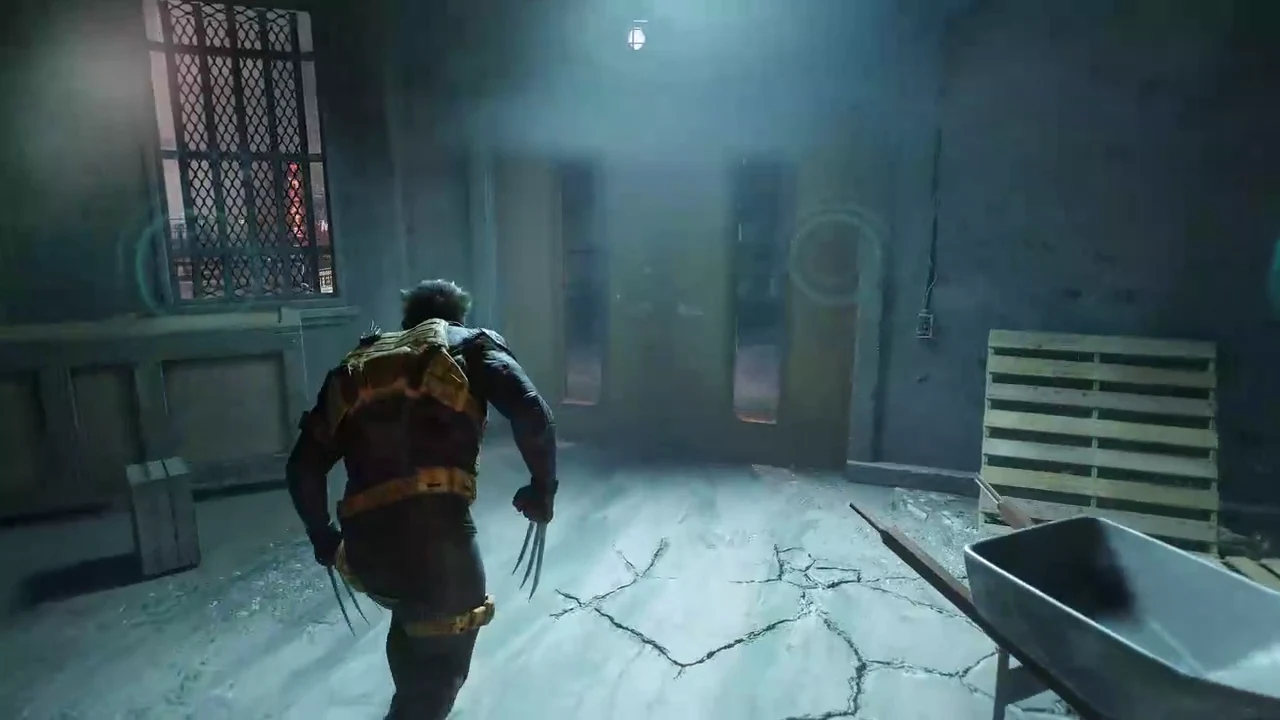
Every objective, tutorial input, and Omega Red attack pattern in the opening rescue mission at Telambang.
Every objective, tutorial input, and Omega Red attack pattern in the opening rescue mission at Telambang.
by AllThingsHow Staff
The Telambang prologue in Marvel’s Wolverine opens with a flashback set 30 years ago, where a feral Logan meets Nathaniel Essex in a forest, then jumps to the present day as Logan, Mystique, and Sabretooth drop onto a Trask Industries outpost to pull Essex out. It doubles as the game’s tutorial, so almost every mechanic you will use later — parries, Rage, stealth takedowns, Enhanced Senses — gets introduced here in a fixed order.
Quick answer: Telambang runs two objectives, Back In Action and A Debt Repaid. Fight through the outpost, stealth the swamp, destroy every mutant alarm and inhibitor inside the compound, then survive Omega Red on the landing pad.
Telambang controls and tutorial inputs
The prologue feeds you inputs one encounter at a time. Here is the full set you will have by the end of it, so you are not hunting through menus mid-fight.
Action
Input
Release claws
L2 + R2
Leap Attack
Left stick forward + Triangle
Barrage / light attack
Square
Sprint
Left stick forward + R2
Parry
L1
Dodge
Circle + direction
Last Stand revive
Tap Circle repeatedly
Stealth takedown
Square
Tornado Spin
L2 + Square
Objective hint
R3
Slide
Hold Circle
R3 is the most useful button in the mission. It flags the next objective and highlights mutant alarms you have not broken yet, which is the single most common reason players get stuck in the fake town.
Outpost drop: first fight and destroying the AA gun
Push the left stick forward and press Triangle to Leap Attack the closest guard, then Square to cut down the next one. Sprint at the group ahead to trigger the combat tutorial, which walks you through parrying with L1 and following it with a Square barrage.
A soldier in the distance starts shooting. Dodge toward him with Circle and finish him, then push through the camp. The next wave introduces combos and the Rage meter.
Logan gets knocked down immediately after, triggering the Last Stand tutorial. Tap Circle repeatedly to get back up and enter a high-damage Rage state, then clear the remaining guards before the timer runs out.
Swamp stealth: takedowns and the scent trail
The VTOL takes heavy fire and crashes into the jungle, and Arkady Rossovich — Omega Red — steps out of a Trask vehicle to order his Reavers to bring him one adamantium skull by sunrise. You land on a cliff edge above a patrolling guard.
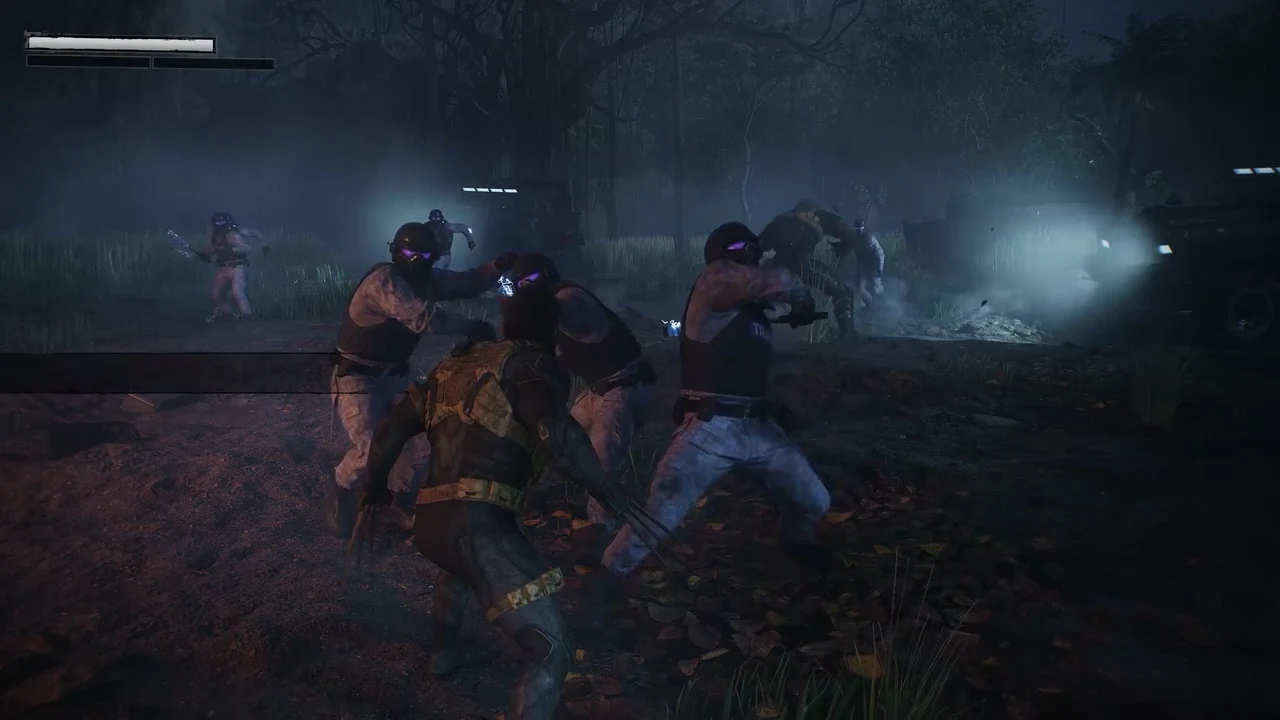
Press Square to drop into a stealth takedown on the guard below, then stay in the tall grass. The area teaches takedowns and tackles from cover, and the fog hides you from anyone more than a few metres away.
08:01The foggy swamp section that introduces stealth takedowns and tackles from tall grass. Shown at 08:01 in IGN’s video. Image: Insomniac Games
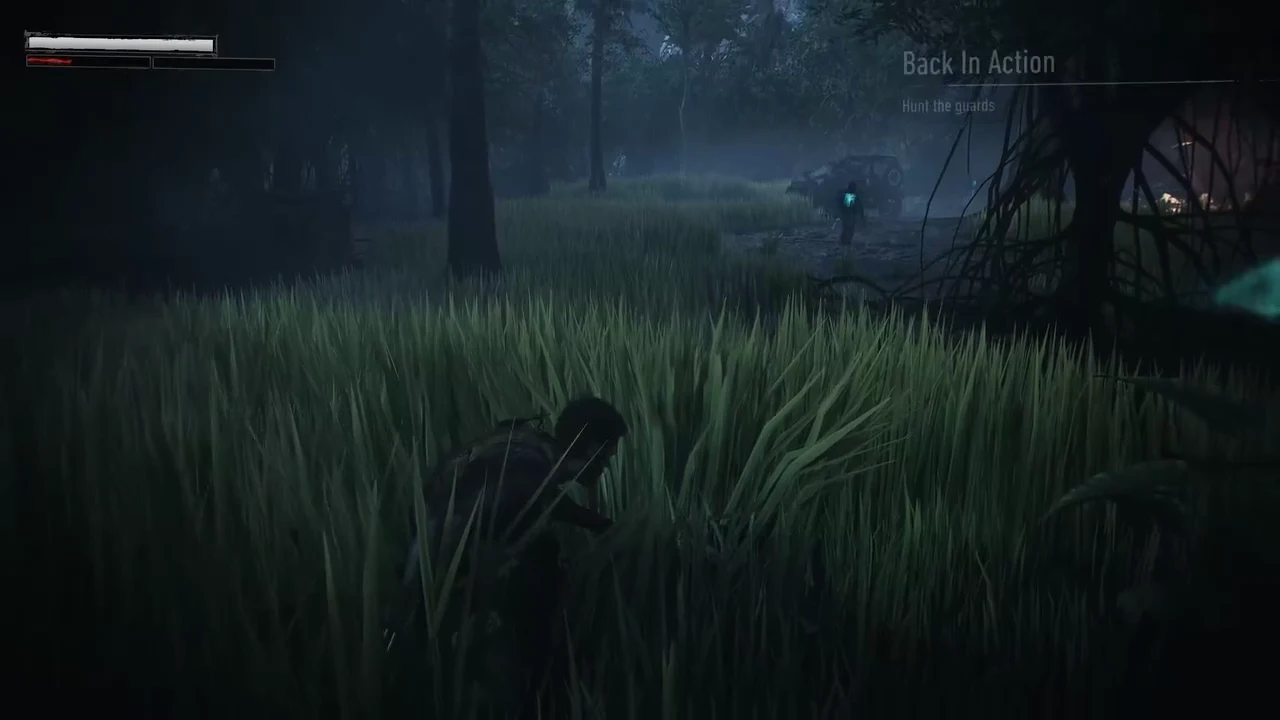
Use Enhanced Senses to pick up the blue scent trail and follow it through the swamp, taking down patrolling Reavers as you pass them. Head toward the fire in the distance, which marks the VTOL crash site.
09:07The Back In Action objective tracks your progress while you crouch through the grass hunting guards. Shown at 09:07 in IGN’s video. Image: Insomniac Games
A truck of soldiers arrives at the crash site. Clear them to trigger the cutscene where Logan finds Sabretooth mid-slaughter inside a military vehicle, followed by their argument about Team X and the failed mission.
Cliff climb, Reavers, and the mutant alarms in the fake town
Follow Sabretooth, cut through the vines, and climb the sheer rock wall with your claws. Work through the bamboo above until Sabretooth pulls you up a high ledge, where Omega Red is seen boarding a VTOL and leaving his Reavers to hold the perimeter.
Fight the Reaver squad at the security gate. These enemies use yellow-glowing Reckless Attacks, which you parry with L1 to stagger them and open a full combo.
12:12Reavers guarding the security gate teach the yellow Reckless Attack parry. Shown at 12:12 in IGN’s video. Image: Insomniac Games
Climb the watchtower at the edge of the area and drop into the fake town. Inspect the body on the floor, destroy the red-glowing Mutant Alarm nearby, and Thrust Kick the yellow door open to reach the balcony.
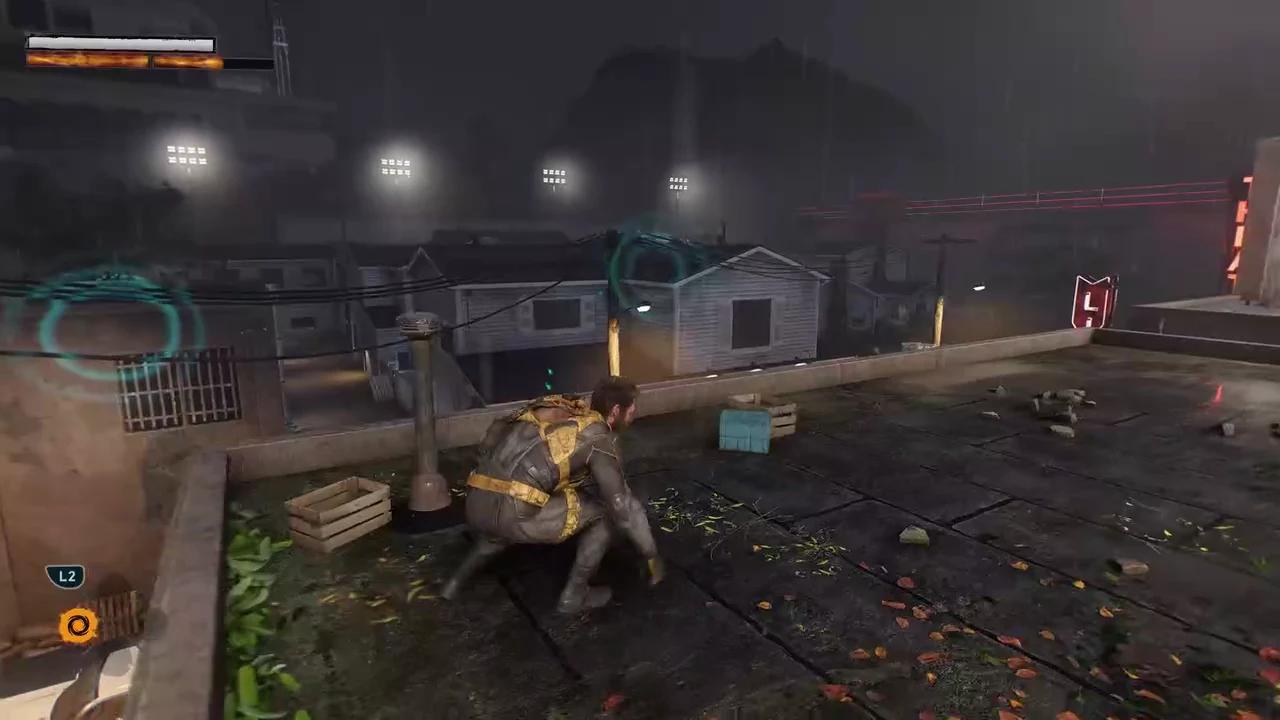
Press R3 on the balcony to highlight the remaining alarms. Destroy every one and win the fight attached to each, then climb the drainage pipe and rooftops to reach the ones you cannot get to from street level.
21:16Rooftops let you reach the alarms and drop onto patrolling guards in the courtyards below. Shown at 21:16 in IGN’s video. Image: Insomniac Games
Breaking the last alarm summons Omega Red’s VTOL, which fires missiles at you. Sprint without stopping until you reach the sewer entrance at the end of the run.
The missile chase is an instant kill if you stop moving. Hold sprint the whole way and take the corners wide rather than braking.
Technique unlocks during the prologue
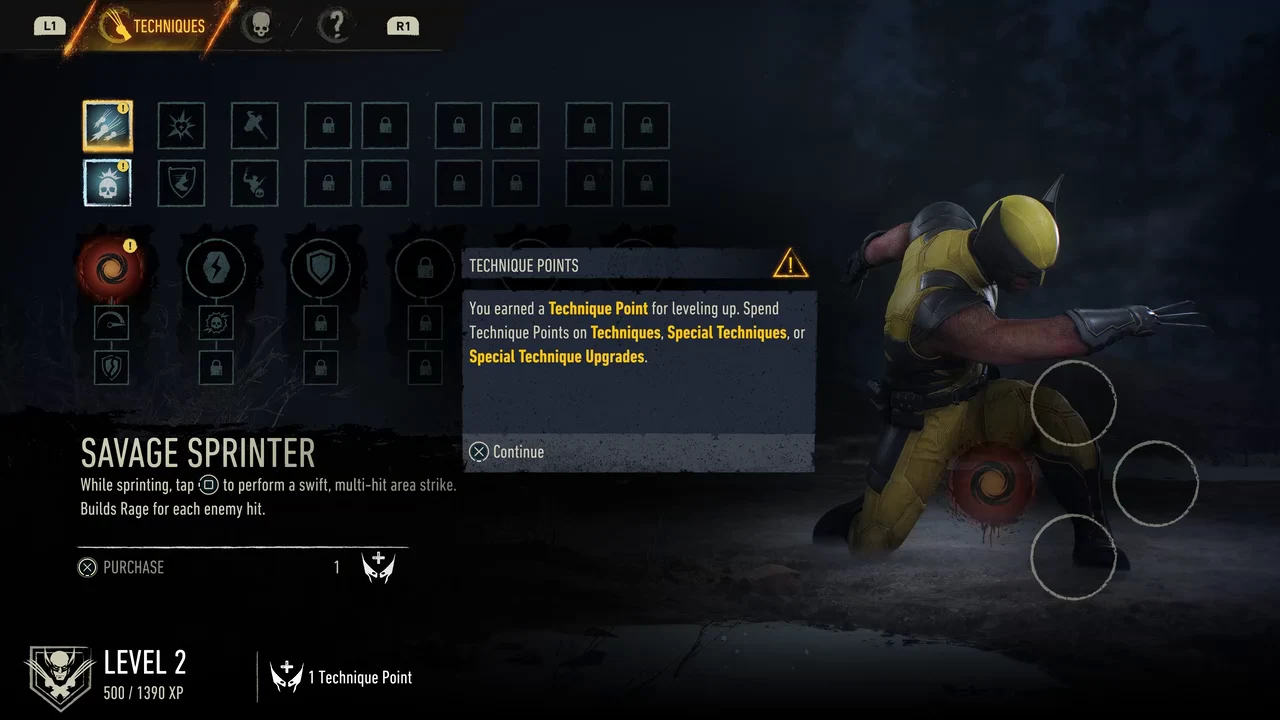
Telambang hands out five levels’ worth of Technique Points. Each one opens the Techniques menu with a specific skill highlighted, and the mission pauses for the first purchase so you cannot miss it.
Level
Technique
Where it lands
2
Stagger Leap
Swamp stealth
3
Healing Strike
Security gate fight
4
Knee Breaker
Residential street
5
Sprint Block
Inhibitor chamber
Healing Strike is the one worth buying the moment it appears. The inhibitor fight later in the mission strips your claws and leaves you relying on chip healing from fists alone.
The Techniques menu, where the Technique Points tutorial explains how to spend each level-up. Image: Insomniac Games
Two soldiers wait ahead. Take the first with a stealth takedown and kill the second in open combat, then climb the wall in front of them to reach the grate and exit.
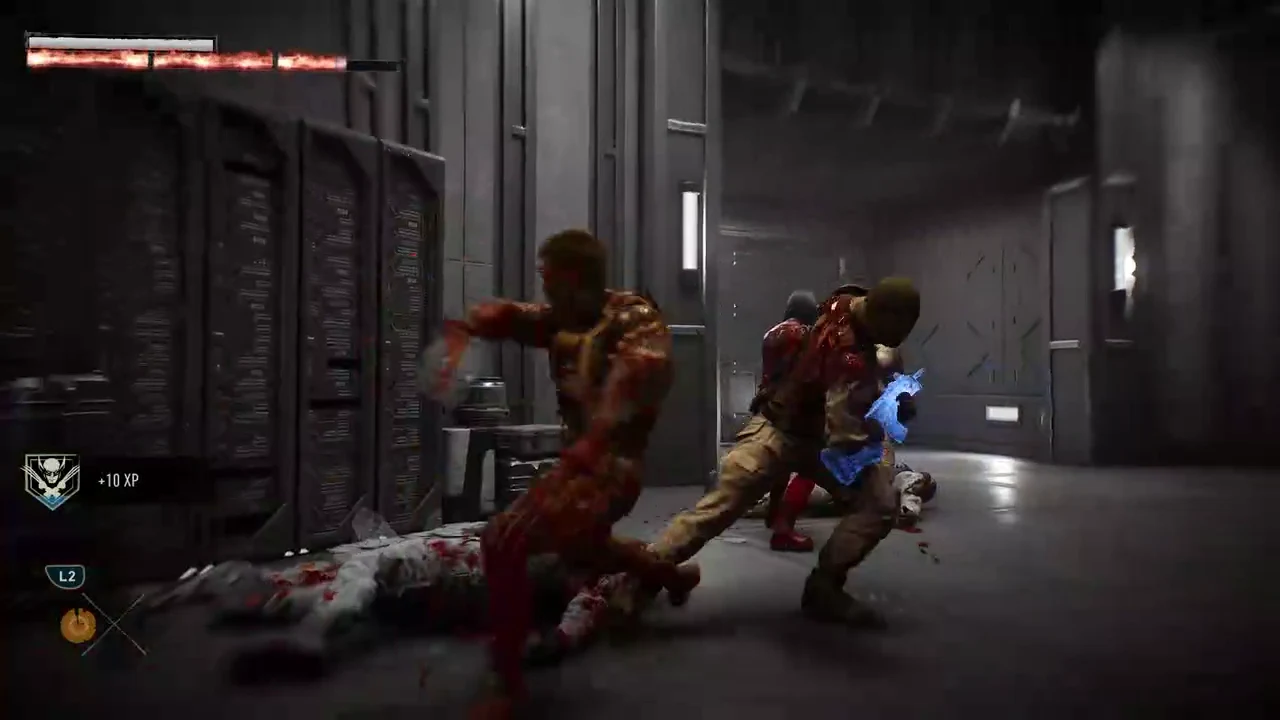
Trask soldiers surround you in a cutscene and Mystique intervenes. Follow her through the labs, clearing guards and automated mutant detectors room by room, and break the alarm mounted on the barracks wall.
30:51Interior fights through the facility's server and lab rooms feed steady XP toward the next technique. Shown at 30:51 in IGN’s video. Image: Insomniac Games
Upstairs, finish the next group and inspect the blue terminal for notes if you want the background on the ice-powered mutant who escaped the frozen lab. Follow the white lights to the gate, which Mystique unlocks.
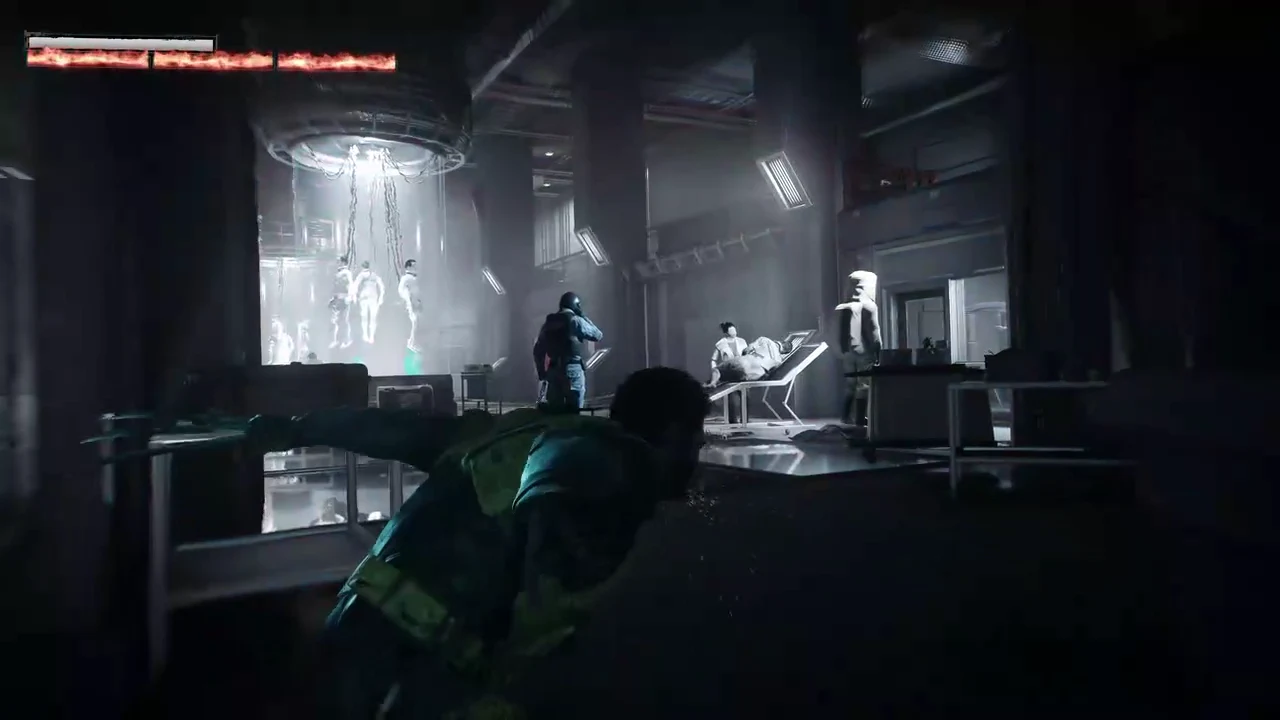
29:16The experiment chamber, where mutants hang suspended in green tanks. Shown at 29:16 in IGN’s video. Image: Insomniac Games
Breaking the mutant inhibitor field
Past the gate, Bolivar Trask appears behind a glass barrier and switches on an inhibitor field. Logan’s claws retract, Mystique cannot shapeshift, and Trask shoots Essex in the chest before ordering his guards in.
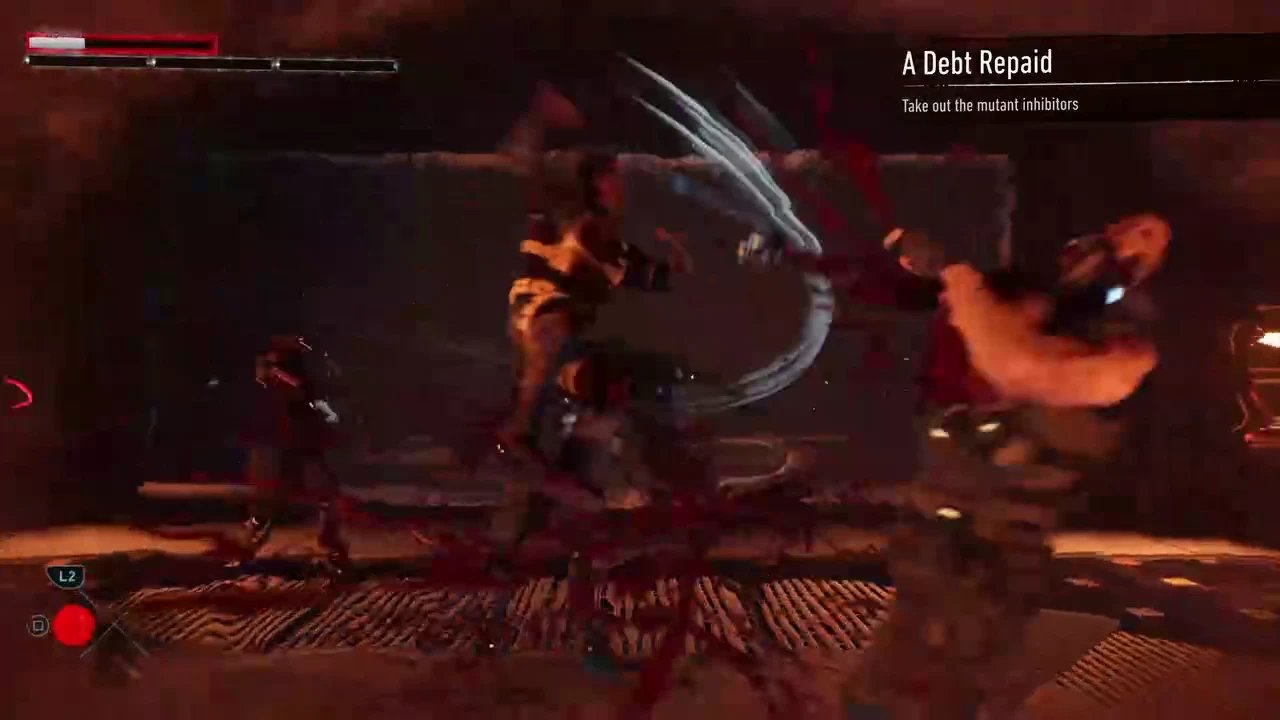
Break for the red-glowing inhibitor devices in the corners of the room and smash each one. Destroying them all restores your claws and abilities, at which point the surviving guards go down in seconds.
34:02The A Debt Repaid objective calls out the mutant inhibitors you need to destroy to get your claws back. Shown at 34:02 in IGN’s video. Image: Insomniac Games
Follow Mystique deeper into the facility and defend her while she works a computer. Kill the gunman at the far end of the room first — the melee attackers are trivial once he stops firing.
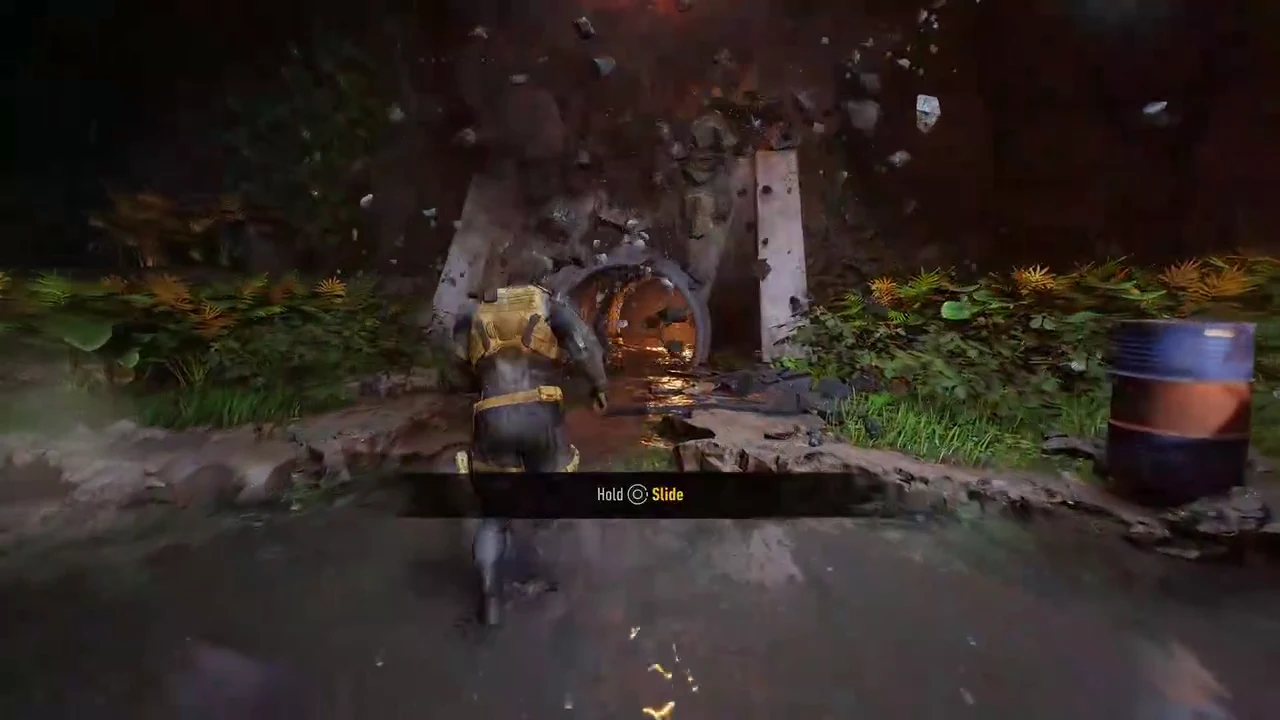
Rush the balcony route toward Essex. Slide under the gate when Sabretooth opens it, then push through the building to a large red hall where two soldiers throw grenades. Dodge repeatedly to close the gap and cut them down.
26:00Hold Circle to slide under low gaps like the gate Sabretooth forces open. Shown at 26:00 in IGN’s video. Image: Insomniac Games
The corridor ahead is lined with more inhibitor lights. Thrust Kick enemies into them to destroy the lights, mop up with your claws, and continue to the room where you free Essex from his restraints. He is alive but drained, with his energy projection gone.
Escort him through the hole in the wall, break the yellow barrier in the next chamber, and destroy the Mutant Detectors in the red room to unlock the exit. Cut through the soldiers in the streets and head for the landing pad.
Omega Red boss fight: attacks and counters
Omega Red blocks the landing pad holding a beaten Sabretooth by the neck, throws him aside, and starts the game’s first boss fight. His carbonadium tentacles give him long reach, so the fight is about reading the length of each chain rather than trading hits.
Attack
Pattern
Response
3-hit combo
Left, right, vertical slam
Parry or dodge the slam
6-hit combo
Adds slam, right swipe, unblockable double chain
Dodge the finisher
Object toss
Leaps away, grabs debris, throws
Dodge sideways
Tentacle grapple
Grabs and drains life force
Struggle free, then counter
Punish the gaps between chains rather than the chains themselves. If he catches you in the grapple, breaking out leaves him open for a chest stab that puts him down temporarily.
What follows is scripted. As Logan and Essex board the escape VTOL, Omega Red recovers, hooks Essex with a tentacle, and drags him out. Logan jumps after them, they trade blows mid-air, and both crash into the courtyard, where Omega Red drains Essex completely and reduces him to ash.
Essex cannot be saved. His death is a cutscene, not a failure state, so there is nothing you missed during the escort.
The prologue ends on Logan popping his claws and roaring at Omega Red and the Trask forces closing in around him. Once the mission title card clears and control returns, Telambang is complete — you will be leaving the outpost with Stagger Leap, Healing Strike, Knee Breaker, and Sprint Block already unlocked, plus a revenge plot that carries the rest of the game.