Marvel’s Wolverine Telambang Walkthrough: Back in Action to Omega Red
Every objective, combat input, and boss pattern needed to finish the opening chapter of Insomniac's PS5 game.
Every objective, combat input, and boss pattern needed to finish the opening chapter of Insomniac’s PS5 game.
by AllThingsHow Staff
Telambang is the opening chapter of Marvel’s Wolverine, and it doubles as the game’s tutorial. It opens with a flashback marked 30 YEARS AGO, where a feral Logan crawls out of the forest and meets Nathaniel Essex for the first time, then cuts to the present day with Team X flying into a fortified Trask Industries outpost to pull Essex out. Everything after that point is a fairly linear run through jungle, a fake town, an underground lab, and a prison block.
Quick answer: Telambang is three missions — Back in Action, A Debt Repaid, and Last Meal. Clear the outpost, destroy every mutant alarm and inhibitor, free Essex, then beat Omega Red.
Telambang mission list and objectives
The chapter is split into three named missions. You cannot leave the area or backtrack for collectibles in a meaningful way, so treat it as a straight line.
Mission
Goal
Ends with
Back in Action
Get into the Trask compound
Sewer escape
A Debt Repaid
Reach Essex’s prison cell
Extraction attempt
Last Meal
Defeat Omega Red
Essex’s betrayal
00:28The chapter opens on the 30 Years Ago flashback, where Essex finds Logan in the forest. Shown at 00:28 in Paranoia's Dungeon’s video. Image: Insomniac Games
Stealth is optional for the whole chapter. Being spotted in the grass or the fake town does not fail anything — you simply fight the patrol instead.
Combat inputs Telambang teaches
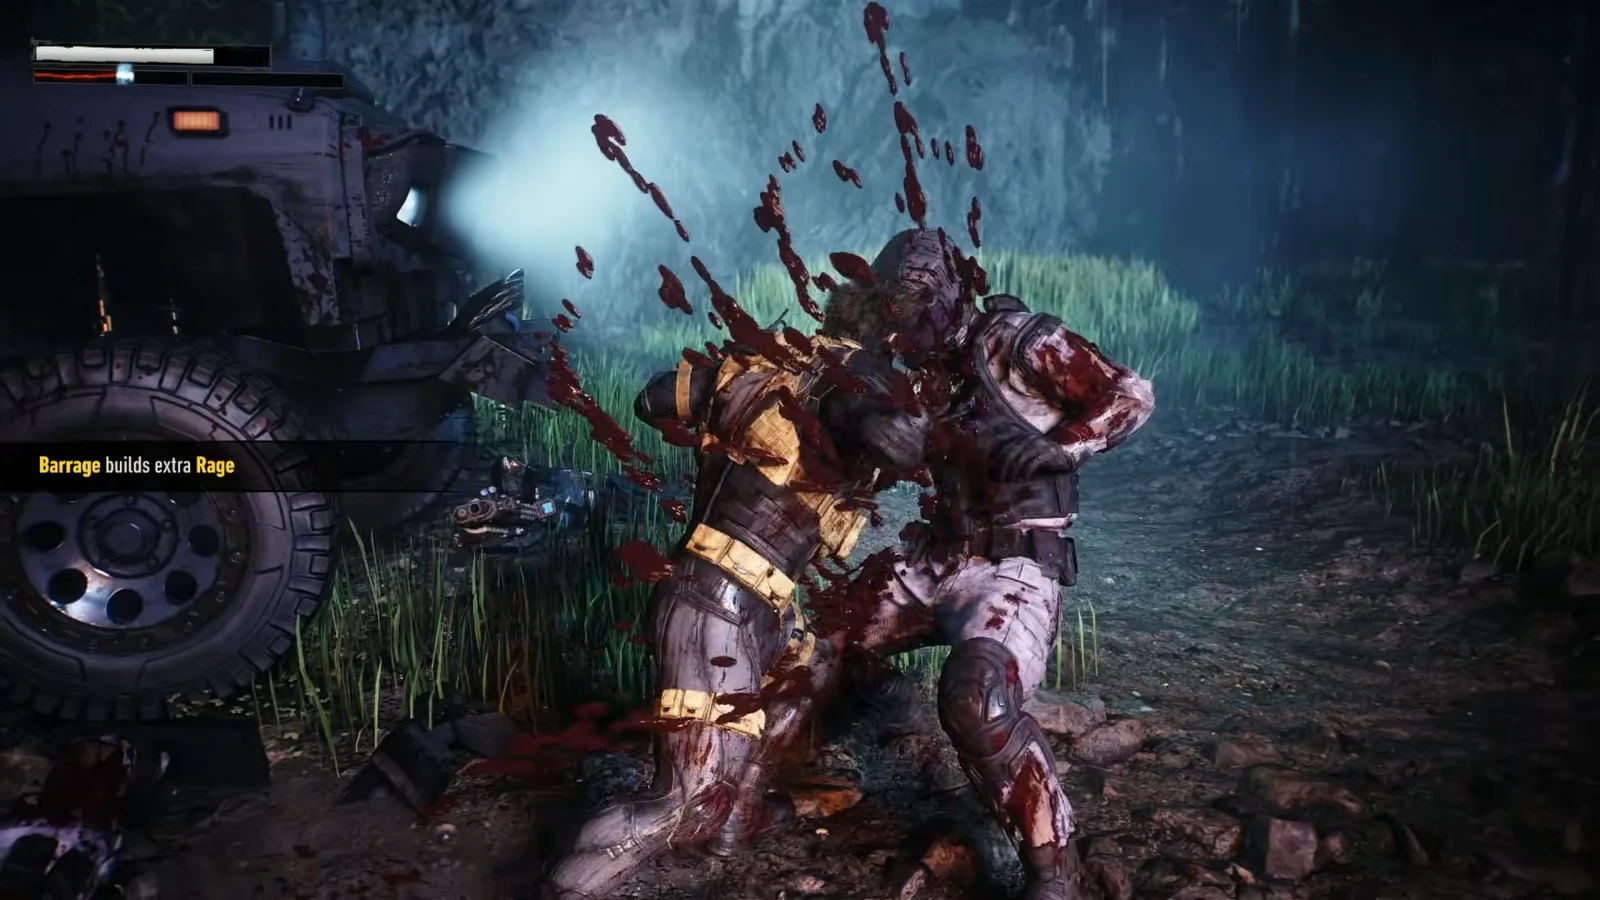
Each tutorial prompt appears once and is not repeated later, so it is worth memorising these early. Every landed hit, parry, and kill also feeds the Rage meter, which pushes Logan into higher Rage tiers for stronger attacks and healing.
Action
Input
Release claws
L2 + R2
Leap attack
Triangle
Shred / barrage
Square
Parry
L1
Dodge
Circle + direction
Sprint
R2 + left stick
Tornado Spin
L2 + Square
Objective hint
R3
R3 also doubles as Enhanced Senses. It highlights scent trails, audio clues, and mutant alarms, and it is the fastest way to find the next objective whenever the path is unclear.
Technique points earned during Telambang
Logan reaches roughly level four or five by the end of the chapter, and each level grants a Technique Point to spend in the Techniques menu. The early options you can pick from are:
Stagger Leap
Savage Sprinter
Healing Strike
Knee Breaker
Tornado Spin LV 2
Healing Strike is the most forgiving pick for the Omega Red fight, since it turns aggression into health recovery when your healing factor is under pressure.
The VTOL takes anti-aircraft fire and Logan drops into the jungle. When you crash onto the soldiers below, press L2 + R2 to pop the claws, then push forward and press Triangle to leap onto the first enemy and Square to shred the second.
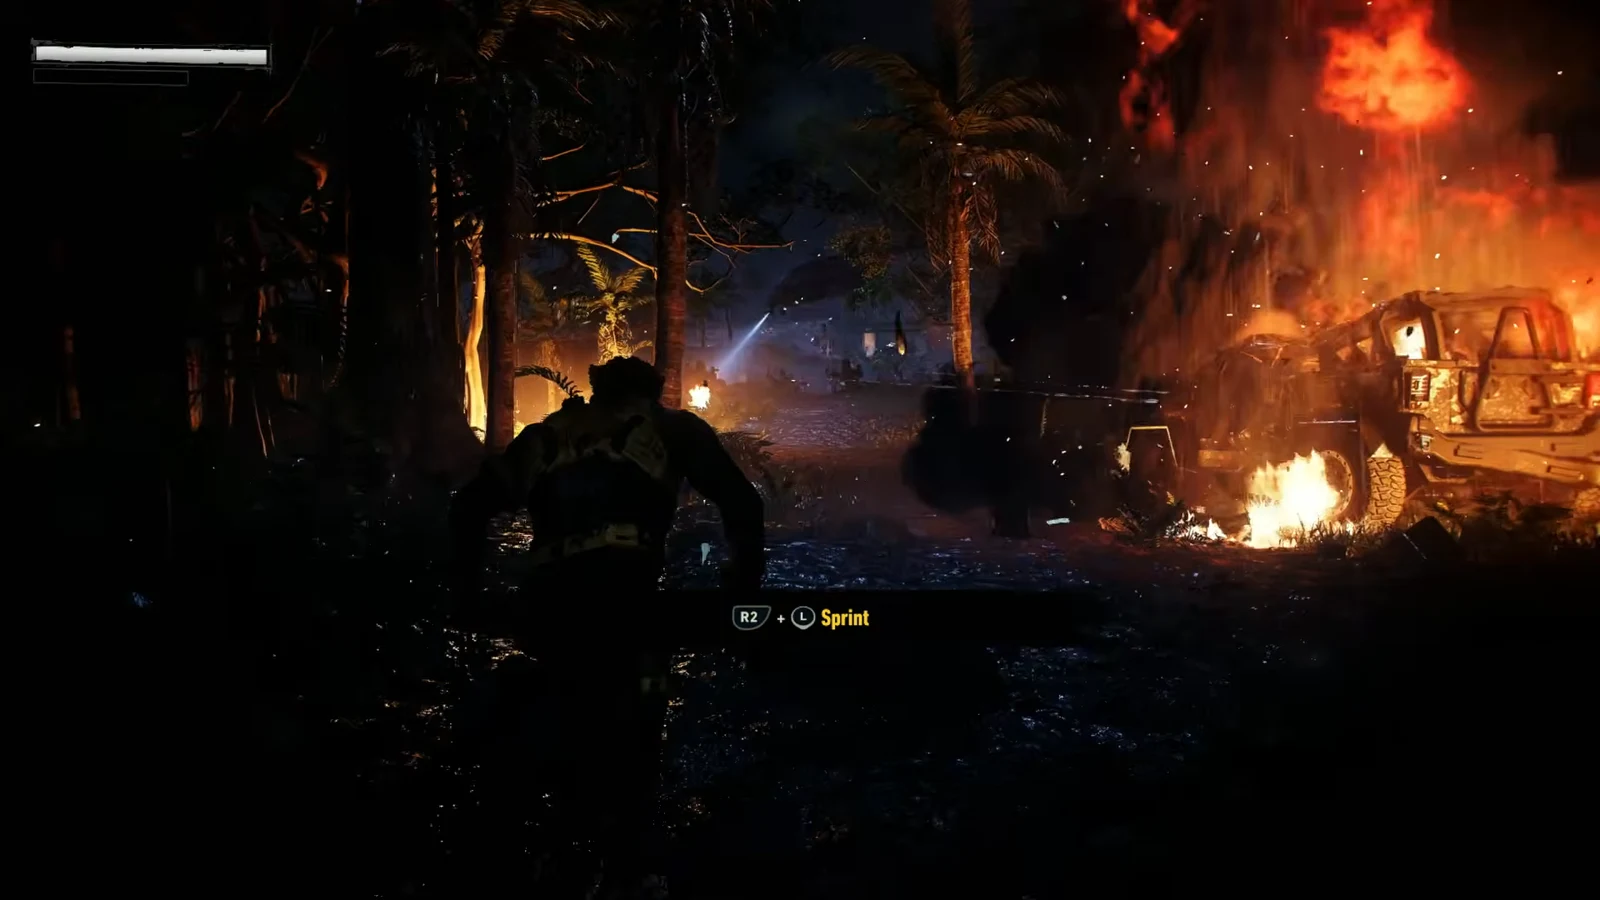
Sprint toward the next group with R2 and the left stick. The game layers in parry (L1) followed by barrage (Square) here, and then dodge (Circle) against a soldier firing from a distance.
03:45The sprint prompt appears as you push through the burning outpost perimeter. Shown at 03:45 in Paranoia's Dungeon’s video. Image: Insomniac Games
Fight through the camp until you reach the anti-aircraft gun. Kill the ground forces defending it, climb up, and finish the turret with the quick-time prompt.
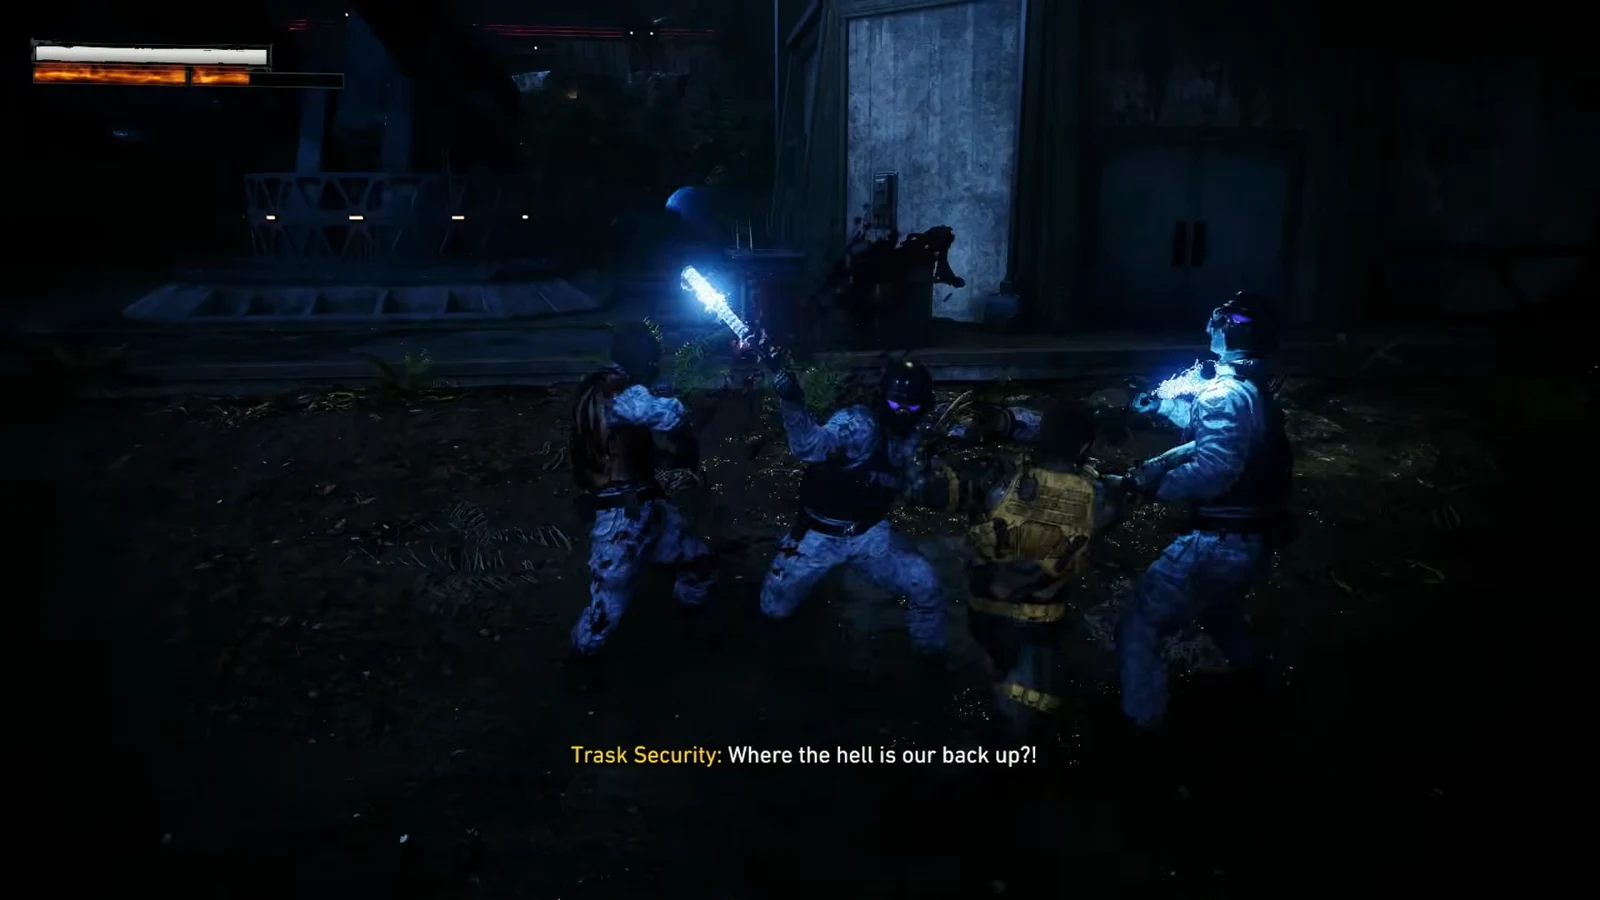
06:08Trask Security defends the gun platform in waves before the turret can be destroyed. Shown at 06:08 in Paranoia's Dungeon’s video. Image: Insomniac Games
After the cutscene introducing Omega Red, you land on a cliff edge above a lone guard. Press Square for a stealth takedown, then move through the tall grass and thin out the patrols as you head toward the fire marking the crash site.
A truck of reinforcements arrives. Clear them, watch the Sabretooth cutscene, and when the Trask soldiers ambush you afterwards, use Tornado Spin (L2 + Square) to scatter the group.
Follow Sabretooth to the rear of the arena, cut the vines with your claws, and parkour up the cliff face. Omega Red drops in at the top to taunt you and leaves Reavers behind.
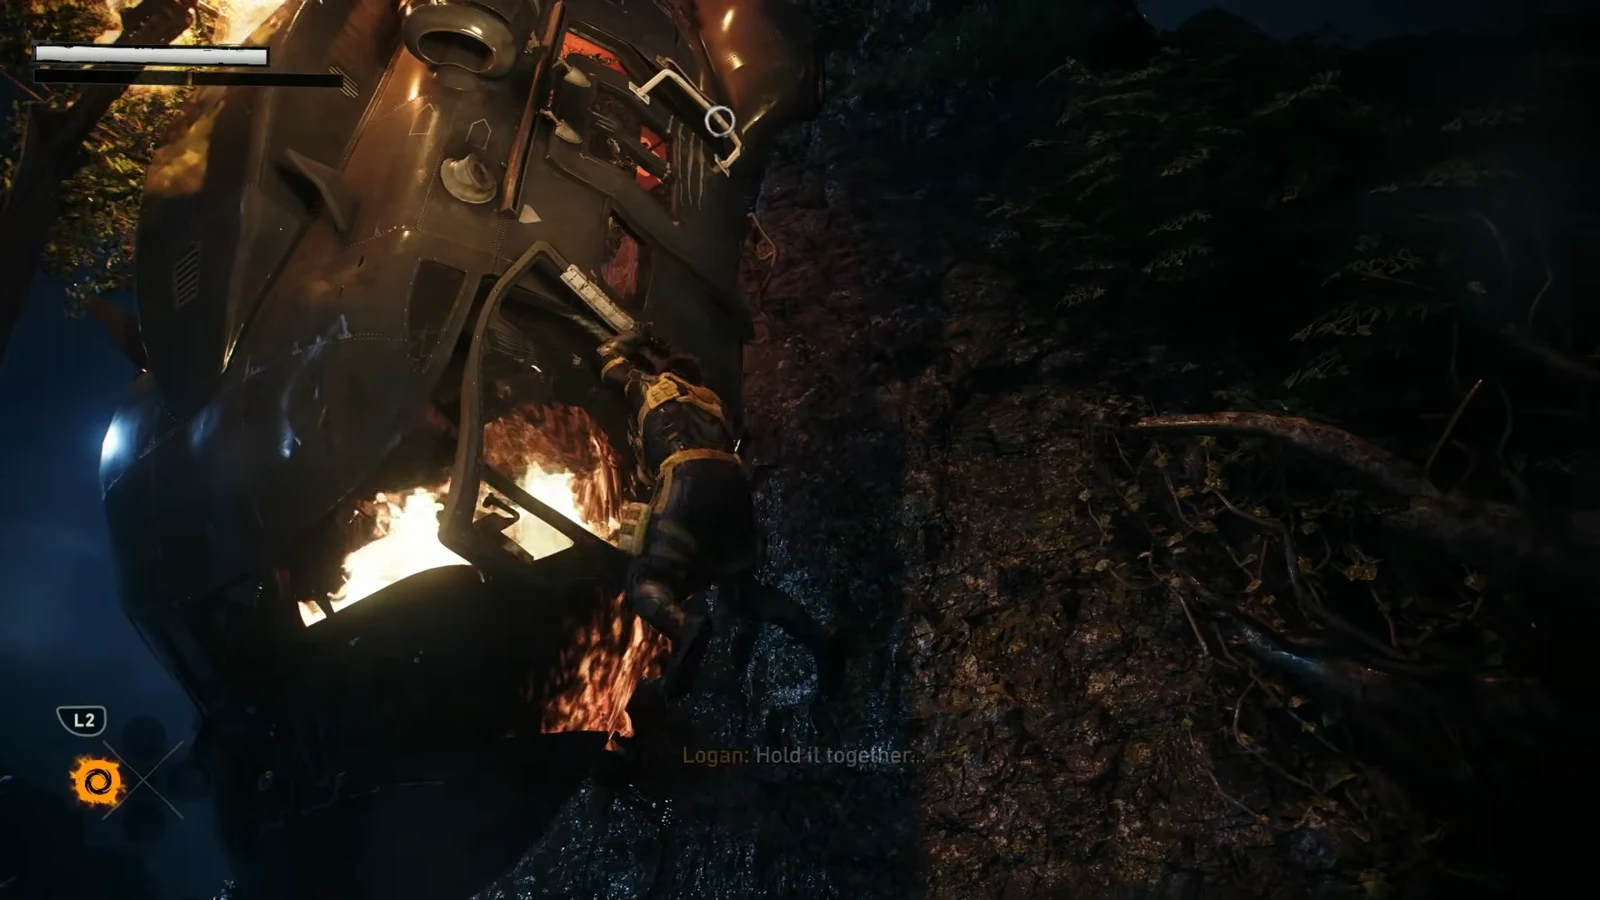
16:16Hold L2 to keep your grip while climbing past the burning wreckage. Shown at 16:16 in Paranoia's Dungeon’s video. Image: Insomniac Games
Reavers have blades for hands and chain their attacks, so a single parry rarely breaks them. Parry each hit in the string until they stagger, then punish with a full combo. Once the area is clear, climb the watchtower at the edge of the arena.
Drop from the watchtower onto the roof with a hole in it to enter the mock suburban town Trask uses to train mutant hunters. Inspect the body on the floor, check the audio clue beside it, and destroy the nearby Mutant Alarm.
Break the yellow door open with a Thrust Kick to reach the balcony, then press R3. Enhanced Senses marks the remaining alarms as blue circles across the town.
Work through each marked alarm, clearing the Reaver and Trask patrols tied to it. Destroying the last one summons Omega Red’s gunship.
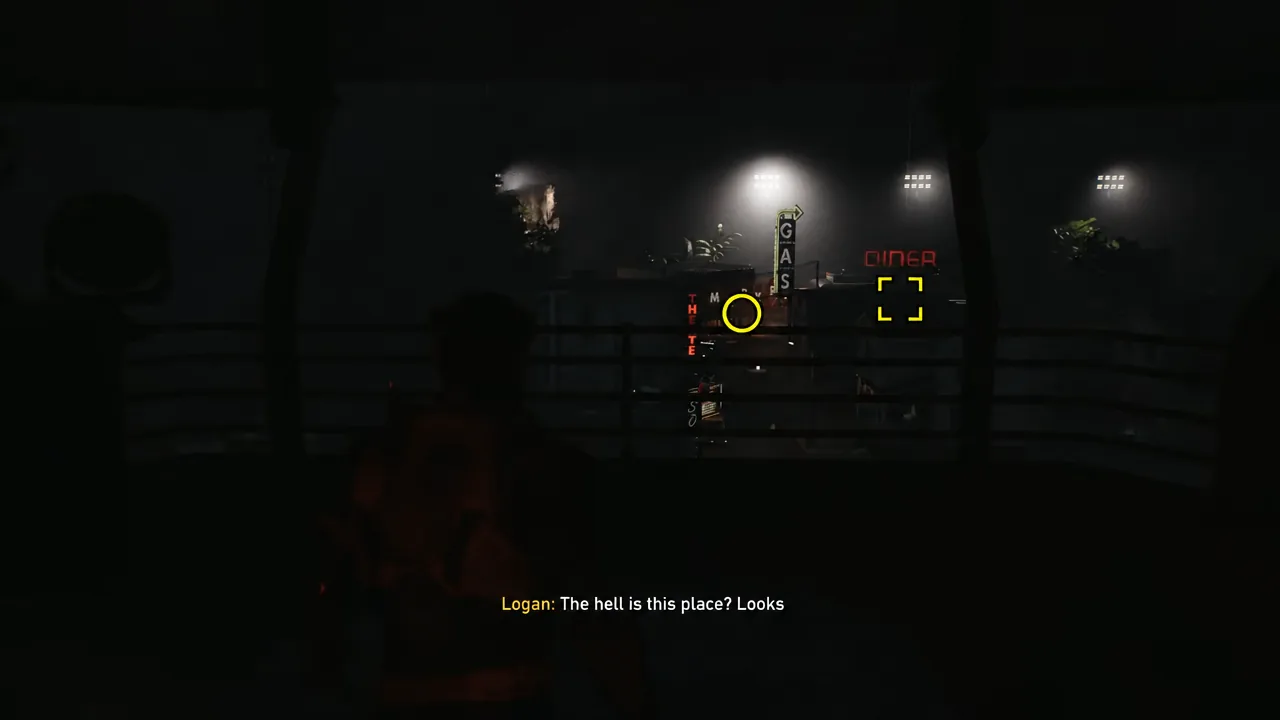
21:18The gas station and diner sit at the far end of the mock town, just before the missile chase. Shown at 21:18 in Paranoia's Dungeon’s video. Image: Insomniac Games
Omega Red fires missiles at you during the sprint to the sewers. If you stop moving at any point, the next missile lands and kills you instantly, so hold sprint until you slide into the drainage pipe.
A Debt Repaid: sewers, lab, and the inhibitor trap
In the flooded sewer, hold Enhanced Senses and follow the blue scent trail. It leads past piles of dead mutants in inhibitor collars to a wall you can climb to the next floor.
Two soldiers patrol the level above. Take the first with a stealth takedown and finish the second in open combat, then climb the wall in front of them to the grate and exit the tunnels.
A cutscene surrounds you with Trask soldiers and Mystique steps in, disguised. Follow her into the laboratory, clear the squads on the ground floor and upstairs, and read the blue terminal for notes if you want the background.
Follow the white lights to the gate. Mystique unlocks it, and Bolivar Trask springs a room-wide inhibitor trap that drains your Rage and suppresses your healing factor.
Ignore the Reavers at first. Use Tornado Spin to create space, then destroy the four orange inhibitor units in the corners of the room. Only after all four are down should you commit to killing the enemies inside with you.
Follow Mystique to the next lab and defend her while she works the computer. Kill the gunman on the far side of the room first; the rest close to melee range and die quickly.
Interact with the computer to trigger the video feed of Trask shooting Essex. From there you are on a timer in narrative terms, so head straight out onto the balcony.
Run back through the fake town toward the large white building at the rear of the compound. Sabretooth opens the gate; slide underneath it as it rises.
The cell block throws armoured Reaver Bruisers at you. When an enemy raises a shield, break it with a Thrust Kick, and dodge anything flagged with a red unblockable ring.
The final corridor is lined with more orange inhibitors. Thrust Kick enemies into them to destroy the units, then clear the survivors with your claws and slice open the security door to Essex’s holding room.
Remove Essex’s inhibitor collar in the cutscene. He wipes out the approaching Reavers with a telekinetic surge, confirming he is a mutant. Escort him through the hole in the wall, break the yellow barrier, destroy the Mutant Detectors in the red room to open the exit, then fight through the streets to the waiting chopper.
Last Meal: Omega Red boss fight
Omega Red pulls Essex out of the chopper and starts the chapter’s only boss fight. He has a small, readable move set built around his chains, and the whole encounter is about punishing the gaps between strings rather than trading hits.
Attack
Pattern
Response
3-hit combo
Left, right, vertical slam
Parry, then punish
6-hit combo
Adds slam, right swipe, double chain
Dodge the final unblockable
Object toss
Leaps away, grabs debris, throws
Dodge sideways
The tell that matters most is the end of the six-hit string. The double chain attack cannot be parried, so roll out rather than holding L1 through the whole sequence. After he finishes a combo or lands a thrown object, you get a clean window for a full claw combo before he resets.
How to confirm Telambang is complete
Beating Omega Red pops the Omega Dead trophy and rolls straight into the closing cutscene, so there is no ambiguity about whether the fight registered. That scene is where Essex turns on Logan, injecting him with a glowing purple substance that shuts down his healing factor and leaving him behind as Trask forces close in.
Once the scene ends, a CANADA title card appears and the game moves to the Essex Institute, where the Homecoming mission and the base’s crafting, suit, and Nightmare Door systems open up. If you are still standing in Telambang, the chapter has not closed out yet.