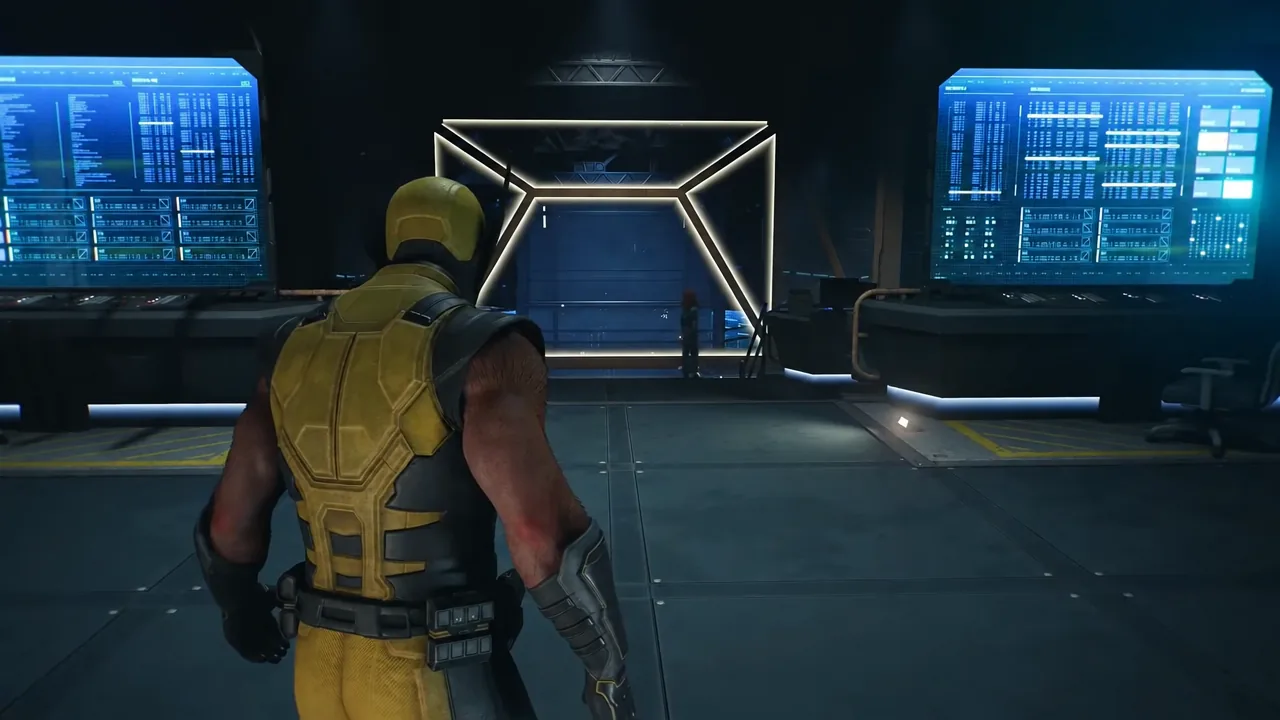
This Was The Dream is one of the last collectible-bearing missions in Marvel’s Wolverine, dropping Logan back into Madripoor for the second visit to the region. The haul is small, but two of the pickups sit just off the critical path, and the single Nightmare Door here hands out one of the better suit parts in the game.
Quick answer: This Was The Dream contains four collectibles — three Material Crates and the Savage Showdown Nightmare Door. There are no Whisky Bottles in the mission, and nothing here is permanently missable.
This Was The Dream collectible list and order
Everything shows up in a straight line, so there is no backtracking needed if you sweep each room before following the objective marker. The mission splits across two active objectives, and both Material Crates after the first one land during the second.
| # | Type | Objective |
|---|---|---|
| 1 | Nightmare Door — Savage Showdown | Get to the top |
| 2 | Material Crate (tower exterior) | Get to the top |
| 3 | Material Crate (lab) | Essex, what did you do? |
| 4 | Material Crate (stairwell) | Essex, what did you do? |
Each crate pays out +50 Materials, which feed suit crafting and, by extension, Logan’s maximum health. Across the full campaign there are 68 Material Crates, 20 Whisky Bottles and 14 Nightmare Doors, so the four here are worth grabbing on the first pass rather than leaving for a cleanup run.
Savage Showdown Nightmare Door location
The door appears during the Get to the top objective, inside the temple room where Logan drops in and fights a group of Reavers. Clear the encounter first. Logan will then comment on needing a way up, and the rope in the middle of the room is the story route — ignore it for a moment.
Purple roots creep along the rubble once the fight ends. Follow them into the corner of the same room and you will find the glowing rift labelled Savage Showdown. It is hard to walk past, but it is easy to lose if you immediately grab the rope and ride upward.
Savage Showdown trial rules and rewards
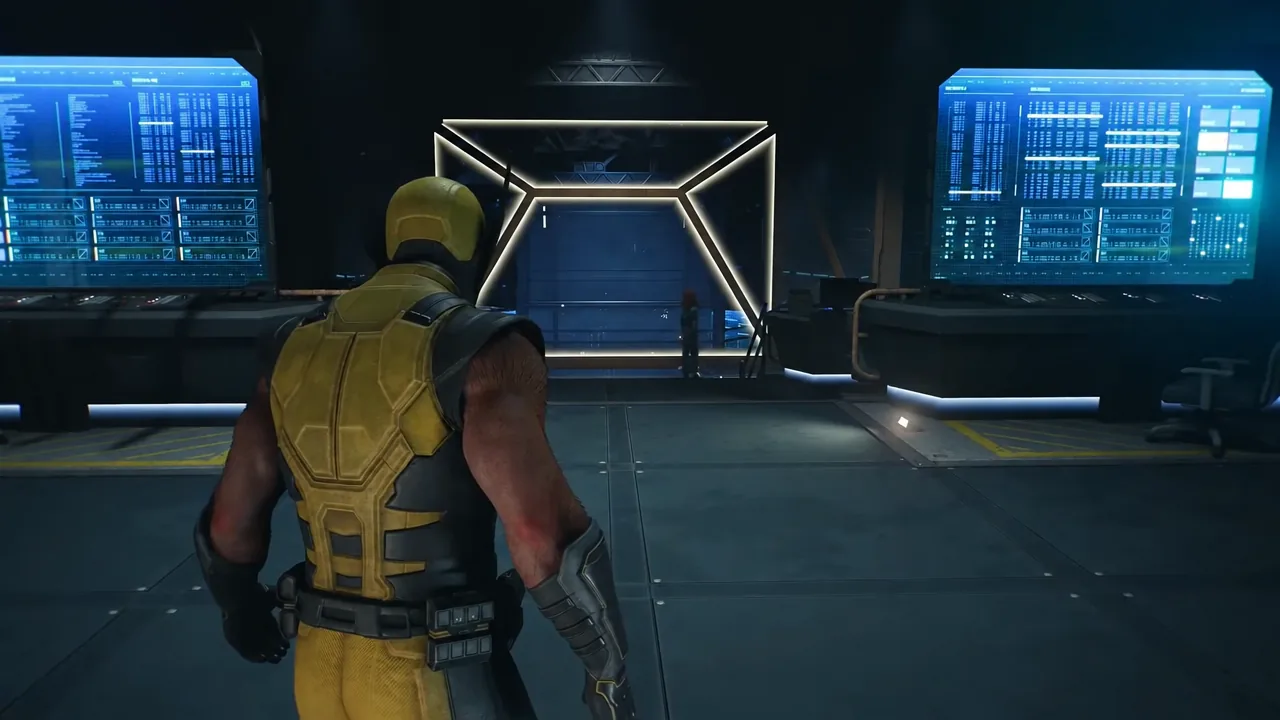
Savage Showdown is a Gauntlet trial. The objective is to survive as many waves of enemies as you can, with Reavers, MK1 Sentinels and MK2 Sentinels rotating in as the rounds stack up. Before each run you can shape the fight by destroying idols to apply combat modifiers, with options such as Companionable and Eruptive.
| Rank | Reward |
|---|---|
| Adamantium | Hellverine Suit Part |
| Gold | Future Fugitive Suit Part |
| Silver | Diamond Claws |
| Bronze | +4 AP |
Adamantium is a real ask here. Reaching it has taken runs of around 19 waves and a score above 40,000, so treat the top rank as a return trip rather than something to grind out mid-mission.
Simply entering the trial is enough for the door itself to register toward the Nightmare Door count, even if the score screen only hands you Bronze.
All three Material Crate locations
Crate 1: Tower exterior terrace
Take the rope up the tower once you are done with the Nightmare Door. Jean handles the two Reavers waiting at the top, and after that fight you step out onto a stone terrace. Turn right as you pass through the doorway and the crate is sitting against the outside wall.
Crate 2: Lab floor after the bar sequence
The objective flips to Essex, what did you do? after the hallucination at the Tyger’s bar drops Logan into the facility. Smash through the glass window into the lab, then look down and to your left. The crate is on the floor, low enough that it disappears behind equipment if you sprint straight for the exit.
Crate 3: Stairwell past the blown-out wall
After the second hallucination at the institute, you regroup with Jean and move through a breached wall into a blue-lit corridor. Go left as soon as you are through and climb the metal staircase. The last crate of the mission is waiting at the top.
How to confirm This Was The Dream is fully cleared
Open the collectible tracker in the pause menu and check the chapter totals. A finished run of this mission reads three Material Crates, zero Whisky Bottles and one Nightmare Door. Each crate confirms itself with a +50 Materials pop-up when you break it open, and the Nightmare Door is logged the moment you step into the rift and start the trial.
The three collectible types count toward separate completion goals, so watch that the correct counter moves rather than assuming an interaction covered it. If the third crate happens to be your 68th overall, the Crate Collector goal completes at the same time.
Do not burn time hunting for a blue scent trail in this mission. There is no Whisky Bottle here at all.
Going back for missed collectibles
Nothing in This Was The Dream locks out. Once Mission Replay unlocks through the bed in the Nightmare Cabin, you can return to the mission and anything already collected stays collected, so you only need to pick up whatever the tracker still shows as outstanding. The cabin also displays the same per-chapter counts, which makes it the easier place to plan a cleanup route.
That flexibility matters more than usual at this point in the campaign, because the two missions that follow contain no collectibles at all. If you would rather keep the finale moving, note what is missing here, finish the story, and come back for a short targeted replay that ends the second the counters line up.