

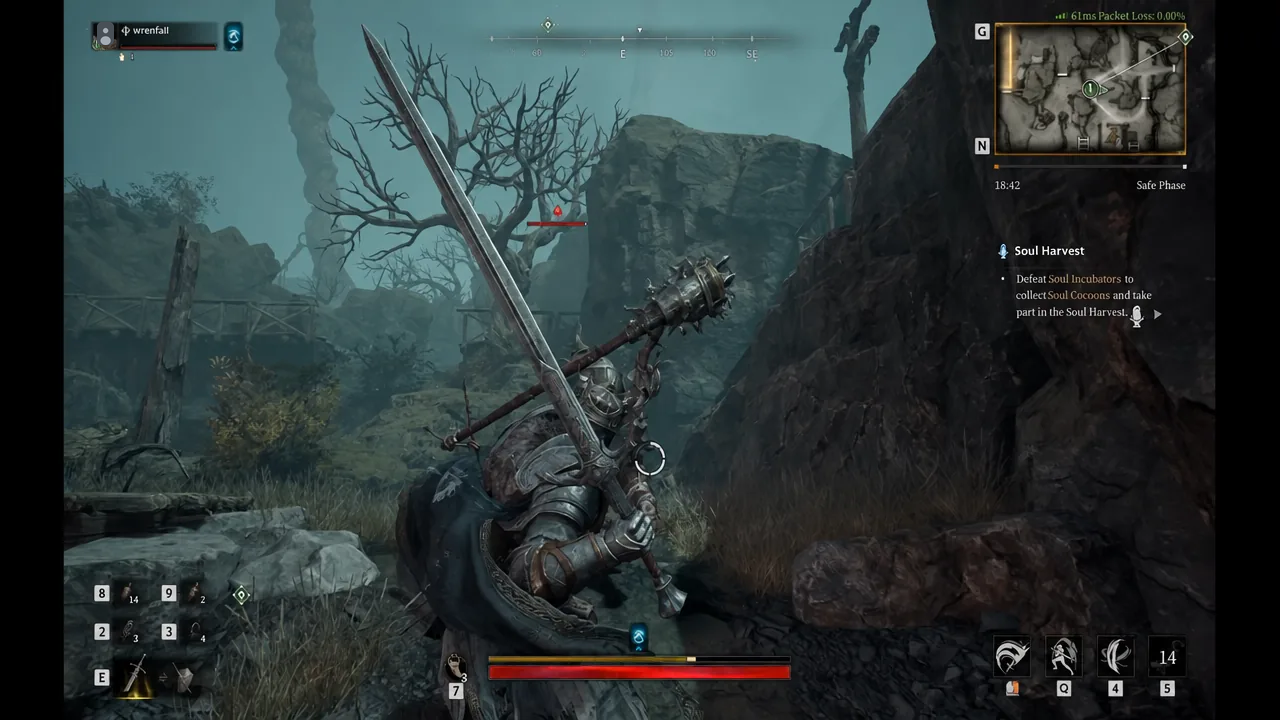
The Withered Knight in Mistfall Hunter wins fights through timing, not spam. You build Judgment with light attacks, stamp a Wither mark on the target, then detonate that mark with a heavy strike for a burst of execution damage. Played correctly, a blue-geared Withered Knight can drop purple and legendary opponents. Played like a light-attack masher, it feels flat.
Quick answer: Run the Greatsword with Radiant Retribution, Parry, and Thorn Guide. Take Crime, Bad Karma, Legacy, and Righteous Creed to keep Wither active and boost execute damage. Prioritize Burst and Smiting affixes for damage, and Tenacious, Aegis, and Resilience for survival.
How Judgment and Wither work
Everything on this class runs through two passives. Landing three Light Strikes builds Judgment, which infuses the Greatsword with blue energy. The next hit while the sword is glowing stamps a Wither mark on the enemy, shown as a blue rune. The mark itself does nothing on its own. You detonate it with a Heavy Strike, which executes the mark for extra damage.
One combo detail matters a lot. After any Heavy Strike you can chain into two quick Light Strikes called Pursuit. That lets you keep the combo alive and rebuild Judgment without dropping pressure. The rhythm is simple. Build the mark, detonate it, keep hitting to re-apply, repeat.
Best Greatsword skills
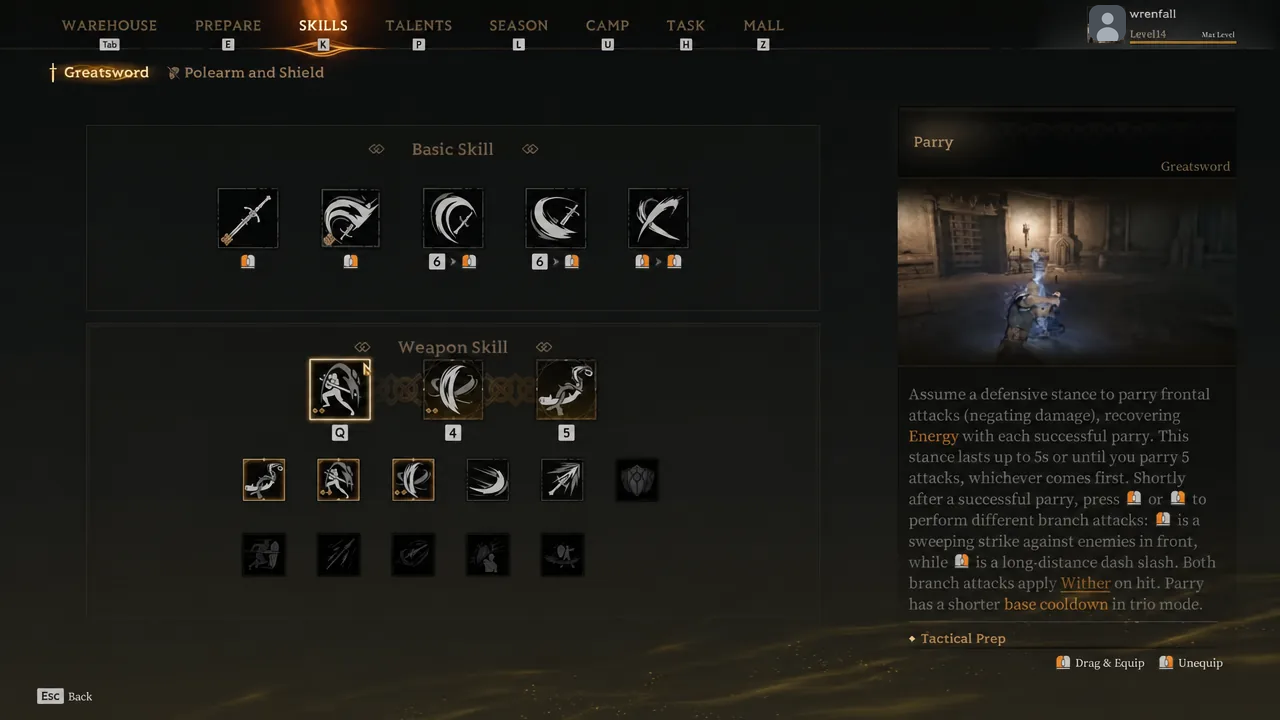
You get three skill slots, and one of the starter skills has to be dropped. The three that carry the aggressive Greatsword setup handle offense, defense, and gap-closing.
| Skill | Role | Notes |
|---|---|---|
| Radiant Retribution | Damage and charge | Three rapid slashes counting as Light Strikes; final hit has super armor and a fully charged cast applies Judgment |
| Parry | Defense and counter | Blocks frontal attacks for up to 5 seconds; follow-up Light or Heavy applies Wither and converts defense into offense |
| Thorn Guide | Engage and chase | Pulls the first enemy hit toward you, or dashes you to a large or armored target; long range for catching runners |
Thorn Guide should replace Breakthrough Charge once you reach level 10. Breakthrough Charge covers ground but is easy to dodge and easy to whiff. Thorn Guide has a bigger hitbox and longer reach, which makes it far better against ranged classes trying to keep distance.
The main combo string is straightforward. Open with Thorn Guide to pull the target in, follow with Radiant Retribution to charge the sword, apply Wither, then finish with a charged or normal Heavy Strike for the execution burst.
Best talents for Wither uptime and execute damage
The talent goal is to keep Wither on the target for the whole fight while making each execution hit harder. Start in the Greatsword Core Archetype group and work outward.
| Talent | What it does |
|---|---|
| Crime | Execute no longer consumes Wither; it extends the mark’s duration instead, so pressure never resets |
| Bad Karma | Wither can stack up to three times, adding slow, increased vulnerability, and health loss over time |
| Legacy | Recover health when Withered enemies die; the heal scales with stacks and is larger against players |
| Righteous Creed | A successful execution briefly increases your physical damage |
| Greatsword Specialization | Adds one Greatsword skill slot at the cost of a Polearm slot you won’t use |
| Tactical Prep | A successful parry sharply cuts the skill’s remaining cooldown, so Parry is available more often |
| Joint Pierce | Enemies pulled by Thorn Guide are slowed, which shuts down escapes in PvP |
Crime plus Bad Karma is the core of the build. Crime trades a chunk of burst damage for permanent Wither uptime, and Bad Karma layers on debuffs that make chasing and killing much easier. Legacy then turns every Withered kill into free sustain, which keeps your potions in reserve for the fights that matter.
If you keep getting interrupted mid-combo, the Parry Super Armor talent grants super armor on the counter after a successful parry, so your follow-up lands instead of getting staggered.
Best affixes for cheap, blue, and purple gear
Affixes decide whether the class feels sturdy or paper-thin. You want a mix of execution damage, energy return, and enough survivability to trade in melee. Smiting is the single most useful affix for cheap and blue setups because it recovers energy and reduces cooldowns on critical hits, which keeps your skills coming.
| Affix | What it gives | Priority |
|---|---|---|
| Burst | Increases Wither execution damage | Very high |
| Smiting | Recovers energy and cuts cooldowns on critical hits | Very high |
| Tenacious | More max HP and stronger healing | Very high |
| Resilience | Reduces damage from ranged classes like Blackarrow | High (mandatory vs ranged) |
| Aegis | Extra defense and physical resistance | High |
| Valor | Physical damage plus defense penetration | Optional |
| Strife | Energy recovery for cheaper loadouts | Situational |
| Vitality | Added survivability | Situational |
For a starter green loadout, pair a basic ceremonial set and an Executioner Greatsword with Strife and Smiting for constant energy and cooldown returns. A blue setup layers in Burst, Valor, and Elusive with Aegis moonstones for damage reduction. The purple endgame build leans into a damage-and-tank split using Valor, Strife, Resilience, Smiting, and Vitality so you stay alive while still finishing kills.
Affixes come from two places. Sigrid the Tavernwoman brews Victory Wine you drink before a match, and gear carries gem slots (Agate, Amethyst, Moonstone, and Peridot) that each roll an affix from their pool. Forge gear for four random gems, or buy the exact affix you want from the Auction House.
Combos and movement tricks
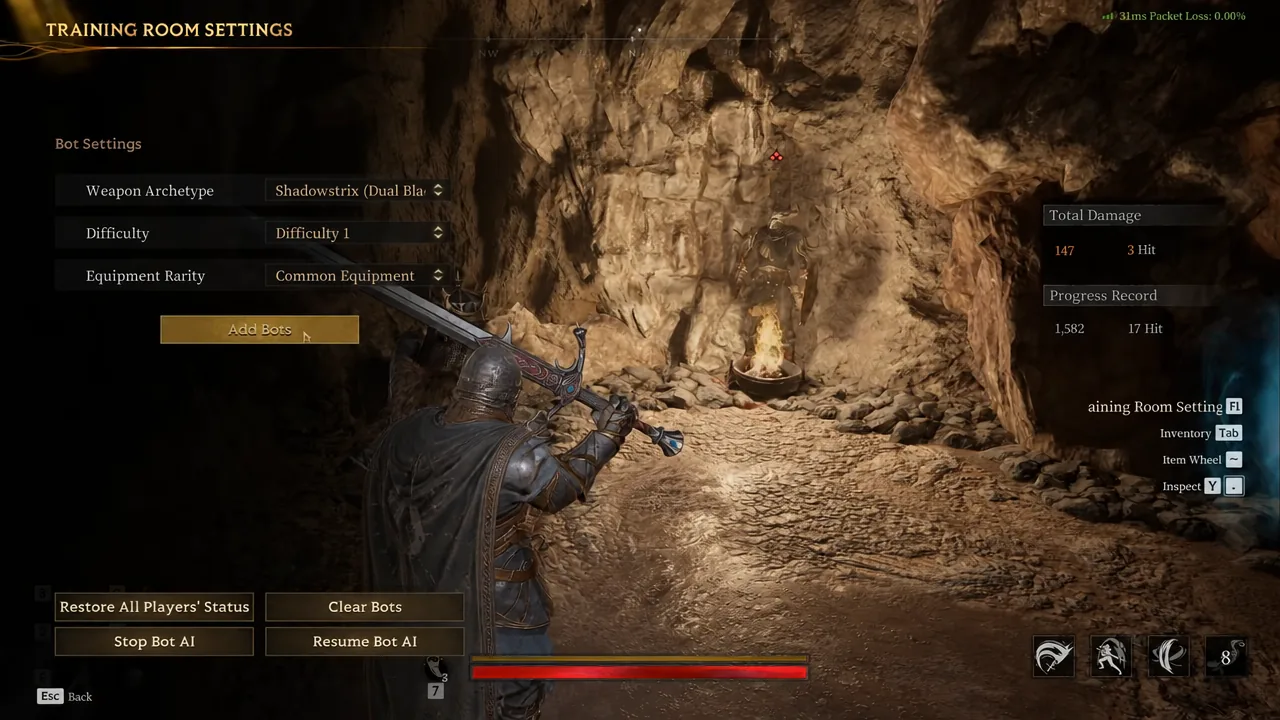
The training room is the fastest way to lock in the timing before you take it live. Add a bot, then drill the core sequences until the Judgment-to-Wither-to-execute flow is automatic.
- Aim headshots by looking slightly upward during your sword swings for extra damage.
- Use Dodge plus Left Click or Dodge plus Right Click to move across the map faster.
- In a Withered Knight mirror match, try to parry second — the player who counters last usually wins the exchange.
- Track dodging opponents by turning through Radiant Retribution, including full 360-degree spins to catch rolls.
Parry is the pivot between defense and offense. Block a frontal attack, then use the Light follow-up for a sweep or the Heavy follow-up for a long dash slash against ranged attackers. Both apply Wither, so a good parry immediately sets up your execution.
Beating higher-geared players
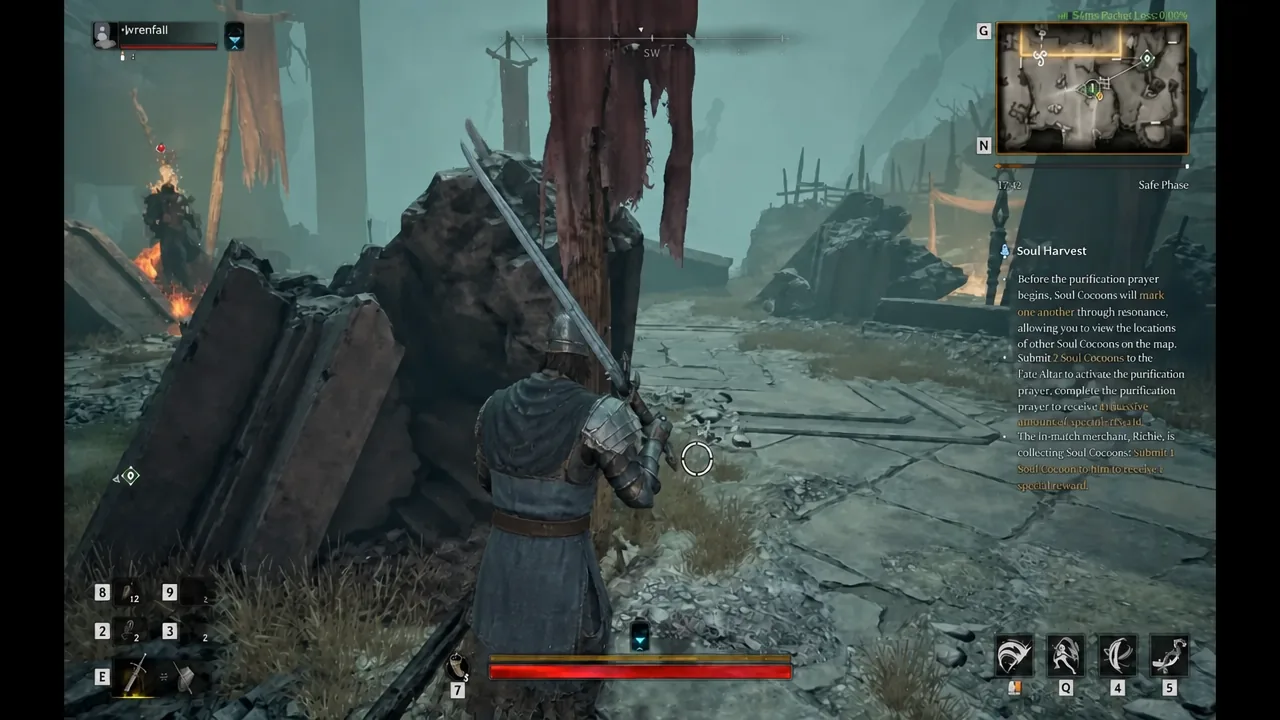
Better gear wins long, fair fights. That means you should never give a legendary-geared player a straight duel in open ground. Fight near cover, force short trades, and make them spend resources before you commit.
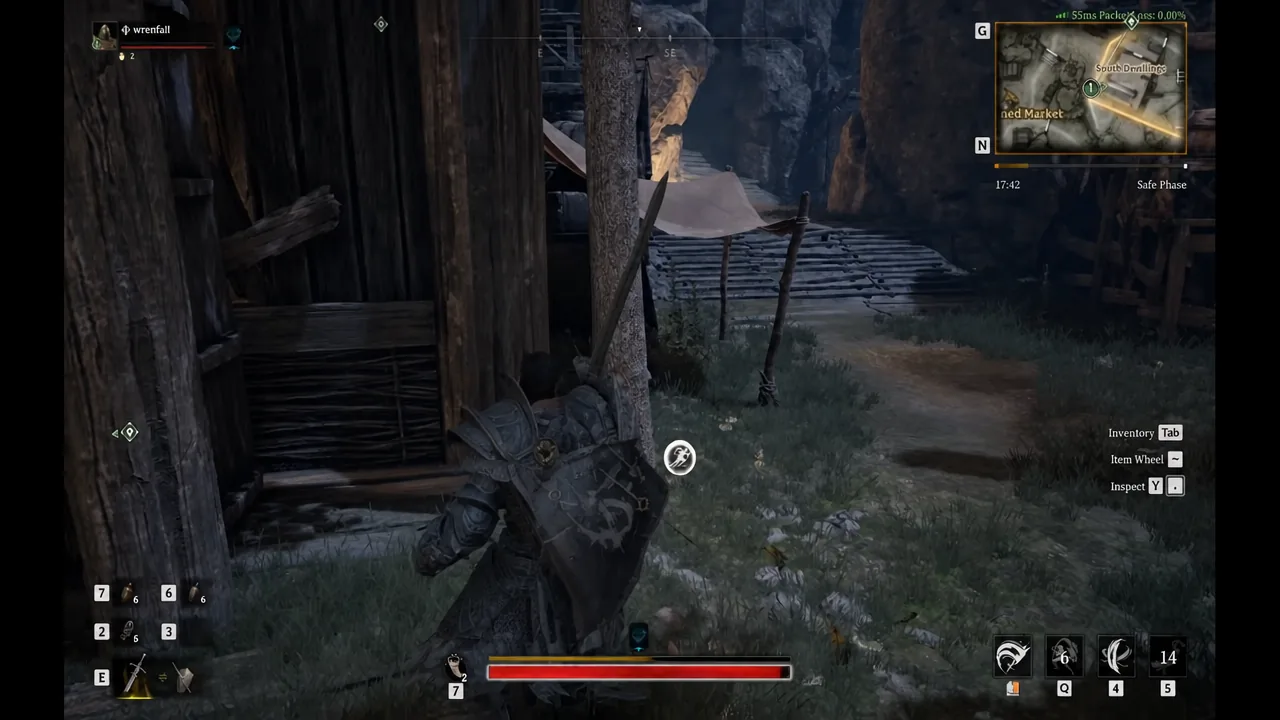
Take a fight only when at least two of these are true: the enemy is already damaged, they just burned mobility or defense, you have cover, a third party is nearby, or you can leave right after the kill. Against ranged classes, break line of sight and close with Thorn Guide rather than eating shots in the open. The real question before engaging is not whether you can kill them, but whether you can survive after you do.
Third-party timing is your strongest edge. A geared player who just finished a fight may be low, out of horns, or busy looting. That is your window. Let others spend first, then punish the mistakes.
Loot fast and extract
After a kill you are on a timer. Other players heard the fight and the mist keeps closing. Grab value first and move — if you cannot justify picking something up in about a second, leave it.
| Priority | Loot | Why |
|---|---|---|
| 1 | Souls and key resources | Run-defining value |
| 2 | Legendary weapons and armor | Biggest power spike |
| 3 | Horns | Keeps the snowball going |
| 4 | Upgrade materials | Solid secondary value |
| 5 | Low-tier extras | Only if it’s safe |
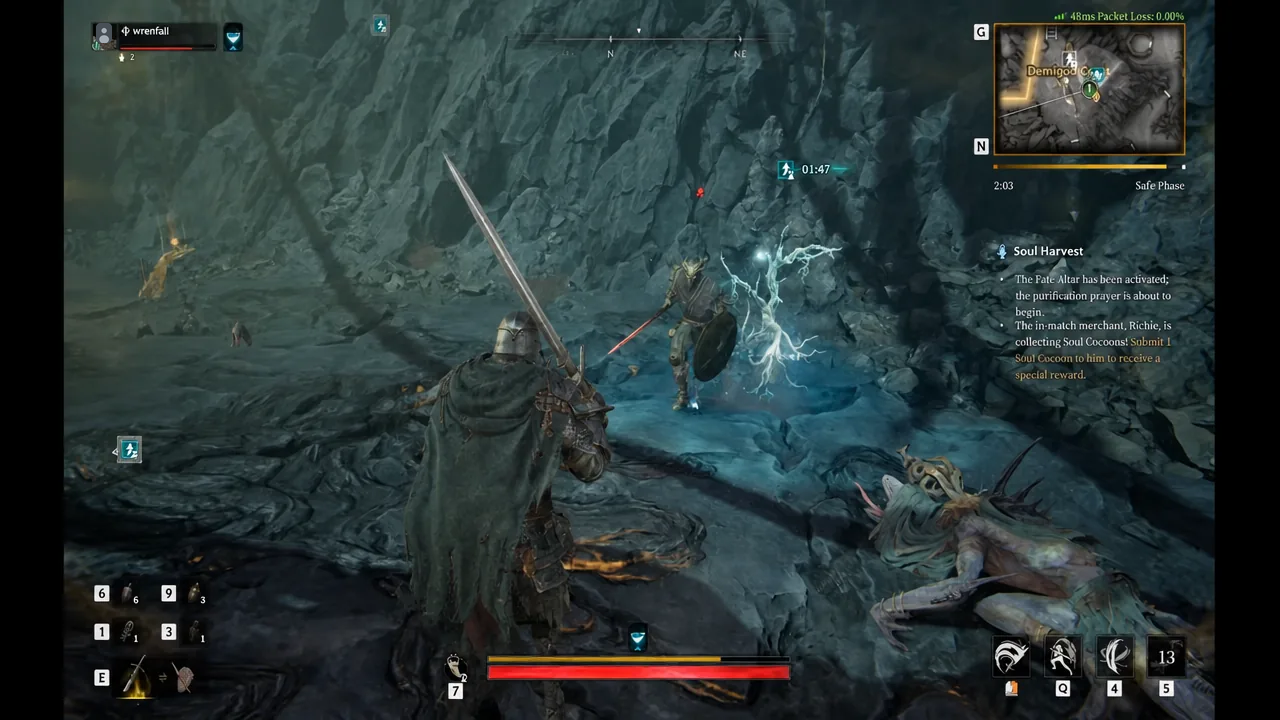
The whole gameplan is a snowball. Start in blue gear, dodge fair fights, and win one clean trade. Loot fast, take the horns and upgrades, then use that spike to contest stronger players. The most common way to throw a good run is greed, so once you have secured a big kill and legendary loot, lock the profit and extract instead of chasing one more fight.





