Gaming Guide

Moonlighter 2: All Hidden Treasure Locations and Rewards

Where each of the six hidden treasure portals hides, and which weapon, companion, or armor recipe you get.

Where each of the six hidden treasure portals hides, and which weapon, companion, or armor recipe you get.

Moonlighter 2 hides six treasure portals across its three biomes, and each one drops a recipe you can take back to Tresna to craft a new weapon, a companion, or an armor piece. None of them show up as normal objectives, and none of them appear on the map until you have the matching quest in hand.

Quick answer: Speak with Eris at Tresna after clearing each new region once to claim its hidden treasure quest, then re-enter that region and reach the specific node listed below to make the green portal appear. Complete the portal challenge and grab the scroll at the end to bank the recipe.
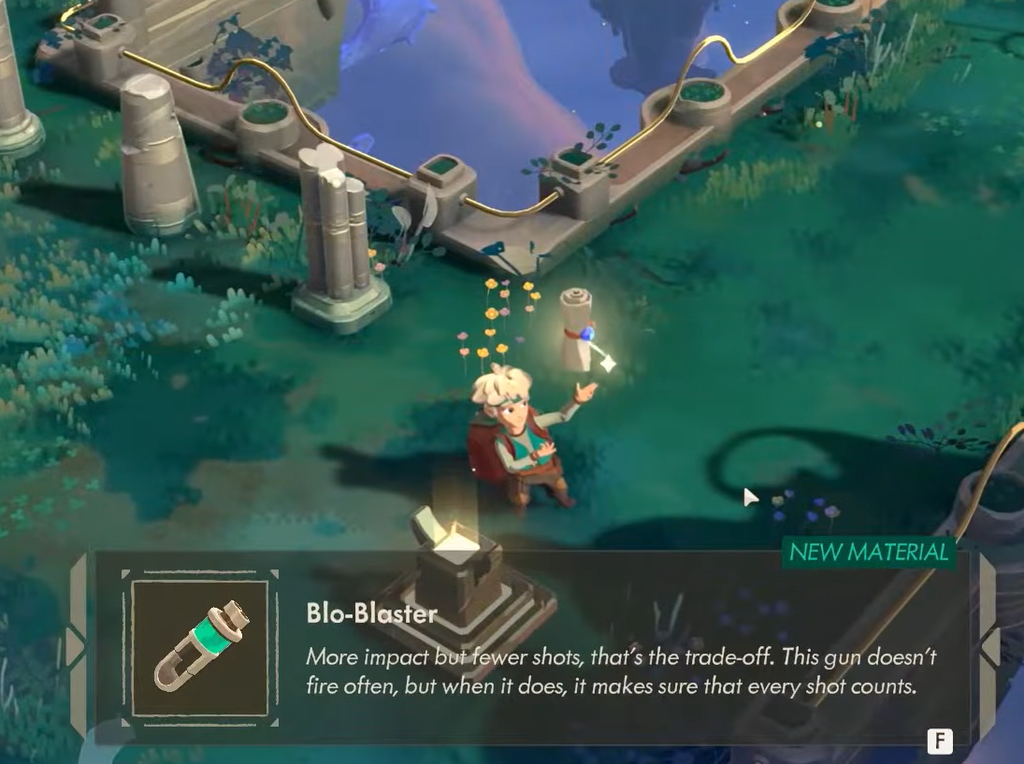
Image credit: 11 Bit Studios

Claim the quest from Eris first

The treasure portal only spawns in a region if you already hold that region’s quest. If you skip Eris and head straight into a dungeon, the portal will not be there no matter how many times you clear the level.

Play through a new region once, return to Eris at Tresna, and accept the hidden treasure quest she offers. She unlocks a new quest each time you open a fresh region, so make this your routine before hunting for a portal.

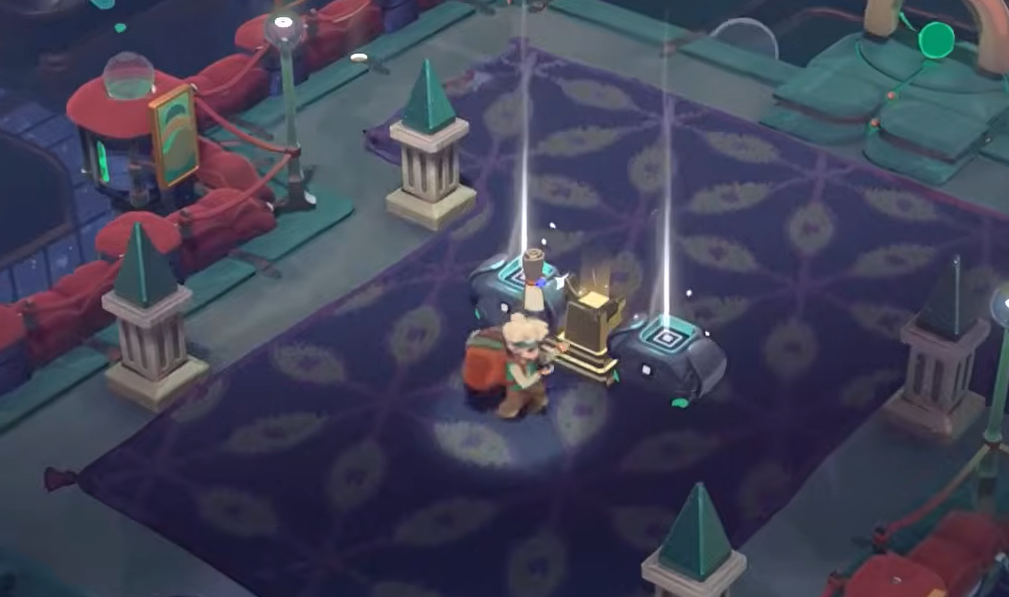
You know a run worked when you interact with the floating scroll at the end of a portal challenge. The side quest ticks off immediately, and the recipe becomes available at the relevant crafter in town.


Every hidden treasure and its reward

RegionRewardType
Kalina – Day RealmThe VowHeavy blade
Kalina – Night RealmBlu-BuddyCompanion
The Gallery – Exhibition WingHeartbeat HunterGauntlets
The Gallery – Treasury HallsBlo-BlitzDual-wield weapon
Aeolia – Zephyr FieldsBlo-BlasterGun
Aeolia – Howling HarborNimbus RegaliaArmor
Image credit: 11 Bit Studios / FixNPlay

Kalina Day Realm: The Vow heavy blade

This treasure hides at the blacksmith node, the one marked with a hammer icon where you power up your weapon with a legendary option. You reach the portal before you ever visit the blacksmith.
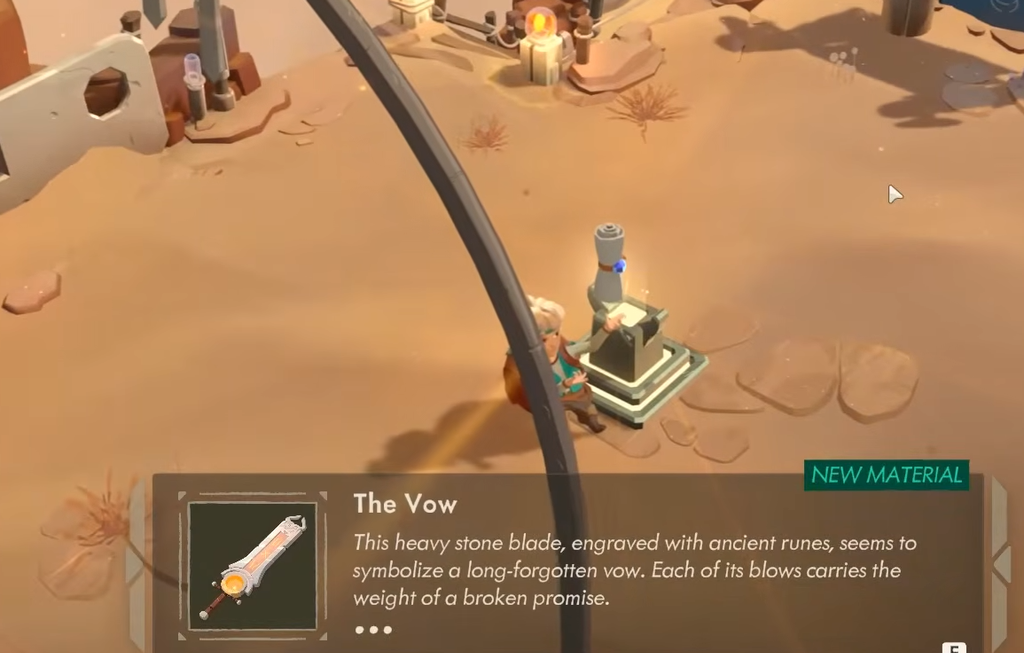
Spawn at the hammer node and look for the staircase leading to the upper level. Ignore the stairs for now.
On the right side of the staircase there is a wooden bridge, only partly visible. Walk onto it instead of climbing. You will vanish from view while crossing, so move slowly to avoid falling.
At the far end, follow the new path to the green portal. This launches a platformer challenge full of obstacles with no retries, so take it patiently. Grab the recipe at the end to unlock The Vow, then craft it at the blacksmith in Tresna.
Image credit: 11 Bit Studios

Kalina Night Realm: Blu-Buddy companion

The Night Realm treasure is tied to a passive perk, so you need one purchase before it will ever appear. After unlocking the Night Realm and visiting once, return to Eris.

Open the Upgrades menu and buy the Onsen Room node. It is the bottom perk in the first skill tree.
With that perk active, the Onsen Room node always appears just before the final boss. In the Night Realm, this same node hosts the treasure, so push all the way to the edge of the boss fight.
Enter the healing pool but do not climb the stairs. To the right of the stairs is a narrow passage that leads to the portal. This challenge throws waves of slimes at you rather than traps, so dodge before they attack and power up your special if you are running a short sword. Clear all the slimes to reach the Blu-Buddy recipe.

The path here starts in the mini-boss room, marked with the crossed swords icon roughly halfway through the dungeon. Make sure your gear can survive the trip before attempting it.
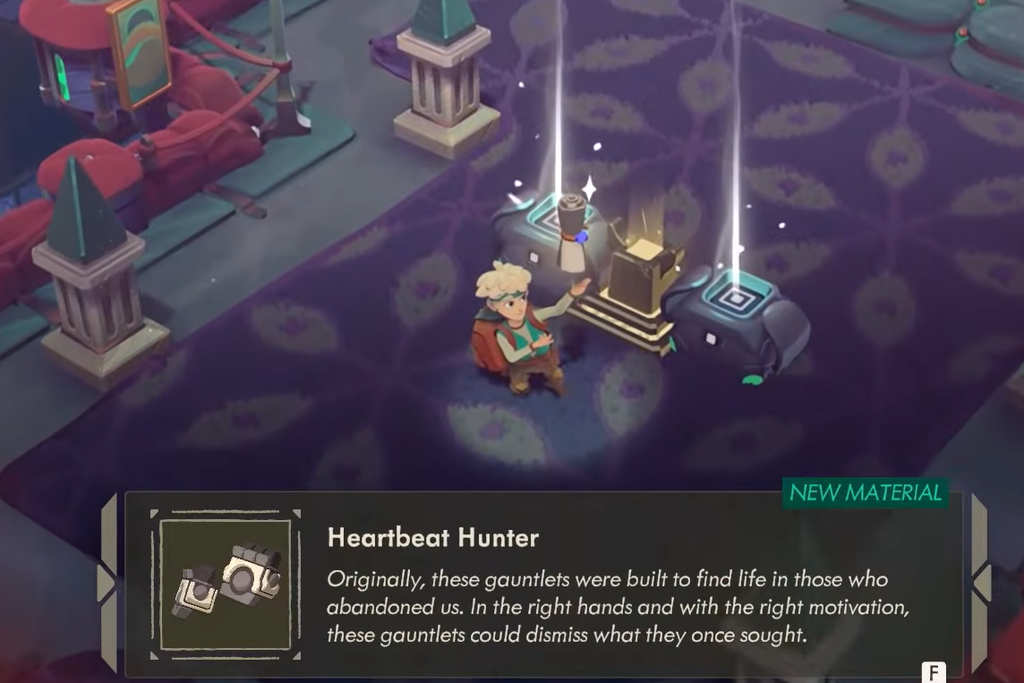
Defeat the mini-boss and loot the reward chests, but do not move on to the next area.
Turn left and take the hidden staircase along the wall down to the lower walkways. Follow the path to the portal.
This challenge is built around moving laser beams that you can only pass by dodge rolling through them. There are safe spots to pause between sections. Reach the end for the Heartbeat Hunter recipe plus two extra chests. Craft the gauntlets at the blacksmith for 2,000 Gold and 4 Echo Links.
Image credit: 11 Bit Studios

Note: The Heartbeat Hunter deals 40% more damage while you are in the Berserk state but you also take 40% more damage during it, so it rewards clean dodging.


This portal only appears in a question mark node, and specifically the one that hosts Silver, the merchant who sells relic quality upgrades. If any other event shows up, the portal will not be there.

Pick a route with as many question mark nodes as possible so you have multiple chances to land on Silver. If the first one is someone else, keep going.
Once you find Silver, accept one of his offers, then use the staircase directly behind him. The rest of the path is hidden from view, so move slowly to avoid falling and taking damage.
The portal drops you into a platformer with branching paths and several dead ends that force you back. Peek ahead when you can, and if there is no desk with a book on it, that branch is a dead end. Reach the desk to claim the Blo-Blitz recipe, craftable at Tresna.

Aeolia Zephyr Fields: Blo-Blaster gun

Aeolia unlocks after enough main quest progress, and Zephyr Fields is its first region. This is the easiest treasure of the six, with no enemies and no traps, just a platforming puzzle. The portal sits at the very starting node, where you meet the red and blue ladies.

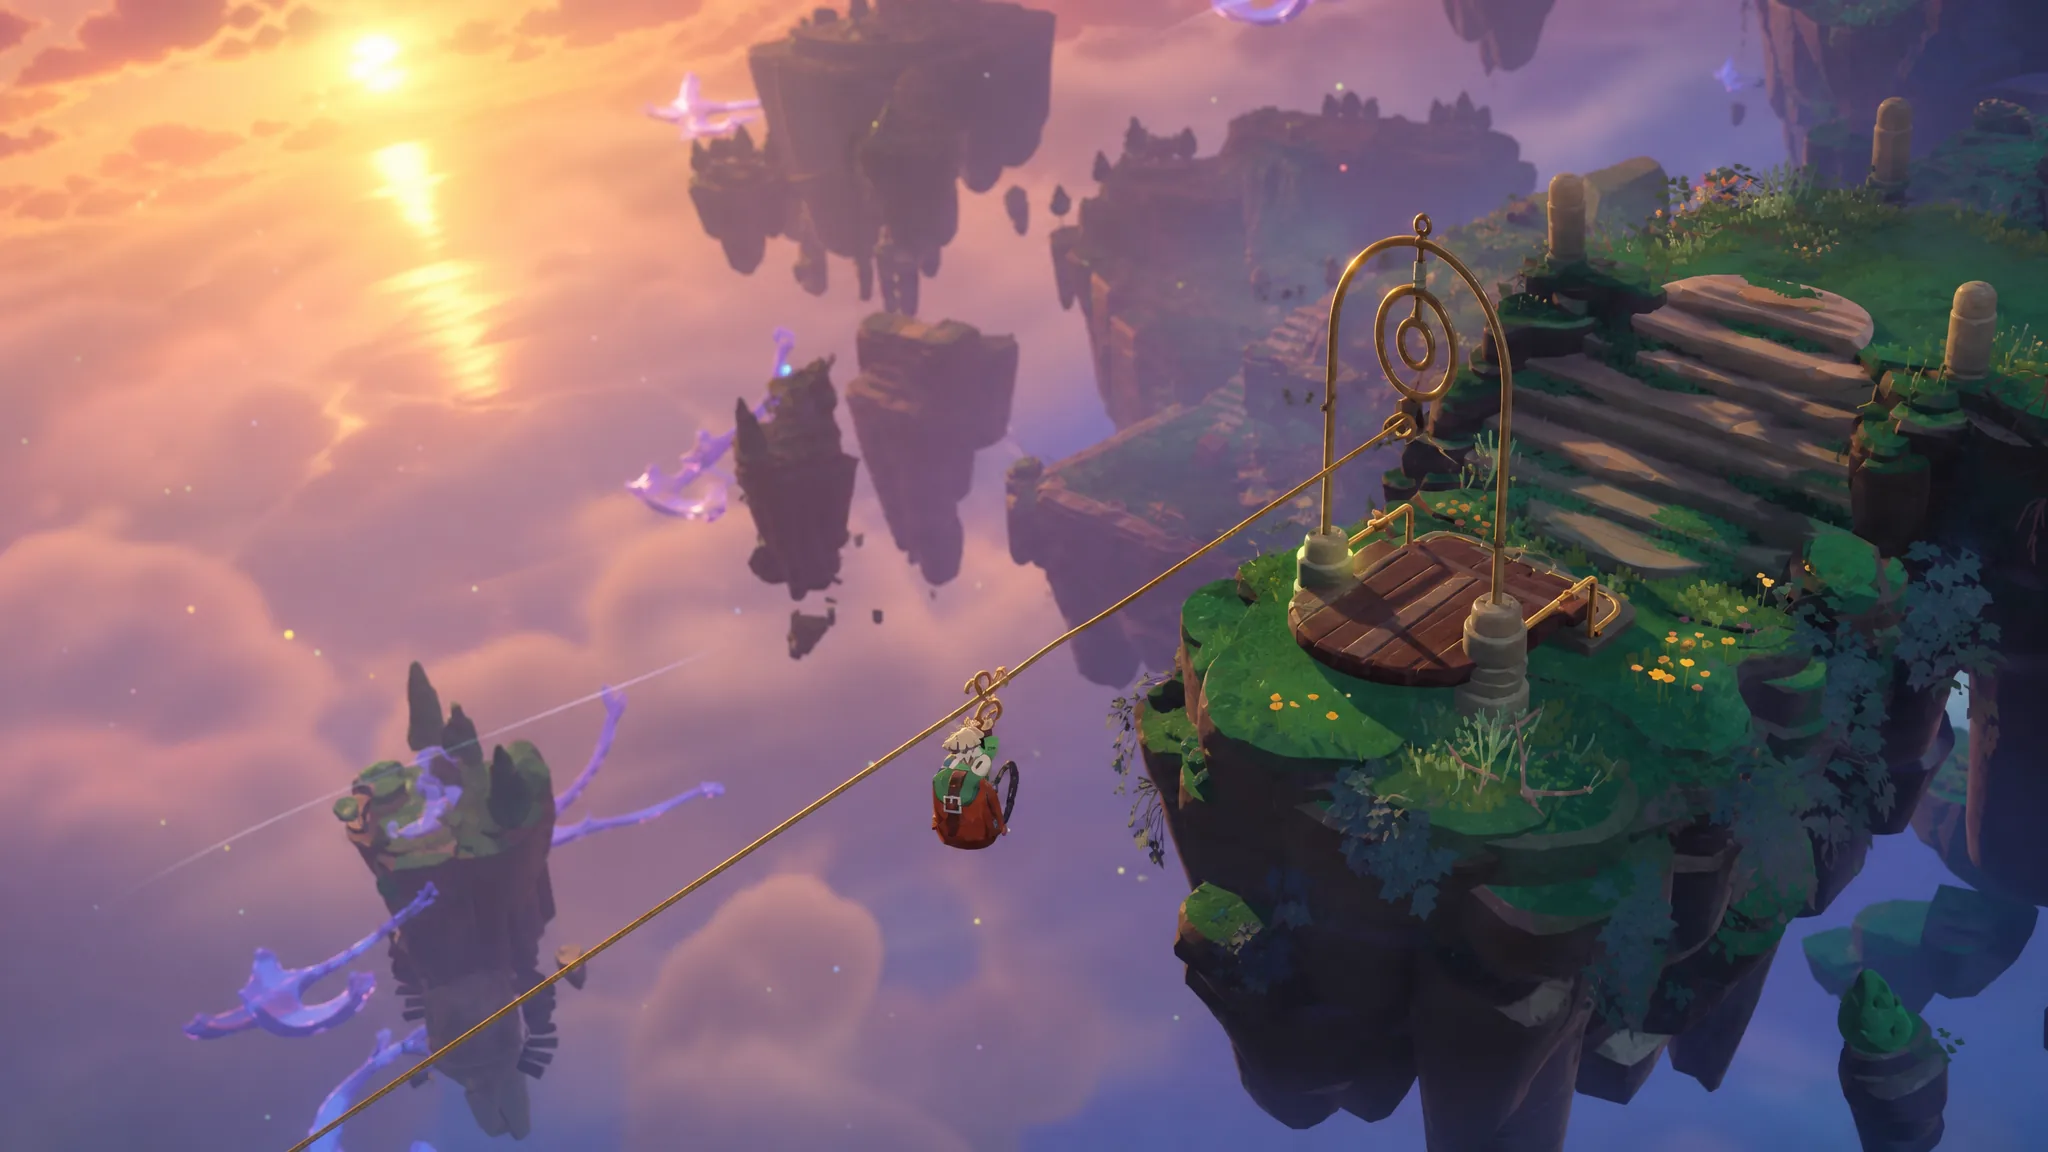
Once the run begins, walk past the two ladies. Just before the usual teleporter zipline, look to the left for a zipline that runs upward.
Ride that upward zipline to reach the portal, which drops you into a maze of ziplines with several branching routes.
Work through the intersections until you reach the top level of your starting area, where the scroll waits. From the maze’s starting island, this order reaches it: Down, Right, Right, Up, Left, Up, Left (take that zipline down), Down, Left. The recipe is the Blo-Blaster gun.

The Blo-Blaster is crafted by Babyl in the eastern part of town, not the blacksmith. It costs 2,000 Gold and 4 Oneiric Quartz, which you gather from Zephyr Fields enemies or buy from Nou for 2,500 Gold each.
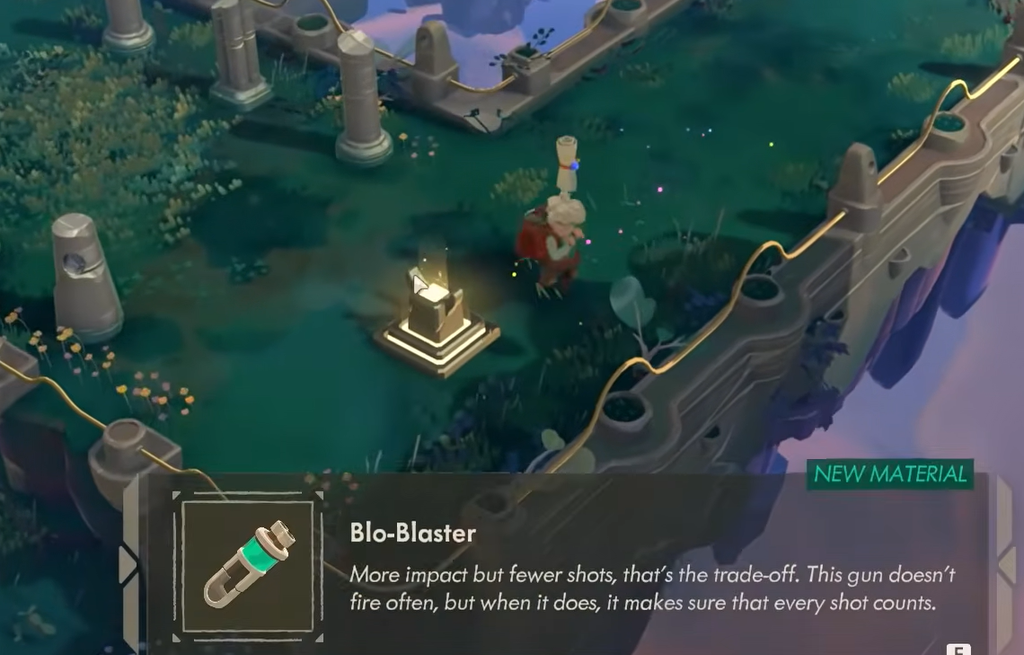
Image credit: 11 Bit Studios

Aeolia Howling Harbor: Nimbus Regalia armor

Howling Harbor takes extra work just to open. Beating the first Aeolia boss will not unlock it. Instead, the region is gated behind a side quest called “Souls Forever Lost 2,” given by Julien.
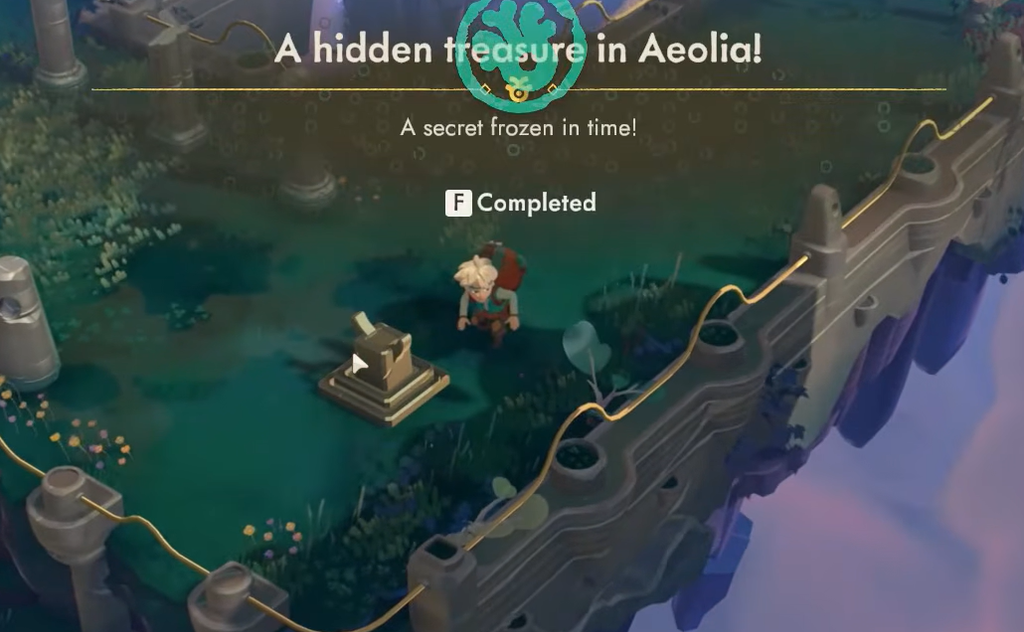
Find Julien south of Tresna near the staircase. You unlock him by paying 500 coins to a hand reaching out of a portal by the stairs. He sleeps at night, so only visit during the day to pick up his quest.
With Howling Harbor open, look for a question mark node again, this time the event with Anacard, the NPC with a young boy beside him who offers damage upgrade challenges. Choose a route stacked with question mark nodes to improve your odds.
Behind Anacard, next to the staircase, is a small secret path leading down. An “Interact” prompt appears along it for a zipline that carries you to the portal.
This maze works like the Zephyr Fields one, with branching paths. The tell here is a bulletin board with two notes on it, which marks the correct route. Follow the boards to the end for the Nimbus Regalia armor recipe.
Image credit: 11 Bit Studios

Grab every quest from Eris as you open new regions, keep an eye out for the Onsen Room perk and the Silver and Anacard events, and remember that Howling Harbor needs Julien’s side quest before its treasure will ever show. Clear all six portals and you will walk away with two guns and blades, a set of gauntlets, a companion, and a piece of armor to build around.