

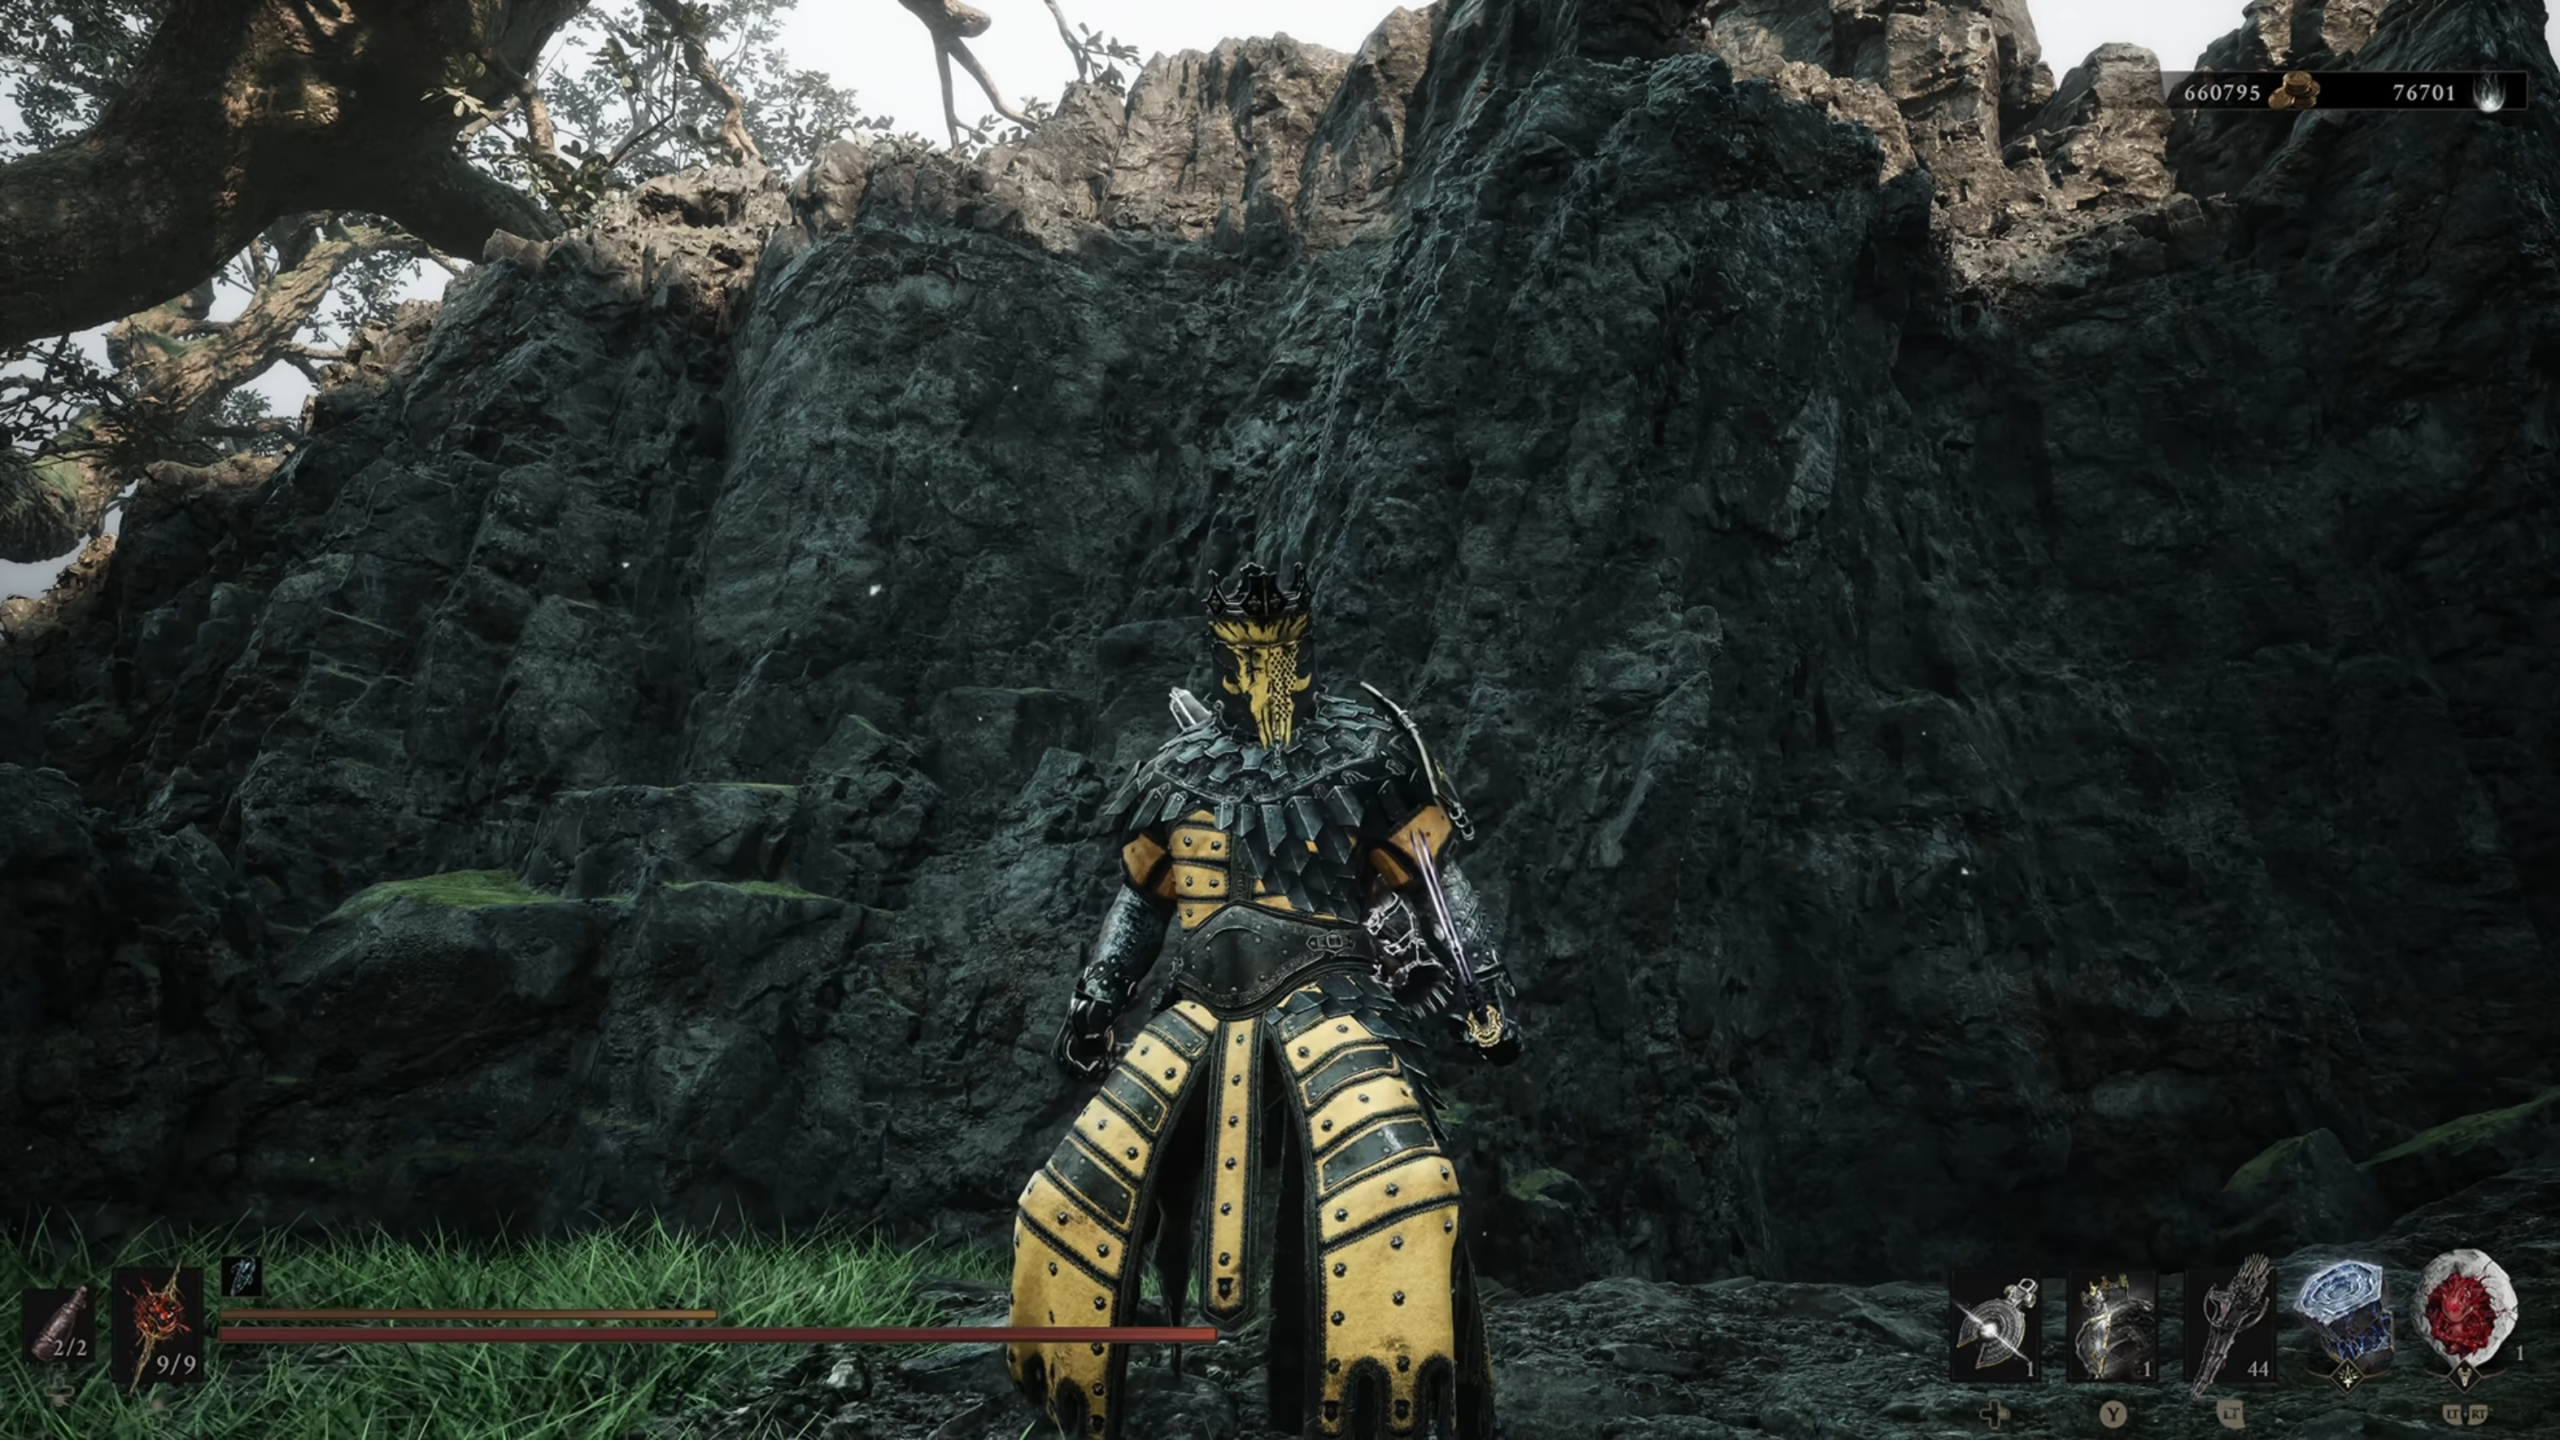
Eredrim, the Venerable, is not a shell that rewards patience from a distance. He wants you standing in front of the thing trying to kill you, absorbing hits, and answering them with Shoulder Bash. Built properly, that one skill does most of the heavy lifting in Mortal Shell 2, shattering a boss’s poise fast enough to open up repeated ripostes.
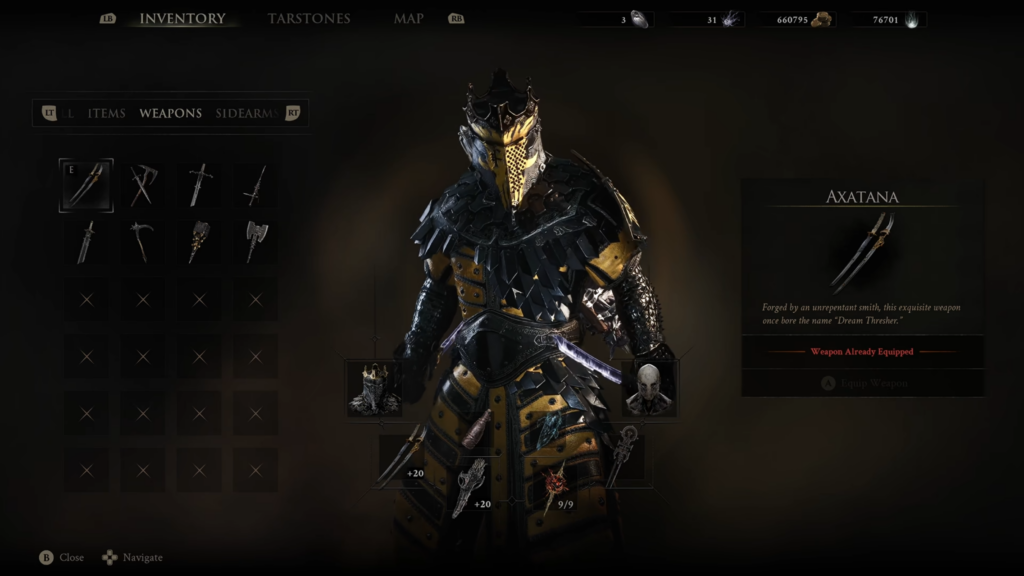
Quick answer: Equip the Axatana with the Caged Hystrix sidearm and the Untarnished Seal, then spend your first ability points on Anguish and Oppression so Shoulder Bash deals 150% damage and 120% Break Damage before you invest anywhere else.
Eredrim build loadout in Mortal Shell 2
You need the shell first. Eredrim is found in the Citadel of Penance, in the arena where the Warden fight takes place; the knight’s corpse on the ground becomes interactable once the boss is dead. Everything below assumes you already have him.
| Slot | Pick |
|---|---|
| Melee weapon | Axatana (or Obsidian Hammer) |
| Sidearm | Caged Hystrix |
| Seal | Untarnished Seal |
| Core skill | Shoulder Bash |
| Ability focus | Anguish, Oppression, then Seal Affinity |
Why the Axatana and Caged Hystrix work here
The Axatana is a hybrid of an axe and a katana, and it covers both halves of Eredrim’s rhythm. Quick slashes let you chip away while your Resolve builds, and the heavier strikes land during the stagger windows Shoulder Bash creates. It is the most flexible melee option for this shell.

If you would rather commit fully to the bash playstyle, swap in the Obsidian Hammer instead. It has the strongest synergy with Shoulder Bash of any melee weapon, at the cost of the Axatana’s speed.
For the sidearm, take the Caged Hystrix. It carries one of the largest ammo pools in the game, so you can safely use it to pull single enemies, finish stragglers, or trigger environmental traps without worrying about running dry between rest points.
Untarnished Seal: The defensive half of the build
Because this build keeps you inside an enemy’s swing range, the Untarnished Seal is close to mandatory. Timed blocks and parries with it inflict Break Damage, which means your defense feeds directly into the same poise-breaking loop that Shoulder Bash is built around. Stack that with the Break Damage from Oppression and Radiance and enemies fall into riposte range noticeably faster.
Best tarstones for Eredrim
The tarstone spread leans into critical hits, riposte damage, and a bit of Resolve-efficient utility. Berserker’s Stone in particular pairs well with a shell that spends a lot of time at low health.

| Tarstone | Type | Effect |
|---|---|---|
| Auspicious Stone | Support | Raises Critical Chance |
| Headman’s Stone | Support | Raises Crit Damage |
| Berserker’s Stone | Support | More damage while on low health |
| Retribution Stone | Support | Higher Riposte damage |
| Duality Stone | Combat | Light attacks hit twice |
| Splitting Stone | Combat | Sidearm fires multiple projectiles |
| Torpor Stone | Infusion | Infuses your weapon with Stasis for 25 Resolve |
| Accursed Stone | Infusion | Infuses your sidearm with Curse for 20 Resolve |
| Shrike Stone | Ability | Leaping ground slam for 70 Resolve |
| Strange Remnant | Ability | Stream of projectiles that hits multiple targets for 15 Resolve |
Note: Shoulder Bash competes with Shrike Stone and Strange Remnant for the same Resolve pool. If you find yourself short on Resolve during boss fights, Strange Remnant at 15 is the cheaper of the two ability stones to keep active.
Eredrim ability priority and levels
Spend points on the Shoulder Bash abilities first. The damage increase is large enough to carry you through the early difficulty spike, and it makes the rest of the tree feel optional rather than urgent. After that, move to Seal Affinity for the wider parry window and riposte boost, then finish with the Executioner-side abilities.
| Ability | Level | What it does |
|---|---|---|
| Anguish | 3 | Shoulder Bash deals 150% damage, inflicts Weak, and staggers |
| Oppression | 3 | Shoulder Bash gains 120% Break Damage and a Trauma-inflicting shockwave |
| Alacrity | 2 | Cuts Resolve costs for skills, heavily reducing Shoulder Bash’s price |
| Seal Affinity | 3 | Longer parry window and 35% more Riposte Damage |
| Radiance | 2 | Ethereal Diapason deals 50 damage with 60 Break Damage |
| Tank | 3 | Slaughterer stacks grant damage reduction, 0.2% at max |
| Massacre | 3 | Improves Executioner; earns 10 Slaughterer stacks per riposte |
| Persistence | 3 | Only 25% of Slaughterer stacks are lost when you rest |
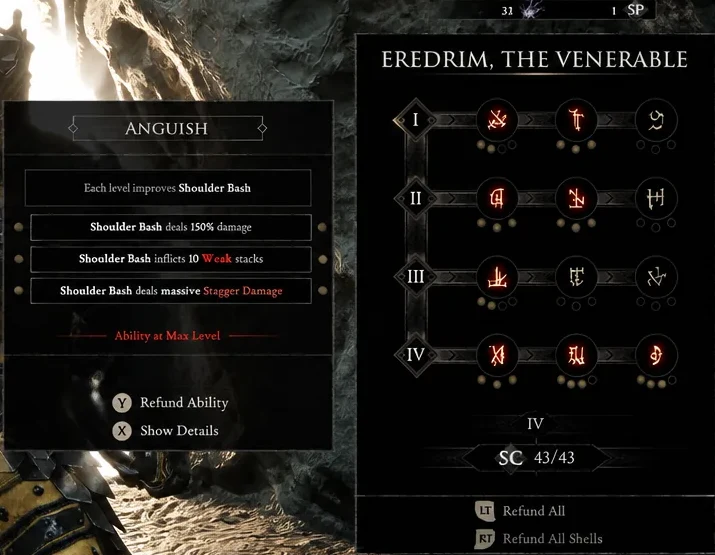
Alacrity is the quiet enabler in that list. Two levels shave enough Resolve off Shoulder Bash that you can throw it out more than once per opening, which is the difference between chipping at a boss’s poise and actually breaking it.
How to tell the build is working
The signal is simple. With Anguish and Oppression maxed, a boss should reach a fully broken state after roughly two connected Shoulder Bashes, leaving it open to a riposte. If that is not happening, the usual causes are an unfinished Oppression line, running dry on Resolve mid-fight without Alacrity, or bashing into an attack animation instead of a recovery window.
On the defensive side, Slaughterer stacks are your health bar’s second layer once Tank is invested, and Persistence keeps three quarters of them through a rest. That is what lets Eredrim stay in melee range trade after trade, rather than resetting to zero every time you sit down.
Everything else is tuning. Swap the Axatana for the Obsidian Hammer if you find yourself relying almost entirely on the bash, and drop an ability tarstone if Resolve keeps running out at the worst moment.





