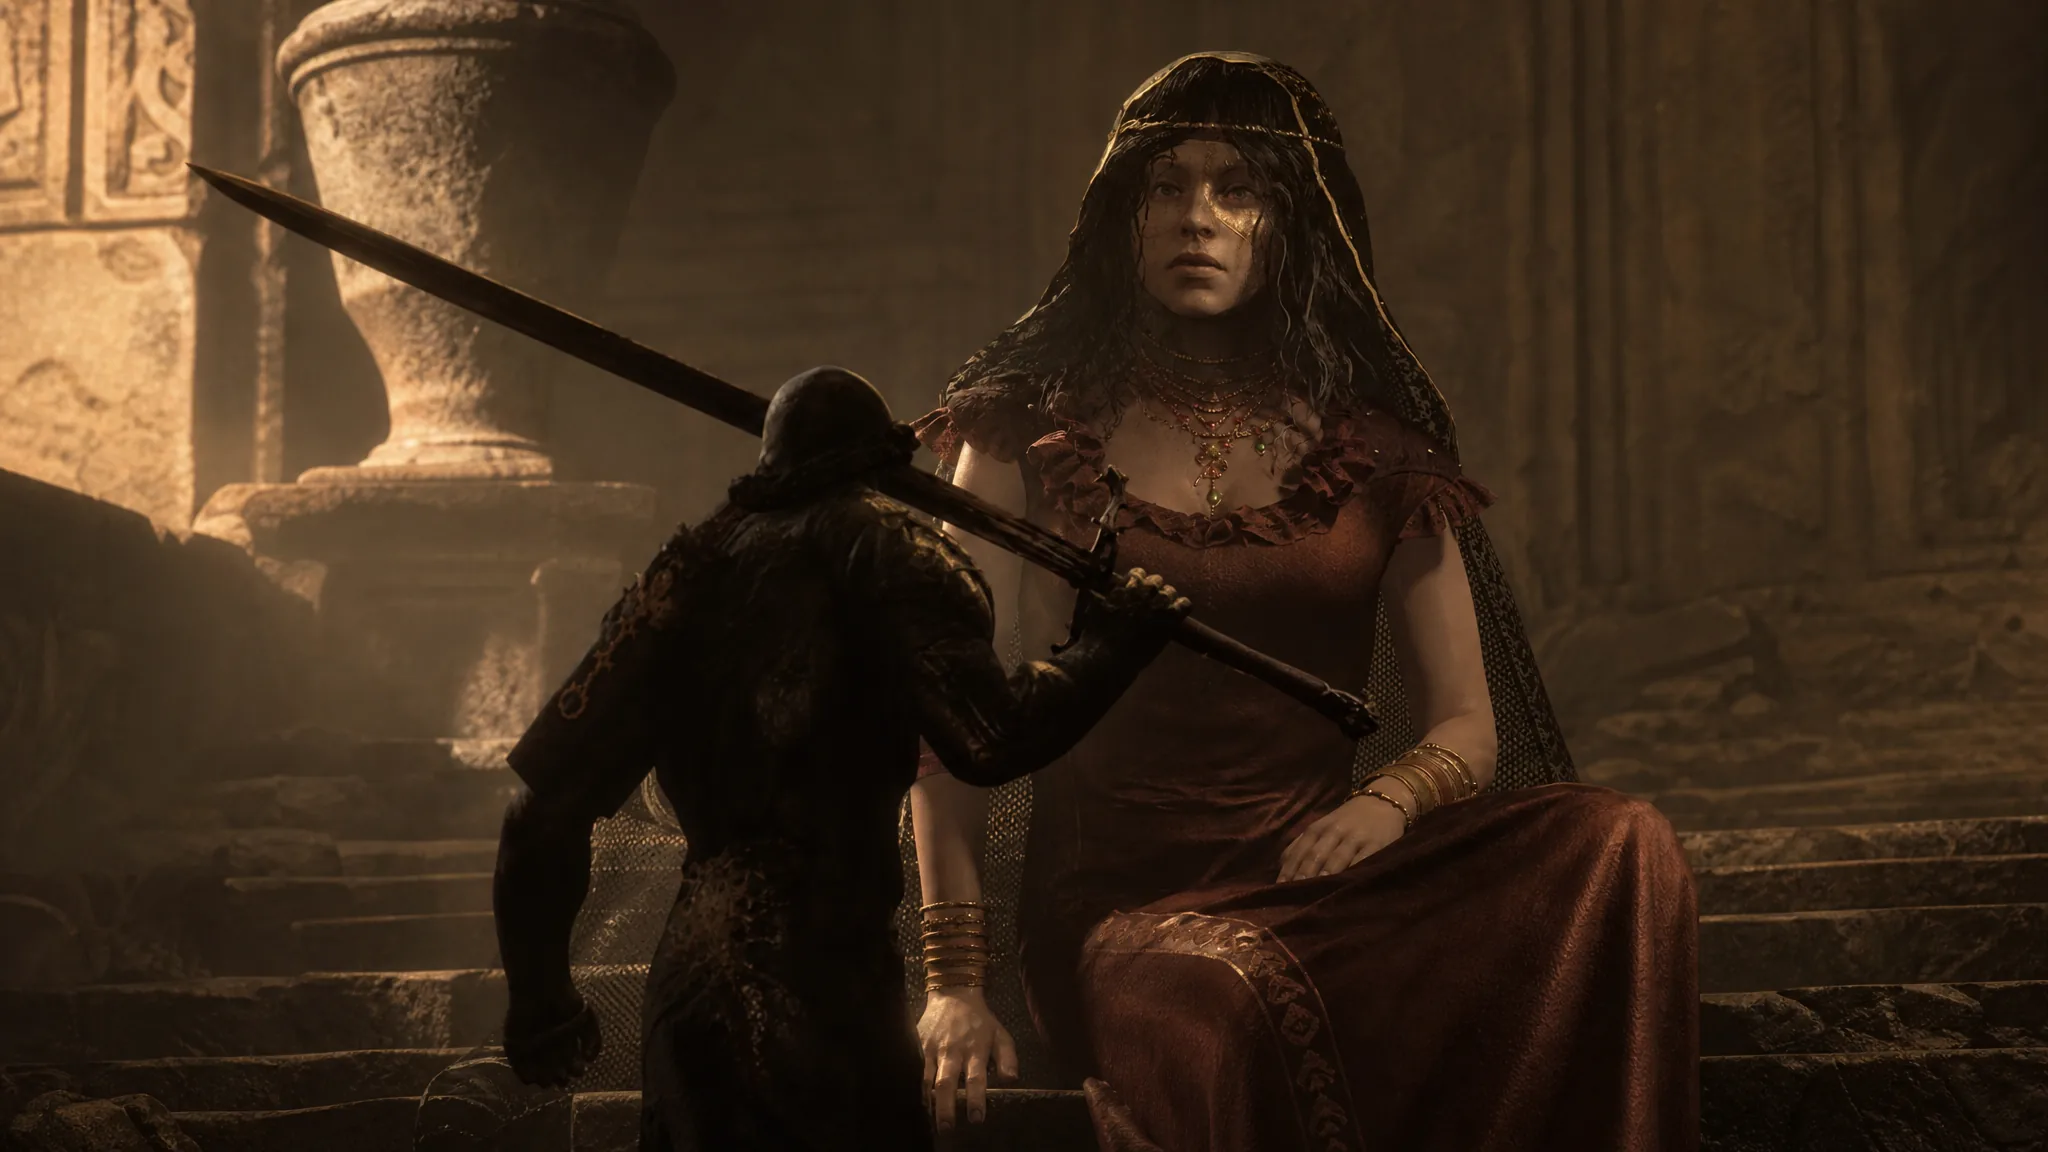
Mortal Shell 2 does not hand you armor. It hands you a body. Each Shell rewrites health, skills, and the rules a fight is allowed to follow, so the first real decision is which corpse you are willing to spend Glimpse on.
Quick answer: Put your first Glimpse into Genessa, Smert, or Gragu. Those three create openings other Shells still have to earn.
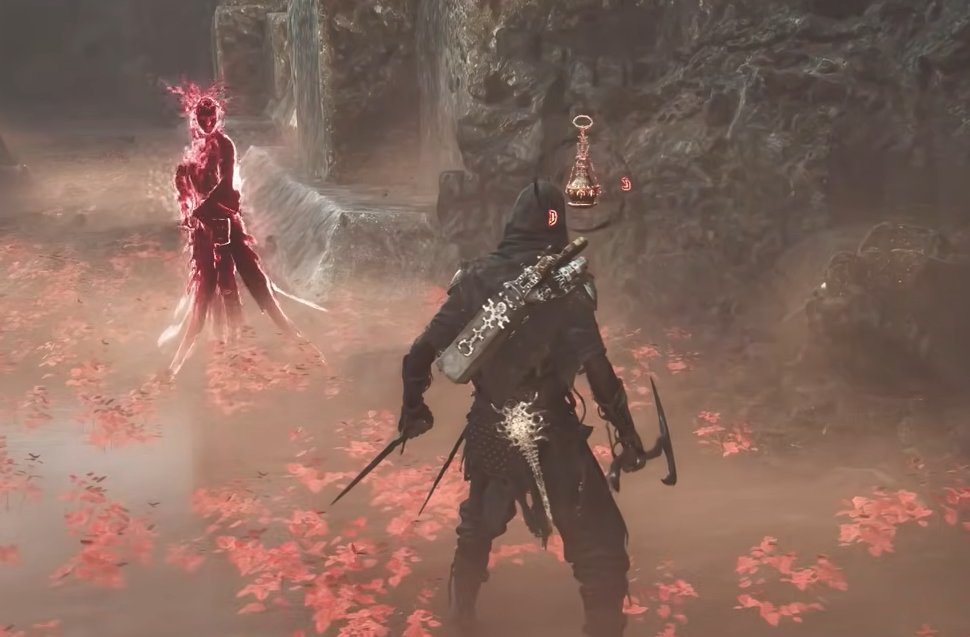
Mortal Shell 2 Shell ranking
The order below is current for August 2026. It weighs damage, survivability, how often a kit works in both exploration and boss fights, and how much Bond investment it takes before the Shell feels finished.
| Tier | Shells |
|---|---|
| S | Genessa, Smert, Gragu |
| A | Lazlo, Tiel, Eredrim |
| B | Proxima, Sariel |
A high rank does not mean the other bodies are unusable. Every Shell can clear the game once it is built. The gap is how often the kit fails, and how many Glimpse you burn before it stops failing.
Glimpse and Bond upgrades
Glimpse is scarce. Even a careful run usually maxes three Shells, not eight. Bond Tiers I through IV, bought from Zhirelle the Shellkeeper in Merow Keep, are where several kits finally become themselves. Progress carries into NG+, but the first playthrough still punishes a wrong favorite.
That scarcity is why the ranking exists. A newly found Shell is not its final form. Tiel’s back-attack spike sits late in the tree. Sariel’s Pain loop needs the last Bond tier before it looks complete. Genessa, Smert, and Gragu start deleting problems earlier, then get worse for the enemy as you spend.

Miracle, Faithful Doubles, and Staggering Blow
The S-tier kits share one habit. They interrupt the fight itself. You are not only hitting harder. You are removing turns, multiplying hits, or knocking a boss out of its script.
Smert’s Miracle is the cleanest version of that idea. He spends half of his current health, time stops, and his unarmed hits apply Chaos. When the freeze ends, those stacks detonate. Miracle can be pushed into Overtime for more health, which is how he walks himself down to the Deadly Revelation window at 10 percent health, where Faith and Resolve generation spike. The loop is brutal in the right hands and tiny in its margin for error. One stray hit at that health line ends the run. Used well, bosses barely get to act.
Genessa solves the same problem from the opposite direction. Faithful Doubles sprint in, strike with her weapon, and can apply Phantom while she stays at range. Duality is the twist. When her health empties, she becomes Stray instead of leaving the Shell. Faithful Doubles shut off. Stray Doubles start copying her weapon and sidearm attacks, which is how her damage ceiling becomes the highest in the roster. The cost is real. Stray health is thinner, and she cannot climb back into the Shell until a beacon rest.
Gragu is the blunt instrument. Staggering Blow charges a punch that breaks posture, knocks enemies down, and can apply Weakened and Fragile. Hunger pushes melee and ranged crit chance into rare territory, so the same swing that interrupts a boss also deletes a huge chunk of its bar. Revered Heart replaces the usual heal economy. He starts a beacon stretch light on recovery, then restocks by killing. That makes open-world routes feel generous and some boss rooms feel starved if you arrive empty. The kit can get repetitive. It also lets you skip mechanics other Shells have to learn.
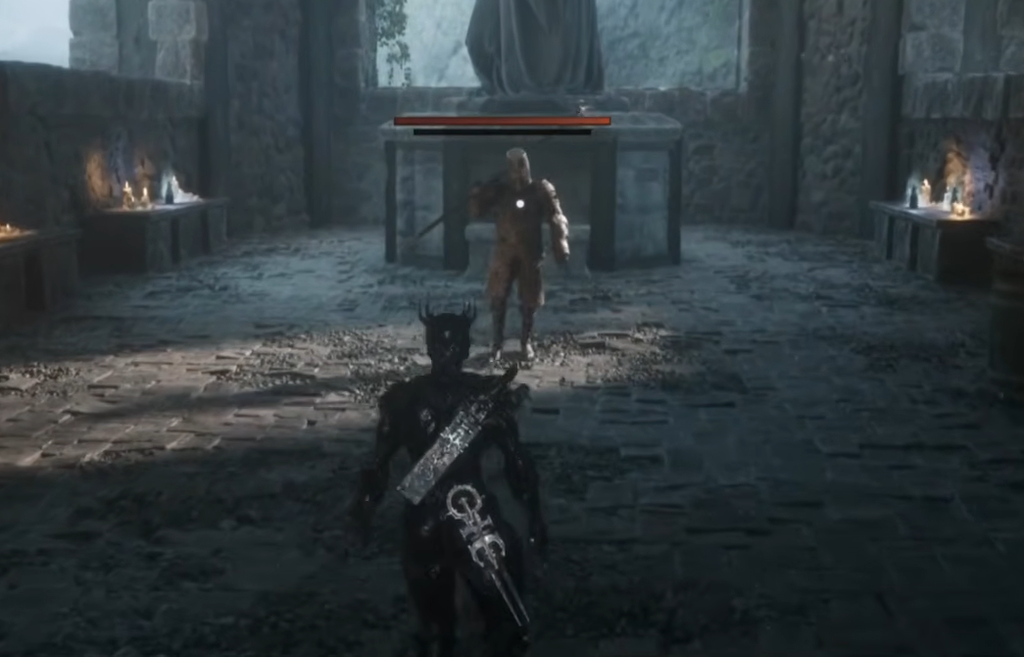
Armor, stealth, and break Shells
A-tier Shells clear the game without much drama. They ask you to play a specific defense, and they look worse when that defense is not the one you like.
| Shell | Job | Main limit |
|---|---|---|
| Lazlo | Armor and Burn shockwaves | Overheat drops the plate for several seconds |
| Tiel | Invisibility and back attacks | Low health and late Bond spike |
| Eredrim | Break damage and Riposte | Weaker in crowds, stacks reset on rest |
Lazlo has the largest health pool and a permanent slice of damage reduction while his armor is up. Retribution spends Resolve on a shockwave that burns, breaks, and shoves groups. Heat then Overheat is the rhythm. Stay warm for the damage, Resolve, and reduction bonuses, then dump the bigger blast when the room is worth it. The plate goes away for about 7 to 10 seconds after that dump. Crowded paths love him. Some bosses ignore the stagger and make him fight the old-fashioned way.
Tiel is the dodge Shell, and he is often the first body you find. A well-timed dash triggers Shadow Dash, turns him invisible, and deals stagger. Lingering Shadow lets him crouch, reposition, and fire a Shadow Strike. Mether’s Pulse does not break the hide, which is why boss rooms feel less punishing once you trust the timing. Ambush and Critical Role, mostly Bond III and IV, are the real melt. Until those nodes land, he is a fragile assassin who can also starve for Resolve.
Eredrim is built for one enemy at a time. Shoulder Bash slams break damage into a single target. Ethereal Diapason spreads break across a cluster. Executioner and Slaughterer raise the health line where low targets simply die, and those stacks vanish when you rest or get severed. Players who already parry will make him look unfair. Players who do not can still force a stagger with enough bashes, just on a slower clock. Groups are his tax.
Proxima and Sariel
B-tier here means the kit is playable and still has a job. It also means another Shell usually does that job with fewer conditions.
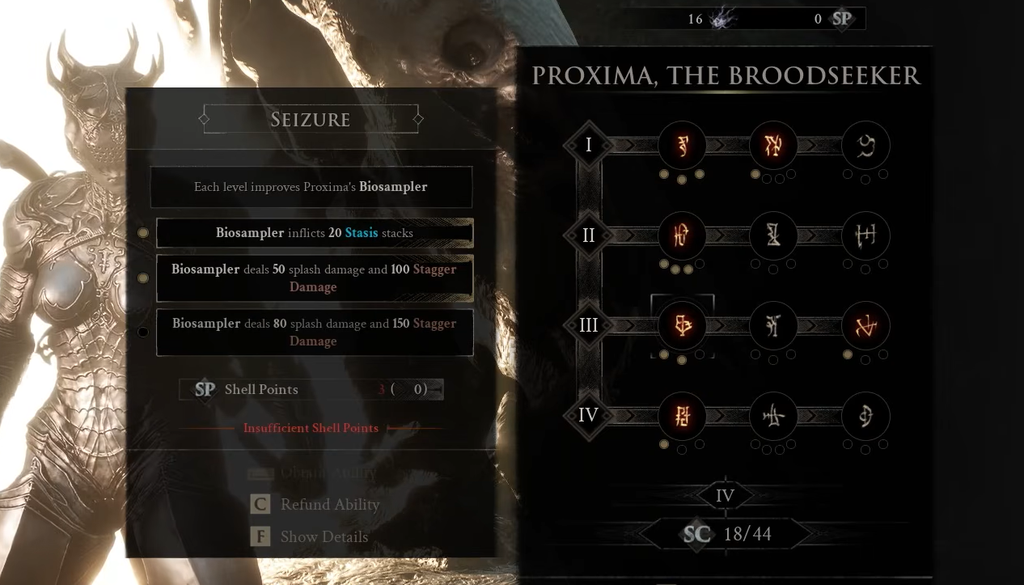
Proxima comes online early. Biosampler hooks a target, yanks one of you toward the other, and dumps lightning that can chain into Shock and later Stasis. Grafted Armor has a 15 percent chance to cut incoming melee or ranged damage in half, which is useful and not a plan. Samples can pad gold. Against later bosses, the hook stops ending fights as cleanly as Miracle, doubles, or a charged stagger, and the armor roll stays a roll.
Sariel can look unkillable when Pain is humming. Grey health comes back as you hit, thorns spread curse, and late Bond nodes let him punish every cursed target at once. The catch is the same rally problem every time. A second hit wipes the bank. He also spends a long time as a sustain specialist in a roster that already has better ways to finish a boss. If you like that recovery loop, he works. If you want Glimpse to buy a shorter fight, he is the last pickup.
Play the Shell whose defense you already trust. A time-stop, a summon, and a stagger punch will carry the most rooms for the least extra work. An armored shockwave, a perfect dodge, or a forced Riposte will carry the rest if that is how you already fight.