

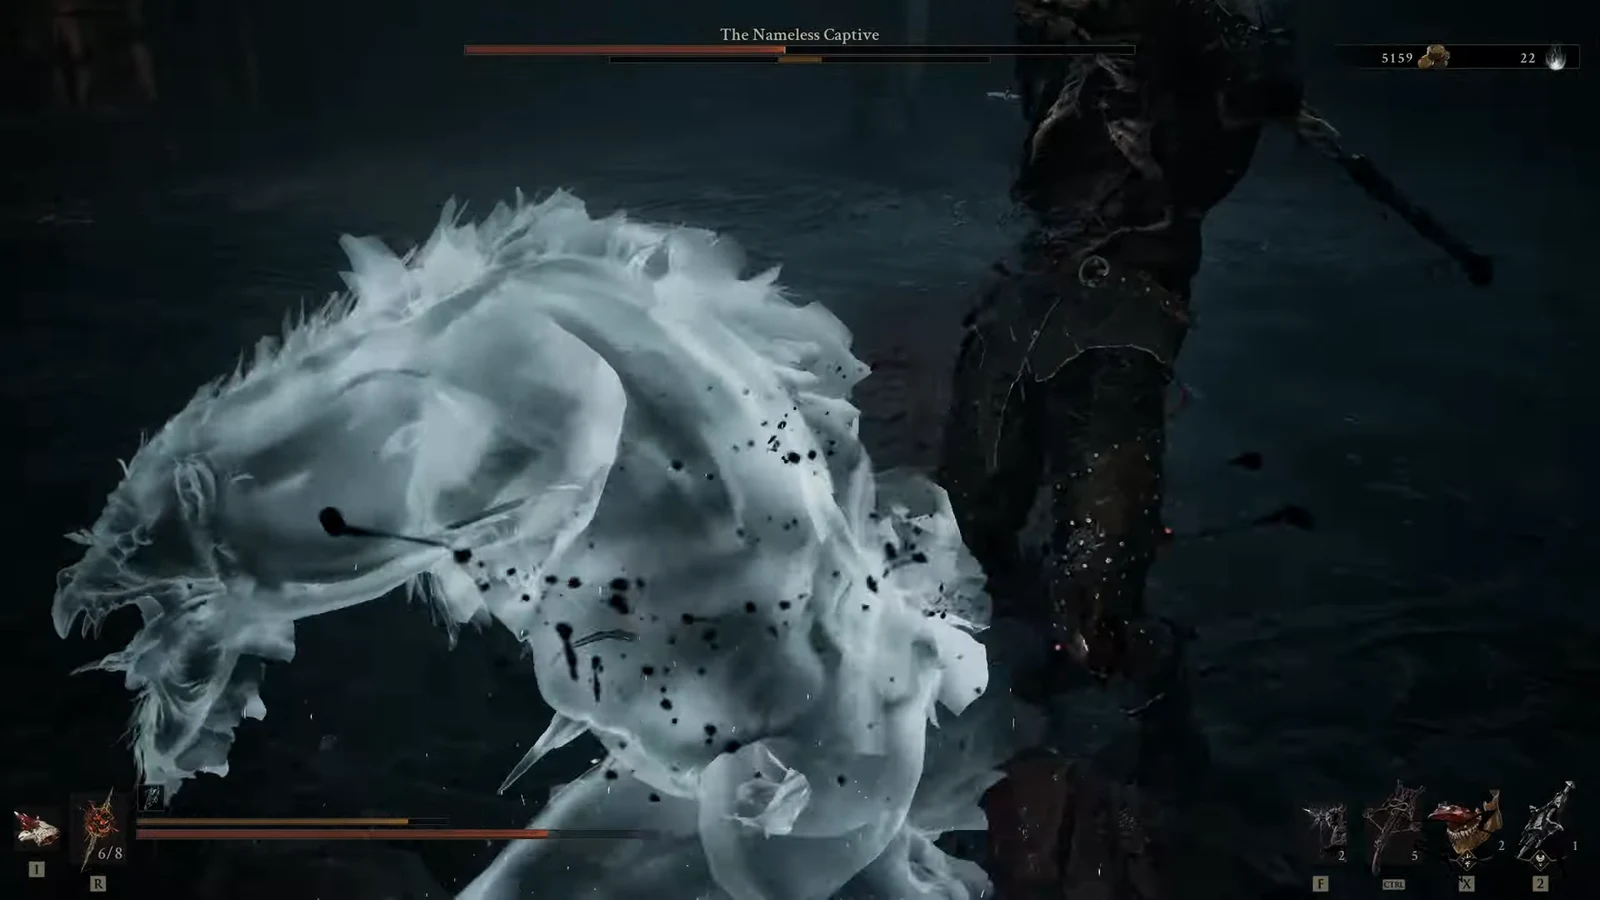
The Nameless Captive sits at the bottom of a pit in the Prisoner’s Domain, chained up until you arrive. It tore its own arms off to escape, and the greatsword buried through its skull is held in place by grown-over flesh — that sword is the weapon it swings at you. The fight is a straight melee duel with long reach, multi-hit combos, and a second phase that stops respecting your guard.
Quick answer: Equip the Untarnished Seal for perfect parries, spend one Glimpse to summon Eredrim before you drop into the pit, parry the chained sword swings and riposte, then break the phase-two propeller spin with a Special Attack instead of trying to block it.
Reaching the Nameless Captive in the Prisoner’s Domain
Fast travel to the Executioner’s Pulpit Beacon and follow the route forward through the ruins. Tishina’s Confessor blocks the way and has to be cleared before the path opens up.
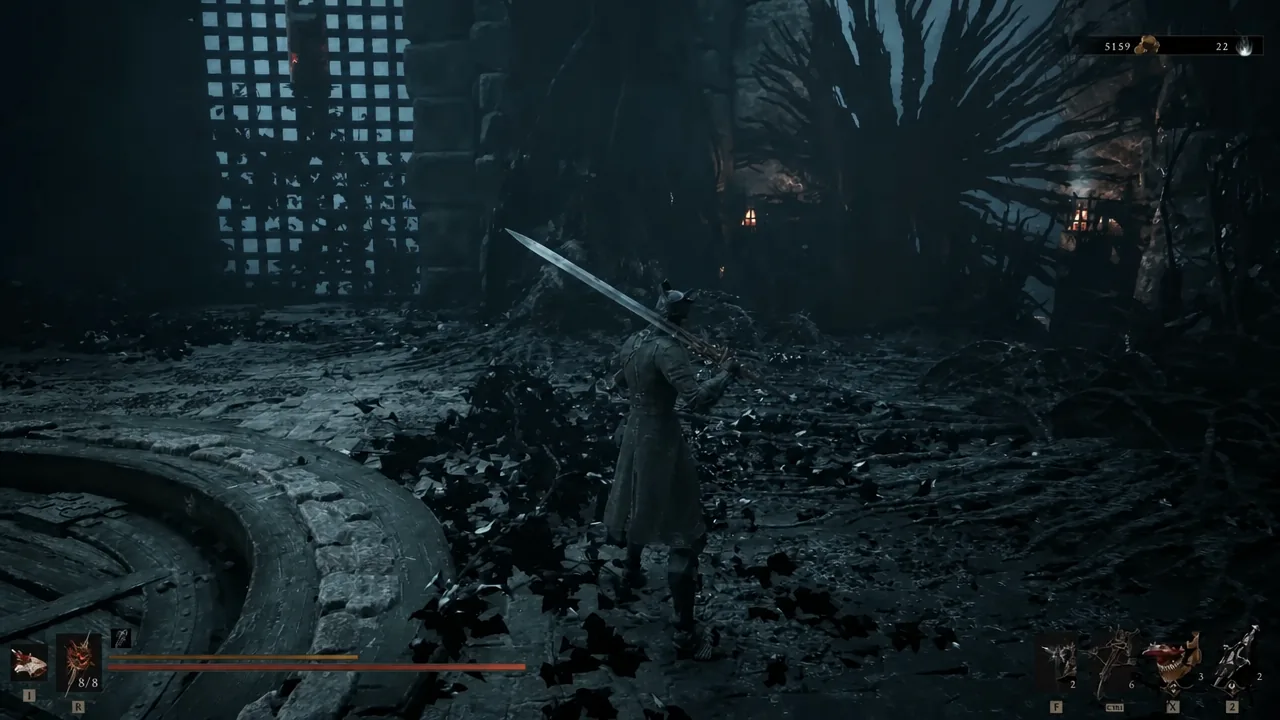
Keep going until the ground opens into a large pit. Before you jump, climb the ledge above the drop — there is a chest tucked up there that is easy to run straight past, and it holds a Rupturing Stone (Level 1). Once you take the plunge into the pit, the arena seals and the fight begins immediately, so grab it first.
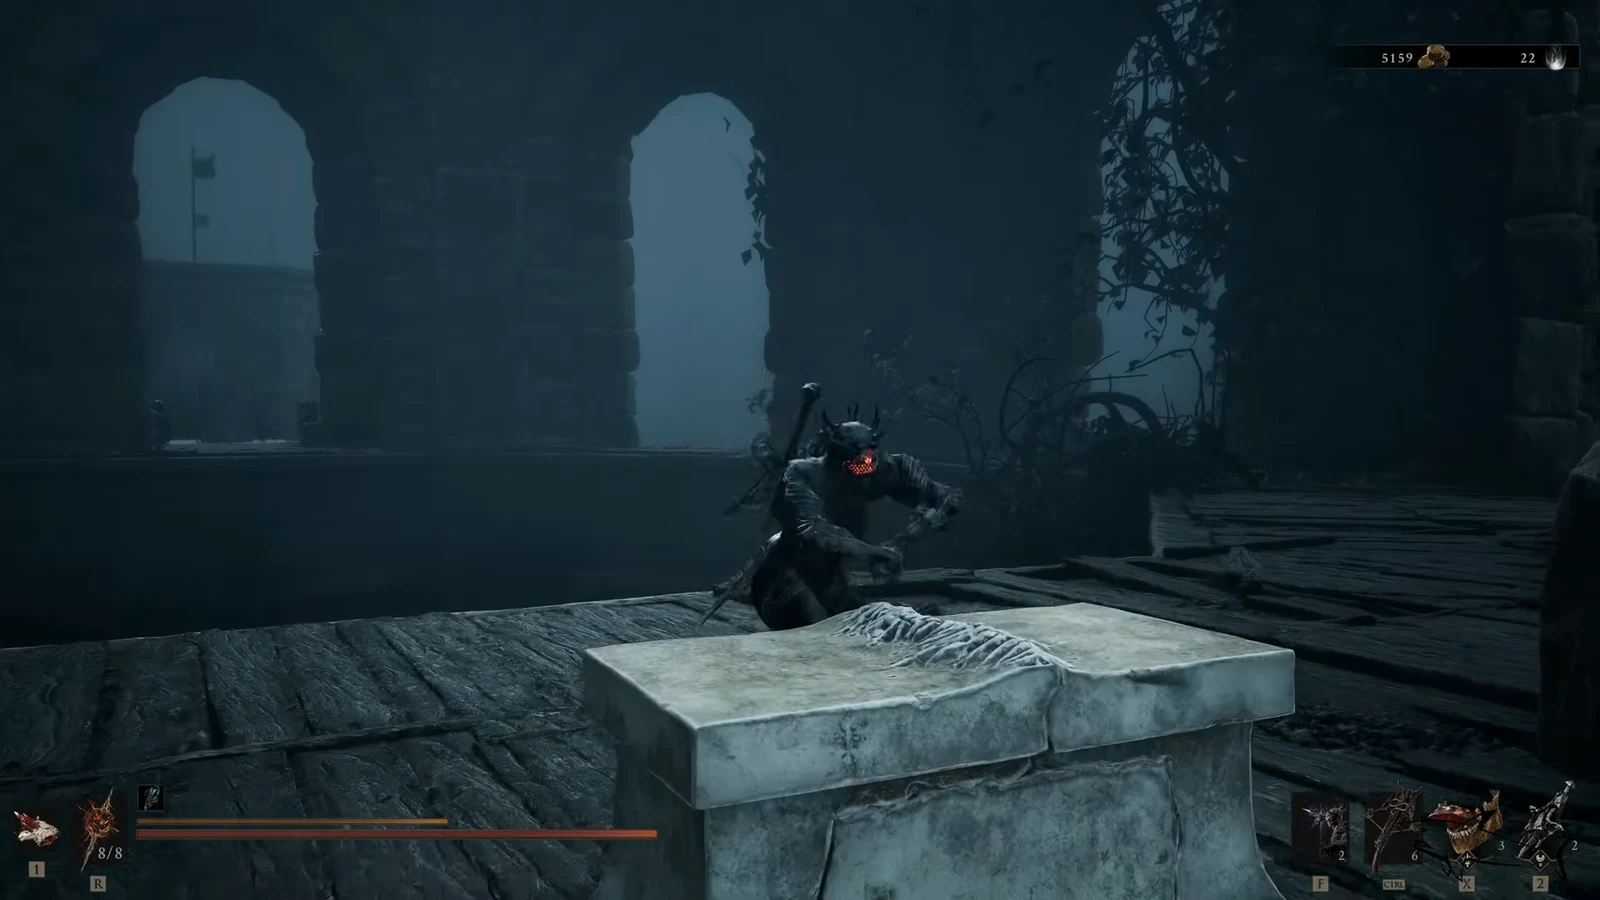
What to equip before you drop into the pit
This boss punishes trading hits harder than almost anything before it, so the loadout should be built around parrying, distance, or a stagger tool. Three options carry the fight.
| Setup | What it does in this fight |
|---|---|
| Untarnished Seal | Enables perfect parries. Most of the Captive’s regular swings and its long overhead stab are parryable, which is the safest way to open it up. |
| Eredrim summon (1 Glimpse) | Permanently unlocks the spirit ally at the arena. He pulls aggro and staggers the boss, giving you room to heal and reposition. Lure the boss away from him when it locks on to you so he survives longer. |
| Shrike Stone (Level 3, maxed) | Grants a high-damage plunge attack that breaks the Captive’s stance outright, turning built-up Resolve into a stagger. |
Shell choice matters less than the tools, but Tiel’s Shadow Dodge buys invisibility for a heal or a retreat, and Genessa’s doubles pull aggro much like Eredrim does. A Stasis coating on your weapon slows the Captive’s movements and widens every dodge window. Sidearms are worth carrying too, since chip damage from outside its reach costs you nothing.
Note: A Grisha Remnant can also be used mid-fight to summon a Grisha ally, which splits the boss’s attention on top of Eredrim.
Nameless Captive attack list and how to answer each move
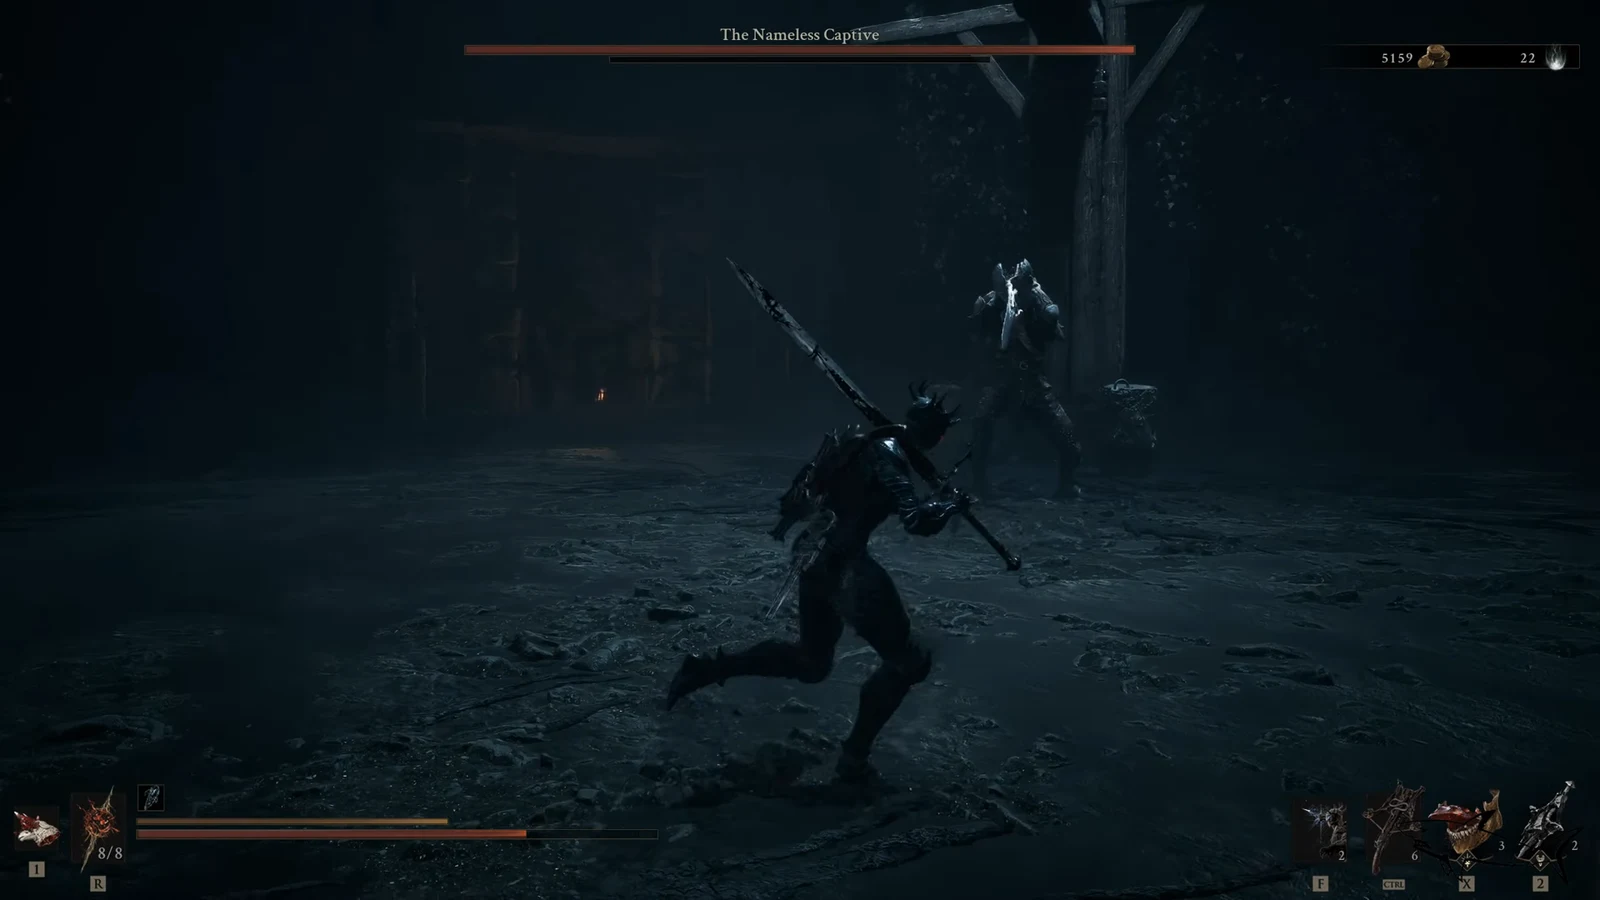
The moveset is small and repeats, which is what makes the fight learnable. The danger is the reach — stepping back a little is not enough, because the sword covers a wide arc around the boss.
| Attack | Response |
|---|---|
| Chained slashes (up to four or five in a row) | Parryable. Time each swing, then riposte once the chain ends. |
| Overhead stab into the ground | Long windup, parryable. It can chain into faster follow-up stabs, so keep guarding. |
| Sword drag on recovery | The blade hurts on the way out of the ground. Move away after the last stab instead of attacking straight away. |
| Propeller spin | Hits repeatedly and hits hard. Run out of its reach, or interrupt it with a Special Attack. |
| Leaping slam | Dodge sideways at the top of its jump, not early. |
| Kicks (usually two in a row) | Expect the second kick before you close back in. |
| Ground stomp | The attack that follows cannot be parried. Treat the stomp as your cue to dodge. |
The fight loop
Rewards, trophies, and how to confirm the kill
When the Captive falls, a New Tarstone Acquired prompt appears for the Captive’s Scabstone, alongside 12,673 Gloom. The Headcase trophy unlocks at the same moment, and a beacon spawns in the arena that you can revitalize for Ova.
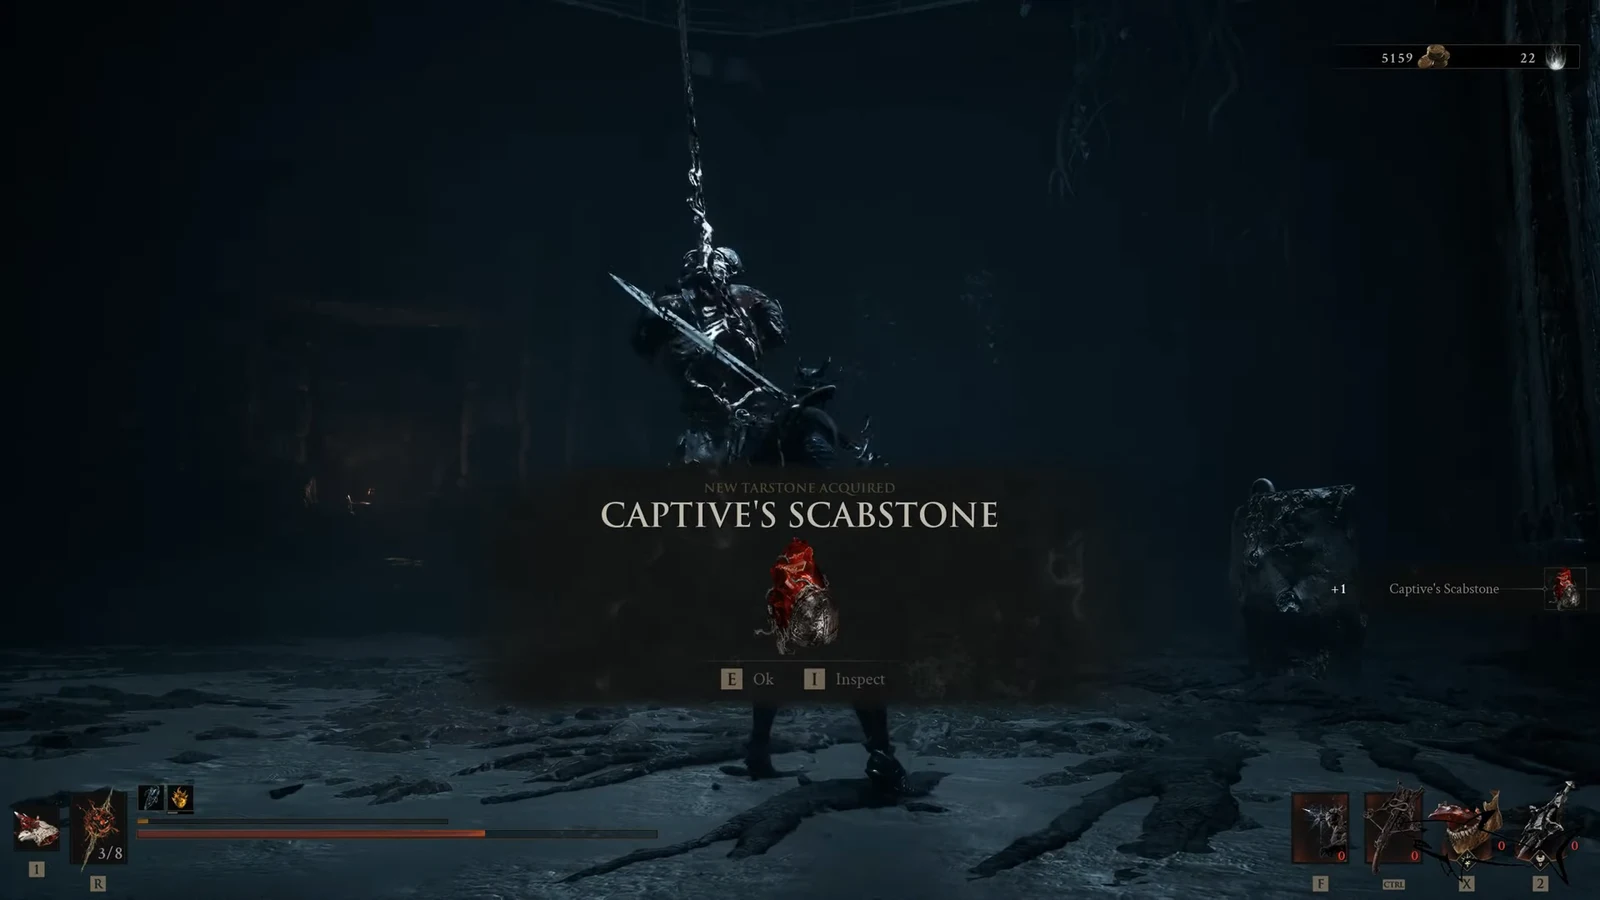
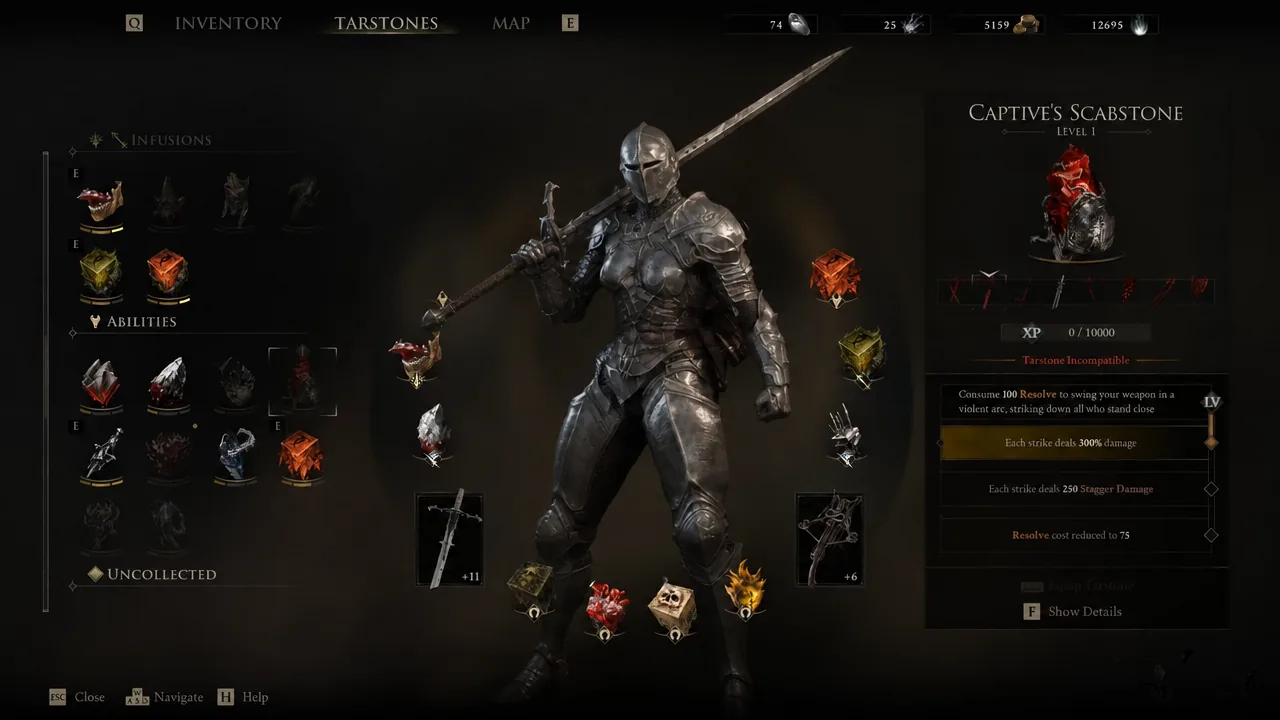
The Captive’s Scabstone is an ability Tarstone tied to the Great Martyr’s Blade. It spends 100 Resolve to swing your weapon in a wide arc that strikes everything standing close. There is a second trophy here as well — Peter’s Perfect Parry requires parrying every one of the Captive’s headpins, so it needs a clean run rather than a summon-heavy one.
Why the fight usually goes wrong
- Attacking after the first stab lands. The sword drags upward as the Captive pulls it free, and that recovery still hits.
- Parrying in phase two out of habit. Several of the later moves are unblockable, and the stomp telegraphs one of them.
- Standing just outside what looks like sword range. The sweeps are wider than the animation suggests.
- Trying to tank the propeller spin. It hits repeatedly, and each hit lands hard enough to end a run.
- Dodging the leaping slam too early. Wait for the peak of the jump, then dodge sideways.
Once the pattern clicks, the Captive becomes one of the more readable major bosses in the game — the punishment comes from impatience, not from anything hidden in its moveset. Clear it, revitalize the beacon, and the Prisoner’s Domain is done.





