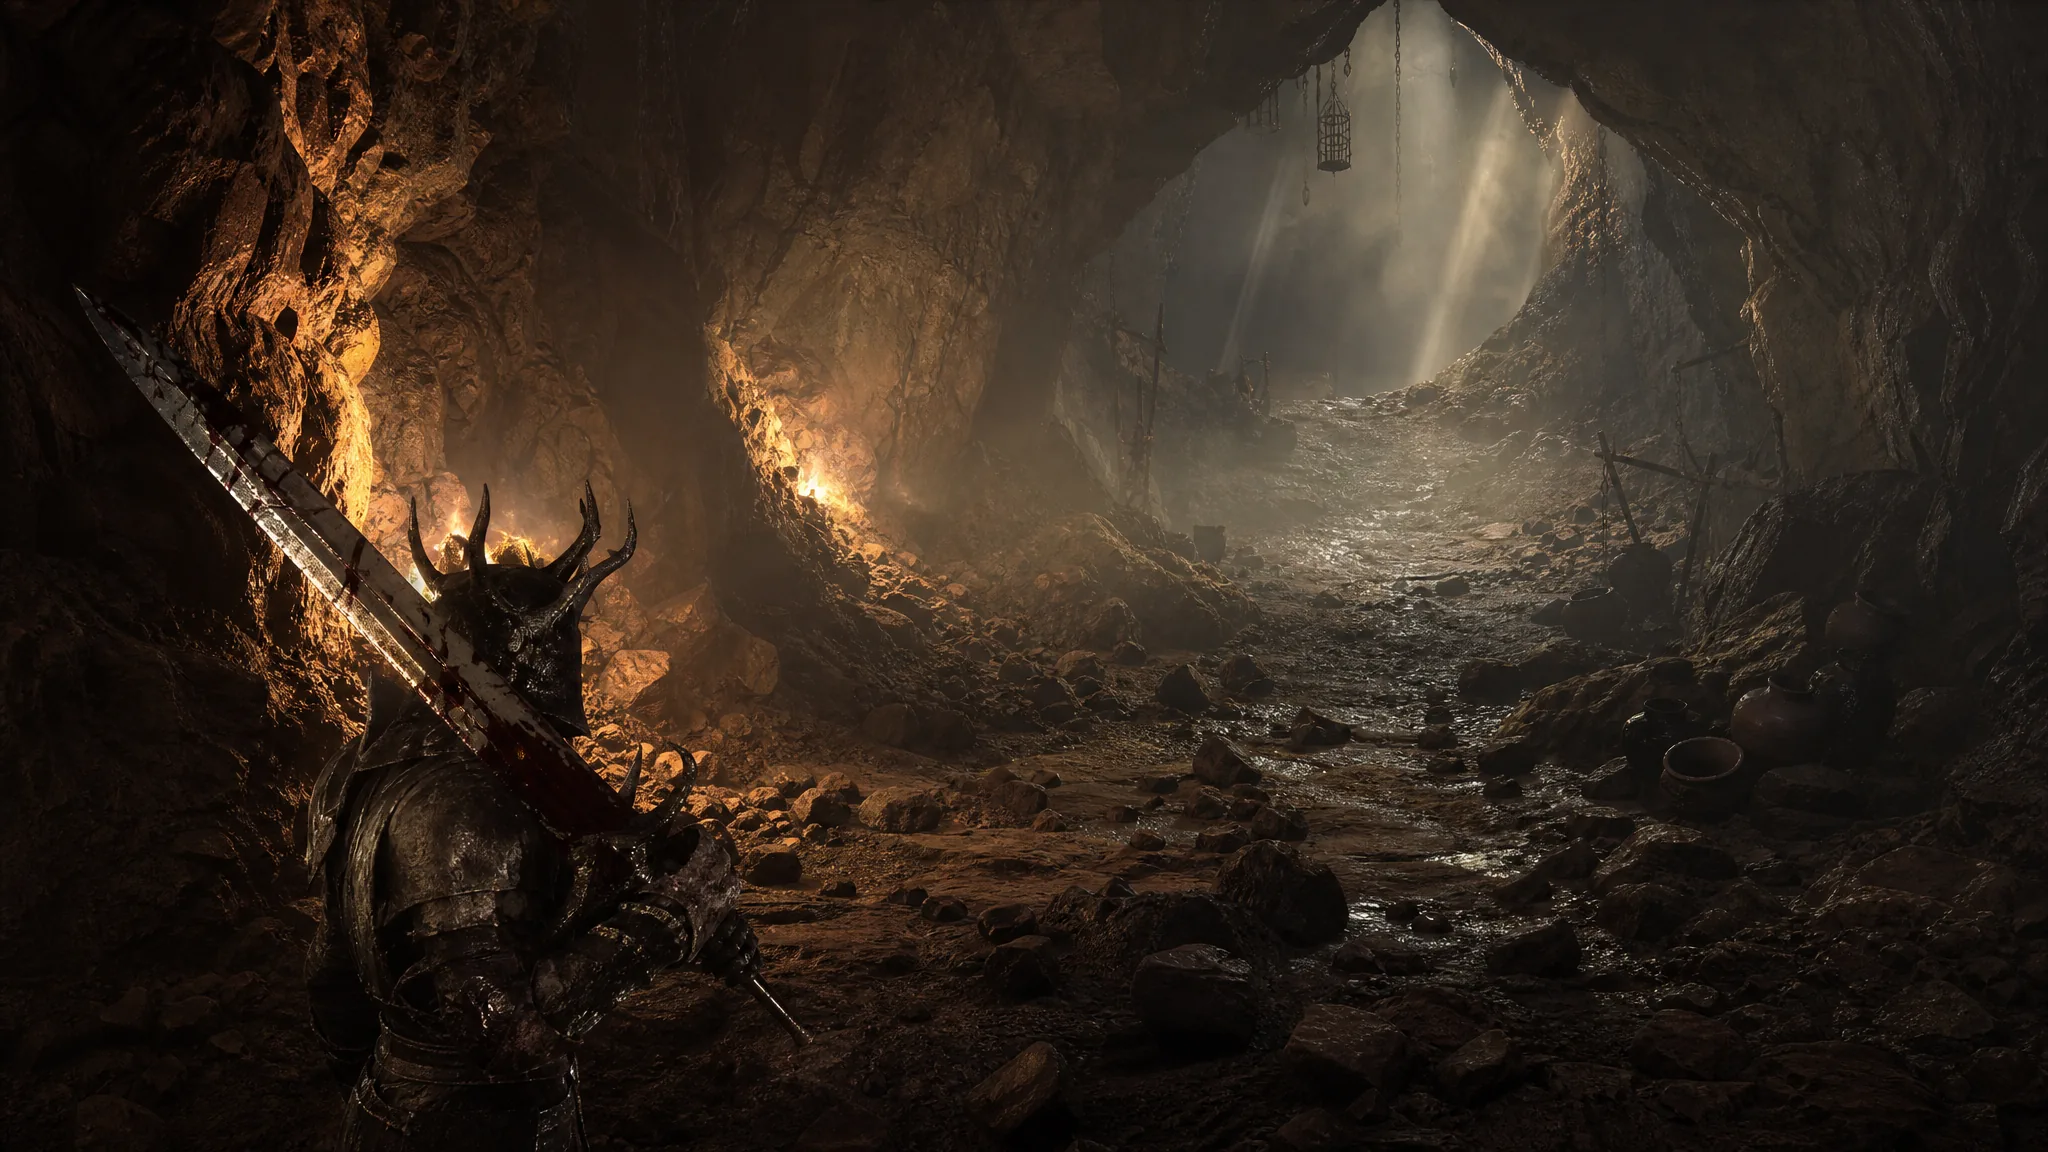
The Crumbling Tunnel is a short dungeon in Mortal Shell 2 that exists for one reason. It hands you the map that marks where Proxima’s signature sidearm, the Triarch Repeater, can be found. The catch is that reading the map slab triggers a cave-in, so you need to collect everything else first and then sprint out before the ceiling drops.
Quick answer: Enter through the portal-like opening in the Shattered Beacon area where you got the Proxima Shell, ride the elevator down, grab Ventrium and Laterite along the tunnel, then read the map slab at the dead end to reveal the Triarch Repeater search area. The tunnel collapses the moment you read it, so run straight back to the elevator to leave.
Crumbling Tunnel location and how to reach it
The entrance sits inside the Blackridge Cliffs, just east of the Shattered Beacon where you claim the Proxima Shell. If you are traveling on foot, set off from the Blackridge Pass beacon and cut through the cliffs toward the cave mouth. The overworld route runs through open ground with flying enemies, so keep a sidearm ready.
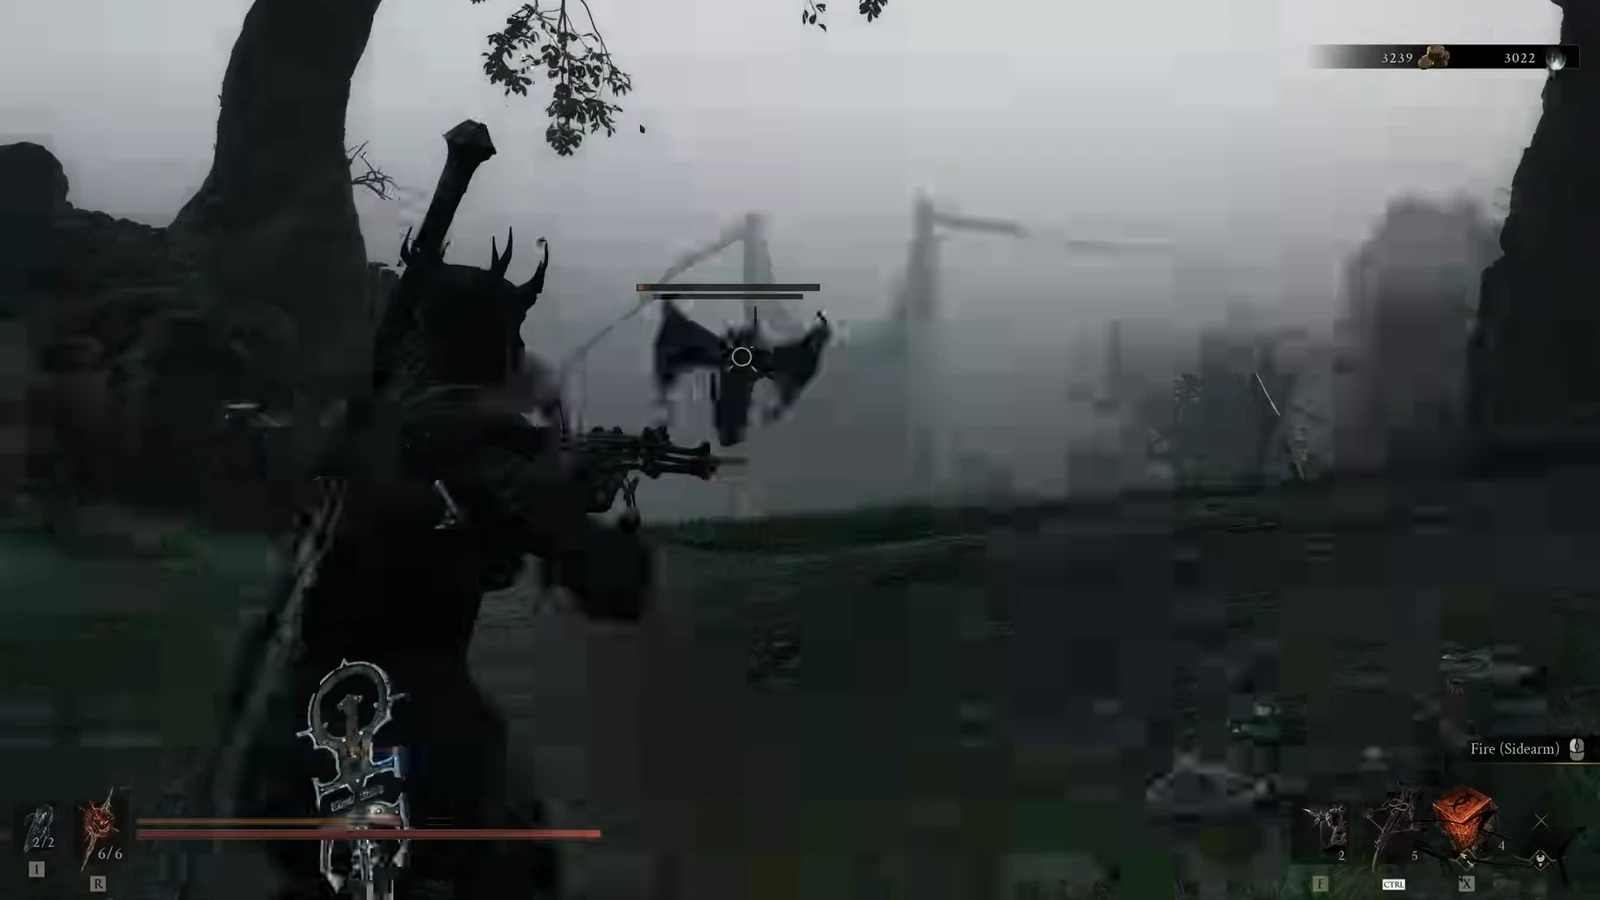
Push through the cliffs and you will meet a larger ground enemy near the path. Deal with it, then look for the cave opening that leads down into the tunnel. Stepping inside brings up the Crumbling Tunnel dungeon label on the map.
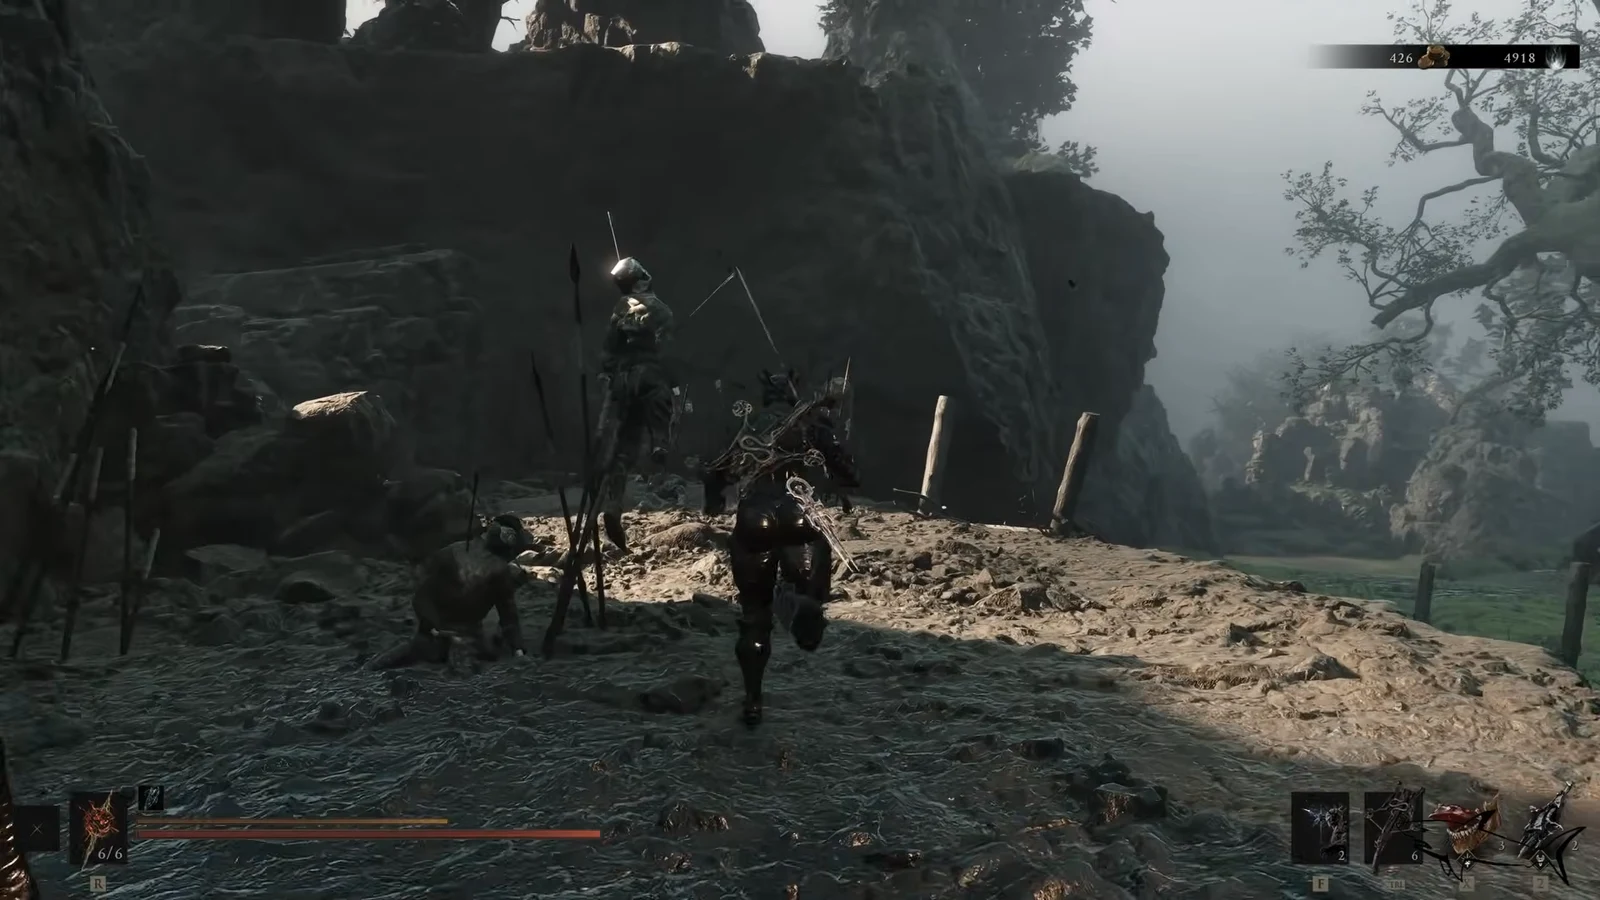
Full Crumbling Tunnel walkthrough
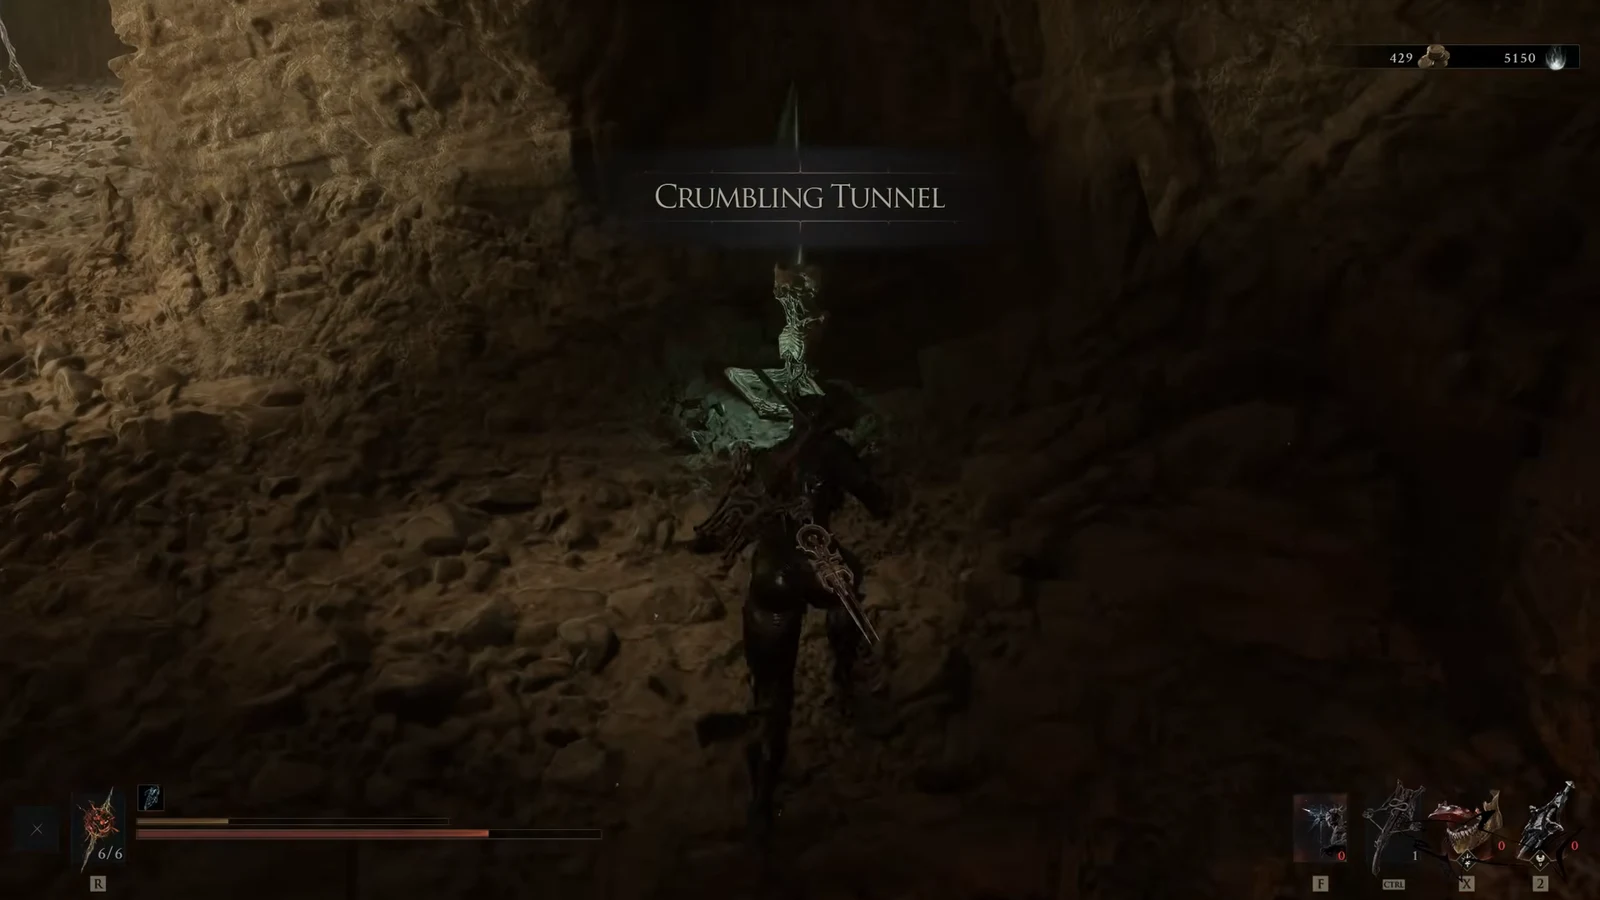
Escaping the collapse
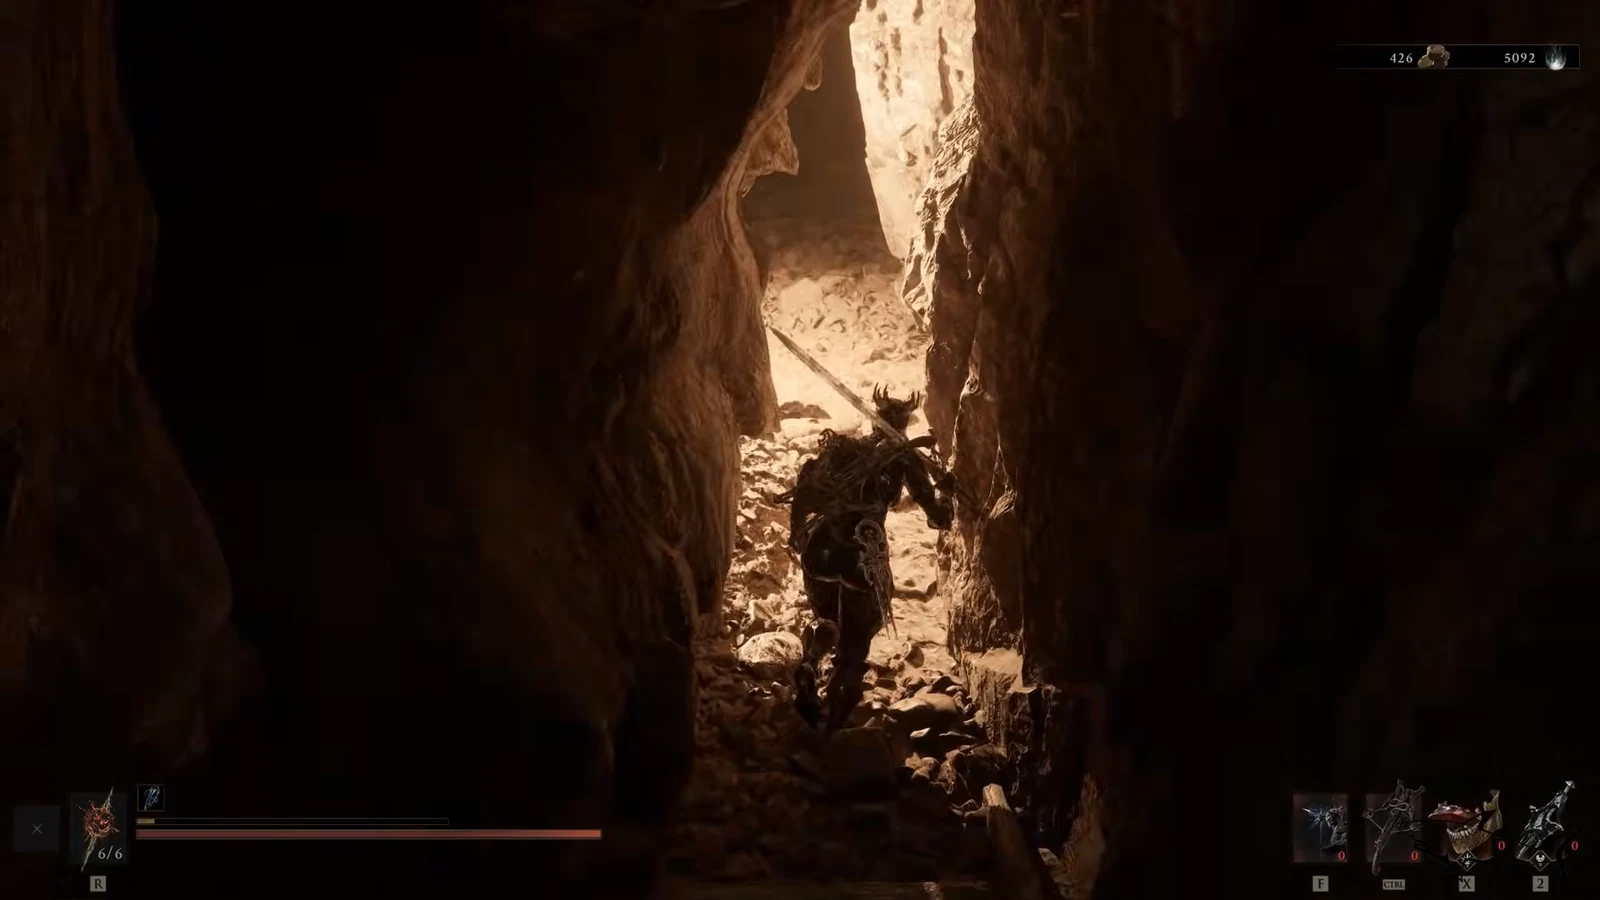
As soon as you read the map slab, the tunnel starts to cave in and rocks begin dropping from the ceiling. Turn back toward the lit end of the cave and run for the elevator. Falling debris is telegraphed by small trickles of dust and pebbles from above, so avoid those spots as you go.
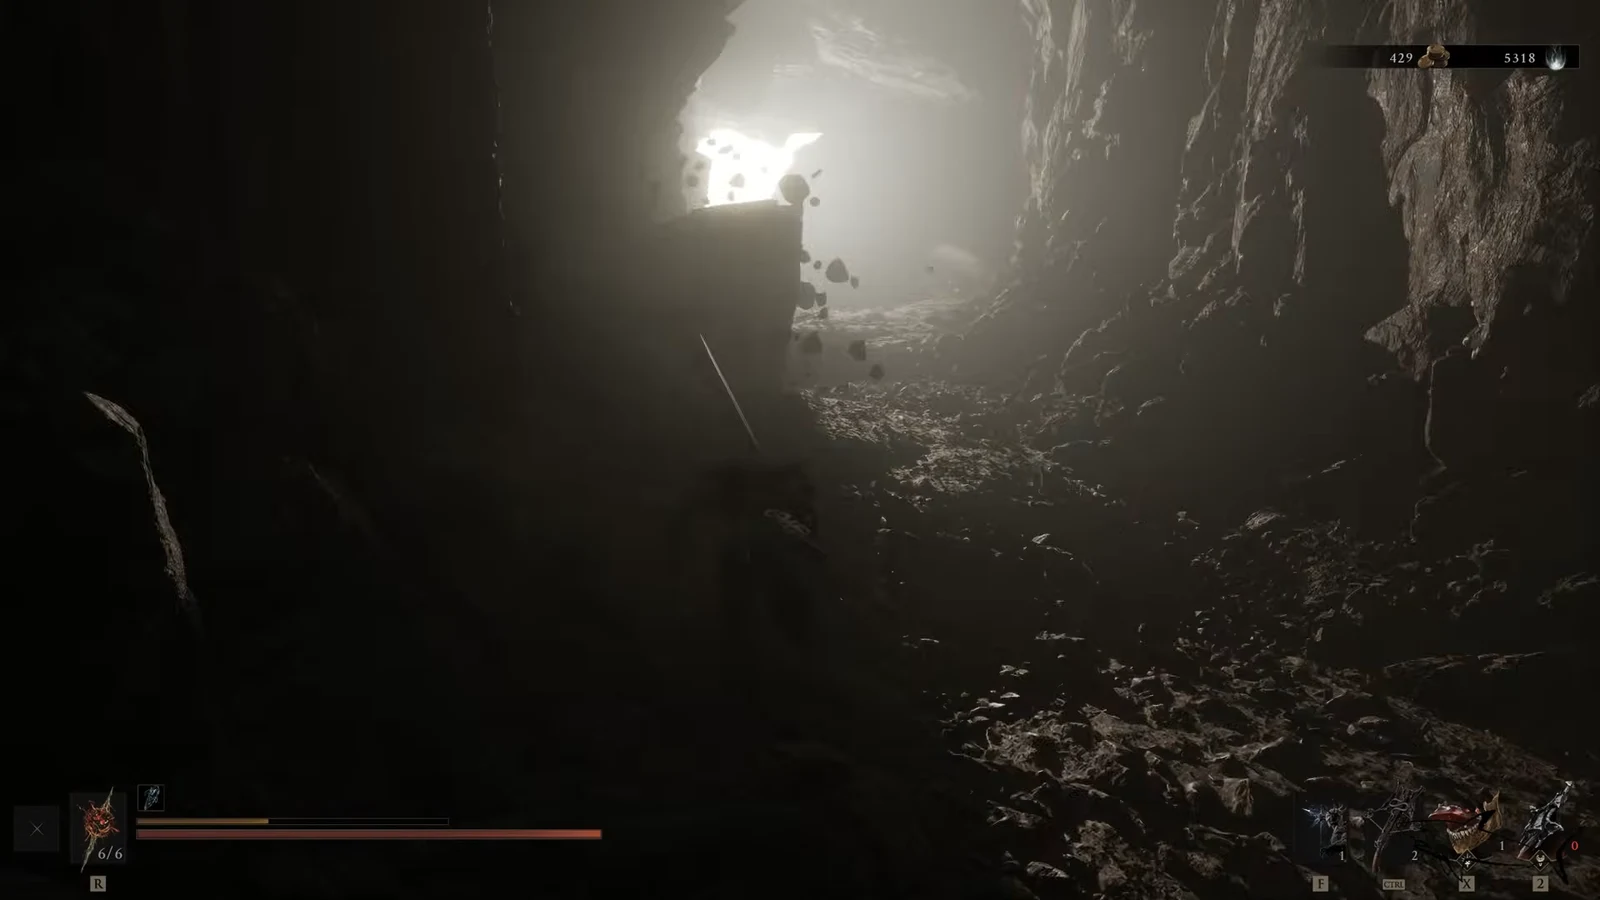
A stray enemy may appear on the way out. You do not need to fight it, so run past and keep heading for the elevator. Ride it back up and leave through the entrance you came in from.
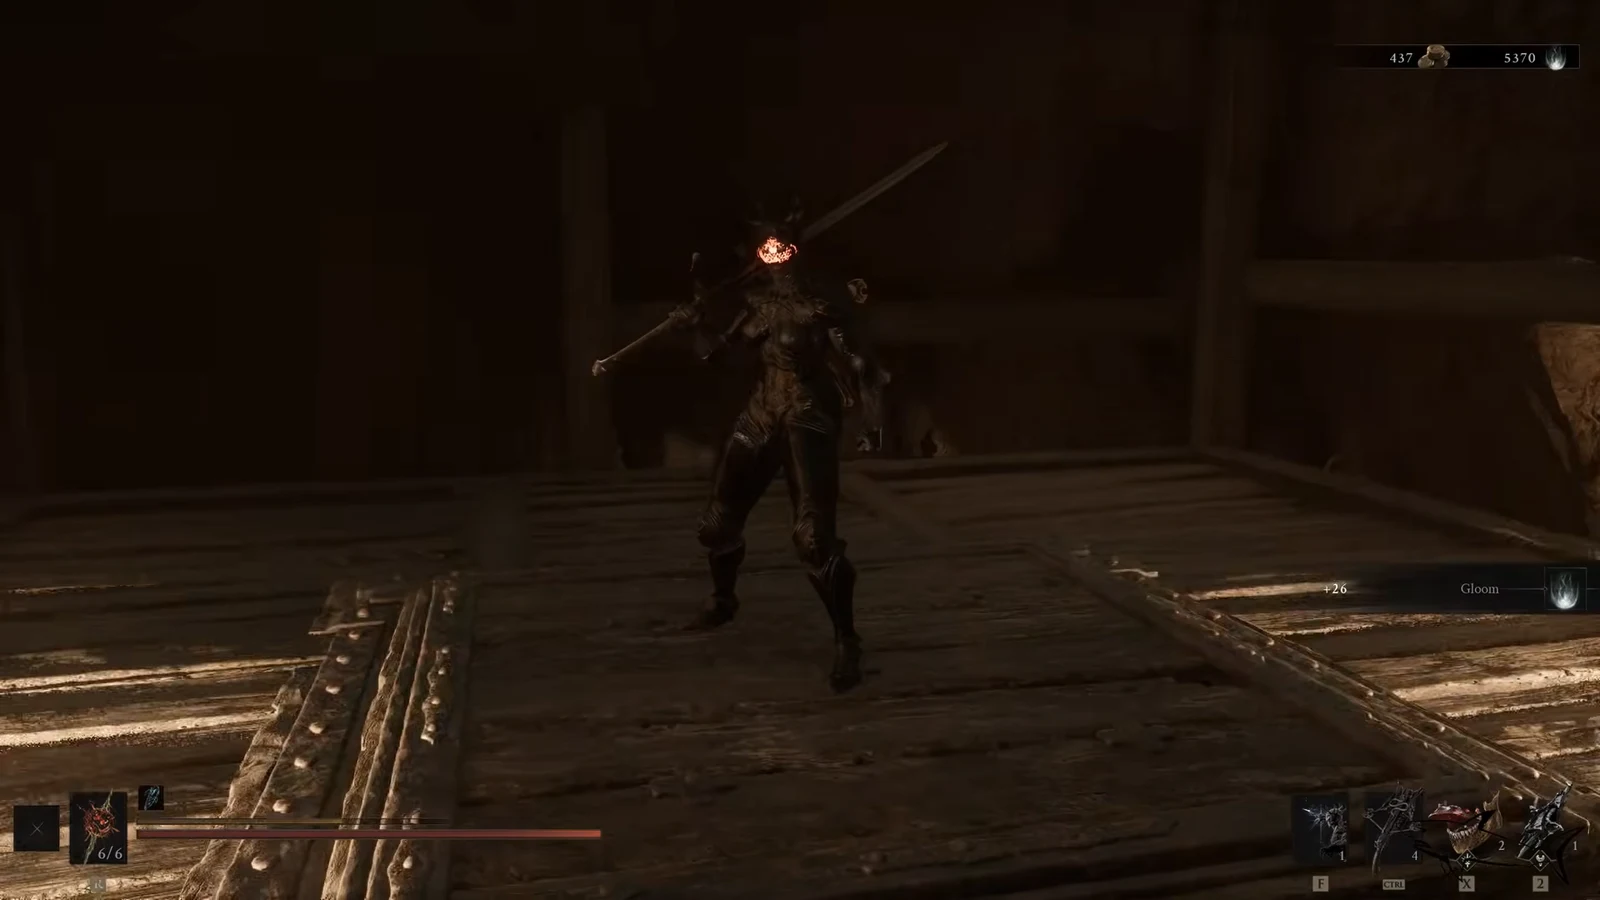
Note: Once the collapse finishes, the passage is sealed for good and you cannot return inside. Collect the Ventrium and Laterite before you touch the map slab, since the slab is the point of no return.
Rewards and how to confirm 100% completion
The main prize is the Triarch Repeater Map, which reveals where Proxima’s signature sidearm can be found. The weapon itself is picked up later, so the map only marks its search area for now. Along the way you also secure two crafting materials.
| What you get | Where |
|---|---|
| Ventrium | Growth on the left after the first group of enemies |
| Laterite | Growth near the falling-rock stretch |
| Triarch Repeater Map | Map slab at the dead end, behind the explosive jars |
You know the run is finished when the Triarch Repeater search area shows up on the world map and the Crumbling Tunnel entry is marked complete on your map. If it still reads as incomplete, you either skipped one of the two materials or left before reading the slab. Since the tunnel seals after the collapse, the only fix is to make sure both pickups are in hand before that final interaction.