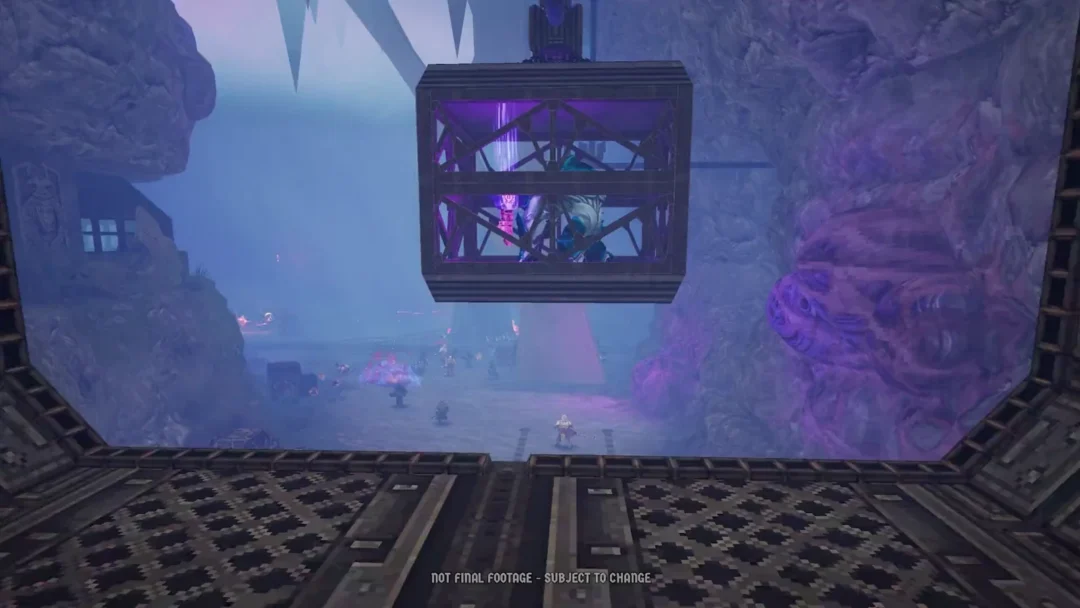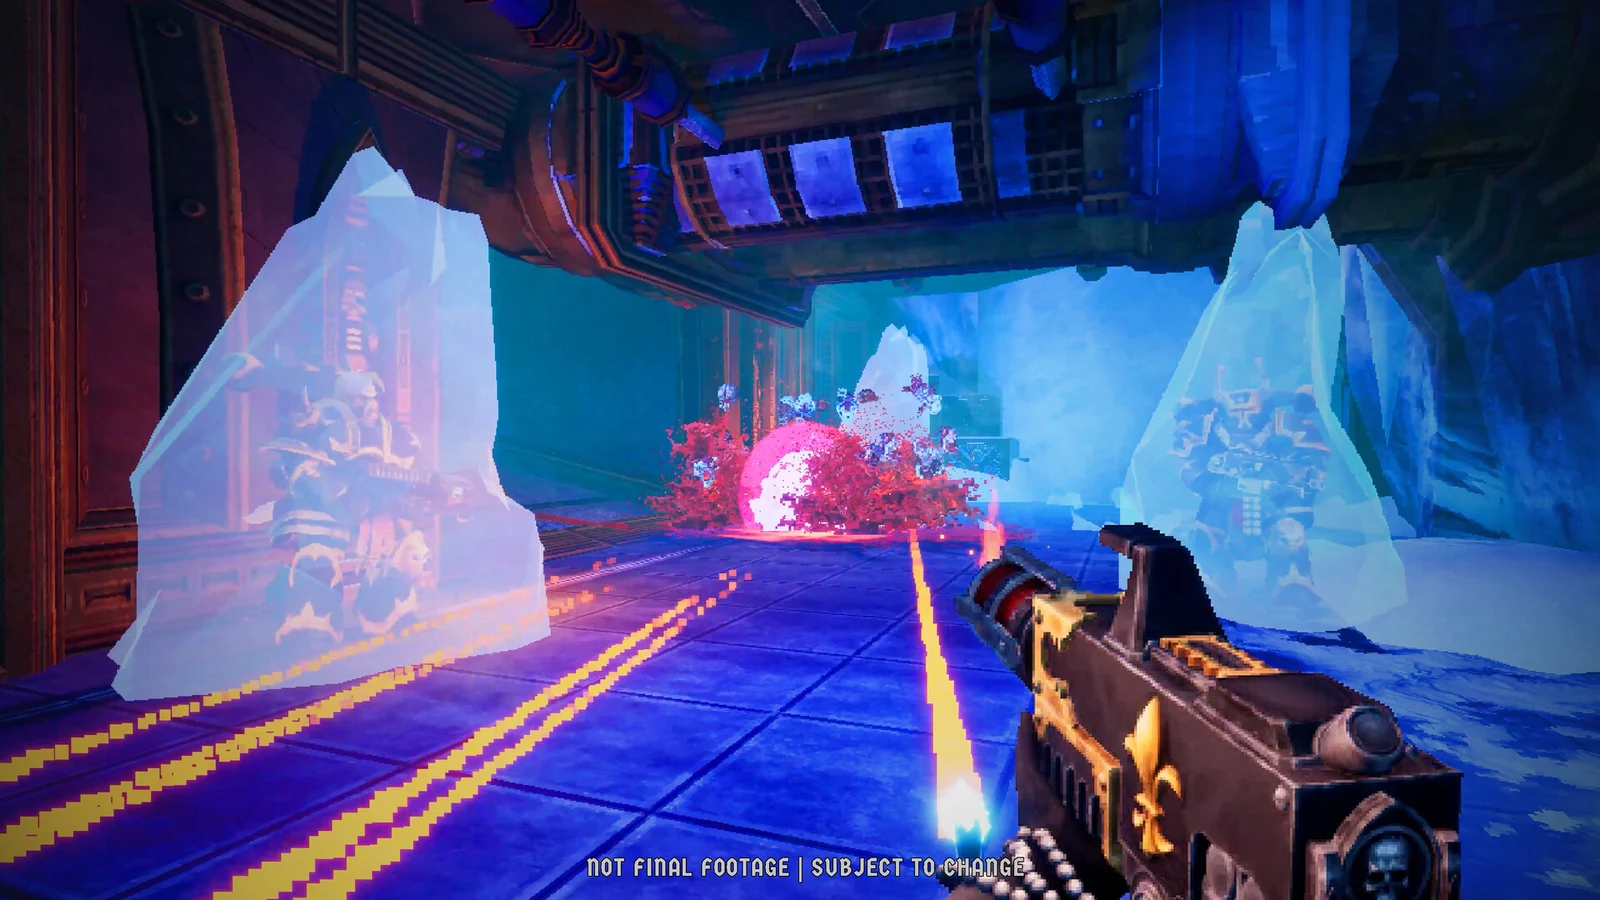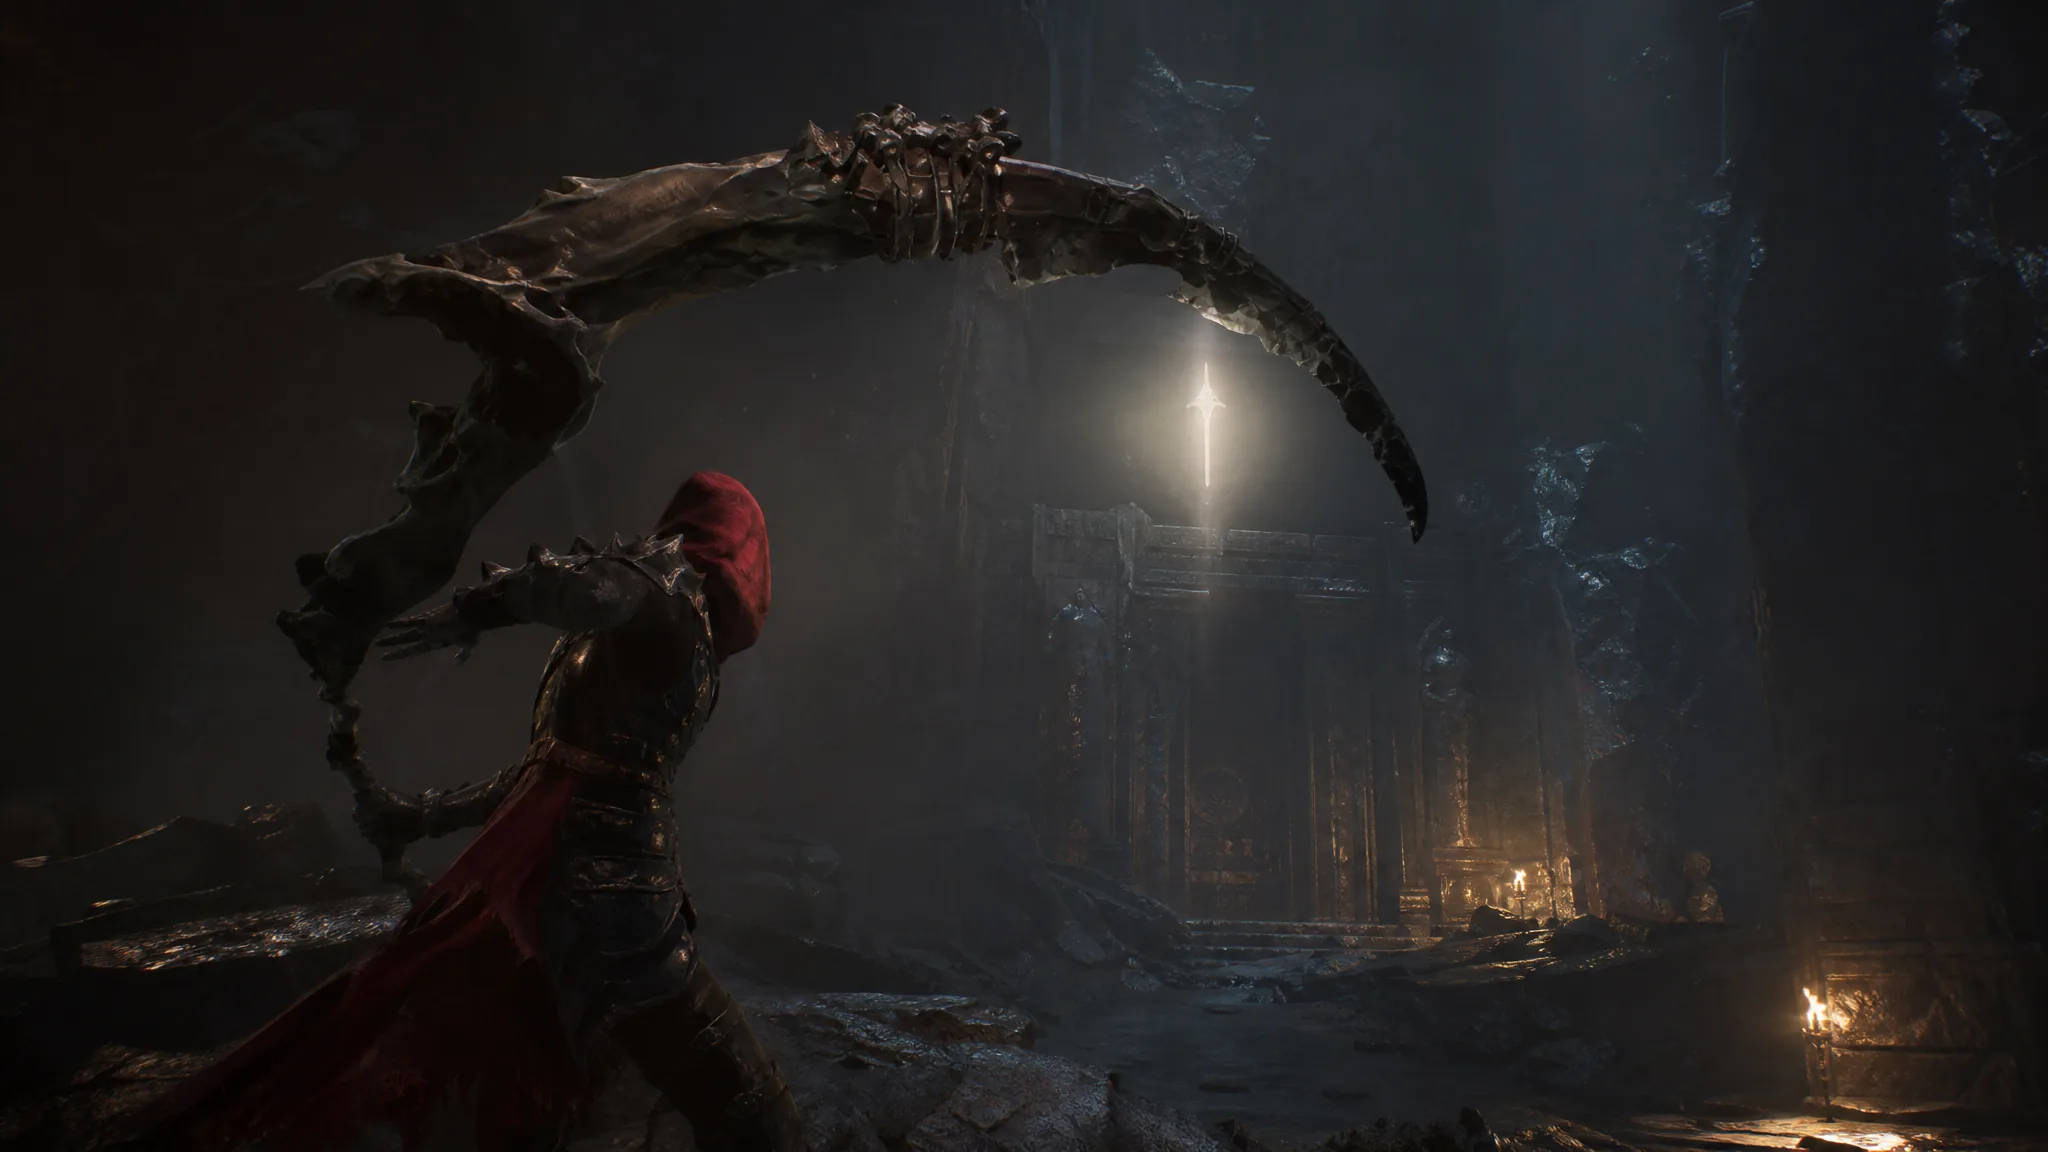
Faithful’s Shelter is one of the beacons buried inside the Unfound Path, the final dungeon of Mortal Shell 2. It sits at the far end of a dark, red-lit cavern crawling with spectral enemies, and reaching it is part of clearing one of the three tendrils that block your way to the final boss.
Quick answer: Follow the cavern path from the starting beacon, break through the spectral enemies (ranged fire is the safest option), defeat the Malborn Offspring that guards the shelter, then walk up to the Faithful’s Shelter beacon and choose Cleanse Beacon.
Where Faithful’s Shelter sits in the Unfound Path
The Unfound Path opens once you have collected enough Ova from the six Corrupted Gates. You unlock it by approaching the NPC in the room with the Gloom Siphon in Marrow Keep, which opens a hole in the ground leading down into the final area.
The dungeon is built around a central circular structure with three story paths branching off it. Each path ends with a boss that guards a tendril. Faithful’s Shelter is the beacon tied to one of those segments, and clearing all three tendrils is required before you can cleanse the final beacon and face Zmey the Unbidden.
Night Mode changes the enemy layout and lighting of the run, and it becomes available earlier in the campaign after you defeat the Great Arbiter of Flesh in Fainweald. The Faithful’s Shelter segment plays out as a spectral gauntlet either way.
Route to the Faithful’s Shelter beacon
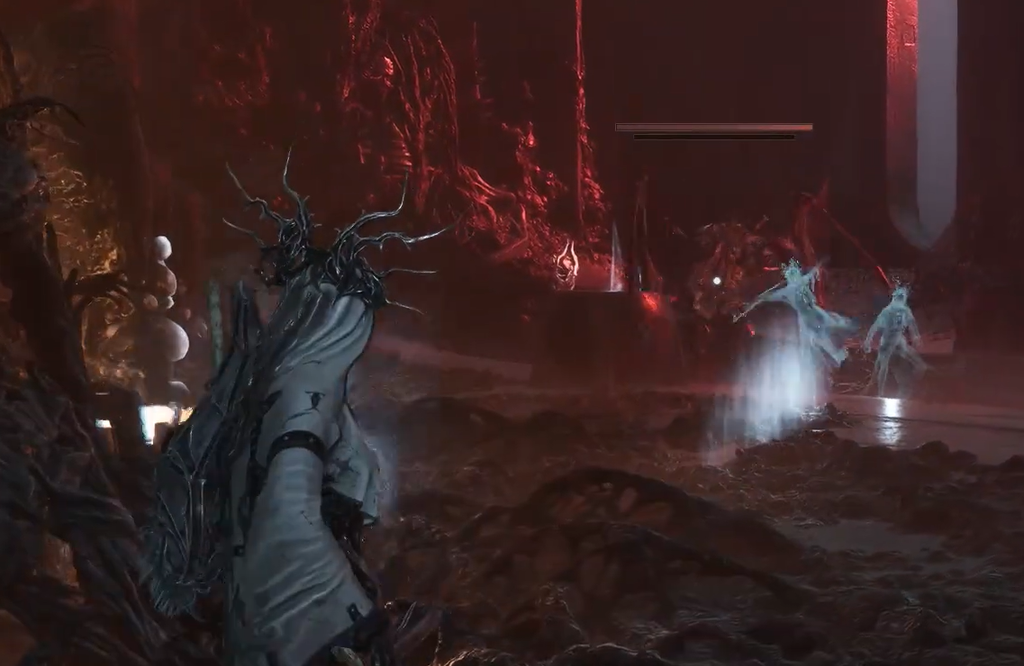
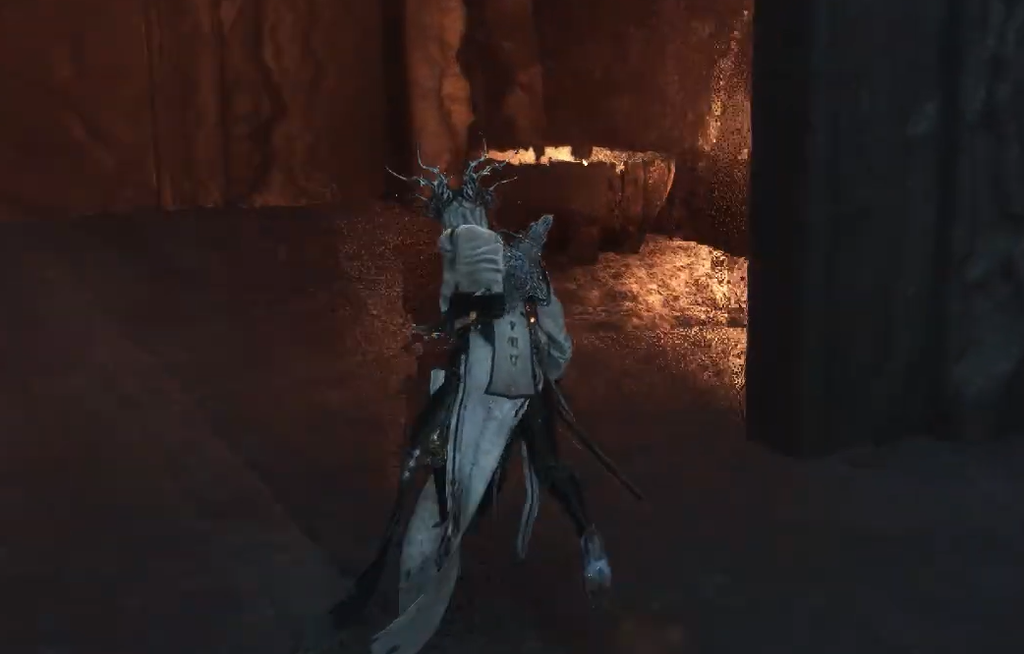
Surviving the spectral cavern
The biggest danger in this run is being overwhelmed in the open cavern, where several enemies can pile on and stagger you into a death. A rapid-fire ranged sidearm is the most reliable answer. It lets you thin out groups from a distance along the bridge and the narrow paths before they close in.
If you go down, you lose all of your accumulated Gloom at the spot where you died. You keep your progress at the last beacon, but you have to run back to the death location to recover the dropped Gloom. Reaching the exact spot restores it, shown by the on-screen GLOOM RETRIEVED prompt.
- Do not attack red fleshy pillars unless you want to spawn a wave of enemies.
- Use your sidearm to clear the stone bridge before crossing it on foot.
- Retrieve any dropped Gloom before pushing forward again, since a second death replaces the first drop.
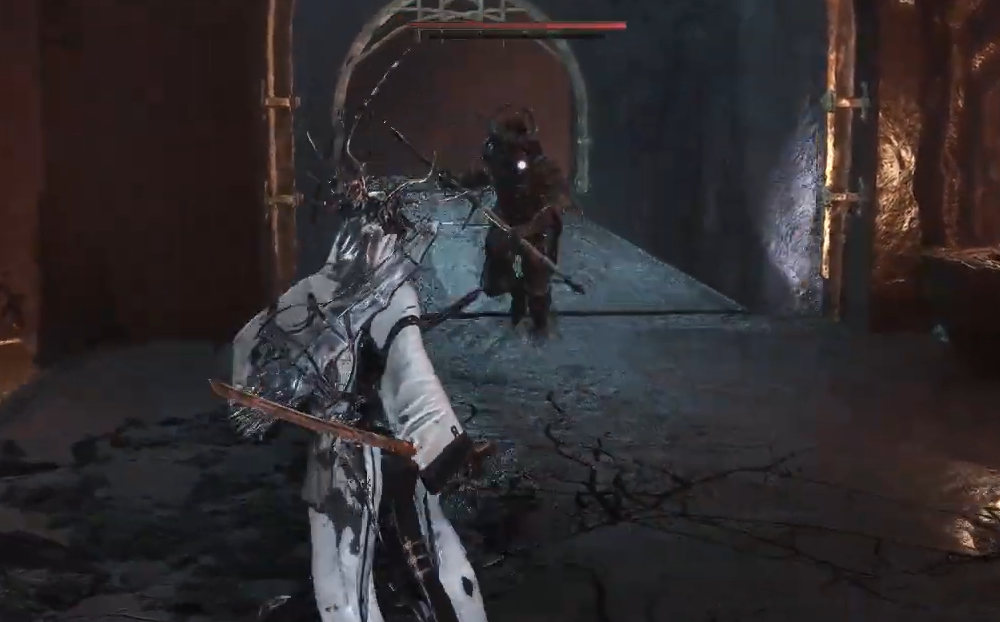
Malborn Offspring, the boss guarding the shelter
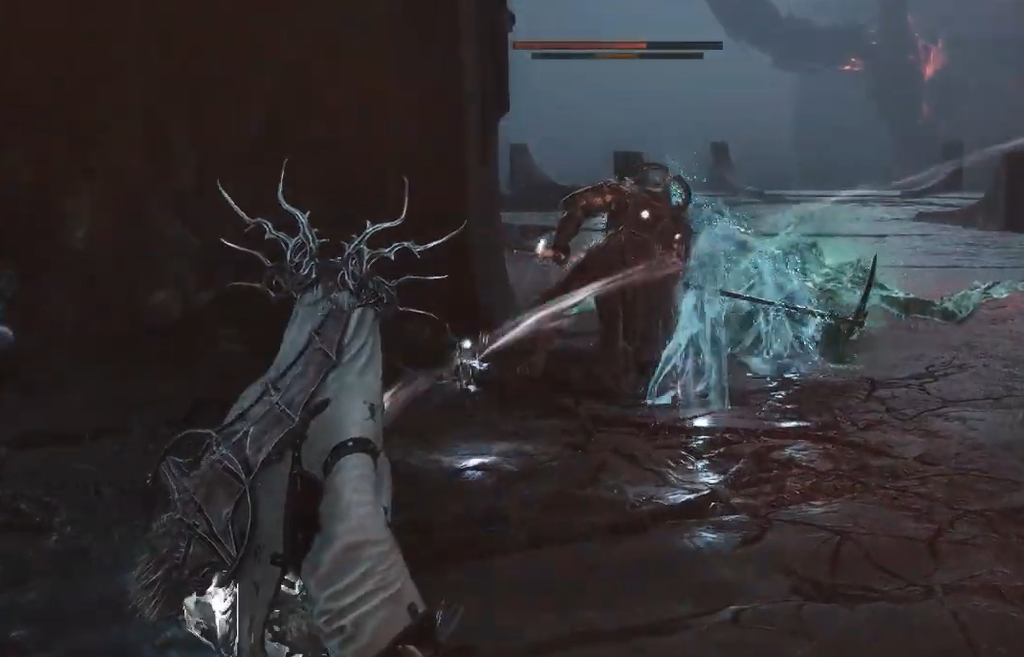
The Malborn Offspring is the boss tied to the Faithful’s Shelter segment, and it is the toughest fight in this part of the Unfound Path. The encounter has two phases, and its attacks are hard to read.
Its Cleaving Combos are the main threat. Most attack strings chain five or six hits, and each swing uses a different animation speed and delay, so committing to a dodge or a block too early leaves you open to the follow-up. Watch the full string before you respond, and save your healing flasks for the second phase rather than burning them early.
Cleansing the beacon and its menu options
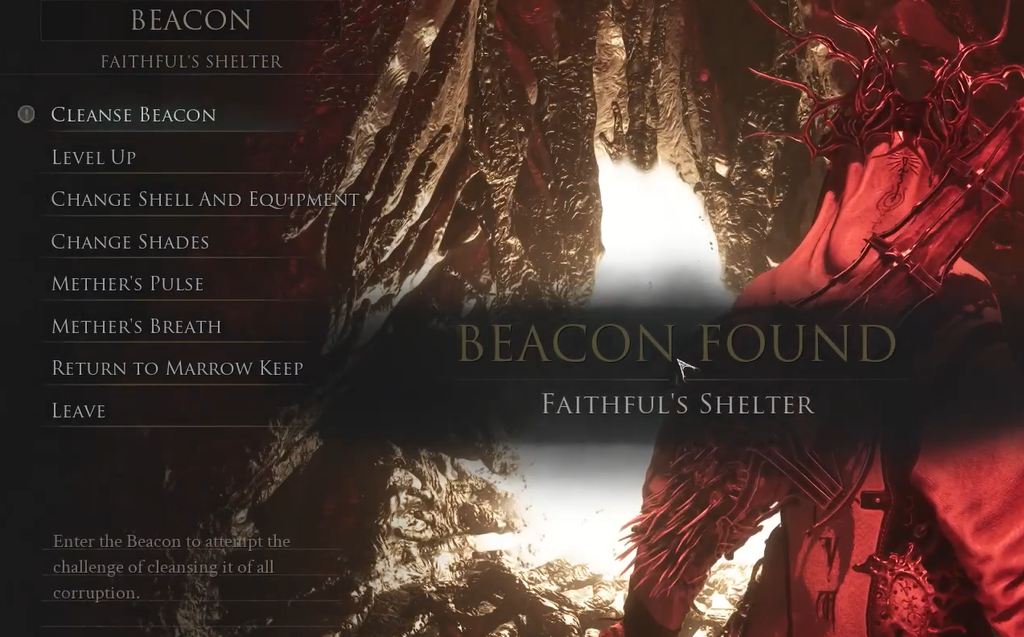
Once you reach the beacon, the game confirms it with a BEACON FOUND prompt naming Faithful’s Shelter. Interact with it and select Cleanse Beacon to activate it as a checkpoint. A cleansed beacon becomes a fast-travel and recovery point that restores Health and Resolve to the Harbinger and respawns nearby enemies.
After it is active, the beacon menu gives you the standard options for managing your build and travel:
| Option | What it does |
|---|---|
| Cleanse Beacon | Activates the beacon as a checkpoint |
| Level Up | Spends resources to raise your character |
| Change Shell and Equipment | Swaps your active shell and gear |
| Change Shades | Adjusts your shade loadout |
| Mother’s Pulse / Mother’s Breath | Beacon travel and traversal functions |
| Return to Marrow Keep | Sends you back to the main hub |
| Leave | Closes the beacon menu |
You know the beacon is secured when it stops showing the corrupted state and the Cleanse Beacon option is replaced by the full menu above. From here you can rest, respec your shell and equipment, and use it as a respawn point for the rest of the Unfound Path.
With Faithful’s Shelter cleansed and the Malborn Offspring down, you have cleared one of the three tendrils standing between you and the end of the game. Take care of the Bridge of Procession and Obsidian Vault segments as well, then cleanse the final beacon around the central structure to open the path to Zmey the Unbidden.