

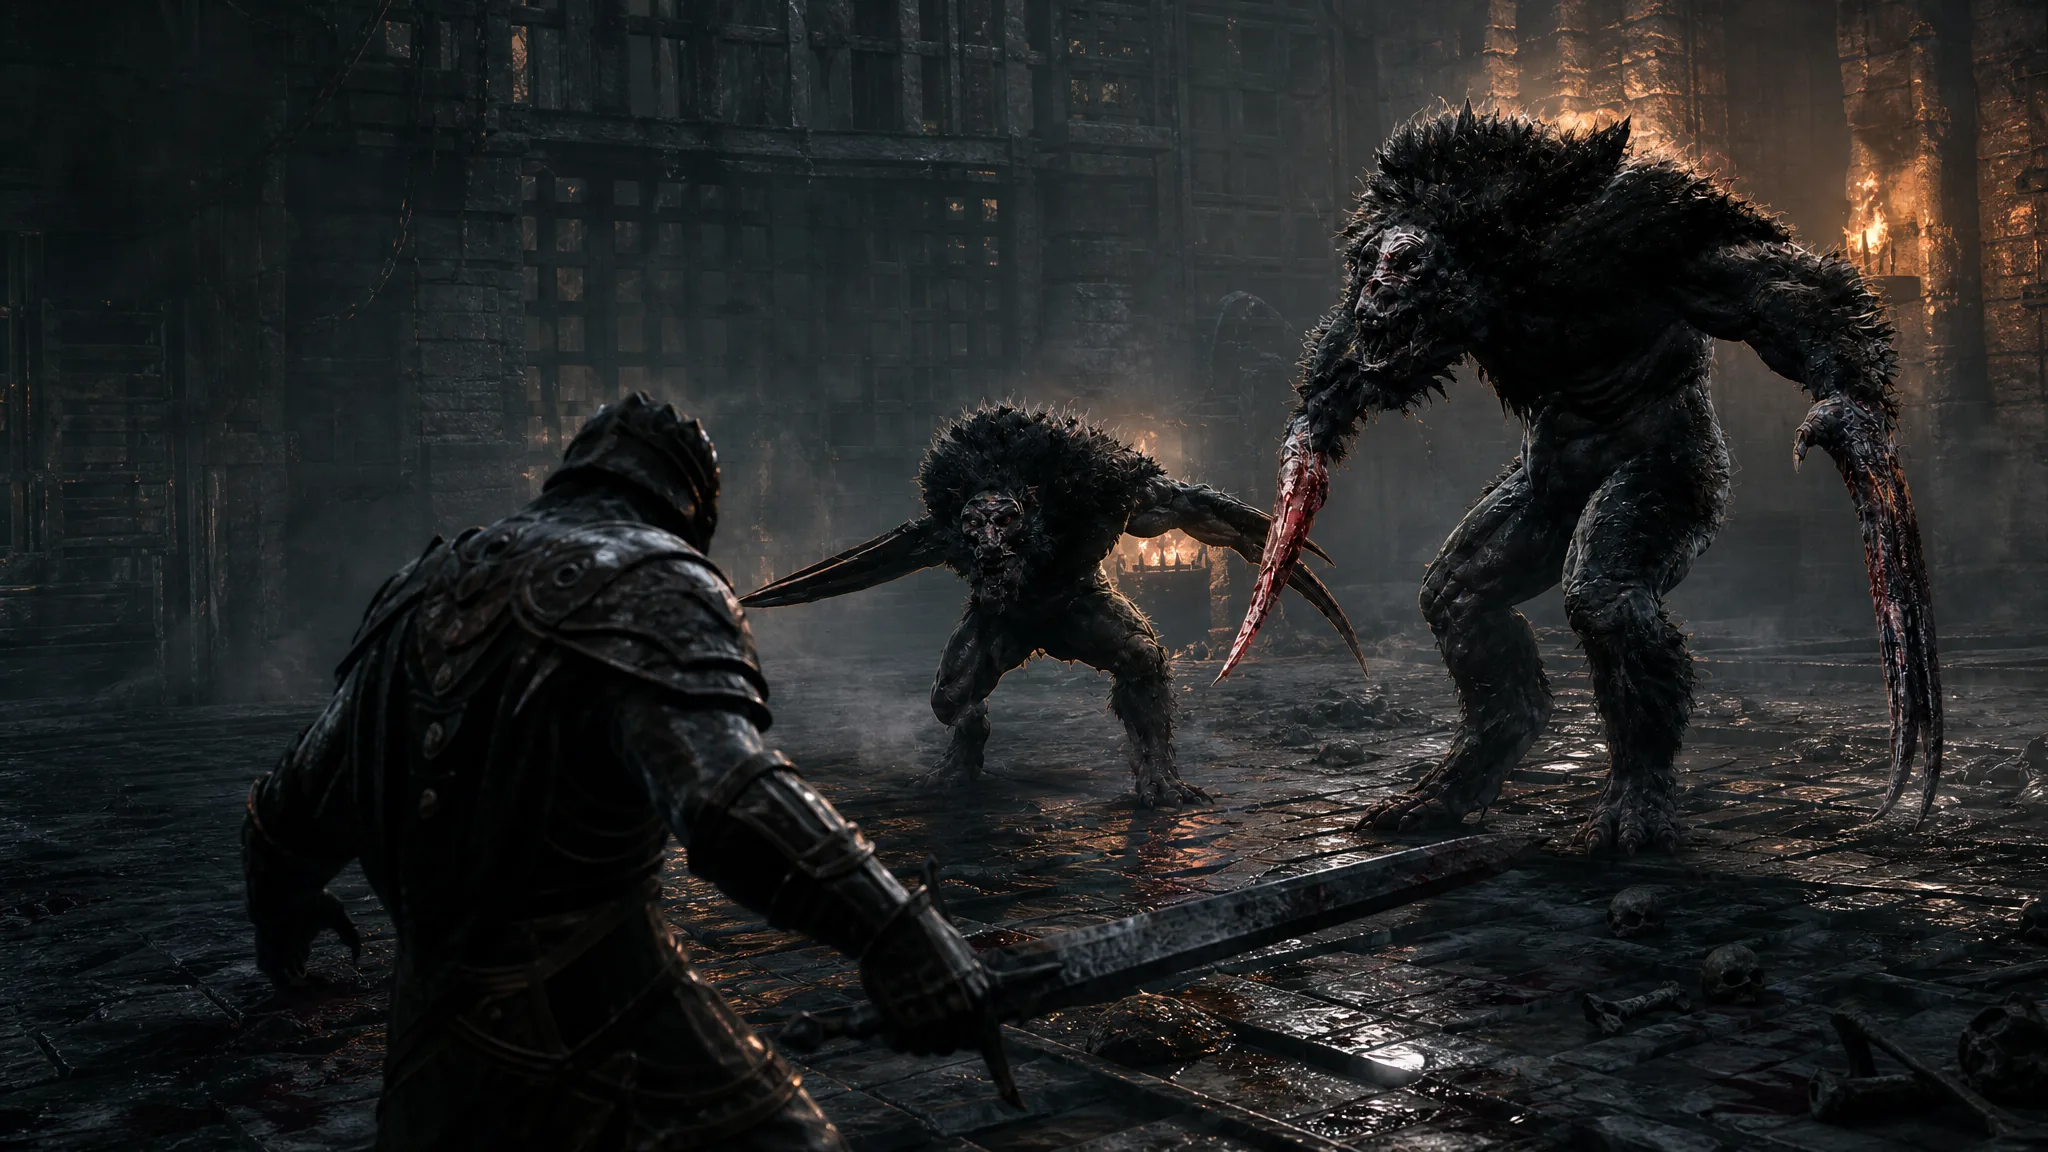
The Rabid Grisha Pack is the cage-match boss at the bottom of the Holding Cells dungeon, and it throws two aggressive, bear-like Grishas at you at the same time. The danger is getting pinned between them, so the whole fight comes down to deleting one Grisha as quickly as possible and turning the encounter into a clean 1v1.
Quick answer: Enter the cage with the Iconoclast and a Level 2 Shrike Stone equipped, then immediately spam the Shrike Stone shockwave on the first Grisha while your summoned Grisha Remnant ally holds the second one. Kill the first boss fast, then dodge the red-circle attacks and riposte the survivor to finish the fight.
Rabid Grisha Pack location in the Holding Cells
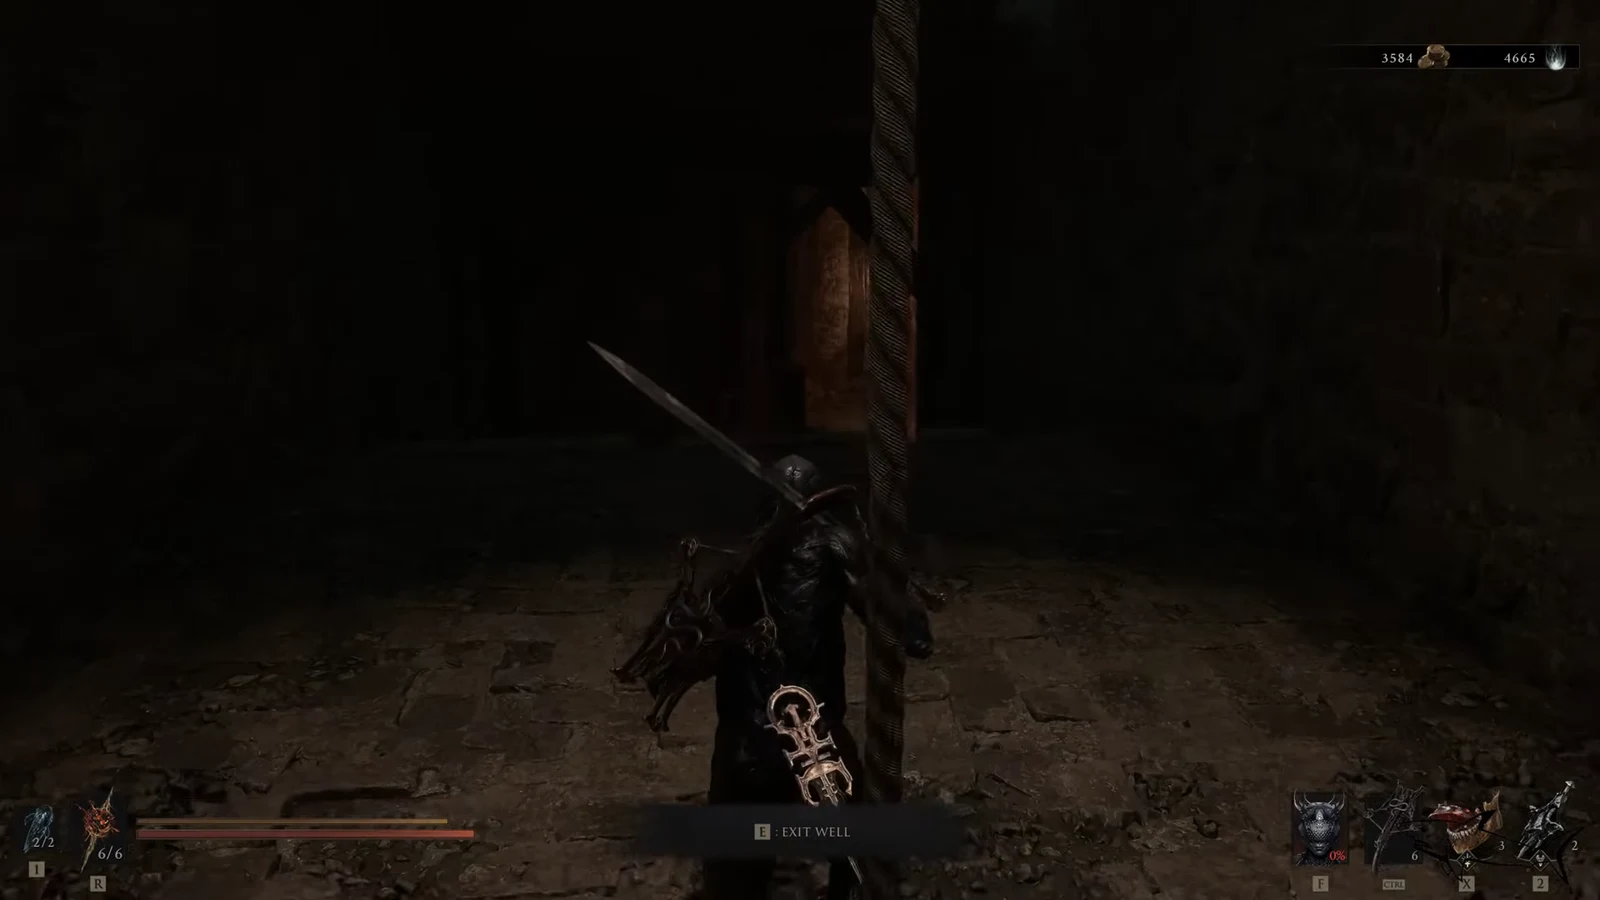
The Rabid Grisha Pack waits at the very bottom of the Holding Cells dungeon. There is no Beacon close to the arena, so a death sends you on a long walk back. Prepare before you drop in and keep your healing charges topped up.
The build that makes the fight easy
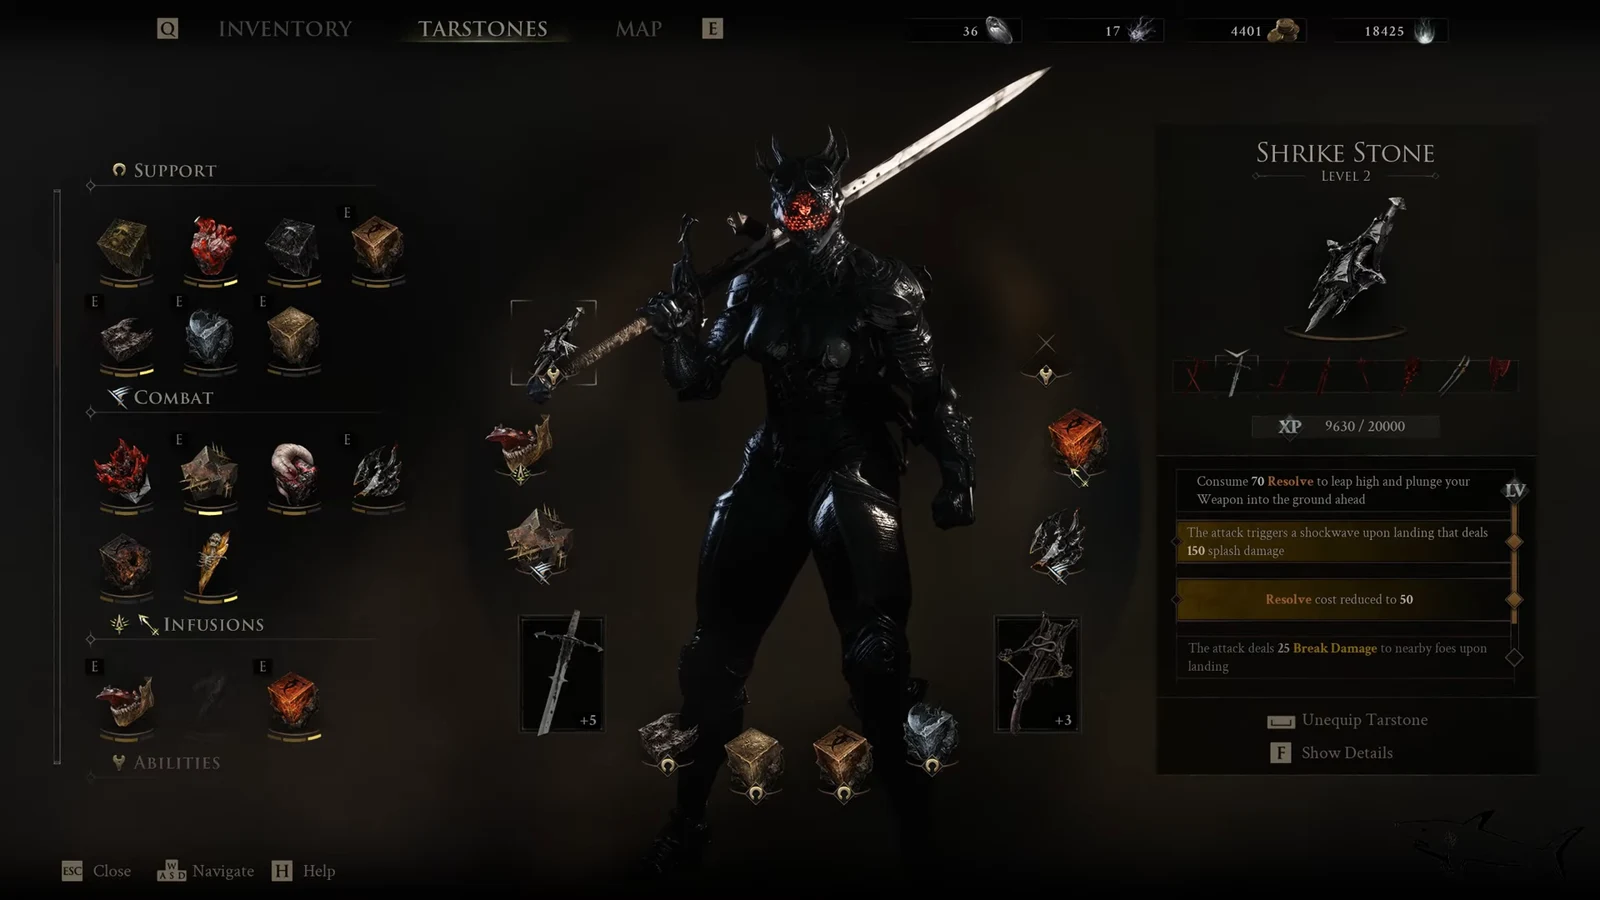
The fastest path through this fight leans on burst damage and a distraction. The Iconoclast two-handed sword handles your melee, but the star of the setup is the Shrike Stone at Level 2. Its shockwave deals 150 slash damage for 30 Resolve, and it can be repeated as long as you keep your Resolve topped up.
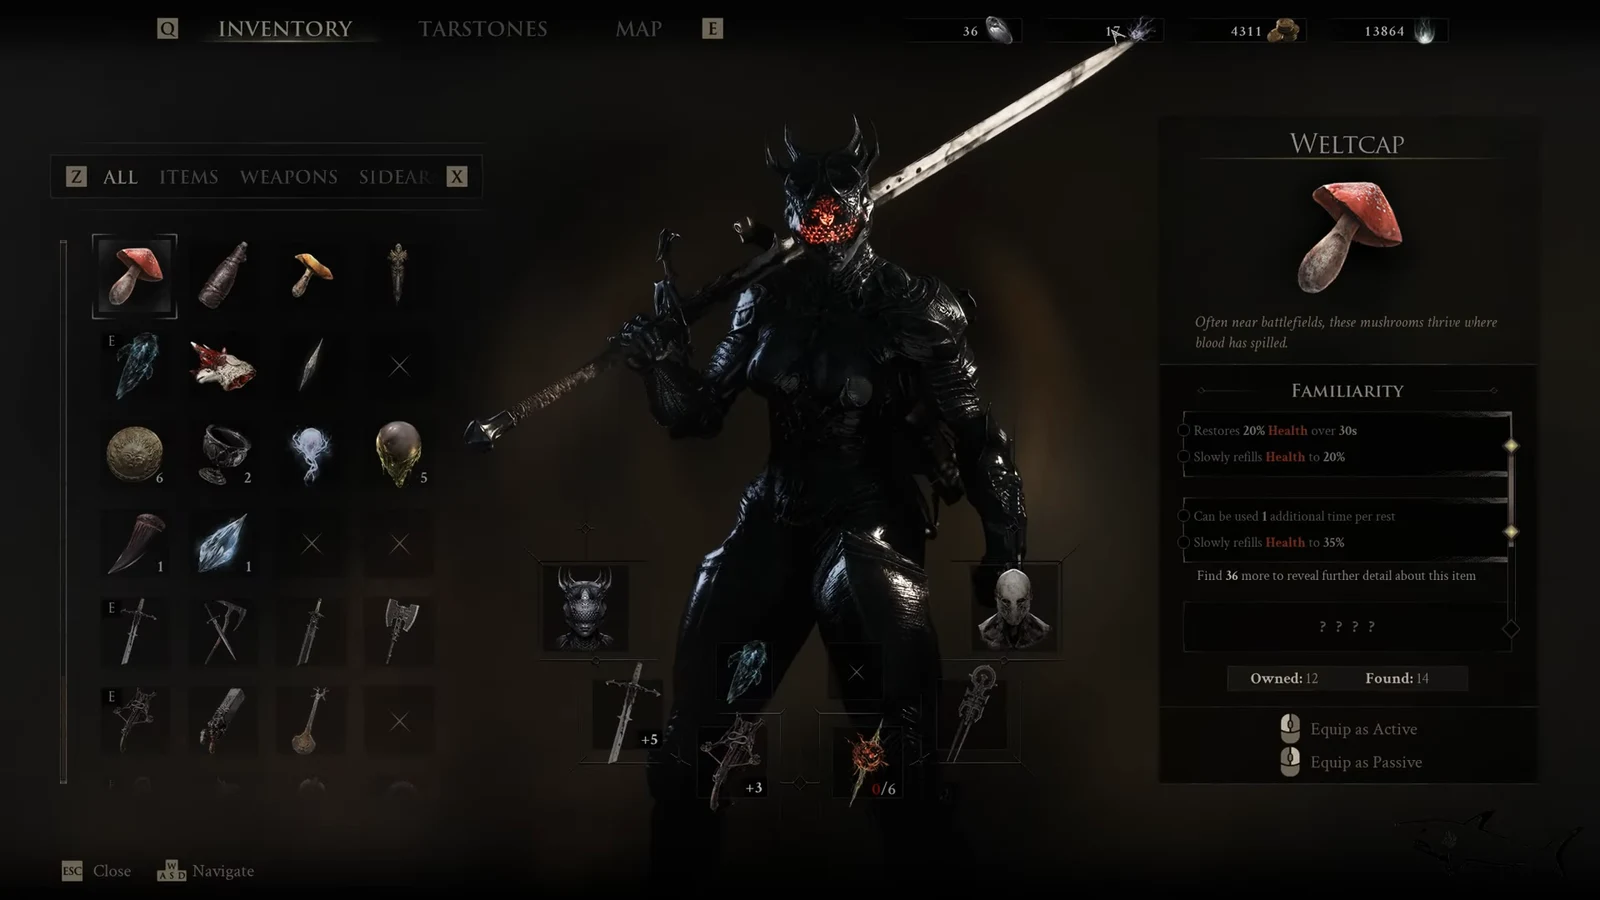
The other essential piece is the Grisha Remnant. Using this item summons a friendly Grisha that draws the aggression of one boss, letting you fight the encounter closer to one at a time. Keep it ready before you enter the cage.
| Loadout piece | Role in the fight |
|---|---|
| Iconoclast (two-handed sword) | Main melee weapon for finishing the survivor |
| Shrike Stone (Level 2) | Shockwave burst, 150 slash damage per 30 Resolve |
| Grisha Remnant | Summons an ally that distracts one boss |
How to beat the Rabid Grisha Pack
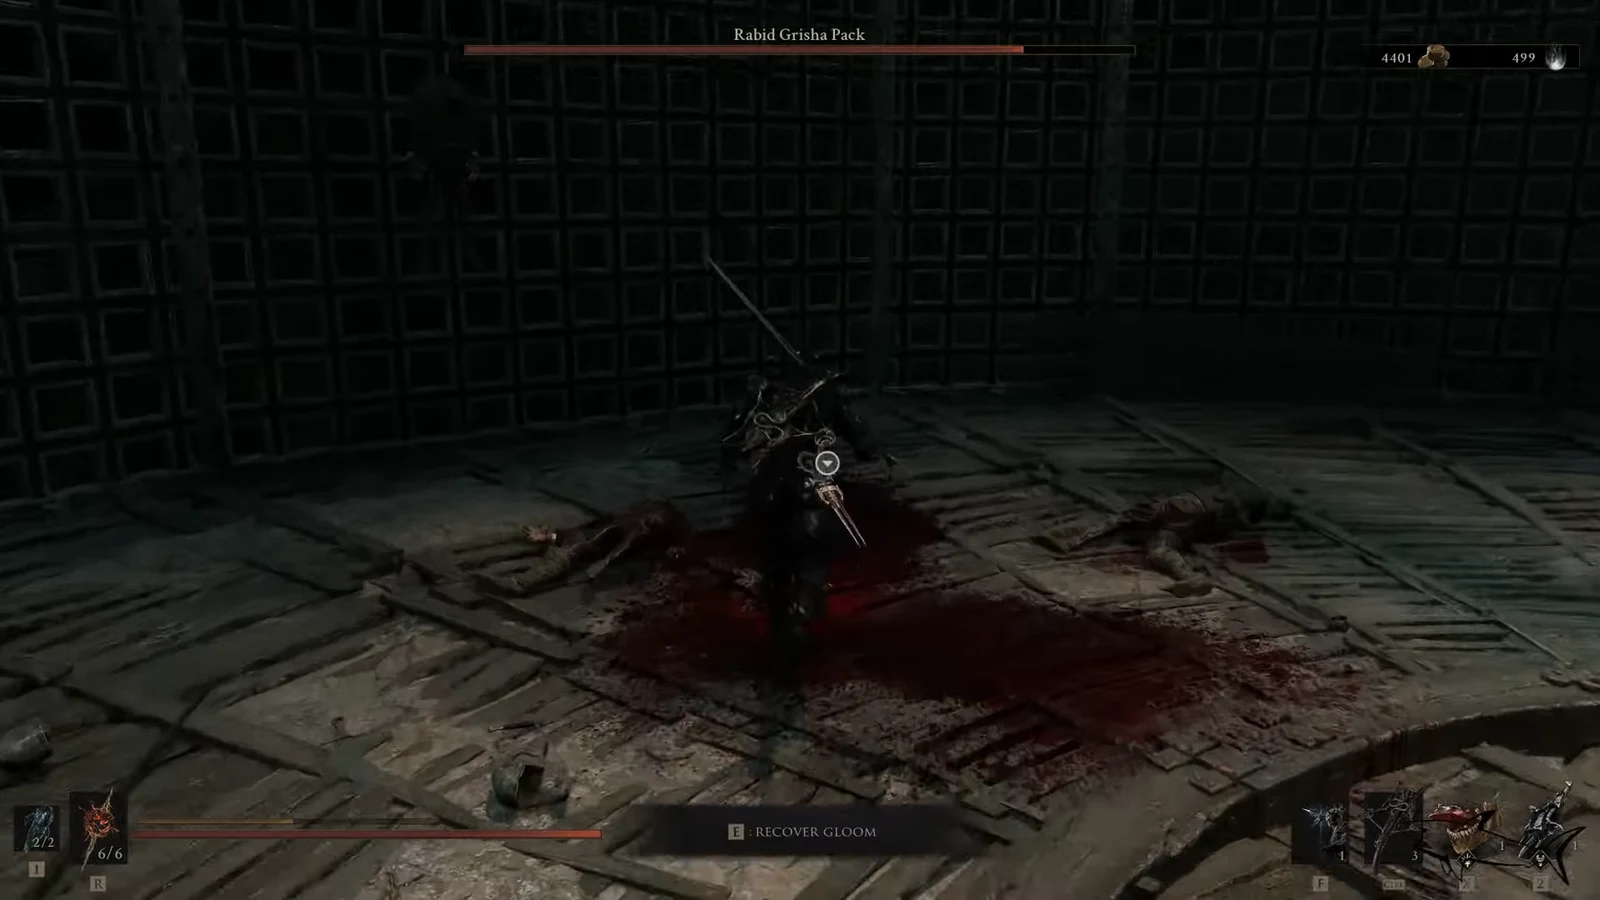
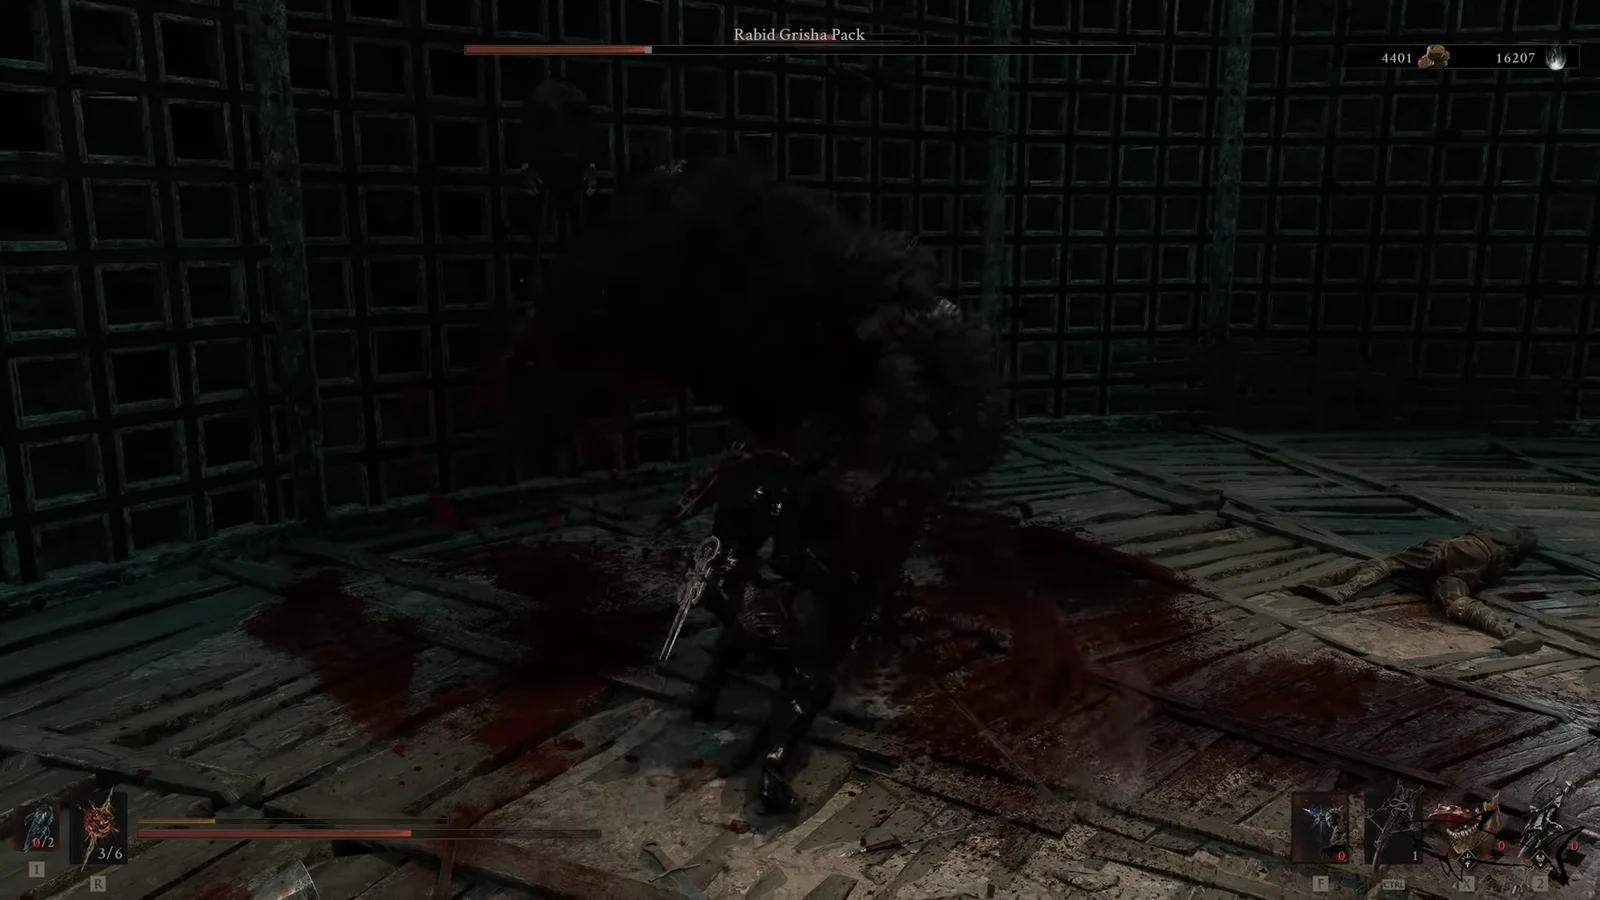
If you would rather not use the summon, the arena has two hanging cylinders above the cage. Shoot one with a sidearm while a Grisha stands beneath it to knock it down for heavy damage. There are only two, so wait for a good position before firing.
Alternative Shells for the pack
If you are underleveled or want a more defensive game plan, the choice of Shell changes how forgiving the fight feels. The pack shares an attack pattern between both Grishas, so once you read one, you can defend against both.
| Shell | Why it helps |
|---|---|
| Eredrim | Durable and forgiving, pairs well with heavy weapons and Ripostes |
| Tiel | Perfect dodges build the enemy’s Break meter and let you escape when boxed in |
| Proxima | Upgraded Seizure can inflict Stasis and Lightning on both Grishas to slow them |
Whatever Shell you bring, the winning idea stays the same. Break a Grisha for a Riposte, keep an equipped Grisha Remnant ready to trigger, and never let both bosses corner you at once.
Rewards and how to confirm the win
Beating both Grishas ends the encounter and drops your loot on the spot. You receive a Grisha Remnant, the Inflamed Clawstone Tarstone, and 1,132 Gloom. The Inflamed Clawstone infuses a weapon with Burn, adding fire damage to your hits.
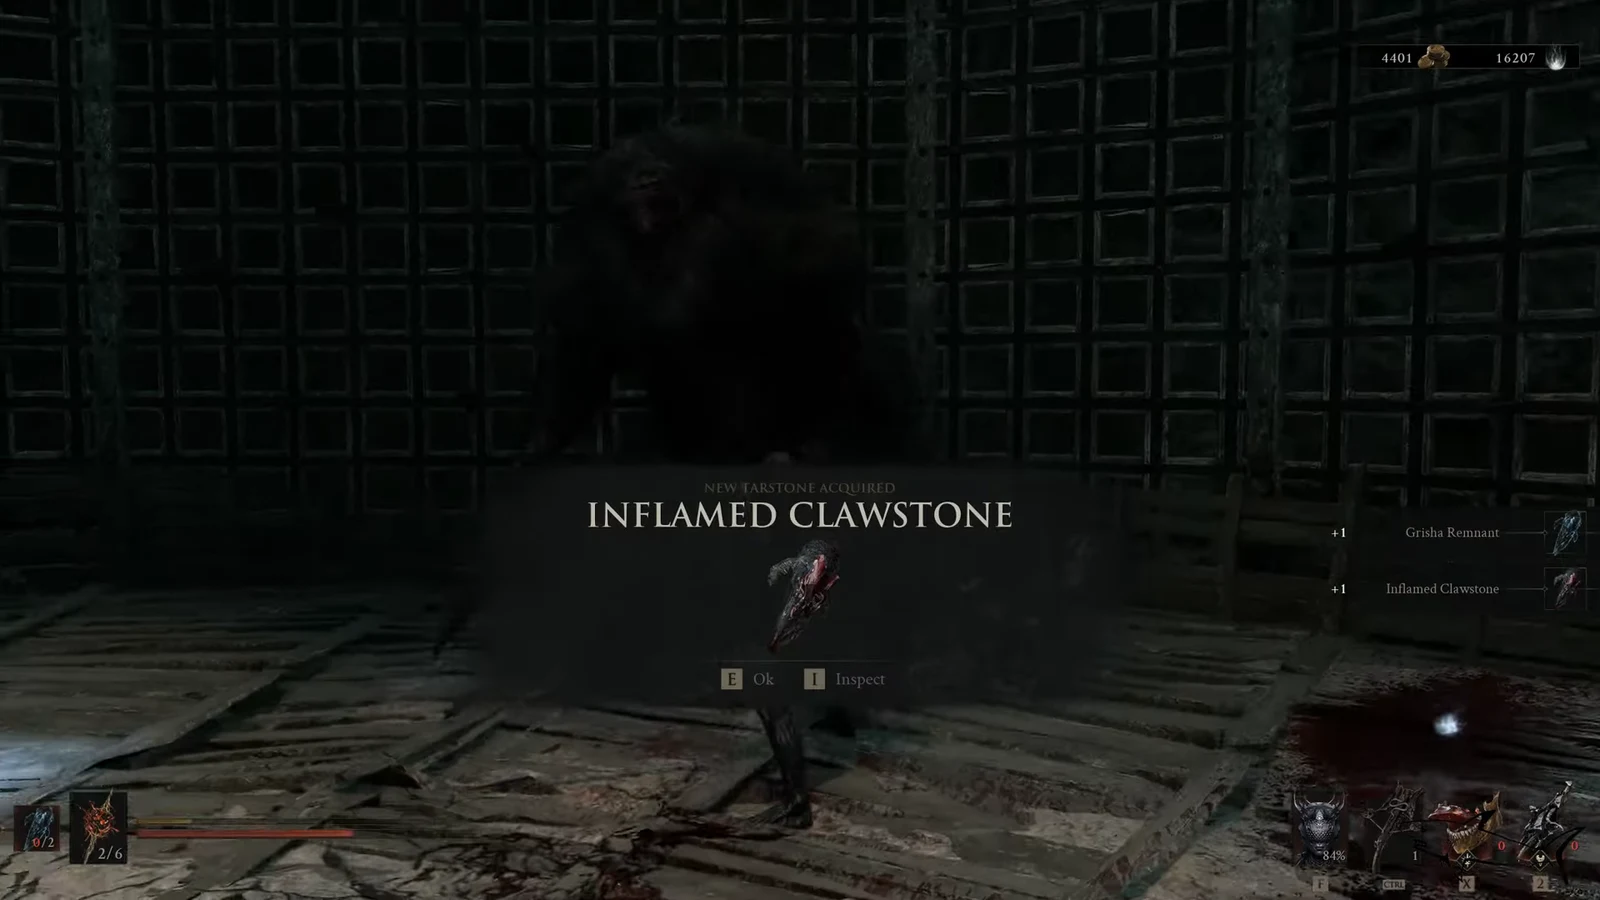
You know the fight is over when both Grisha health bars are gone and the reward prompt appears. Grabbing the Inflamed Clawstone and your Gloom clears the Holding Cells and leaves you free to move on with a new fire-infusing Tarstone in hand.





