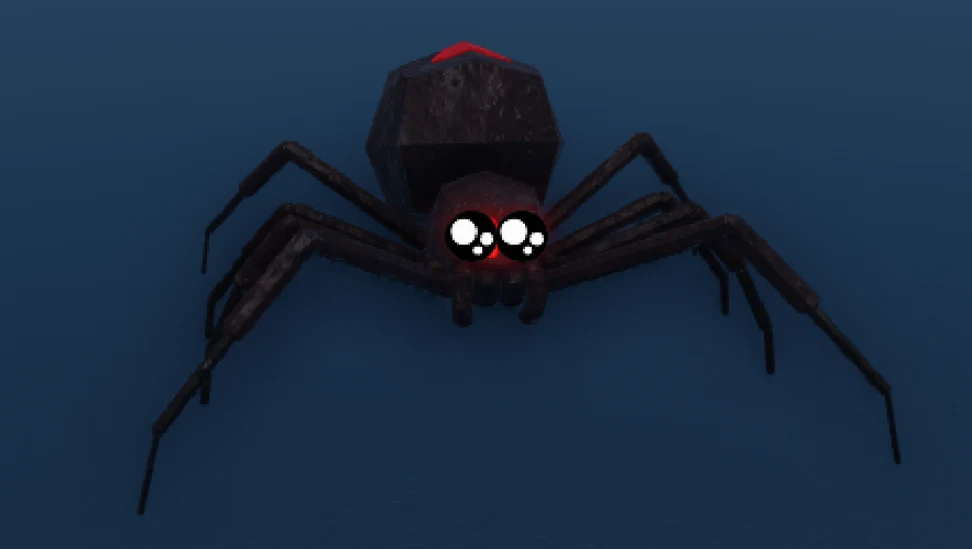
The Hexapod is one of the main bosses in Mortal Shell 2, and it sits at the far end of the Withered Shoals, deep inside the Gate of Mammon. Getting to it is less about combat skill and more about knowing which corrupted gates open when, since the route runs through six areas and six beacons before the arena. It also ties into Proxima the Broodseeker’s storyline, and there’s one easily missed item sitting a few feet from the point of no return.
Quick answer: Cleanse the Gate of Mammon beacon, enter the corrupted gate behind it to reach the Withered Shoals, then follow the path past the Nameless Pass beacon to the rocky ridge and jump off the cliff edge into the dark water below. That drop starts the Hexapod fight.
Hexapod location: Withered Shoals, past the Nameless Pass beacon
The Hexapod is the final boss of the Withered Shoals, the region reached through the Gate of Mammon in the Ruins of Mammon. There’s no shortcut door and no side entrance — you have to walk the whole region, and the nearest fast-travel point to the arena is the Nameless Pass beacon.
Progress is gated by corrupted gates. Each one stays shut until you find and cleanse the beacon tied to it, so if a gate refuses to open, the beacon in that zone is the thing you’re missing, not a key item.
| Order | Area | Beacon |
|---|---|---|
| 1 | Outskirts of Mammon | — |
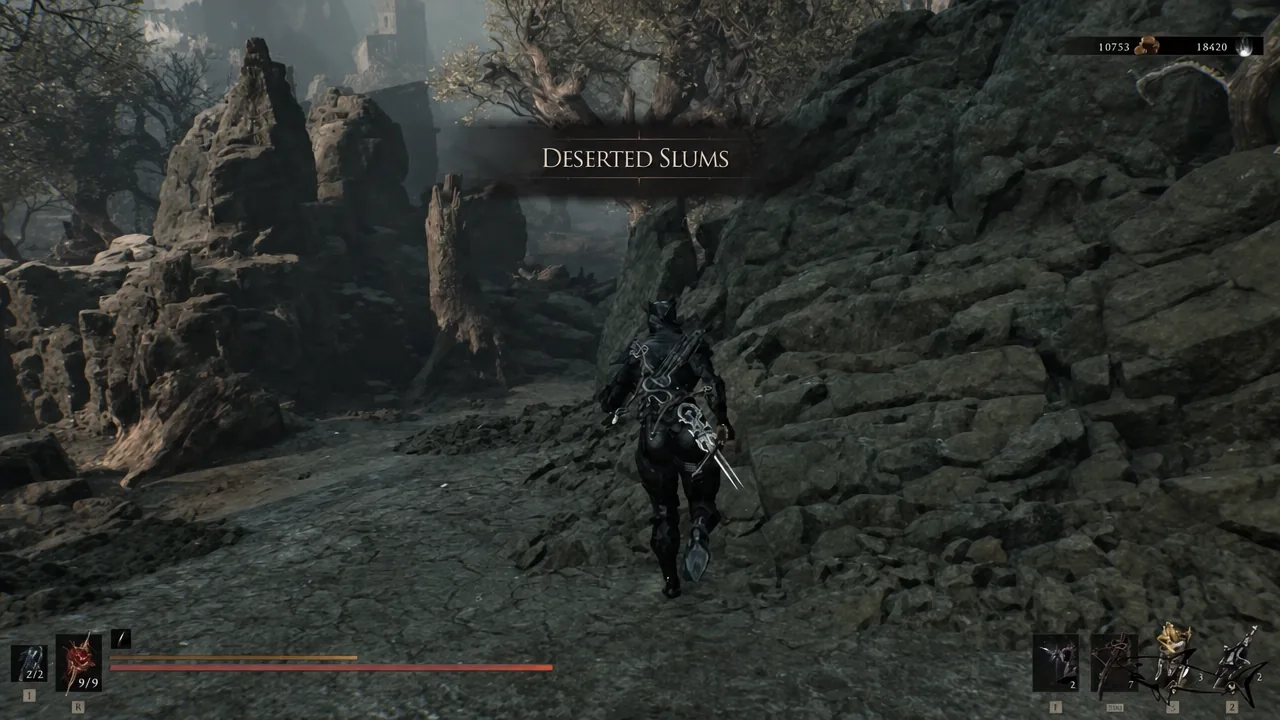
| 2 | Deserted Slums | Abandoned Outpost |
| 3 | High Lord’s Terrace | High Lord’s Terrace |
| 4 | High Lord’s Keep / Courtyard | High Lord’s Courtyard |
| 5 | Gate of Mammon | Gate of Mammon |
| 6 | Withered Shoals | Ossinite Falls |
| 7 | Nameless Pass | Nameless Pass |
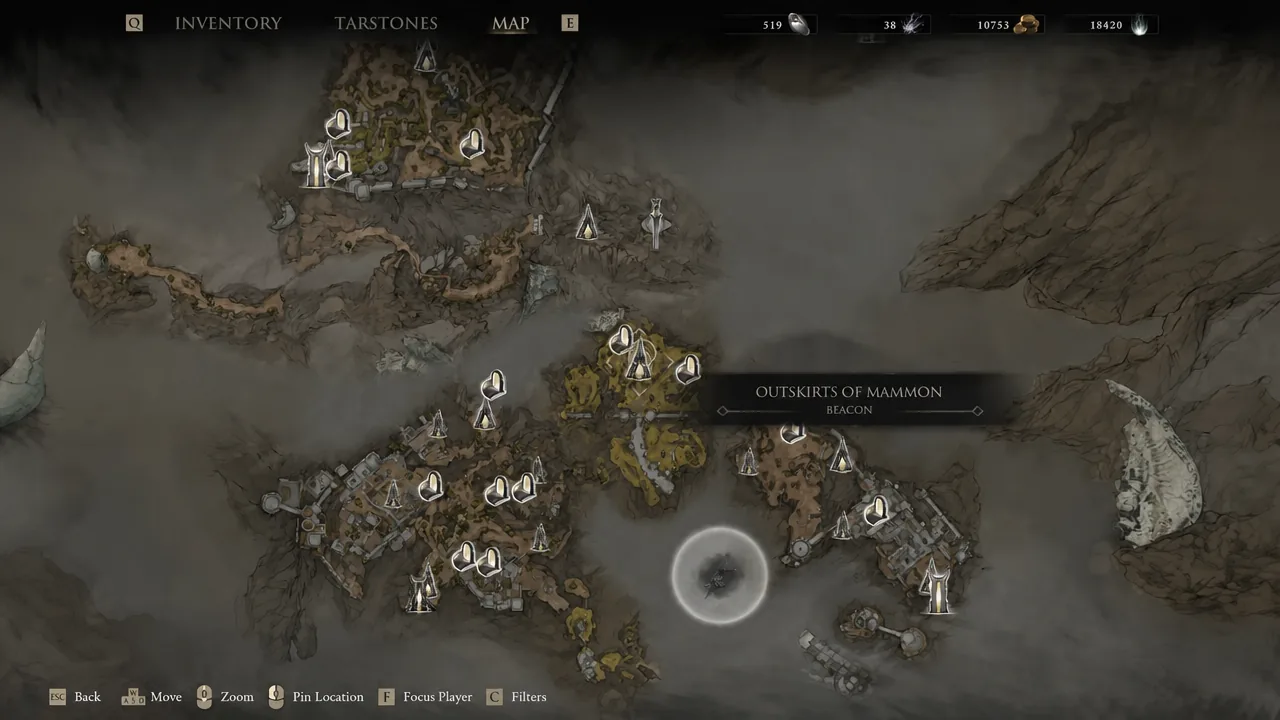
Route to the Hexapod from the Outskirts of Mammon
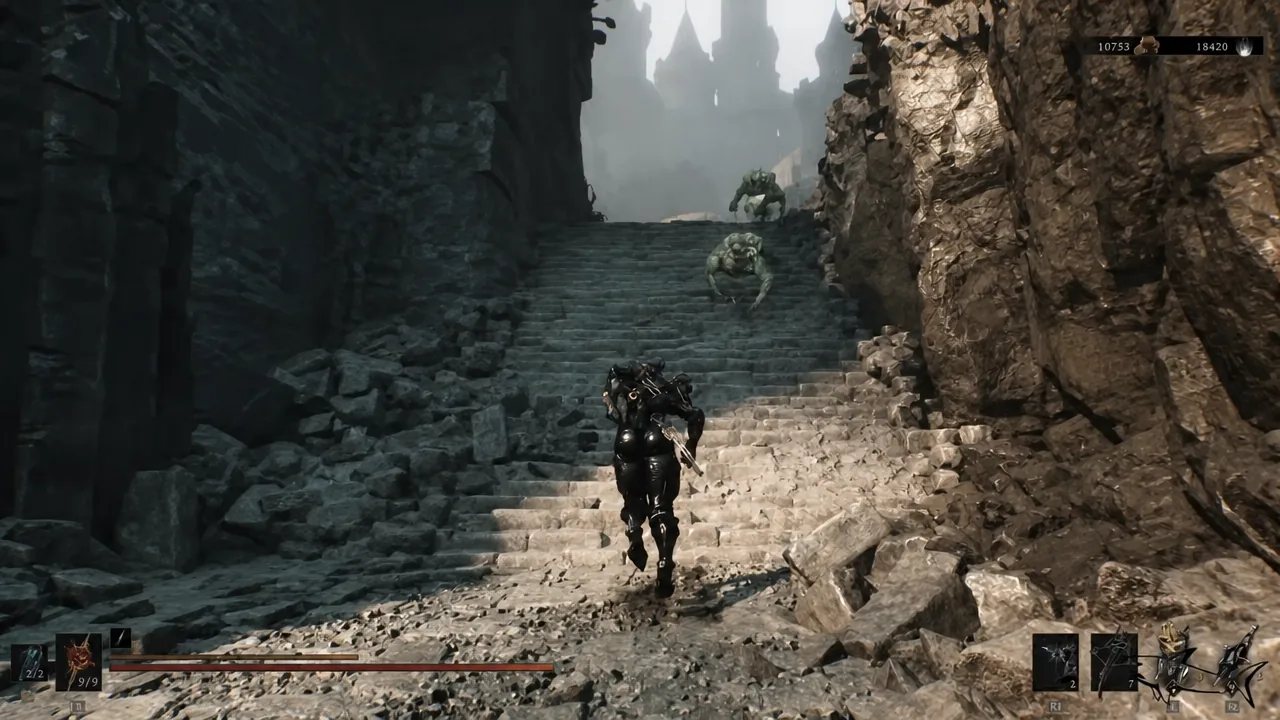
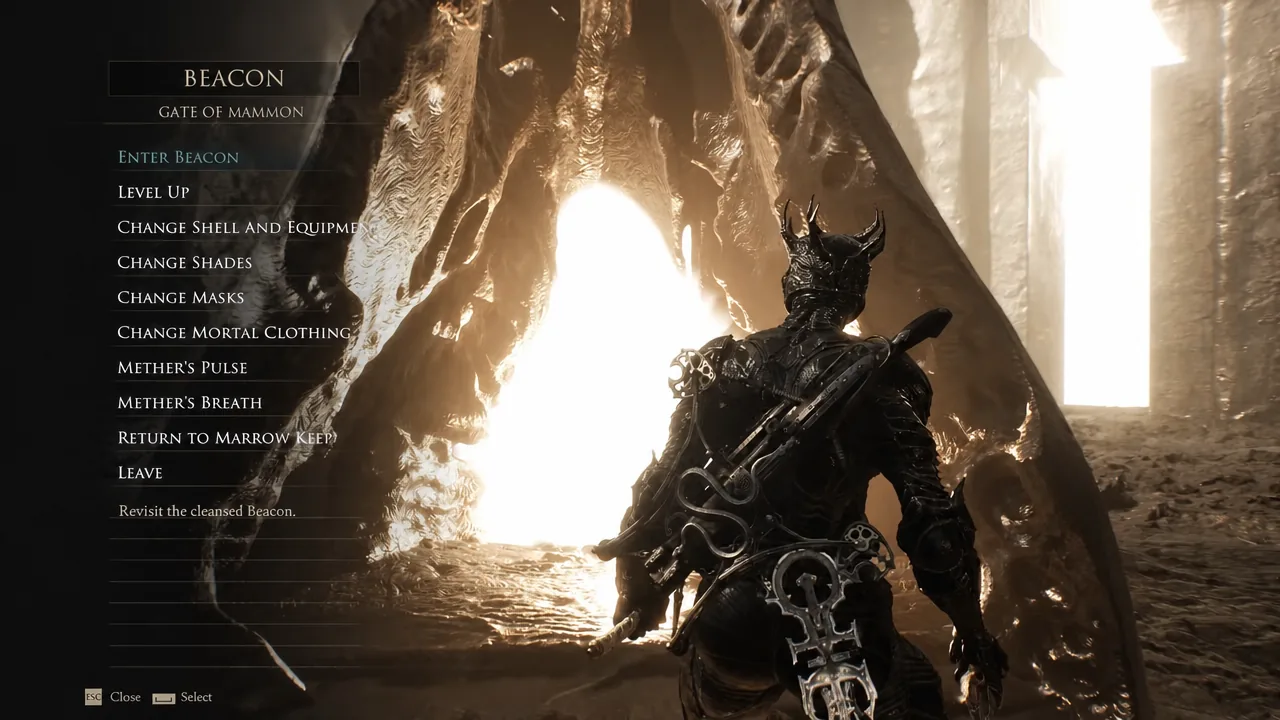
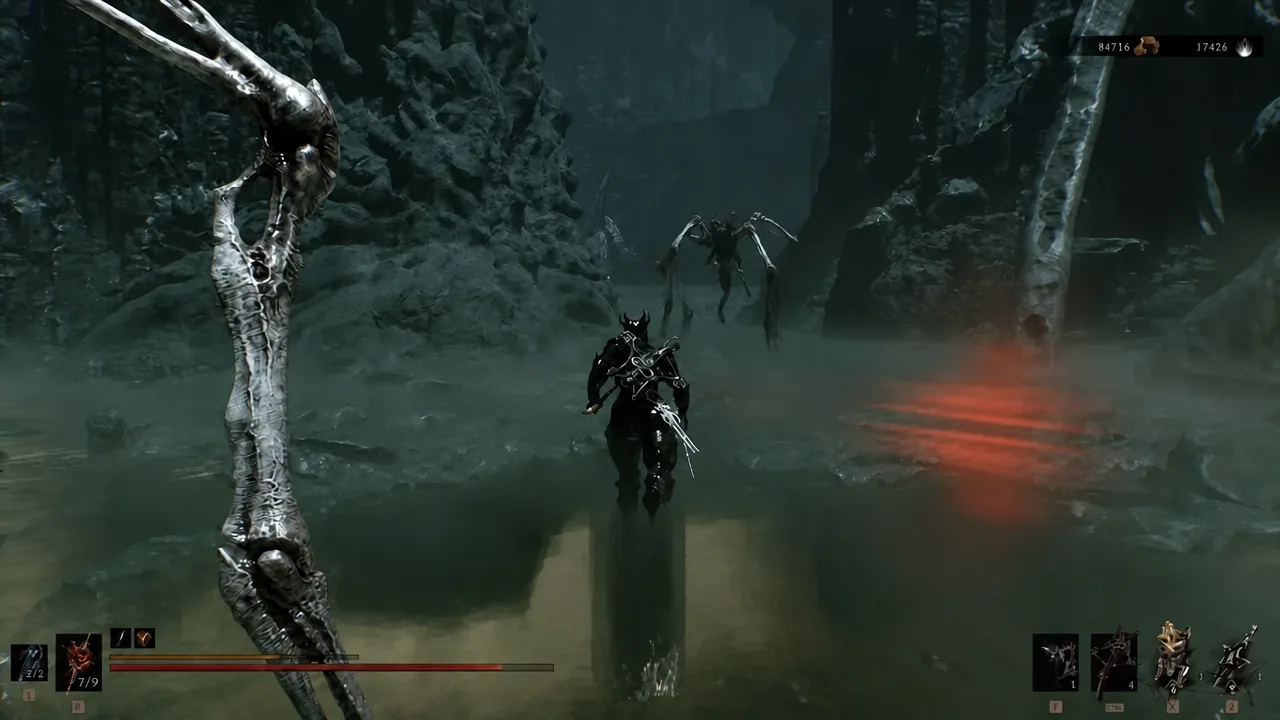
Grab the Depleted Gland before the drop
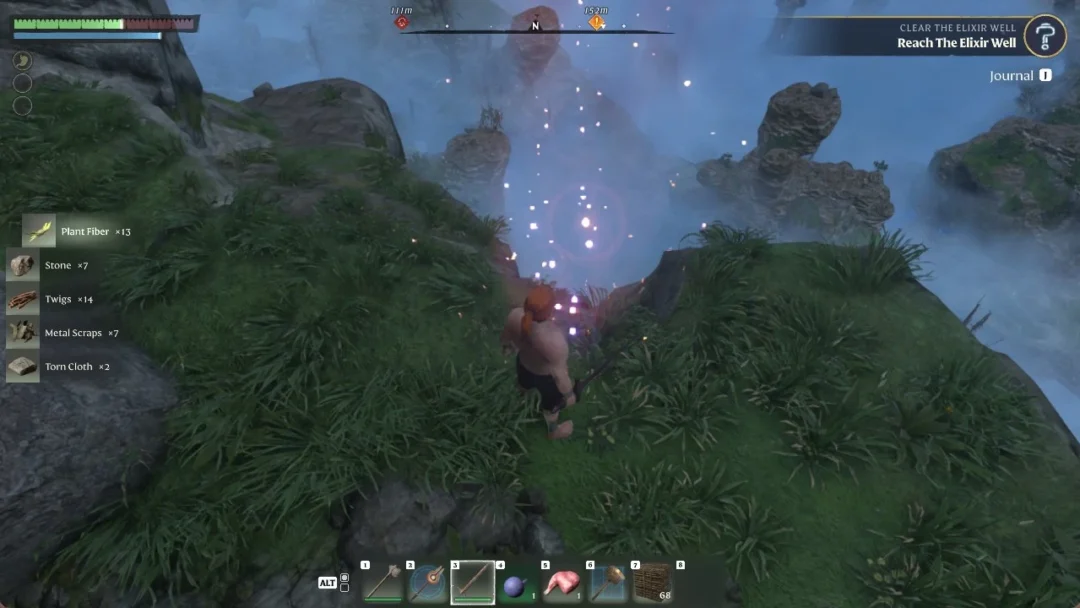
The Depleted Gland is missable, and the only convenient window to collect it is right where you’re standing after speaking to Rok. From his ridge, drop down into the cave directly below instead of continuing along the ledge. The Gland is sitting inside.
Note: pick it up before you jump into the water. Once the boss encounter begins, you’re in a sealed arena, and backtracking means dying or beating the Hexapod first.
How to trigger the Hexapod boss fight
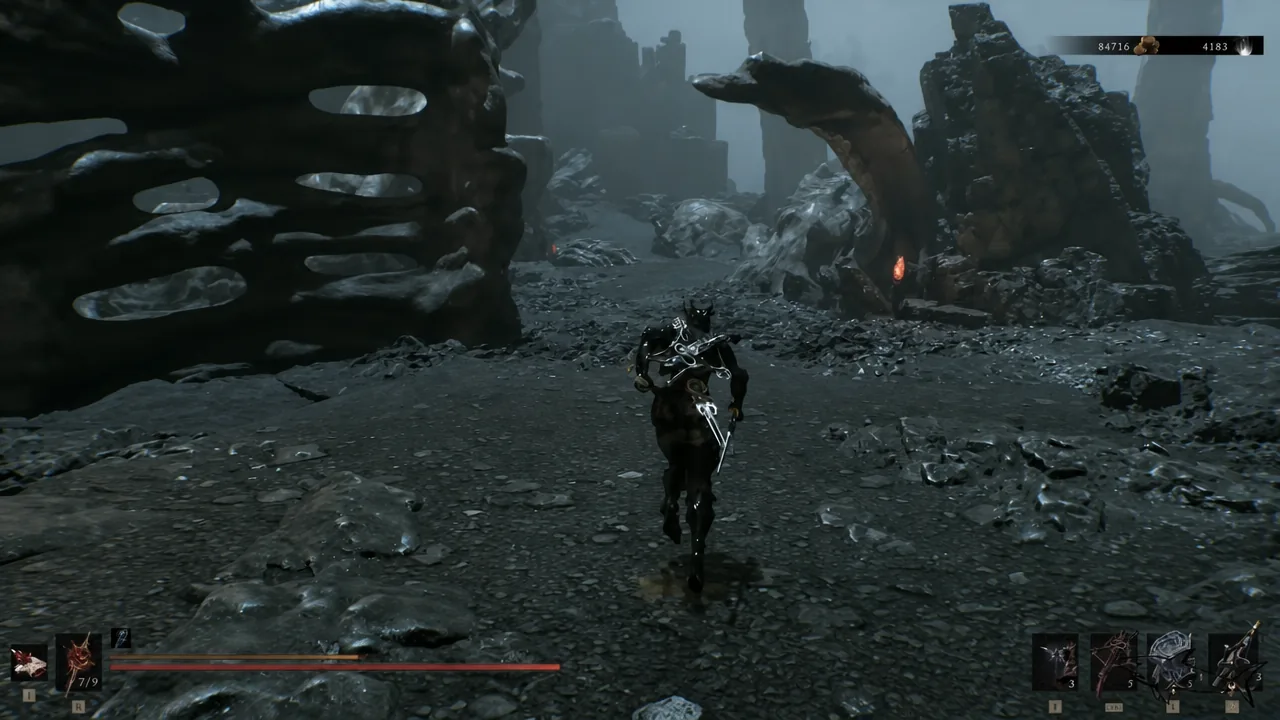
Climb back up from the cave and follow the ledge to the end of the path. The trigger is a deliberate jump off the cliff edge into the dark water below — there’s no fog wall and no door, so the drop is easy to walk past if you’re expecting a conventional entrance.
You’ll know it worked immediately: the landing puts you in a wide, open arena and the Hexapod’s name and health bar appear on screen. If you land and nothing spawns, reload from the Nameless Pass beacon and make the drop again.
What the Hexapod drops
Killing the Hexapod awards the Hexapod Core tarstone along with a large Gloom payout, and unlocks the “Something in the deep…” achievement. The arena itself is unusually large, which is useful during the fight — the Hexapod is fast and will chase you relentlessly, but you always have room to disengage and reset.
If you’re heading in unprepared, summoning Proxima is the single biggest quality-of-life change you can make. She pulls the boss’s attention with ranged fire from the Triarch Repeater, which buys you the openings you need to work on its front, since the Hexapod constantly turns to face you and can’t be flanked for long.