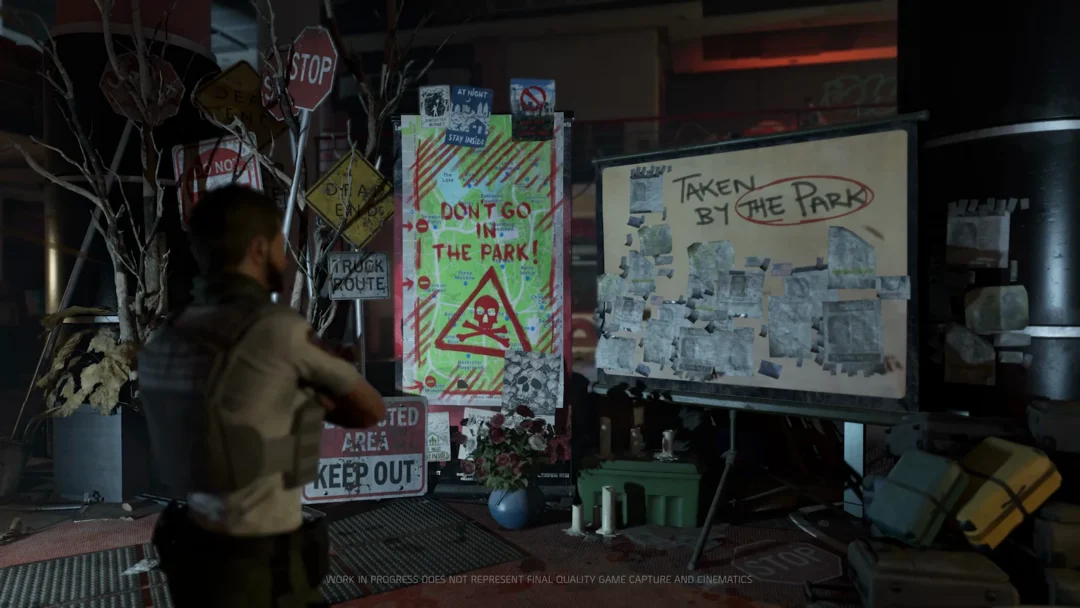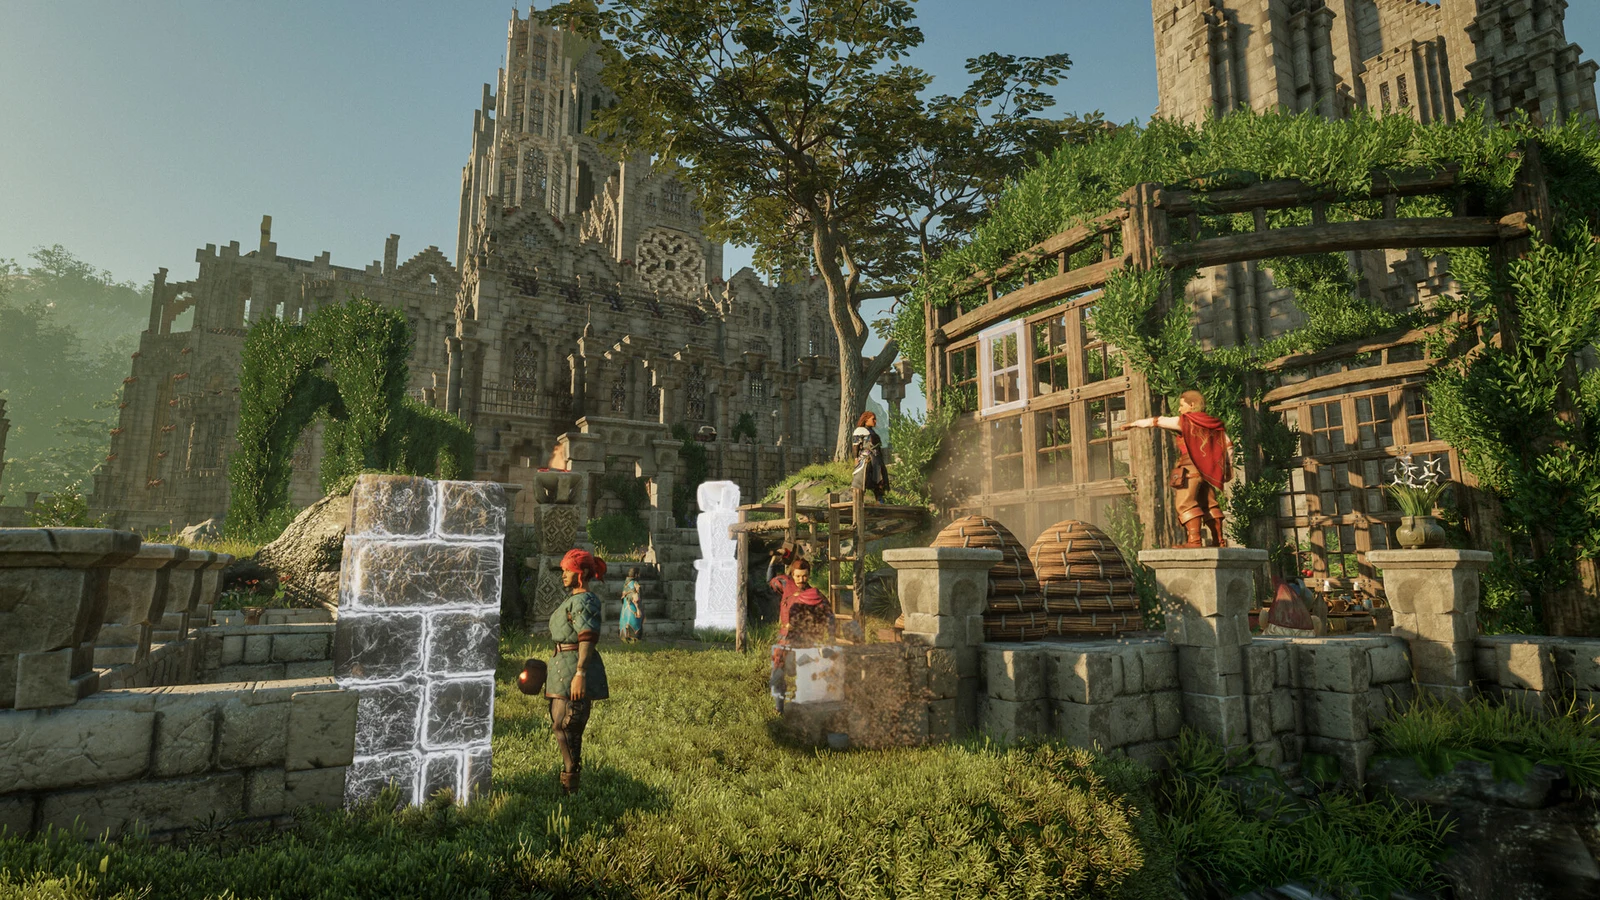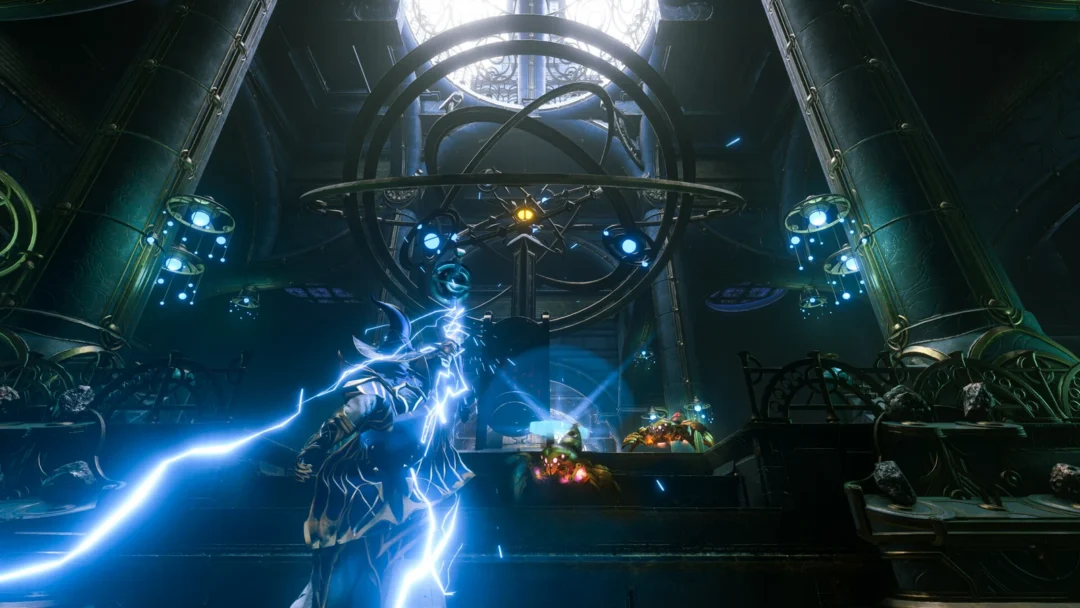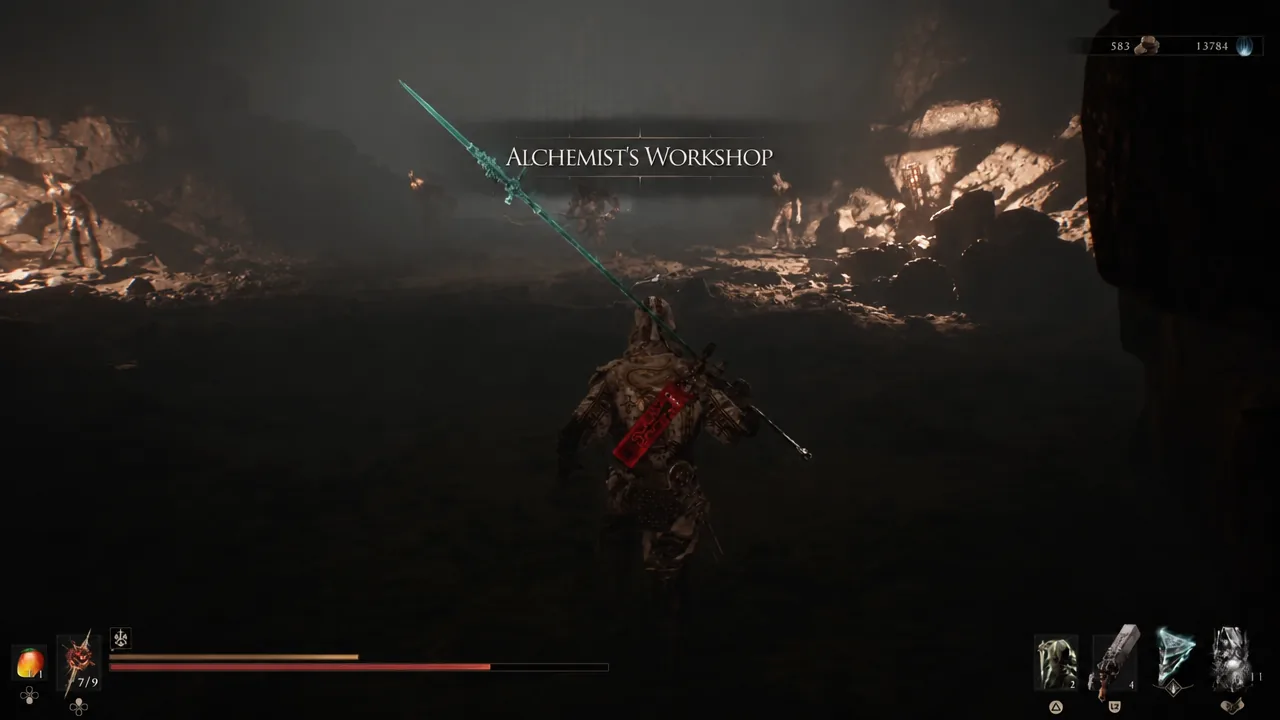
Clockwork Shardstone is one of the few Tarstones in Mortal Shell 2 that you cannot stumble into. The dungeon holding it, the Alchemist’s Workshop, is physically sealed until you solve a small siege-weapon puzzle in a completely different part of the map. No quest marker points at it, and no boss hands it over at the end.
Quick answer: Loot the Makeshift Projectile from the chest at the cliff edge in the Outskirts of Mammon, fire it from the catapult near that beacon to blast open the Alchemist’s Workshop, then head in from the Castigator’s Keep beacon, break the wooden bookshelf, take the lever-powered lift down, and open the chest in the final room.
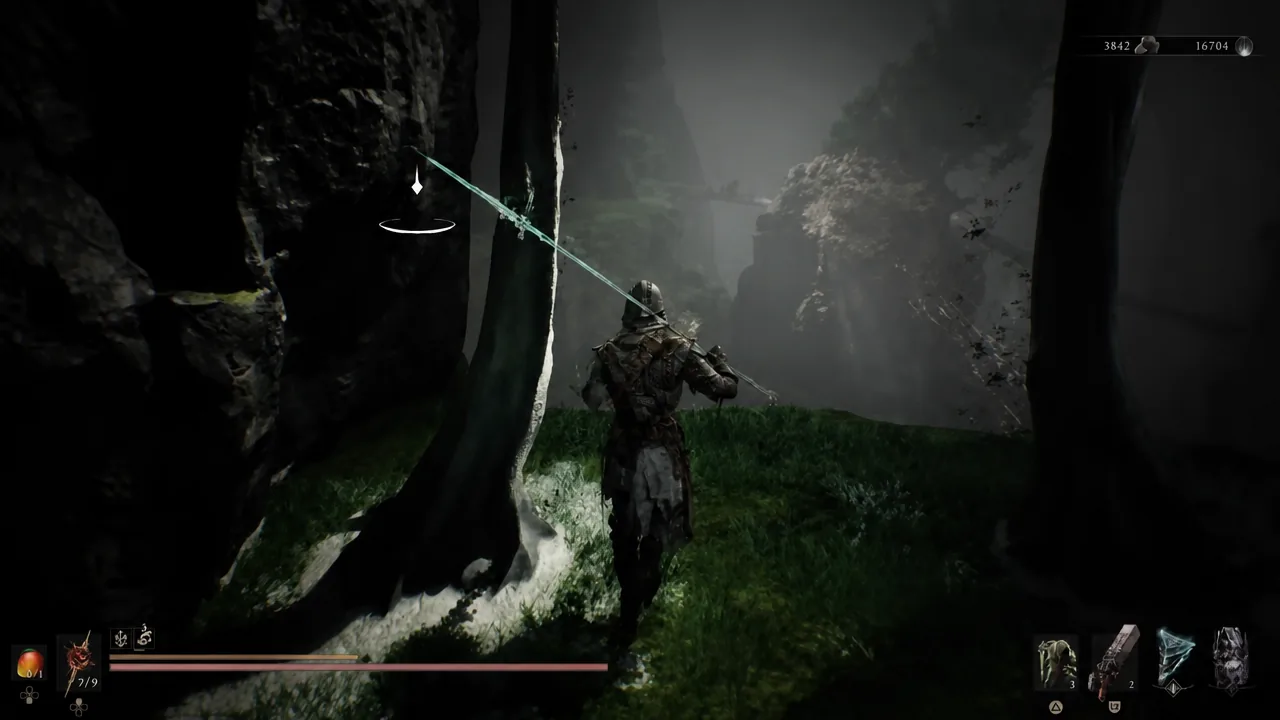
Fire the catapult to open the Alchemist’s Workshop
The Makeshift Projectile is ammunition, not loot. Until you load it into the catapult, the dungeon entrance simply does not exist, so there is nothing to find by wandering around Castigator’s Keep early.
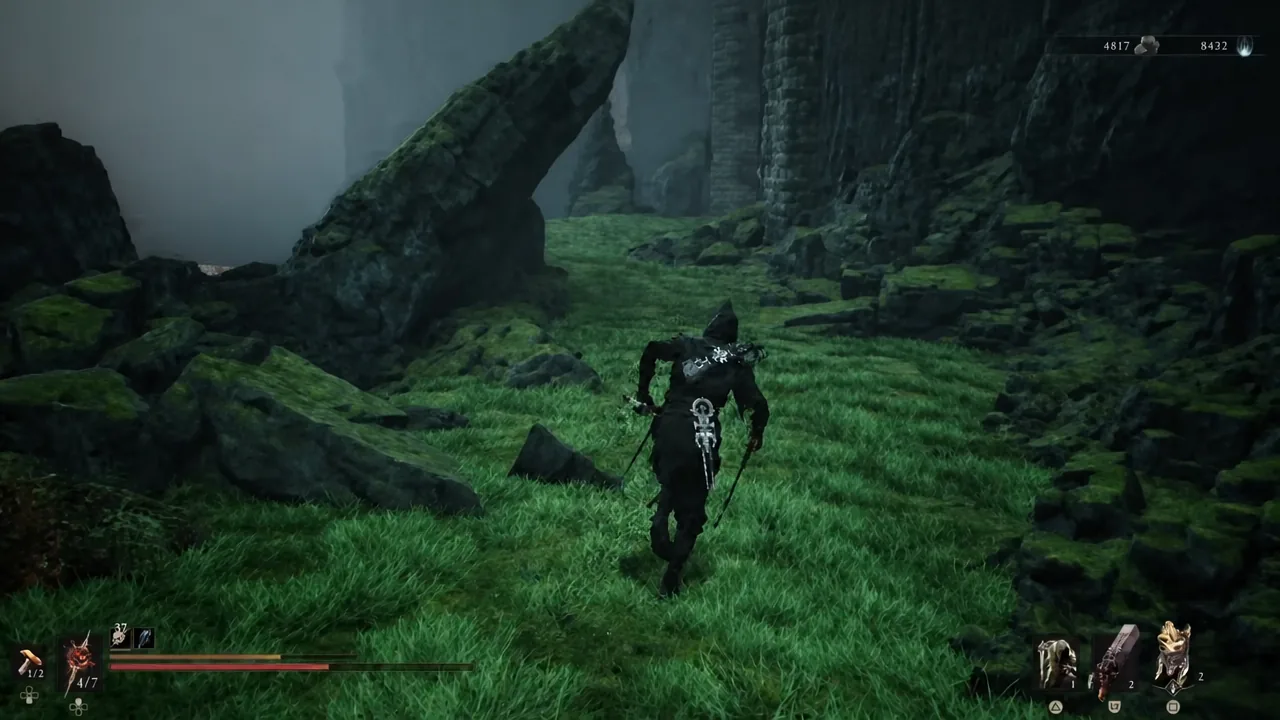
Reach the dungeon entrance from Castigator’s Keep
The Workshop sits in the western stretch that links the Lonesome Spire with the main Castigator’s Keep building, below the beacon rather than level with it.
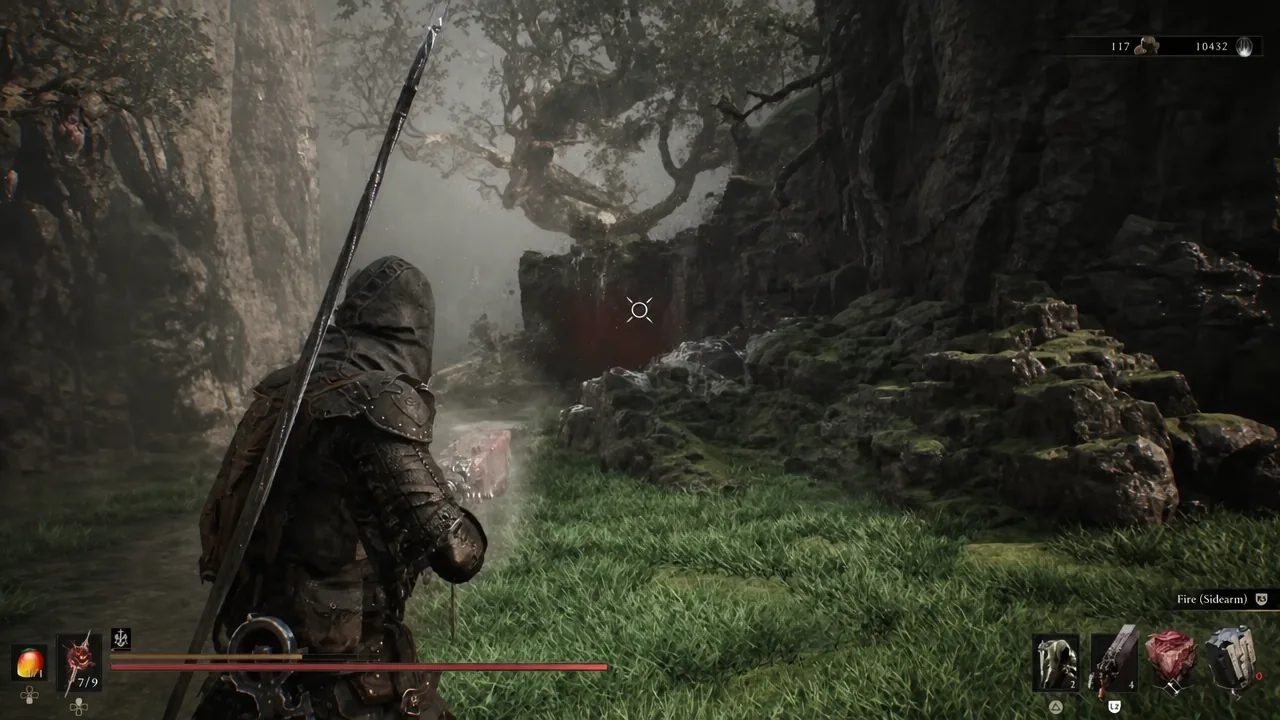
Inside the Workshop: the bookshelf, the lever, and the chest
The opening rooms look like a dead end on purpose. Alchemical notes scattered through them describe a Stellarium, a fungal extract that dissolves solid Thoracium, and a subject with grafted limbs, but the actual route forward is hidden behind furniture.
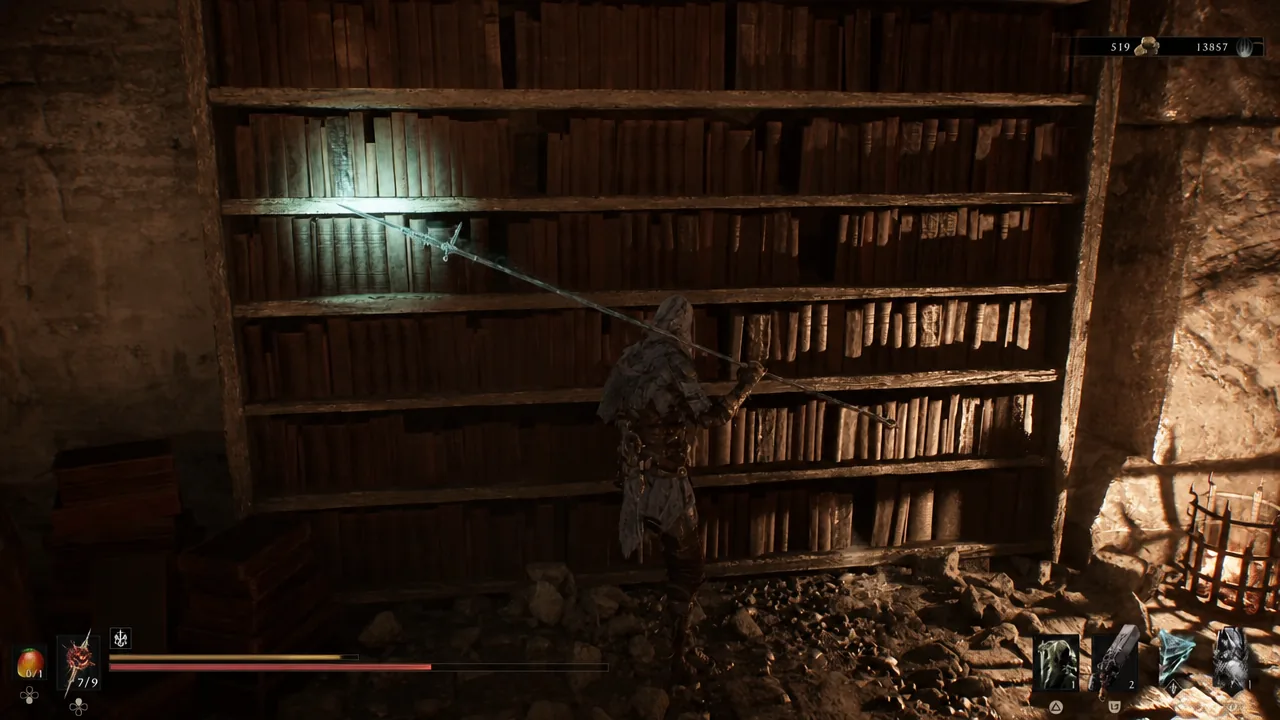
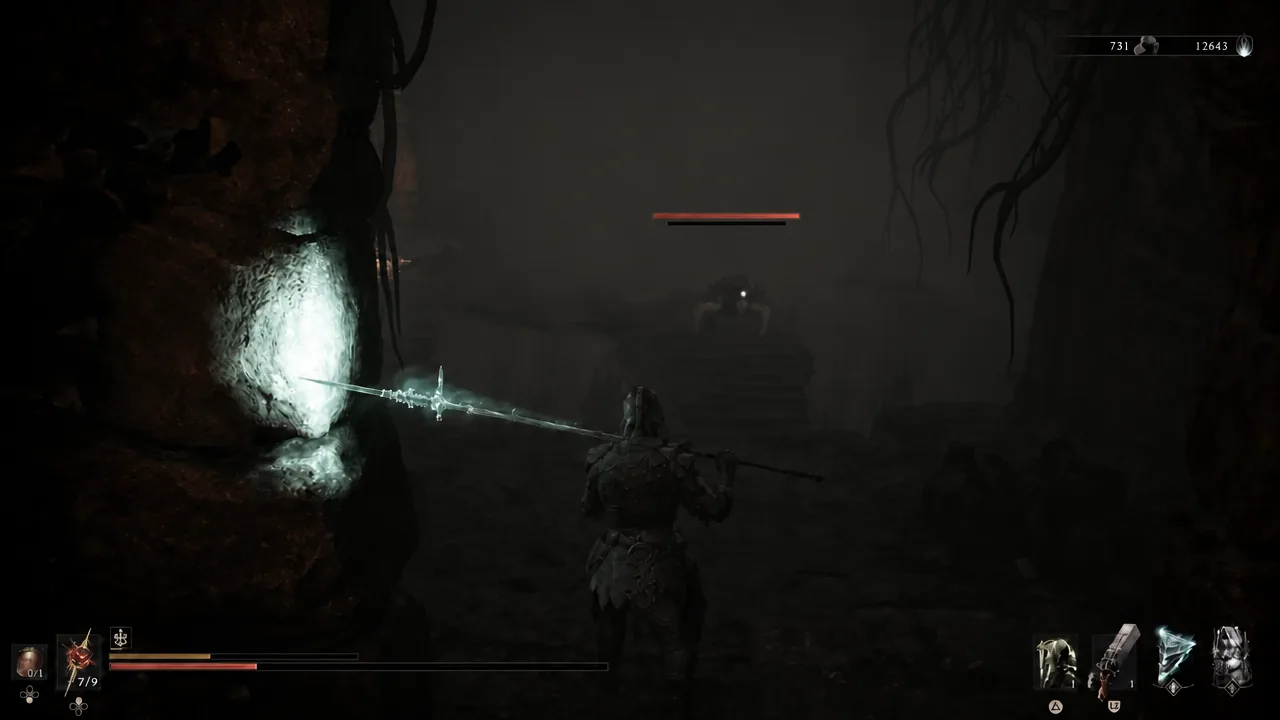
You will know it worked when the pickup banner reads CLOCKWORK SHARDSTONE and the Tarstone appears in your inventory under Ability stones. Nothing drops automatically here — killing the Shell Thief gives you nothing, so the chest has to be opened by hand.
Why players miss the Clockwork Shardstone
- Skipping the Makeshift Projectile entirely, which leaves the dungeon sealed with no visible reason why.
- Treating the projectile as ordinary loot and never connecting it to the catapult that opens a door in a different area.
- Walking past the bookshelf inside the Workshop and assuming the opening rooms are the whole dungeon.
- Missing the lever, which leaves the lift unpowered and the final room unreachable.
- Leaving the glowing roots intact and never spotting the chest behind them.
Clockwork Shardstone effects and weapon compatibility
Clockwork Shardstone is an Ability Tarstone, and it slots into the Clockwork Scythe only — no other weapon accepts it. Once equipped, it drains Resolve continuously to hold the weapon out with its chainsaw spinning, so every attack lands with the teeth already running. That drain rewards constant pressure rather than patient counter play.
| Level | Effect |
|---|---|
| 1 | Consume Resolve over time to hold your weapon before you with its chainsaw spinning at full speed |
| 2 | Each chainsaw spin deals 12% of the weapon base damage |
| 3 | Each chainsaw spin deals 15 Stagger Damage |
| 4 | Each chainsaw spin deals 20% of the weapon base damage |
Note: the in-game description text for the first rank can list a slightly different damage percentage, stagger value, and a small heal per spin than the level list above. The upgrade path itself is the same four ranks.
How to upgrade Clockwork Shardstone at the Tarforge
Upgrades run through Franz at the Tarforge in Marrow Keep, and he needs the Etching Needle before the full set of options unlocks. That quest item sits in a bone chest just before the fight with Magdalena, the Lady of the Woods. When you spot Ruk past the bridge, drop through the opening and turn right before the tunnel to find the small alcove holding it.
After handing the needle over, keep the Shardstone equipped and kill enemies to fill its experience bar. Once the bar is full, return to Franz and pay Coin to push it to the next level. Scholar’s Wormstone also works on the Clockwork Scythe and further boosts chainsaw spin damage, so the two stack into a single specialised setup for that weapon.
Worth remembering: the catapult step is a one-time world change. Once the rock formation is gone, the Workshop stays open, so you can leave the dungeon at any point and come back for the chest later without repeating the projectile run.