The Viletongue Hedron is not a chest pickup, a vendor stock item, or a random drop. It sits behind one beacon dungeon in the Mammon region, guarded by one mini-boss, and it only drops once per playthrough. The run itself is short and nearly linear, so the whole task is getting to the fight and winning it.
Quick answer: Travel to the Outskirts of Mammon beacon, follow the Road to Absolution to Castigator’s Keep, select Cleanse Beacon, clear Viletongue’s Domain, drink the Strange Concoction at the ritual table, and kill Viletongue Batushka — the Viletongue Hedron drops the instant it dies.
Viletongue Hedron effects, Resolve cost, and the critical hit condition
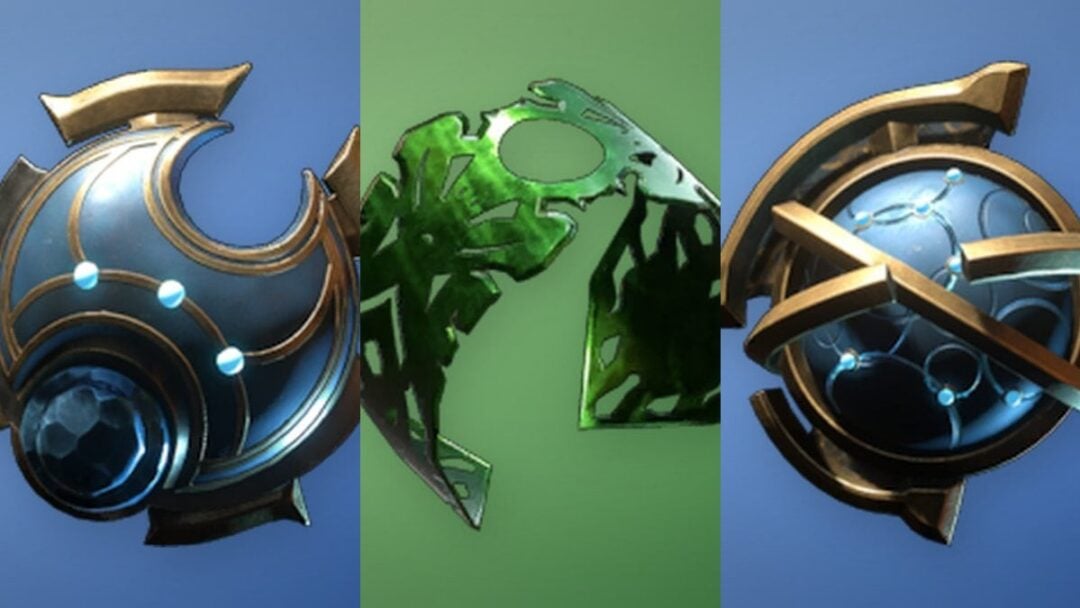
The Viletongue Hedron is an infusion Tarstone for Sidearms. Activating it spends 20 Resolve and coats your shots with Bloodcurse, a status that piles up stacks on a target and then detonates for heavy damage once enough of them land. The Resolve cost never changes as you level the stone; what scales is how long each infusion lasts before you pay again.
The important catch is in the fine print: the equipped Sidearm applies Bloodcurse on critical hits only. A normal shot does nothing for your stack count, which makes crit rate the real limiter on this build rather than infusion uptime.
| Level | Effect |
|---|---|
| 1 | Consume 20 Resolve to infuse your Sidearm with Bloodcurse |
| 2 | Infusion lasts for 4 shots |
| 3 | Infusion lasts for 8 shots |
| 4 | Infusion is permanent |
Only two Sidearms accept the stone: the Cursed Child and the Naylshotte. It will not slot into a primary weapon or any other Sidearm, so have one of those two in hand before you bother equipping it.
Route from the Outskirts of Mammon beacon to Castigator’s Keep
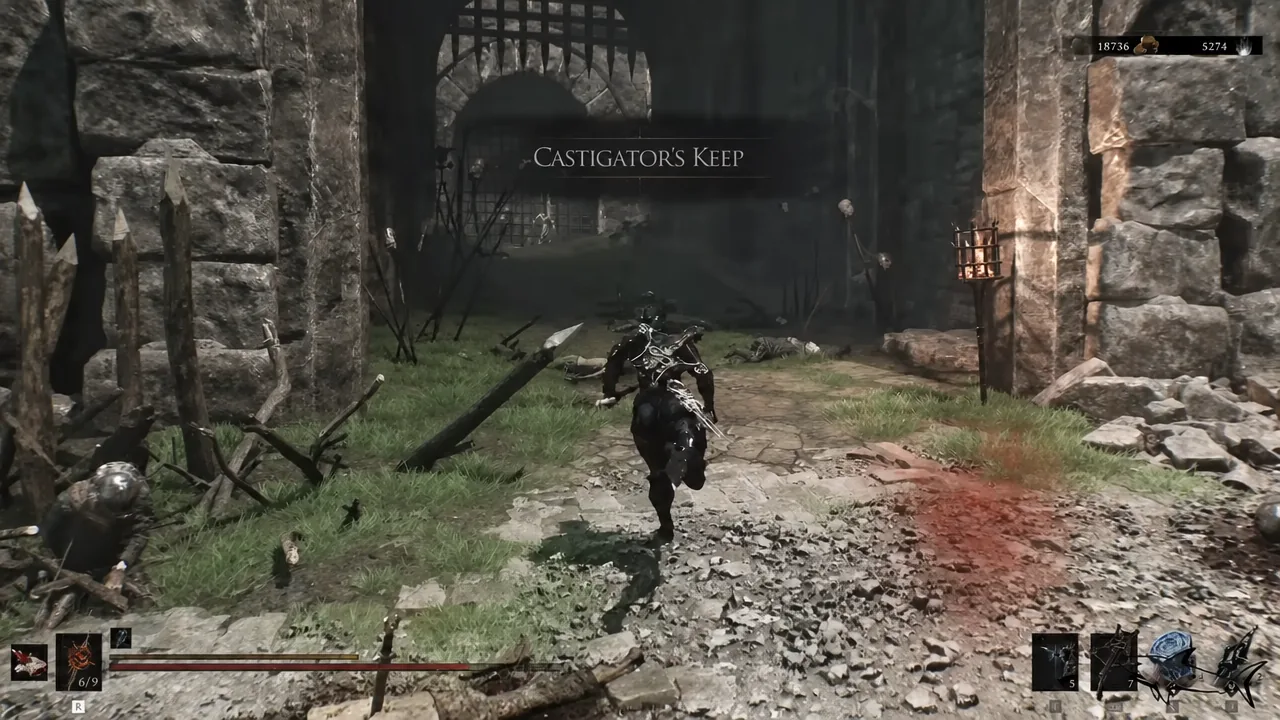
Clearing Viletongue’s Domain and drinking the Strange Concoction
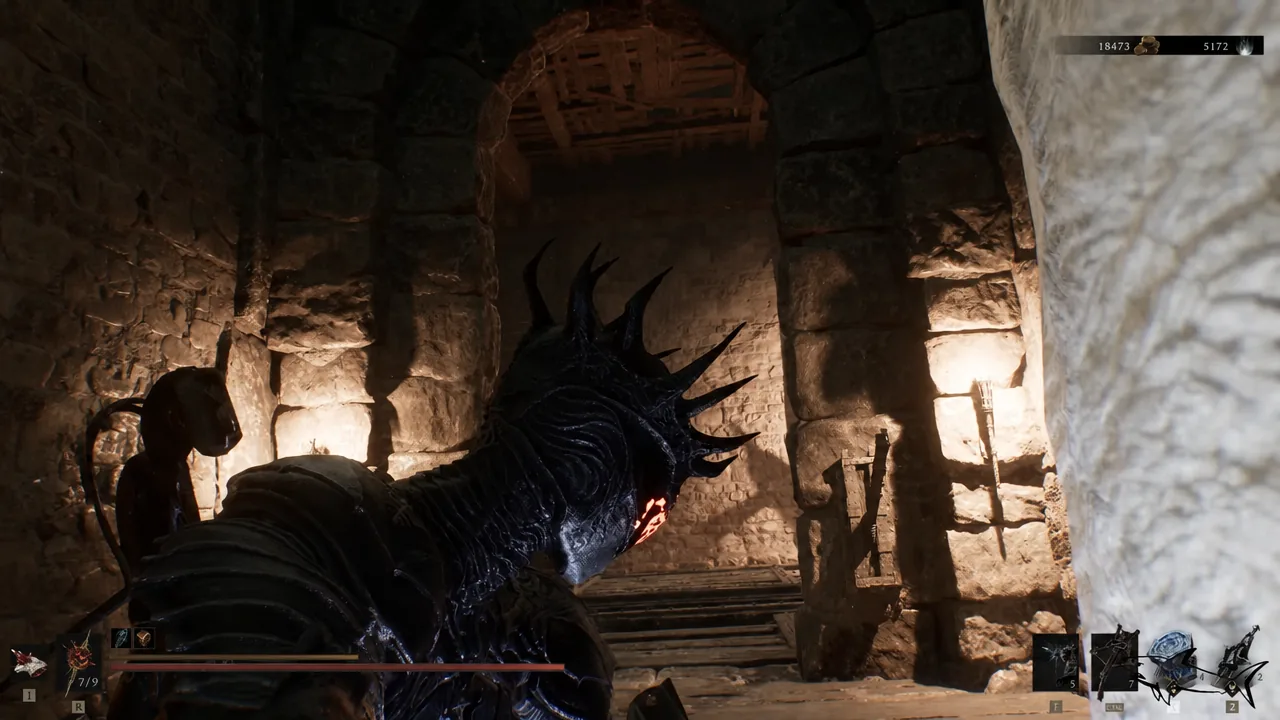
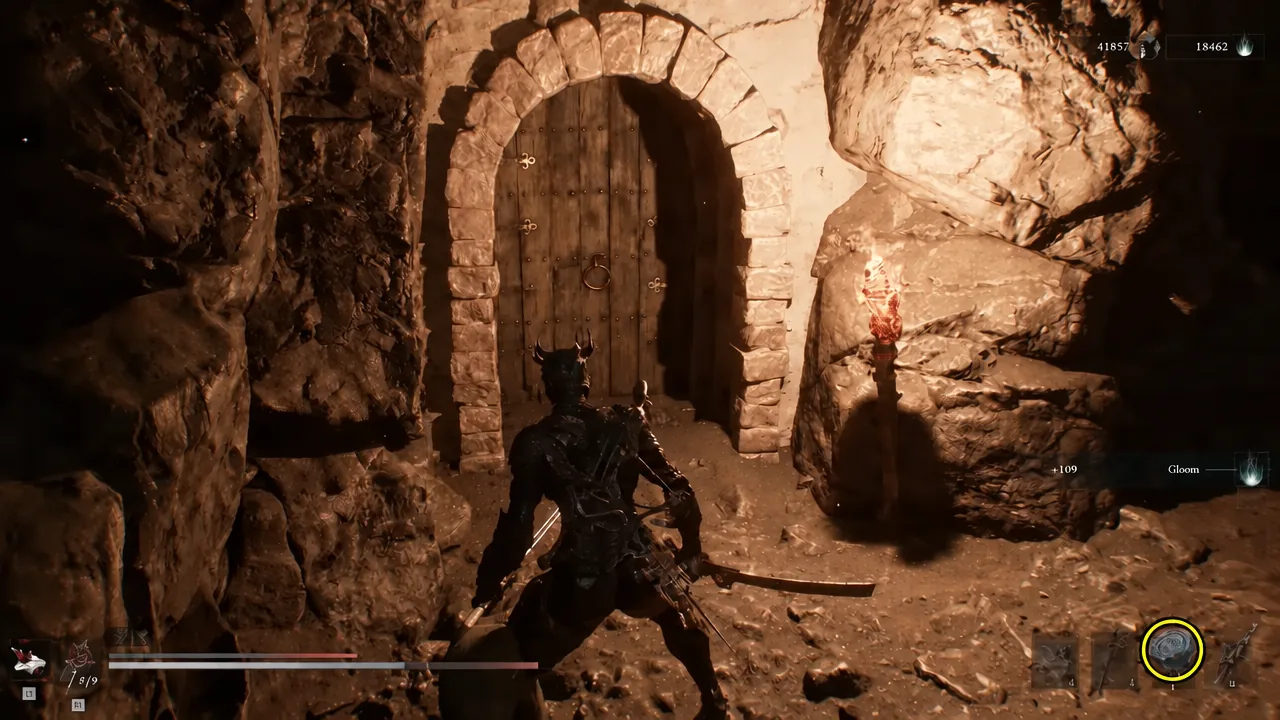
Yes starts the fight immediately, with no run-up and no chance to back out.Viletongue Batushka fight: Inverted movement controls
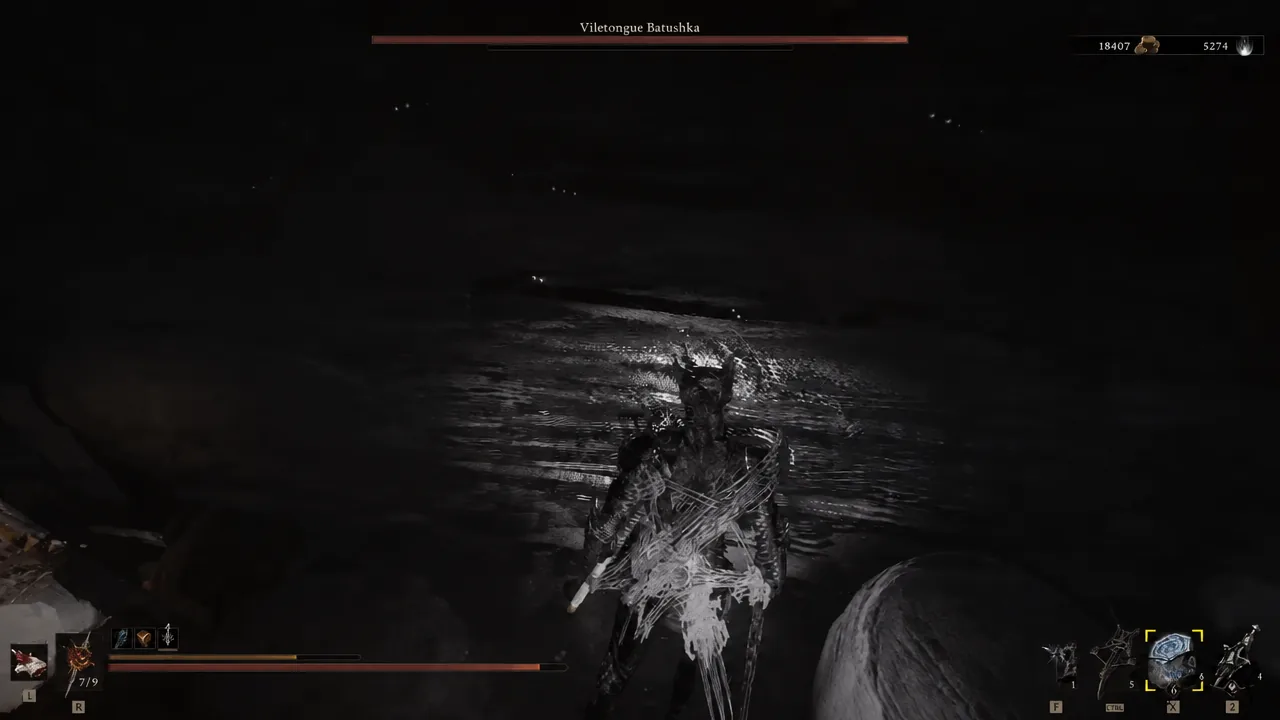
The concoction does two things at once. It summons Viletongue Batushka, and it inverts your movement inputs for the duration of the fight. Pushing forward backs you away, pulling back walks you in. That reversal, not the mini-boss’s damage output, is what kills most players on a first attempt.
Take a few seconds at the start to recalibrate before committing to a dodge or a swing. Batushka is a mini-boss rather than the dungeon’s final threat and has a modest health pool, so weapon abilities close it out quickly once your movement stops fighting you.
Confirming the drop: Sage’s Gate Lever and NEW TARSTONE ACQUIRED
Two items land the moment the health bar empties. You get the Sage’s Gate Lever, inscribed with “Trust is the currency of fools,” and a NEW TARSTONE ACQUIRED prompt for the Viletongue Hedron. If you only saw the lever pop-up, check your Tarstones menu — the Hedron is already in inventory at that point.
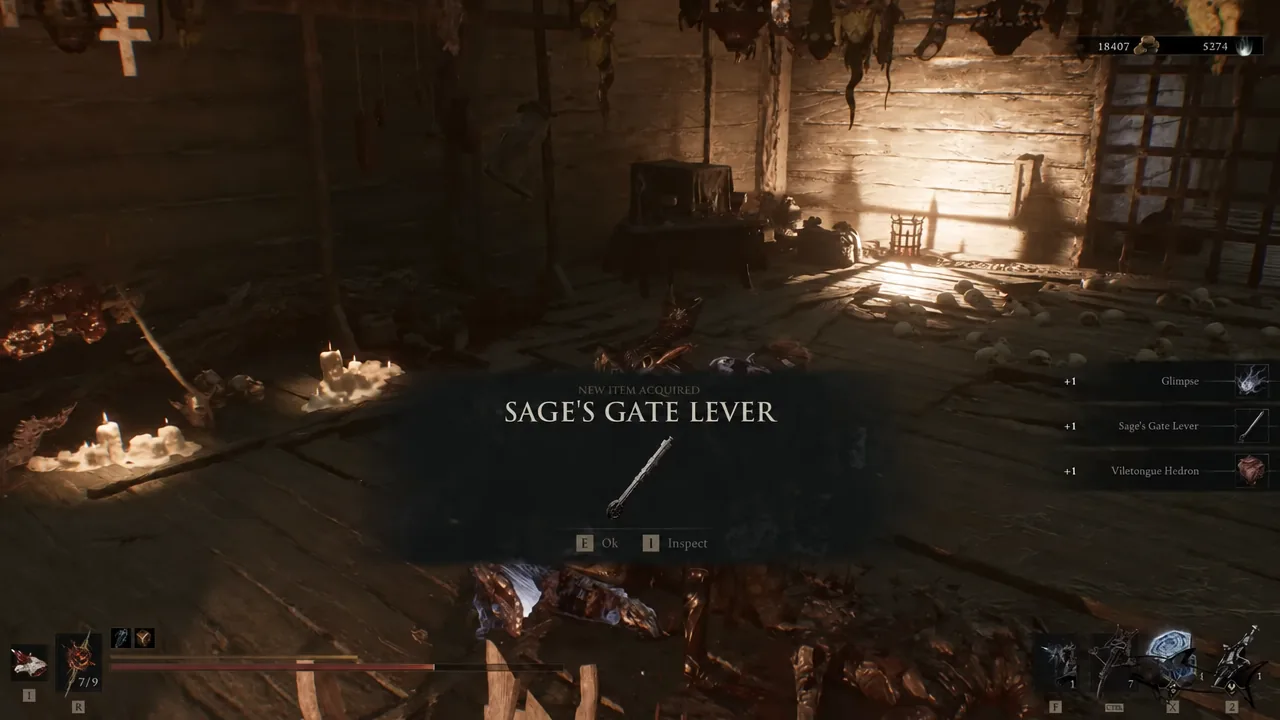
Fitting the lever to the nearby switch lifts the Sage’s Gate, which lets you cleanse the corruption at the beacon and collect the Ovum. Neither step is required to keep the Tarstone. You can walk out with the Hedron and finish the dungeon whenever it suits you.
There is no second copy. The Hedron is a one-time drop from Viletongue Batushka with no alternate source anywhere in the region, and cleansing the beacon afterward does not produce another.
Upgrading the Viletongue Hedron at the Tarforge in Marrow Keep
Tarstone upgrades are locked until you expand the Tarforge, and that requires the Etching Needles. They sit in a bone chest shortly before the Magdalena, the Lady of the Woods boss fight. When you spot Ruk past the bridge, drop down through the opening and turn right before the tunnel to reach the small alcove holding the chest.
Hand the needles to Franz at the Tarforge in Marrow Keep to unlock Tarstone upgrades, which are paid for in Coin. From there the stone levels by use: keep it equipped and kill enemies to fill its XP bar, then return to Franz and pay for the next tier. The bar is substantial at higher levels, so a dedicated farming spot saves a lot of time on the push to the permanent infusion.
Best Tarstone pairings for a Bloodcurse build
Because the infusion applies Bloodcurse only on critical hits, the pairings that matter are the ones that manufacture crits. The Marksman’s Stone raises ranged critical chance outright, scaling from +10% to +15% as it levels. The Grudge Stone takes the other approach and guarantees a critical hit on a fixed cadence, tightening from every eight attacks down to every four at its top tier — useful when you want a predictable stack rhythm rather than a dice roll.
For a second damage layer, the Accursed Stone — a Curse infusion cleansed from the Abandoned Outpost Beacon — stacks alongside Bloodcurse on the same target. Slotted onto the Cursed Child, that combination turns the Sidearm into a full status platform instead of a single-condition backup weapon.
If the Hedron was the reason you came to Castigator’s Keep, the follow-up is simple enough: get the Etching Needles if you haven’t, grind the stone to its permanent tier, and pick a Sidearm that actually benefits from constant Bloodcurse uptime. Everything else about the dungeon — the gate, the Ovum, the corruption cleanse — is optional cleanup you can return for at any point.