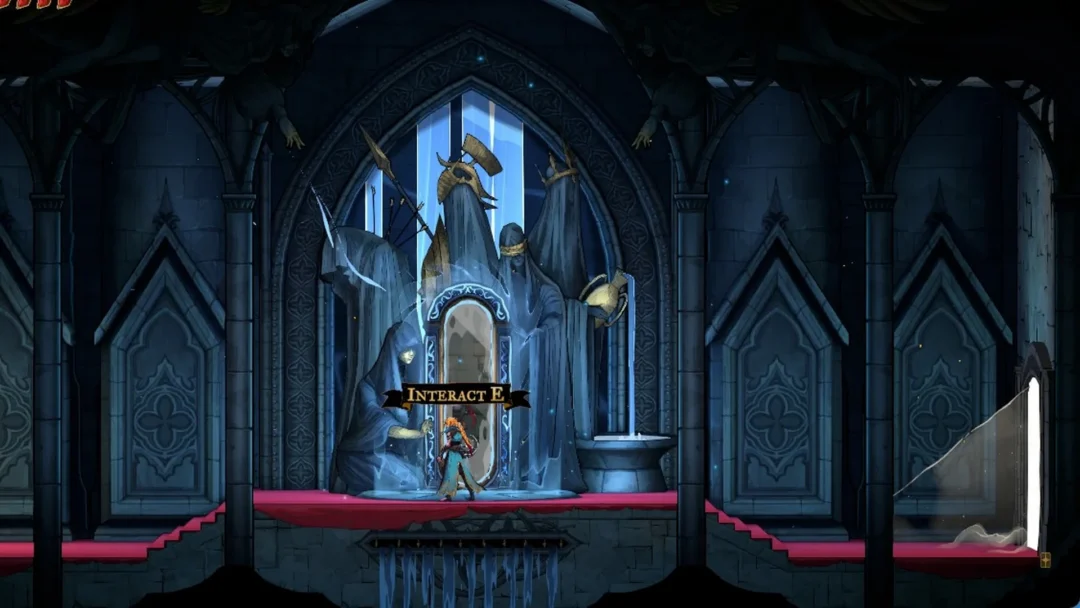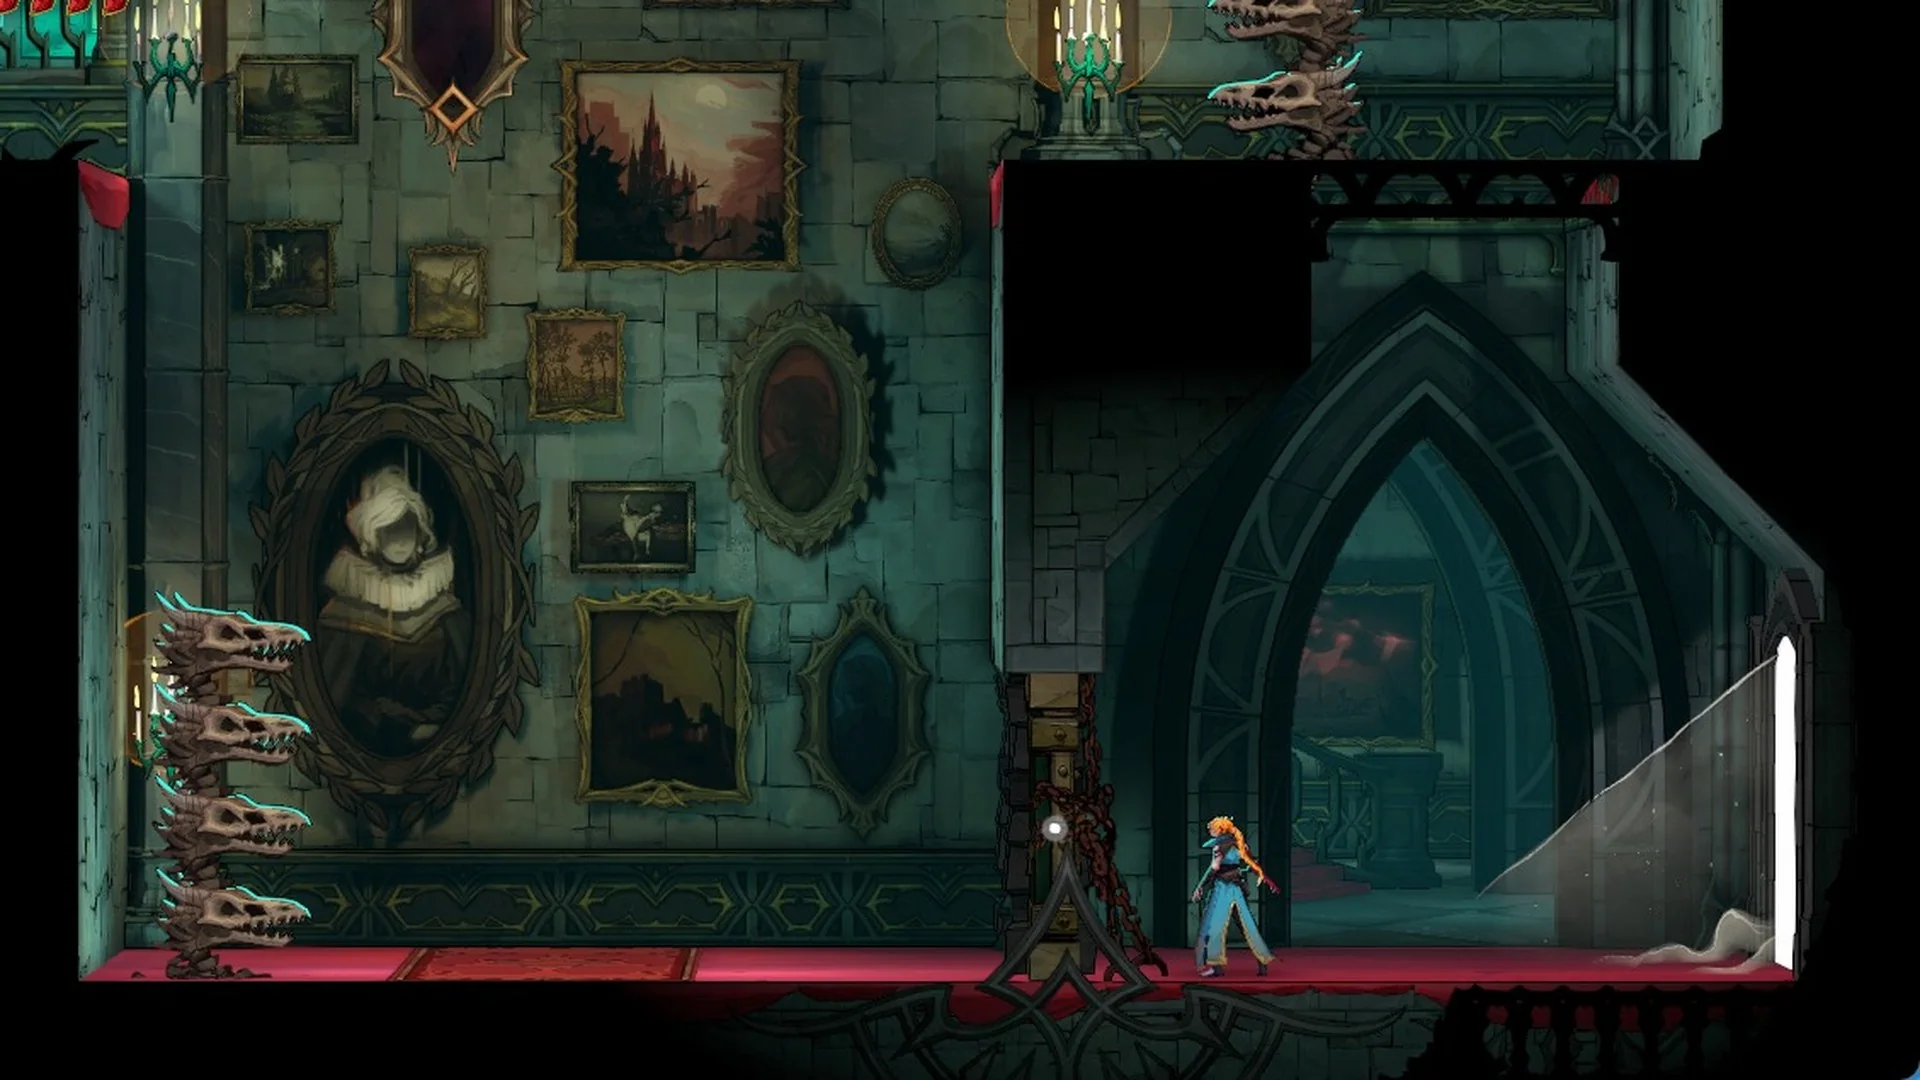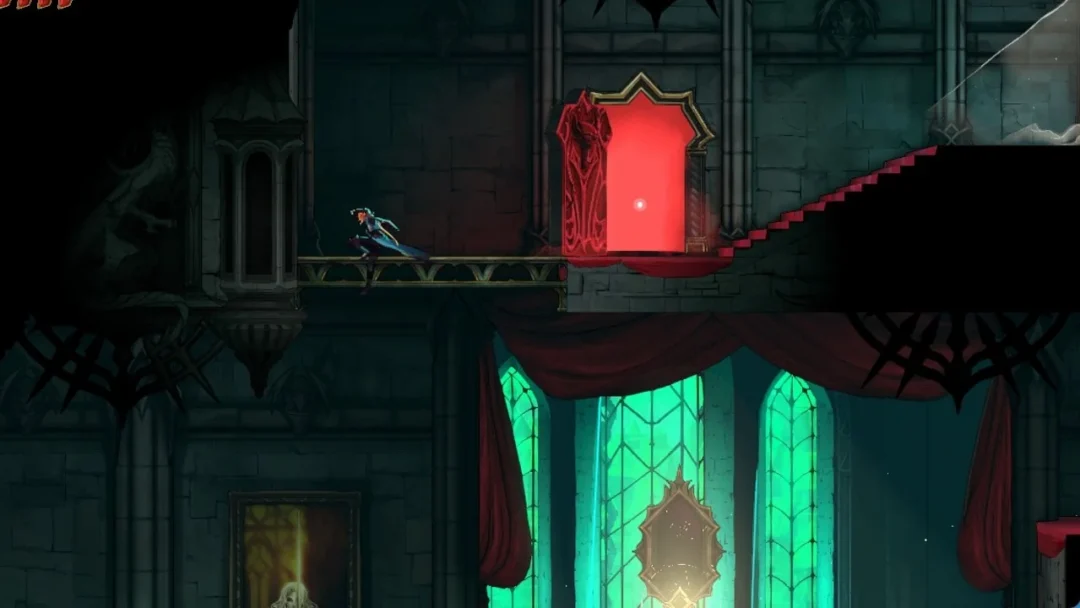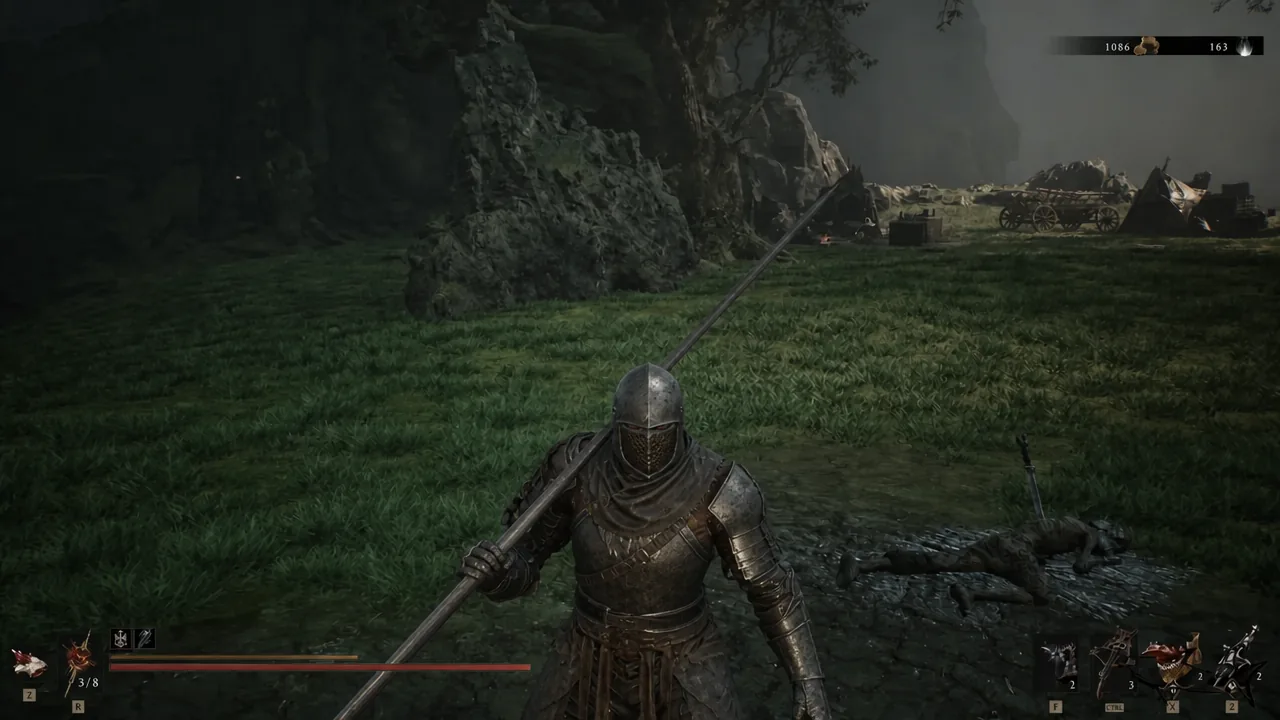
The Map of Mammon 1 is one of eleven map fragments in Mortal Shell 2, and it covers the Abbey stretch of the Ruins of Mammon. Like every other fragment, it sits on a stone statue where Ruk, the crow that follows the Harbinger around, perches. Walking through the region does nothing to lift the fog on its own, so the statue is the only way to expose this part of the map.
Quick answer: Fast travel to the Abbey Entrance beacon, follow the path south past the Sister’s Refuge beacon, cross the wooden bridge, kill the three enemies guarding the round tower, and interact with the statue at the end of the path to pick up MAP OF MAMMON [1].
What the Map of Mammon 1 fragment does
Picking it up clears the fog of war over its slice of the Ruins of Mammon and flags any Corrupted Gates sitting inside that area. Six fragments exist in Mammon and five more in Fainweald. Collect all eleven and the entire map of Fallgrim is revealed, which also unlocks the Sat Nav trophy.
Before you set off
Fast travel is not available from the start. After the prologue and your first stop at Marrow Keep, you need to collect and siphon at least five more Ova before you can warp between tagged beacons and clear corrupted vines from blocked paths. Until then, the Abbey is a walk.
Outskirts of Mammon is pre-cleansed and is the only beacon in the region you can travel to by default, so it is the anchor point for the whole trip. Resting at any beacon refills health, resolve, and flask charges, but it also respawns the regular enemies you have already cleared.
Full route from the Outskirts of Mammon beacon
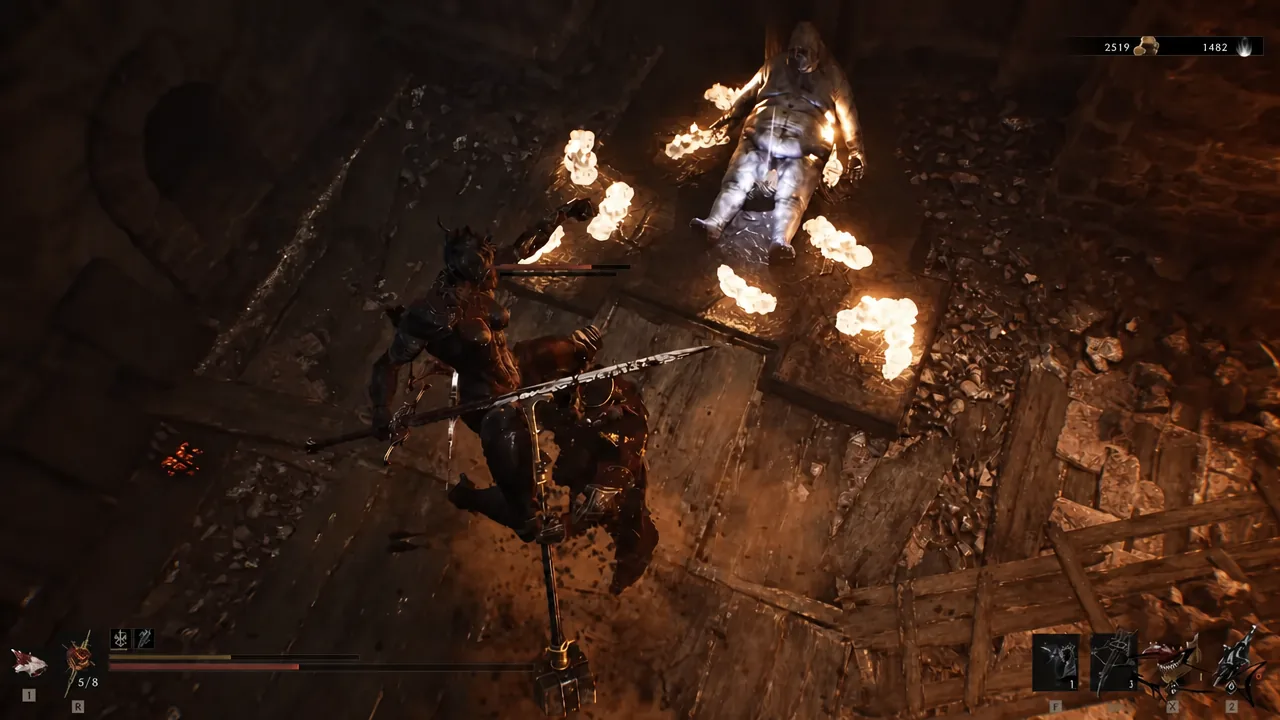
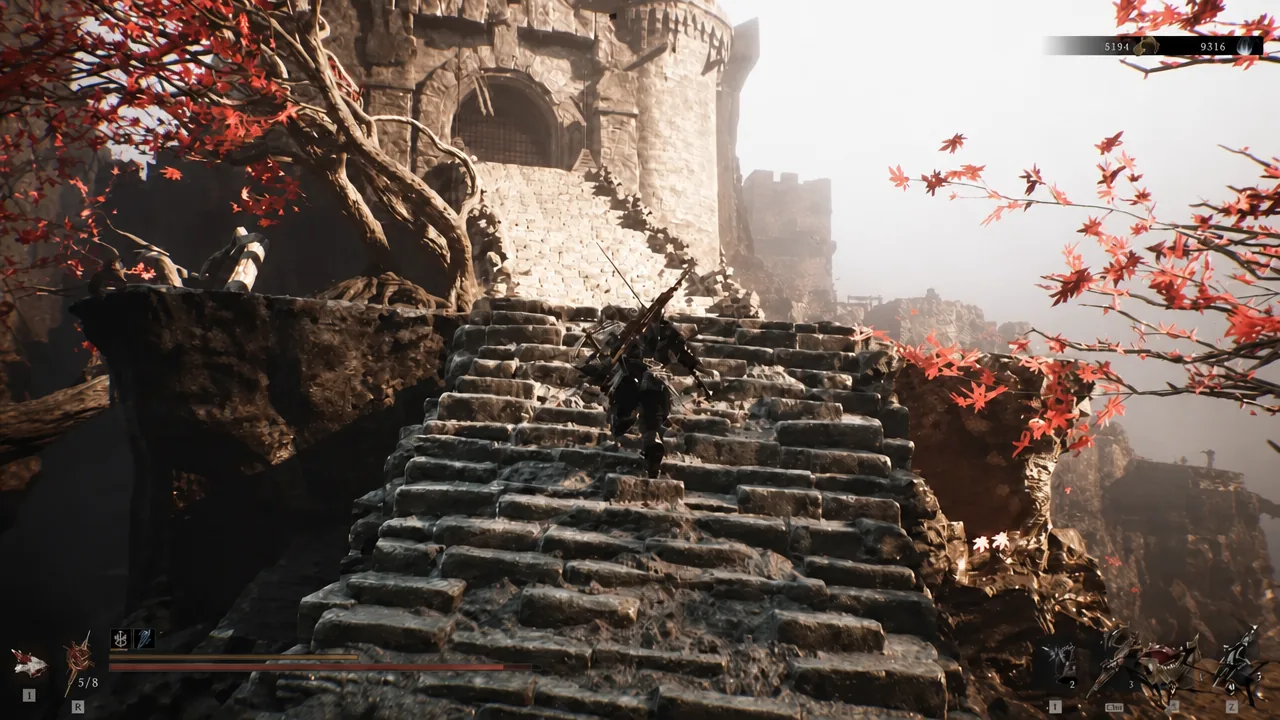
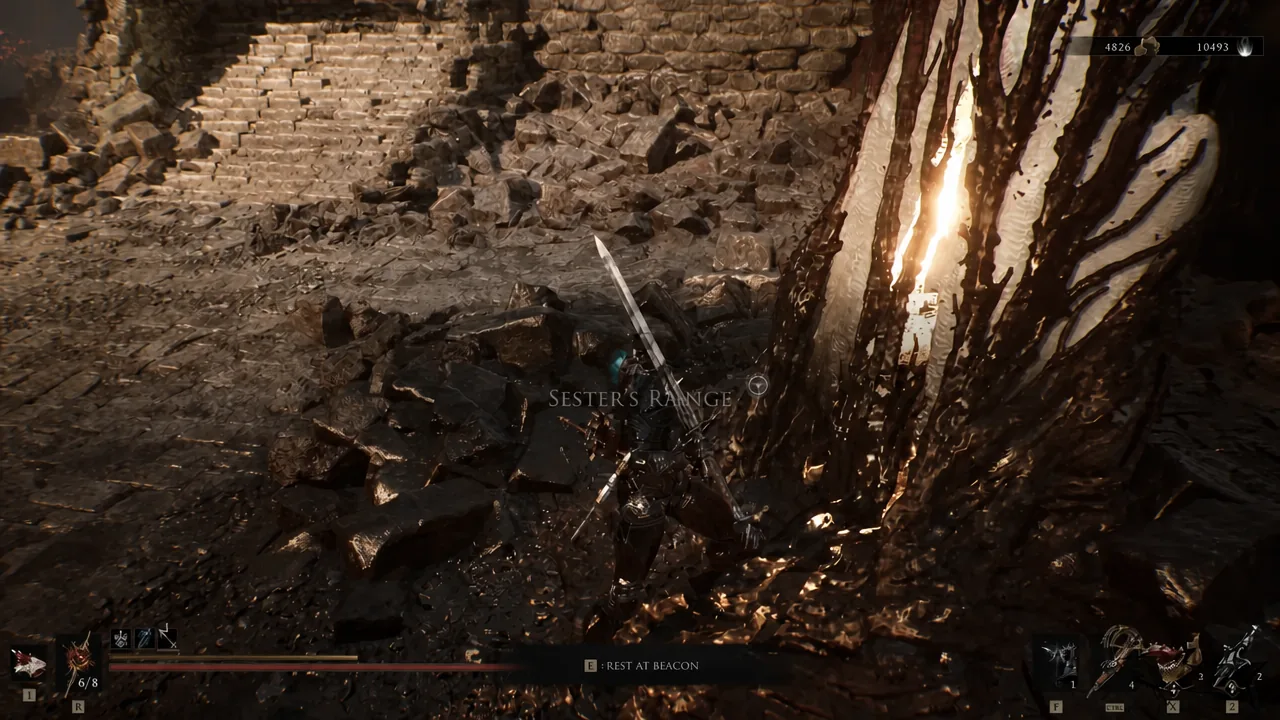
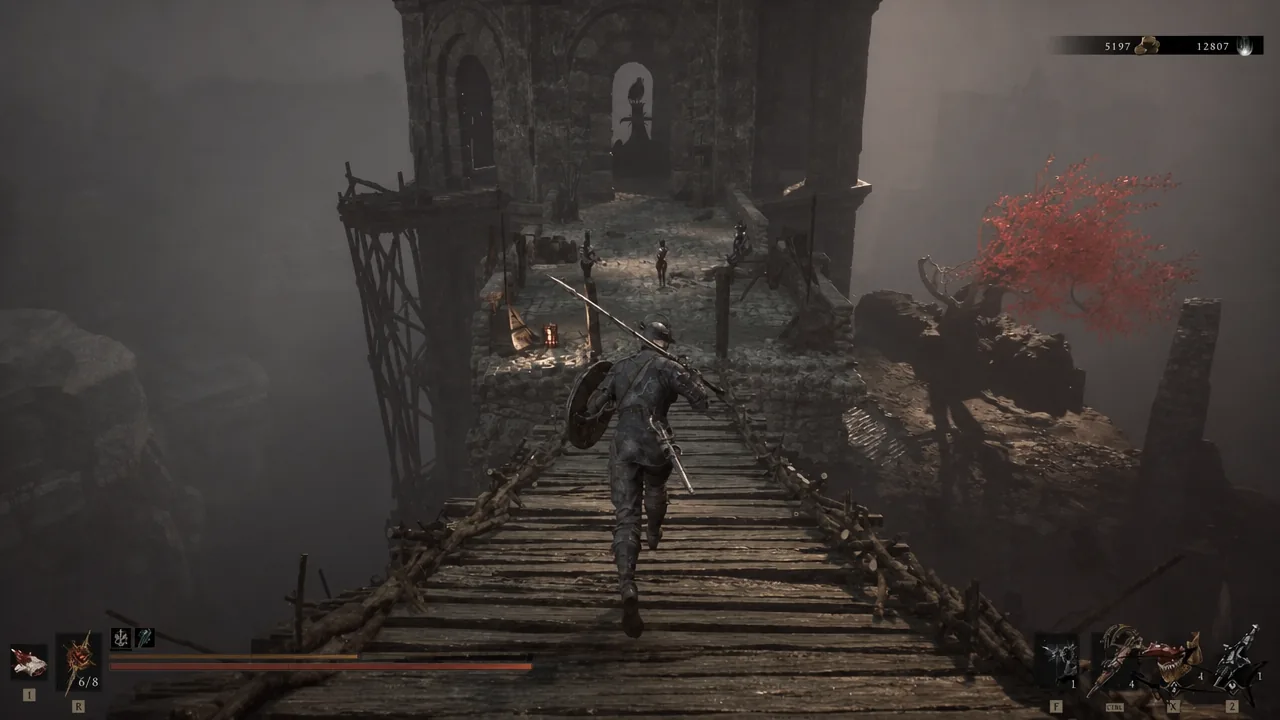
Alternate approach using Bone Gates
If you would rather skip the temple fights, there is a faster line into the Abbey. Take the Bone Gate southeast of the Outskirts of Mammon beacon to land in the Abbey area, head east, then use the Bone Gate at the end of the stone bridge to arrive at the Abbey Entrance beacon.
From the beacon, go up the stairs, turn right, and take the stairs back down to reach the far side. Look across the gap and the statue is visible in the large circular tower directly ahead of you.
Tip: there is a chest holding a Blackmarrow Key directly beneath the statue. Drop down from the scaffolding nearby to grab it while you are in the tower.
Landmarks and pickups on the route
| Landmark | What you get there |
|---|---|
| Outskirts of Mammon beacon | Starting point, pre-cleansed and available by default |
| Ruined temple sarcophagus | Tyrant’s Stone (optional) |
| Abbey Entrance beacon | Closest fast travel point to the fragment |
| Red-leafed tree in Sister’s Refuge | Bloodseed (optional) |
| Sister’s Refuge beacon | Safety checkpoint before the tower fight |
| Round tower statue | MAP OF MAMMON [1] |
| Chest under the statue | Blackmarrow Key |
How to confirm the fragment registered
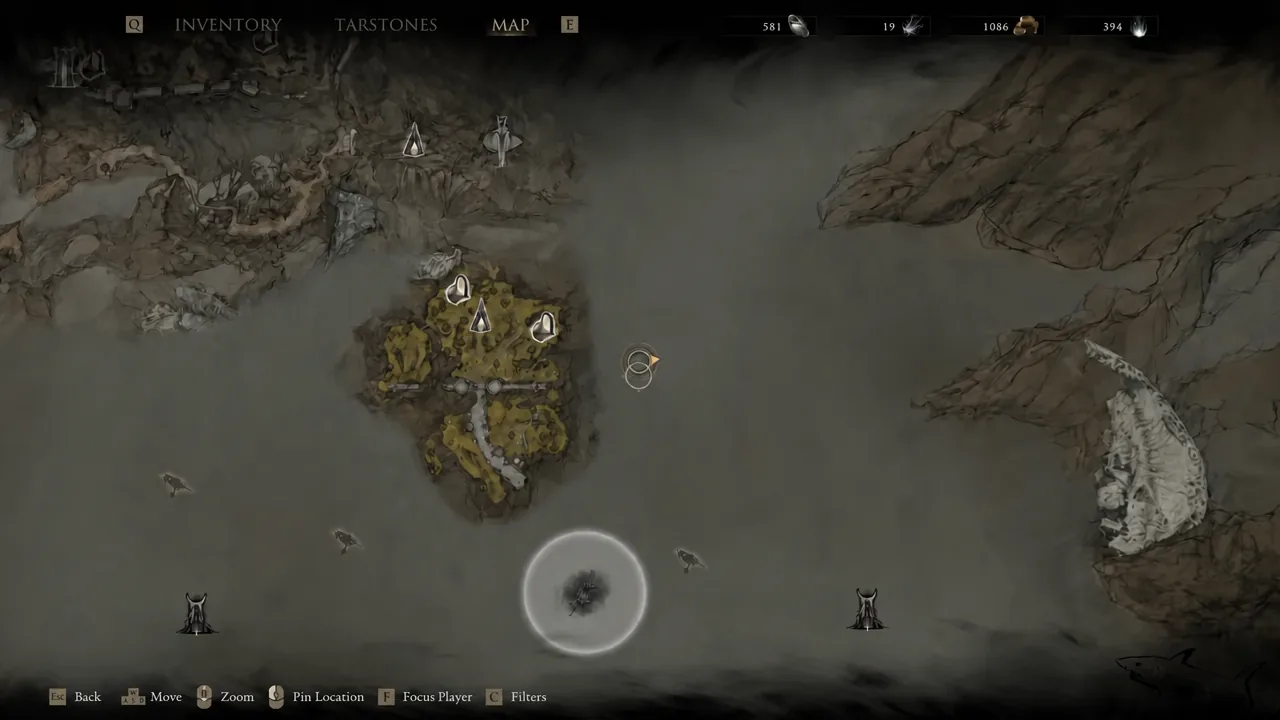
The pickup banner naming the fragment is your first confirmation. Open the map afterward and the section around the Abbey should now be drawn in instead of fogged, with any Corrupted Gates in that stretch marked.
If the statue is not showing a crow icon on your map yet, that is expected behavior rather than a bug. The icons only appear once you have discovered the surrounding area on foot, which is why the beacon-to-beacon route above matters more than the map itself.
With this one banked, the remaining Mammon fragments sit near the Outskirts of Mammon catapult, behind the High Lord’s Courtyard beacon, south of the Lonesome Spire, west of Castigator’s Keep past the Grisha Hunters, and inside the Vestige of Infinity after the Starved Harridan boss.