

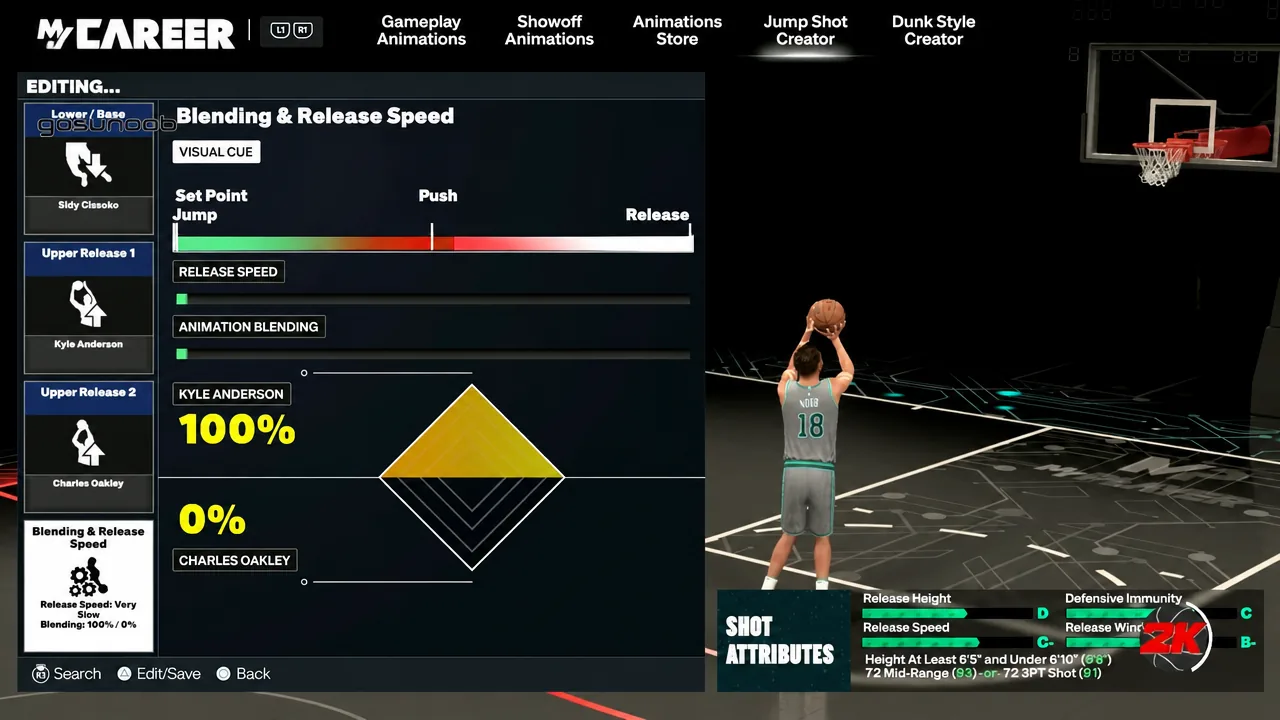
Shooting in NBA 2K27 comes down to a target measured in milliseconds. Every jump shot has a green window, and a typical unmodified one runs somewhere around 15 to 20 milliseconds wide. That is roughly a fiftieth of a second. Three things stack on top of that baseline width, and all three are under your control before you ever take a shot.
Quick answer: Build a custom jump shot with an A or A+ Release Window grade, set Release Speed to Very Slow, and turn the shot meter off in Customize HUD. Those three changes combine for roughly a 30% larger green window.
The three multipliers that widen your green window
The green window is a threshold, not a dice roll. Release inside it and the ball goes in. Release outside it and it does not. So every percentage point you add to the width is real timing room, not a better chance.
| Change | Effect on green window |
|---|---|
| Release Window grade A+ | Roughly +10% |
| Release Window grade F | Roughly -10% |
| Release Speed: Very Quick | -10% |
| Release Speed: Quick | -5% |
| Release Speed: Normal | No change |
| Release Speed: Slow or Very Slow | Small boost |
| Shot meter turned off | +10% |
The grades between A+ and F scale across that range, so a B- jumper sits closer to neutral than to either extreme. Stacked together, an A or A+ Release Window with a Very Slow release and no meter on screen pushes the window about 30% past its default width.
Release Speed: The slider that costs you timing room
Release Speed sits in the Jump Shot Creator, and it is a straight trade rather than a free upgrade. Faster settings shrink the window. Slower settings grow it. Very Quick strips 10% off the width and Quick takes 5%, while Slow and Very Slow both give a small amount back.
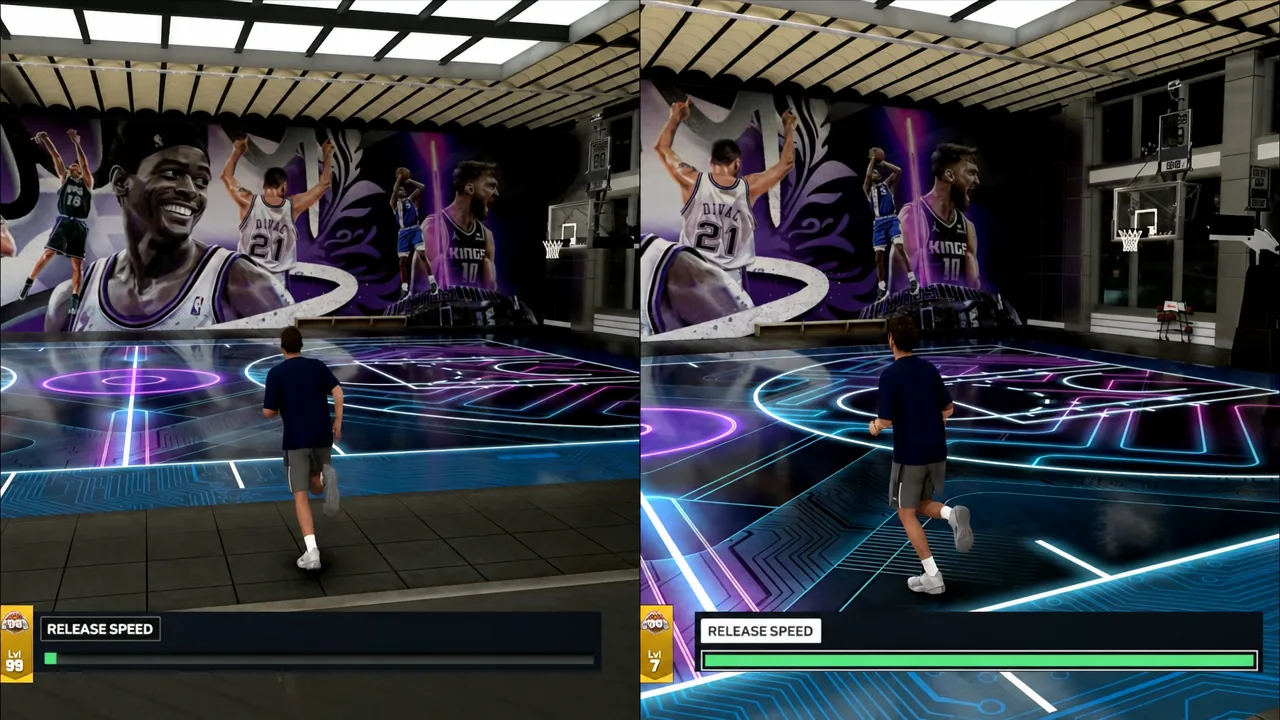
The tradeoff is genuine. A quicker release beats a hard closeout and gets the ball out before a contest lands. A slower release gives you a larger target but leaves more time for a defender to arrive. If your misses are mostly blocks, keep some speed. If your misses are slightly earlys and slightly lates, slow it down.
Release Window grade: The most important number in the Jump Shot Creator
Every jumper in the creator carries four grades. Release Height and Defensive Immunity describe how the shot holds up against a defender. Release Speed describes how fast the ball leaves. Release Window is the one that decides how much timing room you get, and it applies as a direct multiplier on the window’s width.
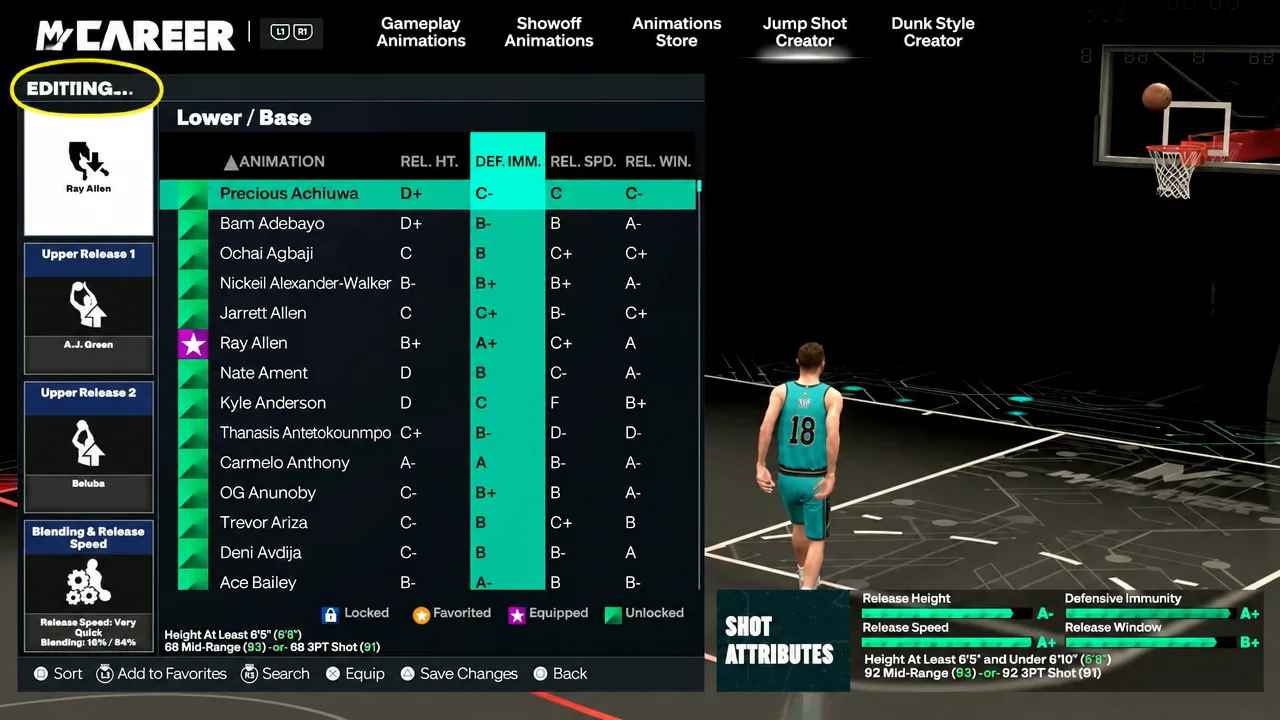
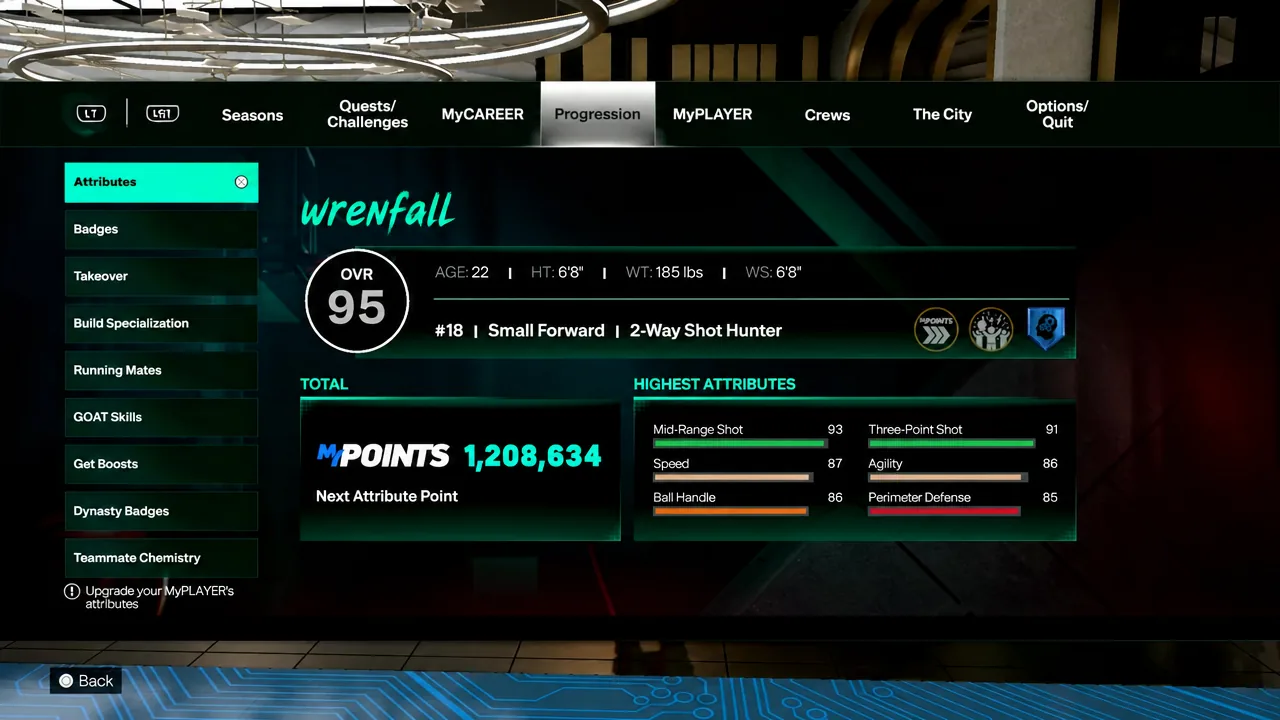
Many default and community jump shots grade out at D+ or F on this attribute, which is why they feel nearly impossible to time. Treat B- as the floor and aim for A or higher. Your Three-Point Shot and Mid-Range Shot ratings also gate which bases and releases you can equip at all, so higher ratings buy access to better-graded animations on top of widening the window on their own.
A custom jump shot built around window size
A setup tuned specifically for green window width uses Ray Allen as the base, paired with A.J. Green as Upper Release 1 and Beluba as Upper Release 2. Blend the two at 16% A.J. Green and 84% Beluba, then drop Release Speed to Very Slow.
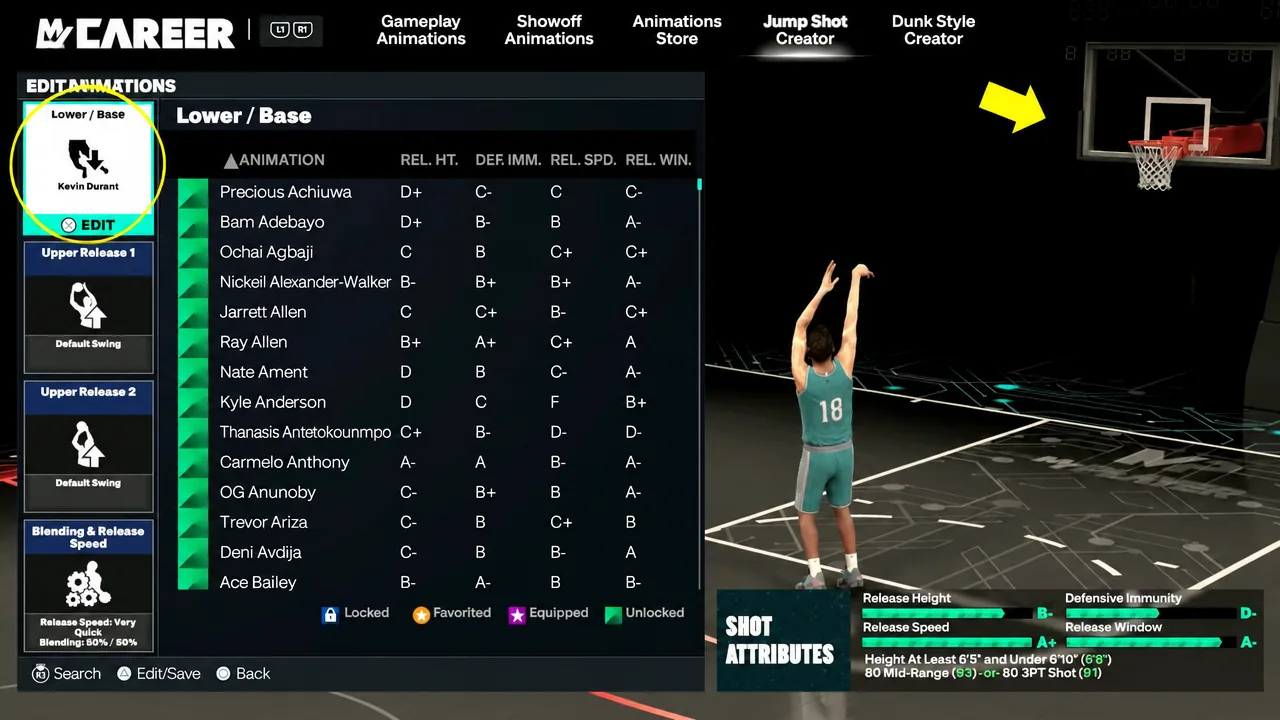
The Ray Allen base normally asks for a 93 Mid-Range or 93 Three-Point rating, though it can be adjusted down to work at 91. A competitive variant of the same base pairs Oscar Robertson and Beluba releases with max release speed for a B+ window, trading timing room for a faster gather that beats contests. Players who cannot reach those ratings can substitute a LaMelo Ball base, which unlocks at 86 Mid-Range or 82 Three-Point.
Turn off the shot meter for the 10% bonus
Hiding the shot meter is the cheapest 10% available. It costs nothing but the visual crutch, and the bonus applies permanently once the setting is off.
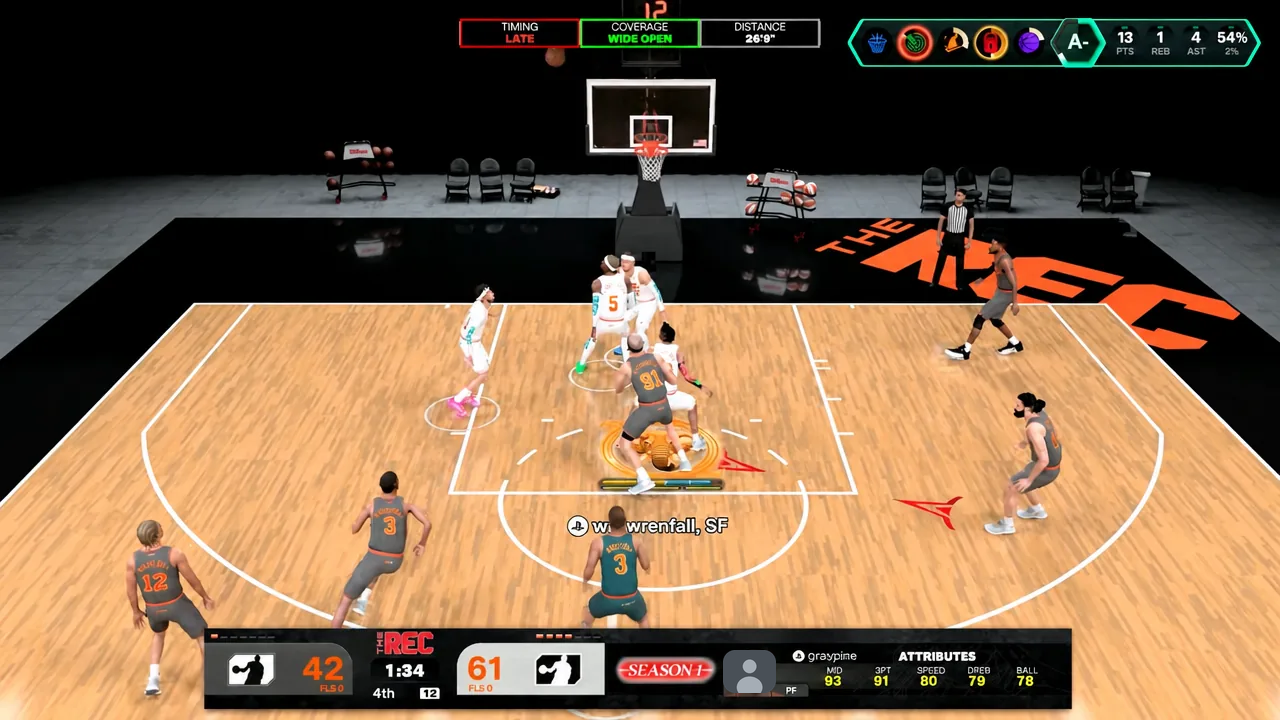
Tip: If you are still learning a new jumper, keep the meter on temporarily and switch it off once your feedback stops reading early or late on most attempts. The bonus is not worth much if you cannot time the shot at all.
Why a widened window still moves between shots
Width and position are separate things. The multipliers above make the window bigger, but they do not stop it from sliding earlier or later depending on what happened just before you pressed shoot. Learning that movement is what turns a wide window into makes.
- Low stamina slows the gather, so the window arrives later than it does on fresh legs.
- An empty adrenaline bar does the same thing, and it also shrinks the window on top of moving it.
- A deep three and a shot inside the arc do not release at the same moment.
- Awkward catches can trigger a slow load-up animation that shifts the window well away from your practised timing.
- A contest changes the release clock and narrows the window at the same time.
- Set feet, pull-ups, hop steps and spin shots each carry their own timing.
Aim for the middle of the window rather than the earliest timing that greens. The centre absorbs that drift. The edges do not, which is why a release that greened last possession can miss on the next one without anything random happening.
Button versus rhythm shooting
Both mechanics start from the same base window. Button shooting gives you that window every time, with no bonus and no penalty, which makes it the safer option while you are dialling in a new jumper. Rhythm shooting modifies the window in both directions based on how fast you move the right stick from down to up. Match the shot’s tempo and the window grows. Rush or drag it and you end up with less room than the button would have given you.
The tempo bonus is not large, and you still have to green your timing either way. Rhythm also applies at the free throw line.
Shooting badges that stack on top
There are nine shooting badges in 2K27, five of them new. The clearest way to sort them is by whether you are set or moving, and whether you are shooting a three or a mid-range. Equip the ones that match how you actually get your shots, then level them up.
| Badge | What it covers |
|---|---|
| Set and Fire | Open, stationary catch-and-shoot attempts |
| Cadence | Timing stability after dribble moves, including fadeaways |
| Smooth Operator | Contested mid-range fades |
| Deadeye | Reduces the penalty from a closing defender |
| Limitless Range | Extends effective range on deep threes |
| Quick Trigger | Fast no-dip shots, demanding on timing |
| Arc | Movement shooting |
Set and Fire is the one worth maxing first for most builds, since spot-up attempts are the shots you have the most control over creating. Quick Trigger is situational and punishing if your timing is not already reliable.
How to confirm the changes took effect
Head to MyCOURT after saving the jumper and take a run of shots with Shot Feedback on. The meter should be gone entirely, and each attempt should report its timing and coverage level. If the feedback still reads slightly early or slightly late on most shots, the fix is the Release Speed slider rather than the animation. Nudge it toward Slow or Very Slow to give yourself more room, and practise with your energy drained as well as full, since a tired release lands later.
Two things commonly stop the boosts from landing. The meter setting has to be Off under Shot Meter Shots specifically, not just reduced in size. And a jumper with an F or D+ Release Window grade will still feel unmakeable no matter how slow you set the release, because a 10% penalty on an already narrow window leaves almost nothing to hit. Check the grade before you blame your timing.





