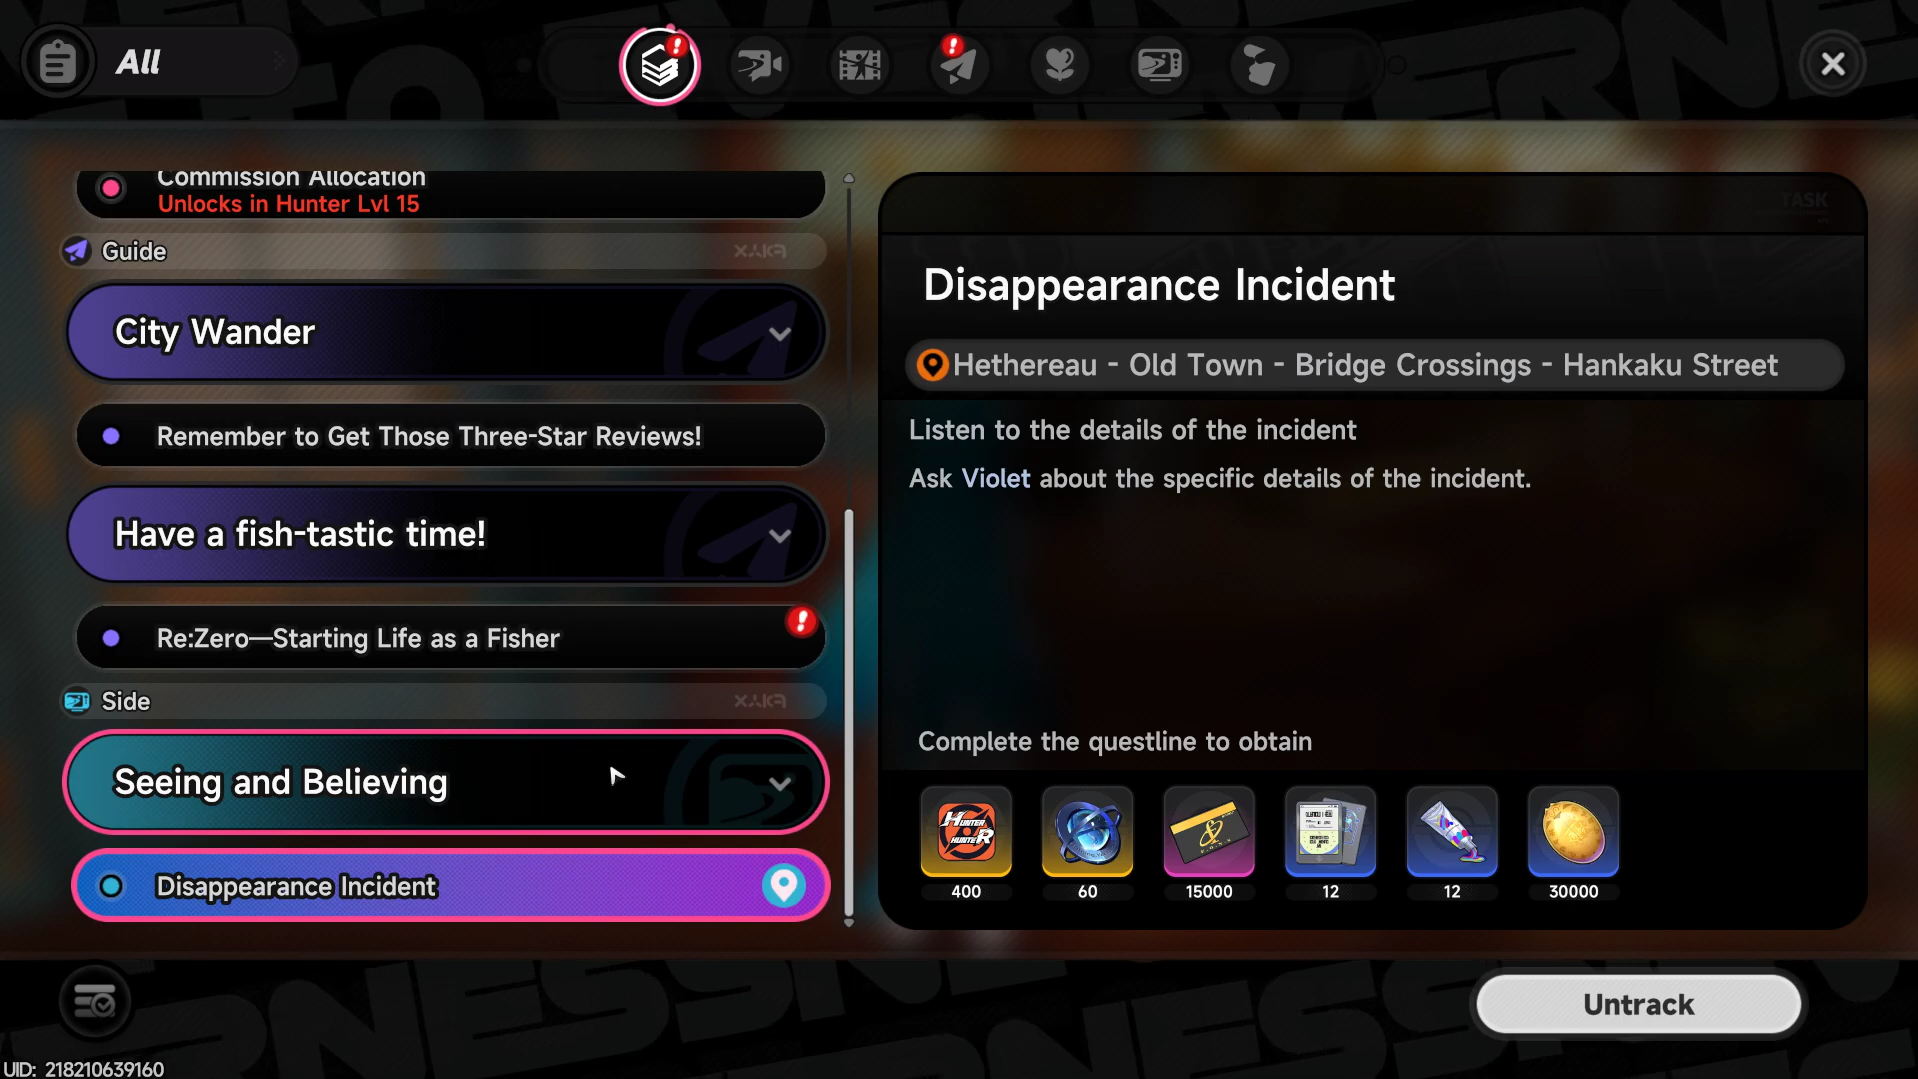
Seeing and Believing (also labeled Disappearance Incident in the quest log) is an early side quest chain in Neverness to Everness that puts you on the trail of a con artist working the shops around Bridge Crossings. The investigation funnels into a deduction puzzle where wrong picks loop you back, so the dialogue order matters.
Quest requirements and starting point
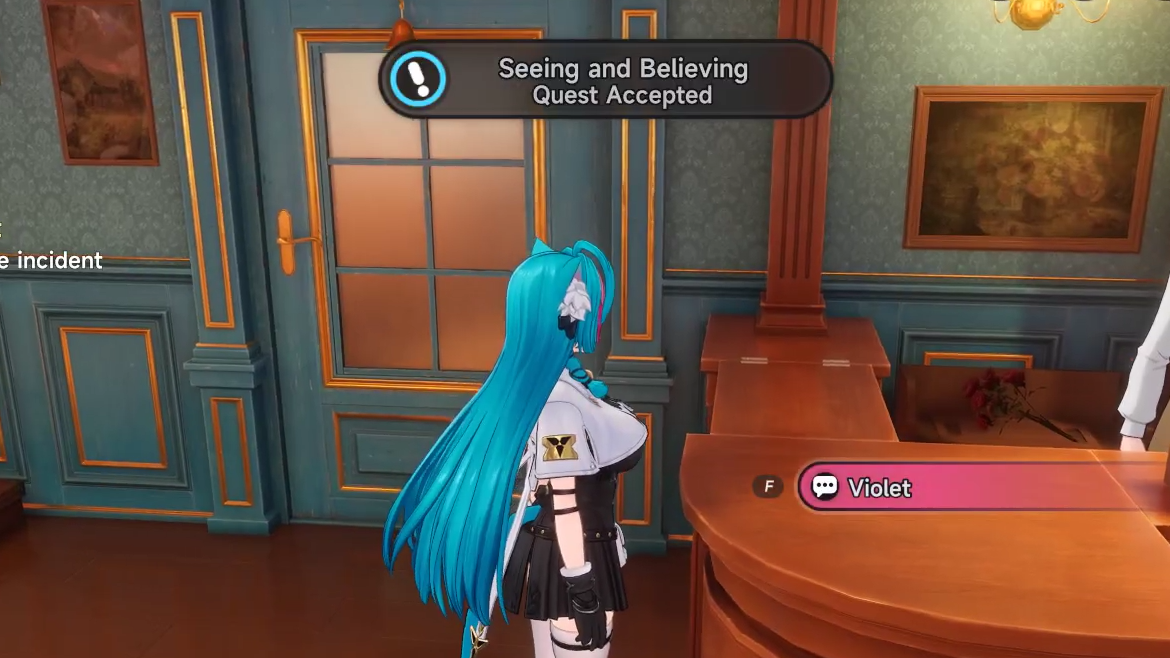
The quest unlocks once you finish Prologue I – Unforeseen Yet Foretold, which is the opening tutorial sequence. After that, the city is open, and Violet becomes available at Hillside Blooms, the flower shop on Bluebeard Road in Bridge Crossing. Speak to him and ask about the strange box to begin.
Violet explains that someone sold him an anomaly called Windbringer, claiming it would force every flower in the shop to bloom inside 24 hours in time for the Most Beautiful shop competition in Henkaku. It didn’t work, and the seller is gone. Your job is to track them down.
Witness route through Bridge Crossings
The middle of the quest is a tour of nearby shops. Track the quest from the menu so the markers stay active, then work through the stops in order. Each conversation adds a clue you’ll need at the deduction step.
| Stop | NPC | What you learn |
|---|---|---|
| Fruit Shop | Owner | Hasn’t met the seller; points you toward other shops nearby. |
| Butcher Shop | Owner | Same dead end, with another lead toward the square. |
| DSD Pop toy store | Ekko | The same person stepped in during a customer dispute and sold her an anomaly that actually works. |
| 9° Coffee | Grace | The seller pretended to commune with her dead pet ferret and left a box behind, like at the flower shop. |
| Good Joe Vintage | Good Joe + JTF Captain | Cutscene confirming a fourth incident and triggering the deduction step. |
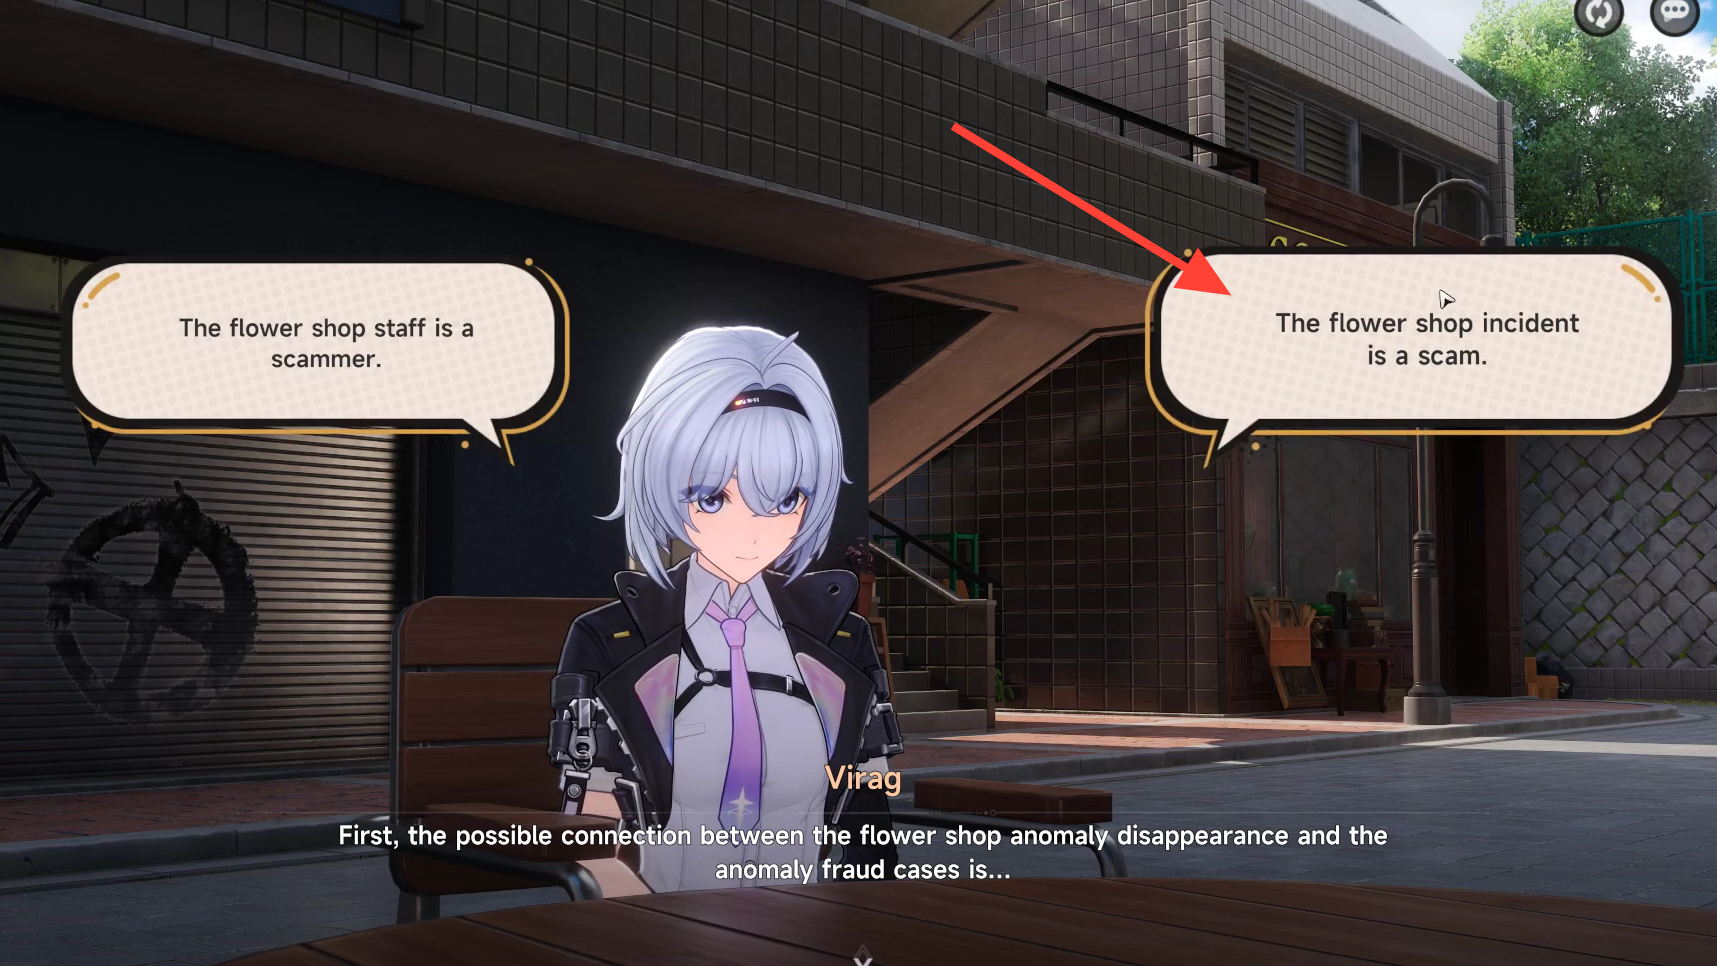
Sit down and organize your thoughts: Correct dialogue path
After the Good Joe cutscene, sit at the nearby table to sort your clues. The puzzle gates progress on specific picks. Wrong choices won’t fail the quest, but they will keep you locked in the same prompt until you select the correct one.

Naming the perpetrator
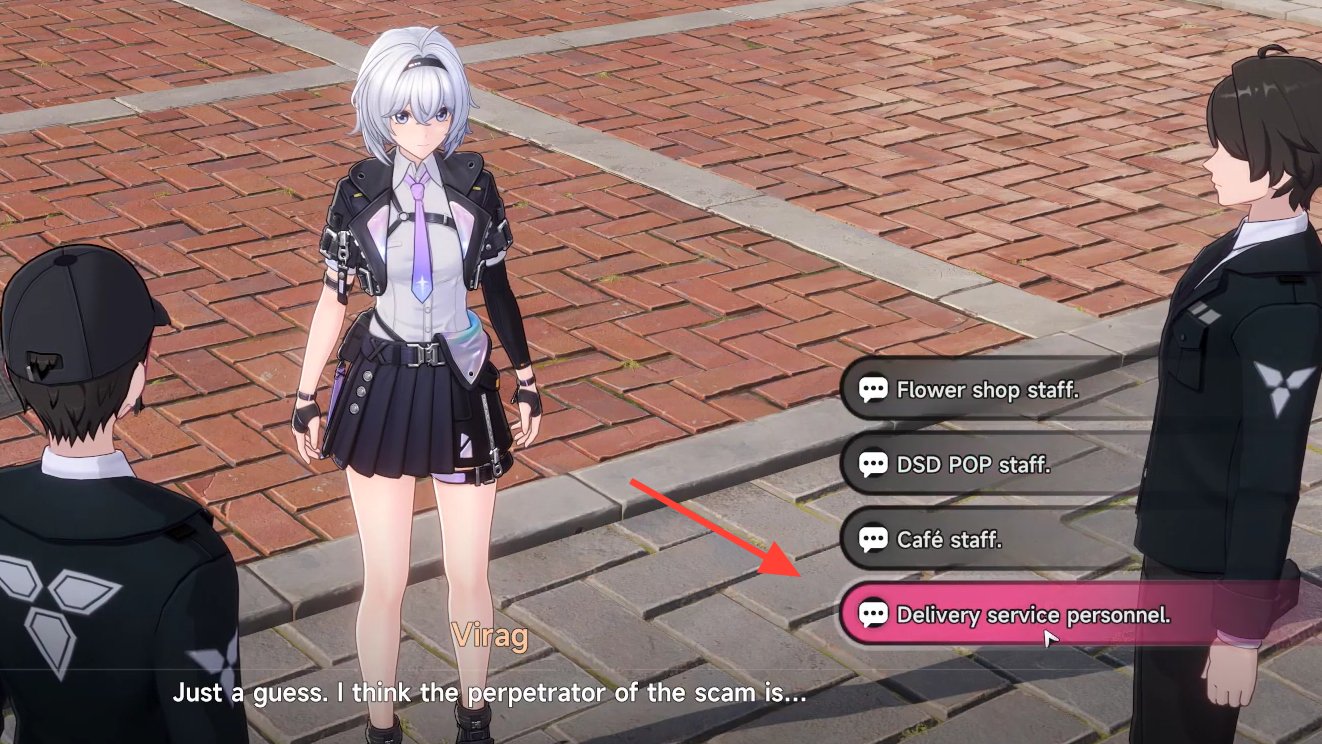
Walk over to the JTF Captain to share your findings. The final question asks who is behind the scams. The correct answer is Delivery service personnel. The face-covering detail and the suspect’s intimate knowledge of each shop’s situation point to someone who routinely visits every storefront with a uniform that obscures their features.
Pick anything else, and the captain will push back, letting you try again.
Rewards and how to confirm completion
Head back to Hillside Blooms and speak with Violet one more time to close out the chain. The quest log will mark Disappearance Incident as complete, and the Win Friends and Influence People achievement pops on the same beat.
| Reward | Amount |
|---|---|
| Hunter Level EXP | 400 |
| Annulith | 60 |
| Fons | 15,000 |
| Beetle Coins | 30,000 |
| Colorless Dye | 12 |
| Senior Hunter Guide | 12 |
If the quest stays stuck on “Return to the Flower Shop” after picking the delivery worker, fast travel out of Bridge Crossings and back. Violet’s interaction prompt only refreshes once the JTF dialogue fully closes, and standing too close during the cutscene can occasionally skip the trigger on his model.