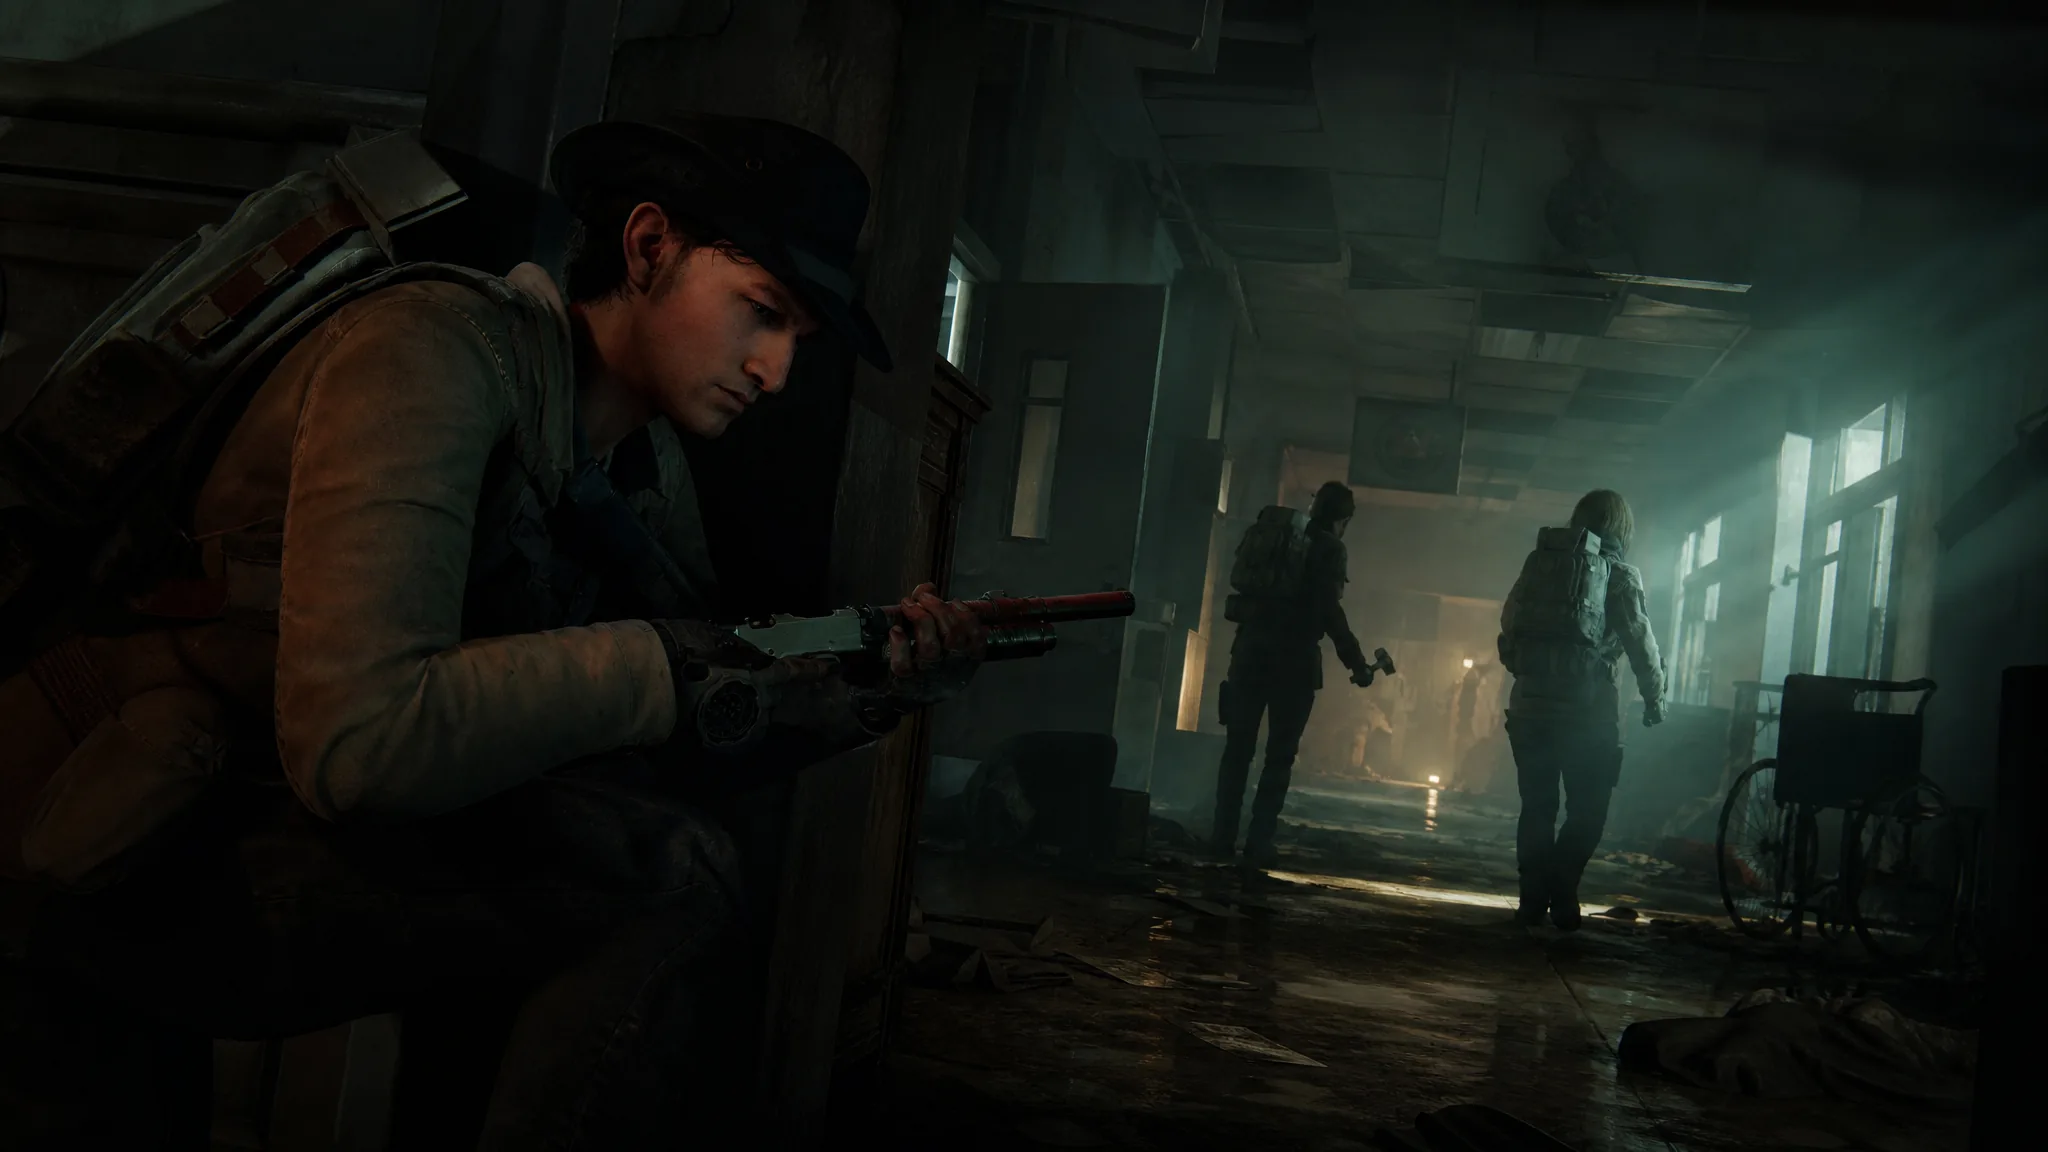
Survival in No More Room in Hell 2 comes down to what you are holding when the horde notices you. The 1.0 release built its whole arsenal around scarcity, so you rarely start with the gear you want and instead scrounge for it as you push deeper into a map. Knowing what each weapon does before you pick it up saves ammo, saves noise, and often saves your Responder.
Quick answer: The current arsenal spans 15 firearms, a set of one- and two-handed melee weapons, and three throwables (M67 Frag Grenade, Pipe Bomb, and Molotov Cocktail). You either find them as loot during a mission or bring them in through your loadout.
How you get weapons in No More Room in Hell 2
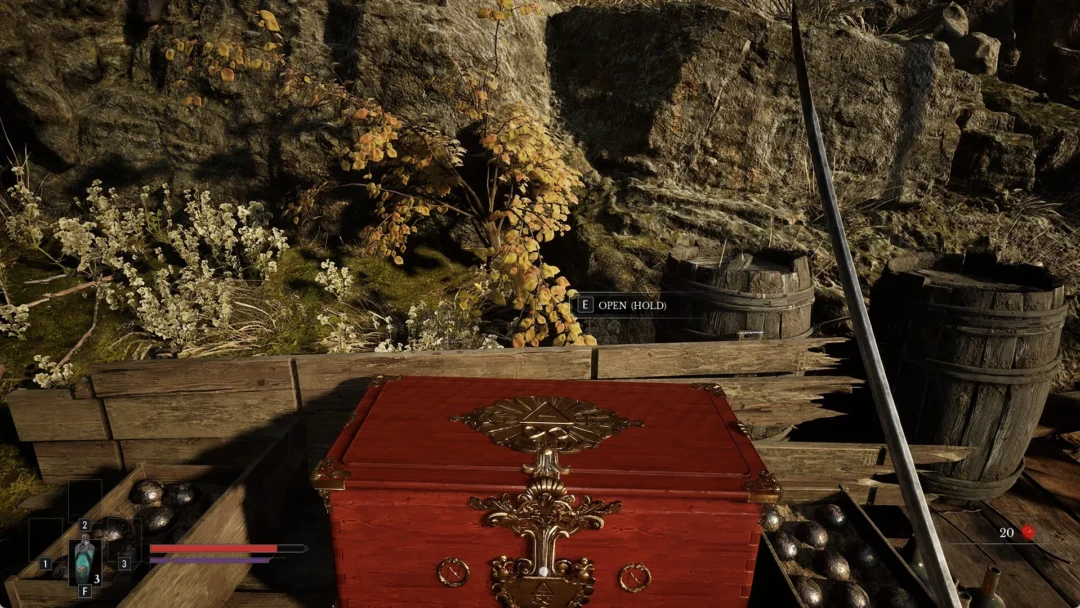
Weapons are part of the map loot system. You do not need to unlock anything before you can use it, because guns and melee tools spawn throughout mission areas and you simply pick them up. Early zones tend to hand you just enough to survive, while stronger gear generally appears deeper into a run. The 1.0 update specifically pushed Tier 3 weapon spawns toward later stages of maps.
The other route is your Responder’s loadout. You spend Credits, earned mainly by extracting with Supplies, to start a mission with something reliable instead of whatever happens to be lying around. Buying a firearm for a loadout is not a permanent free unlock for every Responder, so you have to manage that spending. Note that firearms can now spawn with different amounts of ammo depending on difficulty, so check a gun’s remaining rounds before you commit inventory space to it.
All pistols and the revolver
Handguns are your reliable backup when a bigger gun runs dry. The Model 13 has historically served as the default ranged option, so you can usually enter a mission already carrying a sidearm.
| Handgun | Ammo | Notes |
|---|---|---|
| M9A3 | 9mm | Highest magazine capacity of any pistol; one-shots regular zombies with the Increased Pistol Damage perk. |
| M1911A1 | .45 ACP | Also one-shots regular zombies, but holds half the M9A3’s magazine. |
| Gruber MKVII | .22 LR | Much steadier to aim, at the cost of reduced damage. |
| Model 13 | .357 Magnum | Powerful revolver that can 2-shot prime zombies, but only holds 6 rounds. |
The only SMG
There is a single submachine gun in the game. The MP5A4 shares 9mm ammo with the M9A3 but fires much faster, which makes each loose round count for more, and burns through a magazine just as quickly.
All rifles and marksman weapons
This is the broadest firearm category, covering standard assault rifles, semi-automatic marksman rifles, and slower high-power options. The right pick depends on how close the zombies get and how much ammo you can spare.
| Rifle | Ammo | Notes |
|---|---|---|
| MC-15 | 5.56 NATO | Standard AR with good stability and stopping power; low fire rate keeps recoil manageable. |
| M7A1 | 6.8x51mm | Higher fire rate than the MC-15 and kills prime zombies with a single headshot. |
| Gruber 922 | .22 LR | Balanced and precise like a lighter MC-15, trading raw damage for control. |
| Gruber Ranch | .22 LR | Semi-automatic DMR with decent firepower, not built for close range. |
| M14 Battle Rifle | .308 WIN | Direct upgrade over the Gruber Ranch: bigger magazine, better fire rate, 2-shots prime zombies. |
| Rochester 1873 | .357 Magnum | Lever-action rifle sharing ammo with the Model 13 for extra punch. |
| Hunter 85 | .308 WIN | High-power bolt-action; small magazine and slow fire rate mean you don’t want a horde close. |
All shotguns
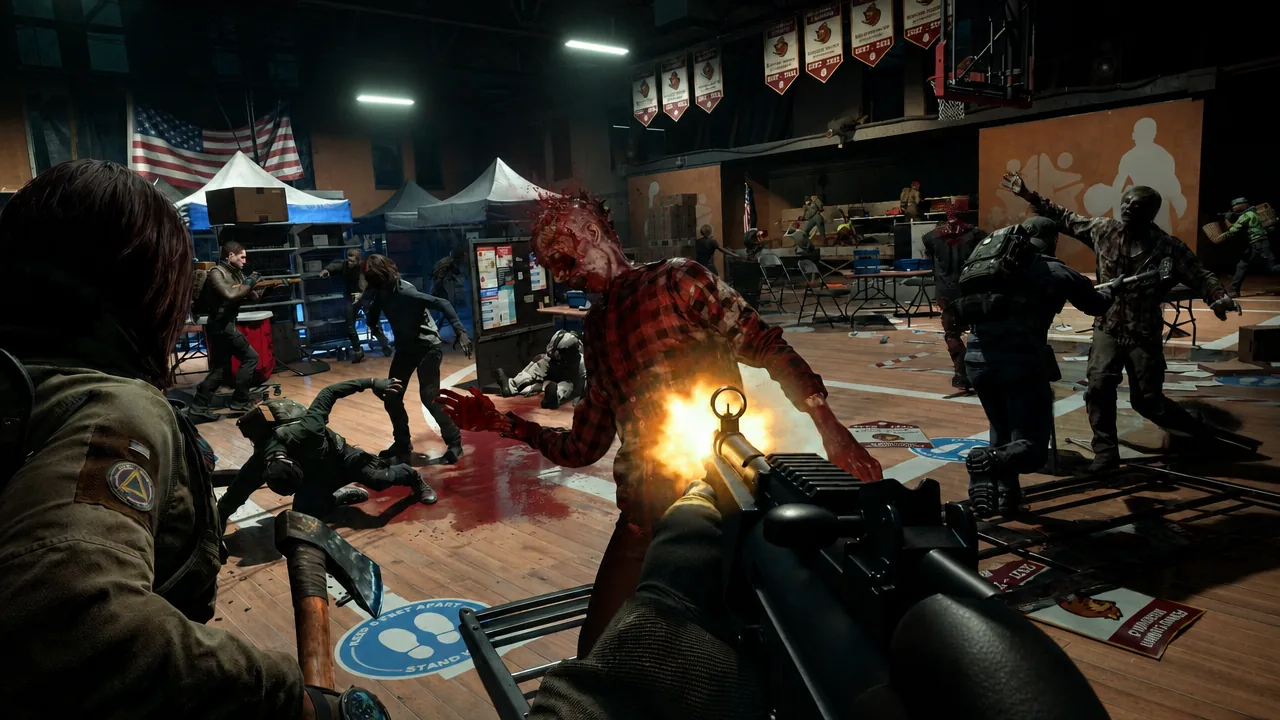
Shotguns clear a lane fast but make a lot of noise, so they are best held for emergencies. All three fire 12-gauge shells.
| Shotgun | Action | Notes |
|---|---|---|
| Fierra DB12 | Over-under double barrel | Hits hard but holds only two shots at a time. |
| 590A1 | Pump-action | Holds up to 7 shells, but reloads slowly. |
| X12 Super | Semi-automatic | Fires faster than the pump, still with a slower reload. |
All melee weapons
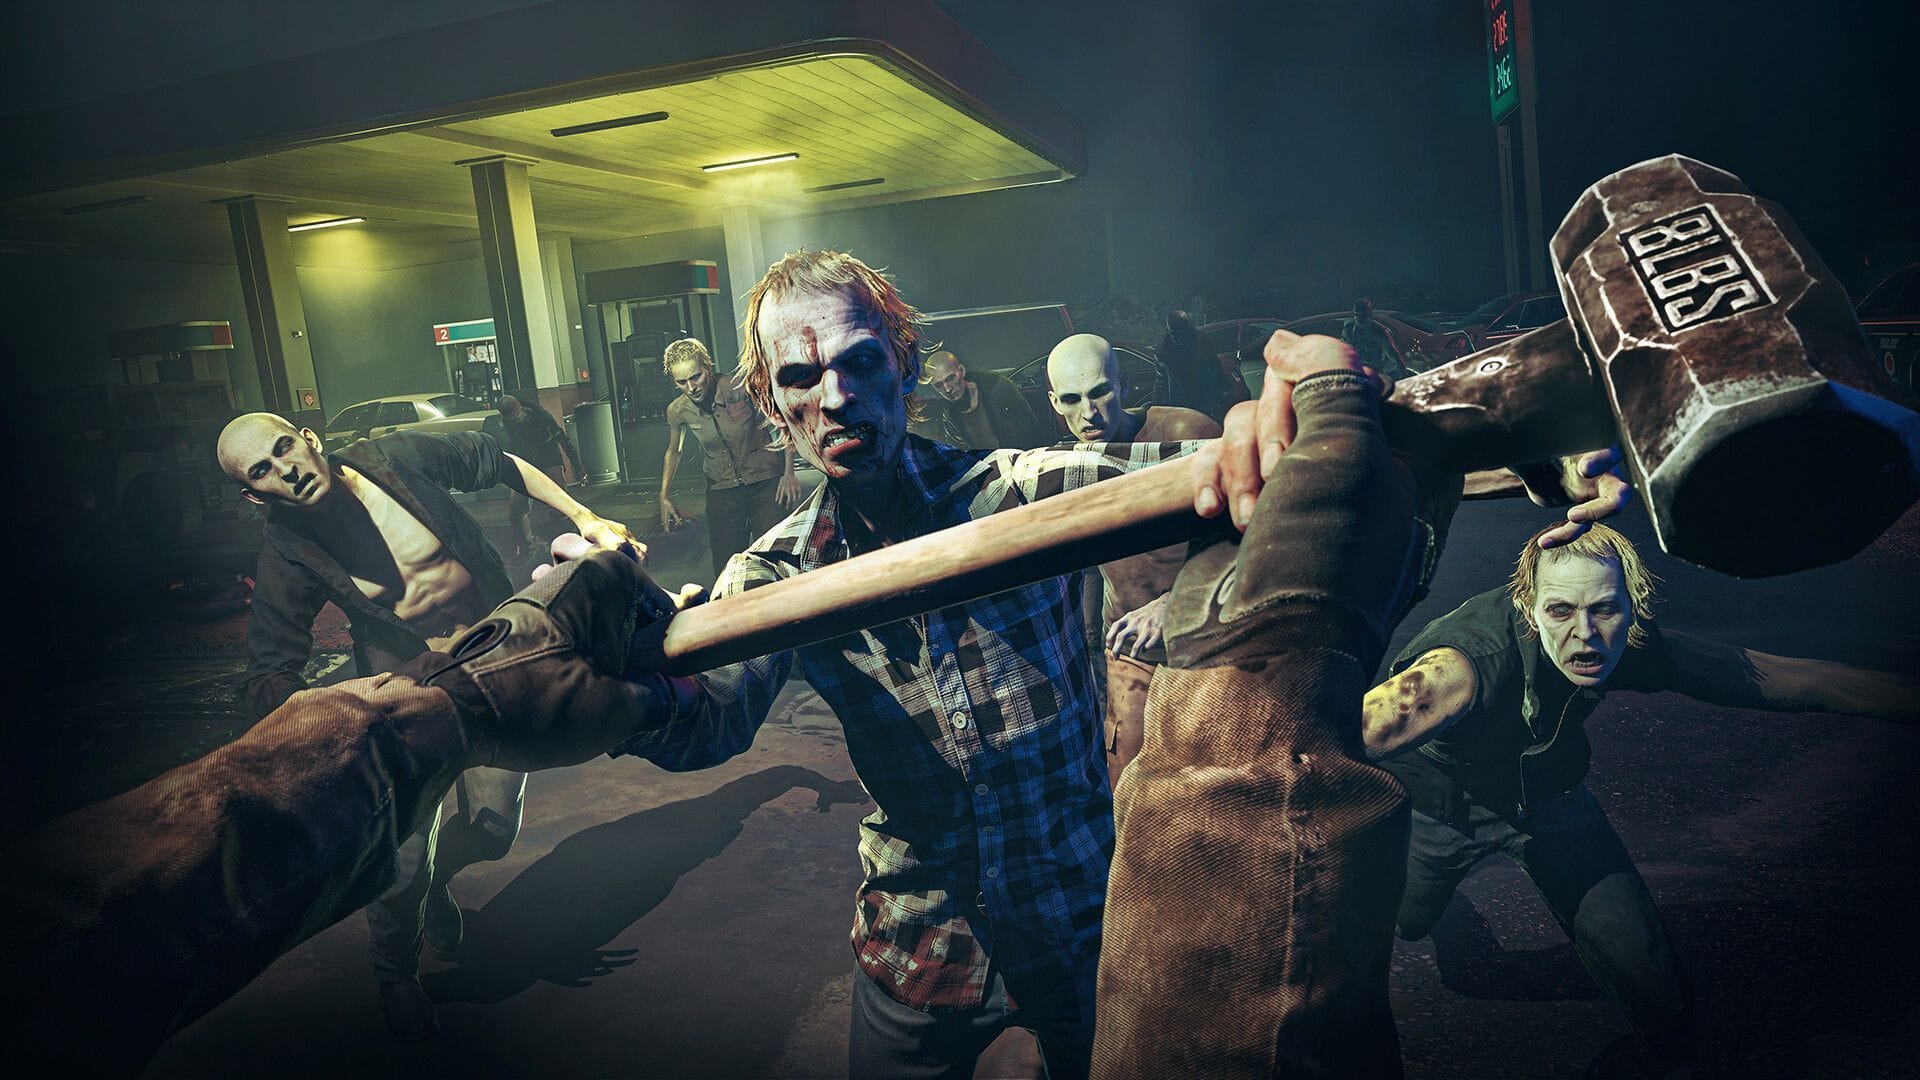
Melee is the backbone of survival here. These weapons stay silent, so you can pick off lone zombies without alerting the whole horde. They split into one-handed options, which are lighter and quicker, and two-handed options, which hit harder but slow you down.
| One-handed melee | Two-handed melee |
|---|---|
| Small Pipe | Rebar |
| Tire Iron | Junction Pipe |
| Wrench | Giant Wrench |
| Claw Hammer | Baseball Bat |
| Mallet | Sledgehammer |
| Kitchen Knife | Fire Axe |
| Hand Axe | Shovel |
| Cleaver | Tree Trimmer |
Tip: The 1.0 update reshuffled several melee weapons, including moving the Mallet into the starting inventory and pushing the Small Pipe to a higher tier. Older footage may not match how these weapons behave now.
All throwables and explosives
Explosives are emergency tools, not everyday ammo. A well-placed one can break up a horde bearing down on your squad, but tossing one carelessly wastes a scarce resource and adds noise that pulls more zombies in.
| Throwable | Use |
|---|---|
| M67 Frag Grenade | Standard grenade for a crowd heading your way; time the throw carefully. |
| Pipe Bomb | Makes noise to draw zombies toward it, so it needs little aiming. |
| Molotov Cocktail | Sets an area ablaze for crowd control and can be found across maps. |
Beyond the throwables, the arsenal also includes the Proximity IED for setting traps. The Rescue Beacon sits apart from the rest as a high-end loadout item rather than a weapon. It prevents the next loss that would otherwise kill a Responder when permadeath is on, and you buy it with Credits or Merits.
The smart loop is to lean on melee for ordinary threats, keep firearms for moments where they clearly earn their noise, and hold explosives for the disasters. Match your ammo to the guns you carry, spread the load across your squad so someone always has an answer for close and long range, and you will make it out of a lot more missions with your Responder intact.