The Lonely Player commission is the longest anomaly in Illusion Town, the high-school district inside Hethereau. It chains together five Peepy cracks, a recollection puzzle, a piano sequence, and a string of puppet hunts that depend on a single tool called the Cheese Camera. Trigger the steps in the wrong order or fire the camera too early, and the puzzle stalls.
Lonely Player anomaly at a glance
| Detail | Value |
|---|---|
| Commission name | Lonely Player (Wandering Puppets) |
| Region | Illusion Town – school grounds |
| Key items | The Guide, Cheese Camera |
| Time gates | 08:00 start, 19:00 rooftop meeting, next-day basketball court |
| Puzzle types | Knock cracks, recollection vision, racing, music, stealth scan |
| Difficulty | Long, sequence-locked |
Before you start: time and entry
Open the Anomaly Commission menu, pick Lonely Player under Illusion Town, and select Track Anomaly. The map will pin a pink zone around the school. Set the clock to 08:00 before you arrive — most NPC triggers are daytime only (07:00–17:00).
Do not walk in through the front gate. A teacher will haul you back out. Loop around to the rear of the campus and hop the fence to enter the courtyard.
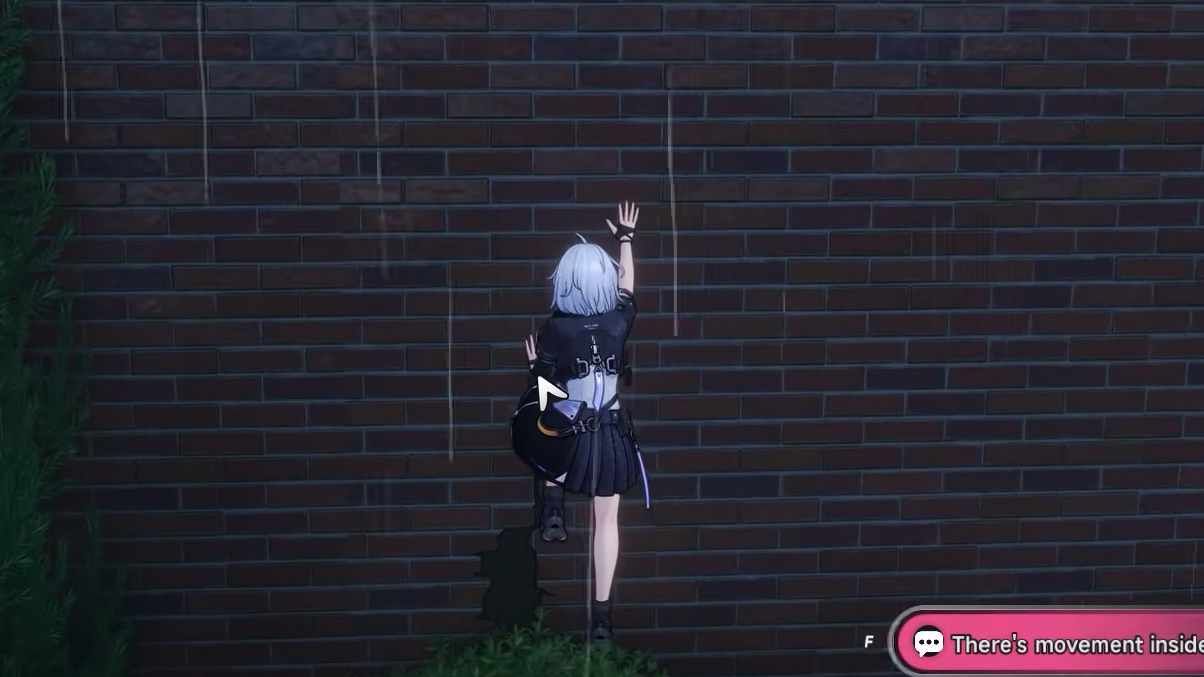
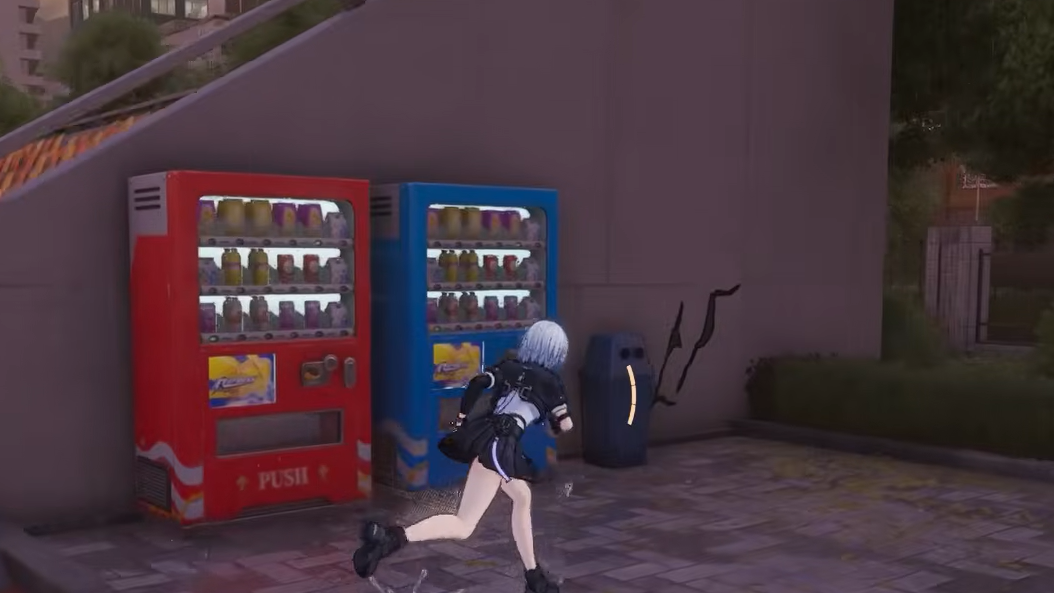
Find all five Peepy cracks
Each crack appears as a thin opening on a wall that “breathes.” Interact, choose Knock three times, and Peepy will surface. You can skip the dialogue between visits.
Earn The Guide
Solve the diary recollection
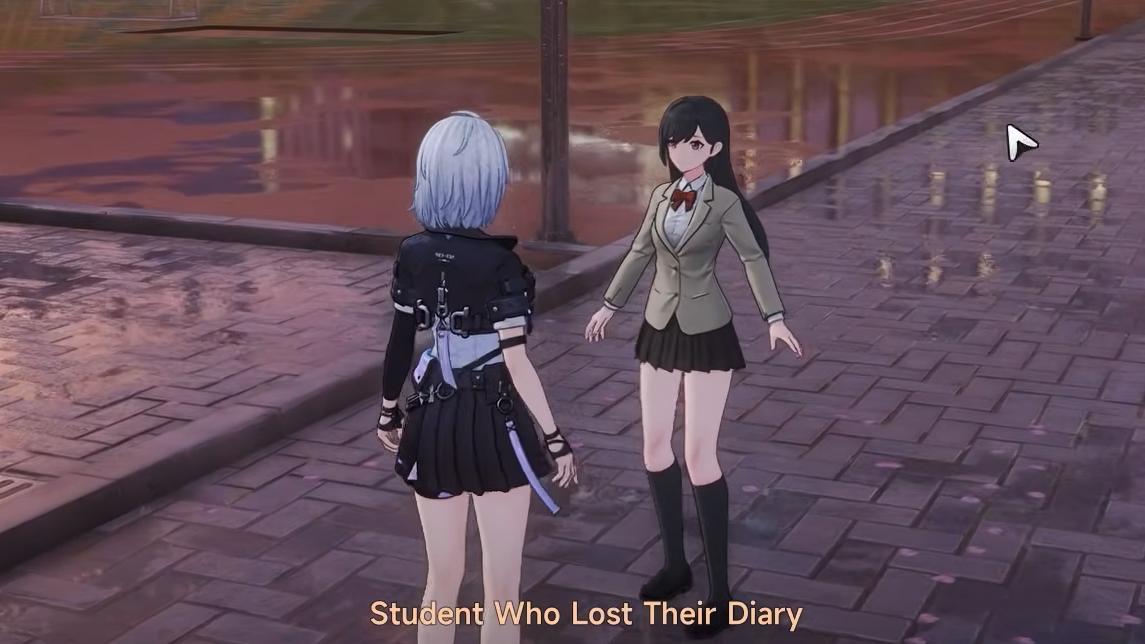
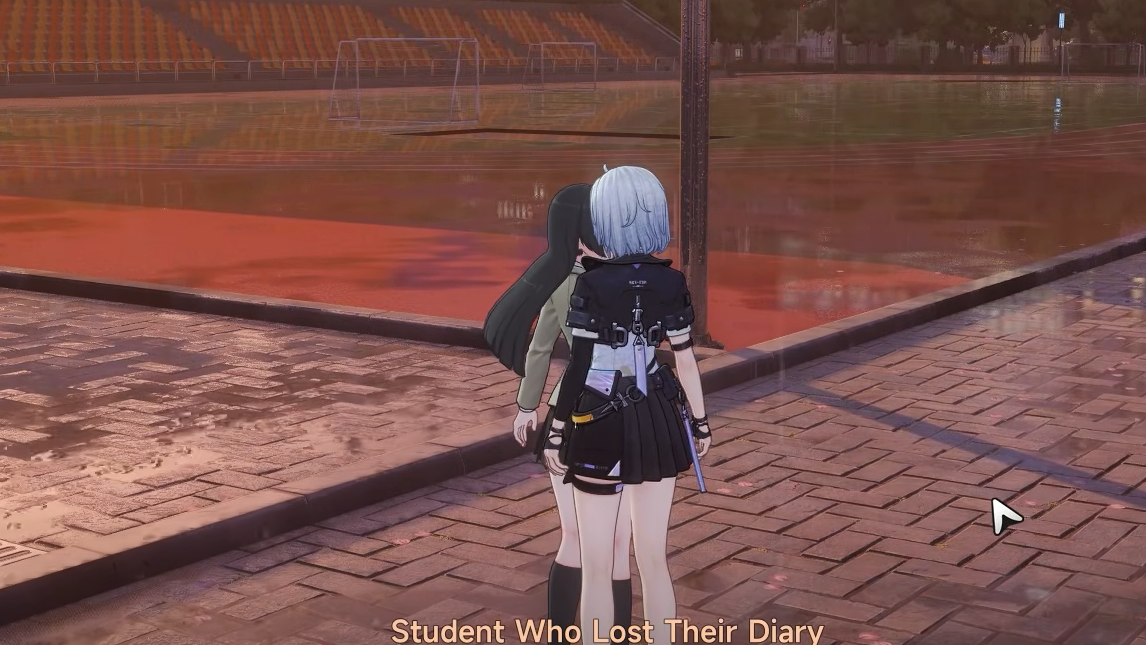
With The Guide equipped, find the Student Who Lost Their Diary near the courtyard. Agree to help and pick Let’s begin. The screen fades to short visions — a chalkboard, then a doll covering its face.
Tell her: “I don’t see the diary, but there seems to be a doll that keeps covering its face.” Try again. The next vision shows a circular planter with a wooden bench. Confirm with “I see it!” and recover the diary at that planter to close the side step.
Get the Cheese Camera
Camera puzzles: floating, racing, scanning
The Cheese Camera behaves differently per encounter. Movement, framing, and patience all matter more than reflex.
| Encounter | Location | What to do |
|---|---|---|
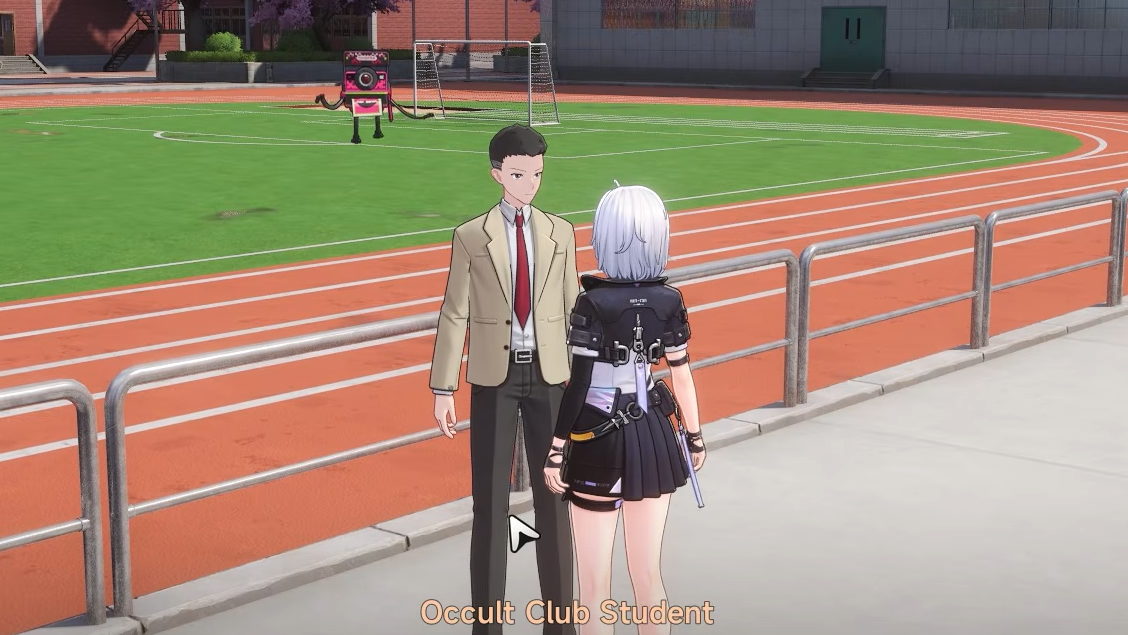
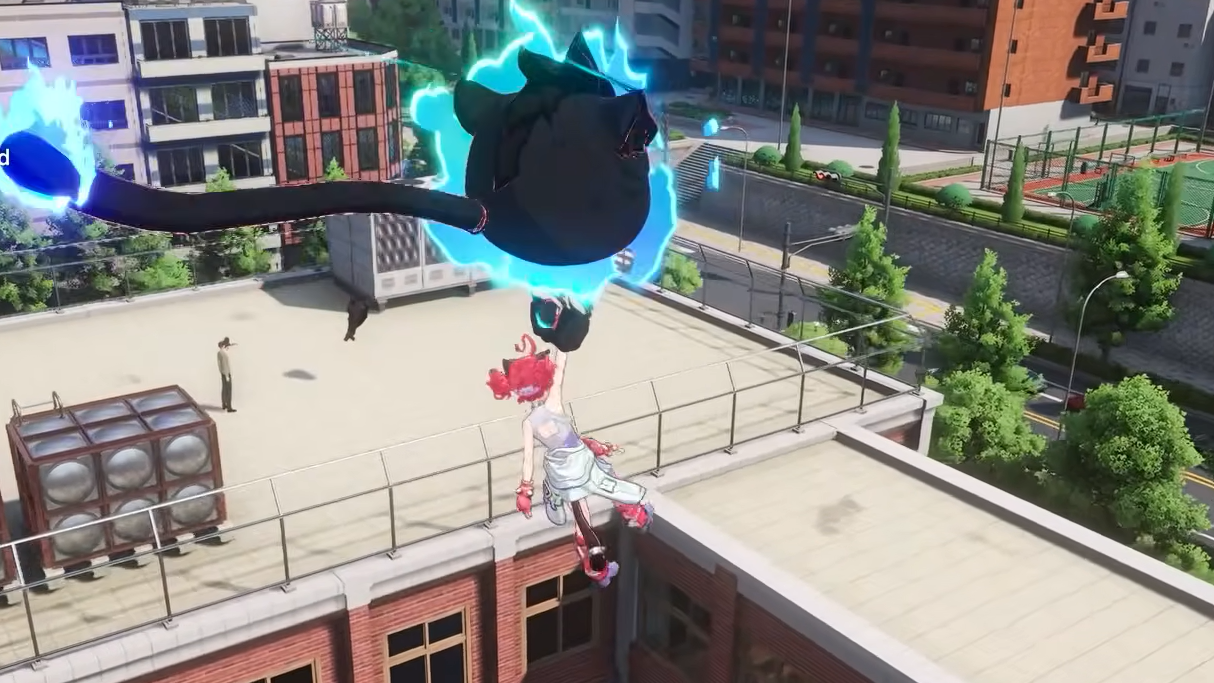
| Floating puppet | Basketball court | Sprint to the three-point line and snap it as it hovers into view. |
| Racing puppet | Track field | Keep the runner inside the camera frame the entire race. Losing sight lets it teleport. |
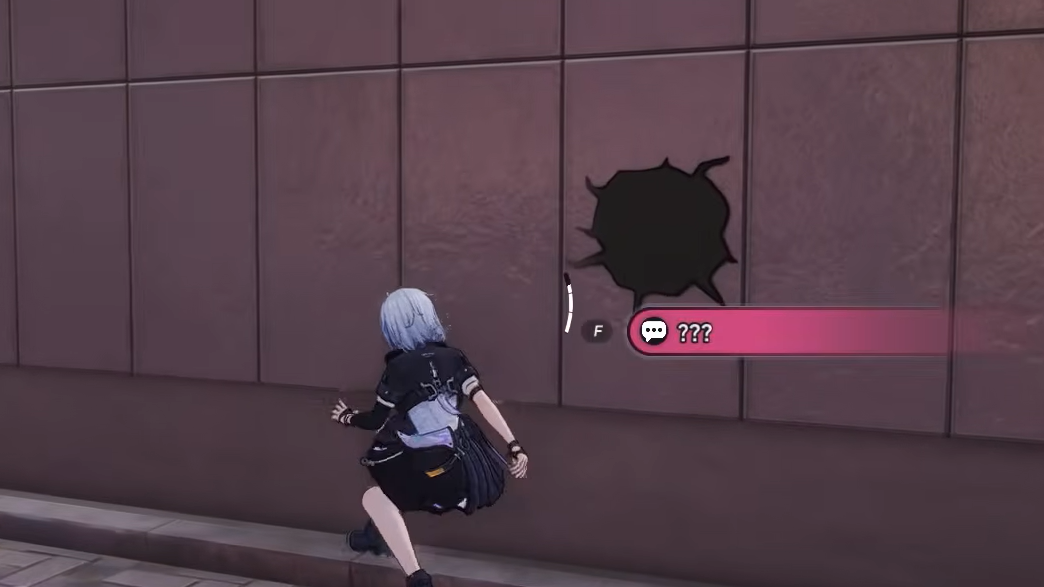
| Volleyball court scan | Indoor gym | Reveal six puppets — two near the basketball trolleys, one by the exit door, one on the upper ledge, two on the stage. |
| School building | Hole in the exterior wall | Snap the hole to unlock interior puppet visibility. |
| First floor | Classrooms | Reveal three puppets and pick one to invite. Then locate one more puppet outside the music room. |
Piano sequence and final stretch
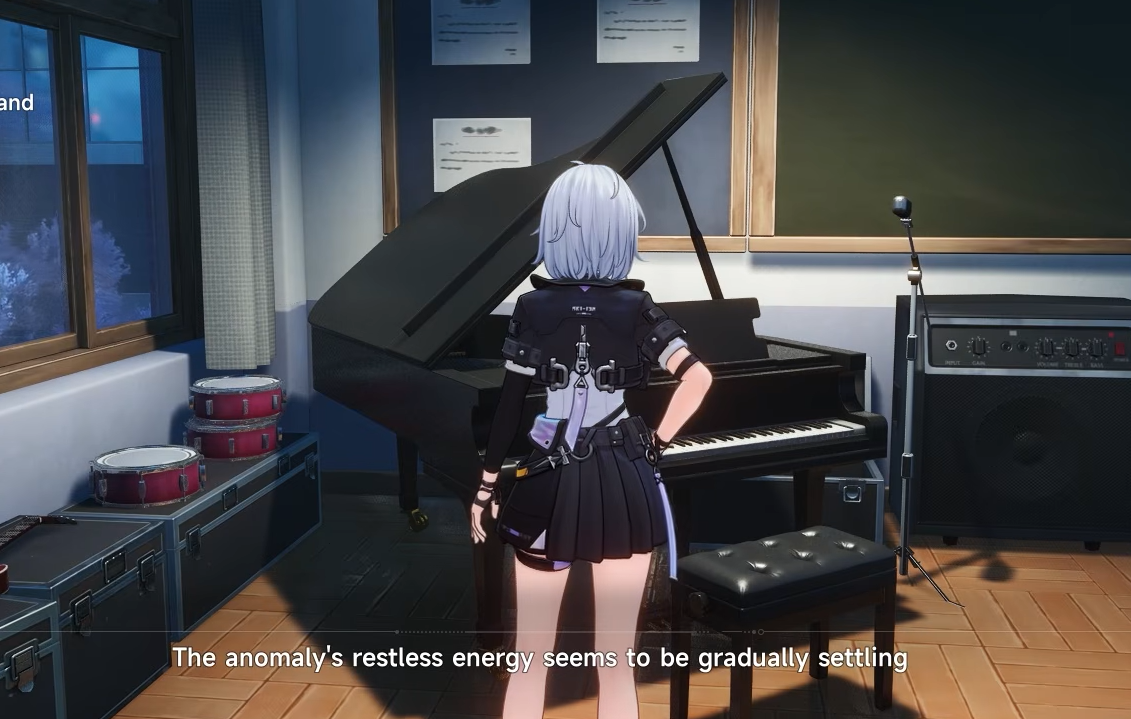
Inside the music room, walk up to the pillar beside the piano. It plays a short melody. Repeat the same notes back in order on the piano to open the next door. The sequence is fixed per session, so listen to the full phrase before you start tapping.
From there, the commission closes with figurine pickups, a stealth puppet that resets if it spots you, and a final spirit interaction. Each step locks in once the on-screen objective ticks over to the next, and the commission entry in the Anomaly menu flips to complete when Wandering Puppets is fully resolved.
How to know it worked
Three signals confirm progress. The Anomaly Details panel for Wandering Puppets updates after each major beat (Peepy cracks, diary recovery, Cheese Camera handoff, puppet reveals). The Cheese Camera viewfinder turns puppets visible only when you are in the correct zone with the correct trigger active. And on completion, the commission moves out of the active list and rewards land in your inventory: anomaly currency, puppet figurines, and a progression unlock toward later commission chains.
If a step refuses to advance, the cause is almost always one of three things — the clock is outside the required window, an earlier dialogue was skipped before the trigger registered, or the Cheese Camera fired before a puppet was on screen. Roll the clock, retrace the last NPC, and the chain picks up where it stalled.