

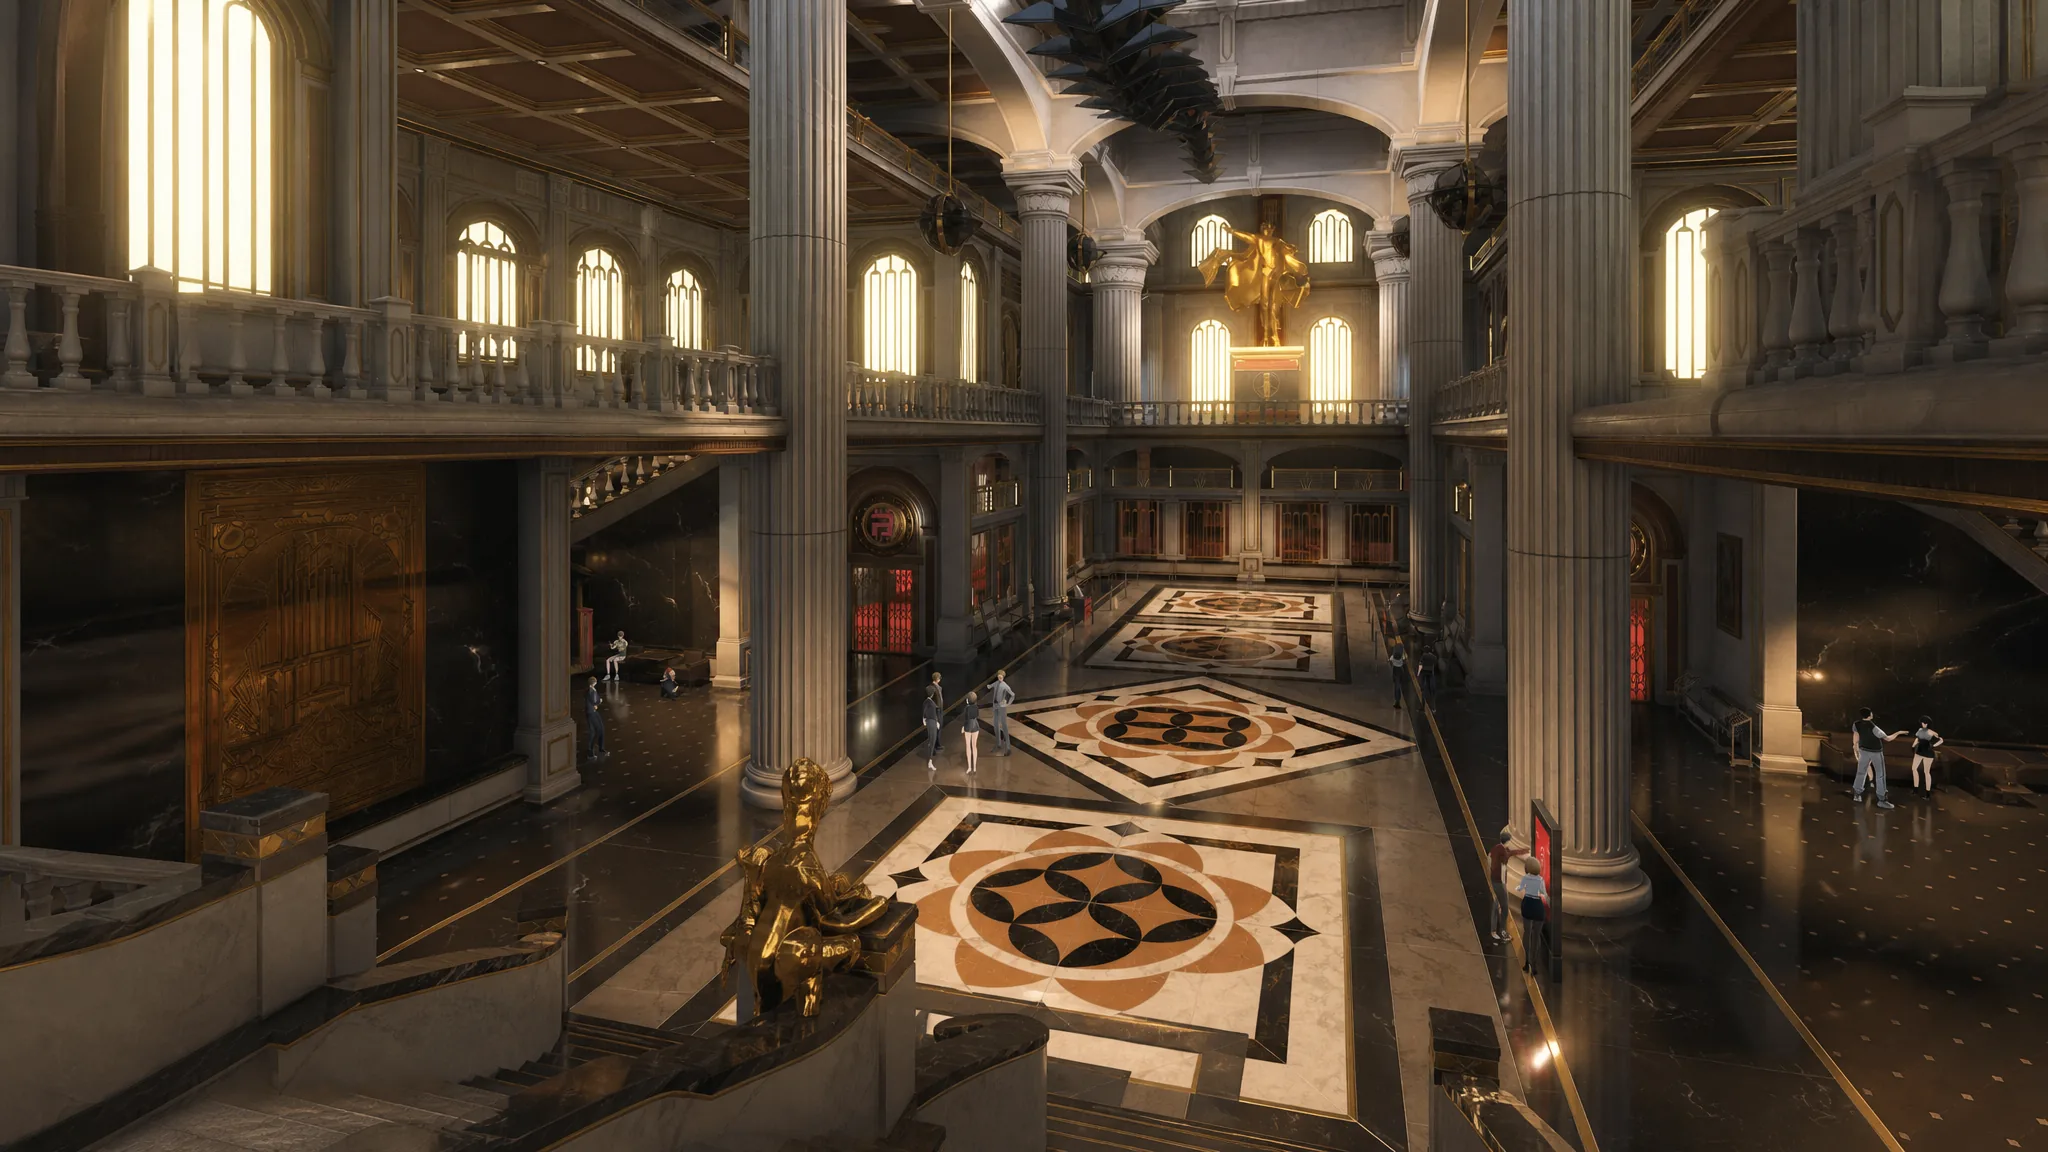
The Pink Paws Heist is the fastest repeatable way to earn Fons in Neverness to Everness, and it costs no City Stamina to run. You can grind it over and over until you hit the seasonal cap, but the bank layout shuffles every attempt, so a fixed room-by-room path never quite works. What does work is a priority order: rush the golden bosses, grab the high-value loot on your way past, and leave before the clock runs out.
Quick answer: Take the middle elevator down to LG1, answer the red phone ghost for a guaranteed 5,000 Fons, then push to LG2 (the Collection Floor) and kill every golden enemy and statue you can find. Only touch the Vault Floor if you already hold the keycards. Extract at a red-glowing phone booth with at least 90 seconds to spare.
What the heist gives you, and how you lose it
The heist resets every two weeks, with a cap of 1,000,000 Fons per cycle. A clean solo run lands somewhere between 120,000 and 180,000 Fons, and clearing the final boss can push a single attempt past 210,000. The catch is simple. If you do not reach an active exit before the timer hits zero, you keep nothing from that run.
Alongside Fons, you collect Paw-Paw Coins, which trade for cosmetics from Chiz, including the Main Character skin, glider skins, Annulith, and the legendary wheelchair. Those coins keep dropping even after you max out the Fons cap, so the mode stays worth running.
To unlock the heist at all, you need City Tycoon Rank 10, which requires earning your first 1,510,600 Fons and reaching House Collection level 3. Once it is open, you can teleport straight to Pink Paws Bank HQ, and the run begins about five seconds after the intro cutscene.
Best team for the Pink Paws Heist
Speed and movement matter far more than raw damage here, so the ideal lineup is built around covering ground and stretching the clock.
| Character | Why you bring them |
|---|---|
| Shinku | Enters an enhanced mode and sprints fast, so moving between floors and rooms is quick. |
| Lacrimosa | A Life Skill adds a 20% bonus to Fons and items from the heist, and her bat form slips through laser corridors. |
| Hotori | Stops time so enemies cannot detect you, buying breathing room. You cannot pick up items while time is frozen. |
| Flex slot | Any support that boosts damage. Sakiri works well because she pulls enemies together into one spot. |
Note: Chiz’s “Nocturnal Animal” Life Skill highlights every heist collectible in gold, and it stays active once unlocked. You do not need to level Chiz or put her on the team for the highlight to work.
Rules that keep every run profitable
Before you memorize any path, lock in three habits. They matter more than which door you open first.
- Only fight golden enemies. They drop several large cash piles and Access Cards, while normal mobs waste seconds you cannot get back.
- Grab loot on the way, never out of your way. Safes, gold bars, ink-stained vases, and geometric decor are worth stopping for; ordinary vases are not.
- Ignore dark or red suits of armor. They hit hard and drop nothing.
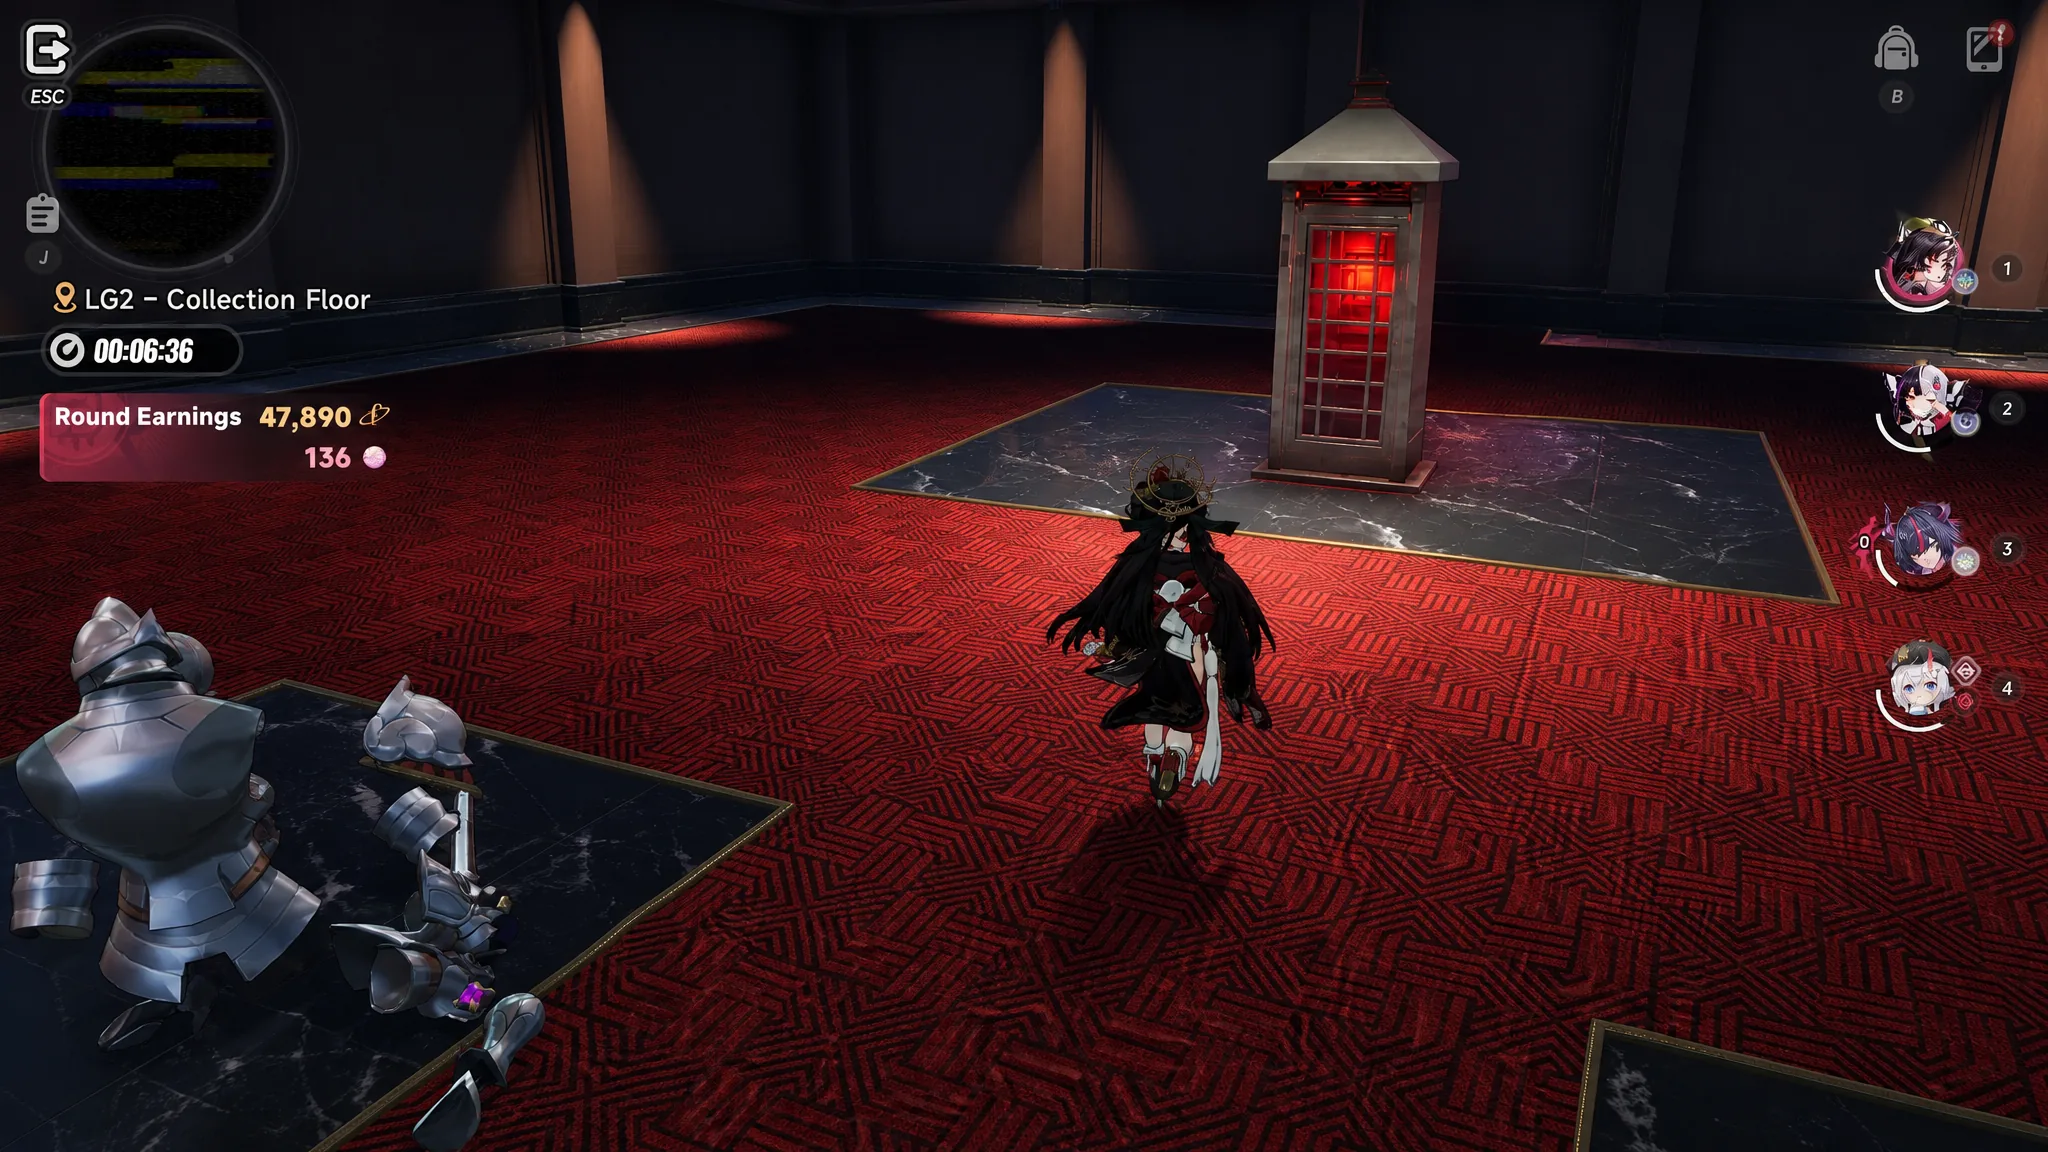
Extraction always happens at a Telephone Booth. A red glowing booth is active, a dim booth is not. In the final 90 seconds, active booths can shut off at random, so plan a backup exit before you commit.
| Booth state | What it means |
|---|---|
| Red glowing light | Active. Interact and confirm to escape with all collected Fons and Paw-Paw Coins. |
| Unlit or dim | Inactive. Move to another booth. |
| Shuts off suddenly | Booths can close in the last 90 seconds. Always keep a second exit in mind. |
Reception Hall to the first elevator
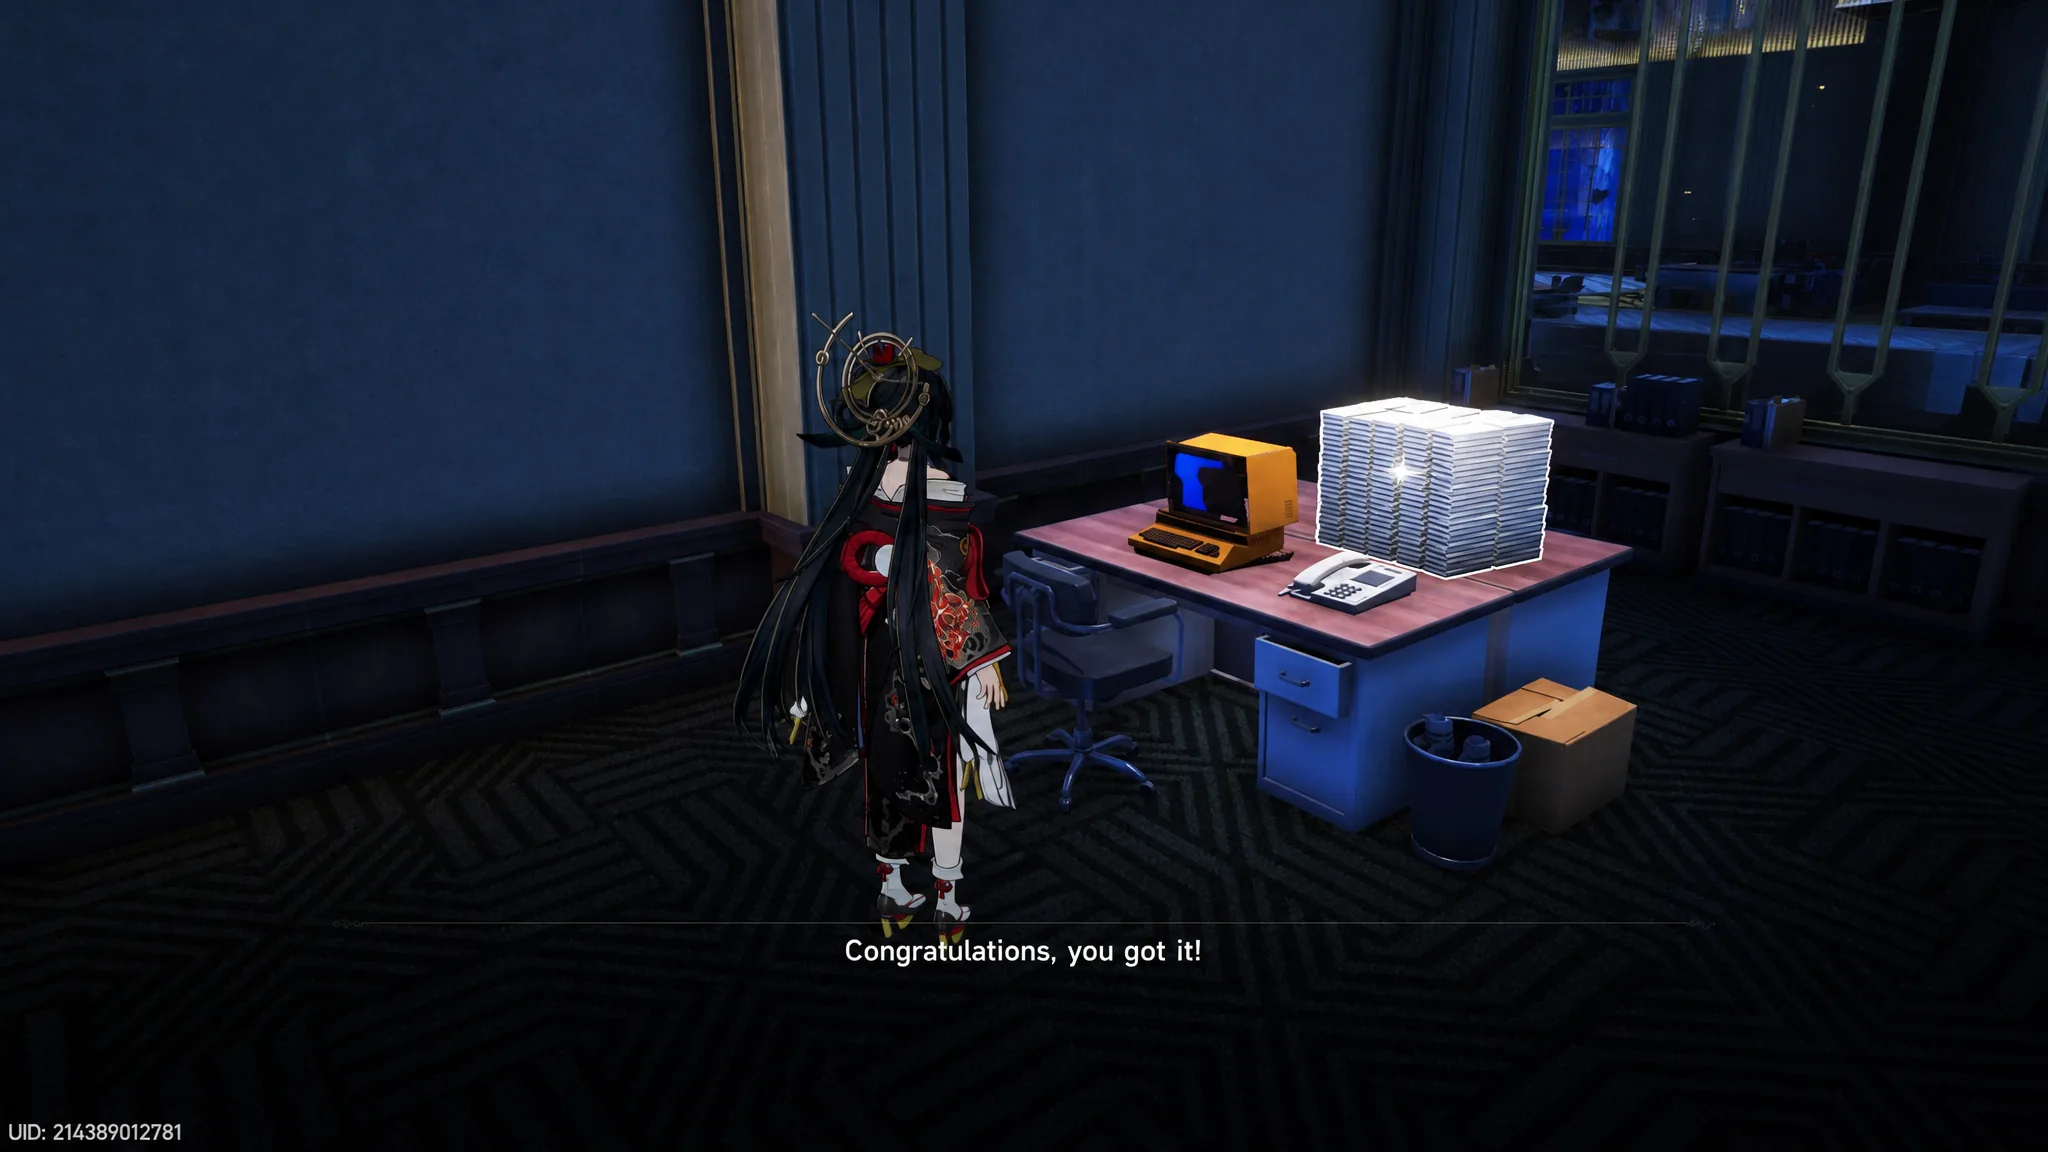
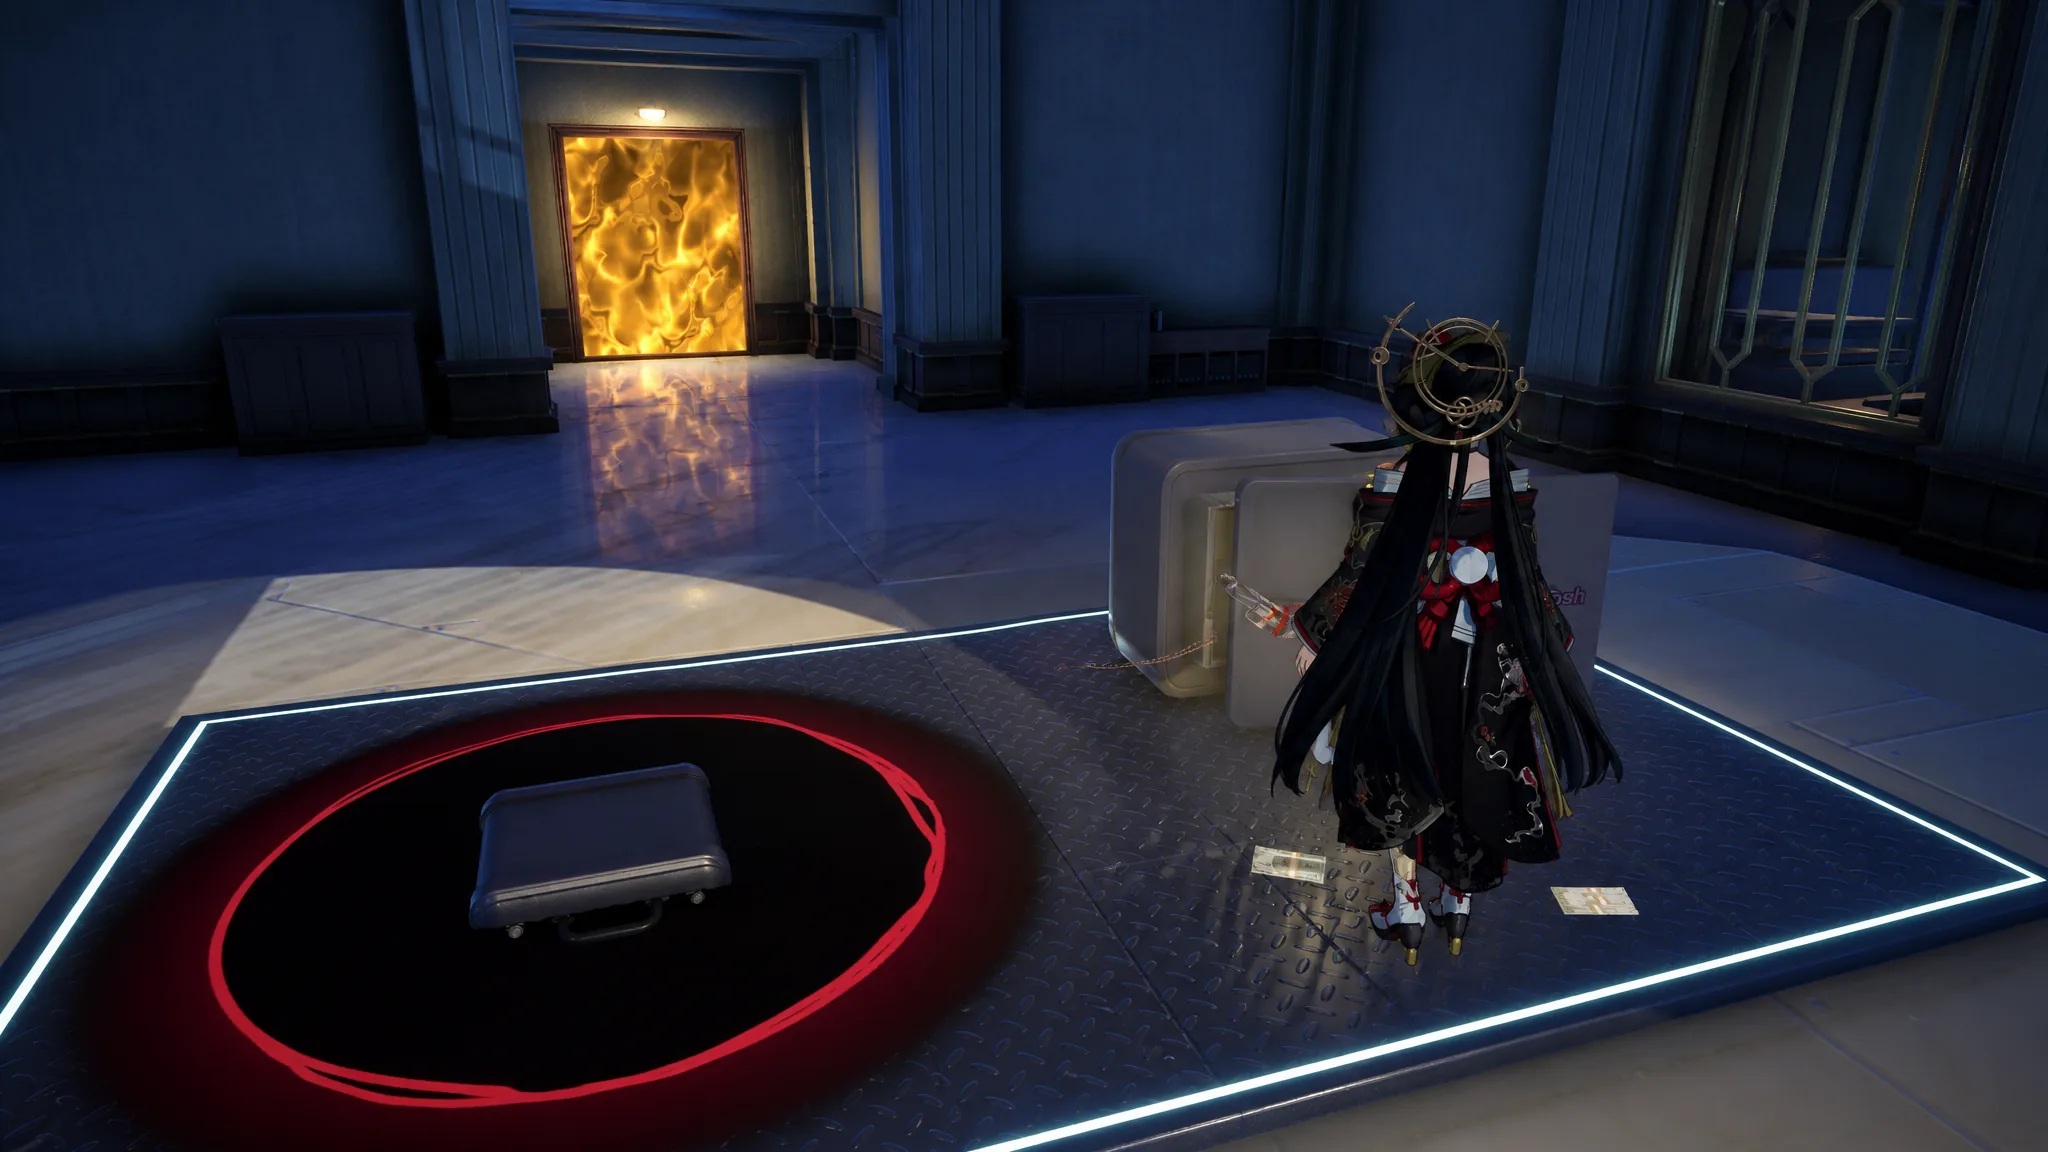
LG1 Office Floor and the red phone ghost
Tip: Access Cards spawn randomly inside desks, drawers, cabinets, and on tables near computers, and LG1 has plenty of them. Pick up any card you see, but do not spend it this run. Save cards for a dedicated vault run later.
LG2 Collection Floor, the real money floor
This is where most of your Fons come from. The Collection Floor holds the highest concentration of golden anomalies plus the richest loot rooms, so give it the bulk of your time.
Vault Floor and Mammon (only with keycards)
The LG3 Vault Floor is mostly locked vaults plus the main treasure room that holds Mammon. Without keycards, there is little here beyond a few safes in open vault rooms, so skip it entirely if your inventory is empty.
To open the Main Safe and face Mammon, you need an Advanced Clearance Card I plus the Chaotic Core from the Hollow Knights. The clearance card only drops randomly from enemies, so keep farming until one appears. Mammon uses the same attack patterns as its Anomaly encounter, so dodge and counter rather than trading blindly. Beating it drops Mammon’s Treasure worth roughly 10,000 to 20,000 Fons per piece, adding up to about 70,000 Fons, and you escape through the phone booth inside the vault.
Mammon is tanky, so only attempt it when you have the time to spare. Keep at least seven to eight minutes on a solo clock, or about four minutes in a three-to-four player run. Going for Mammon usually means skipping most of the earlier floors that same run.
Extraction timing so you keep the loot
The last two minutes decide whether the run paid off. Losing track of the clock wipes everything, no matter how much you banked.
| Time remaining | What to do |
|---|---|
| 2:00 | Stop opening side rooms and start heading back toward LG2, where booths cluster together. |
| 1:30 | Begin extracting. Do not gamble on one more room. |
| Final 90 seconds | Booths can close randomly. Stay near LG2 so a backup booth is always close. |
The safest booths sit on the left side of the LG2 floor and one floor above on B1. If you get turned around, heading up and to the left generally leads back to an exit. You know it worked when you interact with the booth, confirm, and the run ends with your Fons and Paw-Paw Coins banked.
After you hit the Fons cap
Once you reach the 1,000,000 Fons cap for the cycle, the heist still pays out Paw-Paw Coins, so keep running it for the cosmetic exchanges. Focus on the “Current” Challenge Targets, which reward 500 Paw-Paw Coins each and reset every two weeks alongside the heist. If you draw a target that asks for a large quantity of items, refreshing it for an easier one is often faster than grinding it out.
When you still need Fons after the cap, the open-world safes cover six one-time locations worth a combined 557,500 Fons, the Café of Origen generates passive income once you assign Mint and decorate for popularity, and the Manager’s Special converts stamina at a rate of 1 Stamina for 1,000 Fons. None of them match the heist for volume, but they fill the gap while you wait for the next reset.





