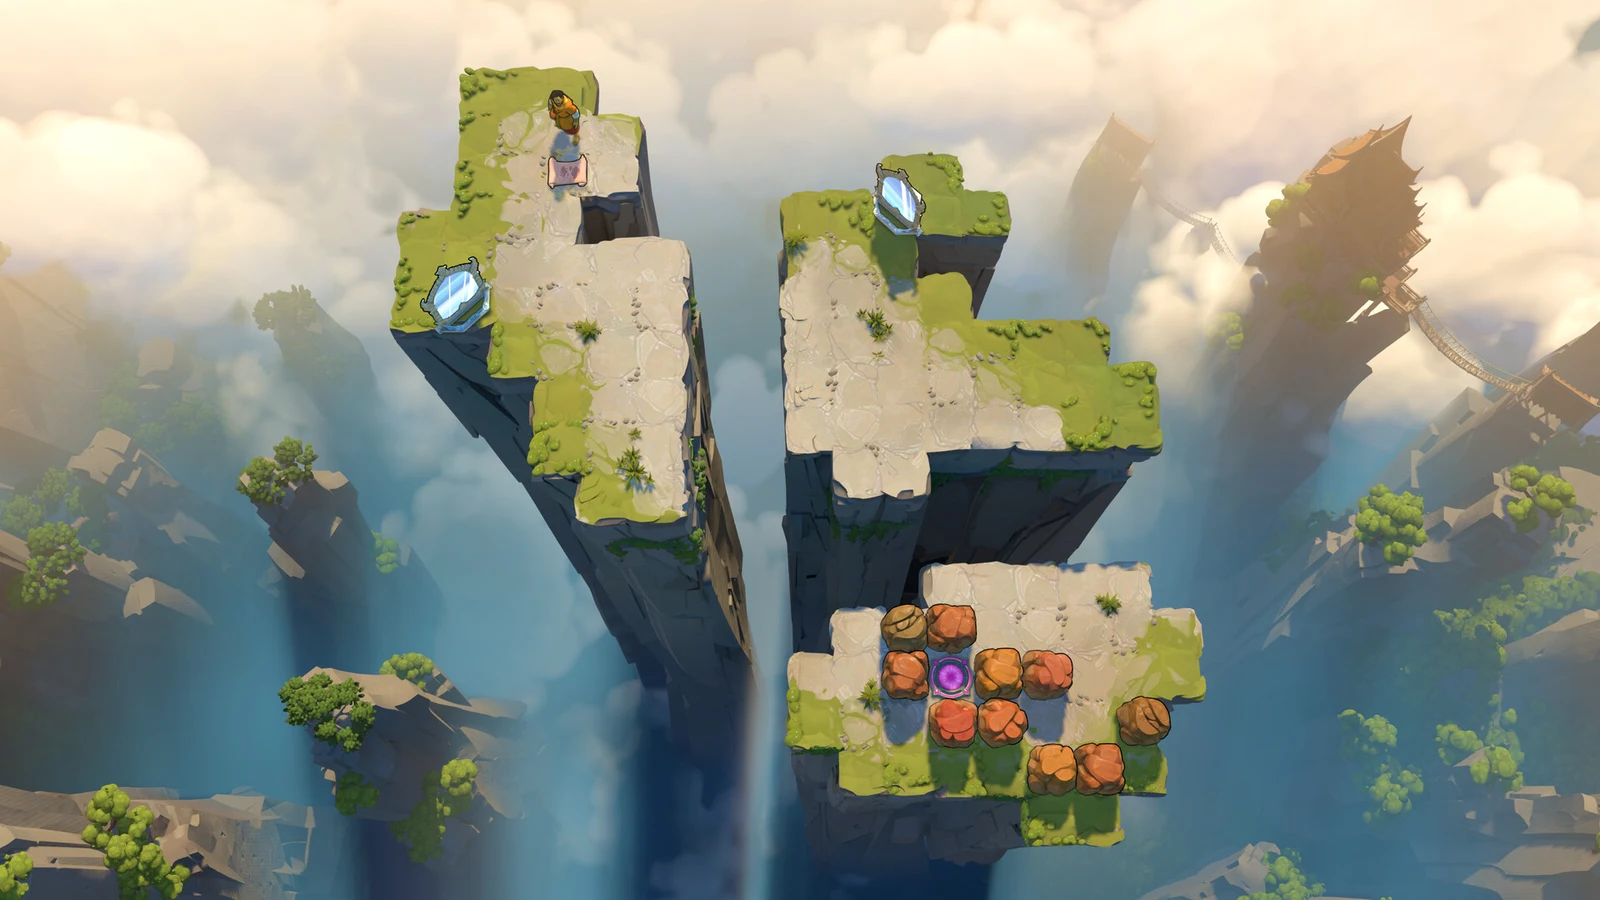
Heroes and Stones West sits in the far north of Order of the Sinking Star, blending the pushing rules of Heroes of Hauling with the water-skipping rules of Skipping Stones. You reach it through the HxS gold room, and the area runs across five screens filled with crystal, stone, and lily pad puzzles. Work through the access route first, then clear each screen in order.
Quick answer: Open the HxS gold room, solve its puzzle to unlock the grey skipping stone, clear the left puzzle to remove the barrier, then complete every puzzle on Heroes and Stones West screens 1 through 5.
A plain direction means move one square that way. A direction with “x3” means move that many squares. “All the way” means keep going until a barrier or the end of the path stops you.
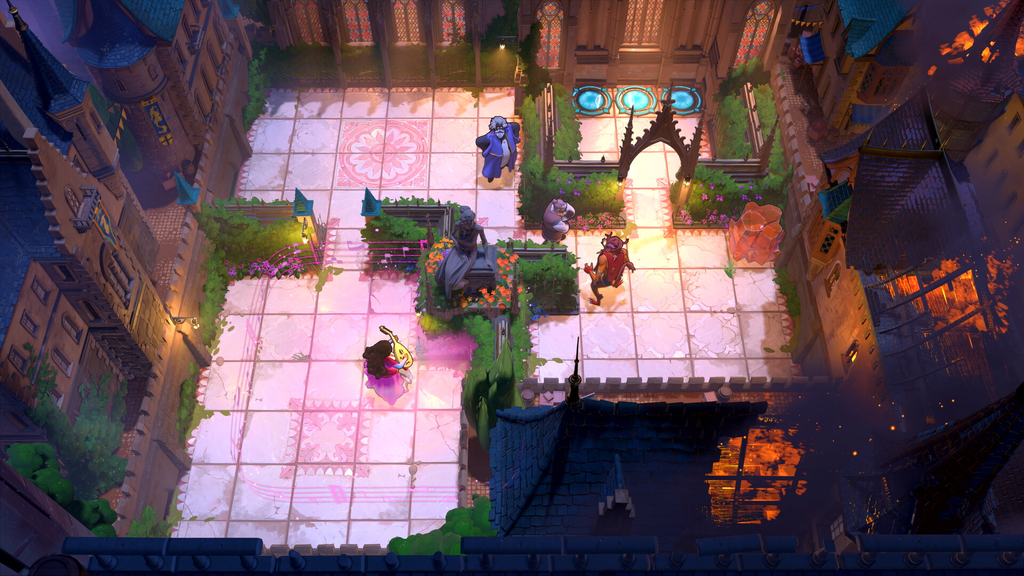
Open the HxS gold room and reach the left puzzle
Access begins in the HxS gold room. It becomes available only after substantial progress in both Heroes of Hauling and Skipping Stones; consult the dedicated HxS gold room guide for the full unlocking details. Completing its puzzle gives you a grey skipping stone, which provides access to the left puzzle.
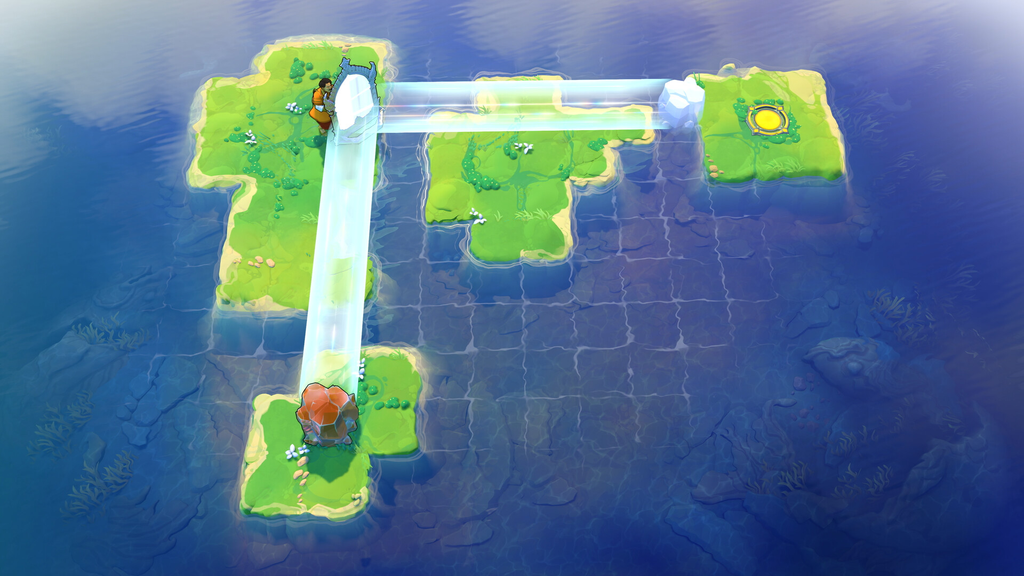
Solve the left puzzle
This long puzzle chains several screens of crystal and lily pad timing. Solving it removes a barrier and opens the path left into Heroes and Stones West screen 1.
- Push the crystal up x2, then up into the water.
- Shift the stone west four spaces, then send it north over the water to move the lily pad east. Board the pad as it passes the submerged crystal and ride it to the next screen.
- Move the crystal two spaces right, four down, and one more right.
- Move the stone up two spaces and all the way right. Send it down over the water gap into the crystal, then move the crystal up and right to clear the way forward.
- Push the stone left. Push the crystal left x2, up x4, then right into the water.
- Push the stone up x2, right, down, right, then up across the water to send the lily pad right.
- Once the lily pad occupies the column immediately to the landmass’s right, send the stone right over the water to move the pad down.
- Get on the lily pad as it goes past the landmass’s right edge, then ride it to the next screen.
- Move the crystal up, then all the way left. Send the stone all the way up and left, then shove it left over the water to move the lily pad down.
- As the lily pad passes, move the crystal left onto it. Head to the bottom-left corner; when the pad reaches you, push the crystal left and ride the pad to the next screen.
- Push the stone down x5.
- Send the crystal south, east, all the way north, west, then west again into the water.
- Push the stone left x3, then up into the lily pad to send it up.
- Once the lily pad collides with the crystal, send the stone down over the water.
- Take the stone east, north x2, then send it north over the water; the lily pad heads west.
- Make a quick trip to the stone and shove it left. When the lily pad reaches the column between the two landmasses, send the stone left over the water.
- Sprint to the outlet in the lower-left, climb onto the lily pad, then step off on its left side to enter the next screen.
- Push the stone down. Push the crystal up, left x2, up, then up into the gap.
- Send the stone all the way up, then left over the water to move the lily pad down. Ride the pad to the teleporter.
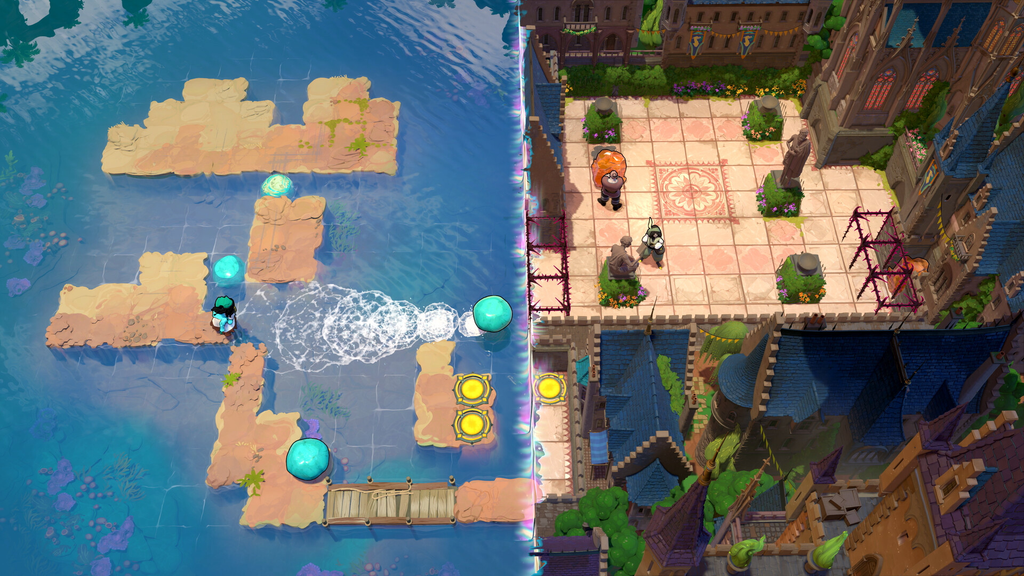
Screen 1: bottom-right puzzles
Screen 1 begins with a pair of puzzles in the bottom-right corner. Finish both to reveal an overworld skipping stone that leads upward toward screen 2.
Bottom-right puzzle 1
- Push the top-right crystal down x2, right, then down into the water to open a path to the right crystal.
- For the right crystal, move it south x5, north, west x3, north x2, west, then send it west into the water to reach the left crystal.
- Move the left crystal south x4, west x3, east x3, north x5, west x2, east x4, north, then send it north into the water to reach the teleporter.
Bottom-right puzzle 2
- At the upper-right, take the stone south x2, west, south, then launch it east over the water to reach the right stone.
- Push the right stone up, then up across the water. Now push it left x2, down, then down across the water.
- Push the stone right x3, then down across the water.
- Push the stone left x2, right, down x2, then left across the water, then down into the water to reach the left stone.
- Push the left stone up, left x2, then down across the water.
- Push the stone right across the gap, up x2, then right across the water.
- Take the stone to the bottom, move it to the far left, then send it west over the water.
- Bring the stone back right over the water, then send it upward over the water to open the route to the teleporter.
After completing both puzzles, shift the newly unlocked overworld stone west, then north over the water, and proceed to screen 2. There, move the stone east, north, all the way west, then west into the lily pad to send it into the current. Once the stone and pad reach the ranged monster’s row, you can enter the first middle puzzle.
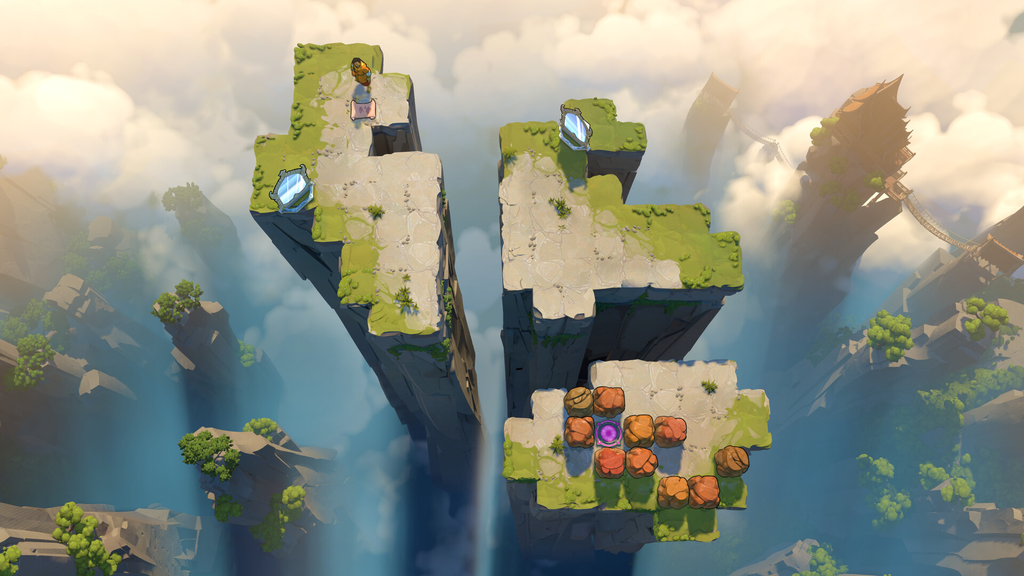
Screen 2: middle and top-left puzzles
Screen 2 holds four middle puzzles plus a top-left puzzle that only activates once the fourth middle puzzle is done. Several of these use the warrior and sailor together, so pay attention to which character the instruction names.
Middle puzzle 1
- Shift the top crystal west x5, take it all the way down, then move it east x2 so it sits beside the other crystal.
- Push the crystal row right, then right again to send the right crystal into the lily pad.
- As the lily pad reaches the column immediately east of the teleporter, send the other crystal east over the water. It sinks and unlocks the teleporter.
Middle puzzle 2
- Have the warrior send the top crystal all the way to the right.
- With the sailor, move the skipping crystal down three spaces, then right over the water. Afterward, move the sailor down.
- Have the warrior drive the crystal-and-skipping-crystal column down, then slide the skipping crystal west x2.
- Move the bottom-left crystal to a spot east of the skipping crystal, then shift the bottom-right crystal east of that one.
- Shift the crystal-and-skipping-crystal row west x2. The skipping crystal travels west over the water, where the sailor stops it and opens the route to the teleporter.
Middle puzzle 3
This one hinges on timing between the sailor pushing a stone and the warrior deflecting it with a rock. Push the warrior’s rock the instant the stone enters the square beside it.
- Move the warrior all the way down. Then have the sailor send the bottom stone right over the water.
- When the stone reaches the square immediately left of the rock beside the warrior, use the warrior to shove that rock left. This sends the stone rebounding left over the water, where the sailor stops it, opening access to the other stones.
- Have the sailor send the upper stone north, then east x2. Position the warrior east of the top rock. Launch the stone east over the water, then move the sailor north at once.
- As the stone enters the square left of the warrior’s rock, push the rock left so the stone rebounds and stops below the sailor.
- With the sailor, send the stone down, then down over the water, and finally right over the water.
- Have the warrior push the stone south x2, then west, driving the bottom monster into the water.
- Move the sailor south x2, then east to push the remaining stone east. Send her stone east over the water and move her north at once.
- As the stone enters the square left of the warrior’s rock, push the rock left at once so both stones rebound with one space between them.
- Once the first stone is beneath the sailor, press south, then north. When the second stone lines up beneath her, press south again to finish the teleporter route.
Middle puzzle 4
- Place the sailor on the stone’s west side. Have the warrior push the monster south.
- Have the sailor push the stone south, then move her to its west side. Use the warrior to send the monster north x2.
- Have the sailor push the stone south x2, then move her to its west side. Use the warrior to drive the monster all the way south, then west.
- Use the sailor to push the stone right across the water, then move her down. When the stone is below the monster, use the warrior to push the monster down, dropping the stone into the gap at the bottom of the screen.
This activates the top-left puzzle. Before going there, wait until the stone and lily pad align with the ranged monster’s row. Move north x4, east x2, then knock the rock into the water; this creates a route that still works when the stone no longer blocks the monster. Next, reach the landmass’s bottom-left corner and move north x2. When the stone and pad pass overhead, send the stone north over the water and disembark quickly. Follow the new route to the stone’s east side, push it west to its limit, then send it west into the water to unlock the puzzle.
Top-left puzzle
- Guide the wizard south, continue to the far west, then press down to exchange places with the stone.
- Move the wizard east x2, all the way north, then press left to exchange places with the stone.
- Position the warrior on the monster’s west side. Guide the wizard south, all the way east, north, east, north, east, then to the far northern and eastern edges.
- Have the warrior drive the monster all the way east, then south. Move the wizard above it without swapping places.
- Position the warrior west of the stone and drive it all the way east, then east over the water. Move north, east, north to align the warrior with the wizard’s row.
- As the wizard, press left to exchange places with the warrior.
- When the stone sits beneath the monster, have the warrior push the monster south; the stone drops onto the bottom platform.
- Use the wizard to swap with the stone, keeping the stone out of the top row.
- Have the warrior drive the stone south again, returning it to the bottom platform.
- Control the wizard and exchange places with the warrior, then the stone. Both characters finish on the bottom platform.
Head one screen right to continue.
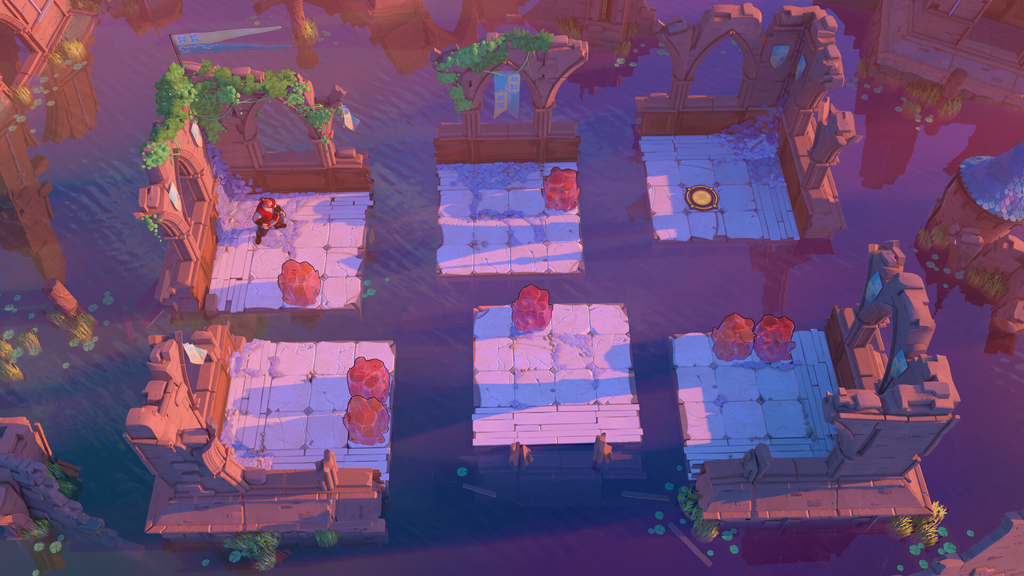
Screen 3: barrier and button puzzles
Screen 3 uses yellow buttons and barriers. Clearing the first puzzle activates the second and also frees a blue button that matters later for reaching Heroes and Stones East.
Puzzle 1
- Have the warrior push the stone south, west, then west over the water. Place the warrior above the yellow barrier.
- Have the sailor push the stone south x4, placing it in the monster’s row.
- Send the stone east over the water with the sailor, then head straight to the yellow button to lower the barrier.
- Once the stone is past the barrier, move the sailor to her teleporter, then the warrior to his, before the stone reaches the monster.
Puzzle 2
- Push the stone up x3, then right across the water.
- Move straight to the yellow button so the stone stops on the left yellow barrier. Step off to submerge it and open a path to the right platform.
- Push the left stone up x3, left, then left across the water. Push the right stone all the way left, then left across the water.
- Step on the button to break the stone in the left barrier’s spot.
- Push the top stone up to the barrier row, and push the bottom stone directly below it.
- Push the first stone right across the water, then immediately push the second stone up into the barrier row.
- When the first stone passes the first barrier, push the second stone right across the water.
- Move straight to the yellow button so both stones stop on the barriers. Step off to submerge them and open the path to the teleporter.
Return to screen 1 afterward. The barrier that blocked the left path is gone, giving access to screen 4. Start by following the path in screen 1’s bottom-left corner.
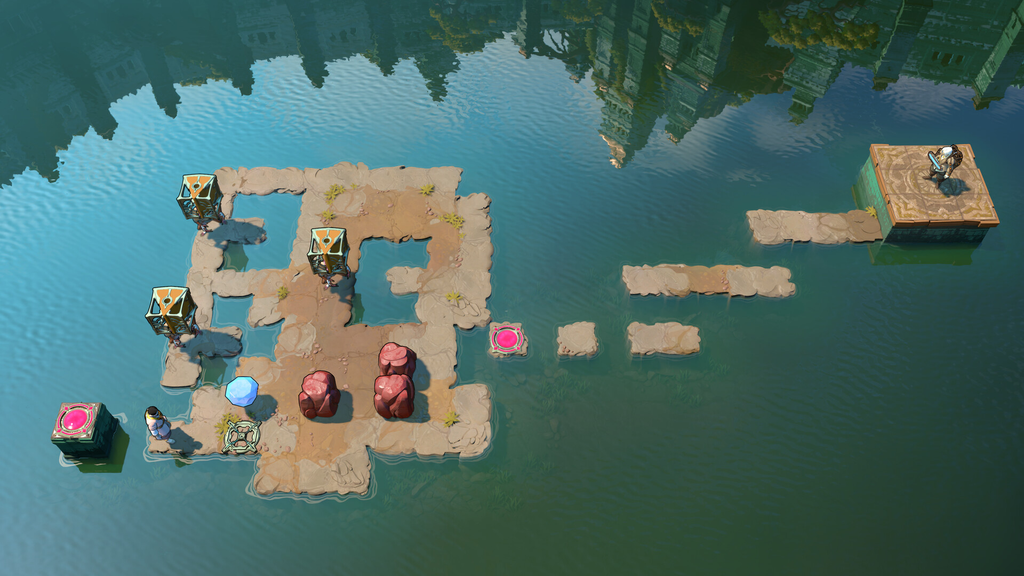
Screen 4: wizard swap puzzles
Screen 4 leans on the wizard’s position-swap power alongside the sailor. Solve the bottom puzzle first, then the top, then the left, re-entering through the left entrance to regain the wizard’s power each time.
Bottom puzzle
- Move the wizard left x2, up x3, right, then press up to swap with the stone.
- Use the sailor to push the stone right, then right across the landmass. Move the sailor down out of the way.
- Move the wizard down, press right to swap with the stone, then move right.
- Use the sailor to push the stone right, then right across the water.
- Control the wizard and press left x2 to bring the stone and sailor to the middle landmass.
- Use the sailor to push the stone right across the water, then control the wizard and press right x2. The sailor is left, the stone is middle, the wizard is right.
- Move the wizard all the way up, right, up x2, press right to swap with the right-landmass stone, then move down x3.
- Move the sailor up, then control the wizard and press left to swap with her.
- Use the sailor to push the stone left across the water onto the teleporter.
- Move the sailor down x3 into the wizard’s row, press right to swap with her, then move the wizard all the way up and press left to swap with the stone and reach the teleporter.
This unlocks a stone in the overworld. Push it left x5, right, then up across the water. Return to screen 1 and enter screen 4 through the left entrance to gain the wizard’s power, then swap with the stone to open the top puzzle.
Top puzzle
- Move the wizard all the way down, press right to swap with the crystal, then move up.
- Use the sailor to push the stone left onto the lily pad.
- Control the wizard, and when the lily pad is below him press down to swap with the stone.
- Ride until the wizard is below the crystal, then press up to swap and head to the teleporter.
That frees a lily pad. Return to the bottom and reset the stone, push it up, all the way left, then left into the lily pad. Go back to the wizard-power entrance and swap with the stone as it passes to open the left puzzle.
Left puzzle
- Move the wizard down, press right to swap with the sailor, then press up to swap with the stone.
- Move the sailor up x2, then control the wizard and press left to swap.
- Move the wizard up x2, press left to swap with the crystal, then move down x3, all the way right.
- Use the sailor to push the stone down onto the lily pad.
- Control the wizard, and when the stone passes below him press down to swap with it.
- When the crystal is above the wizard, press up to swap, then wait for the crystal to leave his column.
- Quickly move the wizard down x3, all the way left, then press right to swap with the stone.
- Move the wizard down, run left until above the crystal, then press down to swap with it.
- When the stone is above the wizard, press up to swap with it. Then use the wizard to swap with the sailor.
- Use the sailor to push the crystal into the square right of the teleporter so she can reach it.
Board the lily pad to take the path on the left side of the screen into screen 5.
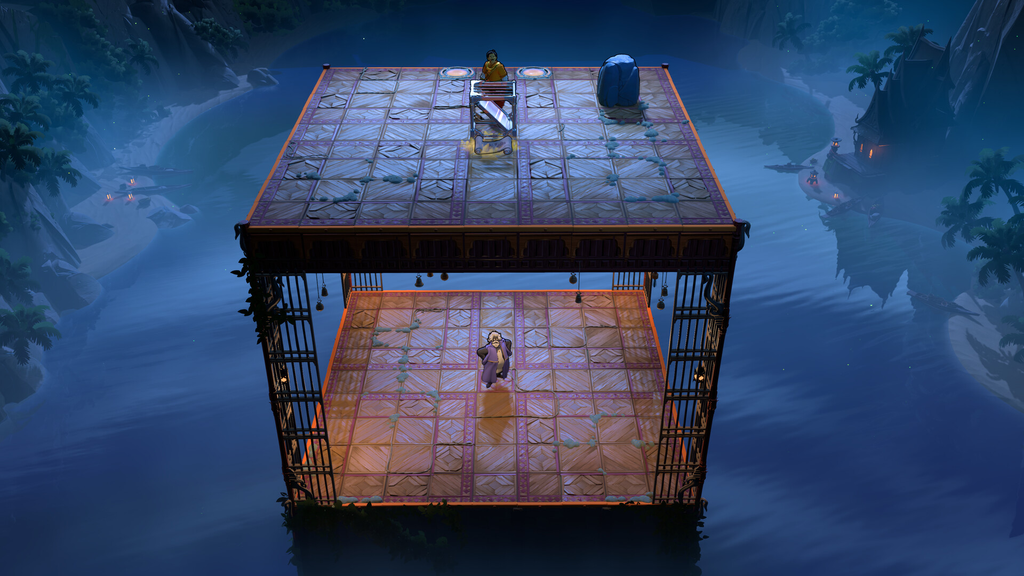
Screen 5: aura crystal puzzles
Screen 5 breaks into a top-left series of three puzzles that opens the way to the bottom, then five bottom puzzles. These use your aura to carry and skip crystals, so track where a crystal sits inside your aura as you move.
Top-left puzzle 1
- Move down x2 to grab the green crystal.
- Move down x2, all the way right, up to leave the green crystal in the water at the landmass’s bottom-right corner.
- Move all the way left, all the way up, right x4 to grab the pink crystal and bring it into the green crystal’s column.
- Move down x6 to lower the green crystal and stack the pink crystal on top.
- Move right to push the pink crystal onto the button and drop the barrier.
Top-left puzzle 2
- Move down x4, left x4 to grab the bottom pink crystal, then down x2, up to drop it in the water.
- Move all the way right to grab the purple crystal, then left to skip it left.
- Quickly move up, left x4, down to put the submerged pink crystal in the purple crystal’s path, then up to skip the purple crystal onto the landmass.
- Move up, right x3, all the way up to trap the purple crystal under the yellow barrier.
- Move all the way right, all the way down, all the way left, then all the way right, up to put the submerged crystal in the bottom-left corner of your aura.
- Move down, left x7, up, left, up, right, down, left, down, all the way right to place the submerged crystal left of the stalagmite formation.
- Move all the way up, all the way left, down x4 to put the second pink crystal in the water in the purple crystal’s row.
- Move right x2, up x2, all the way right, down x3, left x7 to stack the purple crystal on the second submerged crystal.
- Move down to skip the purple crystal onto the bottom submerged crystal, then down x2 to grab it and left to skip it onto the button.
Top-left puzzle 3
- Move all the way up, all the way right, all the way down, then left, up, left, down, left, up to set the three submerged crystals into position.
- Move left x2 to grab the skipping crystal, then right x2 to release it below the yellow barrier.
- Move right x2, down, left x3, up, down to stack the skipping crystal on the right submerged crystal.
- Run all the way right, then up x5, to shift the skipping crystal to the top-right crystal in the top wall’s row.
- Move left x4, all the way down, all the way right, up, left to gather all three submerged crystals on the right.
- Move all the way up, right, down to skip the crystal to the middle submerged crystal, then down again to the bottom one.
- Move all the way up, left, down, right, up, all the way left, down to leave one submerged crystal on top and two on the right.
- Move all the way down, all the way right to grab the skipping crystal in the bottom-right corner.
- Run all the way up, then all the way left, to bring the skipping crystal into the button’s column, then down to skip it onto the button.
Clearing this series unlocks a skipping crystal. Grab it in the bottom-right corner of your aura and skip it left platform by platform, moving right before each landing so you can skip left again. Keep going until it reaches the button that opens the barrier to the bottom puzzles. For the final skip onto the button platform, move right, up before the crystal finishes so it stays on the button.
Bottom puzzle 1
- Move down, right x4, up to set the crystal right of the top-right gap.
- Move left, then immediately right to send the crystal two spaces left into your column.
- Move left, then immediately right again, using the top-left gap to shift it to the bottom-left corner of your aura.
- Move down, right x2, up to bring the crystal back between the top gaps.
- Move left, then immediately right to push the crystal outside your aura.
- Move down x4, left x2 to grab the crystal, then up, left x2, up x2 to drop it in the gap and open the teleporter path.
Bottom puzzle 2
- Move all the way left, up x3 to grab the stone.
- Move down, right x10, up, then left to send the stone across the gap at the top of the dock.
- Move down, left x7, up to push the monster in your aura down one row.
- Move right, then immediately up so the monster hits the crystal as it skips, dropping it one more row.
- Move the monster above the monster blocking the teleporter to clear the path.
Bottom puzzle 3
- Move right x2, down to send the crystal to the square platform.
- Move right x2, down to grab the crystal in the bottom-left corner of your aura.
- Move up to skip the crystal across the gap and up one row in your aura.
- Move all the way up, left to skip the crystal into the lily pad.
- Quickly move down x2 and left until you grab the crystal, then run right to send it back. It stops in the dock outlet’s left column, and you must be directly below that square as it lands.
- Walk across the button. The trailing crystal lets you pass the barrier before it closes.
Bottom puzzle 4
This puzzle brings in the bard and sailor together, bouncing a crystal between them. Clearing it activates the final bottom puzzle and clears a barrier leading toward a separate area.
- Use the sailor to push the crystal right across the water.
- Move the bard all the way right, up, down, left to send the crystal back to the sailor.
- Use the sailor to push the crystal into the lily pad’s row, then right into the pad. Move the sailor left.
- Quickly use the bard to grab the crystal and send it back left to the sailor.
- Use the sailor to push the crystal down. When the lily pad nears the column right of the bard’s platform, push the crystal right across the water to send the pad up so the bard can cross.
- Use the bard to send the crystal back to the sailor, then move the bard into the crystal’s row in the leftmost column.
- Use the sailor to push the crystal back into the bard so it sinks.
- Use the bard to move the submerged crystal into the gap above the teleporter platform.
The screen past the newly cleared barrier belongs to a different area, and a second barrier will block the path there if you have not yet visited it.
Bottom puzzle 5
- Move the sailor left out of the way. Move the bard all the way up, right, down x3 to bring the crystal to the middle platform.
- Use the sailor to move the crystal into the bottom-right lily pad’s row. Move the bard to the bottom-right corner of the landmass.
- Use the sailor to push the crystal right through the water into the lily pad.
- Control the bard. When the lily pad and crystal are in the column right of the top-right lily pad, move her up to send the crystal up and the top-right pad left.
- Move the sailor across the lily pad to the top platform. Move the bard onto the lily pad.
- Use the sailor to push the crystal all the way left, down. When the bard is in the column left of the large landmass, push the crystal left across the water into the lily pad so the top pad moves one column left of the bard.
- Move the bard onto the teleporter. This lowers the crystal on the top lily pad and sends the bottom pad right, which the sailor rides to the right teleporter.
Each puzzle confirms it is solved the moment its barrier lifts and a teleporter opens, and the matching characters stand on their teleporters. Once both the sailor and bard reach their teleporters on bottom puzzle 5, every puzzle in Heroes and Stones West is clear, and the route past the final barrier leads onward toward Heroes and Stones East.