

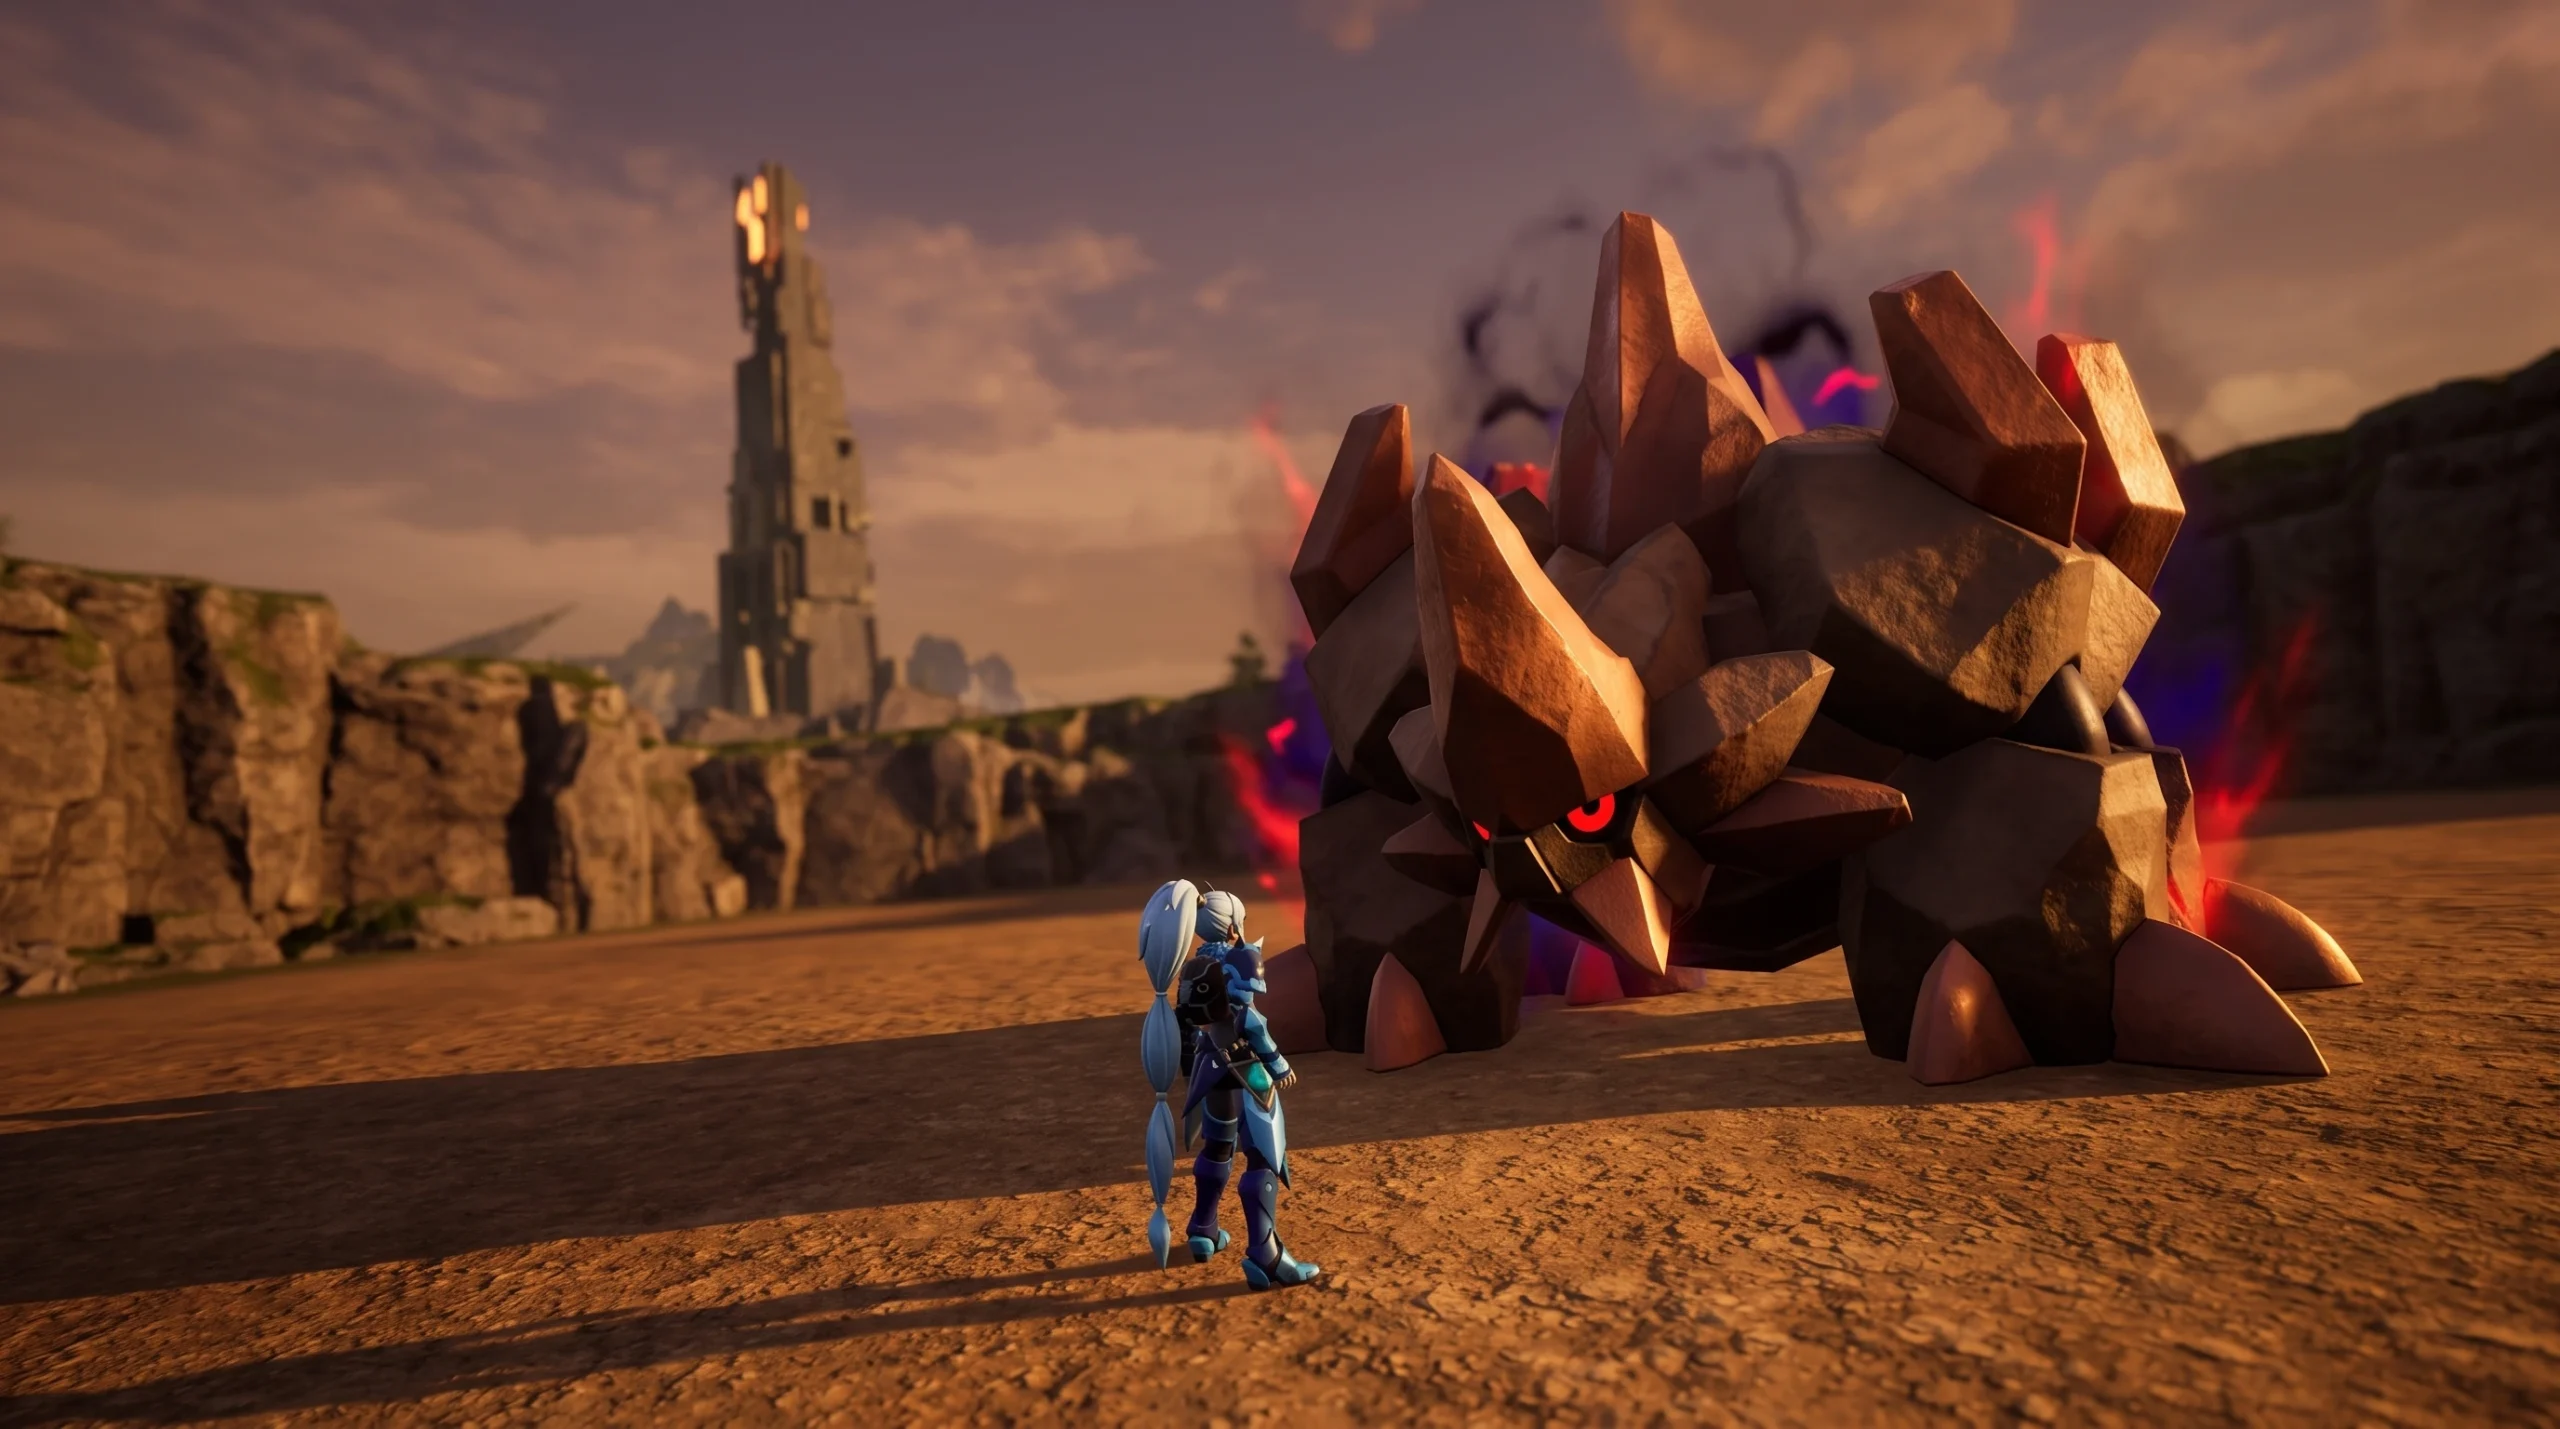
Zoe and Grizzbolt are the first Tower Boss fight in Palworld, waiting at the Rayne Syndicate Tower. Grizzbolt is an Electric Pal, which means the entire encounter hinges on one thing: bringing Ground-type damage. The same logic carries over to the Hard Mode version, though the raw boss health there jumps to around 464,000, so your team needs to be fully optimized.
Quick answer: Attack Zoe and Grizzbolt with a Ground-type Pal that knows Bog Blast or Stone Blast, stay behind a pillar, and whittle Grizzbolt down with a bow or crossbow. For Hard Mode, run a fully condensed and awakened Anubis as your main attacker, backed by Solenne, Gobfin, and Gobfin Ignis for damage buffs.
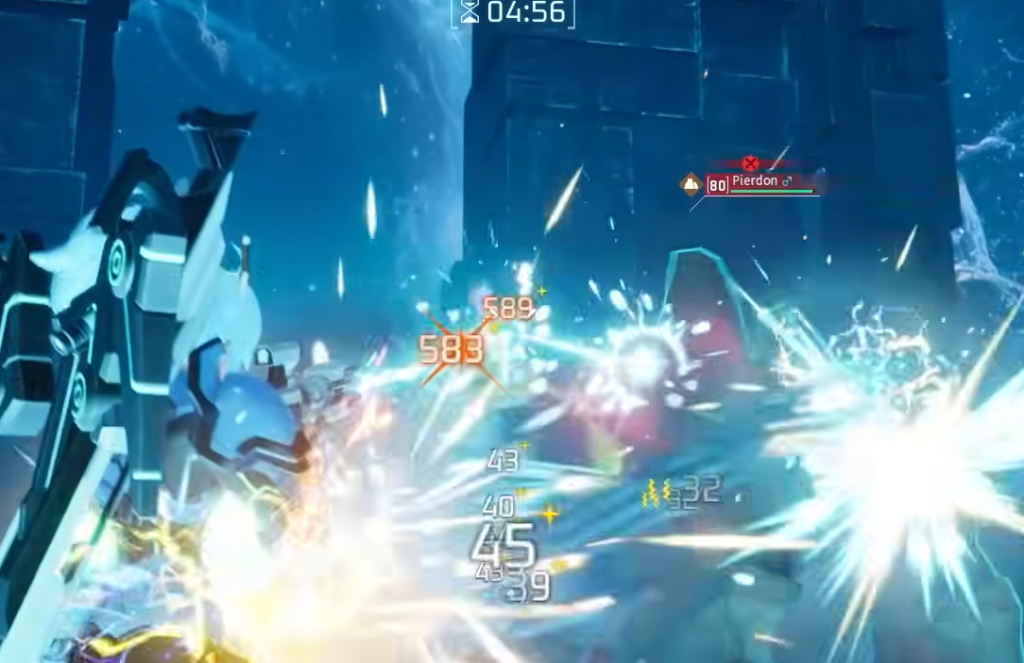
Where to find Zoe and Grizzbolt and what you need first
The Rayne Syndicate Tower sits northeast of the Small Settlement at coordinates 111, -431. Activate the fast travel statue near the tower so you can respawn quickly if the fight goes badly. Only two players can enter the boss arena at a time.
Get your character and your main Pal to at least level 10 before entering. Pushing to level 15 unlocks stronger weapons, which makes the standard fight far shorter. Catching 10 of each common Pal in the area is the fastest way to gain levels, since the first ten captures of any species give a large EXP bonus.
Best Pals for the standard fight
Grizzbolt’s Electric attacks are resisted by Ground Pals, so a Ground-type both tanks Grizzbolt and hits its weakness. Your Pal soaks damage and holds Grizzbolt’s attention while you fire from cover. Every option below is catchable near the tower.
| Pal | Type | Why it works |
|---|---|---|
| Dumud | Ground | Its Pal Skill raises Ground damage, and it learns Bog Blast and Stone Blast. |
| Fuddler | Ground | Gets Bog Blast, Stone Blast, and the 70-power Stone Cannon; found in the nearby dungeon. |
| Gumoss | Grass / Ground | Easy to catch and learns Bog Blast and Stone Blast to distract the boss. |
| Rushoar | Ground | Simple early catch with access to Bog Blast and Stone Blast. |
| Daedream | Dark | Adds passive damage once you have Daedream’s Necklace. |
Before the fight, spend Pal Souls at a Statue of Power to raise your Pal’s HP, Attack, and Defense. You unlock it in the Technology tree at level 9, or you can use the existing statue at the Desolate Church. The boost is percentage based, so leveling your Pal first squeezes more value out of each upgrade.
Look for a Pal with the Power of Gaia passive, which raises Earth-type damage. If your Pal doesn’t naturally learn a Ground move, feed it an Earth Skill Fruit to teach one. Check what move each fruit grants first, since fruits of the same element can teach different skills.
Weapons and armor for the standard fight
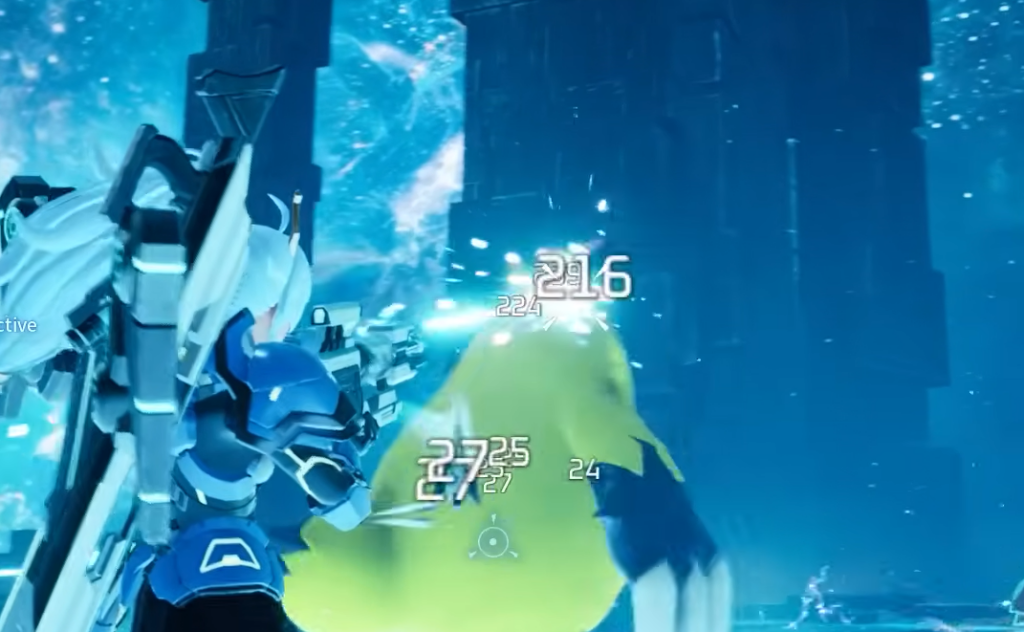
You want to fight from range, so lean on bows. The Crossbow is the standout, hitting for 280 damage on a single arrow. Everything here can be crafted from materials near the starting area.
| Gear | Slot | Tech Tier |
|---|---|---|
| Crossbow | Weapon | 13 |
| Three Shot Bow | Weapon | 10 |
| Old Bow | Weapon | 3 |
| Feathered Hair Band | Head | 10 |
| Tropical Outfit | Body | 9 |
| Common Shield | Shield | 4 |
How to play the fight
You know the fight is won when the health bar empties and the reward screen appears. The most common reason players stall is going in underleveled, which leaves both your character and Pal doing too little damage to outpace Grizzbolt.
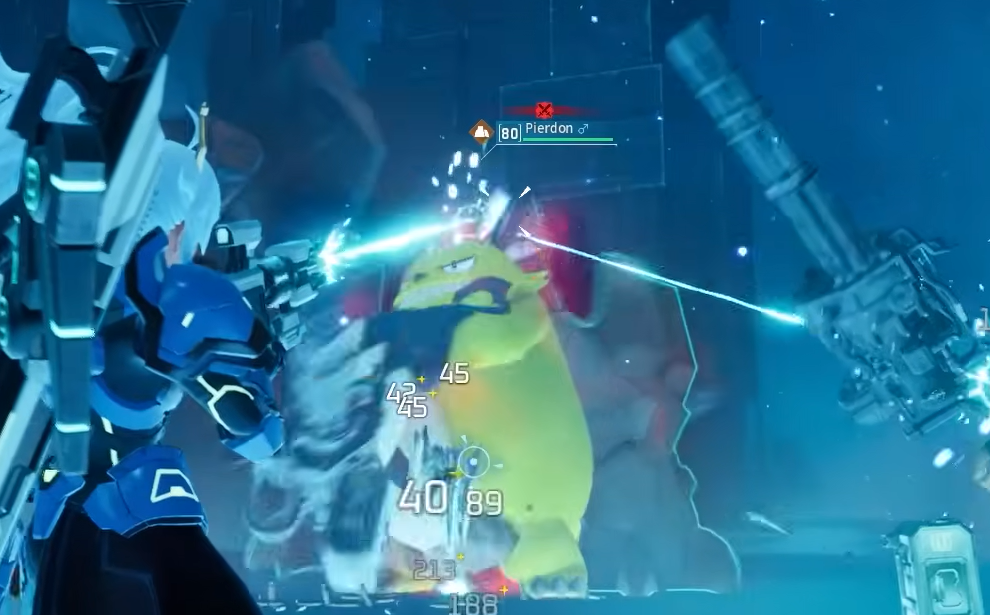
Hard Mode build for Zoe and Grizzbolt
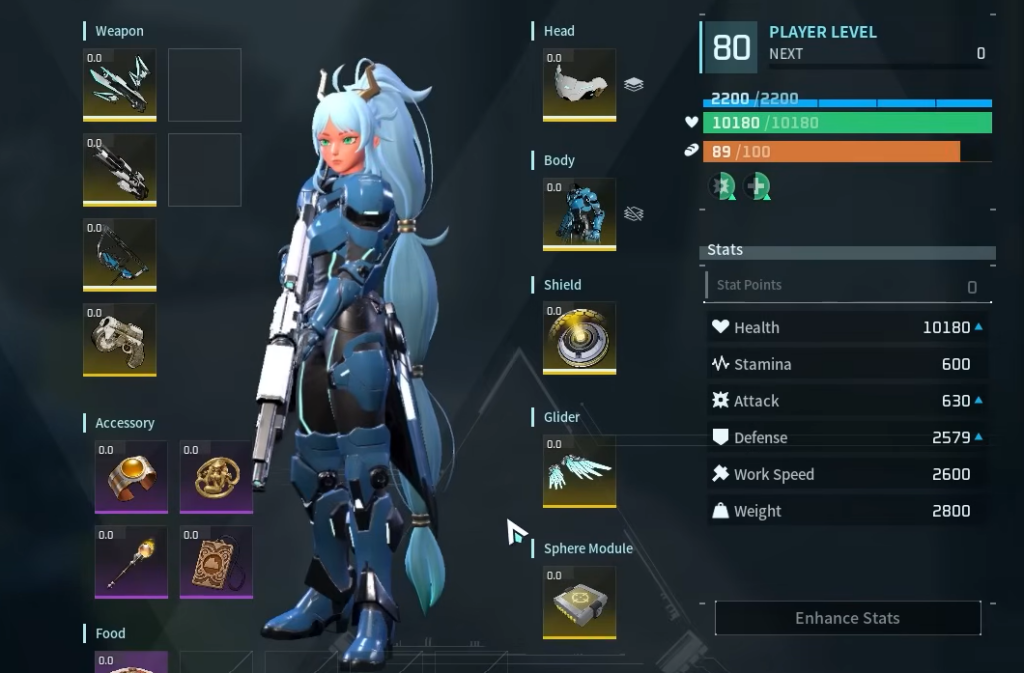
Hard Mode keeps the Ground-weakness rule but pushes boss health near 464,000 and cranks up the damage the boss deals. Anubis is the go-to main battle Pal here because its Ground attacks are highly effective against Grizzbolt. You’ll be dealing a large chunk of the damage yourself, so make sure Anubis is fully condensed, awakened, at level 10 trust, level 80, with maxed IVs and full soul upgrades.
Hard Mode bosses burst hard, so favor defensive passives over a glass cannon on your main Pal. Immortality, Vampiric, Diamond Body, and Idiosyncratic keep Anubis alive long enough to grind the boss down.
| Role | Pal | Purpose |
|---|---|---|
| Main attacker | Anubis | Ground damage that hits Grizzbolt’s weakness; you activate its Partner Skill. |
| Buffer | Solenne | Buffs your damage for each different Pal in the party. |
| Buffer | Gobfin | Damage buff. |
| Buffer | Gobfin Ignis | Same buff as Gobfin, and it benefits from Solenne’s skill. |
| Second battle Pal | BullDosu | Extra defense plus Electrify immunity. |
Fully condense or starfruit the three buffers so their bonuses hold up. Do not bring a second Anubis, since a duplicate Pal cancels Solenne’s per-Pal damage buff. BullDosu is the better second slot because it adds defense and shrugs off Grizzbolt’s Electrify effect.
Gear and accessories for Hard Mode
Bring the best armor you can craft. Legendary (yellow) gear is ideal, but purple rarity is usually enough for Zoe and Grizzbolt specifically. Carry a Plasma Rifle or Beam Splitter for personal damage, and keep a Grapple Hook and Wings on hand to dodge quickly. Later towers demand that mobility even more.
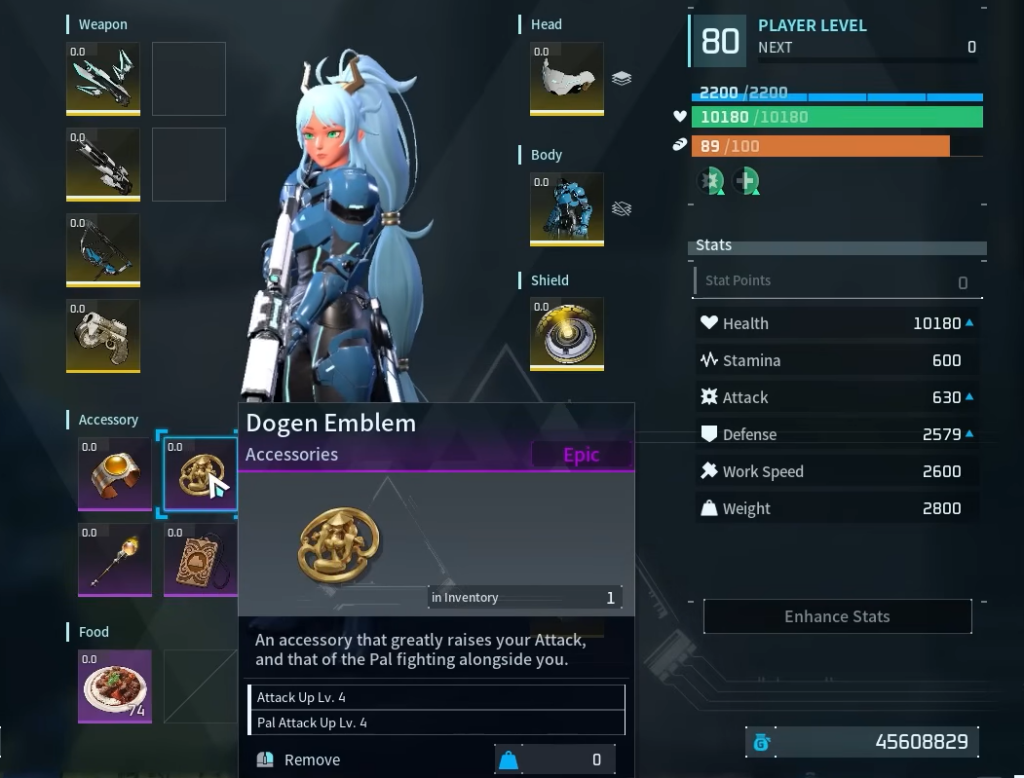
| Accessory | Benefit |
|---|---|
| Phantom Ring | Extra i-frames on dodges |
| Earth Emperor’s Baton | Boosts Ground offense |
| Anubis Talisman | Strengthens Anubis |
| Flex slot | Dash boots for mobility or the Dogen Charm, your choice |
Rewards and how to recruit Zoe
Clearing the fight grants Character EXP, Pal EXP, and 5 Ancient Technology Points. The exact EXP depends on your world settings. Those Ancient Technology Points feed into stronger crafting recipes, so this is an early source worth grabbing.
After you defeat her at the tower, Zoe reappears at the Desolate Church. Complete her three objectives, and she will ask to join you, at which point Zoe and Grizzbolt can be added to your party or Palbox.
Once this fight is behind you, the tower ladder continues with Lily and Lyleen, so keep that Ground-type roster and your maxed Anubis ready for the tougher encounters ahead.





