
Palworld 1.0 splits your best Pals into three clear jobs. Some carry you through boss fights and raids, some quietly farm wood, ore, and food back at base, and others move you across the map faster than any other option. Picking the right Pal for each role, then pairing it with the right passive and partner skills, is what turns a decent team into an overpowered one.
Quick answer: Run Jormuntide Ignis or Knocklem as your main combat Pal, add a Celesdir Noct or Solenne booster for damage, keep Mammorest and Wispaw working your base, and ride Jetragon for air or Paladius for ground once you hit the required levels.

Best combat Pals in Palworld 1.0
These Pals do the heavy lifting in fights. The standouts either have the highest raw stats in the game or partner skills that change how you deal damage.
| Pal | Why it works | Where to get it |
|---|---|---|
| Jormuntide Ignis | Fire and Dragon typing with the highest raw attack, HP, and defense in the game. | No. 2 Wildlife Sanctuary |
| Knocklem | The tankiest Pal in the game; its partner skill grants a large attack and defense boost when active. | Sakurajima Waterfall Area |
| Neptilius | Best Water-type; its partner ability fires water spears whenever you deal damage. | Tides of Terraria |
| Orserk | Strong Lightning skills that deal huge burst damage with Lightning Bolt and Lightning Streak. | No. 3 Wildlife Sanctuary |
| Bellanoir / Bellanoir Libero | Highest attack stat growth in the game plus exclusive beam skills for sustained damage. | Hatched from a Bellanoir raid boss egg |
| Selyne | Dark and Neutral attacks are boosted while mounted, raising its DPS. | Spawns during the Meteorite Event in Sakurajima |
| Hartalis | Partner skill gives an unbreakable barrier while mounted, letting you survive raid boss attacks. | Hatched from a Hartalis raid boss egg |
| Felbat | One of the few early lifesteal sources; deal damage as your Trainer to restore health. | Forgotten Island |

Partner skill builds that boost your whole team
Some Pals earn their party slot purely through their partner skill, even if their own stats are unremarkable. Keep one of these in your party to change how your attacks land or to buff your active fighter.
| Pal | Partner / passive skill | Effect |
|---|---|---|
| Solenne | Untainted Maiden | Boosts your attacks as long as every Pal in your party is a different species. Fits gun, bow, or melee builds. |
| Loomen | Lantern Enchantment | Your arrows deal explosive damage, starting at 15% of your attack and upgradeable to 30%. |
| Celesdir Noct | Blessing of Chaos | Your active Pal drains HP but gains an attack boost from 40% up to 80%. Only one is needed since it does not stack. |
| Renjishi | Stage Combat | All your attacks apply burns, starting at two stacks and rising to six. |
| Dandilord | Mist Stalwart | Your attacks apply poison from two up to six stacks, and your Pals become immune to poison and toxins. |
| Gobfin | Player attack boost | Raises your attack by 20% at Rank 4 while in the party, and stacks with multiple copies. |
Double Knocklem is a popular high-end combo. Bring two Knocklems and swap between them whenever the partner skill hits cooldown for near 100% uptime on the 50–200% attack and defense buff. Push it to Rank 4 for the strongest effect.

Best base Pals for passive farming
Base Pals decide how fast you gather wood, ore, and food while you are out exploring. Match each Pal to the work suite you need most, and lean on Nocturnal Pals so your base keeps running overnight.
| Pal | Best for | Key work skills |
|---|---|---|
| Mammorest | Early wood and ore farming | Level 4 Planting, Mining, and Lumbering |
| Tombat | Mining base, works at night | Level 3 Mining, Level 2 Transporting, Nocturnal |
| Penking | Generalist for mining and farms | Level 3 Mining and Transporting, Level 2 Watering, Handiwork, Cooling |
| Wispaw | 24/7 item crafting | Level 3 Crafting, Nocturnal |
| Arsox | Furnaces and smelters | Level 3 Kindling, Level 2 Lumbering |
| Broncherry | Farming crops | Level 5 Planting, highest early Grass-type |
| Vixy | Passive item generation | Digs up Pal Spheres, Gold, and Arrows near base |
| Puffolt | Powering electric setups | Grants all base Pals Level 1 Generating Electricity |
| Clovee | Boosting gathering output | Gives all working Pals +1 level in Gathering |
Puffolt and Clovee are support batteries for the rest of your base. Clovee’s +1 Gathering buff and Puffolt’s electricity boost apply to every Pal working alongside them, so they raise your total output without doing the heavy work themselves.

Best mounts by level and terrain
Mounts remove stamina drain while traveling and, in some cases, add double or triple jumps. You unlock each mount by crafting its Pal gear at the listed level, so plan your saddles around your current progress.
| Terrain | Pal | Pal gear unlock |
|---|---|---|
| Ground (early) | Direhowl | Level 9 |
| Ground (mid) | Fenglope / Rayhound | Level 26 |
| Ground (late) | Paladius / Necromus | Level 49 |
| Flying (early) | Nitewing | Level 15 |
| Flying (mid) | Beakon | Level 34 |
| Flying (late) | Jetragon | Level 50 |
| Swimming (early) | Surfent | Level 10 |
| Swimming (mid–late) | Azurobe | Level 24 |
| Glider (early) | Celaray | Level 7 |
| Glider (mid–late) | Galeclaw | Level 23 |
Jetragon is the fastest mount overall and beats every other option in every category, but it is a Legendary Pal and its gear only unlocks at level 50, the current cap. On the ground, Paladius and Necromus are the fastest late-game picks, with Paladius able to triple jump. Azurobe is the best swimming mount because it is fast, small enough for narrow water, and infuses your attacks with the Water element. For gliding, Galeclaw has the fastest glide speed and lets you use ranged weapons mid-air, though its fast fall makes it trickier than Celaray.

Passive skills to stack on your combat Pals
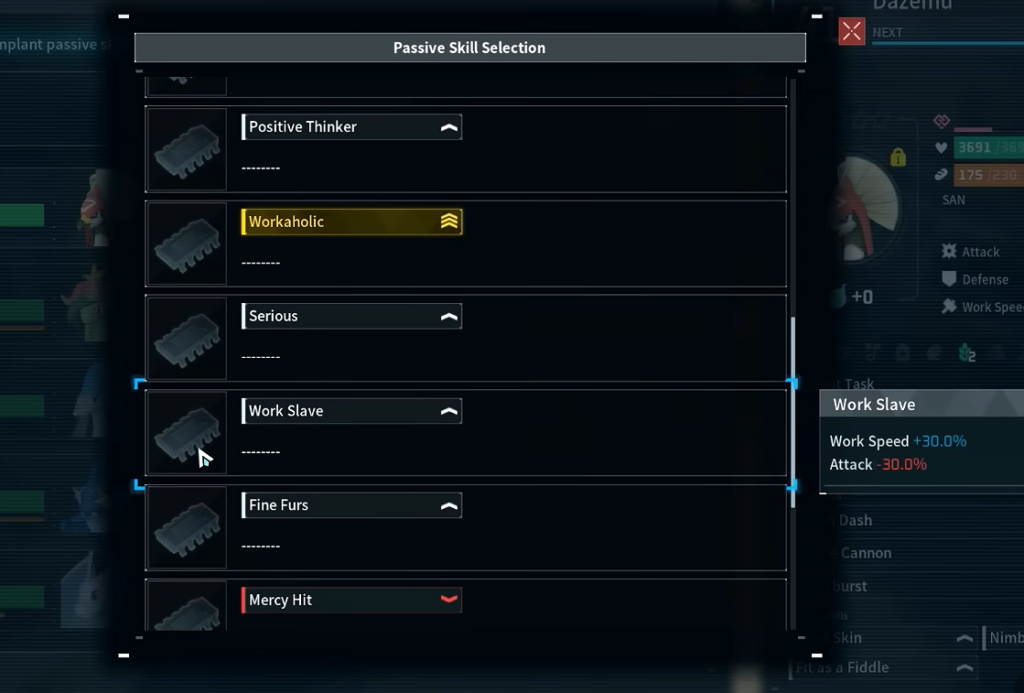
The passive skills on your carry decide how long it survives and how hard it hits. Aim for a mix of raw attack, cooldown reduction, and sustain, and adjust based on whether you are clearing mobs or fighting a single boss.
| Passive skill | Effect |
|---|---|
| Serenity | Active skill cooldown reduction 30%, Attack +10% |
| Legend | Attack +20%, Defense +20%, Movement Speed +20% |
| Demon God | Attack +30%, Defense +5% |
| Musclehead | Attack +30%, Work Speed -50% |
| Vampiric | Absorbs a portion of damage dealt to restore health; works through the night |
| Diamond Body | Defense +30%, immune to flinch and knockback |
| Immortality | Life Steal +5%, Auto Health Regeneration +100%, Attack +15% |
Vampiric shines when you clear packs, since hitting several enemies restores a lot of health. Against raid and tower bosses, it loses value because single-target attacks heal for far less. Swap it for pure defense and attack passives like Diamond Body and Demon God on boss-focused builds.
Team templates to copy
Hypercarry: Run one top damage Pal such as Jormuntide Ignis and fill the rest of the slots with attack boosters like Kalpsea. Add sustain passives to the carry so it can take hits while the boosters do their work.
Player booster: Stack four Gobfins with the Vanguard passive for a large personal attack boost, then bring one mobility or sustain Pal like Jetragon or Felbat in the fifth slot. This build leans on your own weapon damage rather than your Pals.
Bench rotation: Build an all-DPS lineup, send out your strongest Pal, and swap it out the moment it drops low. Serenity and Vampiric passives keep the rotation alive, so you always have a fresh attacker ready.
Whichever template you pick, the win condition is consistency. A carry that survives long enough to use its skills, a booster that keeps its buff active, and a base that farms materials overnight will outpace any single high-stat Pal you throw into a fight unsupported.