Feybreak Caverns are the highest-tier dungeons in Palworld, sitting at Level 58 and packed with endgame schematics, dark-type Pals, and rare skill fruits. They are scattered across the Feybreak region, they only stay open for a limited time, and they respawn on a rule that has nothing to do with the day-night cycle. Knowing exactly where they are and how the timer works is the difference between a smooth farming loop and standing outside a sealed cave.
Quick answer: Fly to any of the coordinates below, walk into the cave mouth to open the dungeon, clear to the boss room, and defeat the Alpha Pal to claim the end chest. Each dungeon stays open for 299 minutes (5 hours). To keep them respawning without waiting, clear roughly 20 dungeons in a rotating route.
All Feybreak Cavern coordinates
Every Feybreak Cavern is a Level 58 instance. Mark these on your map before you set out. Scorched Hill holds the densest cluster, so it makes the natural starting point for a farming circuit. Frozen Coral Hill and Loess Plains give you two more tight groups to chain together.
| Region | Coordinates |
|---|---|
| Scorched Ashland | -846, -955 |
| Scorched Hill | -1100, -825 |
| Scorched Hill | -1084, -1005 |
| Scorched Hill | -1001, -1032 |
| Scorched Hill | -883, -1092 |
| Scorched Hill | -1205, -1192 |
| Scorched Hill | -1019, -1342 |
| Scorched Hill | -1095, -1125 |
| Deserted Ash Plateau | -1301, -1152 |
| Emberstone Hill | -763, -1194 |
| Loess Plains | -970, -1471 |
| Loess Plains | -1060, -1471 |
| Frozen Coral Hill | -1042, -1329 |
| Frozen Coral Hill | -1142, -1468 |
| Frozen Coral Hill | -1226, -1568 |
Tip: The Scorched Hill entrances are close enough that a fast flying mount can hit five or six of them in a single pass, so build your route around that region first and treat the outlying coordinates as extensions.
How the open timer and respawn work
A dungeon unlocks the moment you approach and step into its cave entrance. Once open, it runs on a fixed 299-minute (5-hour) timer. If you arrive and the cave is sealed off, the timer has already expired and you cannot enter until it respawns.
Respawns do not follow the in-game day-night cycle. Instead, a dungeon reopens based on how many other dungeons across the map have closed. Left alone, it takes up to 3 hours for enough dungeons to expire naturally and force a new spawn.
The fast method is to keep moving. Clear around 20 different dungeons in sequence. Forcing those 20 to close triggers an immediate respawn of the ones you finished at the start of the run, which is why a large rotating route keeps the cycle going with no downtime. Combining routes from more than one region makes the loop self-sustaining. These figures can shift slightly depending on your current respawn cycle and your world’s day-night speed setting.
Note: Do not stand and wait at a single sealed cave. Waiting can cost up to 3 hours, while clearing other dungeons on your circuit brings that same cave back far sooner.
Clearing the dungeon and finding the boss room
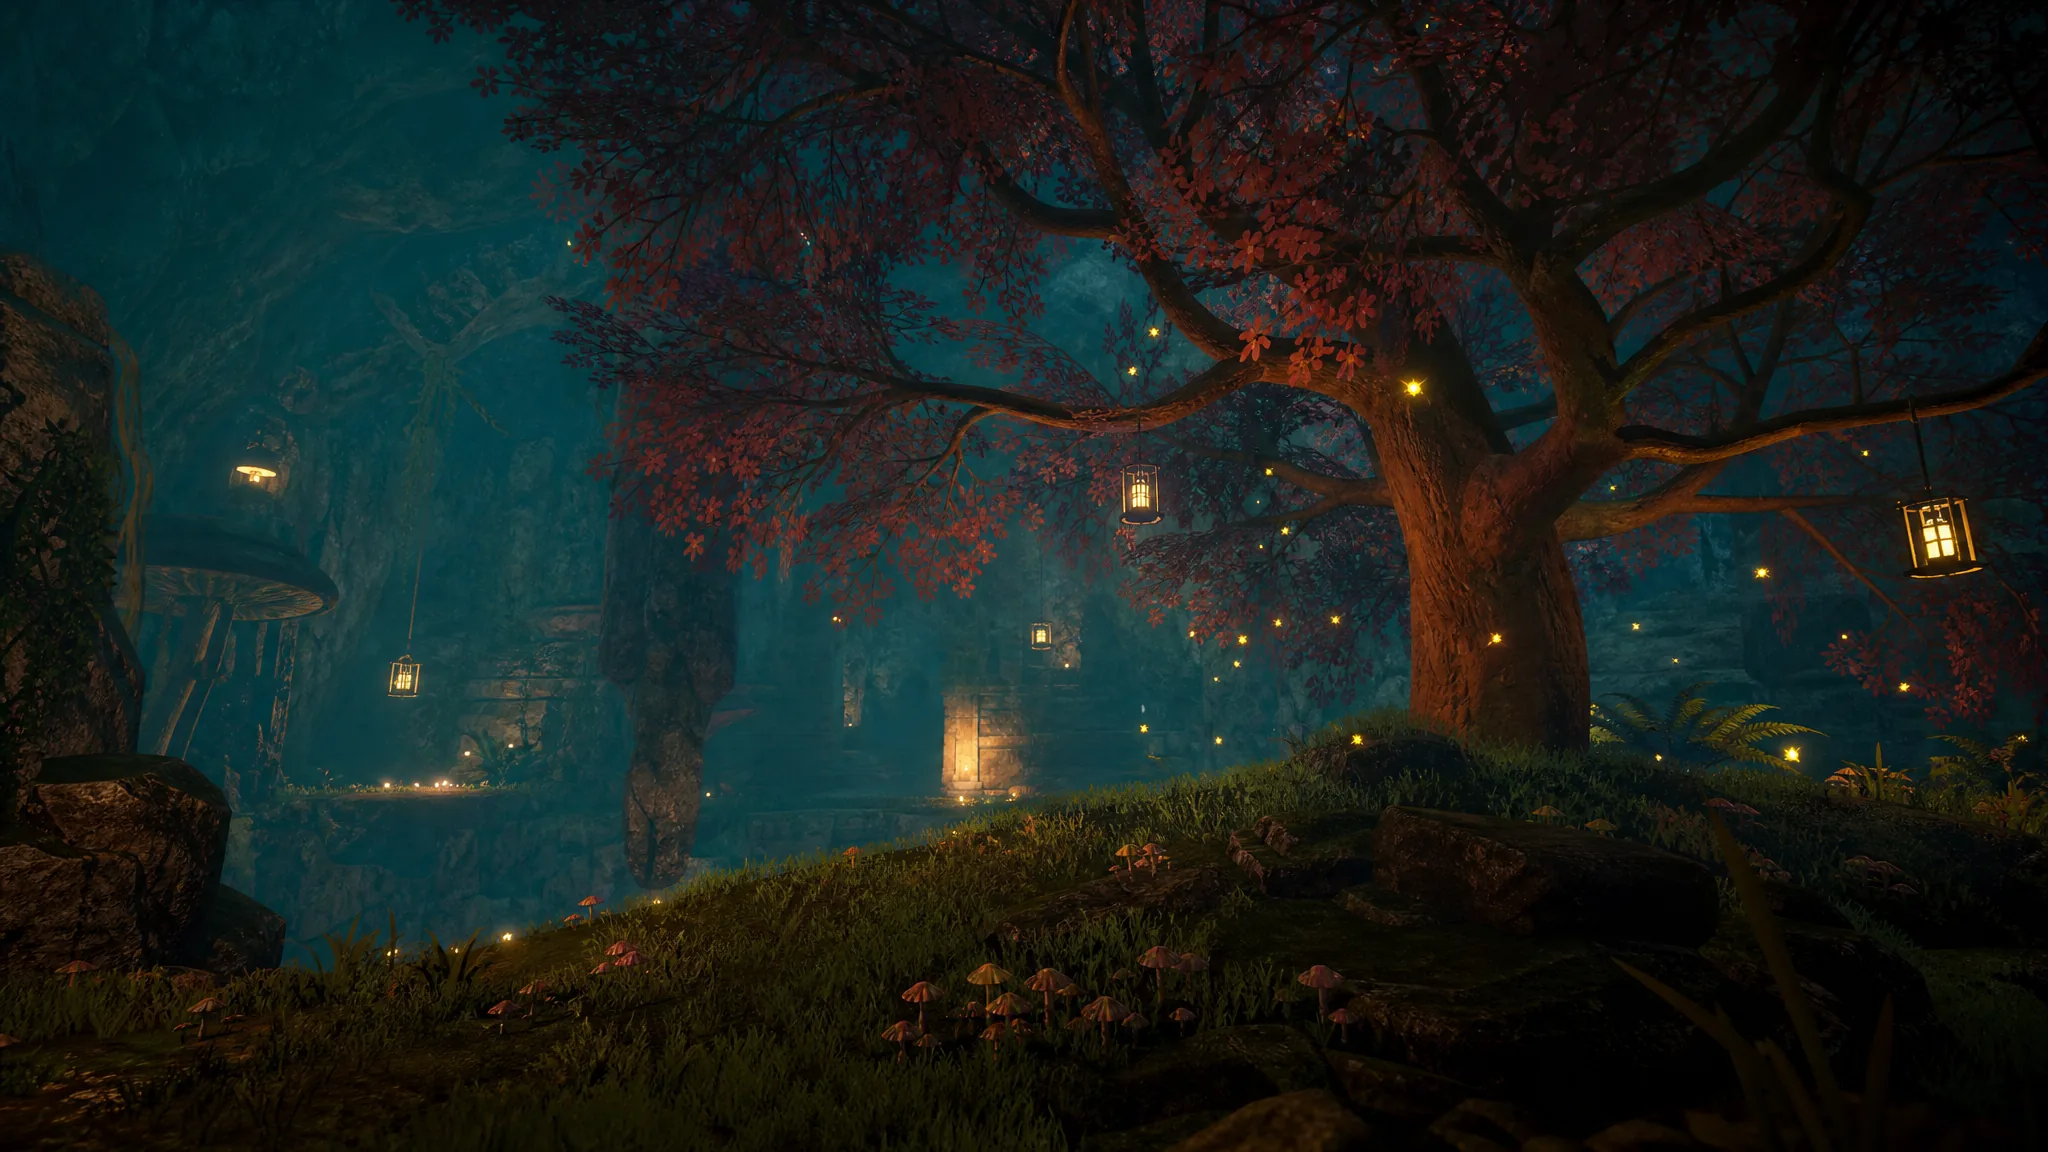
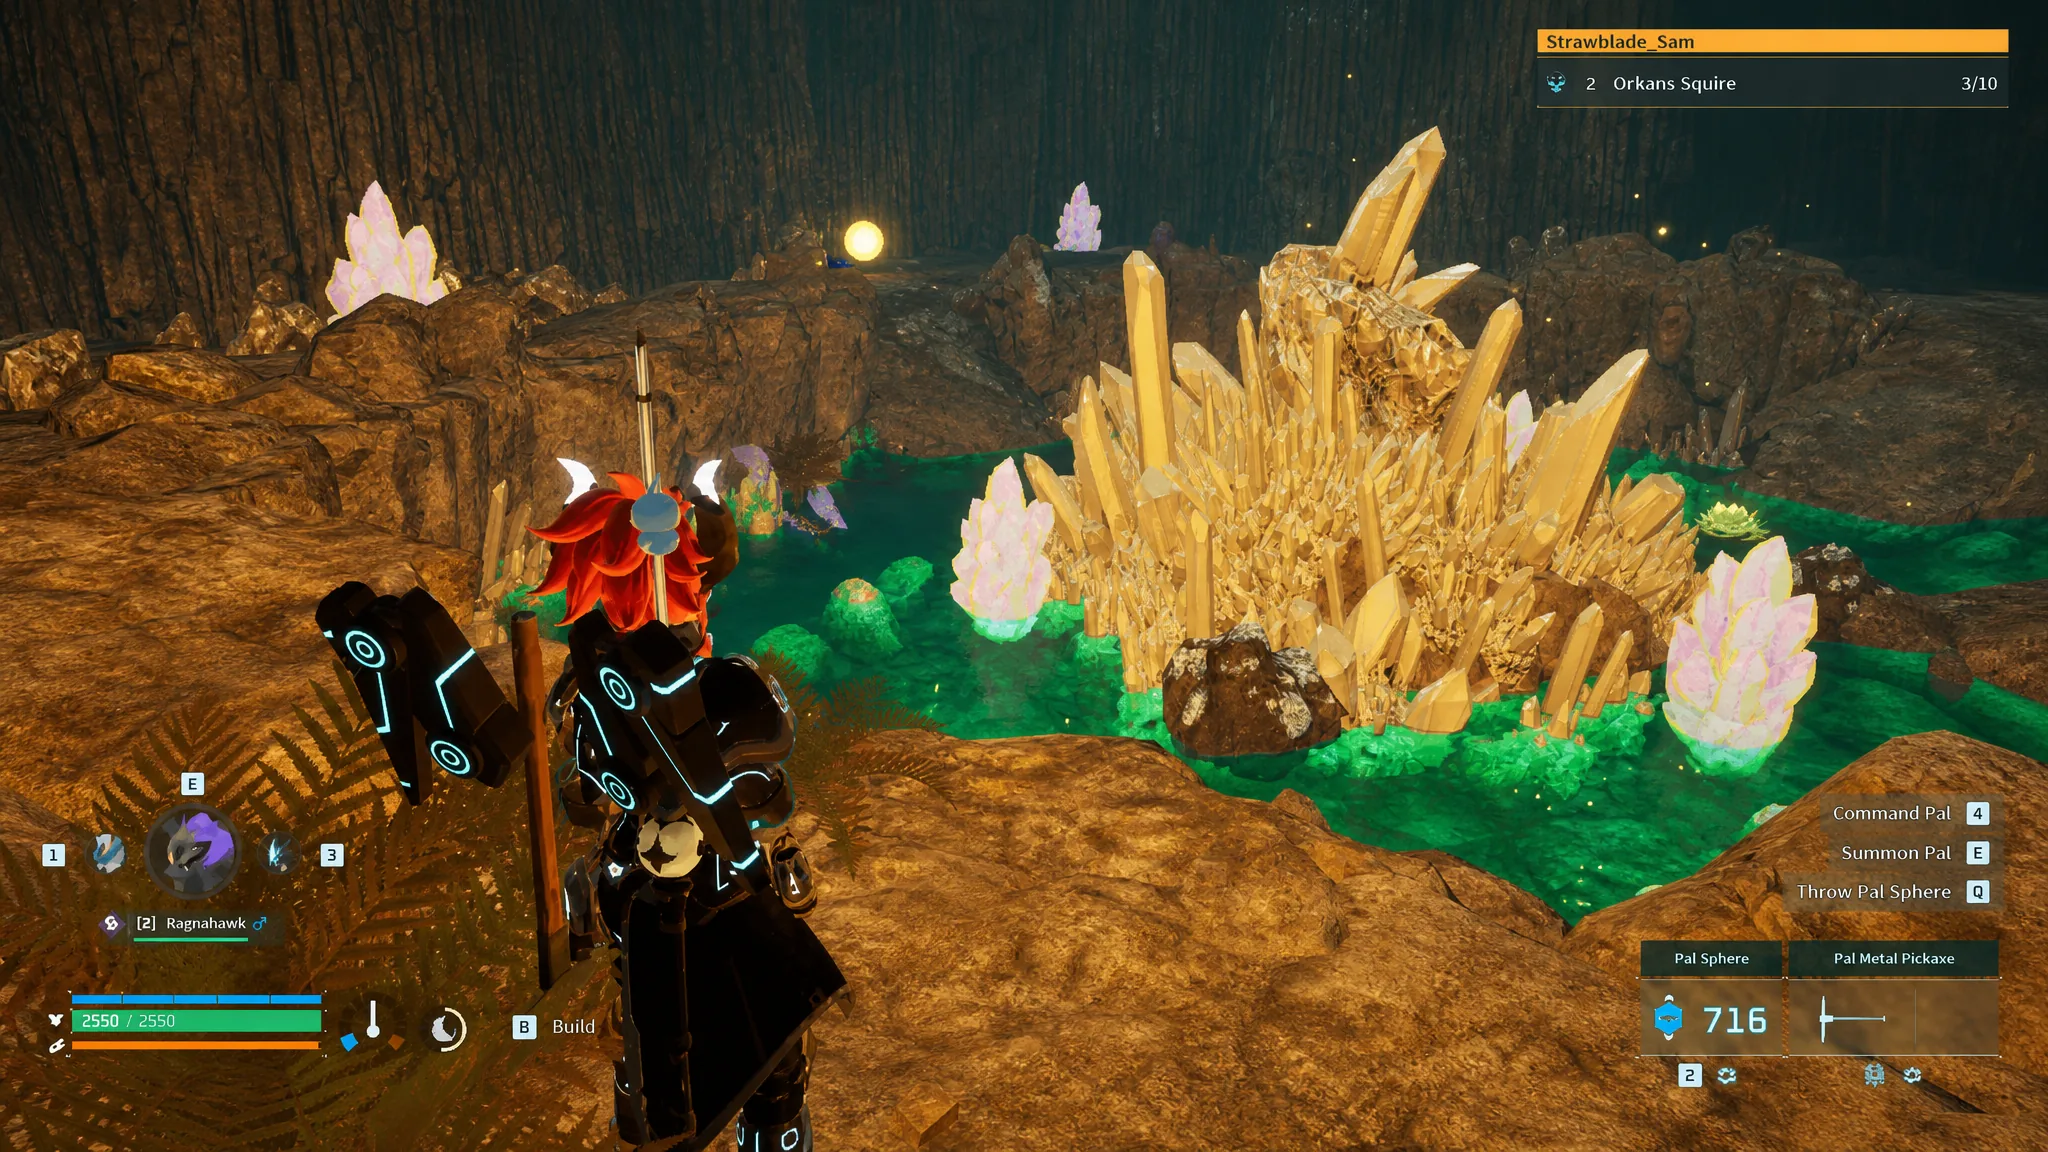
Feybreak Caverns are built from preset room layouts, and your map disappears the moment you head inside. To reach the end, look for a craggy opening cut into the walls. That gap leads to the boss room, where the Alpha Pal waits alongside the end-of-dungeon treasure chest.
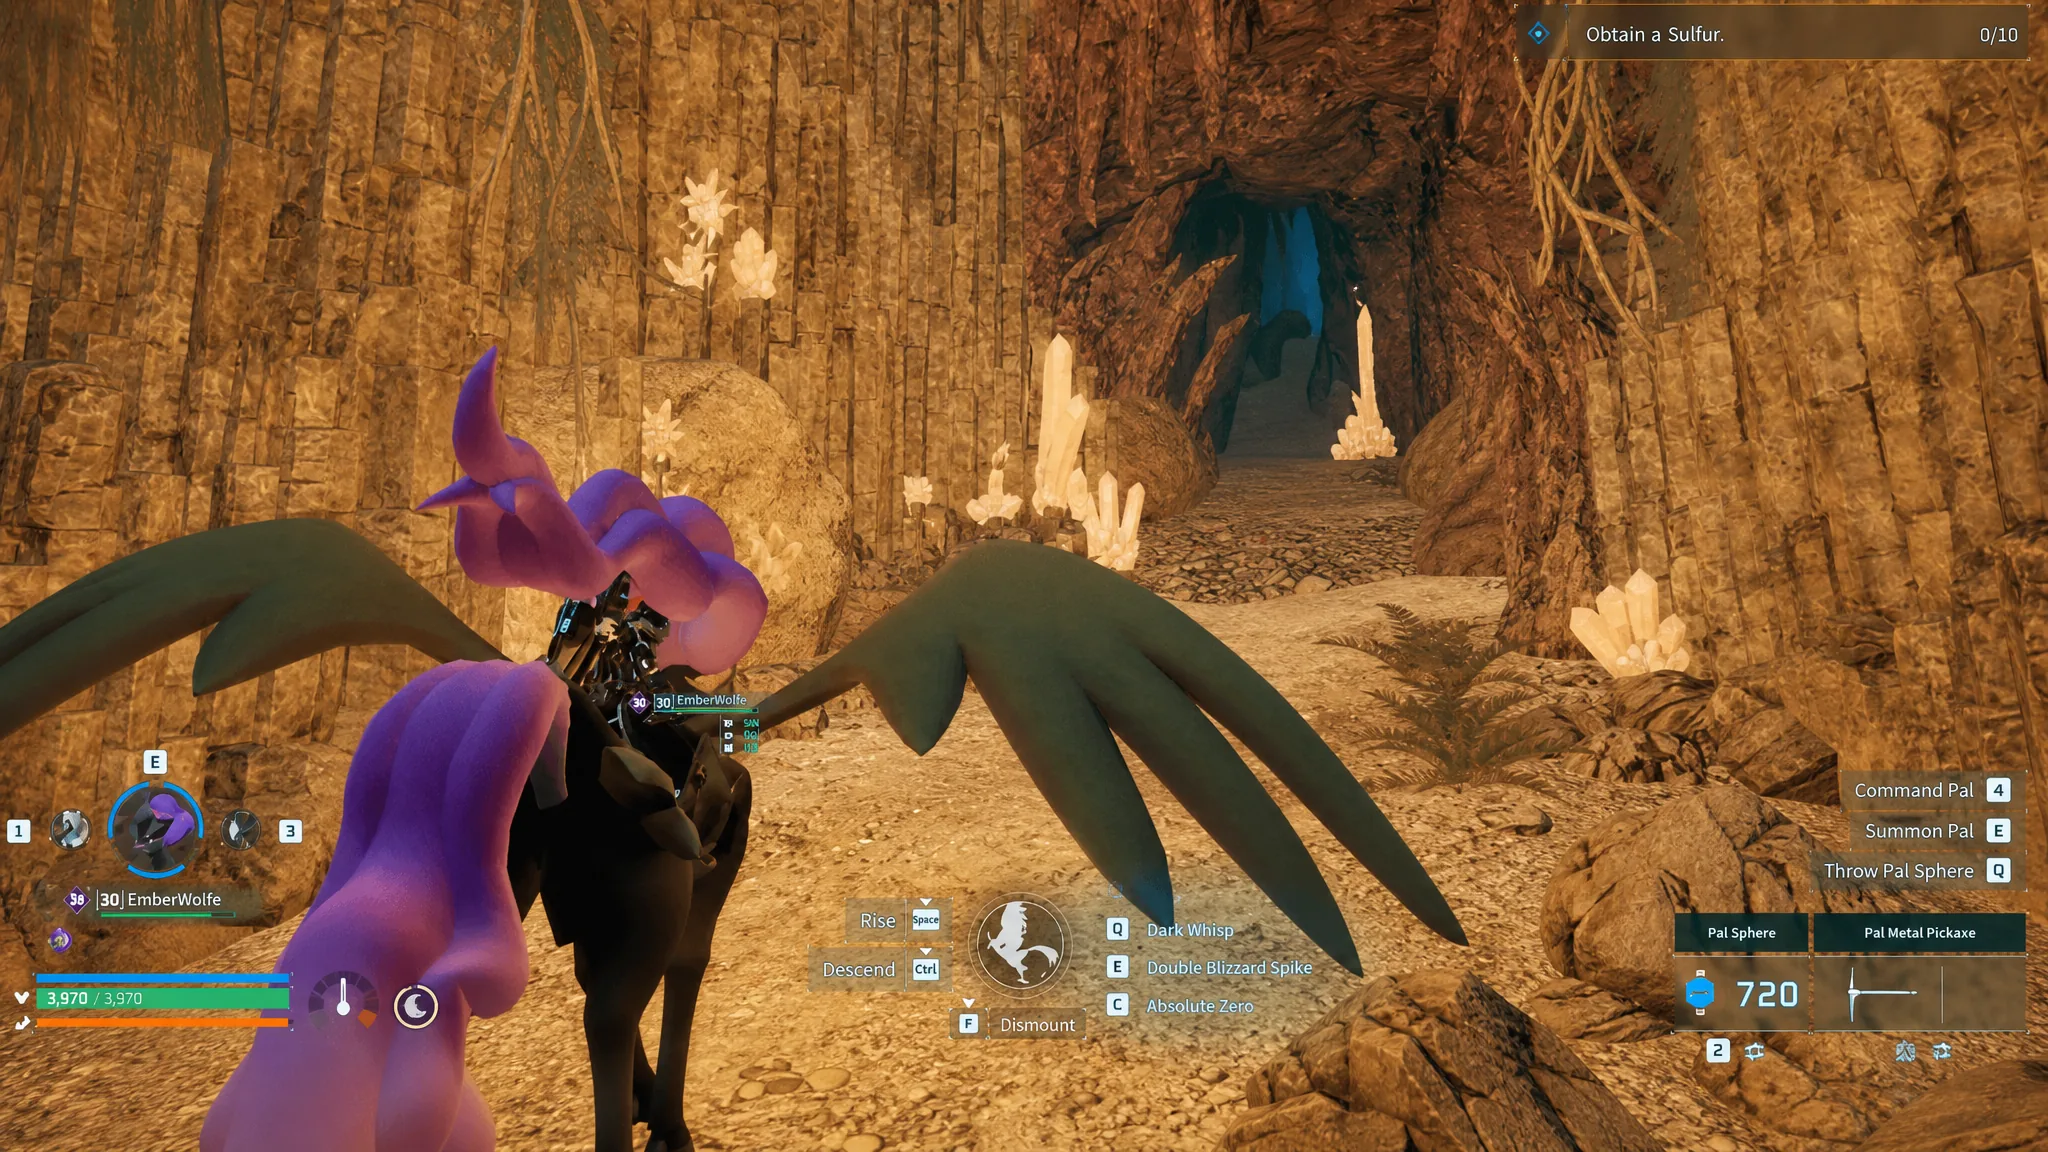
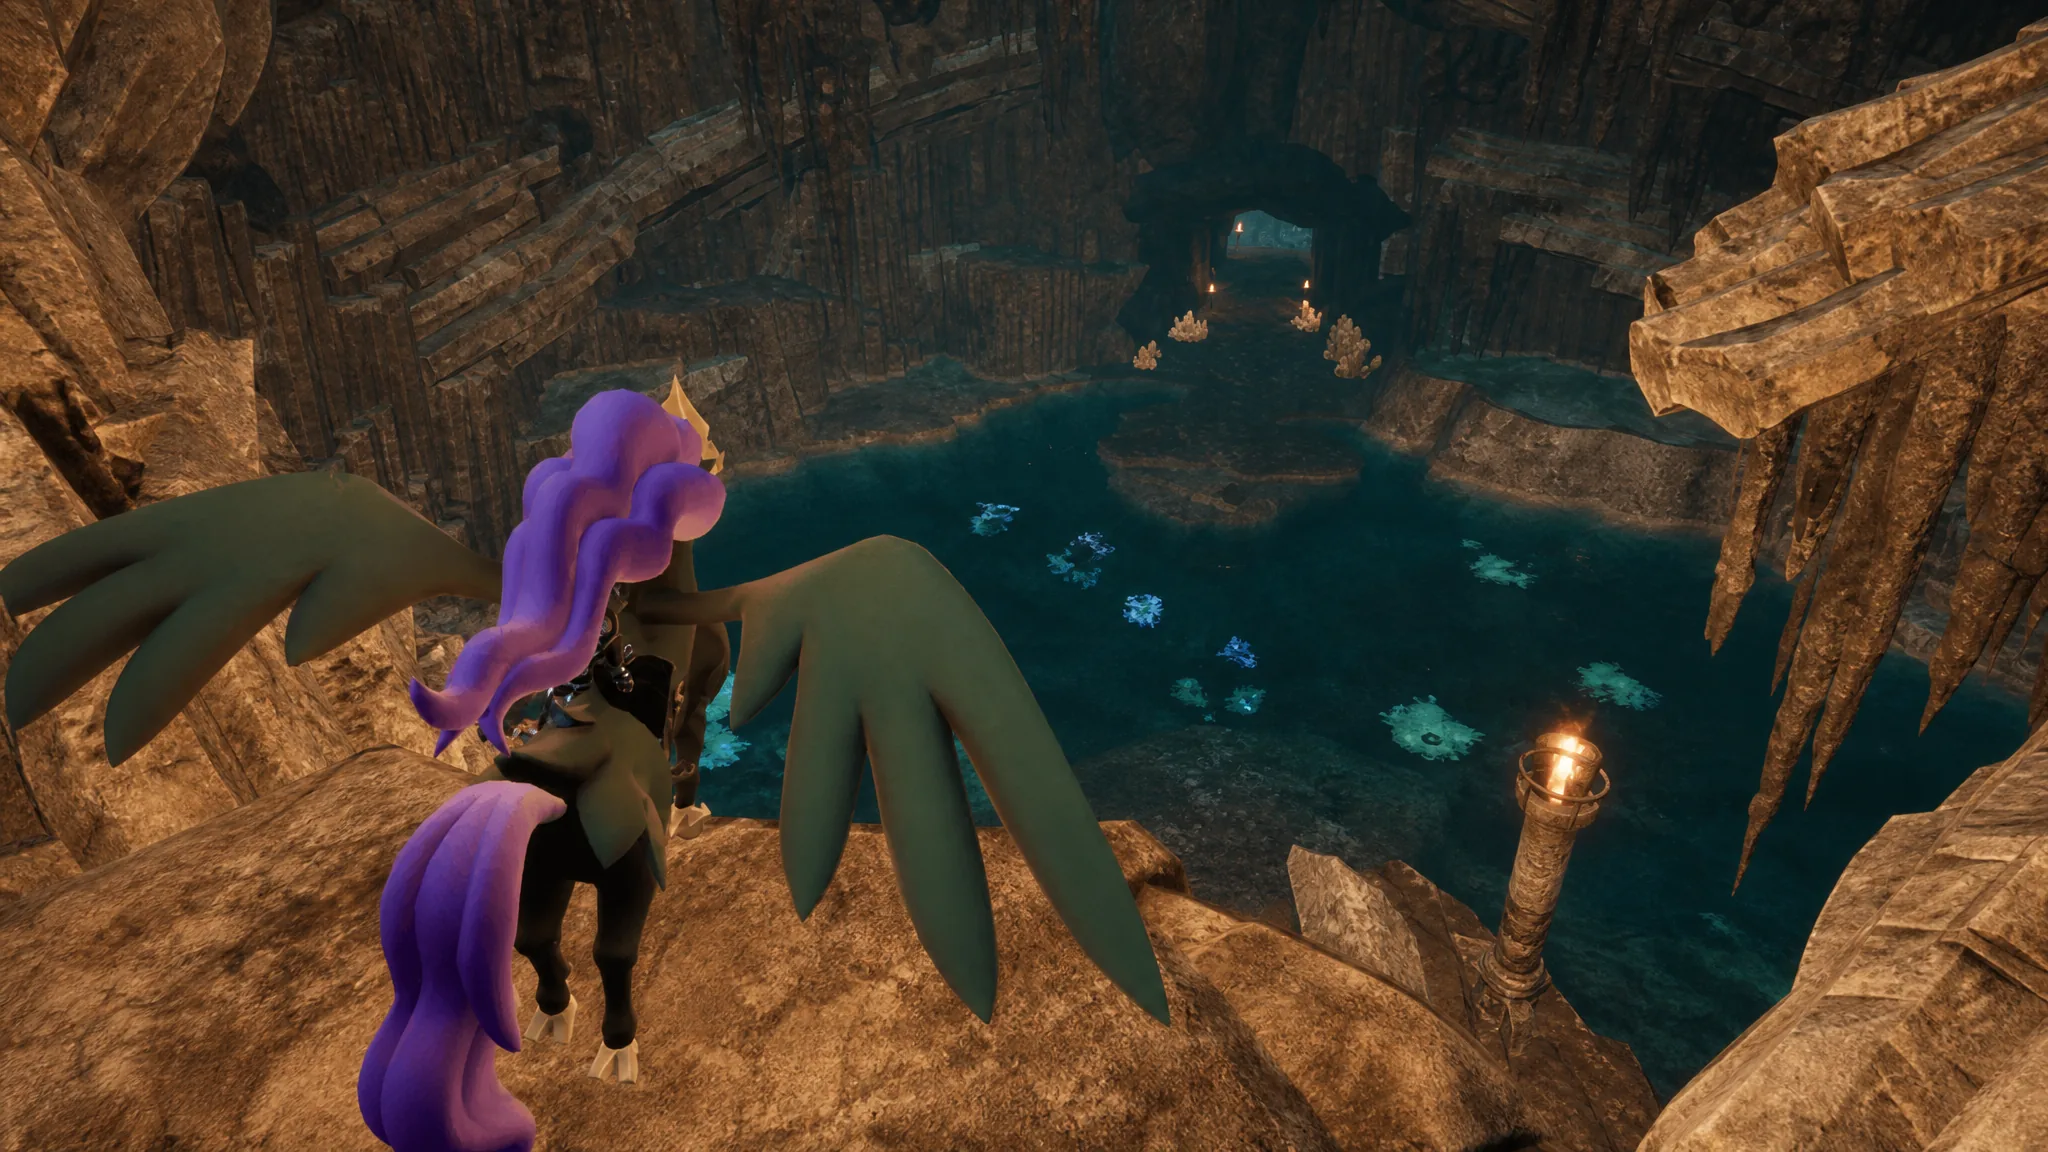
These caverns are heavy on verticality and include rooms flooded with water. A flying mount removes the climbing, platforming, and swimming you would otherwise have to grind through. A mount that both flies and runs along the ground is the easiest to control, and multi-jump partner skills work well too.
| Pal | Partner skill |
|---|---|
 Xenolord Xenolord | Flying mount. While in party, damage from Partner Skills of weapon-wielding Pals increases by 20% (does not stack). |
 Hartalis Hartalis | Generates a barrier that blocks all attacks while mounted. Can triple jump. |
 Paladius Paladius | Can triple jump while mounted. Spear Thrust keeps it attacking enemies at your side. |
 Frostallion Noct Frostallion Noct | Flying mount. Changes your attack type to Dark, inflicts Blind 2, and increases Attack by 10%. |
You can reroll the Alpha boss. Run far enough away from the boss room for the boss to despawn, then return. A different random Alpha should take its place, though the same one occasionally reappears.
Beating the dark-type Pals inside
Every regular spawn inside a Feybreak Cavern is a Dark type. Bring a Dragon Pal to hit them for highly effective damage and your run through the corridors gets noticeably faster. Enter with underleveled gear or weak Pals and Level 58 encounters will grind runs to a halt, so make sure your team and equipment are ready before you commit.
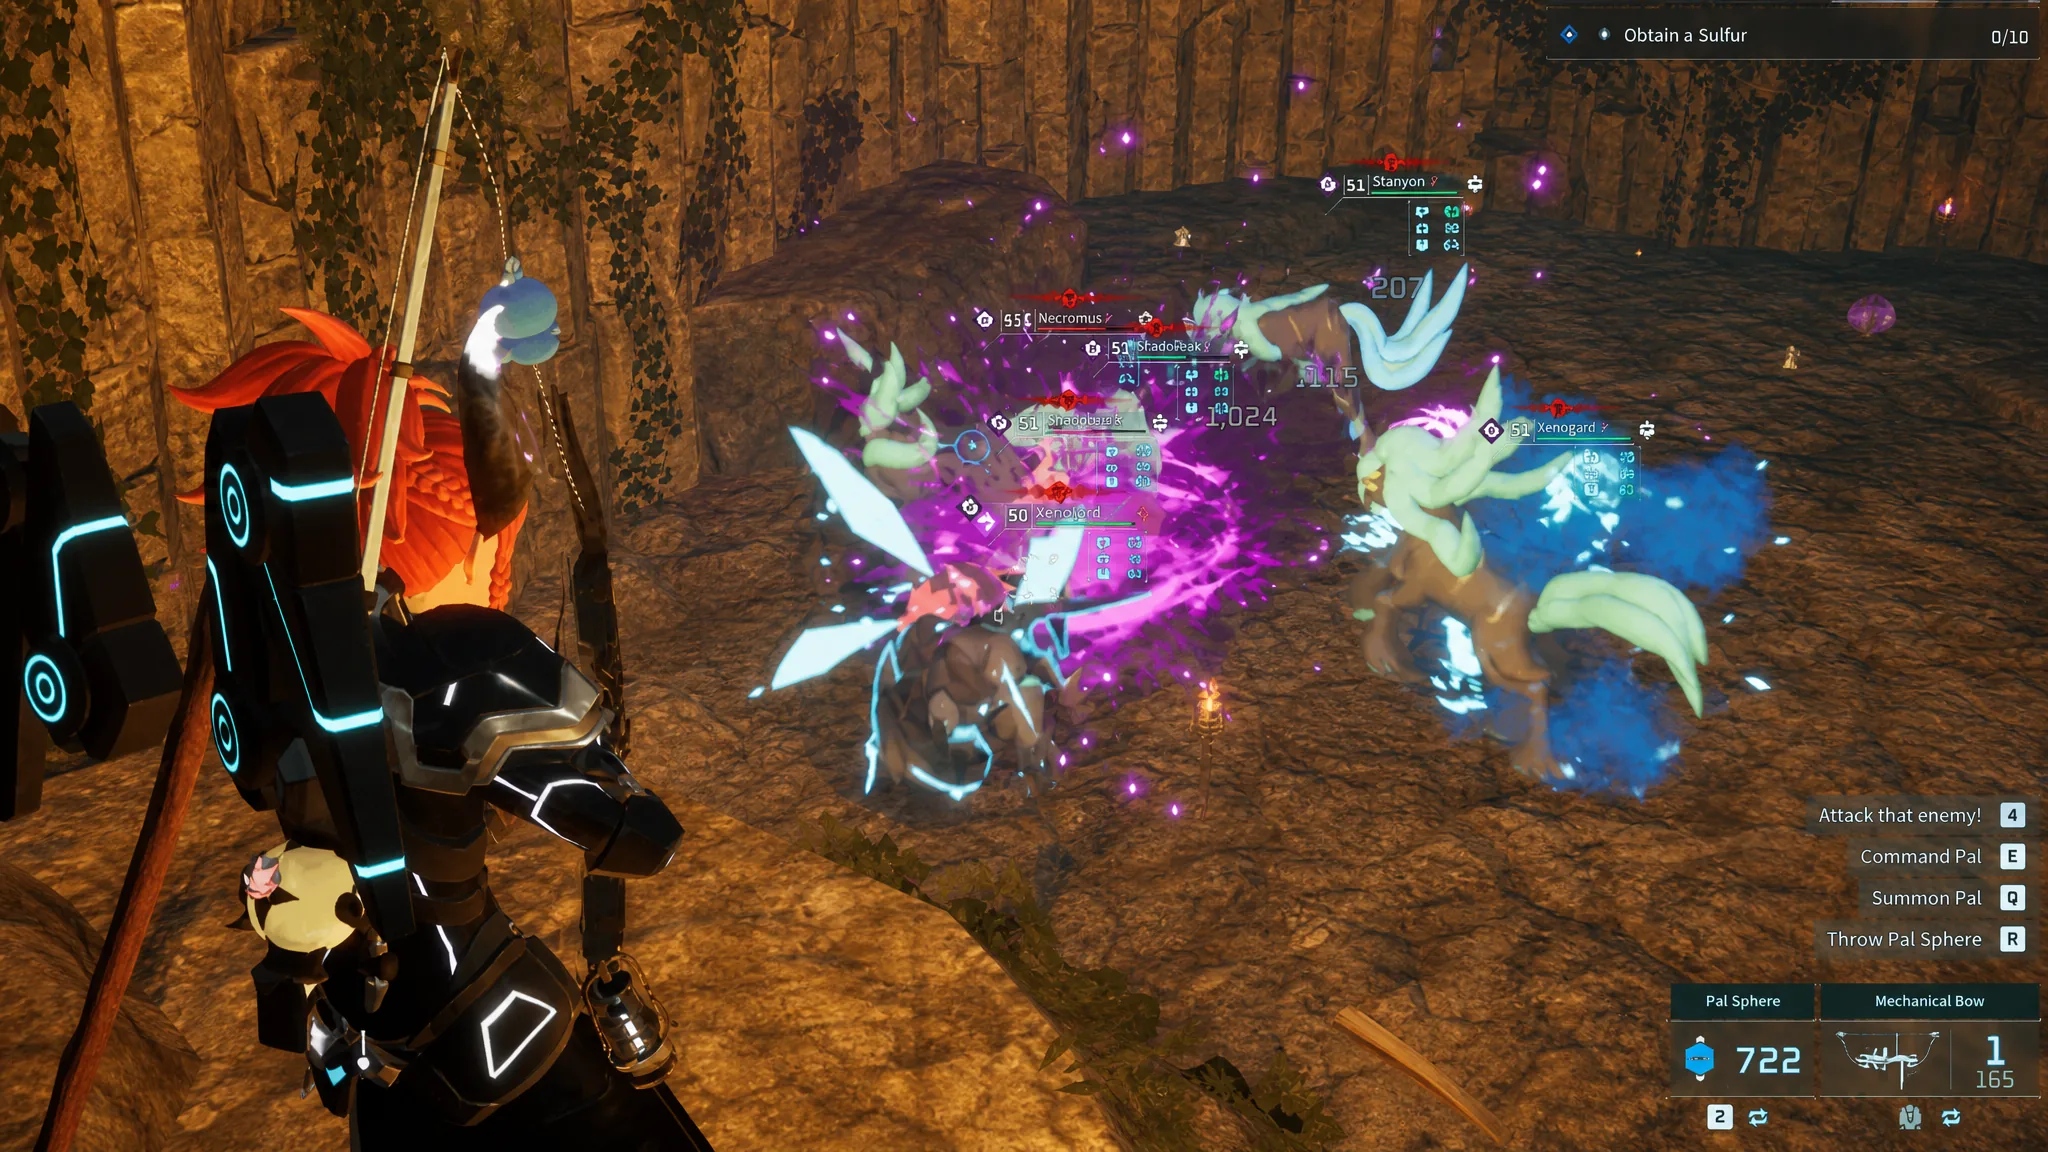
The regular Pals you will fight and can capture inside are Caprity‘s dark cousins and the following dungeon-specific spawns.
| Regular Pals | |
|---|---|
 Tarantriss Tarantriss | Starryon |
| Nyafia | Smokie |
 Splatterina Splatterina | — |
Alpha bosses you can encounter
The boss slot pulls from a wide pool of Alpha Pals in the 56-58 range. Cryolinx Terra, Faleris Aqua, and the crystal and Noct variants of familiar Pals all show up here.
| Alpha bosses | |
|---|---|
 Foxparks Cryst Foxparks Cryst | Caprity Noct |
| Ribbuny Botan | Loupmoon Cryst |
 Tarantriss Tarantriss | Dazzi Noct |
| Kitsun Noct | Warsect Terra |
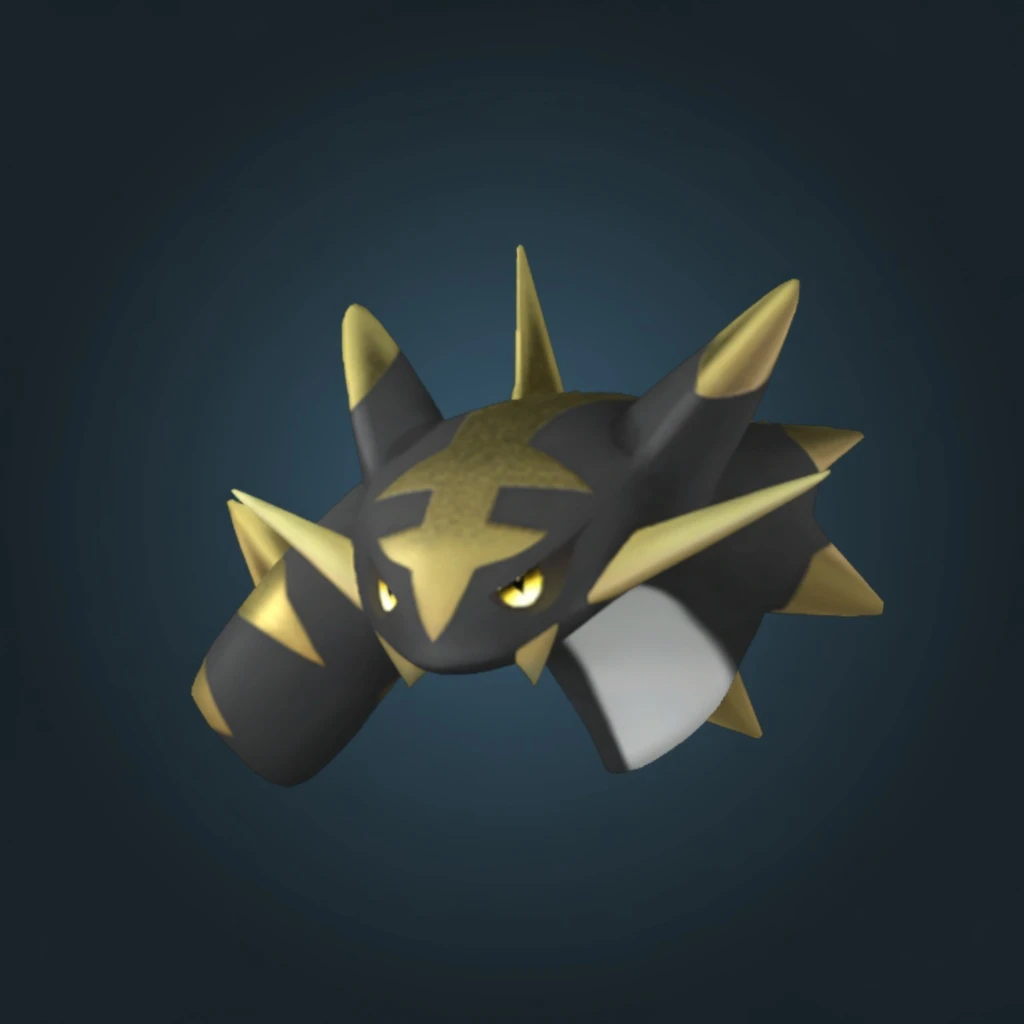 Starryon Starryon | Cryolinx Terra |
| Nyafia | Prunelia |
 Nitemary Nitemary | Smokie |
| Omascul | Splatterina |
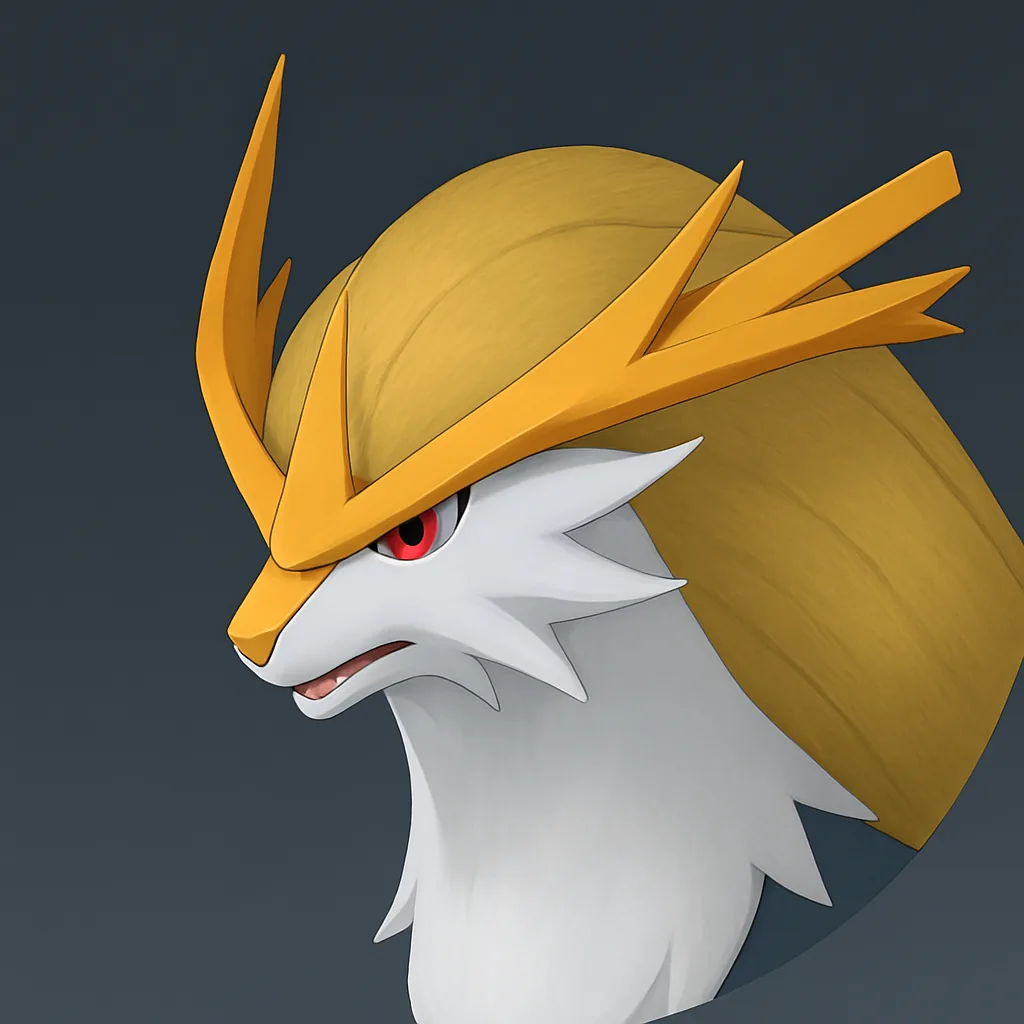 Gildane Gildane | Faleris Aqua |
Chest loot: schematics, spheres, and materials
The end chest is why these dungeons are worth farming. The schematic pool skews toward endgame gear that outclasses anything from the standard Technology tree, and higher-numbered schematic tiers carry the best stats at the lowest drop rates.
Notable schematic drops include Laser Rifle, Flamethrower, Rocket Launcher, the full Hexolite armor and helmet line (plus their cold- and heat-resistant versions), pendants, resistance rings, and the complete set of elemental support whistles. Skill fruits such as Dark Laser and Pal Blast also appear at this tier.
| Category | Examples |
|---|---|
| Schematics | 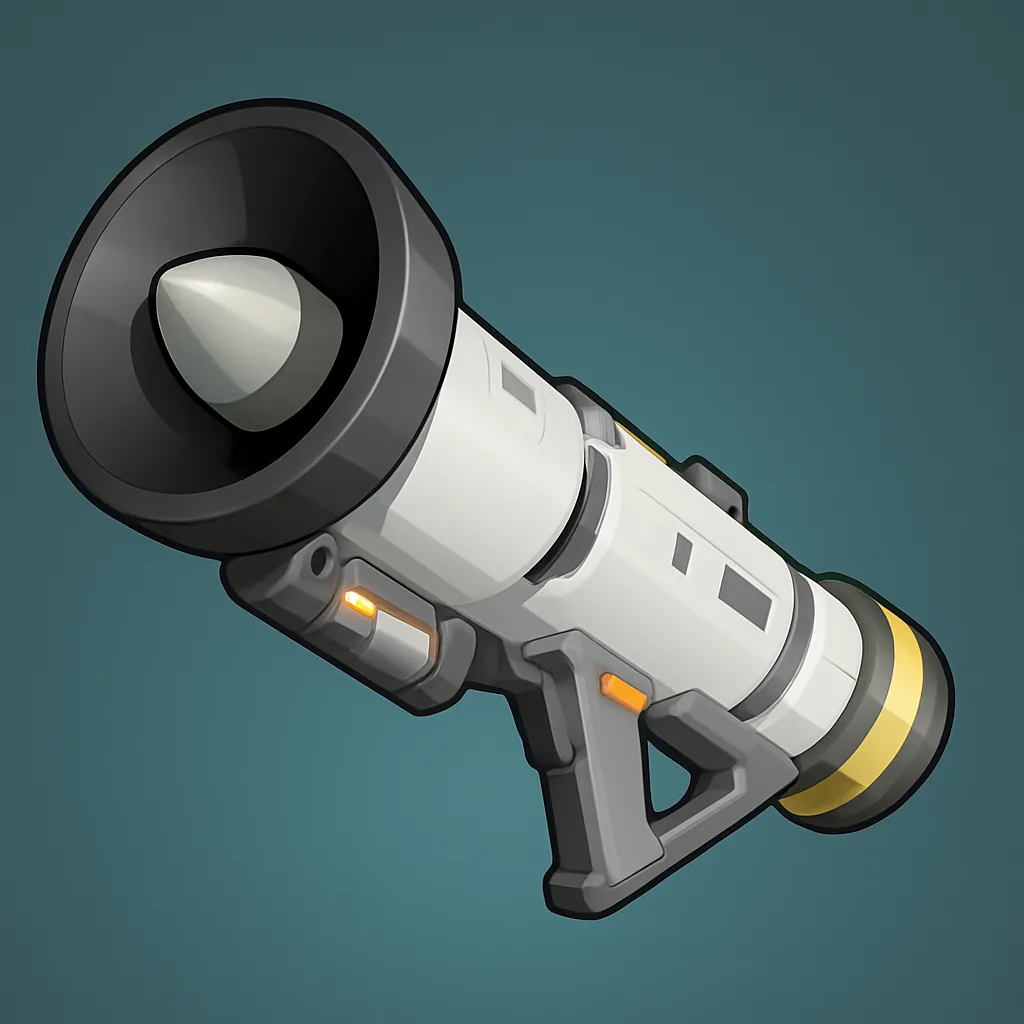 Rocket Launcher, Laser Rifle, Flamethrower, Hexolite Armor, Hexolite Helmet, resistance rings, support whistles Rocket Launcher, Laser Rifle, Flamethrower, Hexolite Armor, Hexolite Helmet, resistance rings, support whistles |
| Spheres | 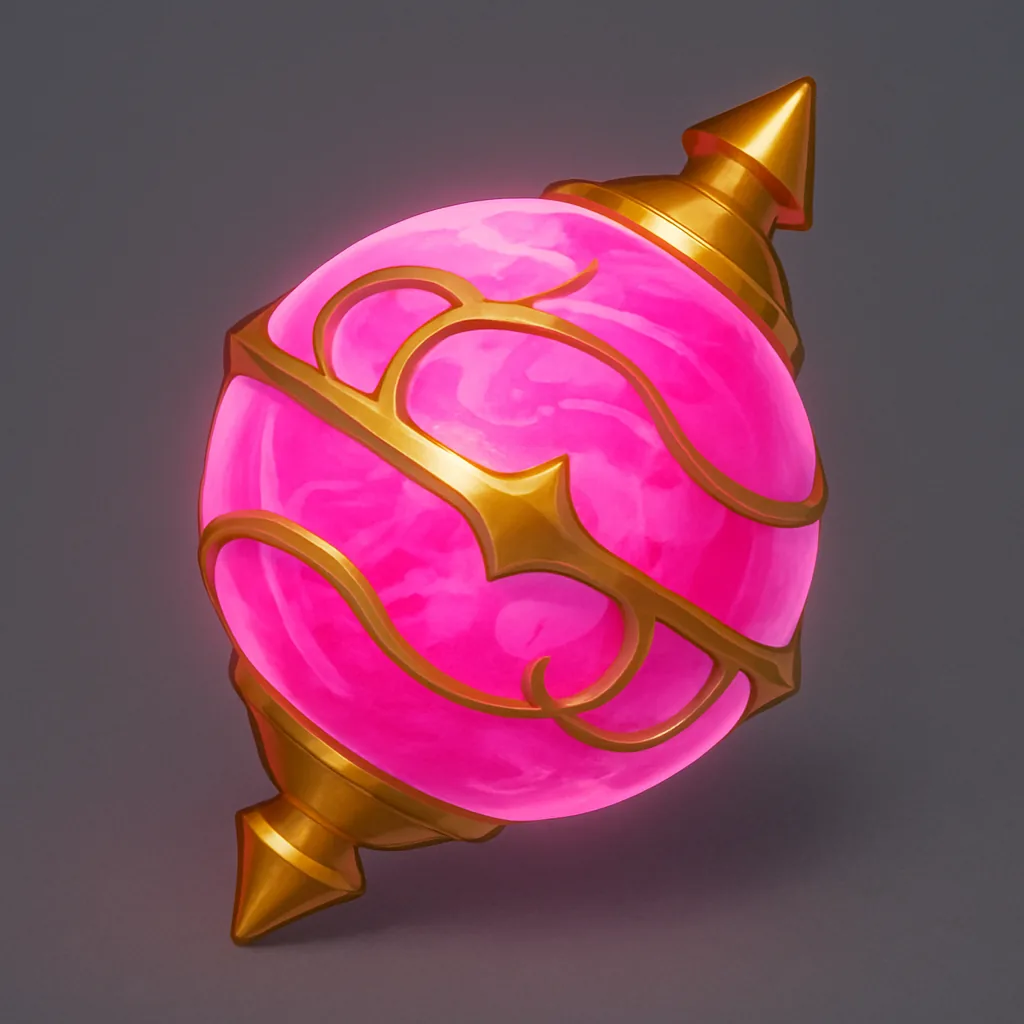 Ultra Sphere, Ultimate Sphere Ultra Sphere, Ultimate Sphere |
| Materials |  Large Pal Soul, Gold Coin (3,000-3,500) Large Pal Soul, Gold Coin (3,000-3,500) |
| Consumables |  Xenolord Slab, Ancient Technical Manual, Training Manual (XL), Vital Elixir, Xenolord Slab, Ancient Technical Manual, Training Manual (XL), Vital Elixir,  High Quality Bait, Treasure Map High Quality Bait, Treasure Map |
Some Feybreak Caverns also carry a separate technology-book cache that can drop a Futuristic Technical Manual, an Ancient Technical Manual, a Treasure Map, or a Xenolord Slab, on top of the standard chest.
Mining Hexolite Quartz on the same run
These caverns are dense with resource nodes, so you can farm gear and materials in one trip. Expect clusters of Hexolite Quartz, Paldium Fragments, and Ore packed into a single interior. Bring carry-capacity Pals so a full haul does not leave you overweight and crawling back to the exit.
| Pal | Partner skill |
|---|---|
 Cattiva Cattiva | Cat Helper — raises max carrying capacity by 100 (does not stack). |
 Lunaris Lunaris | Antigravity — spheres home in on Pals, carrying capacity increases by 300 (does not stack). |
 Reptyro Reptyro | Ore-loving Beast — reduces the weight of all ore by 30% (does not stack). |
 Reptyro Cryst Reptyro Cryst | Ice-loving Beast — reduces the weight of all ore by 35% (does not stack). |
On a dedicated mining run you can slot all four to stack capacity gains and weight reductions across different effects. Just remember that duplicate Pals with the same skill will not stack.
Getting between caves quickly
Travel time is the real bottleneck in a 20-dungeon loop, so a fast mount matters more than raw combat power once your team is set. On the ground, Fengalope covers the mid-game well, while Jetragon is the fastest out-of-the-box flying mount for skipping between distant coordinates. Prioritize raw speed passives such as Swift, Legend, and Runner over stamina, since fast-travel points are dense enough that stamina rarely becomes a problem.
Riding a default, unstarred mount is slow. Use the Pal Condenser (unlocked at Level 14) to feed duplicate Pals into your main mount and push it toward 4 stars for up to a 20% speed bonus. That single upgrade shaves a meaningful chunk off every lap of the circuit.
With the coordinates marked, a fast mount condensed, and a Dragon Pal on your team to shred the dark-type spawns, Feybreak Caverns become the most reliable source of endgame schematics and rare Pals in the game. Set up your route through Scorched Hill first, keep the loop rotating so nothing sits sealed, and reroll bosses when you are hunting a specific Alpha. For stats on every Pal you will meet inside, keep the Palworld database handy.