

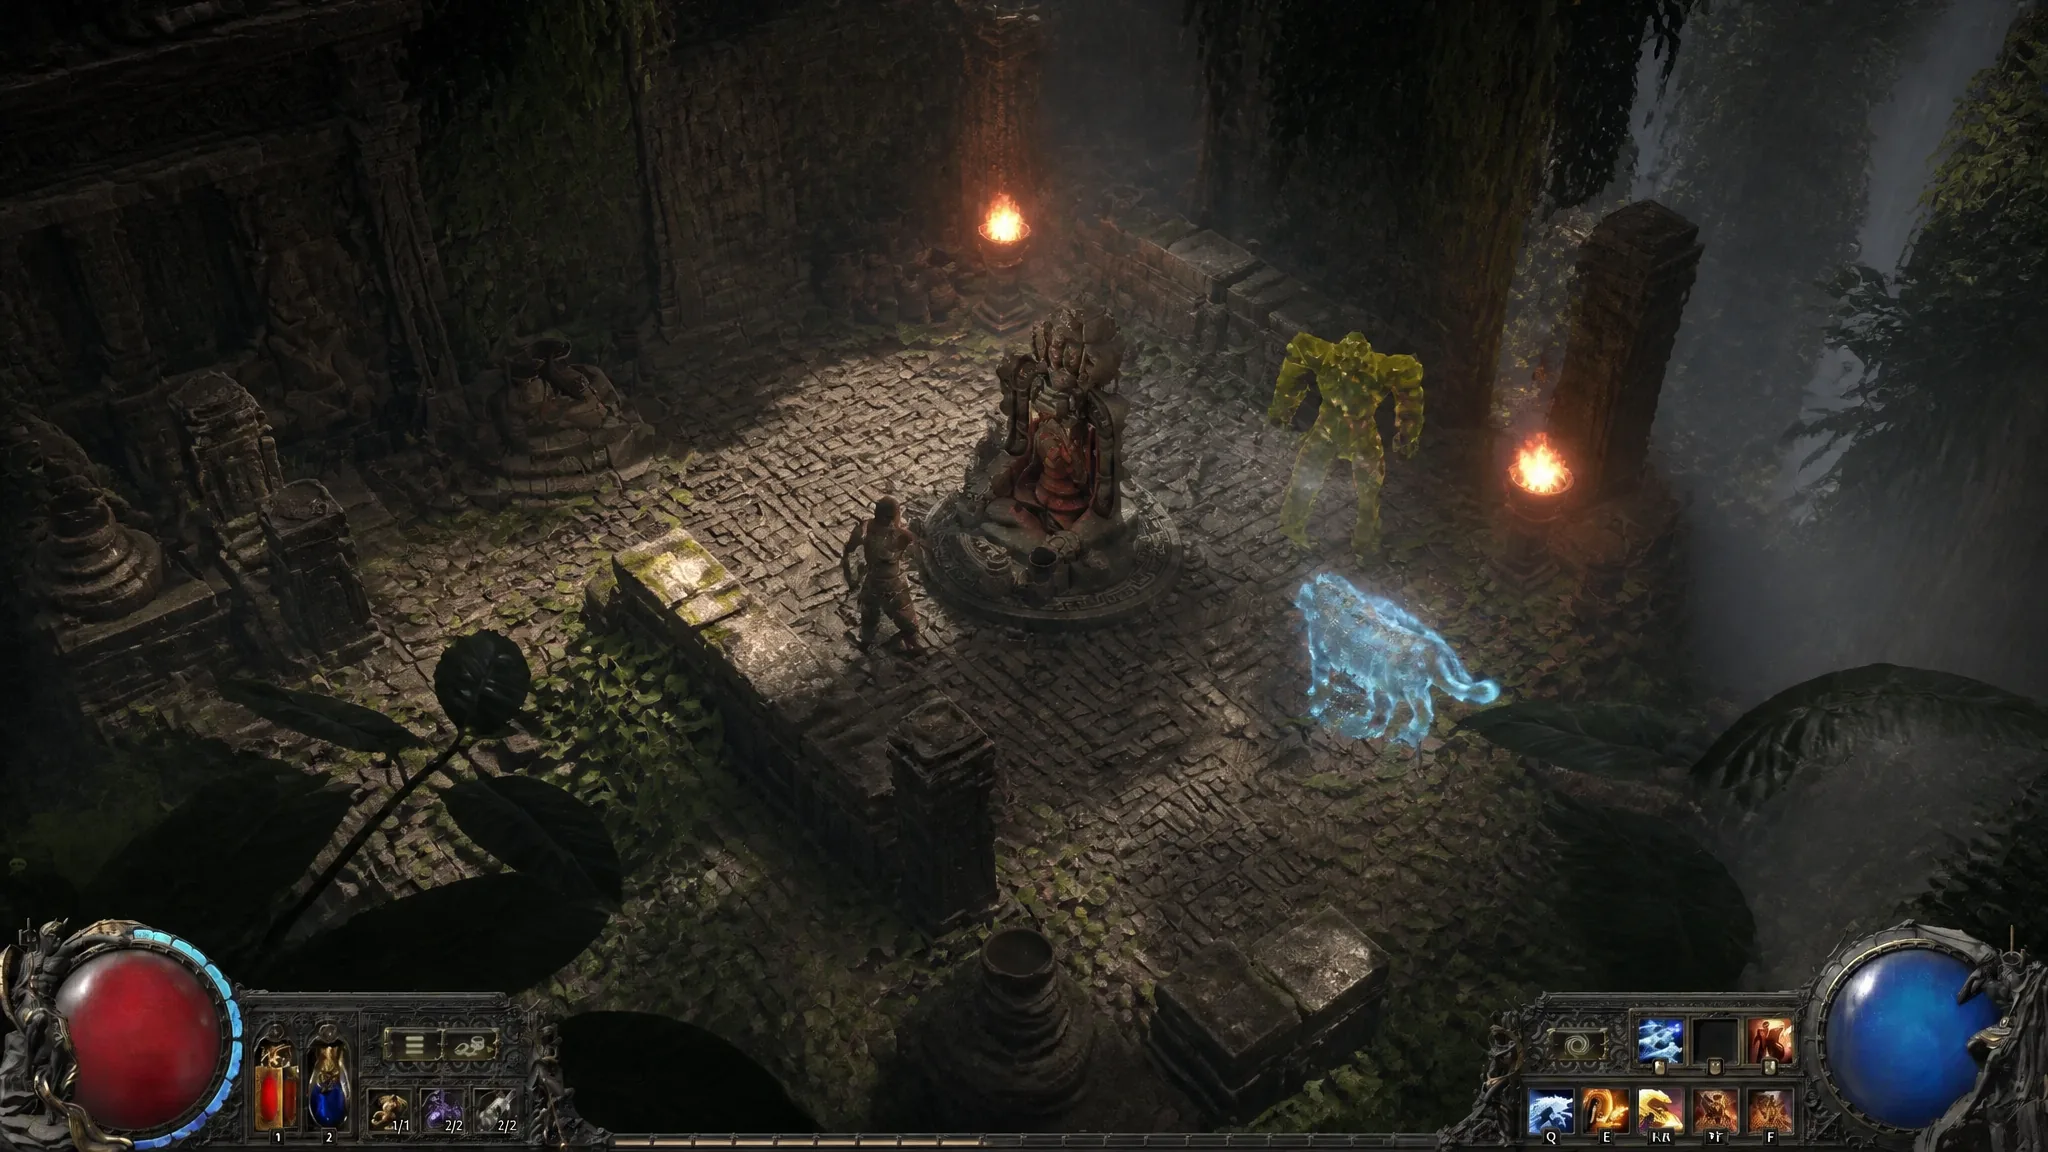
Patch 0.5.5 reworked the Trial of Chaos from top to bottom, and the modifier pool got the biggest overhaul of all. Baseline danger at low tiers is down, most modifiers now scale across more tiers, and every debuff you accept also raises the item Rarity of your rewards. On top of the familiar room modifiers, a whole new category of opt-in Wager mods can double or triple your payout while cranking the difficulty.
Quick answer: The Trial of Chaos uses three kinds of modifiers — player debuffs and monster buffs you pick one of three each round, environmental hazards, and optional Wager mods that boost rewards in exchange for extra danger.
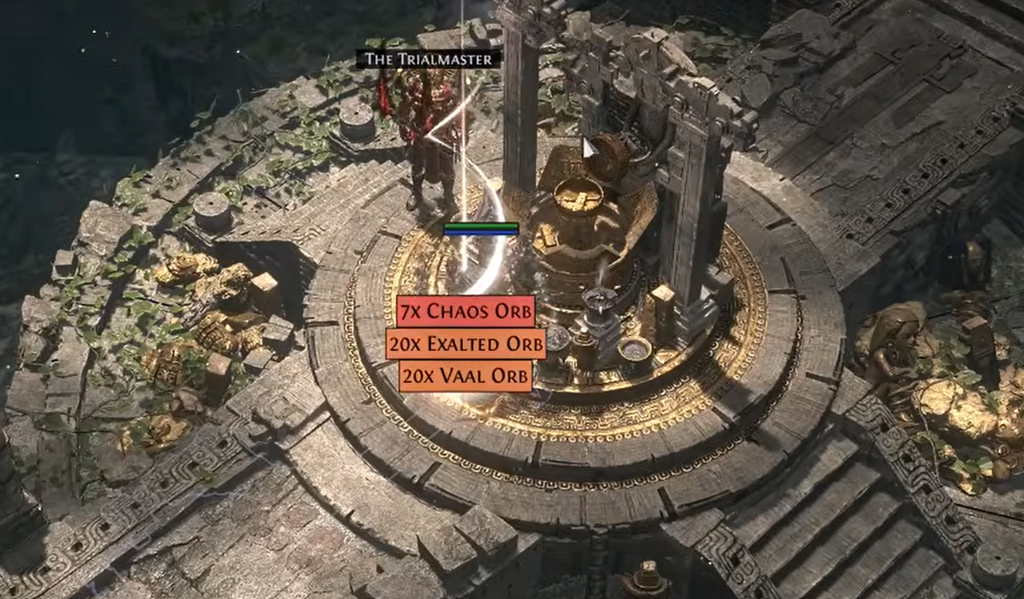
How modifiers work in the Trial of Chaos
Before each round, you choose one of three negative modifiers, and that choice sticks for the rest of the run. Stacks compound, so by the deeper rooms you are fighting through everything you picked earlier. In 0.5.5 the modifiers are more explicit and display their real values, and any modifier that adds difficulty between rooms also increases the quality of drops from slain monsters.
The full modifier rebalance and the reward changes were published in the official 0.5.5 patch notes. Rewards now consist only of Currency and Soul Cores, and there is a reward chest at the end of every room, so dying no longer wipes the whole run.
Wager modifiers and what they do
Wager modifiers are the new opt-in risk layer. They can double or reroll pending rewards, add extra chests, or upgrade the tiers of modifiers you already picked, and several carry a hard downside such as destroying your pending rewards. Treat them as a bet — take one only when your build can absorb the extra danger it introduces.
| Wager modifier | Effect |
|---|---|
| Wager of the Present | All previously chosen Modifiers gain +1 Tier; all pending Currency Item Rewards are Doubled. |
| Wager of the Future | All offered Modifiers gain +1 Tier; all offered Currency Item Rewards have their Stack Size Doubled. |
| Wager of Rarity | All pending Rewards are Destroyed; 100% more Item Rarity. |
| Wager of Rerolling (Currency) | Upgrade 2 previously chosen Modifiers; all pending Currency Item Rewards are Rerolled. |
| Wager of Rerolling (Soul Core) | Upgrade 2 previously chosen Modifiers; all pending Soul Core Rewards are Rerolled. |
| Wager of Ruin | An invulnerable Shade inflicts Ruin with its Hits; your Ruin is set to 5; Unique Trial Bosses drop a Rare Unique Item. |
| Wager of Mystery | All offered Modifiers are Hidden; all offered Rewards are Lucky. |
| Wager of Upgrades | Choosing an offered Modifier also gives a previous one +1 Tier; completing a Room adds +1 Stack Size to a pending Currency or Soul Core Reward. |
| Wager of Danger | Modifiers offered at Boss Rooms are at Maximum Tier; Boss Rooms offer an additional Reward. |
| Wager of Chaos | Upgrade 2 previously chosen Modifiers; all Rooms offer an additional Reward. |
| Wager of Chaos (Alternate) | Upgrade all previously chosen Modifiers; all Rooms offer 2 additional Rewards. |
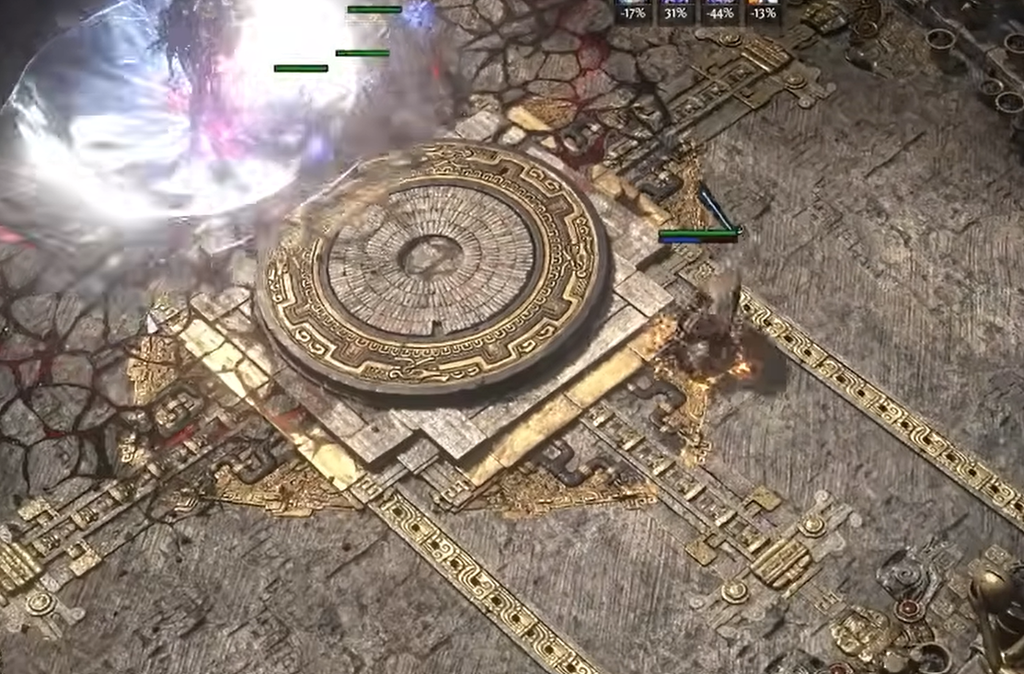
Player debuff modifiers
These modifiers weaken your character directly. Recovery, defences, and resistance cuts scale hard at the top tiers, so match your pick to your build’s weak points.
| Modifier | Effect |
|---|---|
| Reduced Recovery I–V | Cuts Life, Mana, and Energy Shield recovery rate by 20%, 35%, 50%, 65%, up to 80%. |
| Lessened Reach I–V | 20% to 80% less Area of Effect and Projectile Speed across tiers. |
| Time Paradox I–III | Buffs expire 50%/100%/200% faster; debuffs expire 25%/50%/100% slower. |
| Damaged Defences I–V | 20% to 80% less Armour, Evasion, and Energy Shield. |
| Reduced Resistances I–V | -15% to -55% Elemental Resistances; tiers III–V also cut Maximum Elemental Resistances by 5% to 15%. |
| Drought I–V | Monsters grant 20% to 100% reduced Flask and Charm Charges on death (no charges at V). |
| Escalating Damage Taken I–III | Damage taken rises 1% every 2.5s/1.75s/1s in each encounter room, up to 50%. |
| Occasional Impotence | You and your Minions deal no damage for 2 seconds every 8 seconds. |
Reduced Recovery and Reduced Resistances at high tiers are among the most punishing picks, especially for Energy Shield builds, since they multiply the effective damage you take.
Monster and boss modifiers
This group strengthens the enemies you face. Extra elemental and chaos damage, critical hits, and ailment chances are the ones most likely to spike your death rate, while resistance and shield buffs mainly slow your clear.
| Modifier | Effect |
|---|---|
| Monster Speed I–III | 10%/15%/20% increased Skill Speed and Movement Speed. |
| Prismatic Monsters I–V | Gain 10% to 30% of Damage as Extra Damage of a random Element. |
| Chaotic Monsters I–V | Gain 5% to 29% of Damage as Extra Chaos Damage. |
| Deadly Monsters I–V | 100% to 500% increased Critical Hit Chance. |
| Toxic Monsters I–V | 10% to 50% chance to inflict Bleed or Poison. |
| Resistant Monsters I–V | +10% to +50% to all Resistances. |
| Unstoppable Monsters I–III | 30%/50%/75% reduced Slowing Potency of Debuffs on them and increased Stun Threshold. |
| Shielding Monsters I–V | Gain 10% to 50% of maximum Life as Extra maximum Energy Shield. |
| Volatile Fiends I–V | 10% to 40% chance to release deadly Volatiles on death; Rare monsters leave larger ones. |
| Enraged Bosses I–III | Bosses gain 30%/60%/100% increased Toughness and 10%/20%/30% increased Damage. |
| Lethal Rare Monsters I–III | 30%/60%/100% increased Rare Monsters; tier III gives Rare Monsters an additional modifier. |
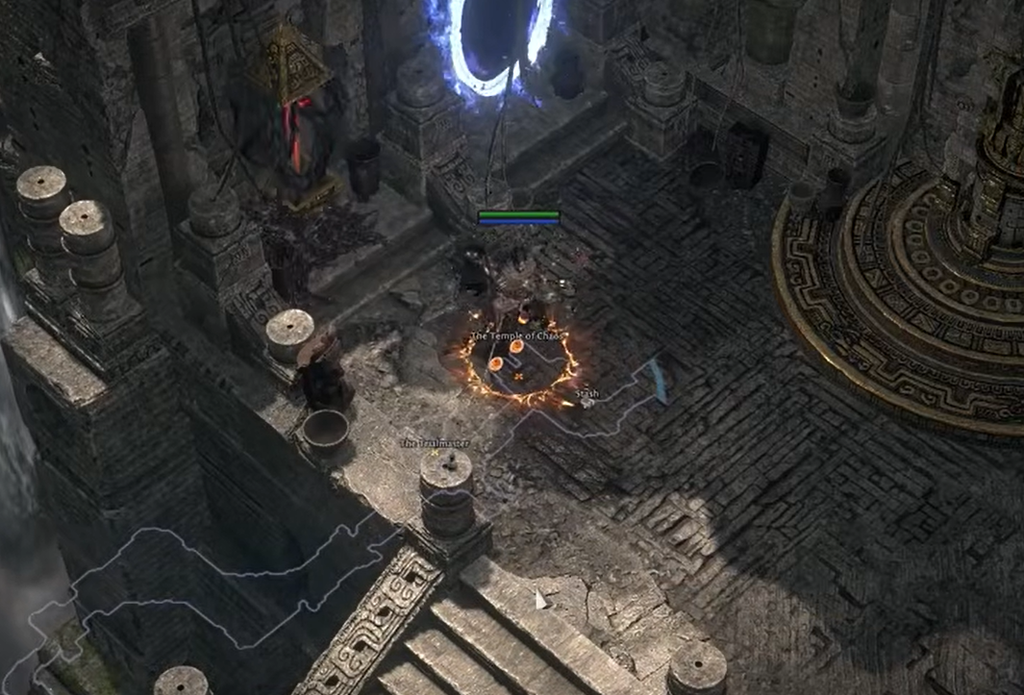
Environmental hazard modifiers
Hazards add objects and effects to the arena instead of buffing enemies. Many are avoidable with movement and positioning, but a few can end a run fast if you ignore them. Note that turrets and Petrification Statues can now appear together, and their placement is spread more evenly across each room.
| Modifier | Effect |
|---|---|
| Temple Traps I–II | Spikes deal Physical damage to anyone who steps on them; more spikes at II. |
| Random Projectiles | Your projectiles fly in random directions. |
| Stormcaller Runes I–III | Runes call deadly Lightning storms if you remain in them; larger and more numerous at higher tiers. |
| Impending Doom I–II | Growing Rings of Doom explode for Physical damage at maximum size; II adds circles. |
| Blood Globules I–II | Tracking blood globules fall for Physical damage; II also creates damaging blood ground. |
| Vaal Omnitect I–III | An ancient Vaal machine deploys increasingly powerful attacks against nearby players. |
| Pyramid Beams I–II | Pyramids project four rotating lasers that inflict Corrupted Blood on hit; faster at II. |
| Petrification Statues I–III | Statues Petrify you if you stand within their gaze; more statues at higher tiers. |
| Stalking Shade I–III | An invulnerable shade inflicts Ruin with its hits and gains extra skills at higher tiers. |
| Burning Turrets I–III | Fire turrets periodically fire projectiles ahead; more turrets at higher tiers. |
| Shocking Turrets I–III | Lightning turrets periodically fire projectiles ahead; more turrets at higher tiers. |
| Heart Tethers I–III | Bloody hearts tether and slow you; breaking a tether stuns and raises damage taken (5%/10%/15%). |
| Blood Mist | Blood mist enshrouds the area, making monsters within it immune to damage. |
Picking modifiers without bricking a run
The safest rule is to take the penalty that hurts your build the least, not the one with the biggest reward attached. A high-resistance, high-life character can shrug off elemental and hazard modifiers that would kill a glass cannon. Fast clears also blunt the danger, since enemies die before their buffs matter.
If all three options look lethal and you already have good loot banked, leave the run and keep your rewards. Since 0.5.5 you can also step out between rooms and resume later from the same room, so there is no need to force a bad stack.
Wager mods reward the same discipline in reverse. Early rooms are the time to play clean, and the later rooms — where a full run can push to 30 rooms — are where a confident build spends danger for the biggest Currency and Soul Core payouts. If a downside can realistically kill you, skip it; if you can handle it comfortably, the extra reward is usually worth taking.





