Shield Wall on a Monk sounds wrong until you read the skill text. The wall’s damage comes entirely from the armour rating on your shield, which means a Martial Artist wearing a big tower shield can hit as hard as a strength stacker while paying almost nothing for a weapon. Pair that with Hollow Form’s spectral clones and the whole rotation runs itself.
Quick answer: Socket Sunder first and Shield Wall second inside Hollow Form. The clones then place walls along Sunder’s path and immediately detonate them, clearing the screen without any extra input from you.
Why shield armour is the only damage stat that matters
Shield Wall grants 5 to 7 added physical damage per 15 armour on the shield. That number scales off the shield’s own local armour value only. Passive nodes that read “increased Defences from Equipped Shield” and conditional armour buffs do nothing for the hit, so the raw armour printed on the item is what you shop for.
Your mace is almost decoration. Shield Wall is classified as off-hand damage regardless of what sits in your main hand, so local weapon modifiers are ignored entirely. The only main-hand stats worth anything are gem levels for attack or melee skills and extra physical damage as a global modifier.

Two more numbers from the skill shape how you play it. Walls last six seconds, and there is a base limit of two active walls. Crucially, a wall deals 100% more damage when you destroy it yourself, and 80% less if something else breaks it within half a second. Every part of the build below exists to make sure you are the one popping them.
| Stat | Value at gem level 20 |
|---|---|
| Added physical per 15 shield armour | 5 to 7 |
| Base off-hand physical damage | 103 to 155 |
| Attack damage | 235% of base |
| Wall duration | 6 seconds |
| Active wall limit | 2 |
| Explosion length | 4 metres |
Hollow Form automation: the exact socket order
Hollow Form summons spectral monk clones that cast whatever skills you socket into it. The order you place them in decides whether the build works or flops.
Sunder does double duty here. Once an enemy’s armour is broken, Sunder applies Sundered Armour, a debuff that raises the damage that enemy takes by 20%. Because the clones lead with it, that debuff lands before the walls go off.

Note: some players run Earthquake as the trigger instead of Sunder, leaning on its faster attack speed and pairing it with Overabundance to break past the two-wall cap. With three clones consuming power charges, that pushes total wall coverage well beyond what a single character can place.
Turning walls into full-screen clear
Two lineage supports change the shape of the skill entirely. Ahn’s Citadel and Kaom’s Madness convert Shield Wall from a straight line into branching fissures that spread across the arena. The explosions follow those branches, which is how a build with a four-metre base explosion ends up clearing everything on screen.
This is not a Monk-only trick. The same fissure conversion powers Warbringer versions of the skill, where warcries and slams handle detonation instead of clones. On a Martial Artist the clones simply replace the manual button presses.
Charge generation without enemies
The Way of the Stonefist ascendancy node rewrites Lochtonial Caress so the gloves grant frenzy, endurance and power charges to allies on hit. Your own Shield Walls count as valid targets. Hitting a wall you created triggers the on-hit effect, so you can generate charges standing in an empty room.
That solves the usual problem with charge-hungry Monk setups, which is that charges evaporate the moment there is nothing to hit. Here the walls are the enemy.
Rage works on a similar principle. Volcanic Fissure with the Rage support builds you to maximum Rage charges without needing to connect with a monster, because the fissure itself provides the melee hits.

Bells, Rend and the weapon swap
Hollow Focus Technique with Uruk’s Smelting spawns bells automatically, and those bells always crit. Jumping on them with Devour triggers Blazing Critical and Thrill of the Kill, layering stun, cull and crit effects on top of the wall explosions.
Rend handles lightning damage conversion. On its own the buff lasts ten seconds, which is short enough to be annoying. Casting your Wyvern buffs on Weapon Set 2 stretches that window to 30 seconds, so you refresh it once per pack rather than constantly.

The rest of the utility bar stays flexible. Ghost Dance, Charge Regulation, Wind Dancer, Devour and Pounce cover movement, charge management and evasion recovery.
Defence: why the walls also keep you alive
Shield Wall segments physically obstruct projectiles and block enemy pathing. Every wall you drop for damage is also a barrier, which is a large part of why the build feels tankier than its gear budget suggests.
Forgotten Warden body armour pushes this further by redirecting deflected damage onto a companion. Evasion and deflection stacking does the rest. A well-geared version of the setup reaches roughly 75% evasion, 95% deflection, 26% block and a third chance to avoid projectiles, with Ghost Dance regenerating energy shield off a 30,000-plus evasion pool.
Stuns and freezes fill the gap. The Pressure Point node makes freezing packs near-instant, and most bosses spend the fight locked down rather than attacking. If you run a body armour with reduced life recovery rate, an instant life flask sidesteps the penalty entirely, since instant recovery is not affected by that modifier.
Endgame transition: Nebuloch and Chaos Inoculation
Shield Wall has a base 5% critical strike chance and no way to scale crit off a shield, which caps the build’s ceiling. Nebuloch solves it. The mace consumes endurance charges to guarantee critical hits, bypassing the problem rather than fixing it.
The cost is self-inflicted chaos damage. Chaos Inoculation removes that cost completely, which is why the two changes are made together rather than separately. Swapping to Nebuloch without CI in place means taking the downside with none of the mitigation.
Fixing mana problems
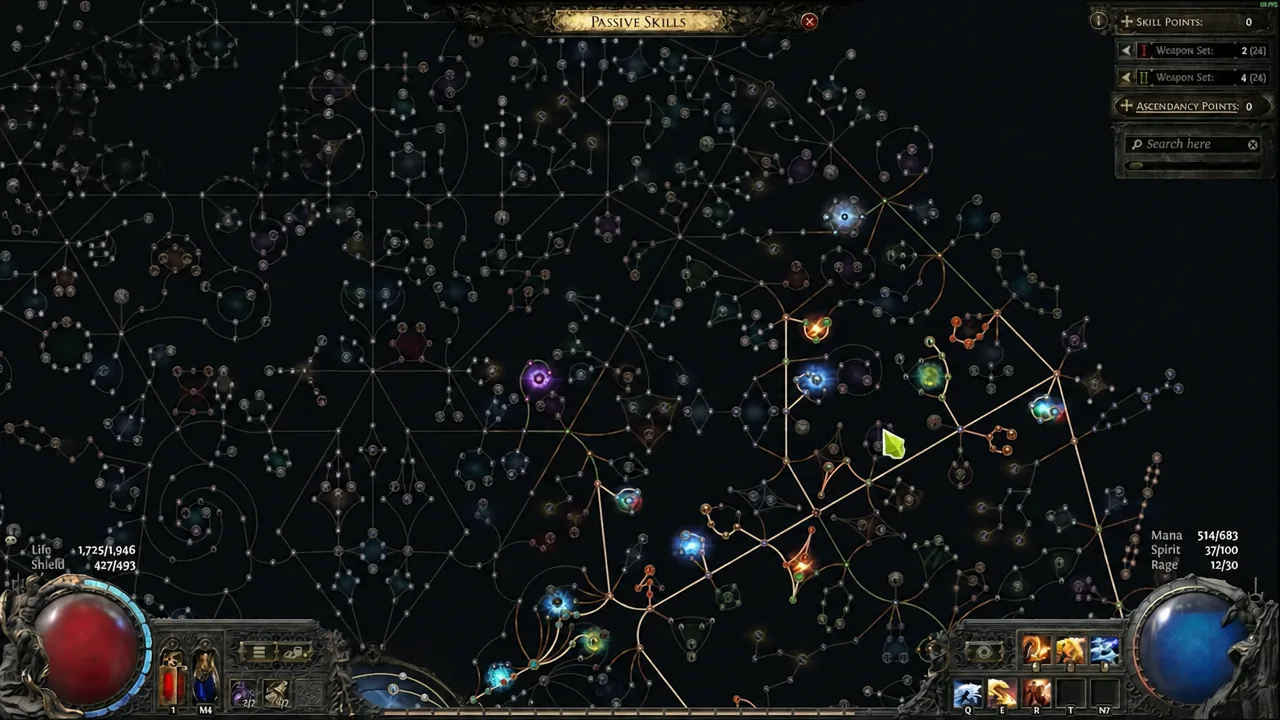
Mana is the most common failure point, and it gets worse as you add gem levels to Shield Wall. Two fixes address it directly. Anoint Well of Power on the amulet to recover 5% of maximum mana whenever a power charge is consumed, and run Conservative Casting to cut the drain.
Passive tree mana efficiency nodes help too, as does simply remembering to use a mana flask. If you are running dry mid-pack despite all of that, check whether recent gem level increases have outpaced your regeneration.
What it costs and when to swap in
The shield is the only expensive piece, and even that can be self-crafted into the 1,000-plus armour range. Everything else runs on cheap evasion and armour gear plus a handful of uniques in the five-exalt range. A functional Tier 15 mapping setup lands around 30 exalts.
Shield Wall unlocks after a few quests into Act 2, so Act 1 is played with something else and the swap happens once you have a level 7 gem at character level 22. Some players hold off until the late 30s and spend gold gambling for the highest-armour shield they can find before making the switch. Whichever timing you pick, stack attack speed aggressively from that point on, since it dictates how quickly walls go up and come down.
Single target holds up on a four-link clear-focused setup, and if bosses feel slow you can drop the trigger skill for a pure damage support and detonate with a totem instead. The archetype remains uncommon on Hollow Form characters, where whirling builds dominate, which is exactly what keeps the shield’s price reasonable.