Quick answer: Quick Hand’s Request has 16 treasures. The Crimson Forest, Village of Lu, Meigu Lake, and Mirage Estate each hold three, and Pangzhen holds four. Most sit in chests. Deliver each region’s set to Quick Hand Zhang.
How Quick Hand’s Request works
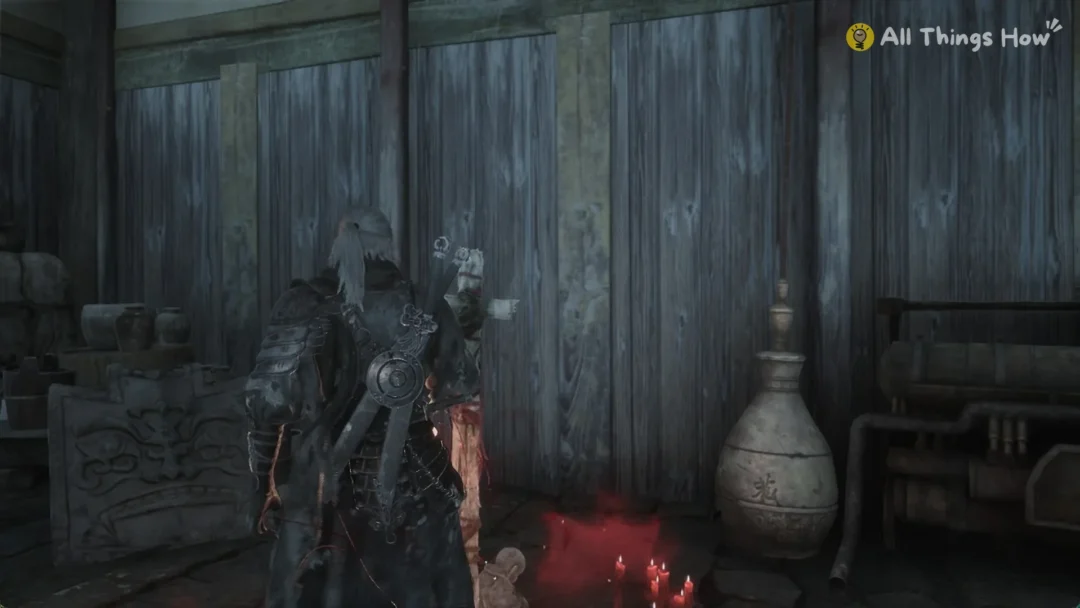
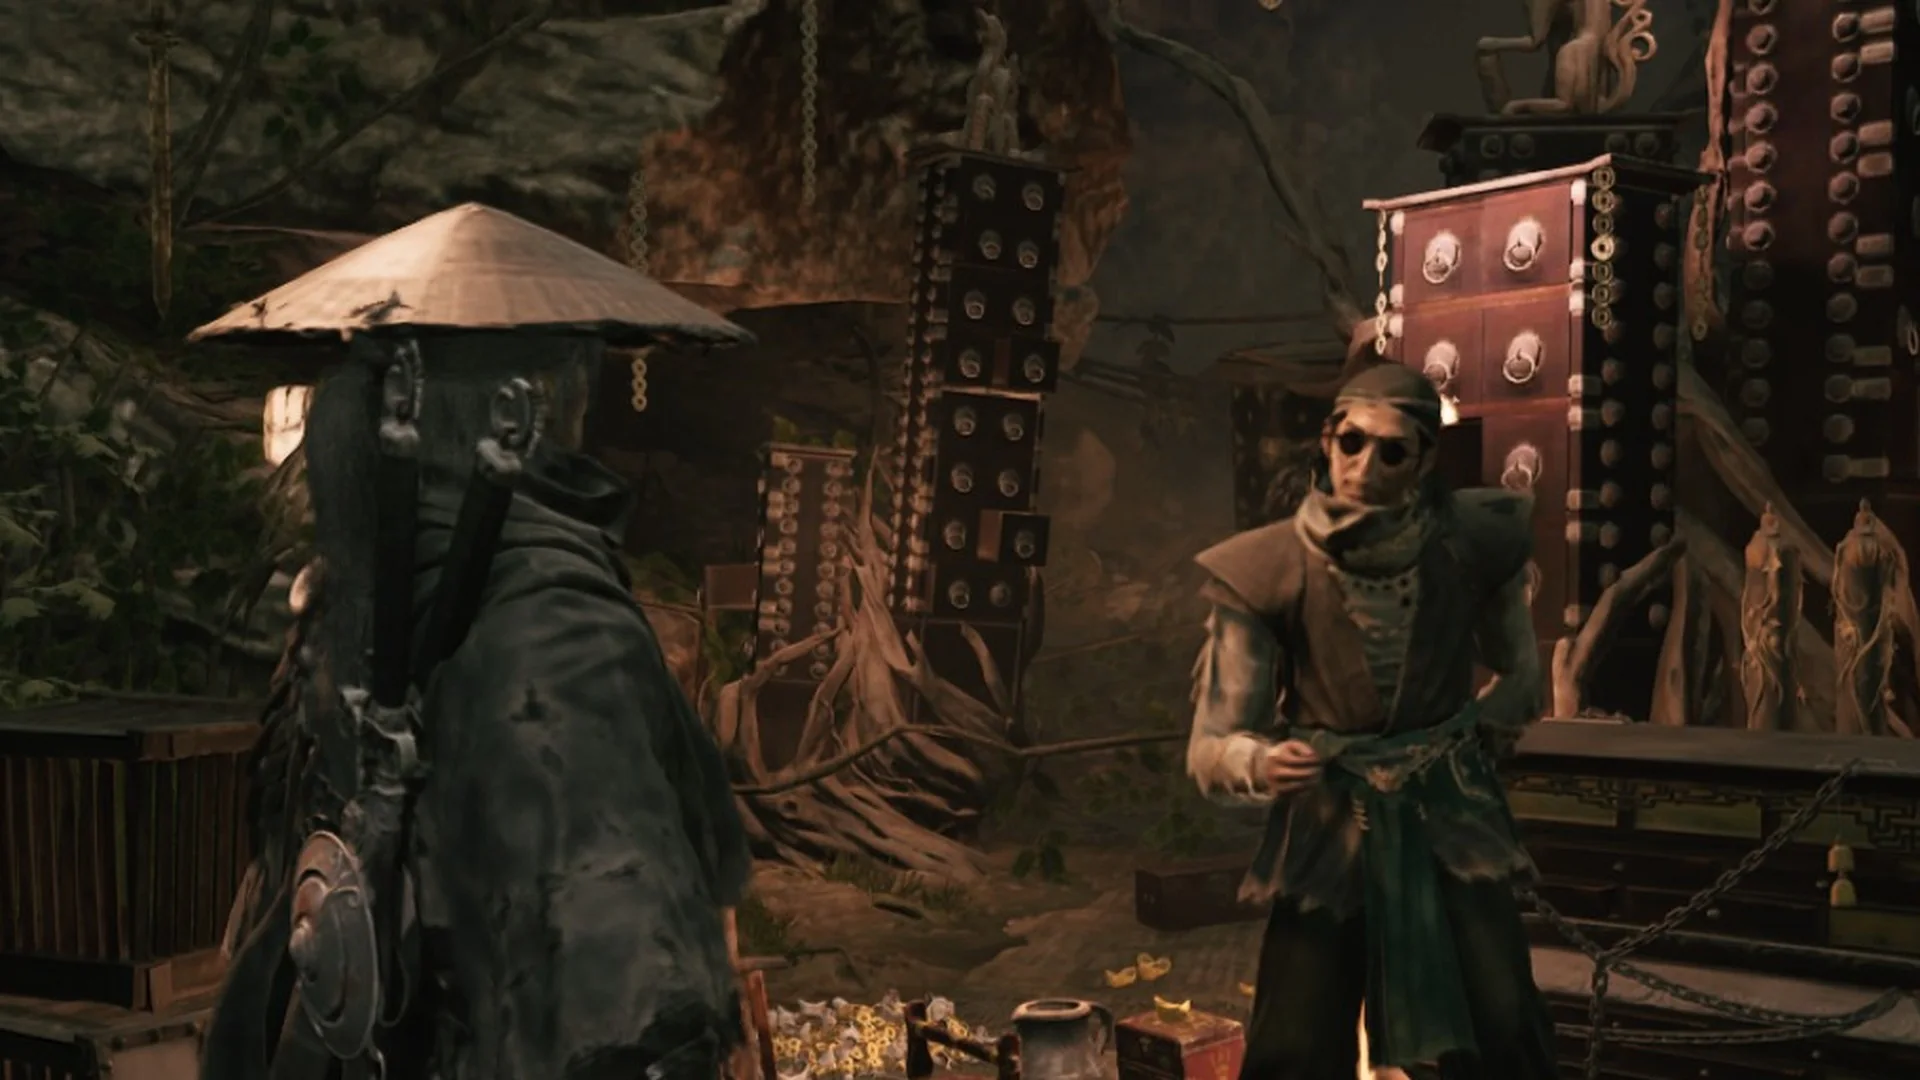
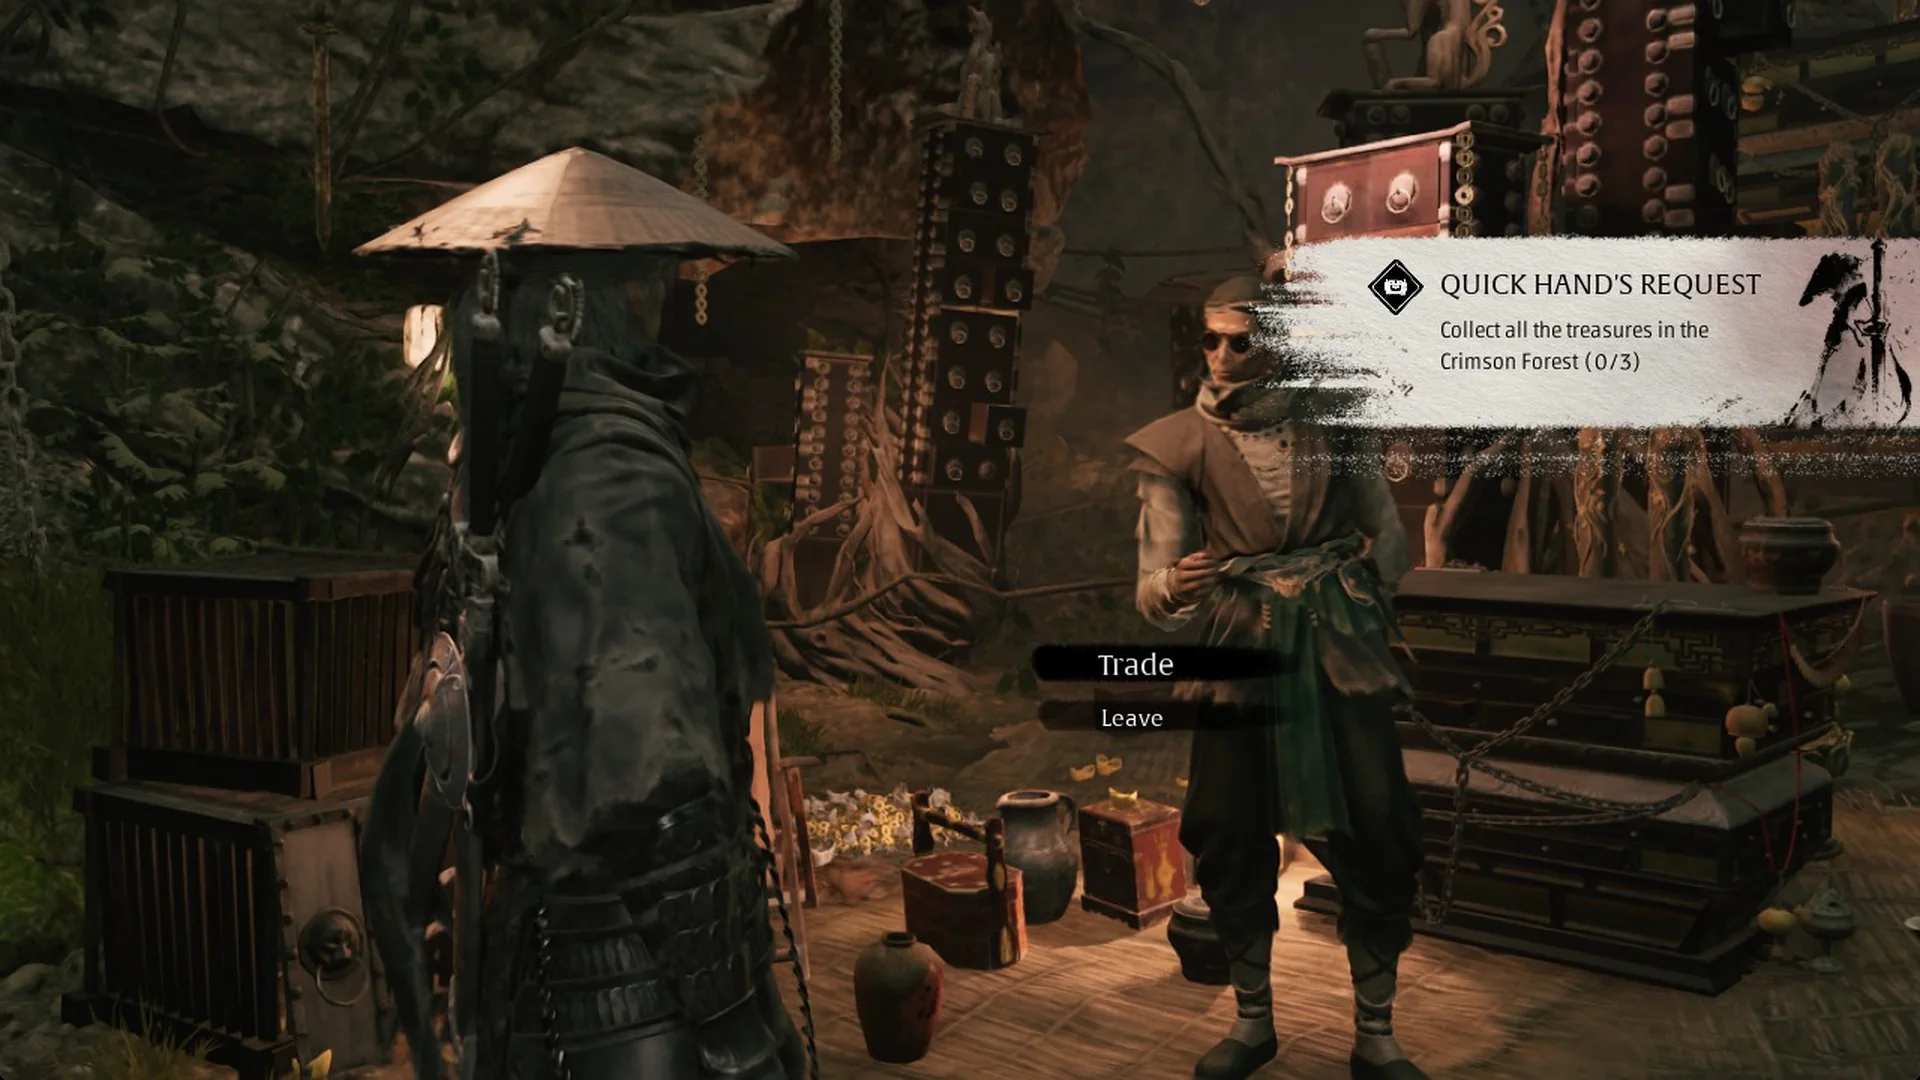
The tale begins at Quick Hand Zhang’s hideout in the Crimson Forest. Zhang tells Soul that a client he won’t name wants treasures and relics recovered from across the land. He says the client will pay Soul back with something that is actually useful.
Zhang then gives you the book “QUICK HAND ZHANG’S RELIC LIST”. It opens to “LOST TREASURES OF THE CRIMSON FOREST”. The “QUICK HAND’S REQUEST” banner then appears with the objective “Collect all the treasures in the Crimson Forest (0/3)”. Each region gets its own page in the list and two objectives. The first is to collect the treasures and the second is to deliver them. Zhang has a hideout bell in every region and trades each set for useful items. Quick Hand Zhang’s hideouts don’t all accept the same treasure sets: the Village of Lu location takes the Crimson Forest set but offers no option for the Meigu Lake set, and the Mirage Estate set pays out differently depending on which hideout you bring it to.
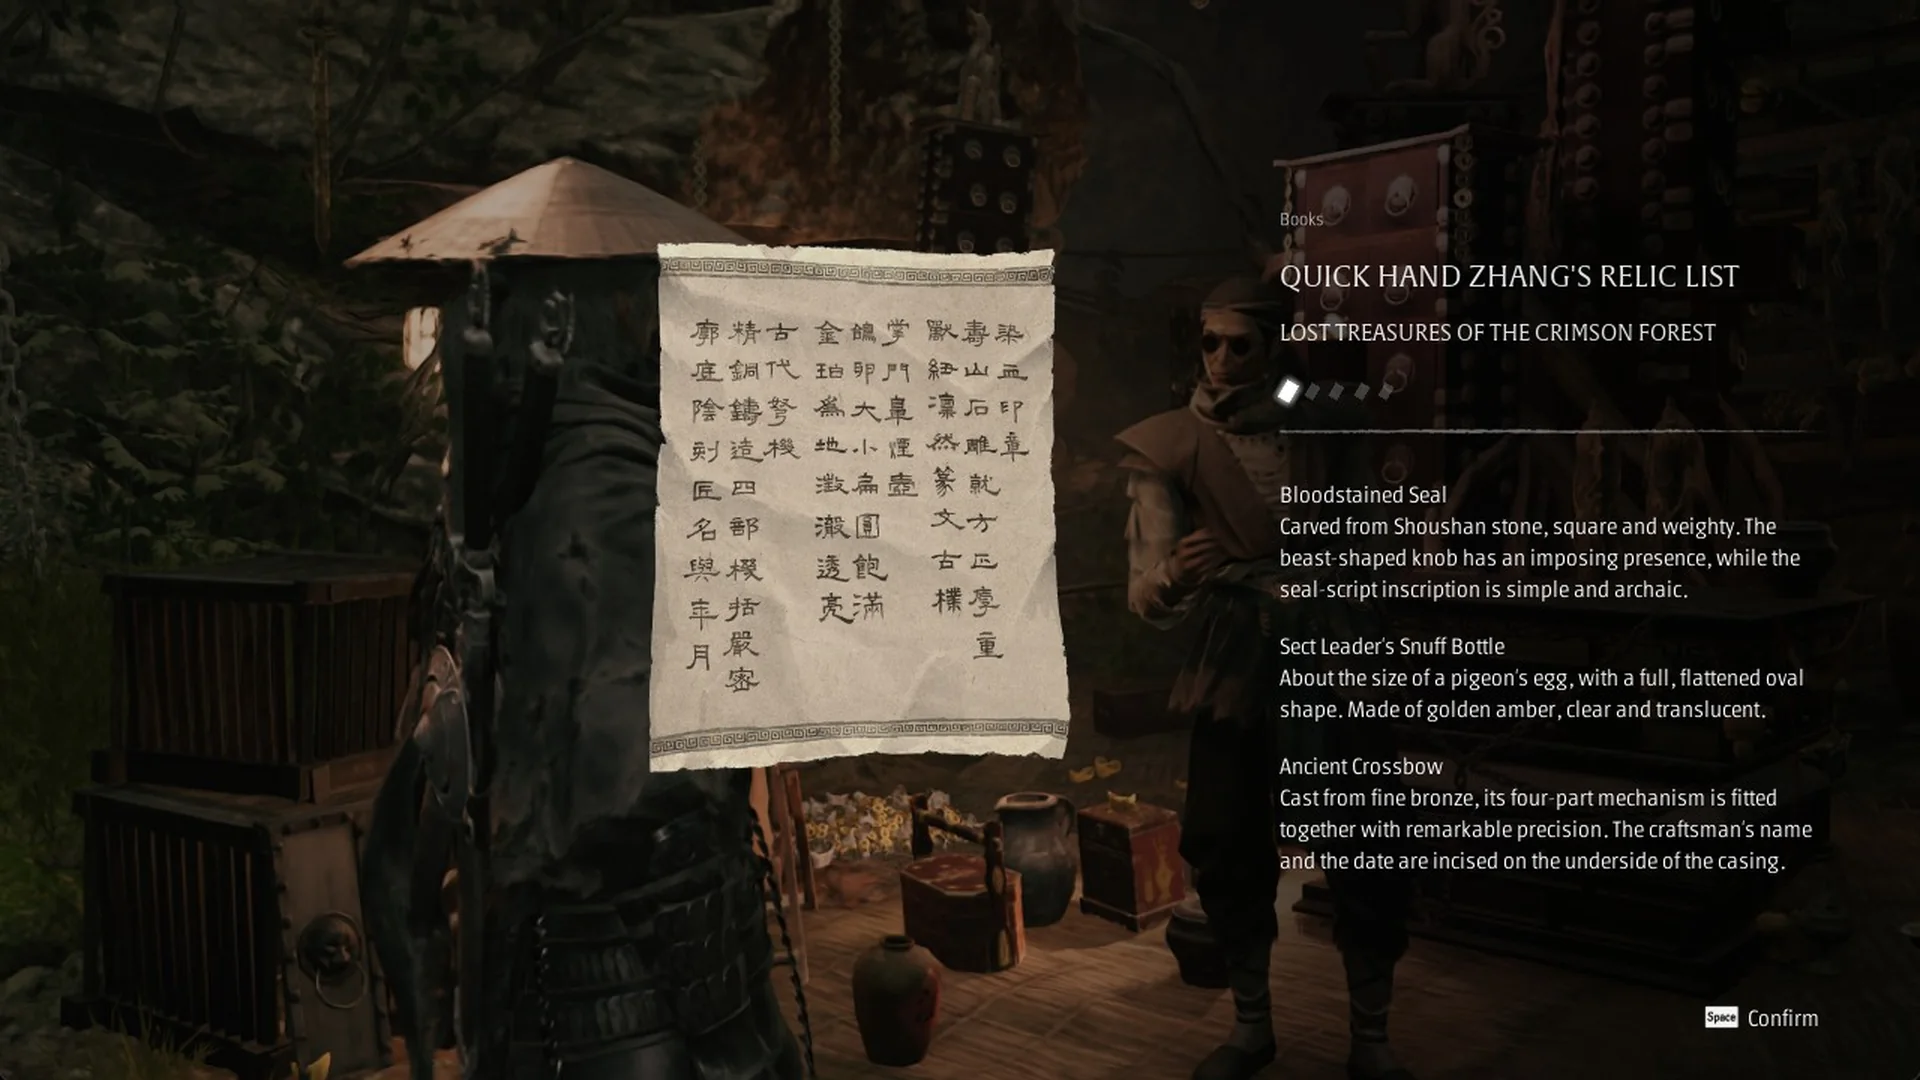
Zhang’s line on every treasure card is the same: each one is a priceless treasure that can be traded to him for useful items.
All Quick Hand Zhang treasure locations
All 12 treasures outside Pangzhen are inside chests. Each distance is a straight line from the nearest bell, not a walking route. The full bell list and the interactive map help you match each bell to its spot.
| Treasure | Region | Nearest bell | Distance from that bell |
|---|---|---|---|
 Bloodstained Seal | Crimson Forest | Thieves’ Camp | about 20 m, about 13 m lower than the bell (Red Serpent House is about 120 m away) |
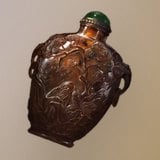 Sect Leader’s Snuff Bottle | Crimson Forest | Outlaw Trap | about 24 m, about 14 m lower (Thieves’ Camp is about 165 m away) |
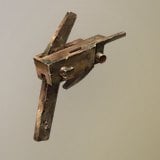 Ancient Crossbow | Crimson Forest | Thieves’ Camp | about 73 m, about 7 m lower (Lakeside Arch Bridge is about 98 m away) |
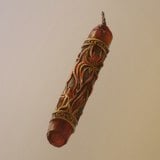 Wedding Candles | Village of Lu | Covered Bridge | about 70 m, about 13 m higher (Black Serpent House is about 84 m away) |
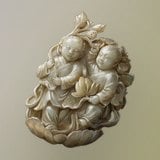 White Jade Twins | Village of Lu | Survivors’ Courtyard | about 40 m, about 30 m lower (Temple of Blue Fireflies is about 43 m away) |
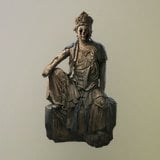 Unveiled Statue | Village of Lu | The Lady Grounds | about 26 m, about 4 m higher (Statue Grounds Entrance is about 68 m away) |
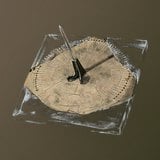 Sundial of Impermanence | Meigu Lake | a Phantom Illusionist Ruins bell | roughly 260 m, about 11 m lower |
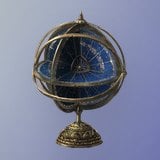 Blight Astrolabe | Meigu Lake | a Phantom Illusionist Ruins bell | about 67 m, about the same height |
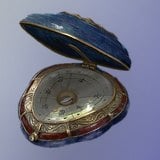 Blue Blossom Compass | Meigu Lake | Blackwater Crew Dock | about 155 m, about the same height |
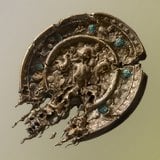 General’s Bronze Mirror | Mirage Estate | Opera House | about 86 m, about 21 m lower |
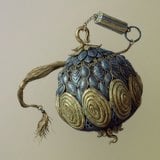 Gold-and-silver Sachet | Mirage Estate | Opera House | about 69 m, about 2 m higher |
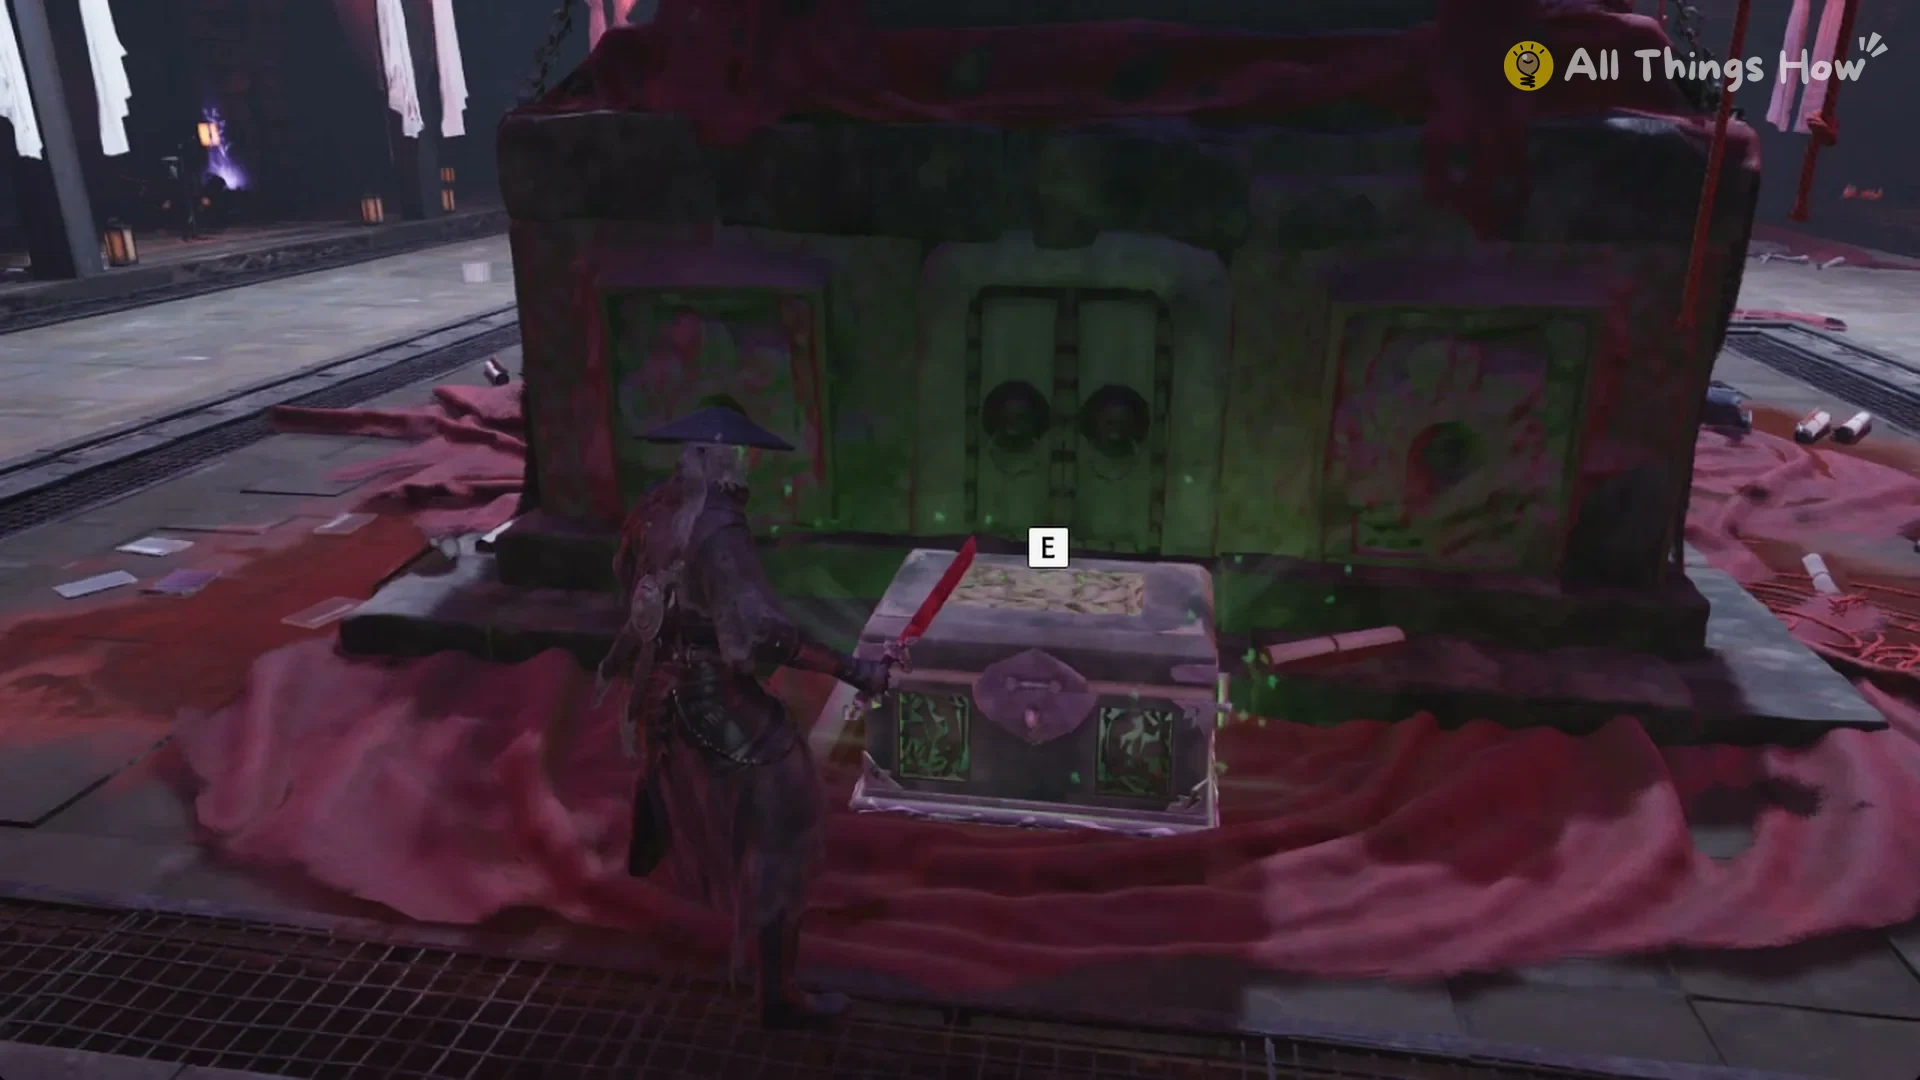
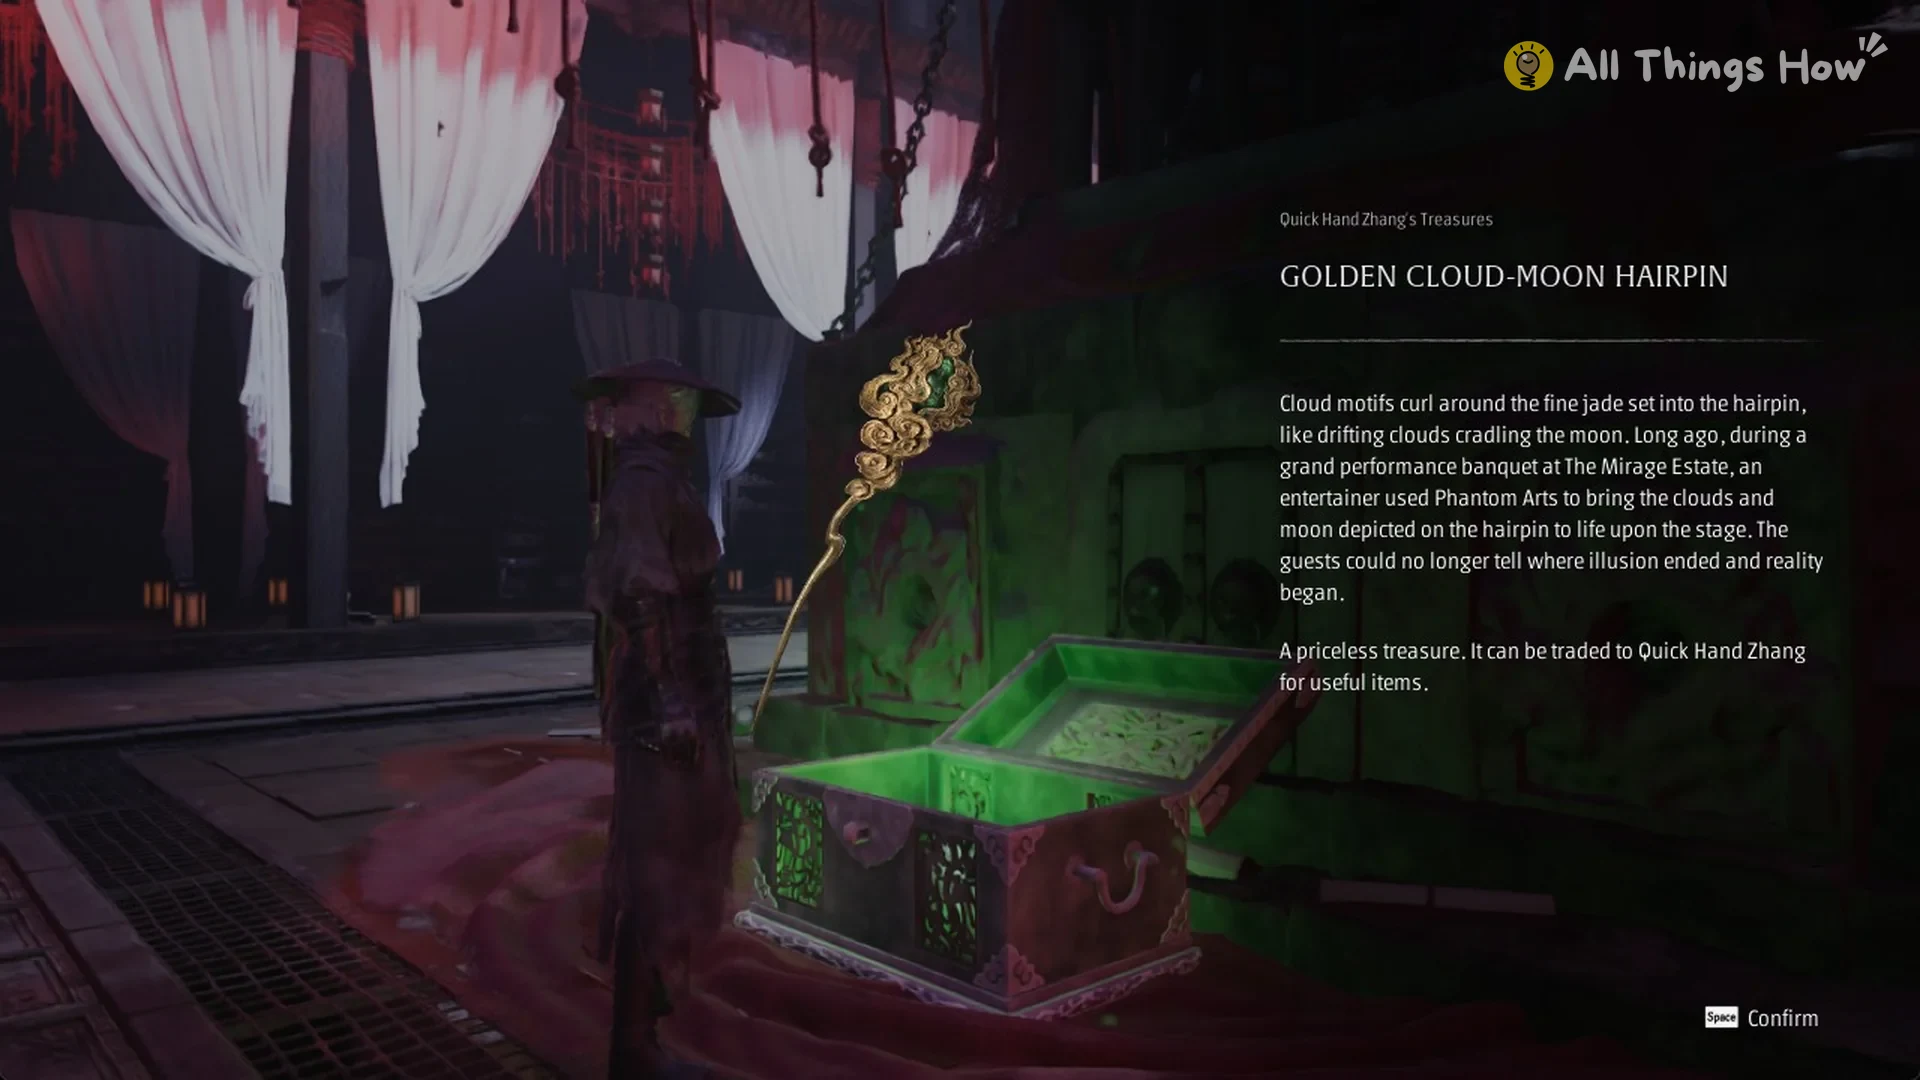
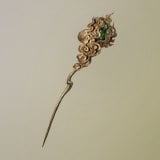 Golden Cloud-moon Hairpin | Mirage Estate | Perfect Vessel Estate | about 23 m, about the same height |
Crimson Forest treasures
Every other chest and collectible in the region is listed in the Crimson Forest collectibles guide.
The relic inventory is listed beneath “LOST TREASURES OF THE CRIMSON FOREST”. Begin with “Collect all the treasures in the Crimson Forest”; then follow with “Deliver all the treasures from the Crimson Forest to Quick Hand Zhang”. Hand them over at the bell “Zhang’s Hideout (Crimson Forest)”.
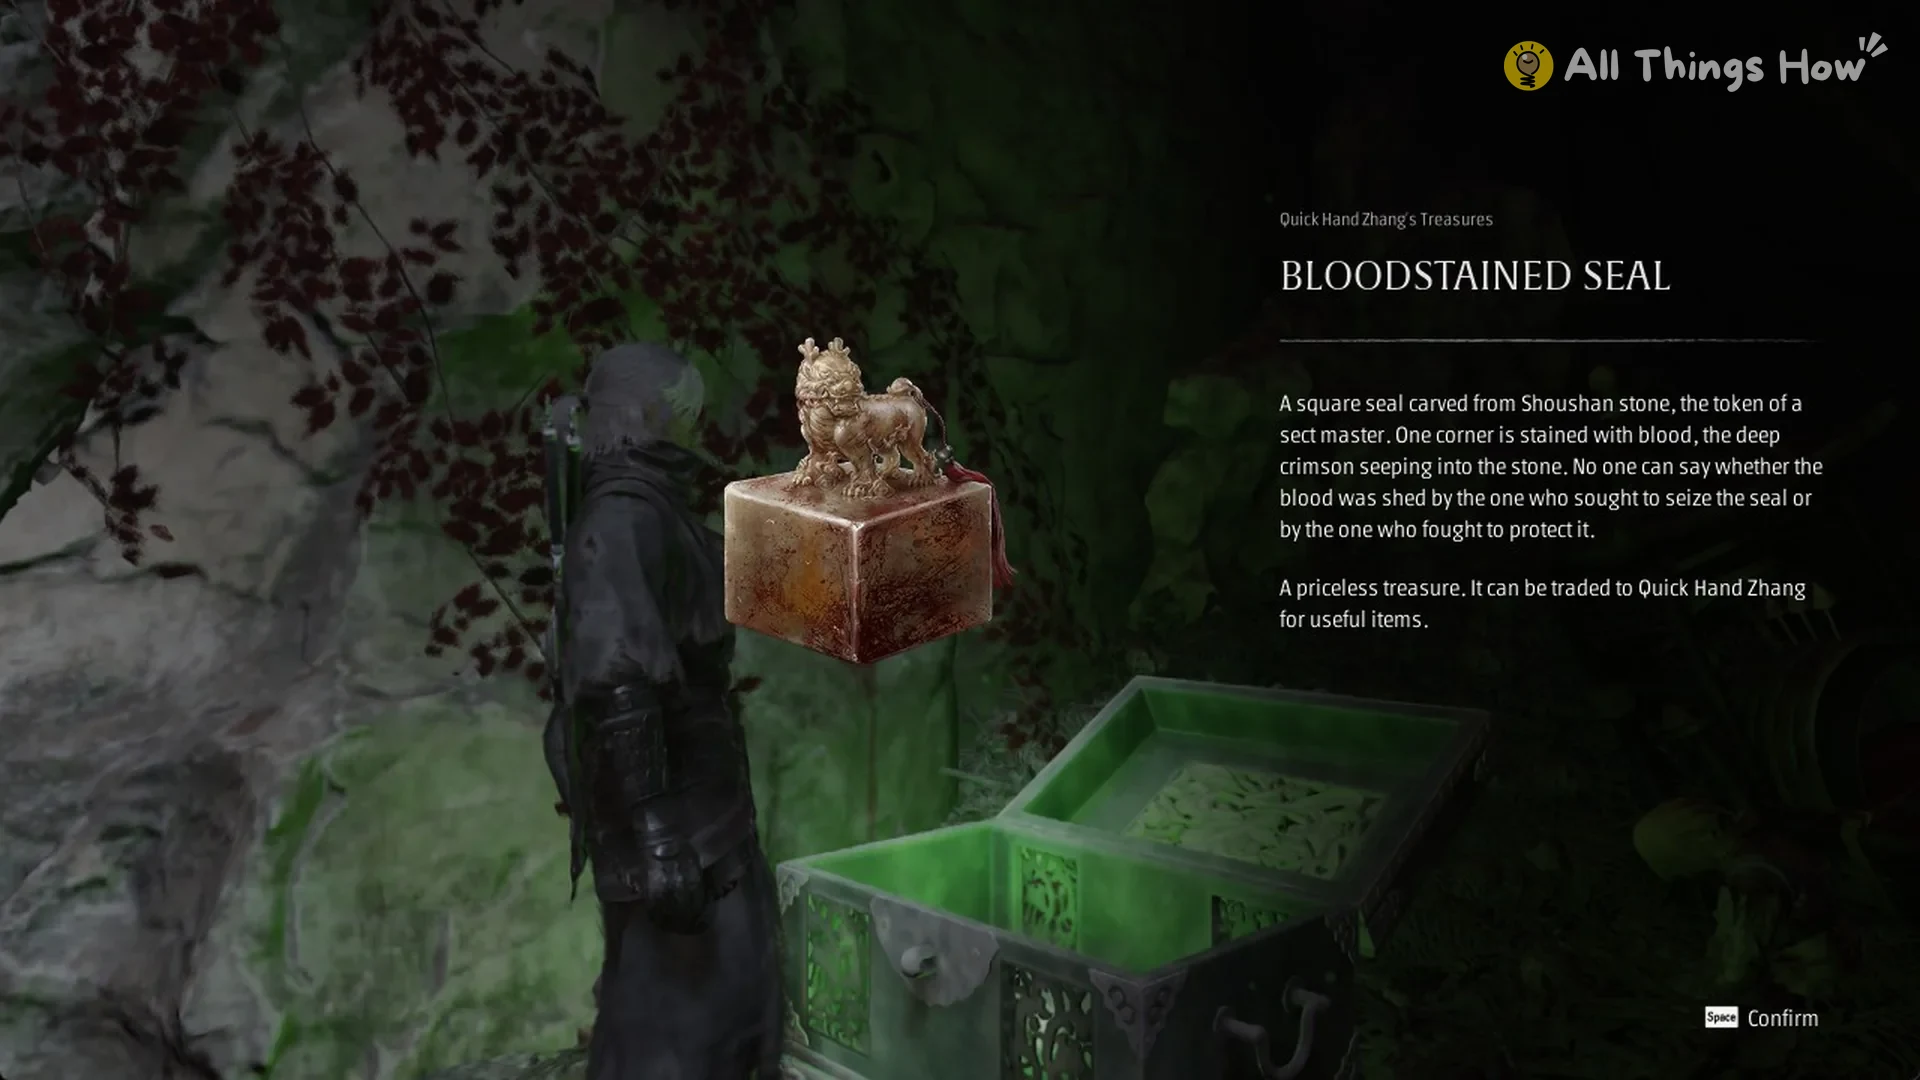
Bloodstained Seal
The chest is about 20 m from the Thieves’ Camp bell and sits about 13 m below it.
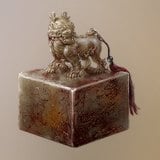
A square seal carved from Shoushan stone, the token of a sect master. One corner is stained with blood, the deep crimson seeping into the stone. No one can say whether the blood was shed by the one who sought to seize the seal or by the one who fought to protect it.
A priceless treasure. It can be traded to Quick Hand Zhang for useful items.
Route to the Bloodstained Seal chest
The chest sits below the bell, but you can’t reach it by going straight down.
From the Thieves’ Camp bell, take the upper route and descend the slope; the lower route then curves back to the chest, making roughly a 260 m circuit.
Once below, head toward the cliff near the bell, passing the cave with the memory flower. There is only one descent on this section: a short step of about 2 m.
Near the chest, the final approach brings a Hound Trainer and four Frenzied Hounds against you; defeat them all.
The chest rests on a shelf about 1 m below the rock next to the cave wall. Step down off the rock to reach it.
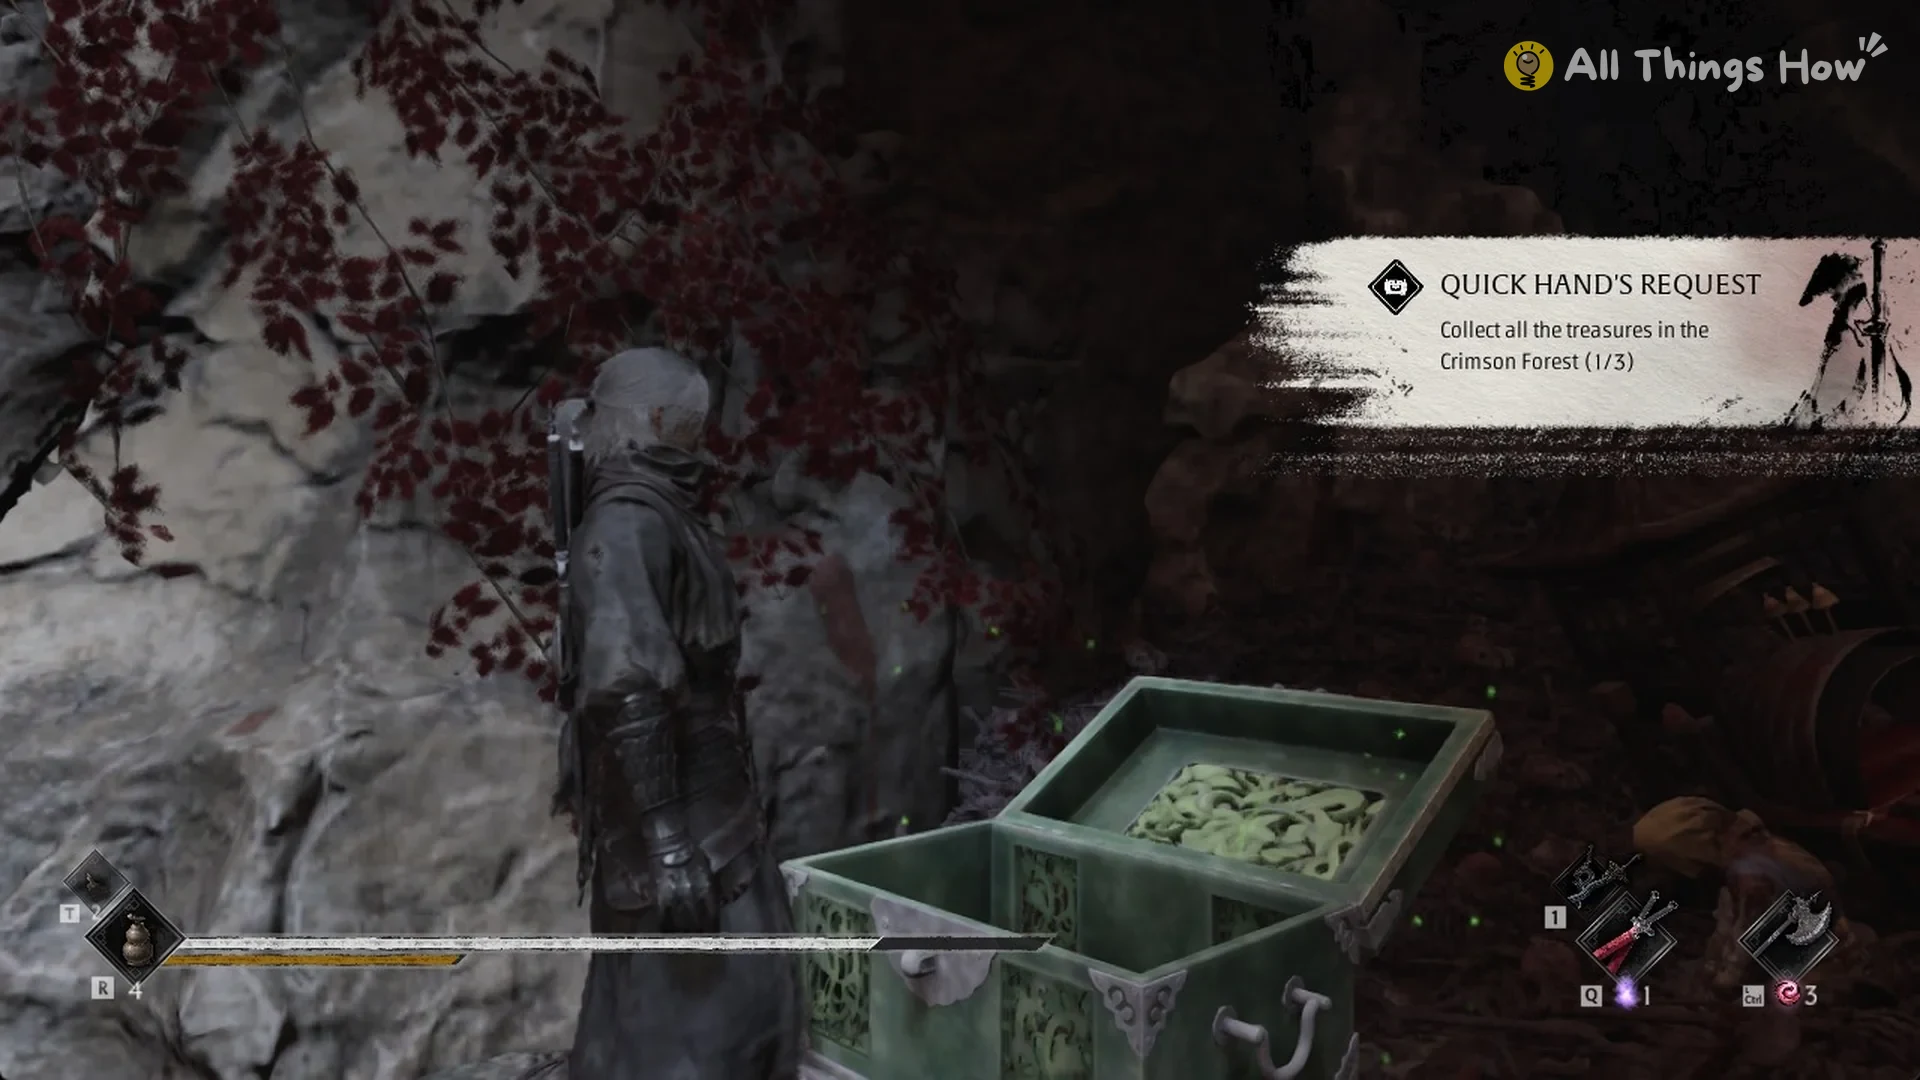
Opening the chest gives you the Bloodstained Seal. It also starts the Quick Hand’s Request objective ‘Collect all the treasures in the Crimson Forest’ at 1/3.
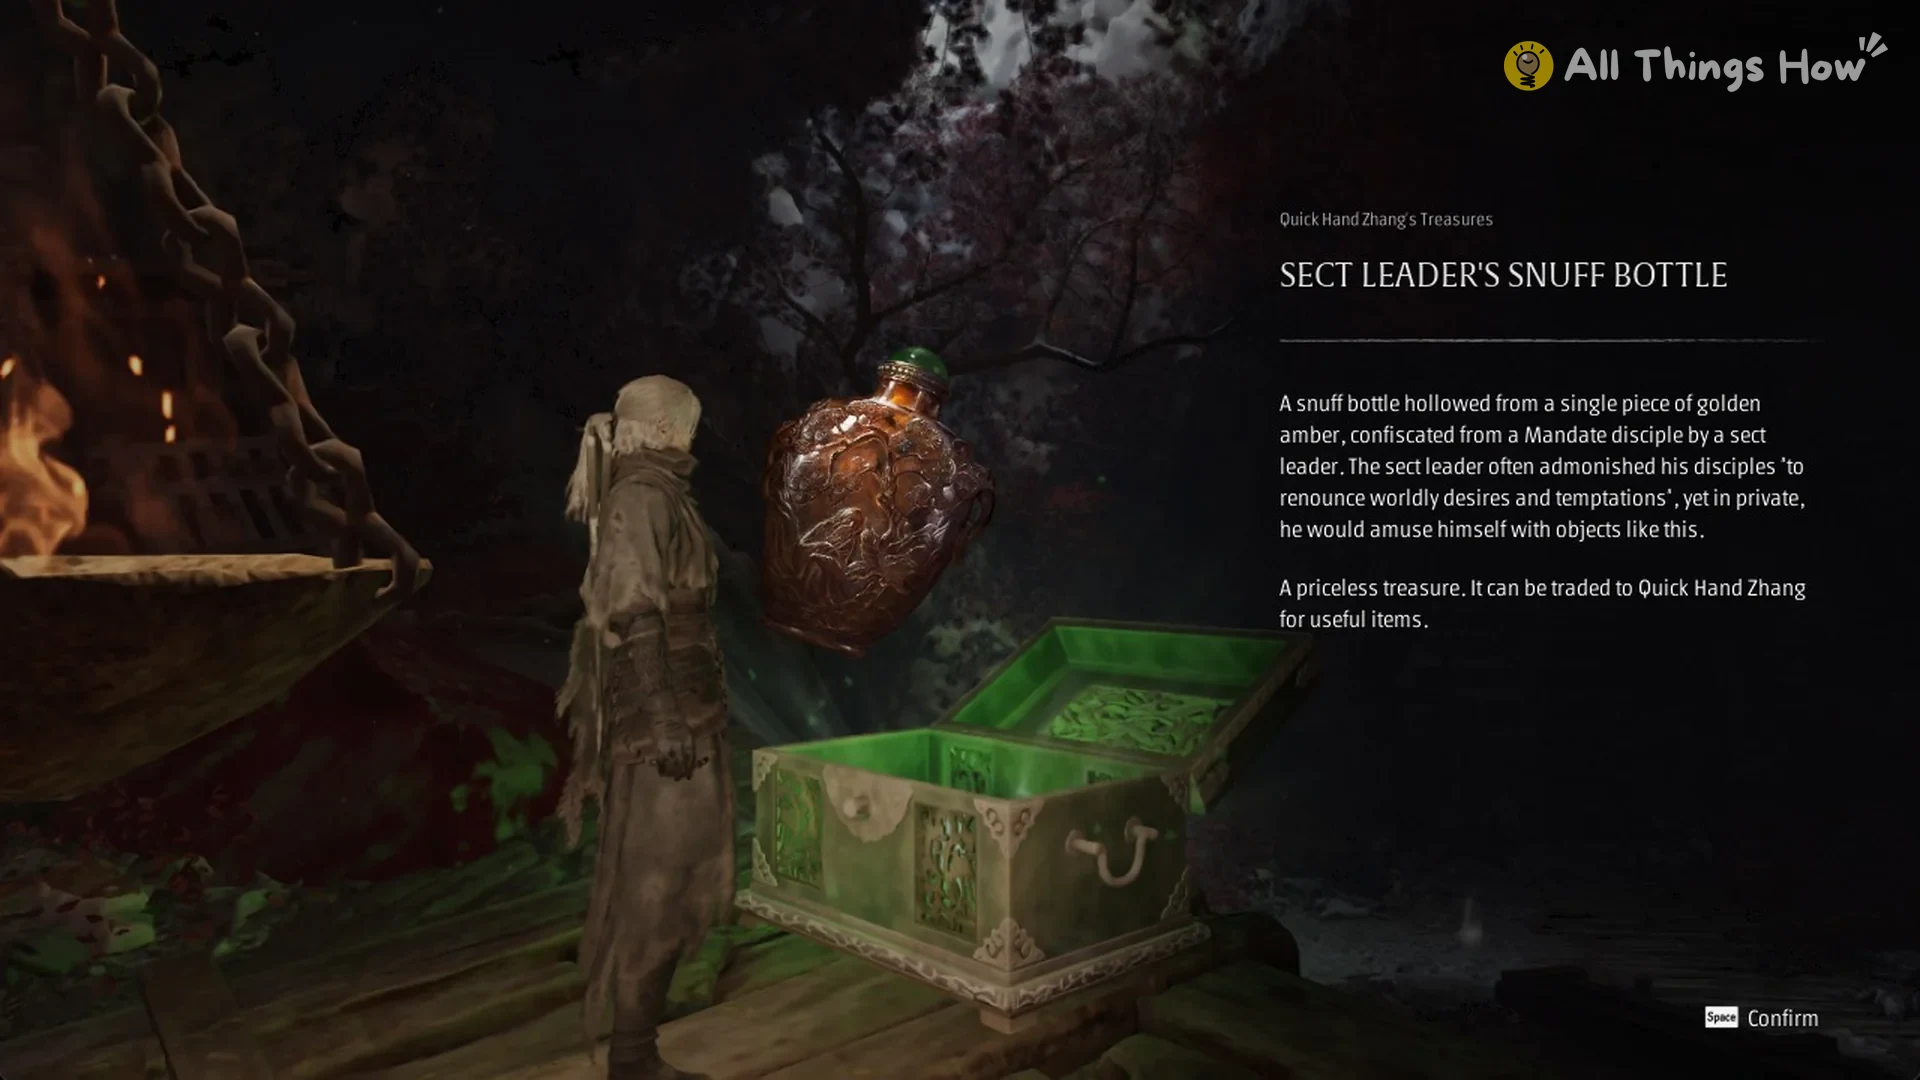
Sect Leader’s Snuff Bottle
The chest is about 24 m from the Outlaw Trap bell and sits about 14 m below it.
A snuff bottle hollowed from a single piece of golden amber, confiscated from a Mandate disciple by a sect leader. The sect leader often admonished his disciples “to renounce worldly desires and temptations”, yet in private, he would amuse himself with objects like this.
A priceless treasure. It can be traded to Quick Hand Zhang for useful items.
Route to the Sect Leader’s Snuff Bottle chest
From the Outlaw Trap bell, travel about 30 m without changing elevation, then drop roughly 8.6 m to the ledge below.
Follow the ledge until you reach the ladder. Press Space at the ladder to climb down onto the gorge shelf.
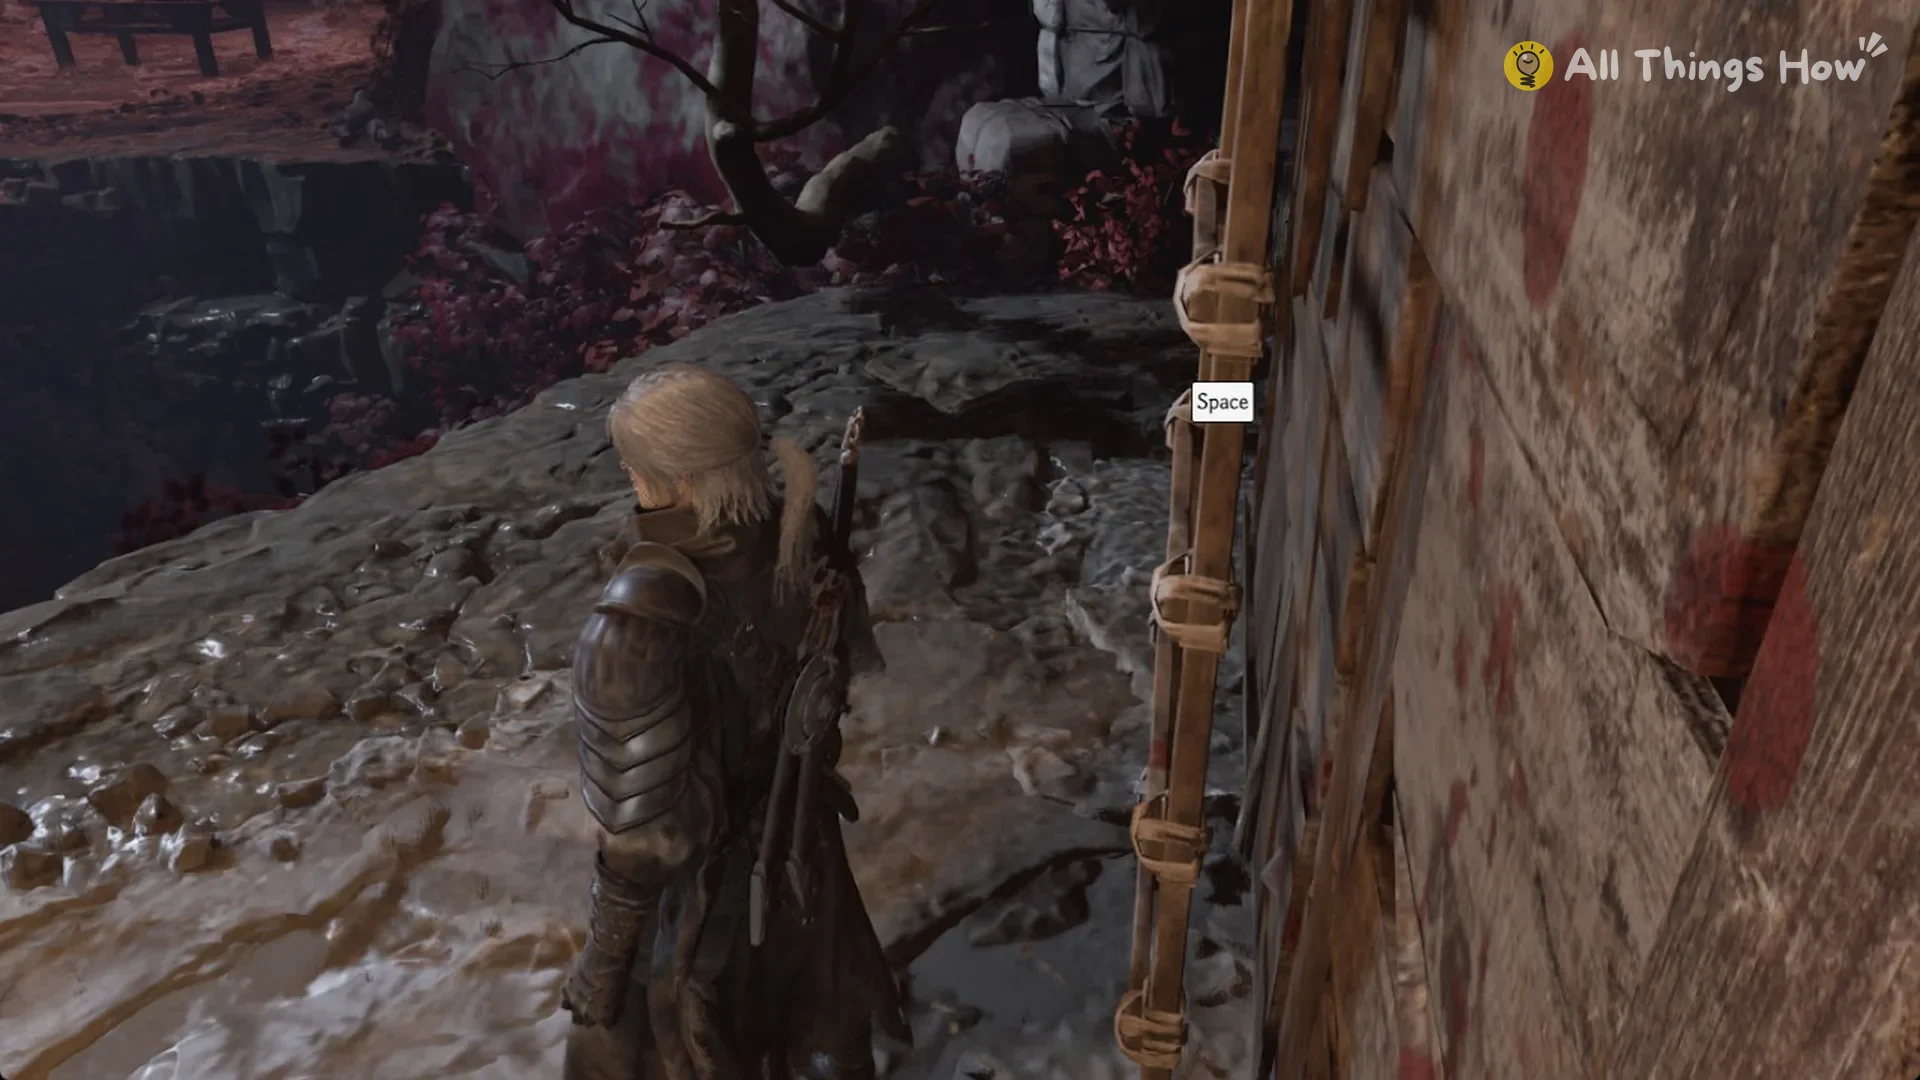
Continue along the shelf beyond the plank bridge. A Thief is posted near the chest, so be prepared to face it as you get close.
A plank deck holds the chest at the shelf’s outer rim, roughly 8 m above the gorge floor. Three Frenzied Hounds are on the ground below. If you drop down, follow the gorge floor as it climbs back to the shelf, then walk over to the chest.
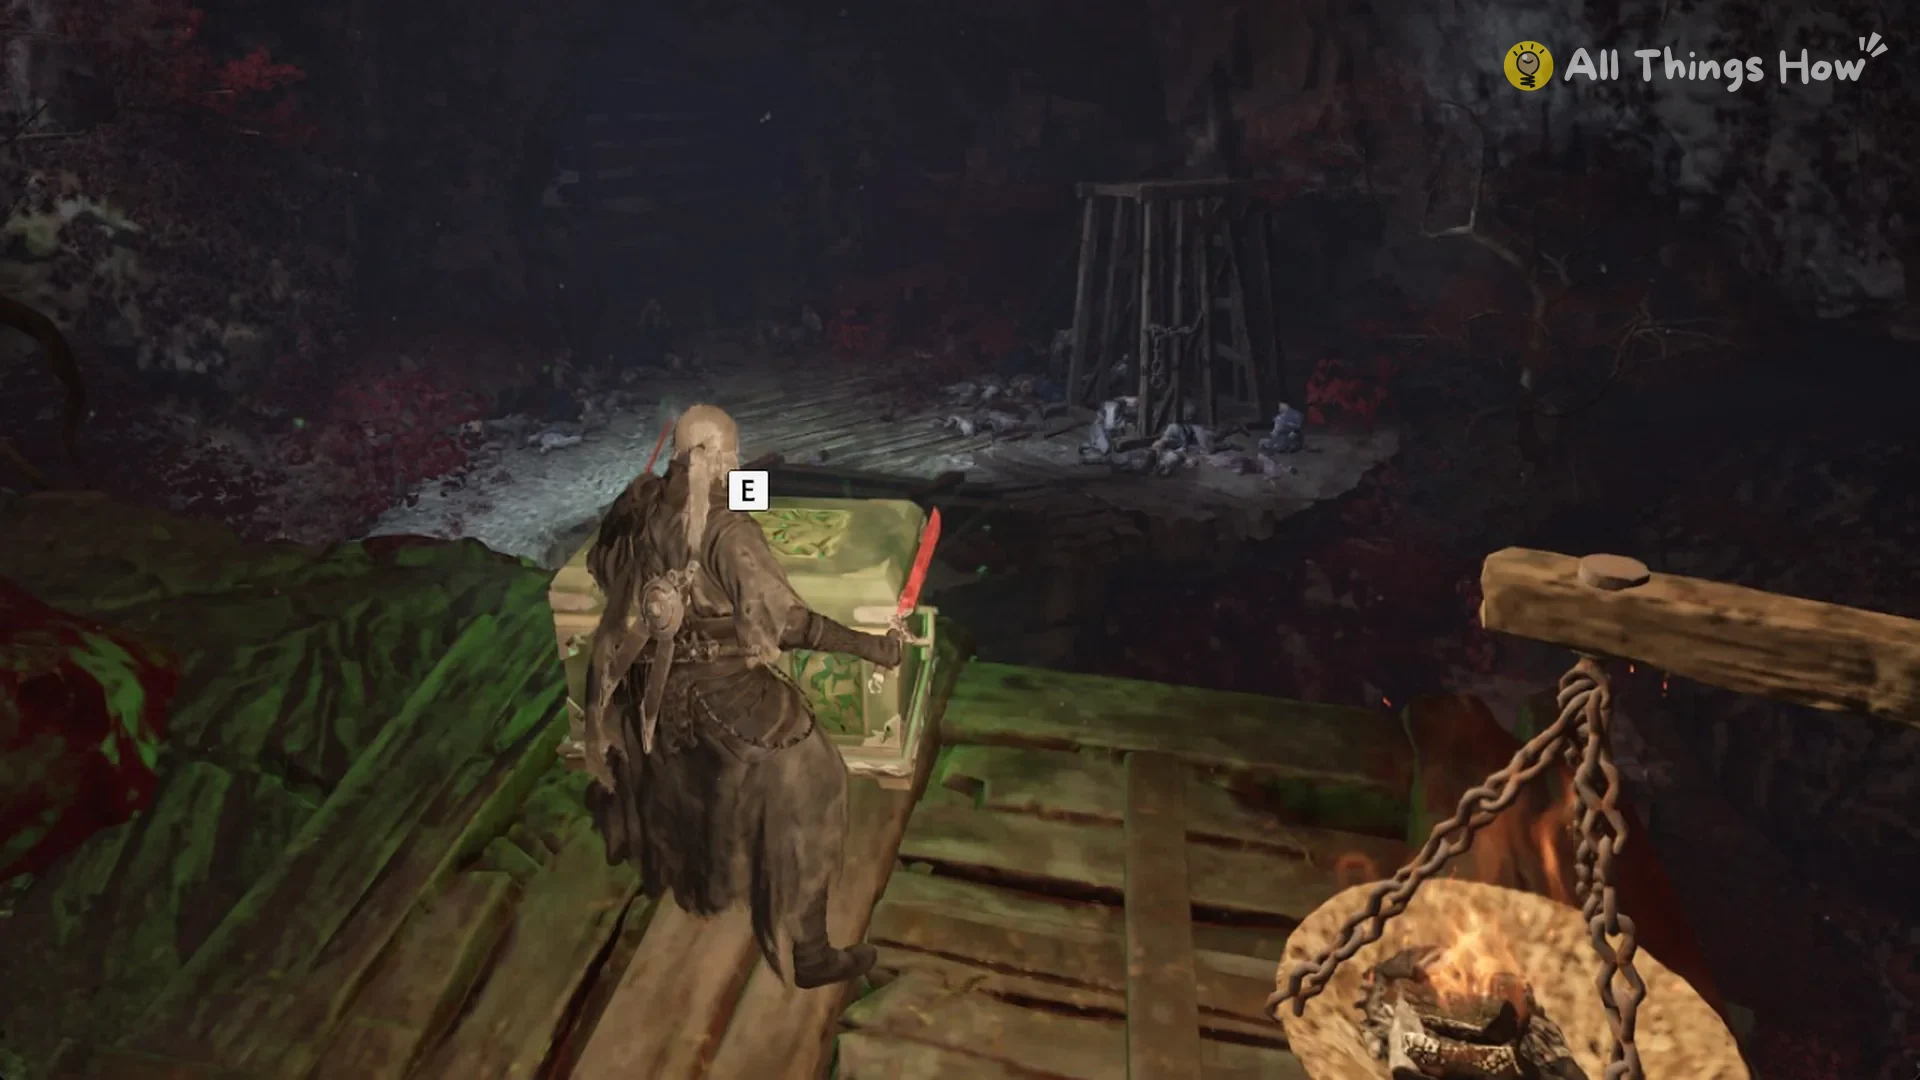
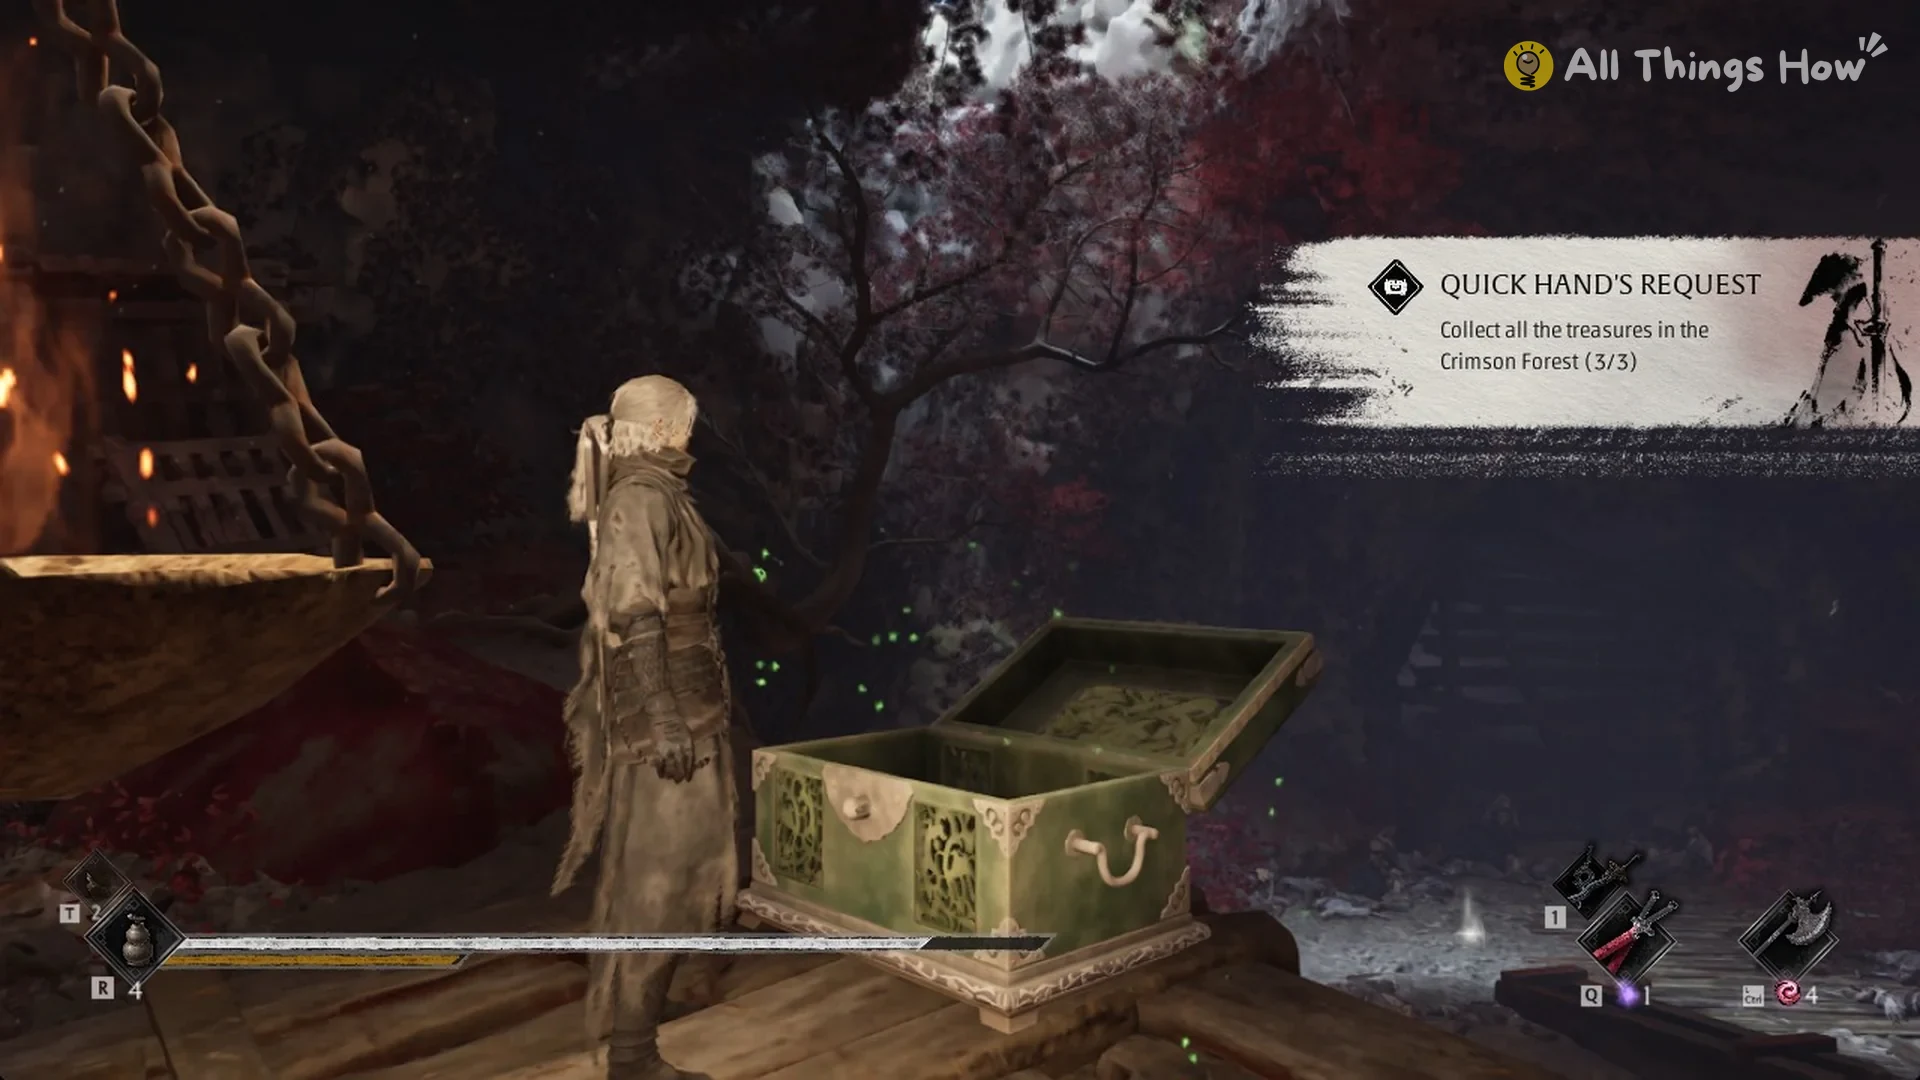
Open the chest to collect the Sect Leader’s Snuff Bottle. The Quick Hand’s Request objective ‘Collect all the treasures in the Crimson Forest’ moves to 3/3, which completes the Crimson Forest set.
Ancient Crossbow
The chest is about 73 m from the Thieves’ Camp bell and sits about 7 m below it.
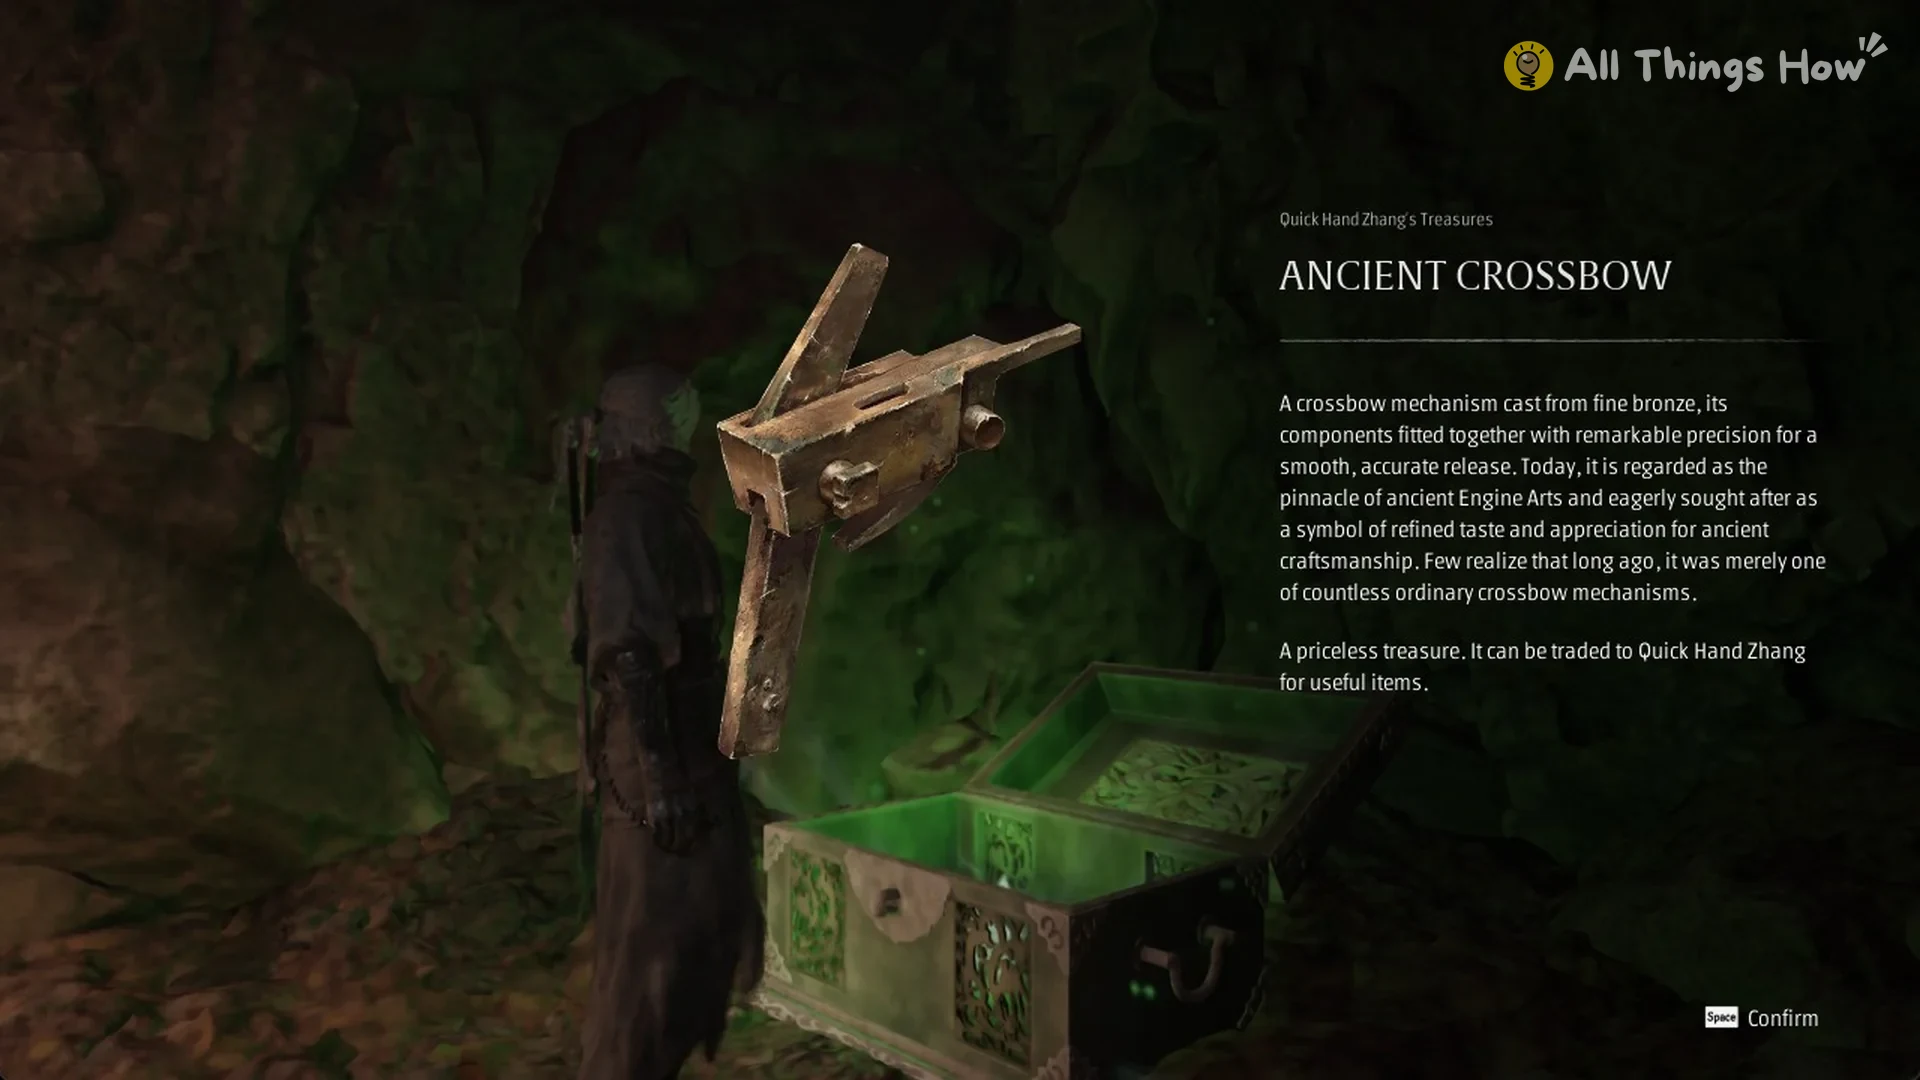
A crossbow mechanism cast from fine bronze, its components fitted together with remarkable precision for a smooth, accurate release. Today, it is regarded as the pinnacle of ancient Engine Arts and eagerly sought after as a symbol of refined taste and appreciation for ancient craftsmanship. Few realize that long ago, it was merely one of countless ordinary crossbow mechanisms.
A priceless treasure. It can be traded to Quick Hand Zhang for useful items.
Route to the Ancient Crossbow chest
Start at the Thieves’ Camp bell and walk into the camp. Cross to its far side and take the slope down. From the bell to the bottom of the slope is about 100 m in total.
A tunnel door waits at the foot of the slope. Go through it and keep going into the cave on the other side.
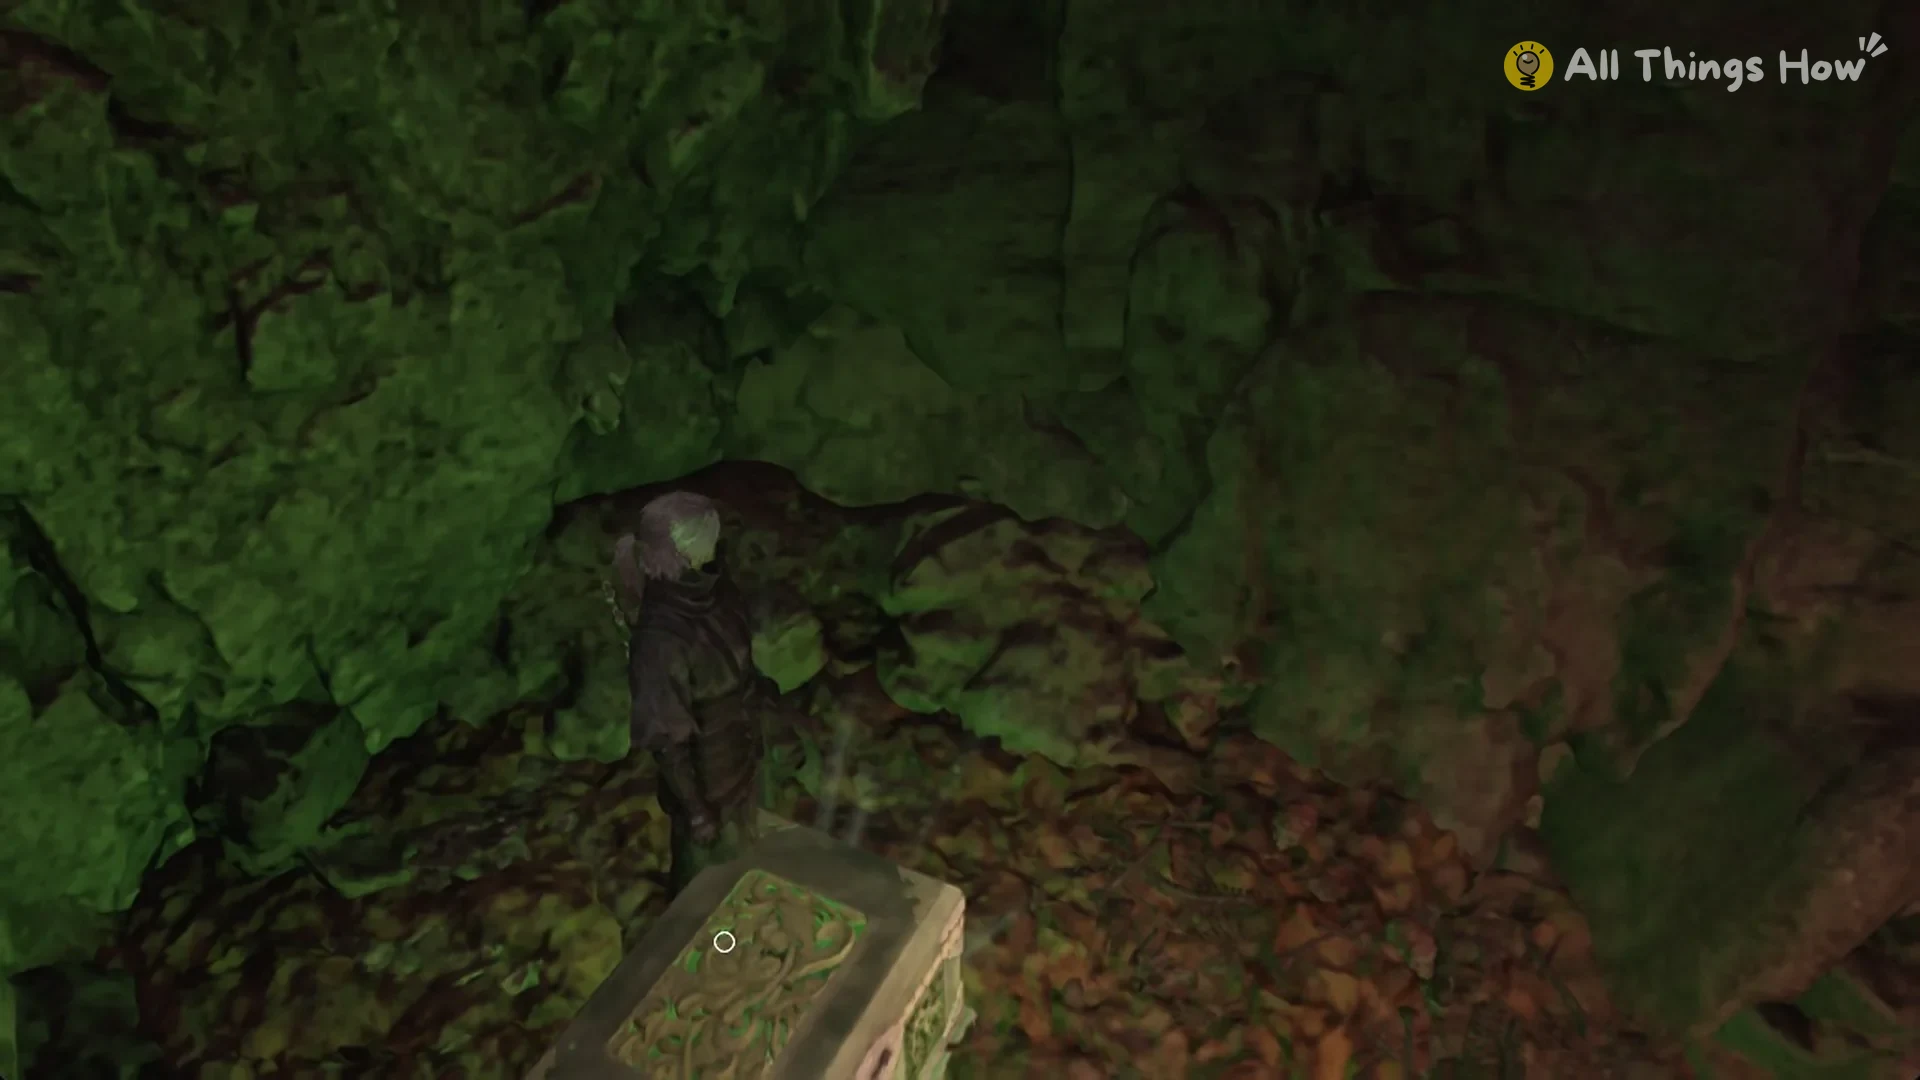
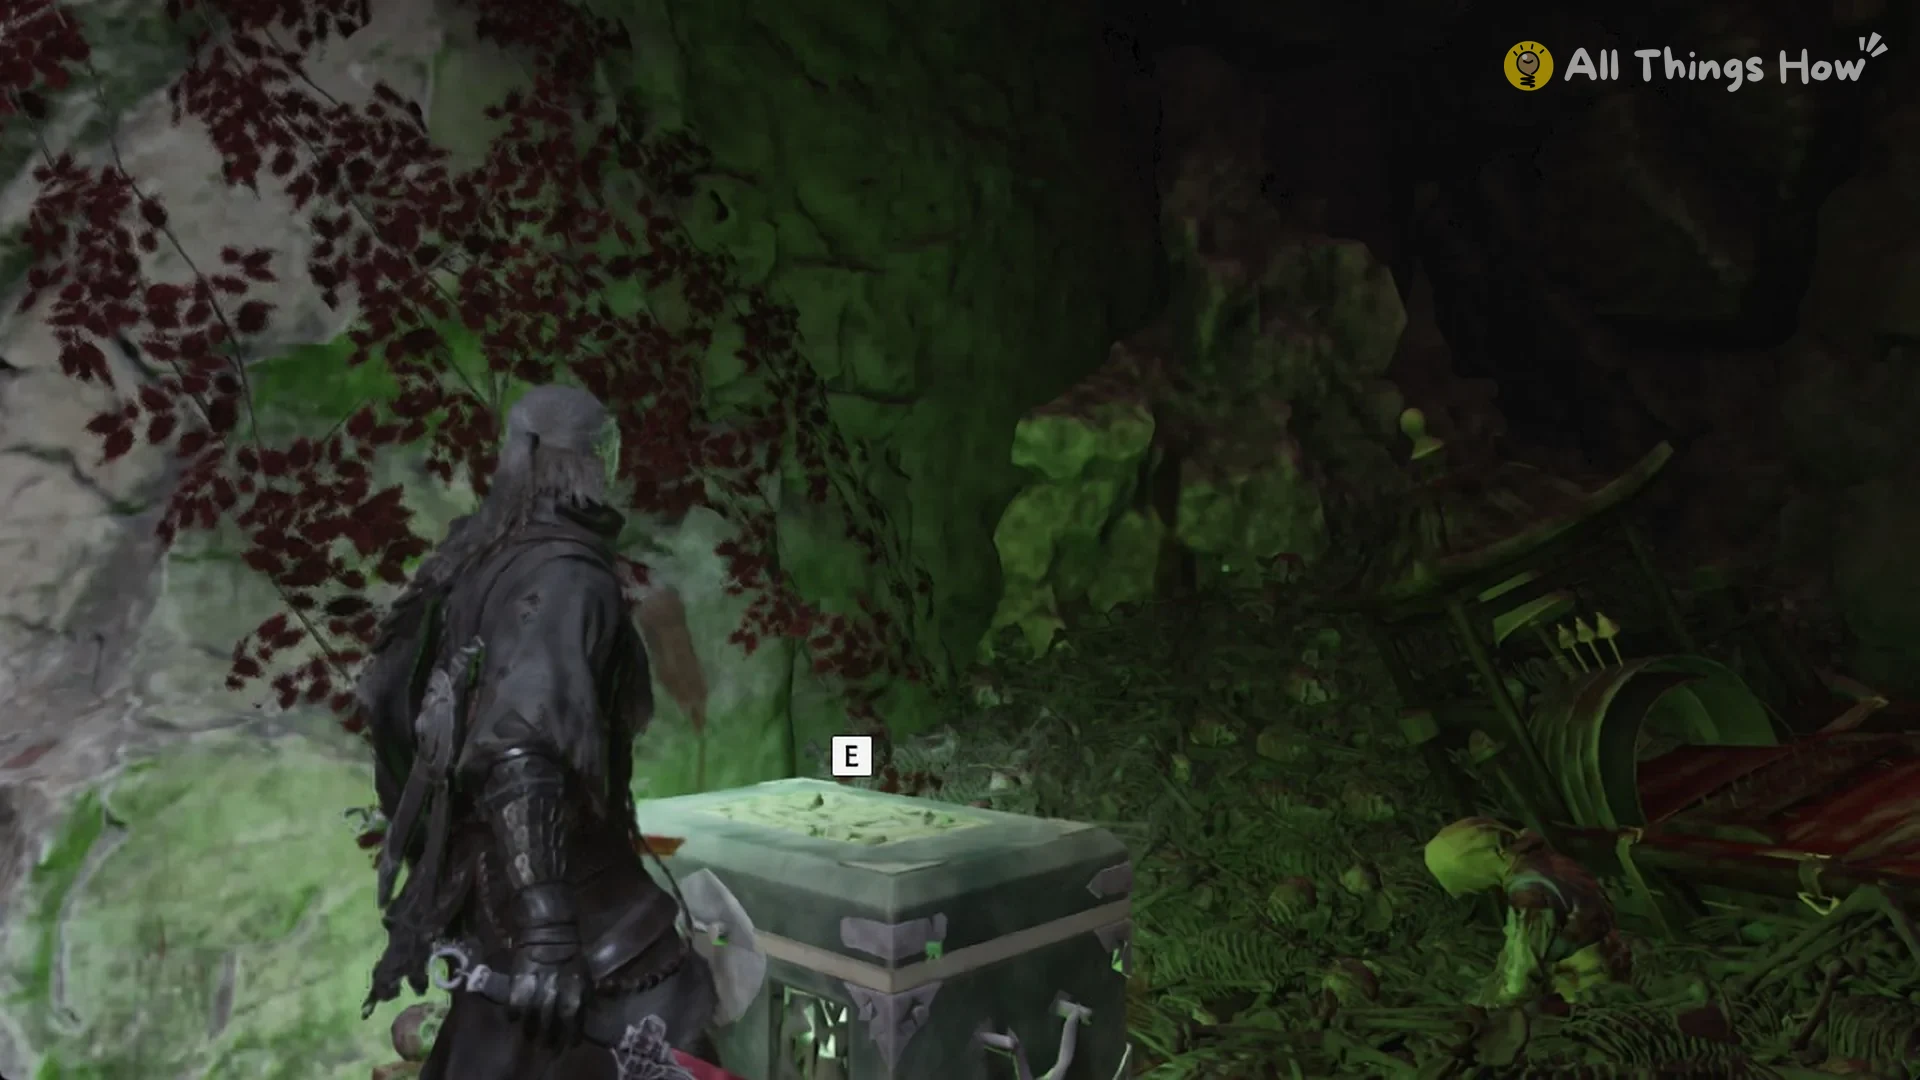
Look for the chest tucked into a rock nook against the cave wall. If you stand on the rock above it, the open prompt won’t appear. It only shows when you face the front of the chest, so walk around to the front and press E there.
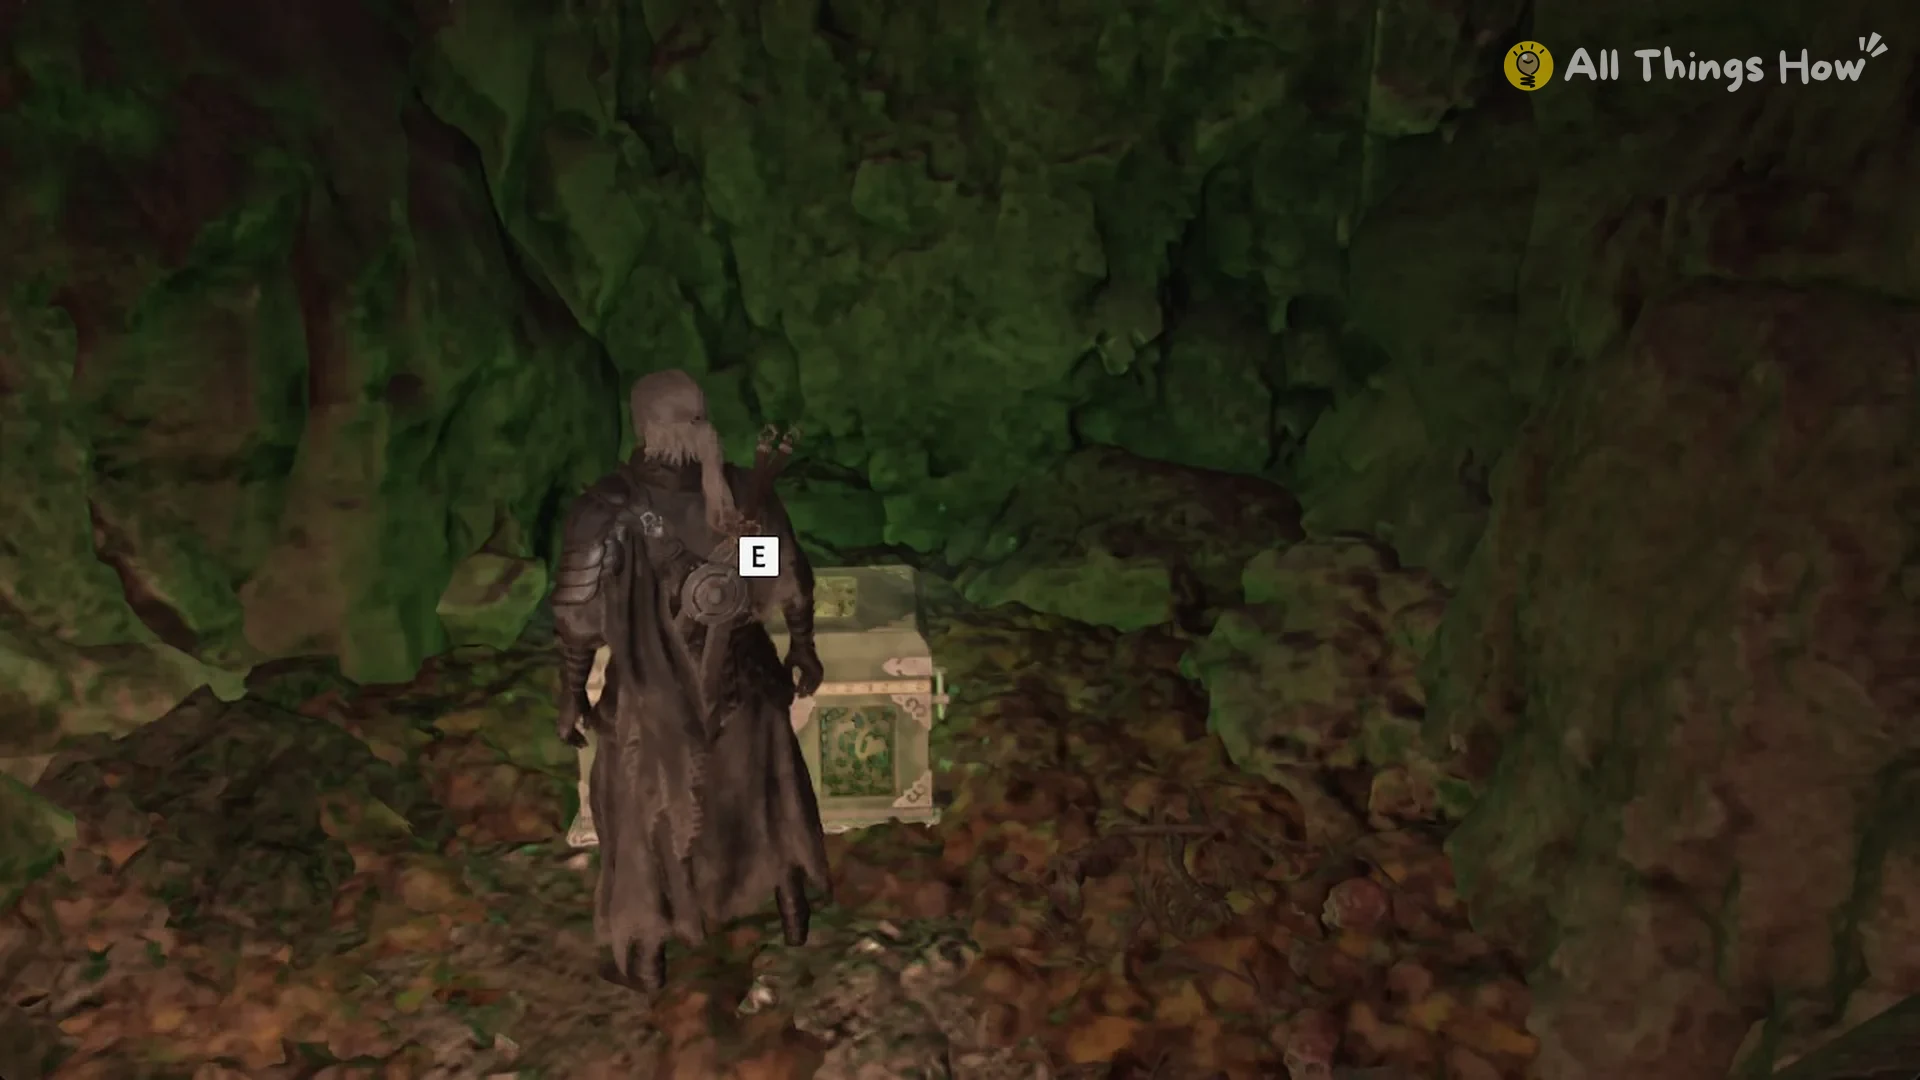
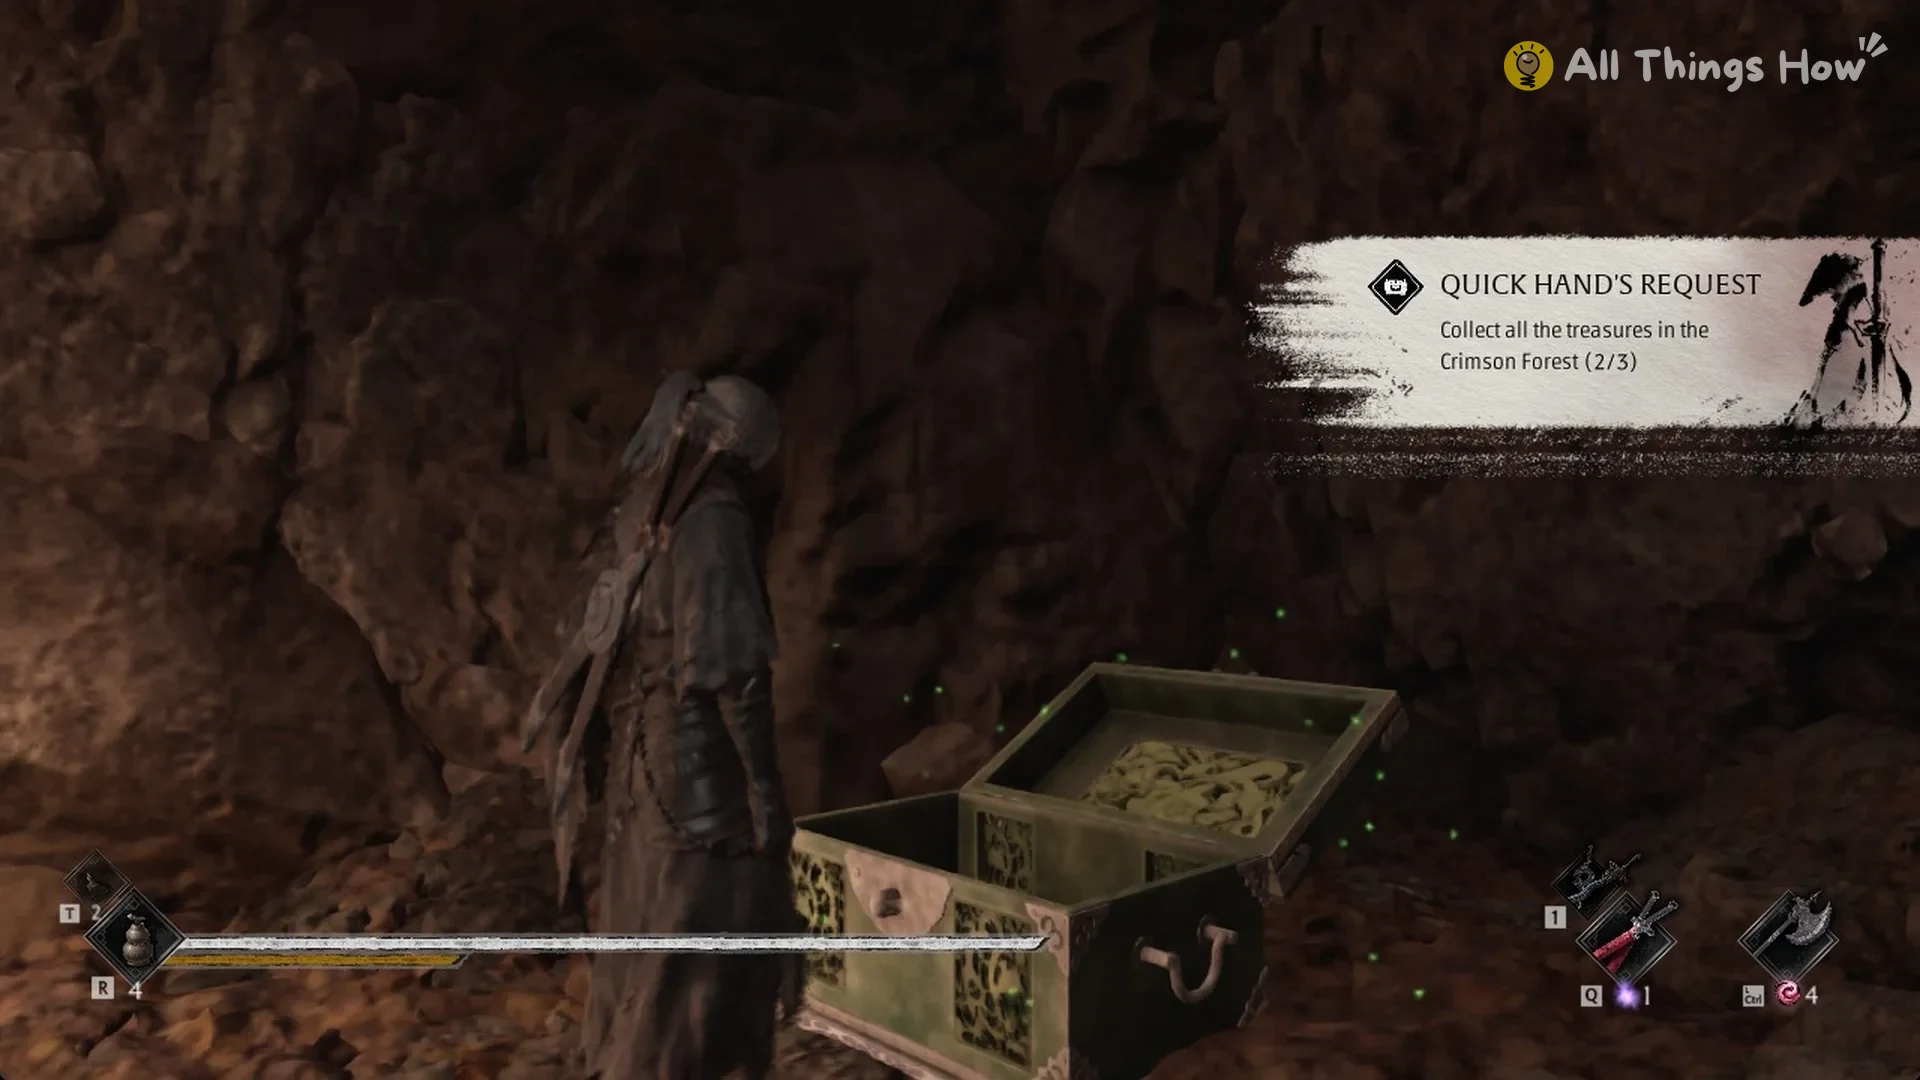
The chest gives you the Ancient Crossbow. It also moves the Quick Hand’s Request objective ‘Collect all the treasures in the Crimson Forest’ up to 2/3. That counter change is your confirmation that the chest counted.
Handing in the Crimson Forest treasures
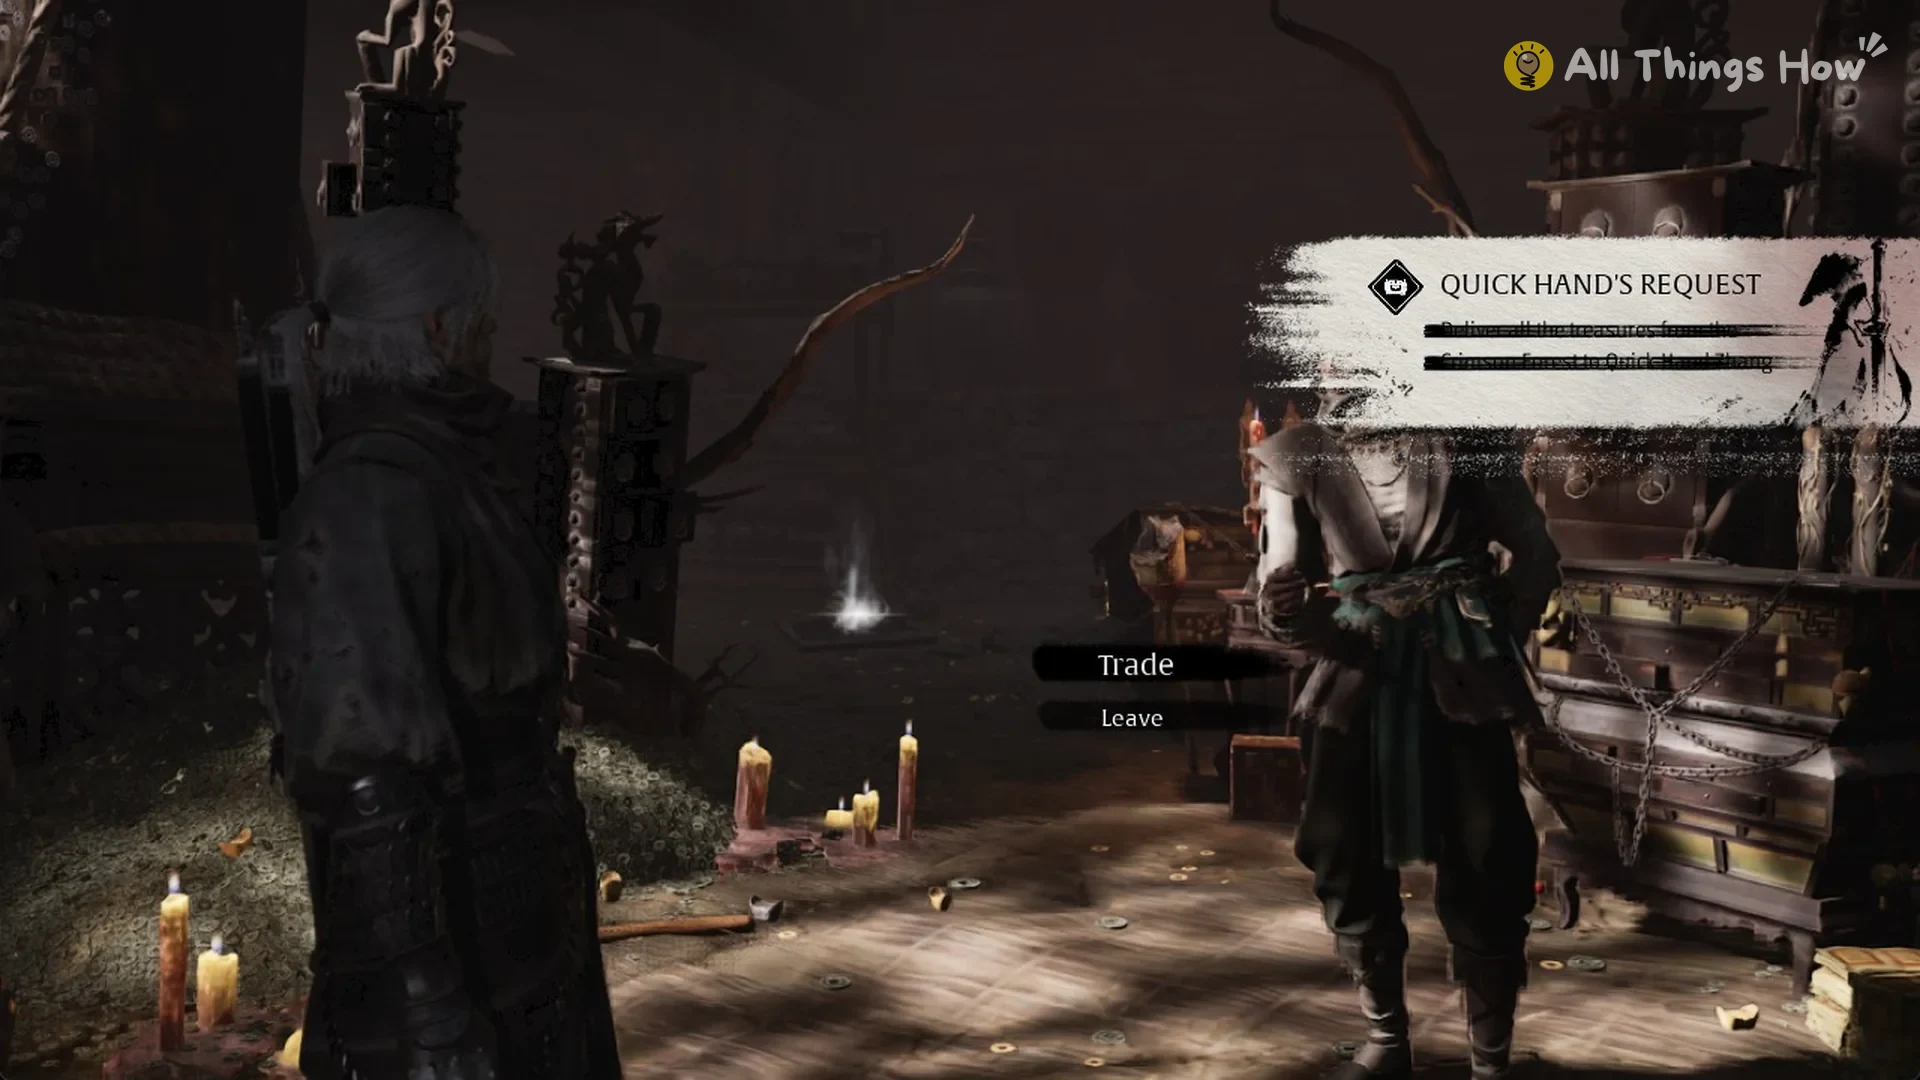
You need all three Crimson Forest treasures before anything happens. Once you have them, talk to Quick Hand Zhang. A new dialogue option, “Lost Treasures of the Crimson Forest”, sits between Trade and Leave. Pick it.
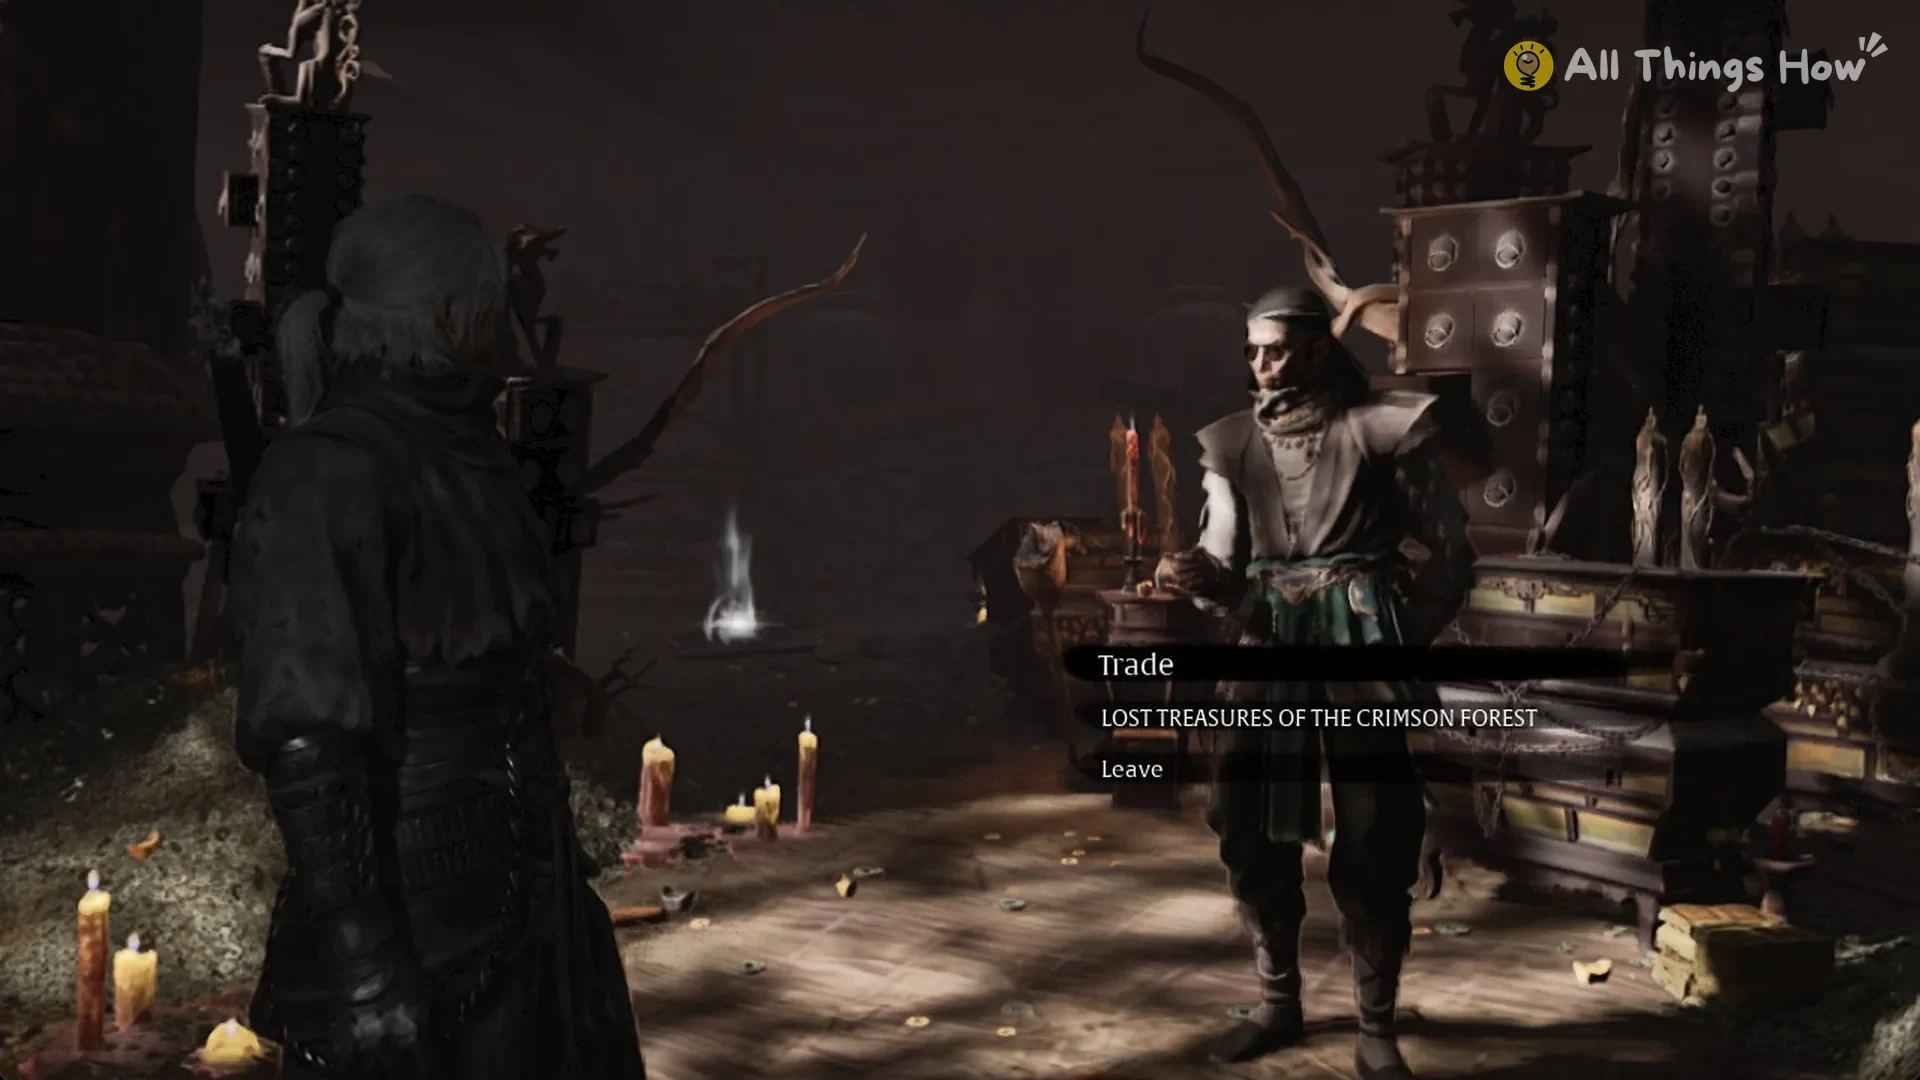
You don’t need to carry the Crimson Forest set back to the Crimson Forest to cash it in, because the Village of Lu hideout accepts it as well.
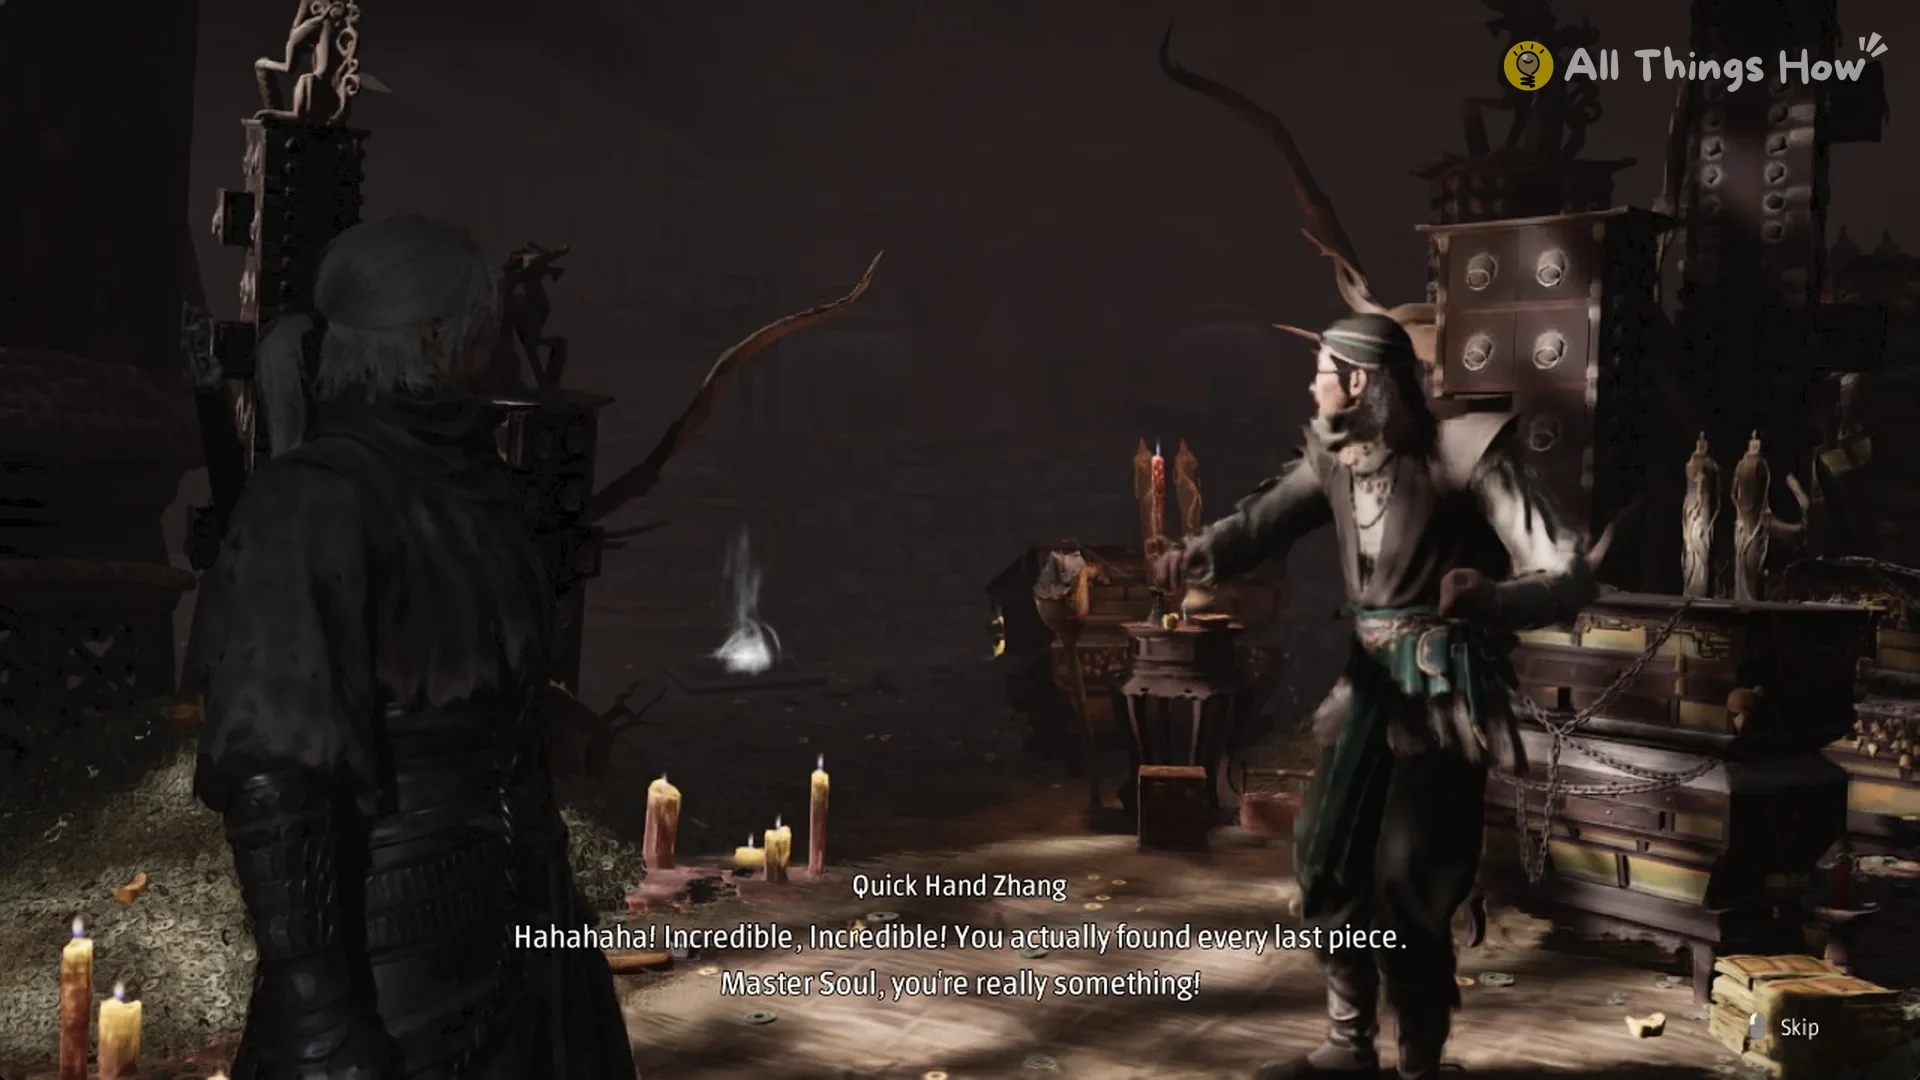
Zhang laughs and says “You actually found every last piece”. He admires the craftsmanship, then remarks that the Mandate’s so-called heroes held on to their treasures even while they were running away.
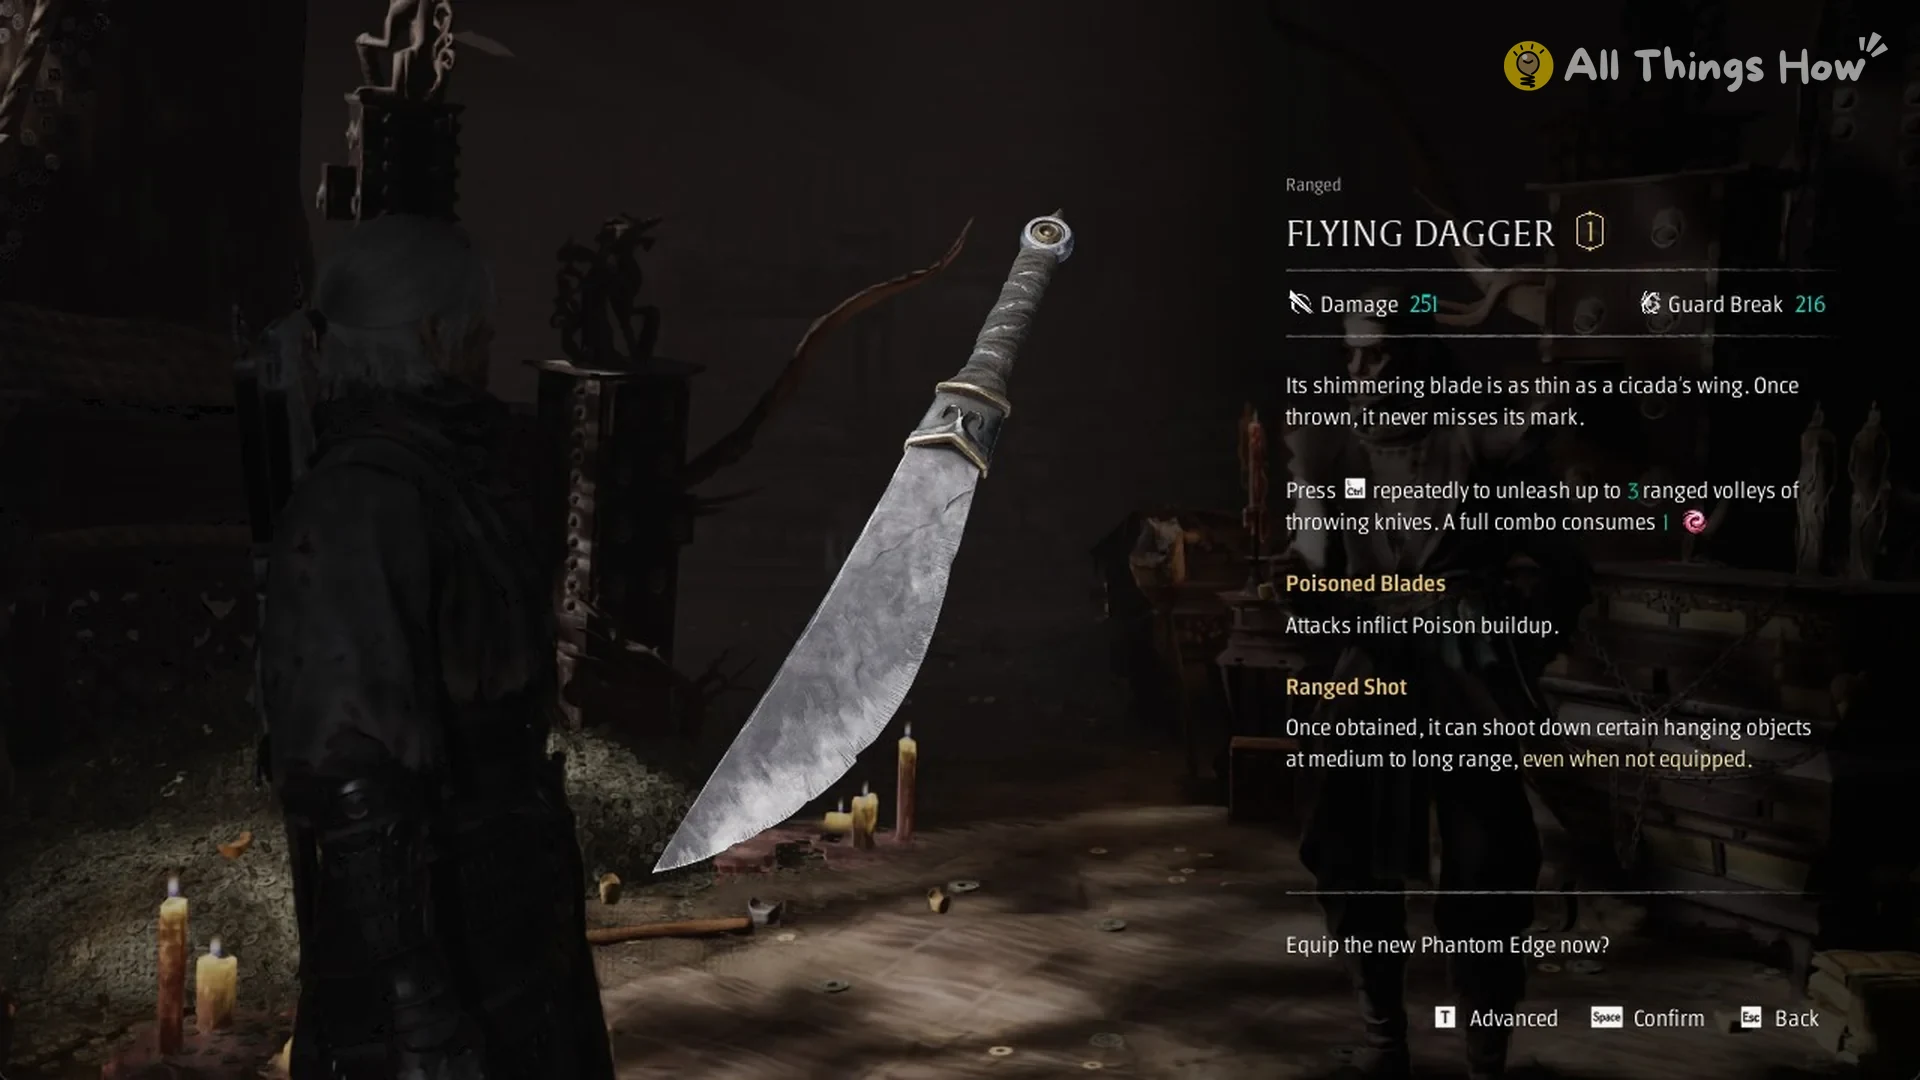
As thanks from his client, he passes you the Flying Dagger next. This ranged Phantom Edge has Damage 251 and Guard Break 216, and its Poisoned Blades art builds Poison with your attacks.
The handoff is complete when the objective “Deliver all the treasures from the Crimson Forest to Quick Hand Zhang” is struck off. That closes out the Crimson Forest part of Quick Hand’s Request.
Village of Lu treasures
Every other chest and collectible in the region is listed in the Village of Lu collectibles guide.
The relic list page is “LOST TREASURES IN VILLAGE OF LU”. The objectives are “Collect all the treasures in the Village of Lu” and then “Deliver all the treasures from the Village of Lu to Quick Hand Zhang”. Hand them in at the bell “Zhang’s Hideout (Village of Lu)”.
Wedding Candles
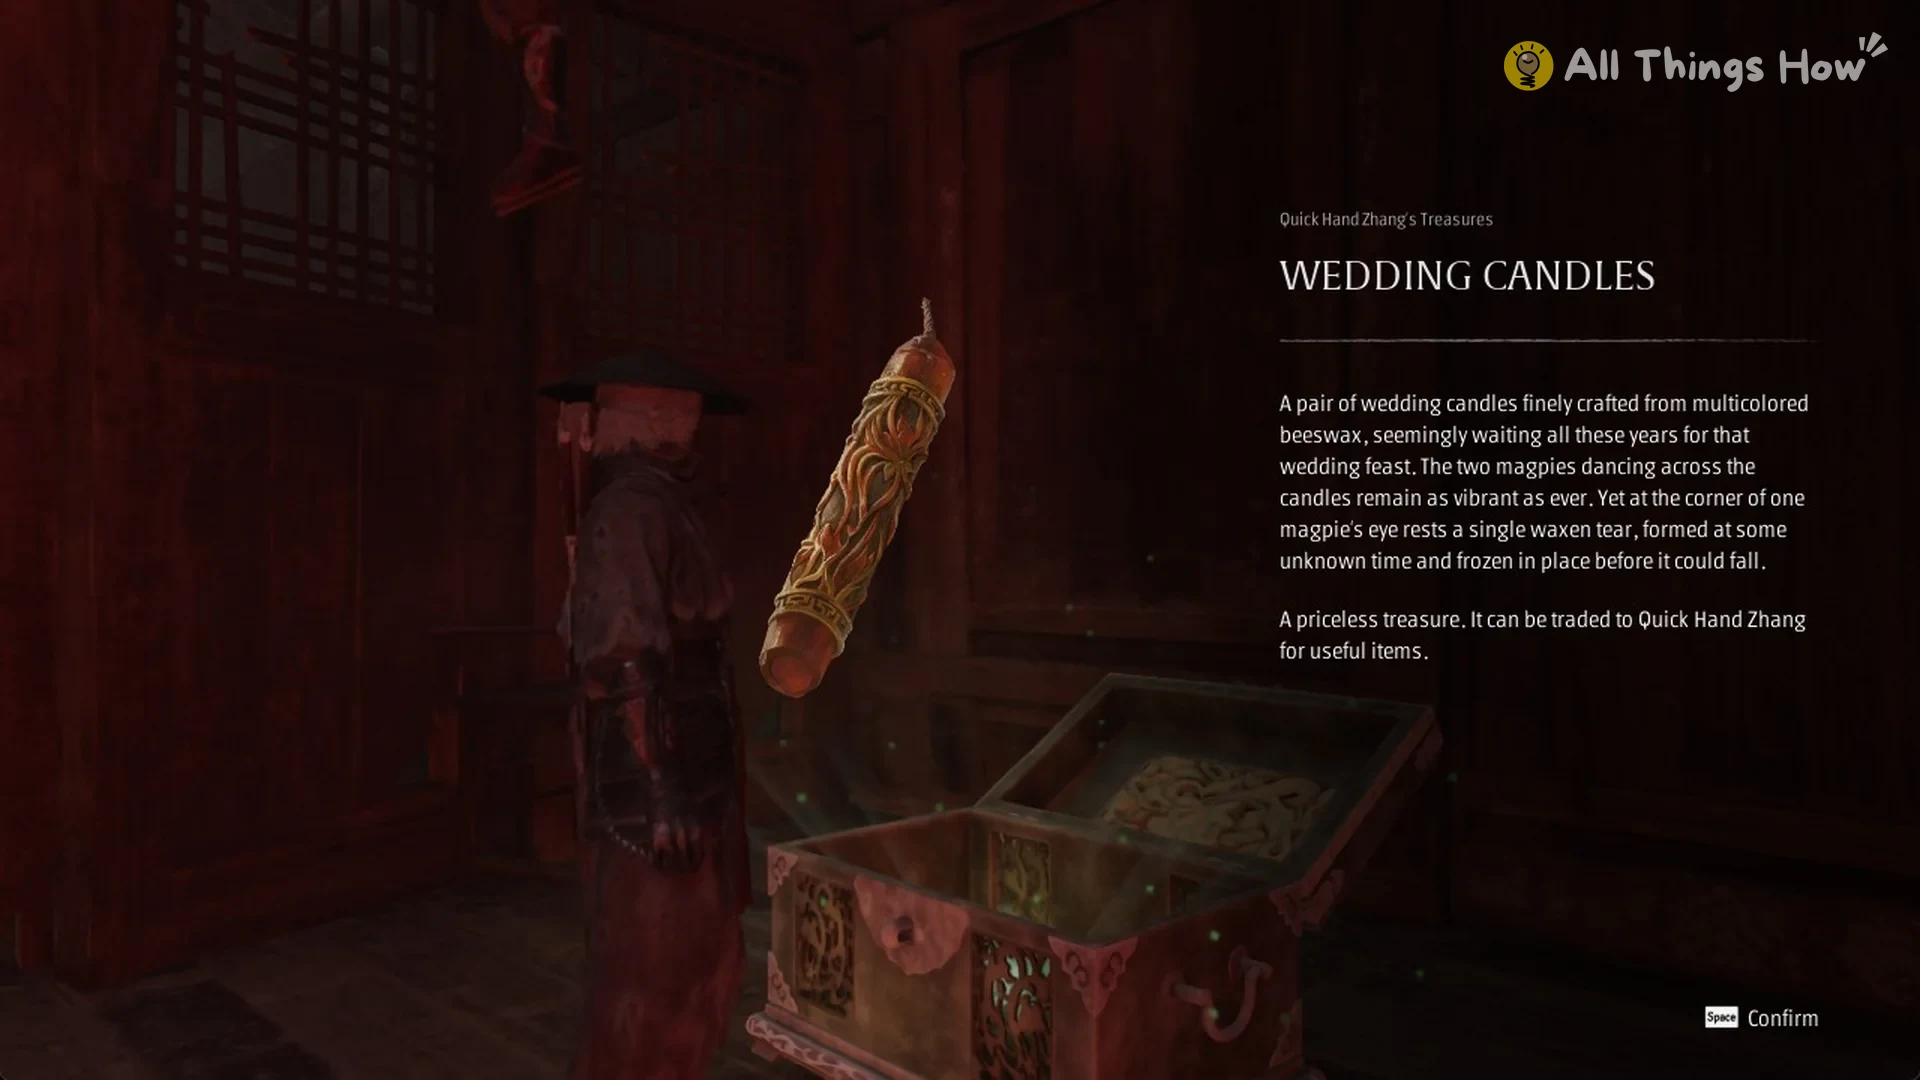
The chest is about 70 m from the Covered Bridge bell and sits about 13 m above it, in a small side room on the upper floor of the wooden hall above the bell, next to a bedroom with a canopy bed and red candles.
A pair of wedding candles finely crafted from multicolored beeswax, seemingly waiting all these years for that wedding feast. The two magpies dancing across the candles remain as vibrant as ever. Yet at the corner of one magpie’s eye rests a single waxen tear, formed at some unknown time and frozen in place before it could fall.
A priceless treasure. It can be traded to Quick Hand Zhang for useful items.
White Jade Twins
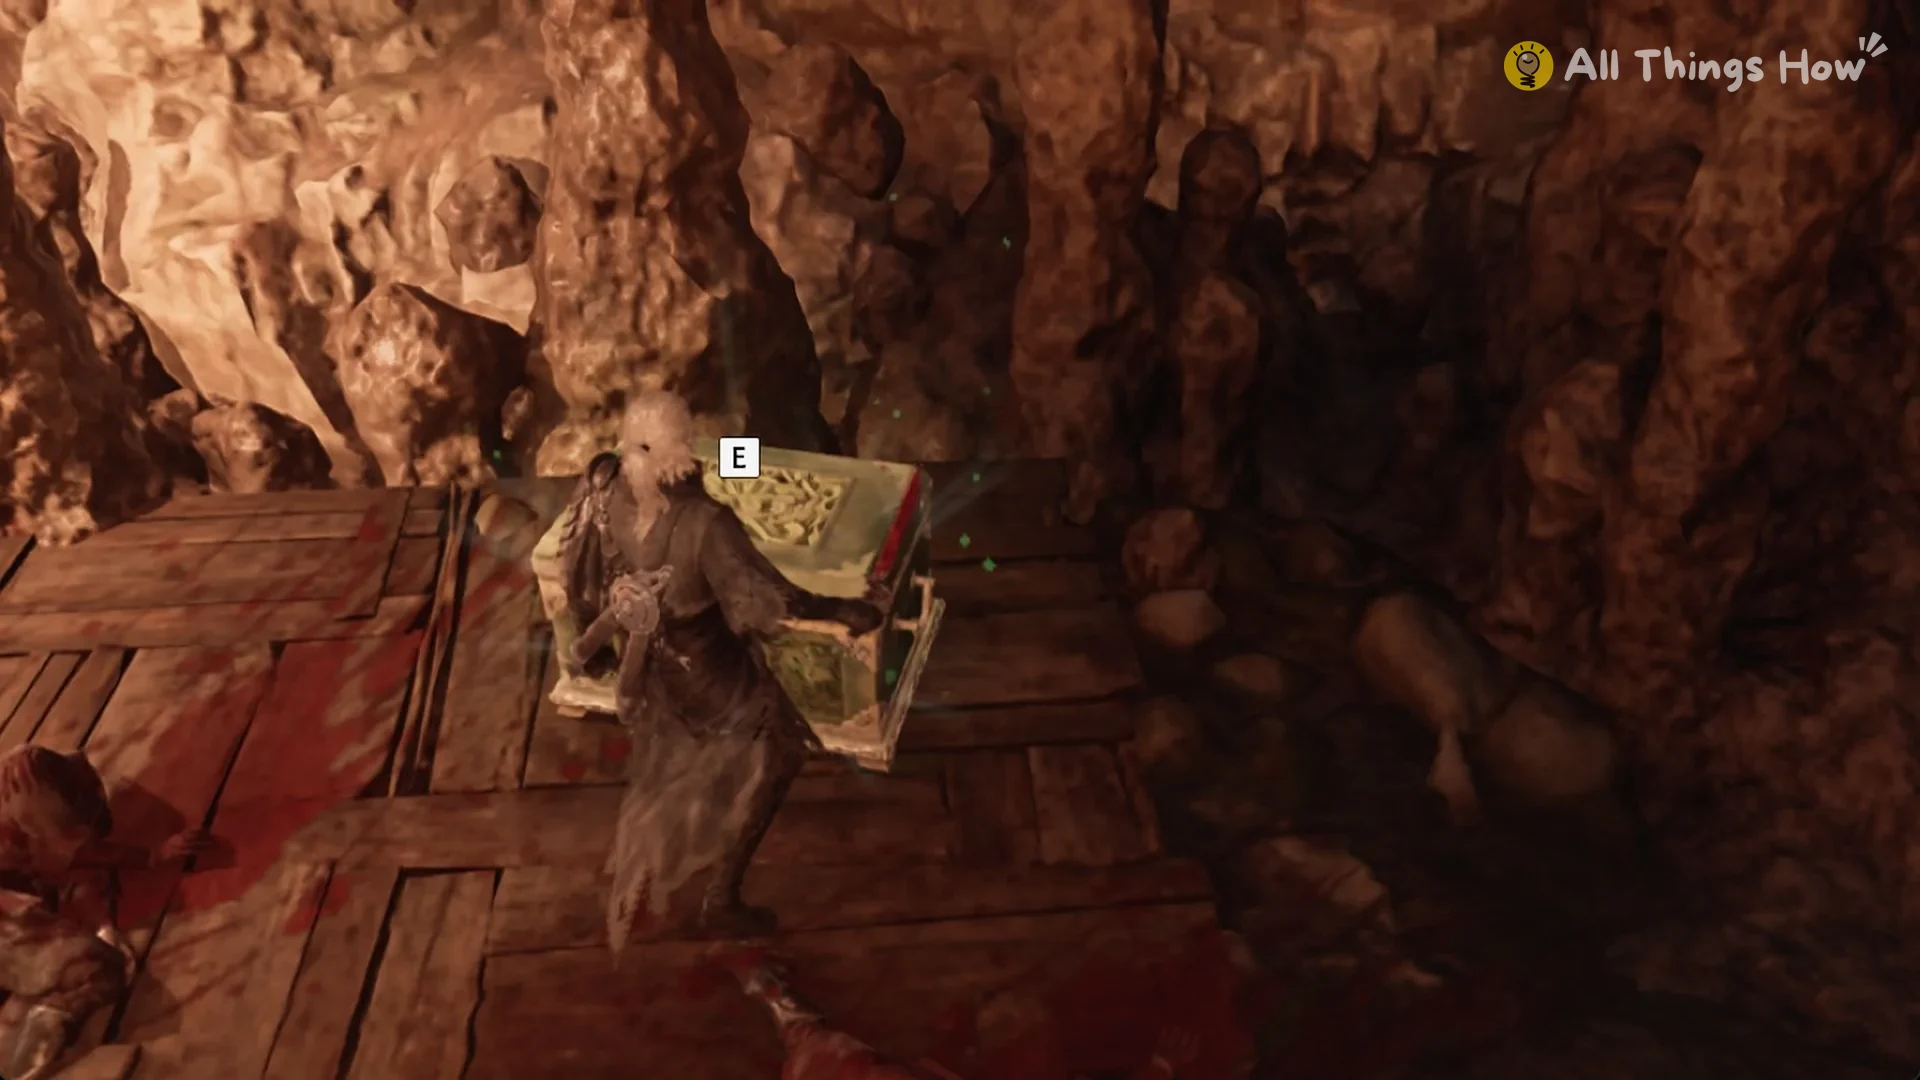
The chest is about 40 m from the Survivors’ Courtyard bell and sits about 30 m below it.
Leave the bell at Survivors’ Courtyard through the courtyard’s double gate, then traverse the upper yard. At the opposite side, take the ramp down to its endpoint at a rope ledge.
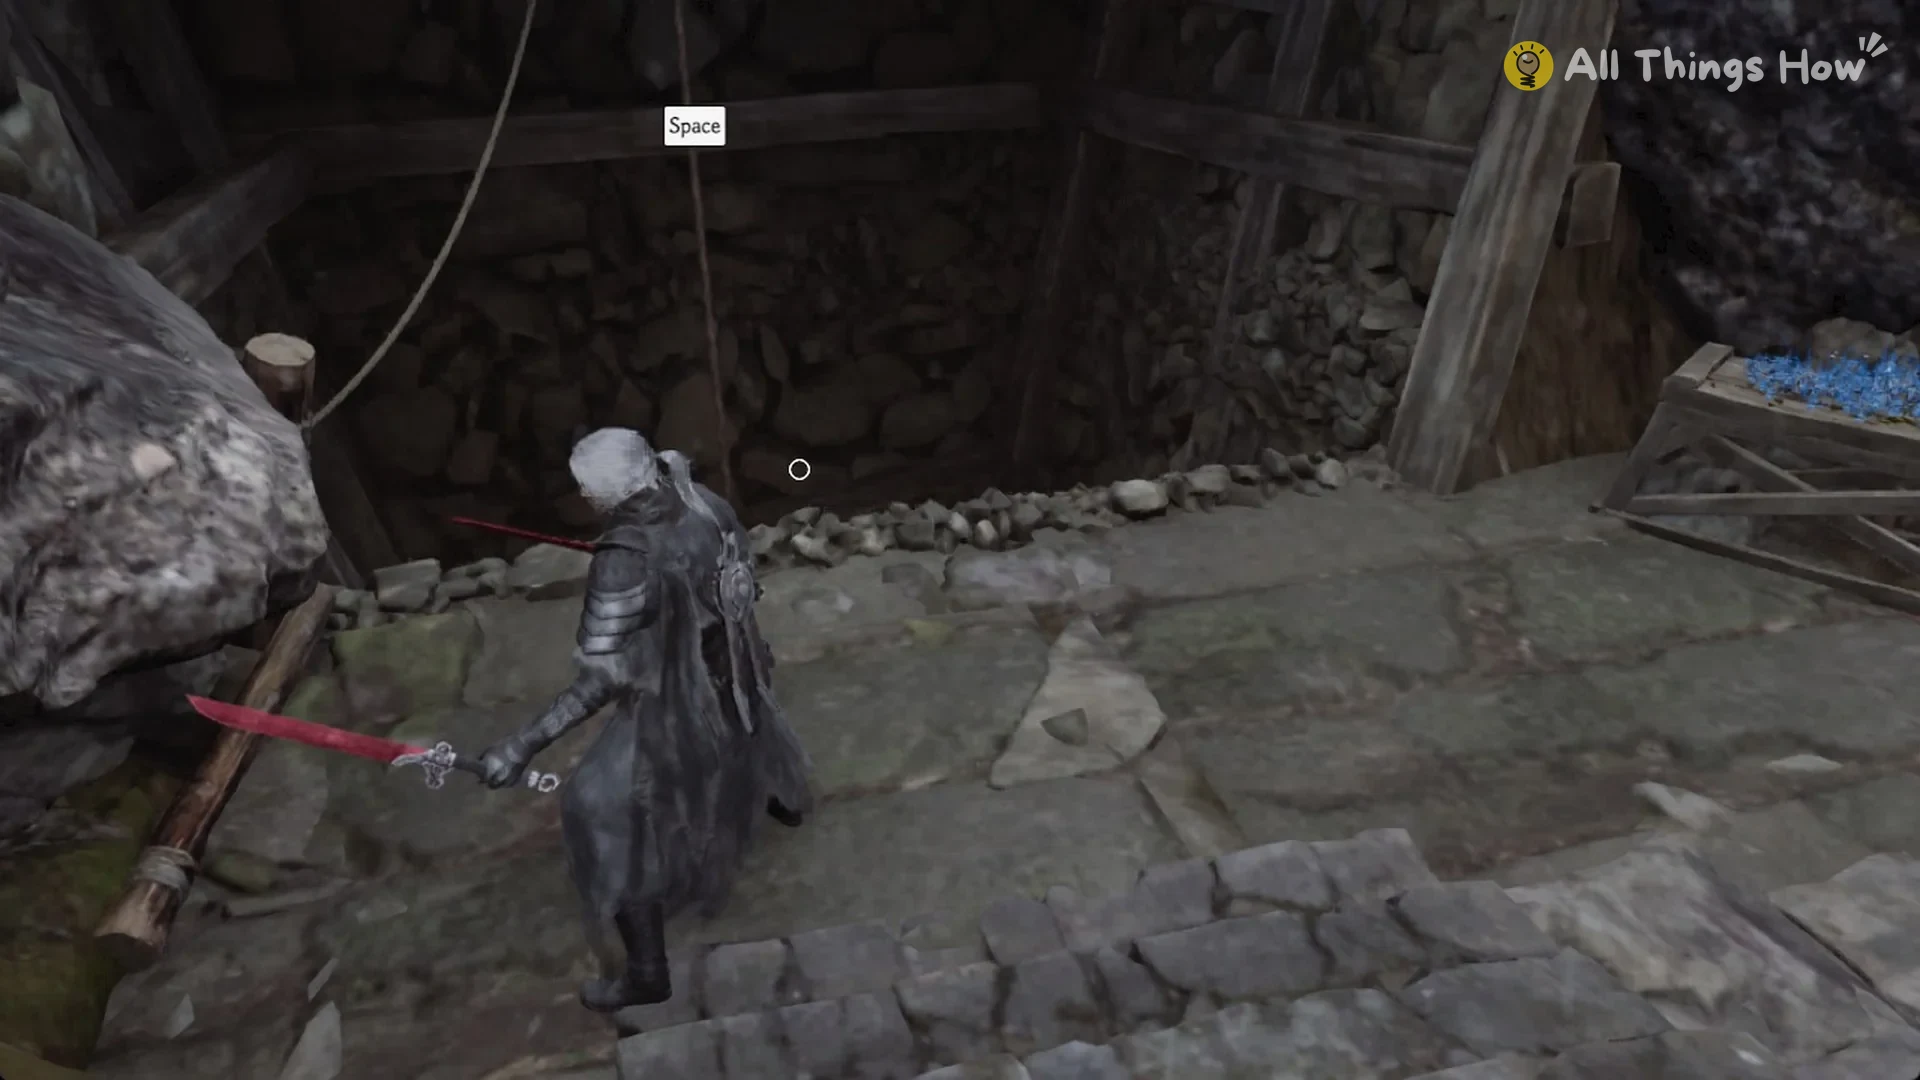
Watch your footing as you head for the rope: the upper yard beside the rope shaft has an unguarded edge. Step over it and you’ll fall into the pit and die.
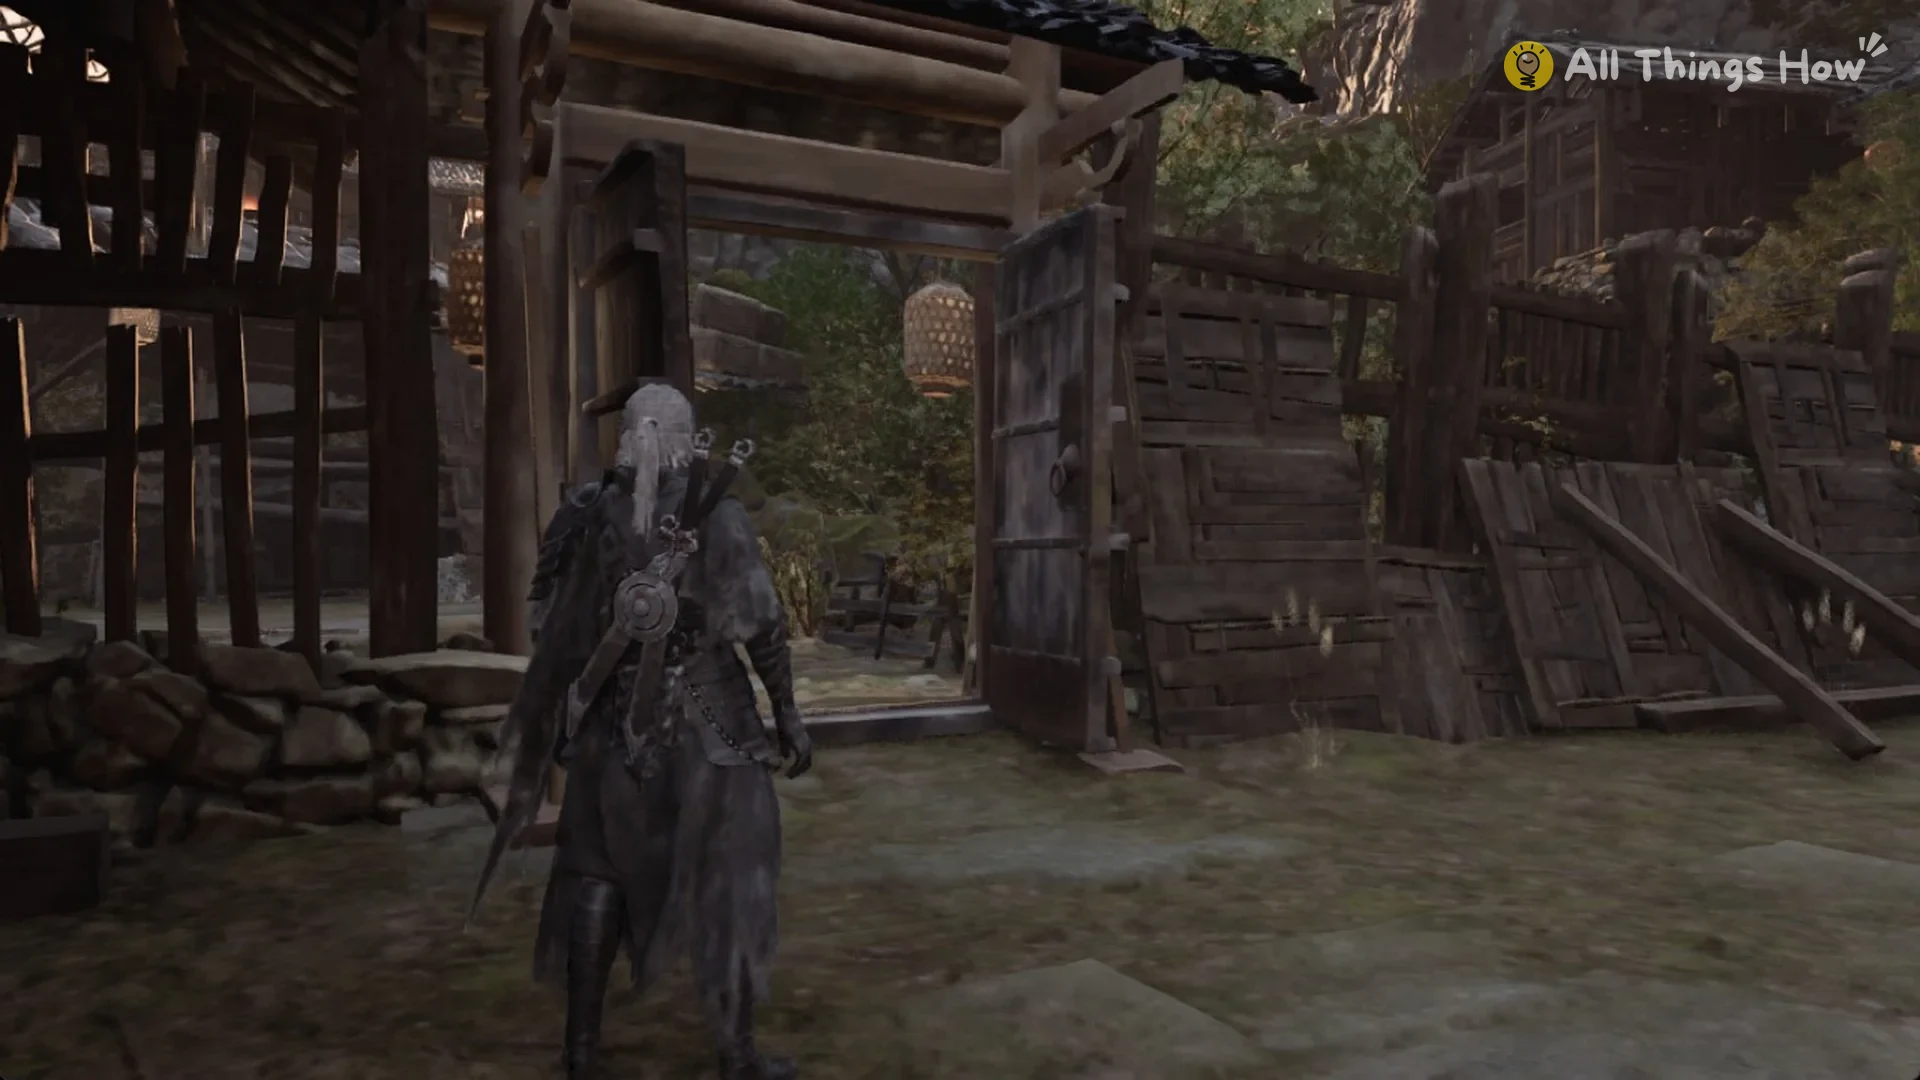
Press Space at the hanging rope to climb down. The drop runs about 23 m into a cave pit, and four Blackwater Crew Disciples carrying knives are waiting on the floor when you land.
The White Jade Twins sit in a jade chest on a plank platform in the cave pit below Survivors’ Courtyard.
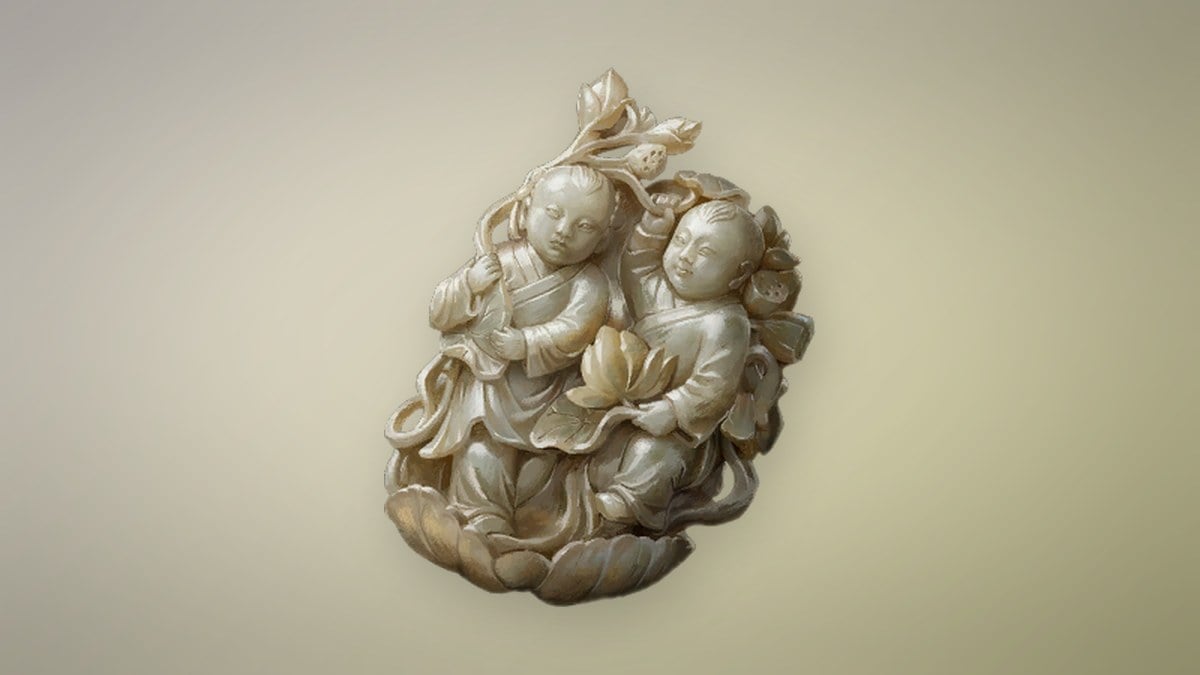
The same relic shows up under a different name on Quick Hand Zhang’s relic list, which records it as the Twin Jade Pendant.
A pendant intricately carved from fine white jade, depicting two cheerful children at play among lush lotus leaves, a traditional blessing for many generations of children. Passed down through the Lu family for generations, it ultimately came into the hands of a man who lived and died alone, without a wife or children.
A priceless treasure. It can be traded to Quick Hand Zhang for useful items.
Getting back out of the pit
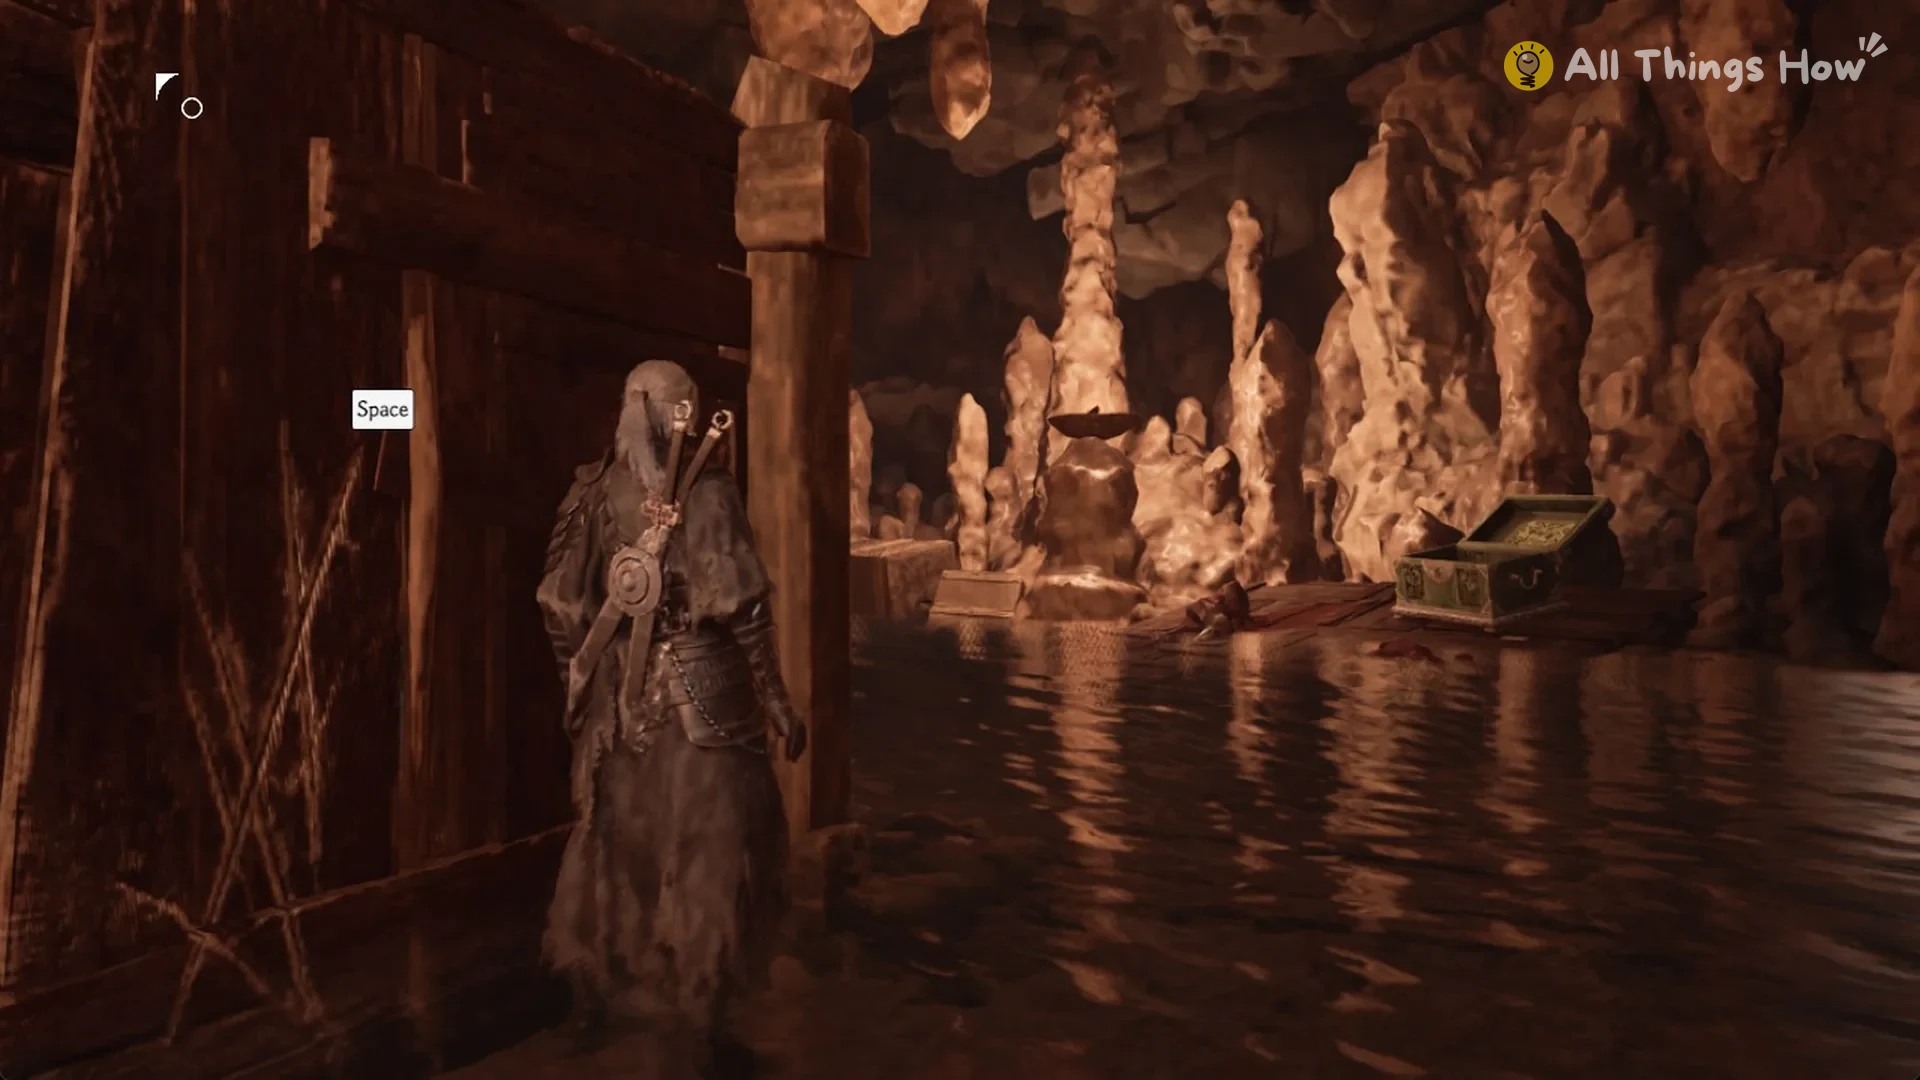
Head to the plank wall at the edge of the cave pit. When the prompt appears, press Space and your character runs up the planks.
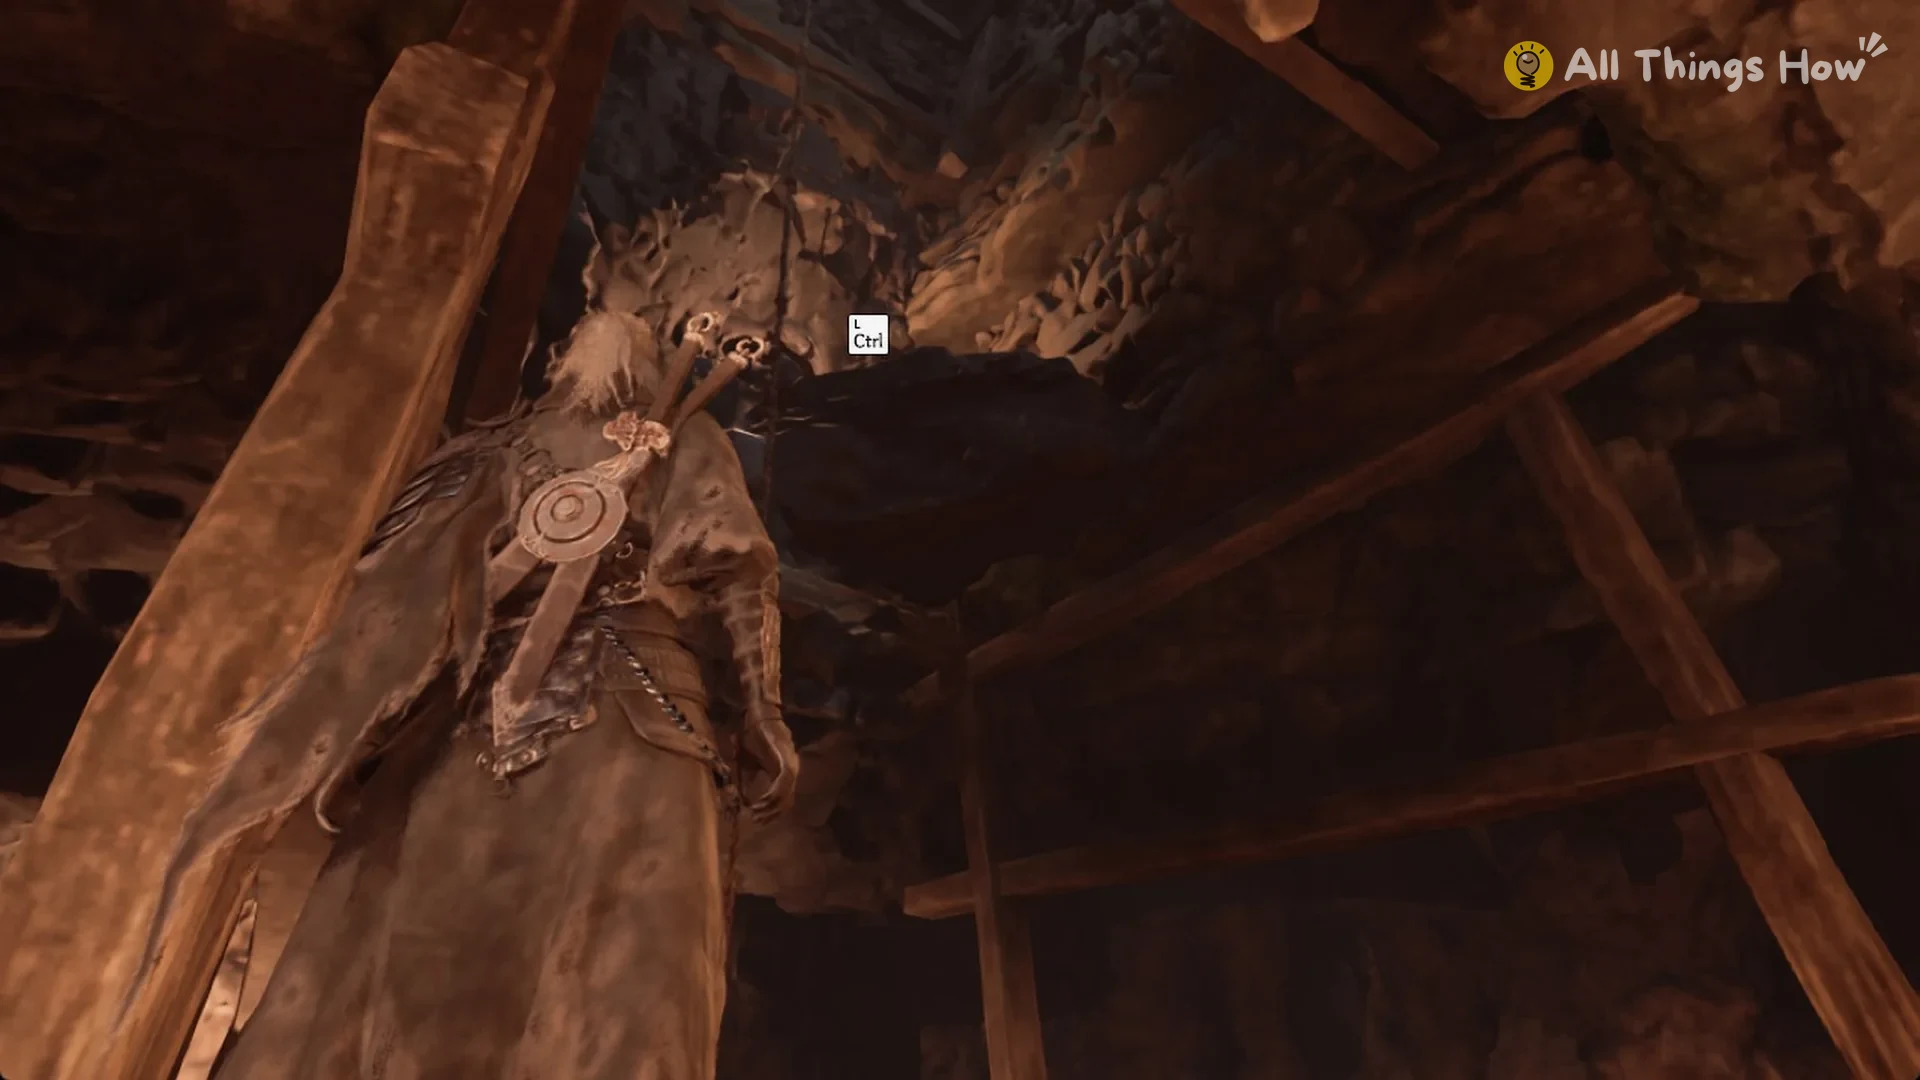
You finish the run on a ledge at the top of the wall. Look up the shaft to find the grapple point, then press L Ctrl to pull yourself higher.
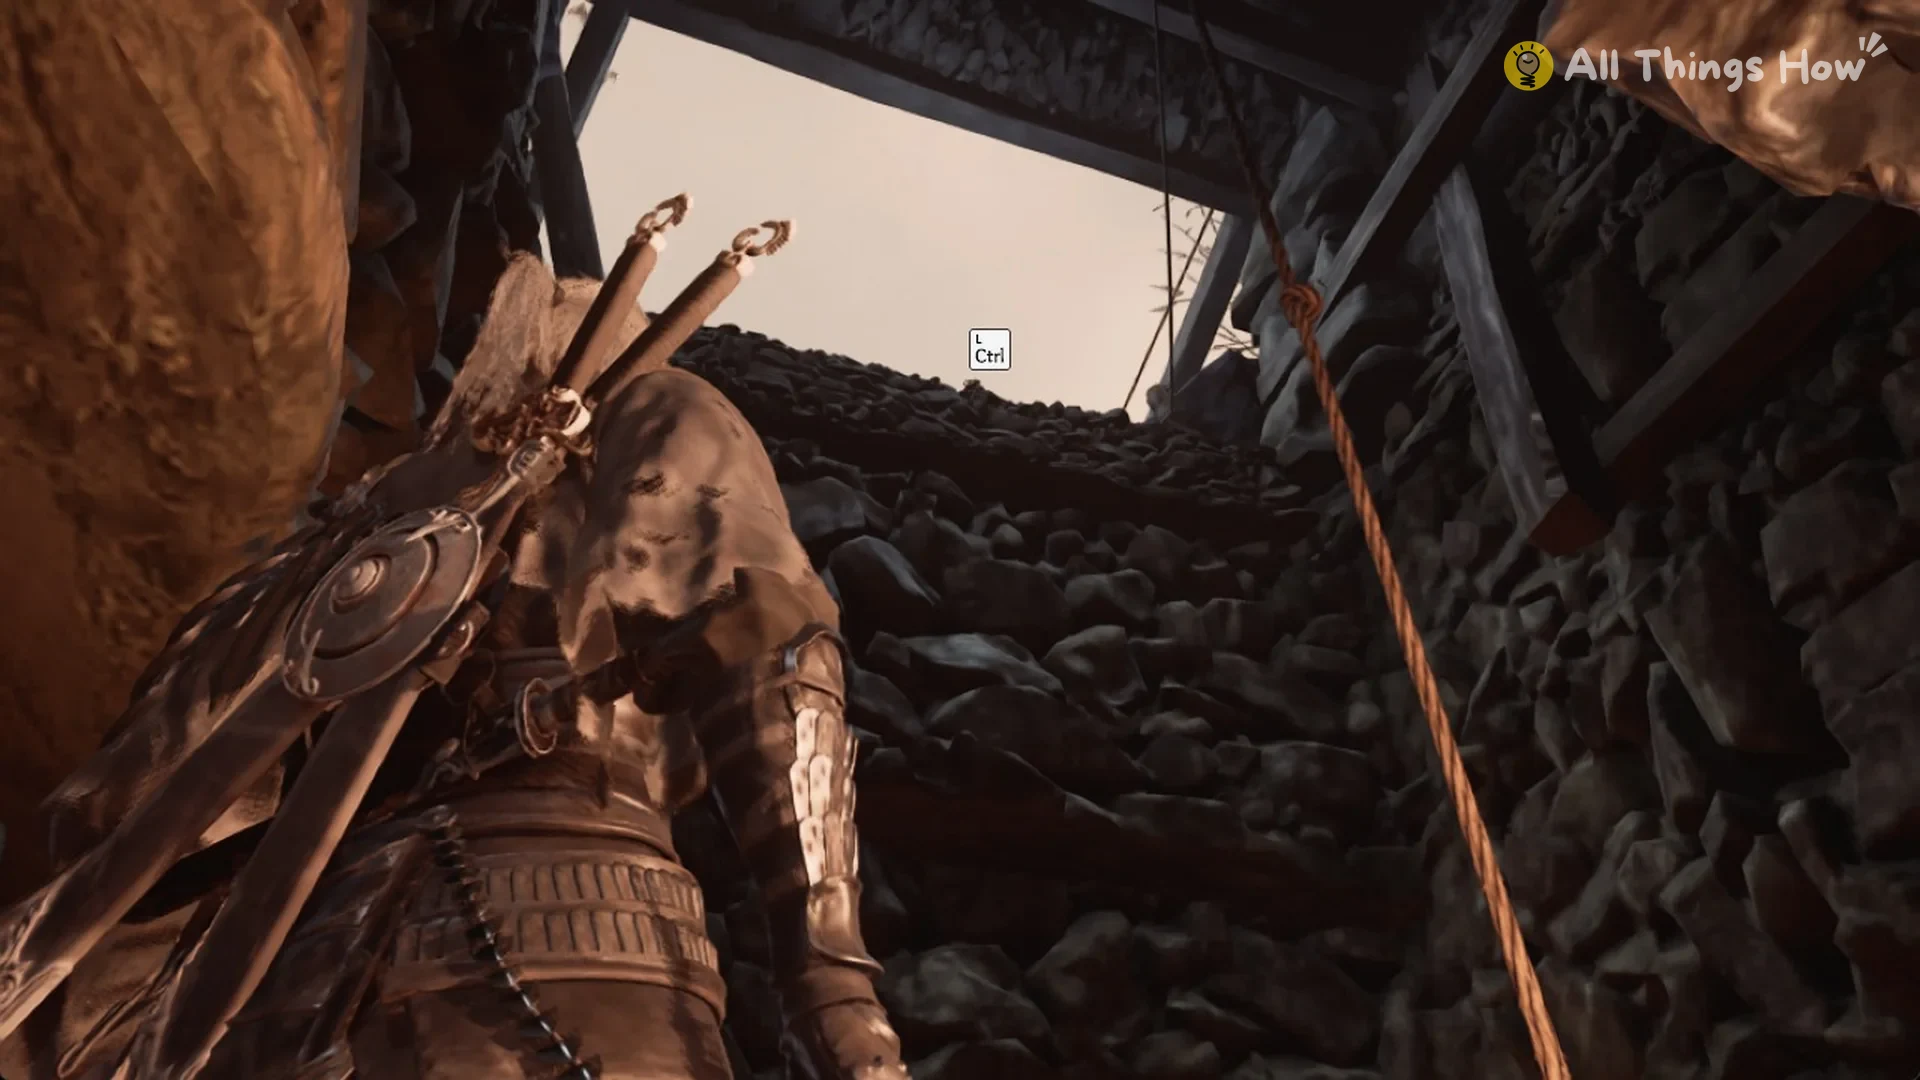
Once you land, look overhead for another grapple point. Press L Ctrl at the next grapple point to reach the rope ledge at the top of the ramp.
Unveiled Statue
The chest is about 26 m from The Lady Grounds bell and sits about 4 m above it.
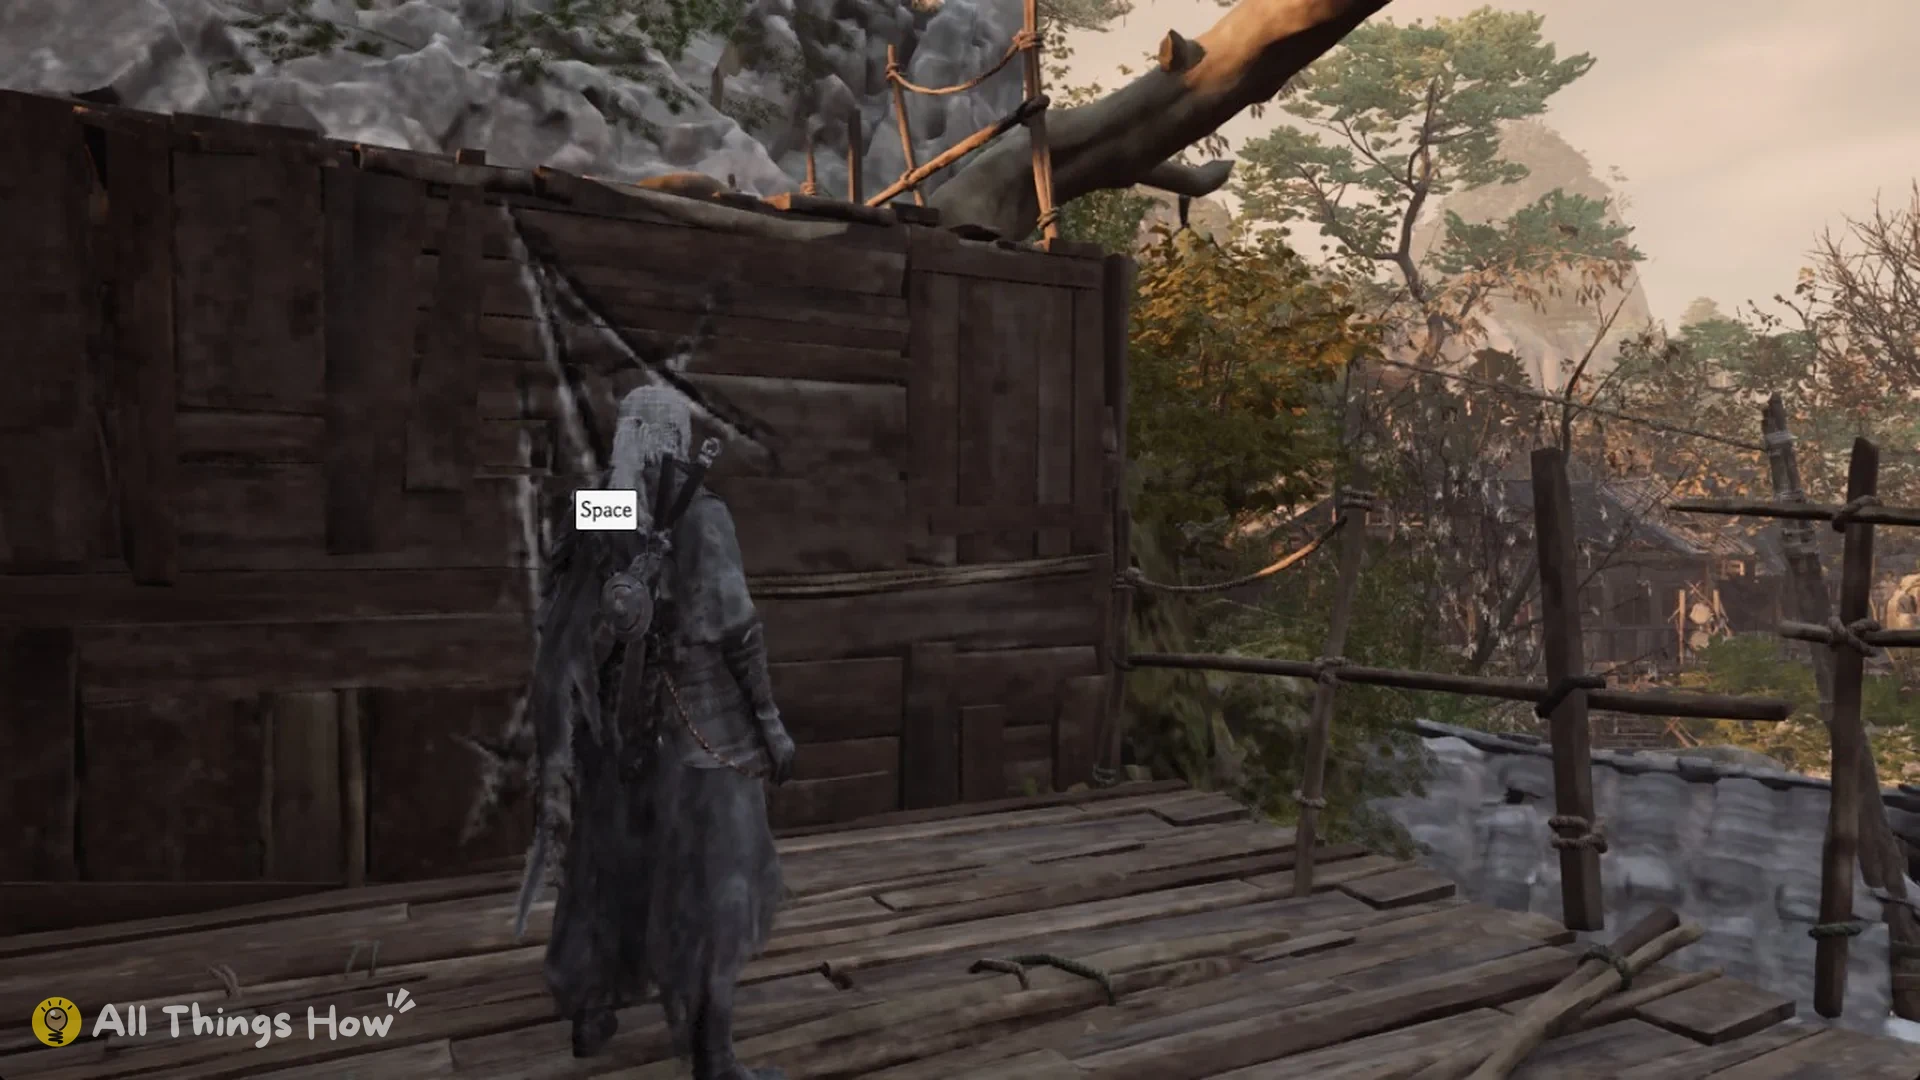
At The Lady Grounds bell, go to the yard’s plank deck and wall-run up its plank wall.
Follow the terrace until you see a jade chest among red shrubs, just below a small shrine. Open the chest to take the Unveiled Statue.
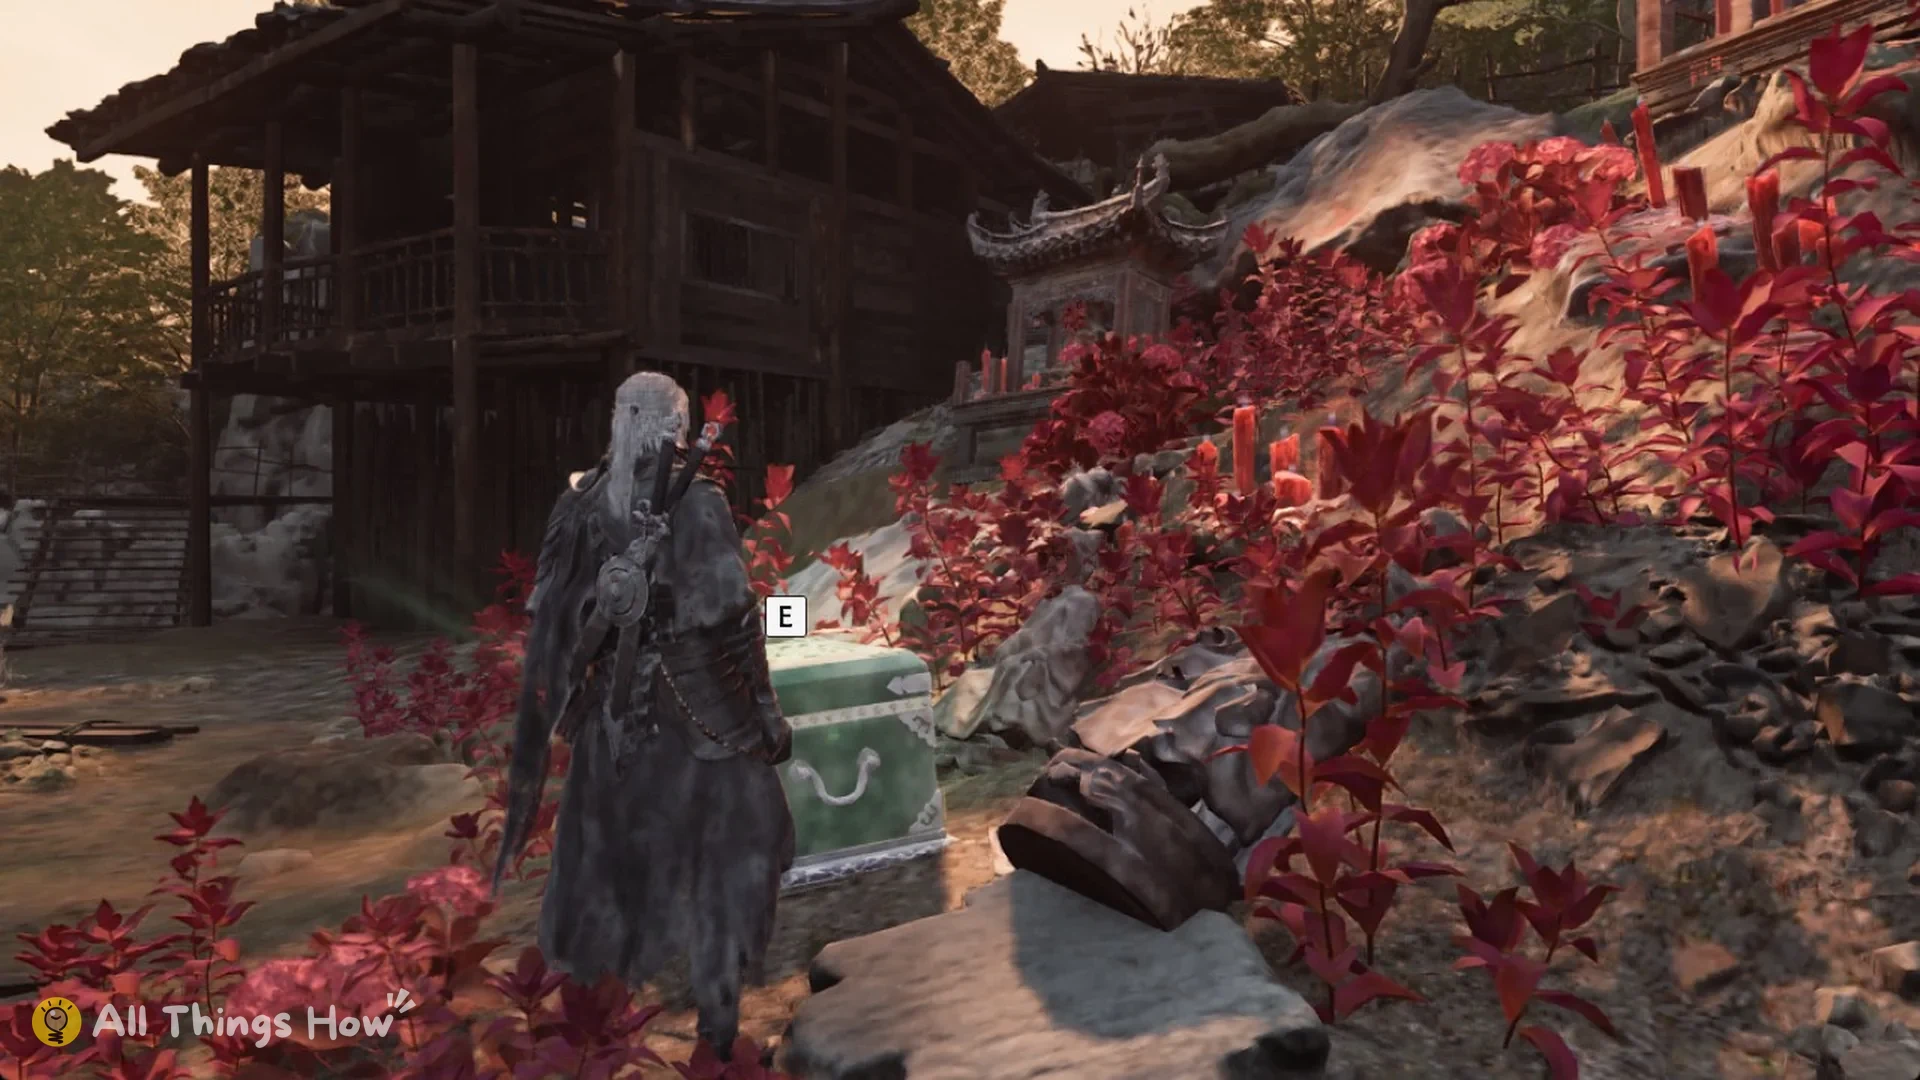
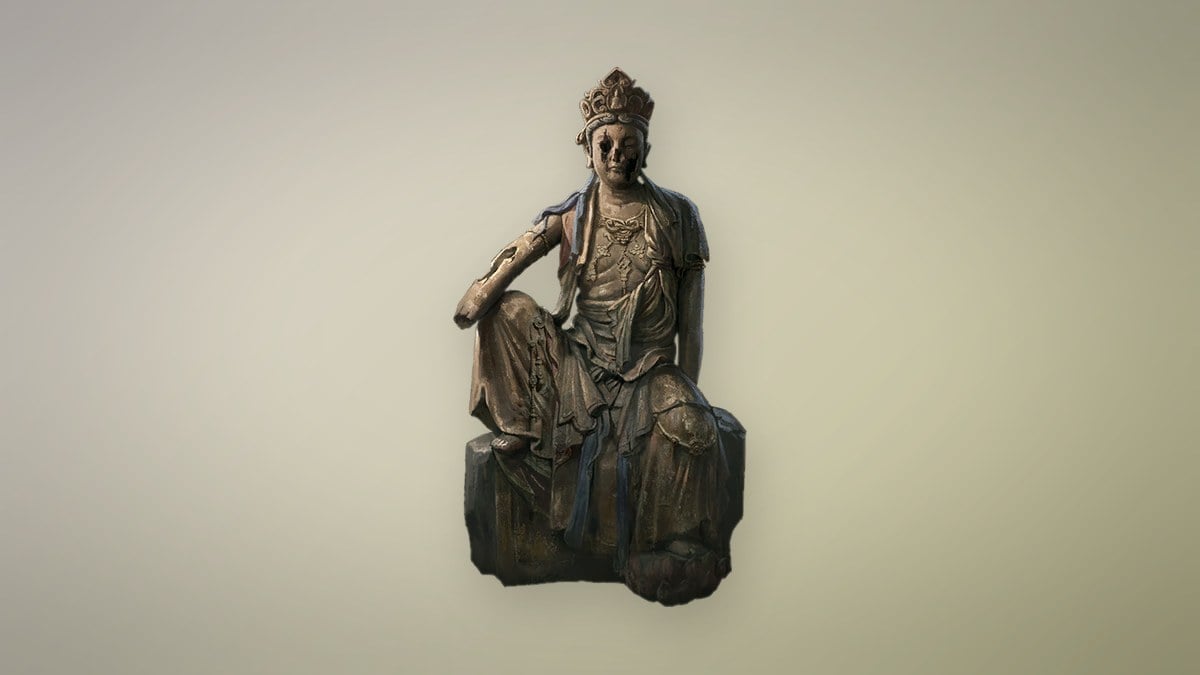
A seated Bodhisattva carved from a single piece of huanghuali wood, serene in posture with a compassionate gaze. The Lu Villagers have covered the faces of every other statue with red flowers, worshipping them as the “Lady of the Veil.” This one alone remains uncovered, bearing silent witness to an act of resistance.
A priceless treasure. It can be traded to Quick Hand Zhang for useful items.
Meigu Lake treasures
Every other chest and collectible in the region is listed in the Meigu Lake collectibles guide.
The relic list is titled “LOST TREASURES OF MEIGU LAKE”. Its objectives are “Collect all the treasures in Meigu Lake”, followed by “Deliver all the treasures from Meigu Lake to Quick Hand Zhang”. Make the hand-in at the bell “Zhang’s Hideout (Meigu Village)”. Both the Sundial of Impermanence and the Blight Astrolabe are located in the lake’s ruins area.
Sundial of Impermanence
You won’t find the chest by searching Meigu Lake itself. Go to the Four Guardians’ Mirror and press E to cross into the snowy Phantom Illusionist Ruins. The chest waits in a green-lit pavilion at the top of the stairs, directly above Petal III of the Memory Flower of the Forbidden Blight Scripture.
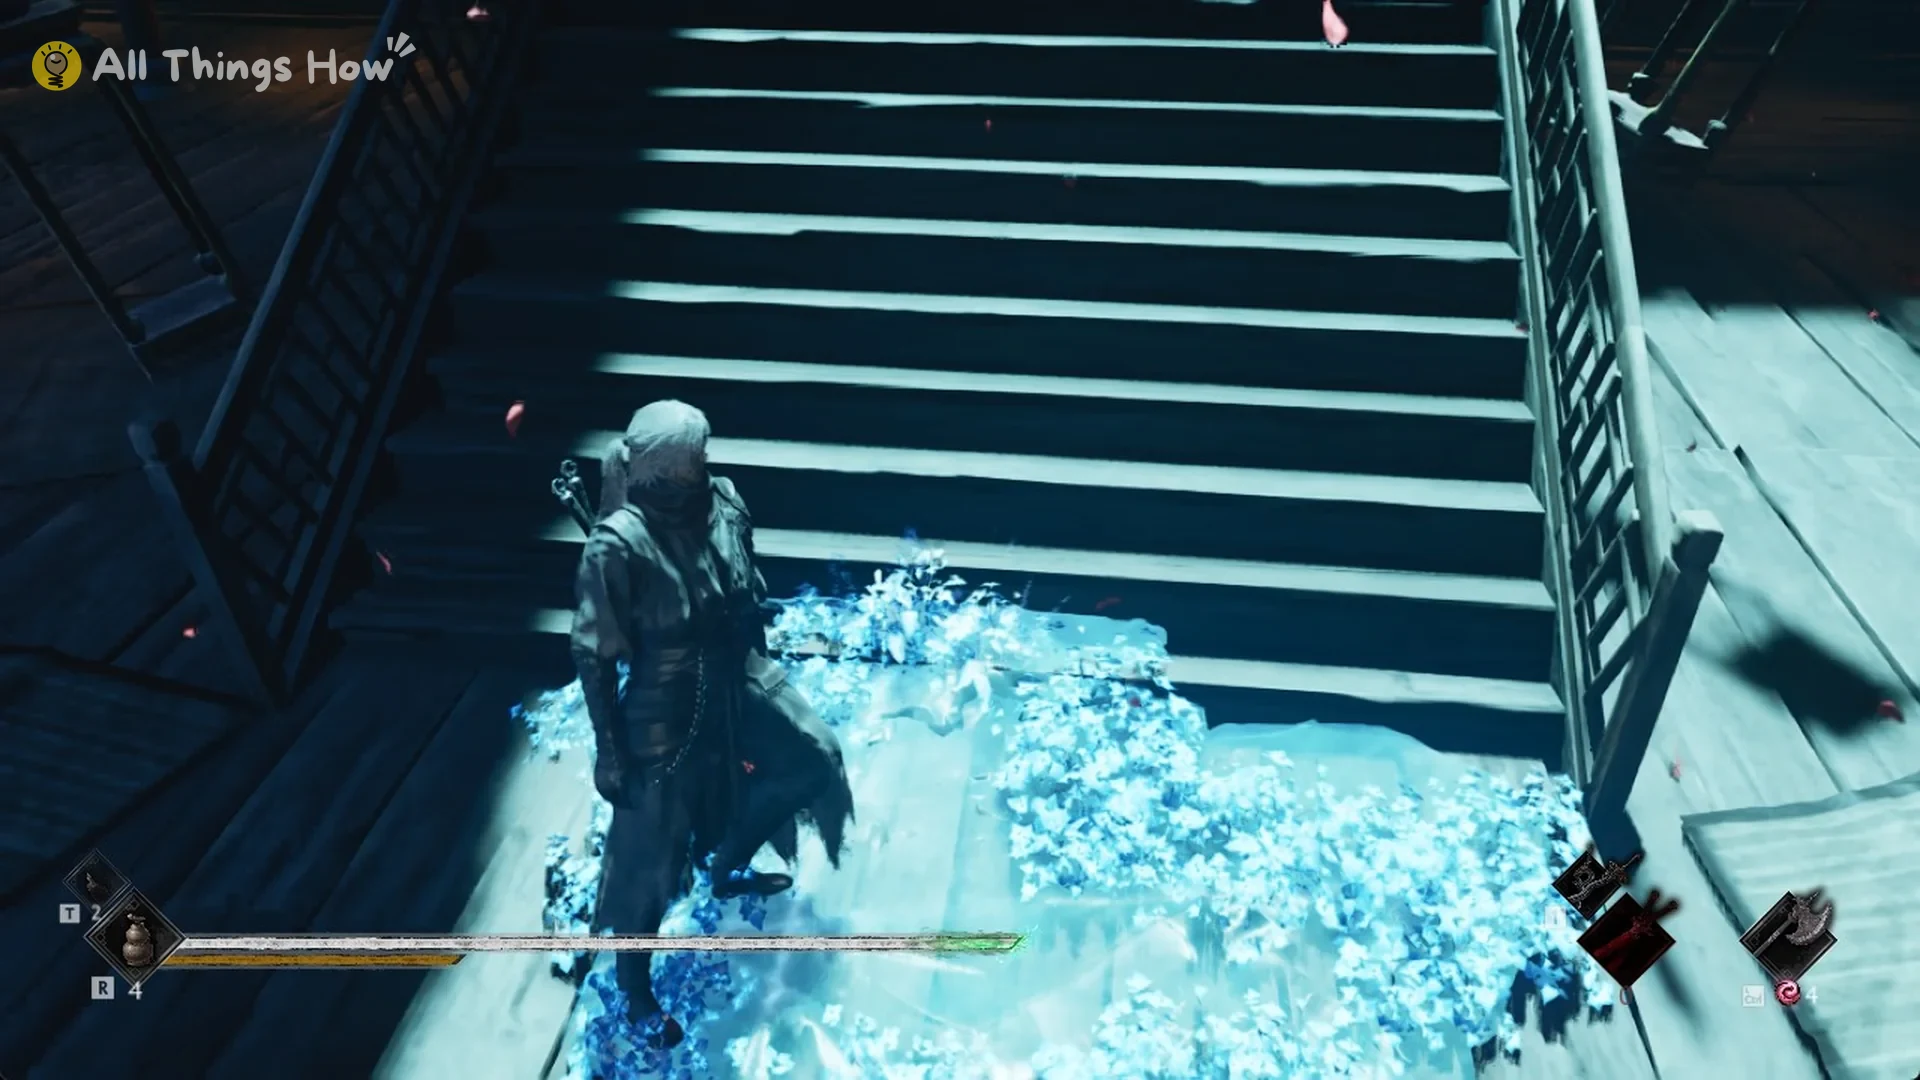
Start at the Phantom Illusionist Ruins bell under the big red-leaf tree. Take two chain swings and two slides to reach the wrecked ship frozen in the ice. Walk the deck to its broken end, then ride the rope down to the lit plaza. You can’t come back the same way, because this route only runs one way.
Start in the plaza, go up to the elevated walkway, and follow it to the blue flower bed. Climb the stairs for roughly 27 m to the pavilion. Enter the room immediately to the doorway’s left to find the chest.
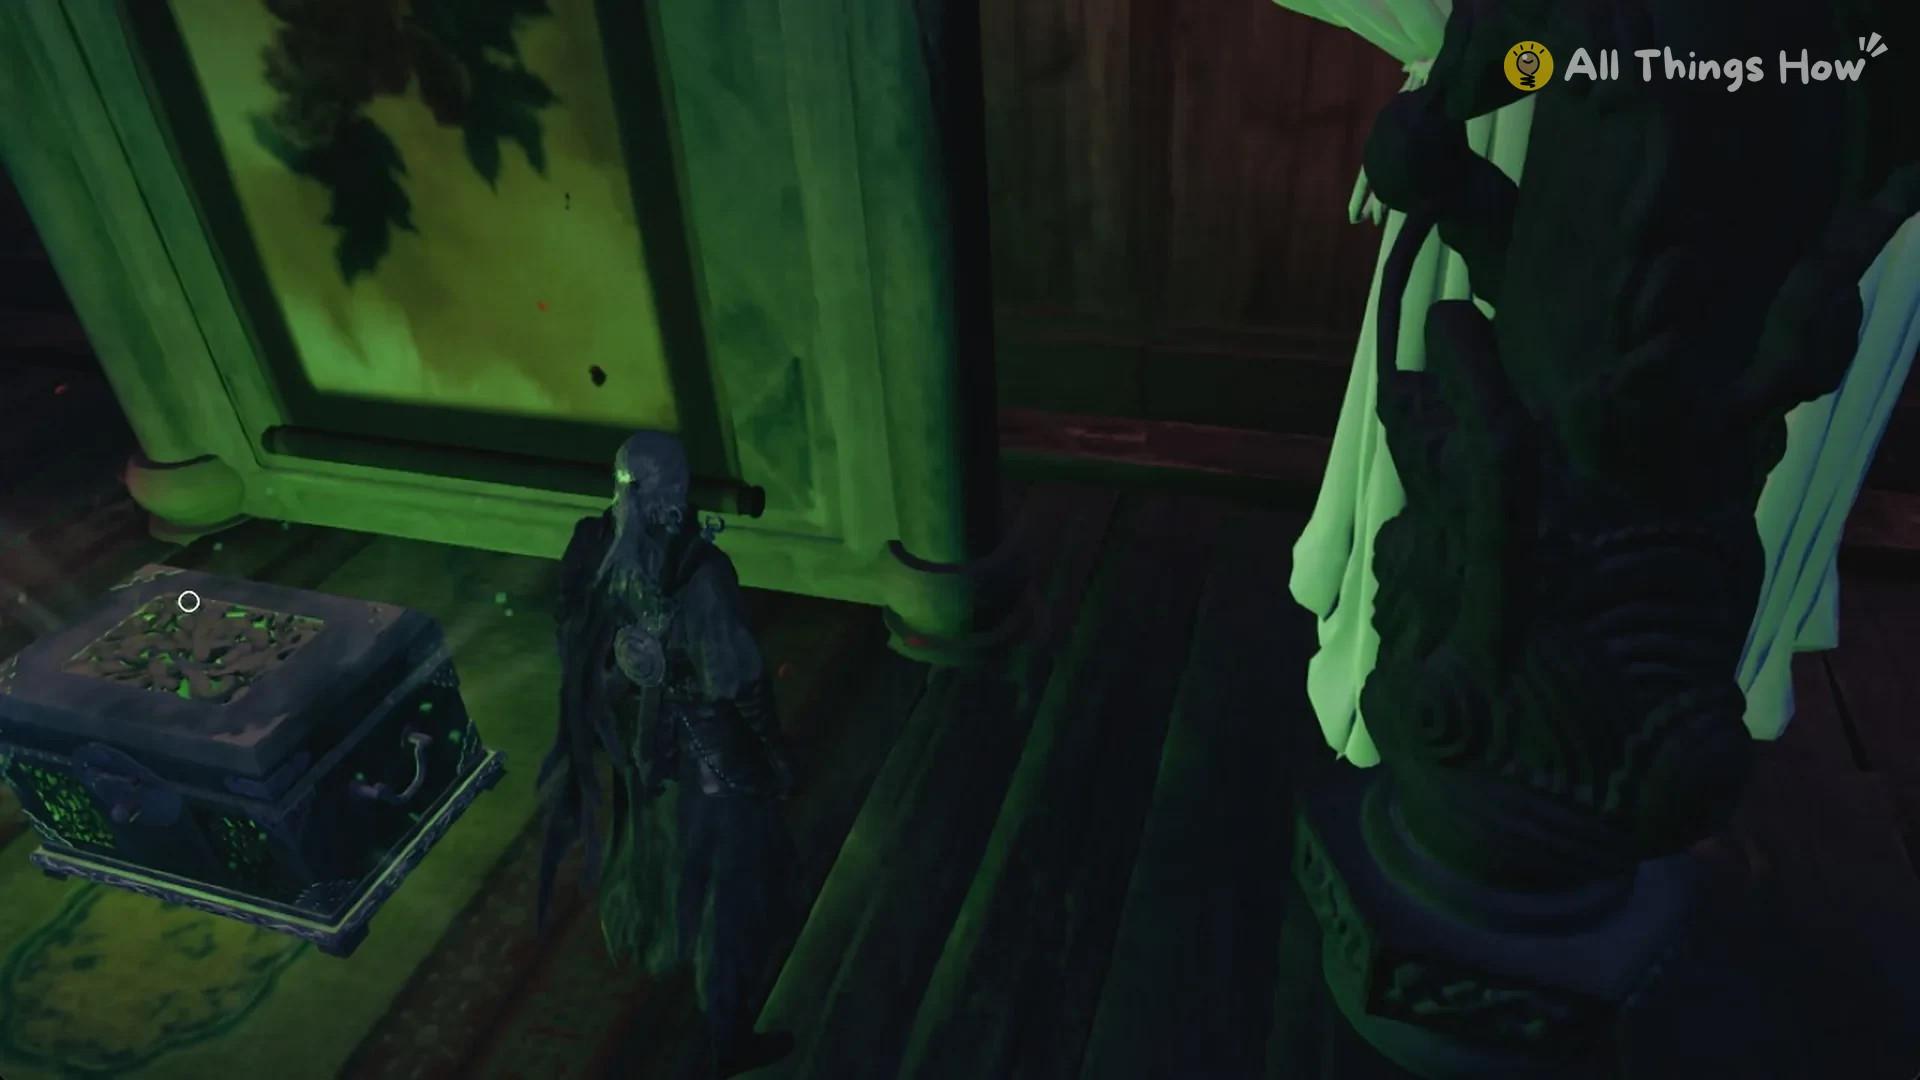
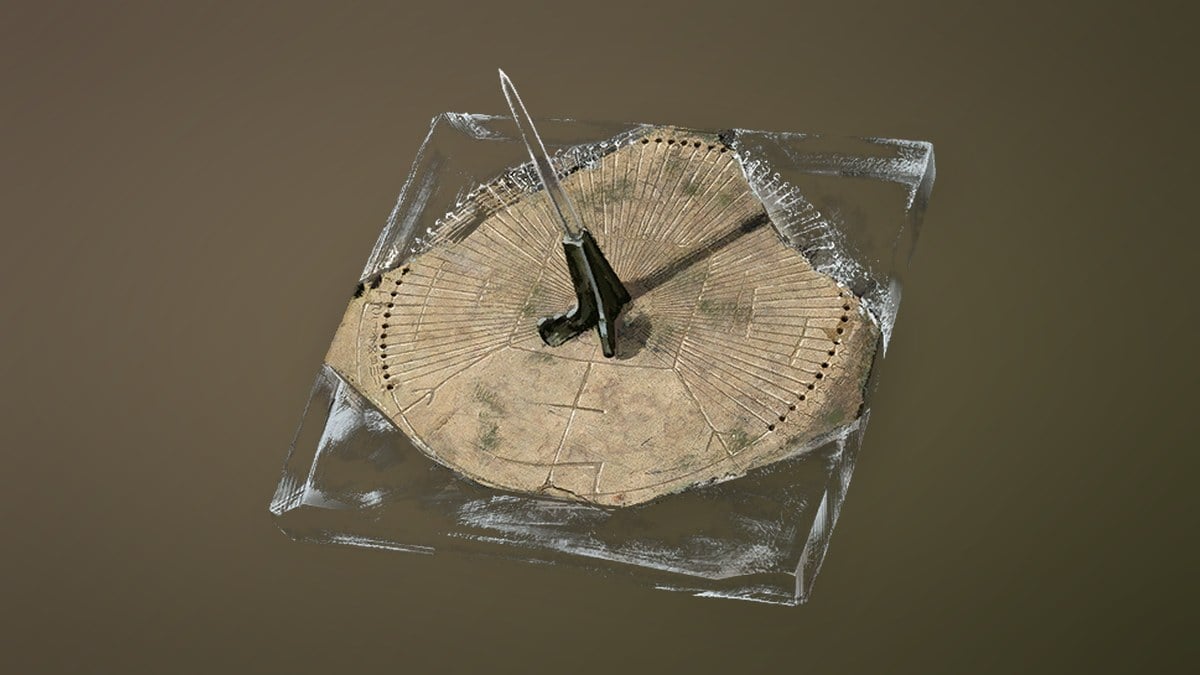
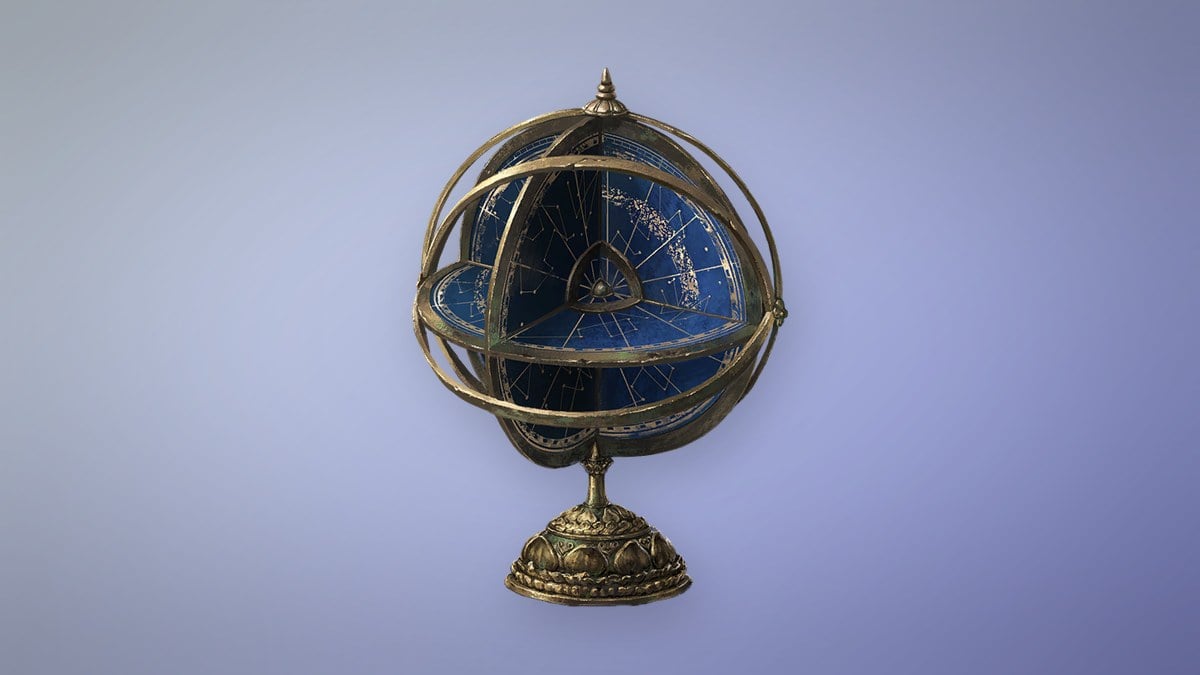
No one knows whose work it was, but the missing sections of the sundial were repaired with inlaid crystal. It does not measure time. It divines fate. And seeing where fate leads is not always a blessing.
A priceless treasure. It can be traded to Quick Hand Zhang for useful items.
Blight Astrolabe
Meigu Lake’s water isn’t where the chest is; look instead in the snowy upper section of the Phantom Illusionist Ruins, reached through the Four Guardians’ Mirror.
The chest is roughly 67 m from the closest Phantom Illusionist Ruins bell when measured in a straight line. It sits at nearly the bell’s elevation, so there’s no need to search far above or below it.
Reaching the Blight Astrolabe chest
Begin at the upper Phantom Illusionist Ruins bell, the one above the chain slide, and press Space to wall-run up the box next to it.
Cross the boxes and land on a red coffin platform below. At the suspended chain, press Space to swing across to another coffin platform.
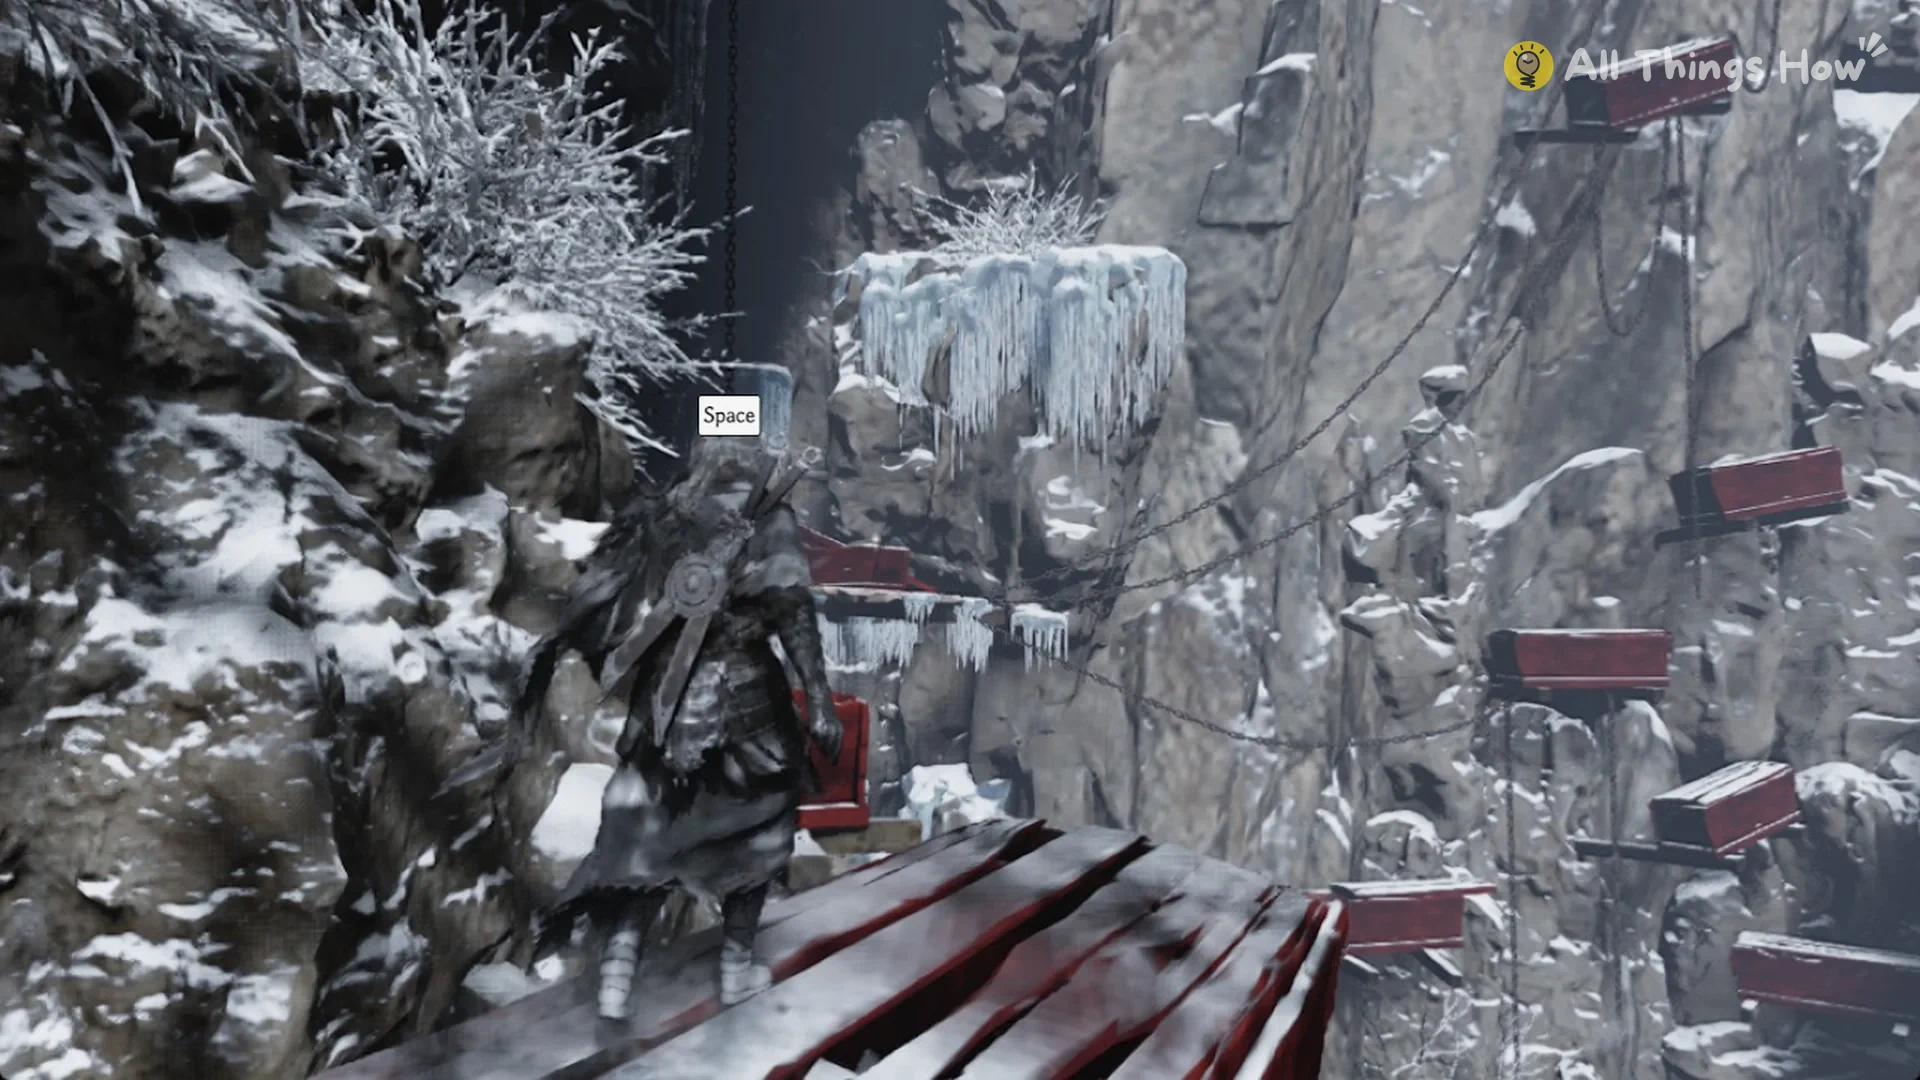
Continue along the snowy ledge; on a stone slab across an icy crevice, you’ll find a green ancient chest.
The crevice is too dangerous to jump; the fall is fatal. Go right beyond the red coffin, then circle around to reach the slab.
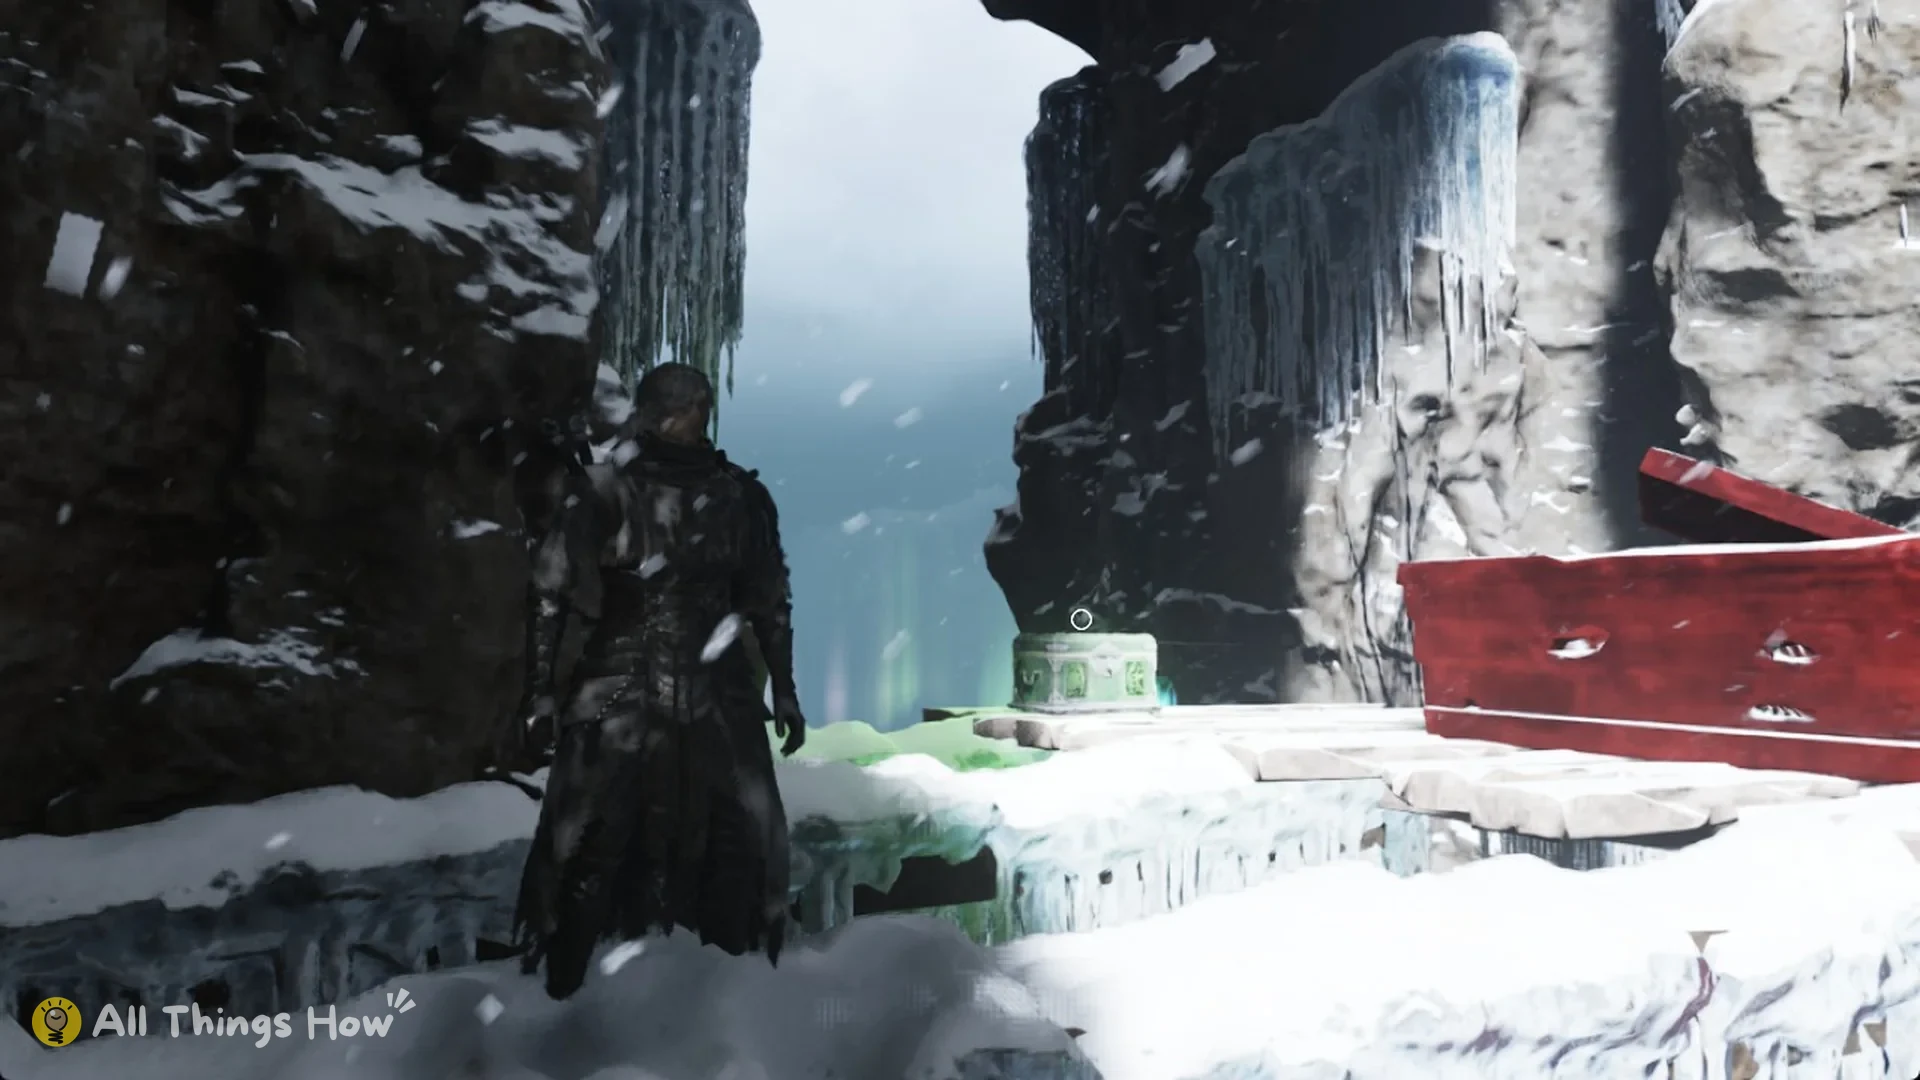
Open the chest with E. The card that appears displays “Quick Hand Zhang’s Treasures” and “BLIGHT ASTROLABE”, confirming the pickup.
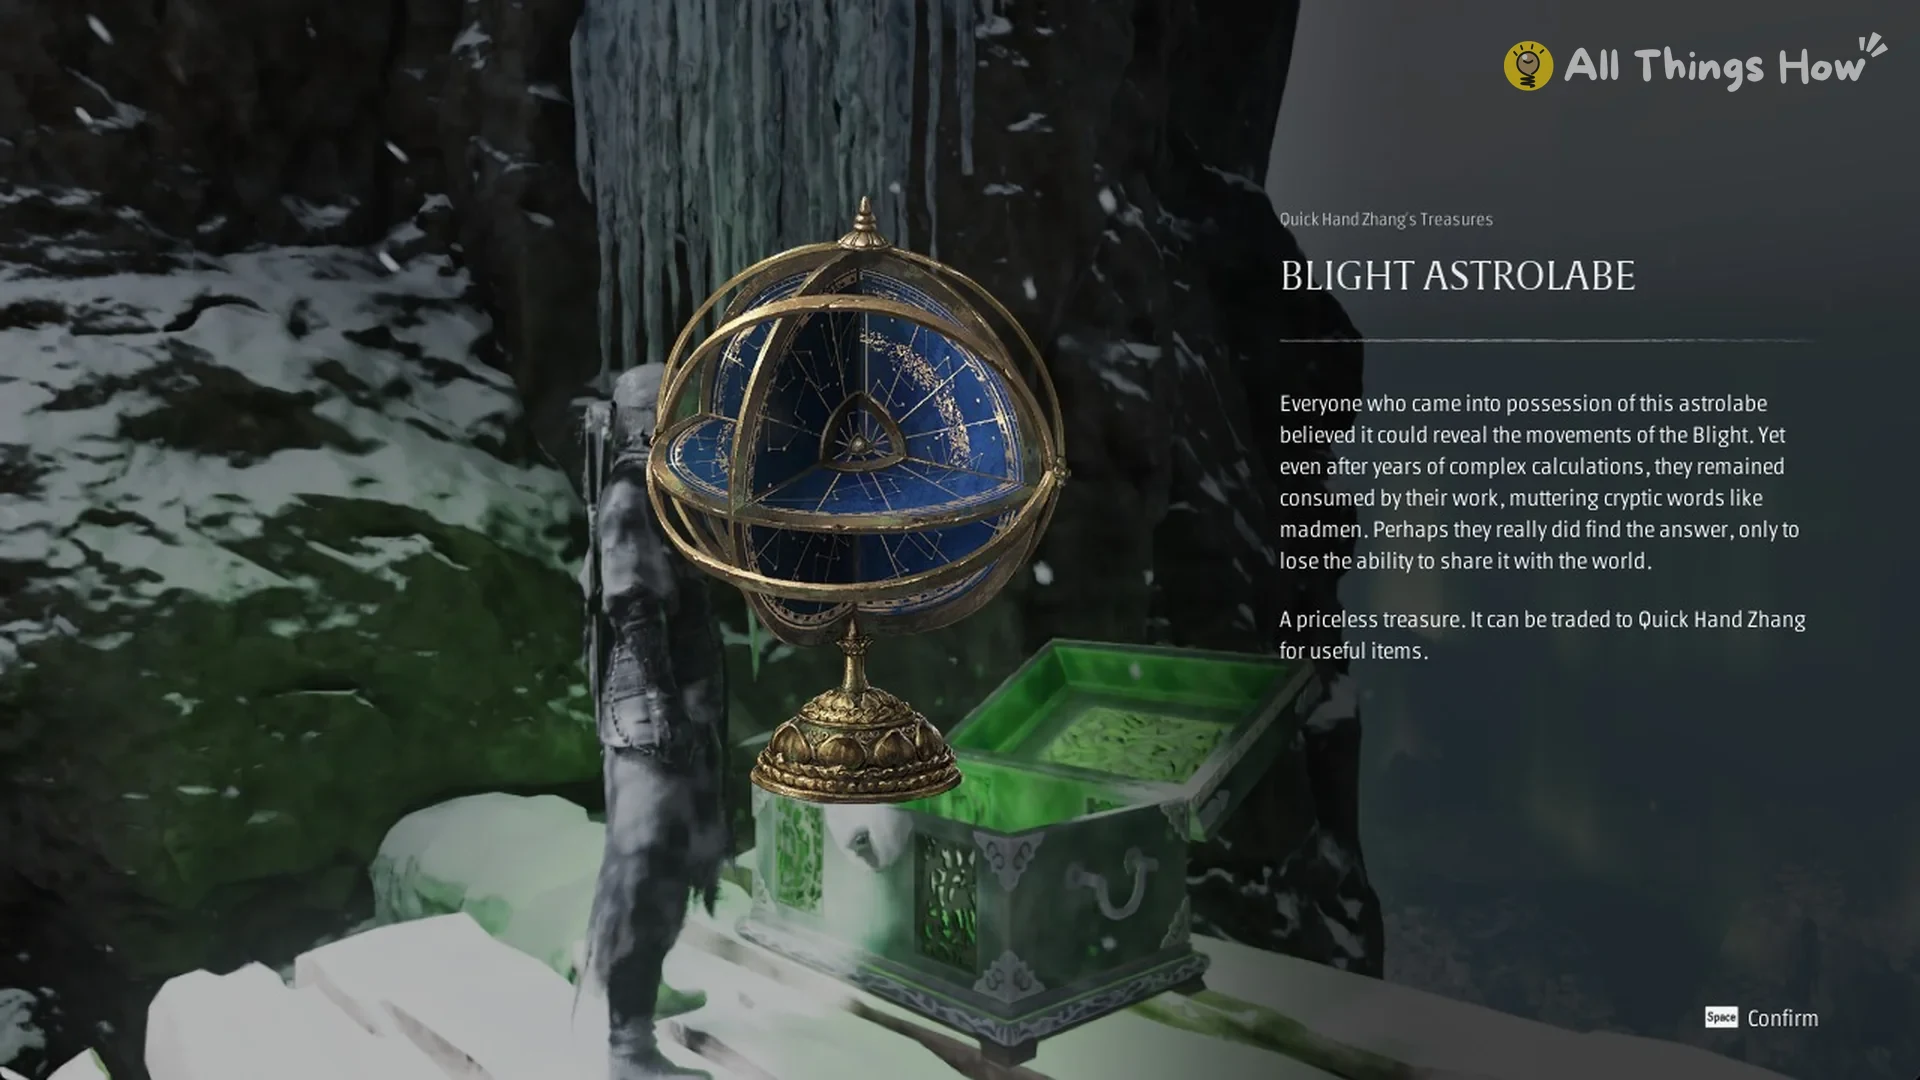
Everyone who came into possession of this astrolabe believed it could reveal the movements of the Blight. Yet even after years of complex calculations, they remained consumed by their work, muttering cryptic words like madmen. Perhaps they really did find the answer, only to lose the ability to share it with the world.
A priceless treasure. It can be traded to Quick Hand Zhang for useful items.
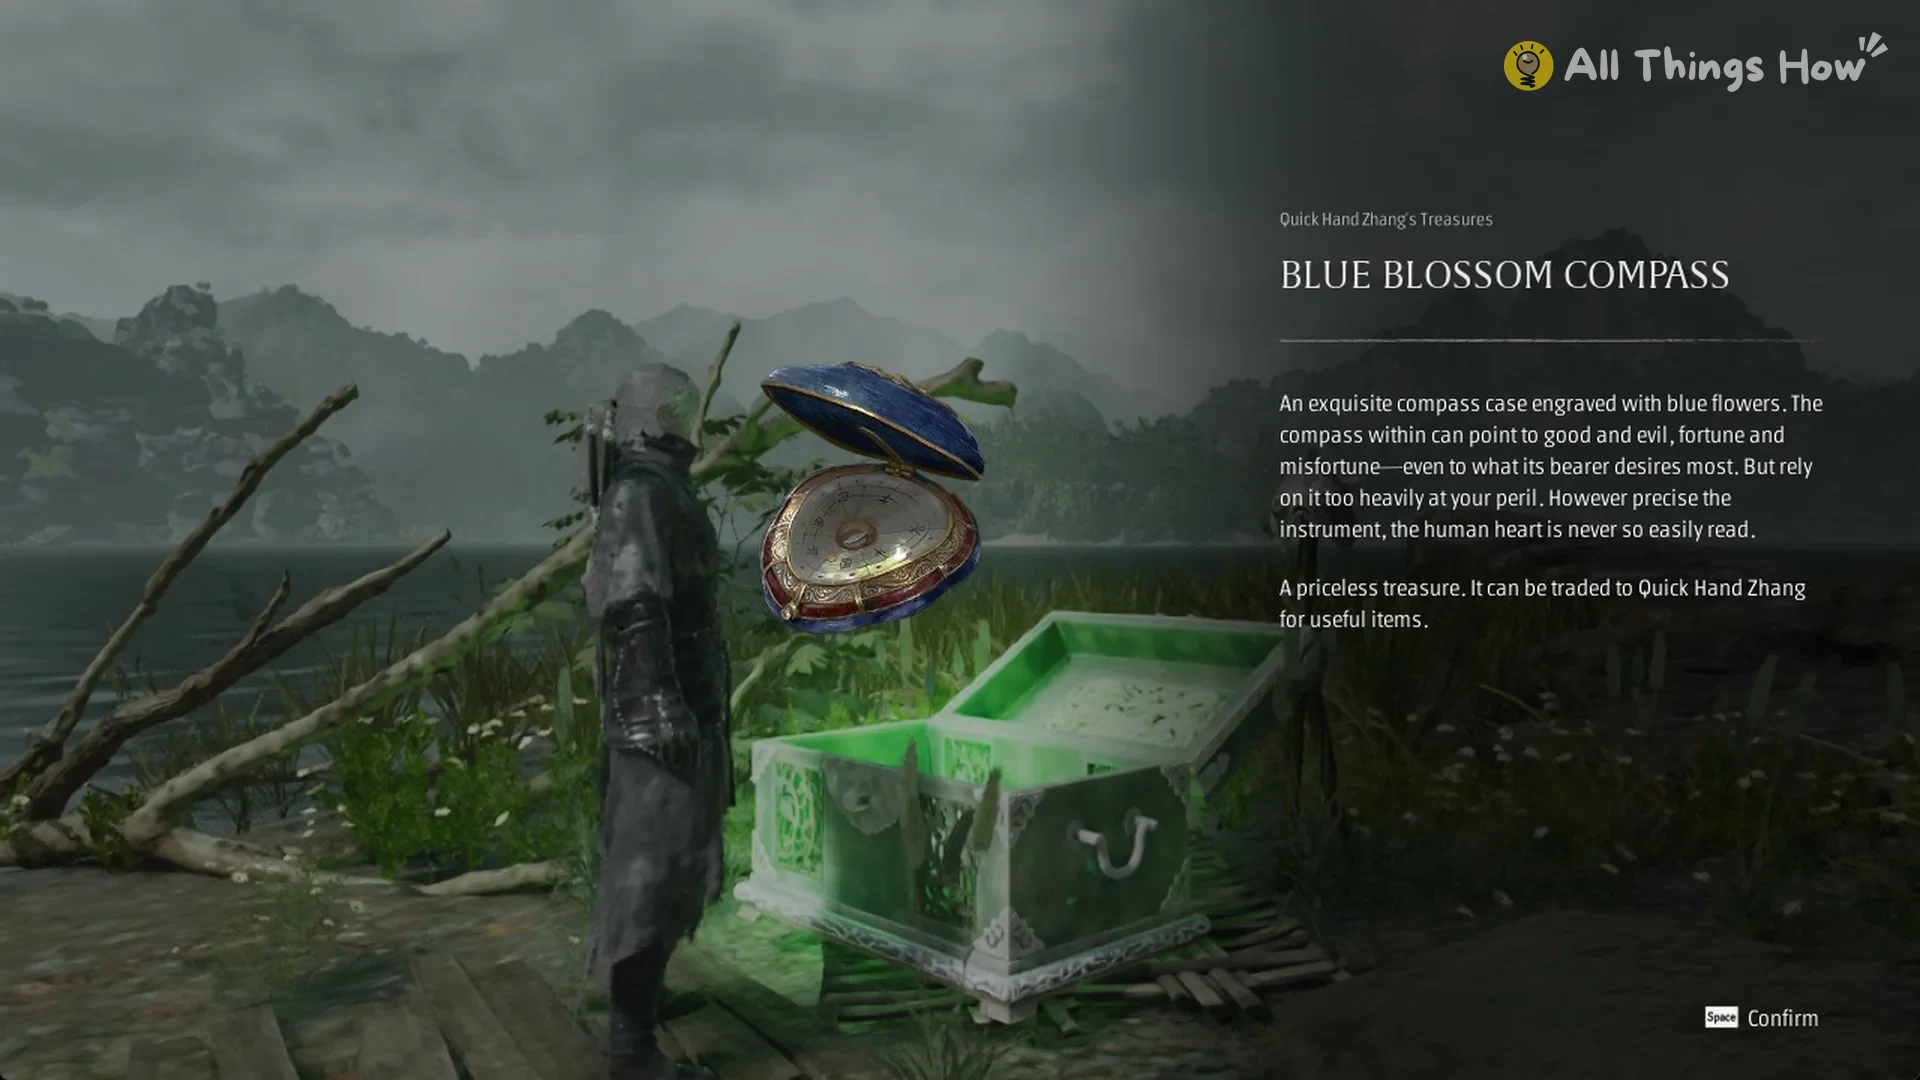
Blue Blossom Compass
The chest is about 155 m from the Blackwater Crew Dock bell, at about the same height.
An exquisite compass case engraved with blue flowers. The compass within can point to good and evil, fortune and misfortune—even to what its bearer desires most. But rely on it too heavily at your peril. However precise the instrument, the human heart is never so easily read.
A priceless treasure. It can be traded to Quick Hand Zhang for useful items.
Route to the Blue Blossom Compass chest
Start at the Blackwater Crew Dock bell. There’s a folded ladder against the cliff along the shore, but it can only be lowered from the top, so leave it alone. Walk a loop of about 190 m round the shore instead, then go up the slope that sits behind the raised platform.
After reaching the platform, press Space beside the rope to ride it down to a wooden deck. Two foes are waiting to ambush you, so combat starts as soon as you touch down.
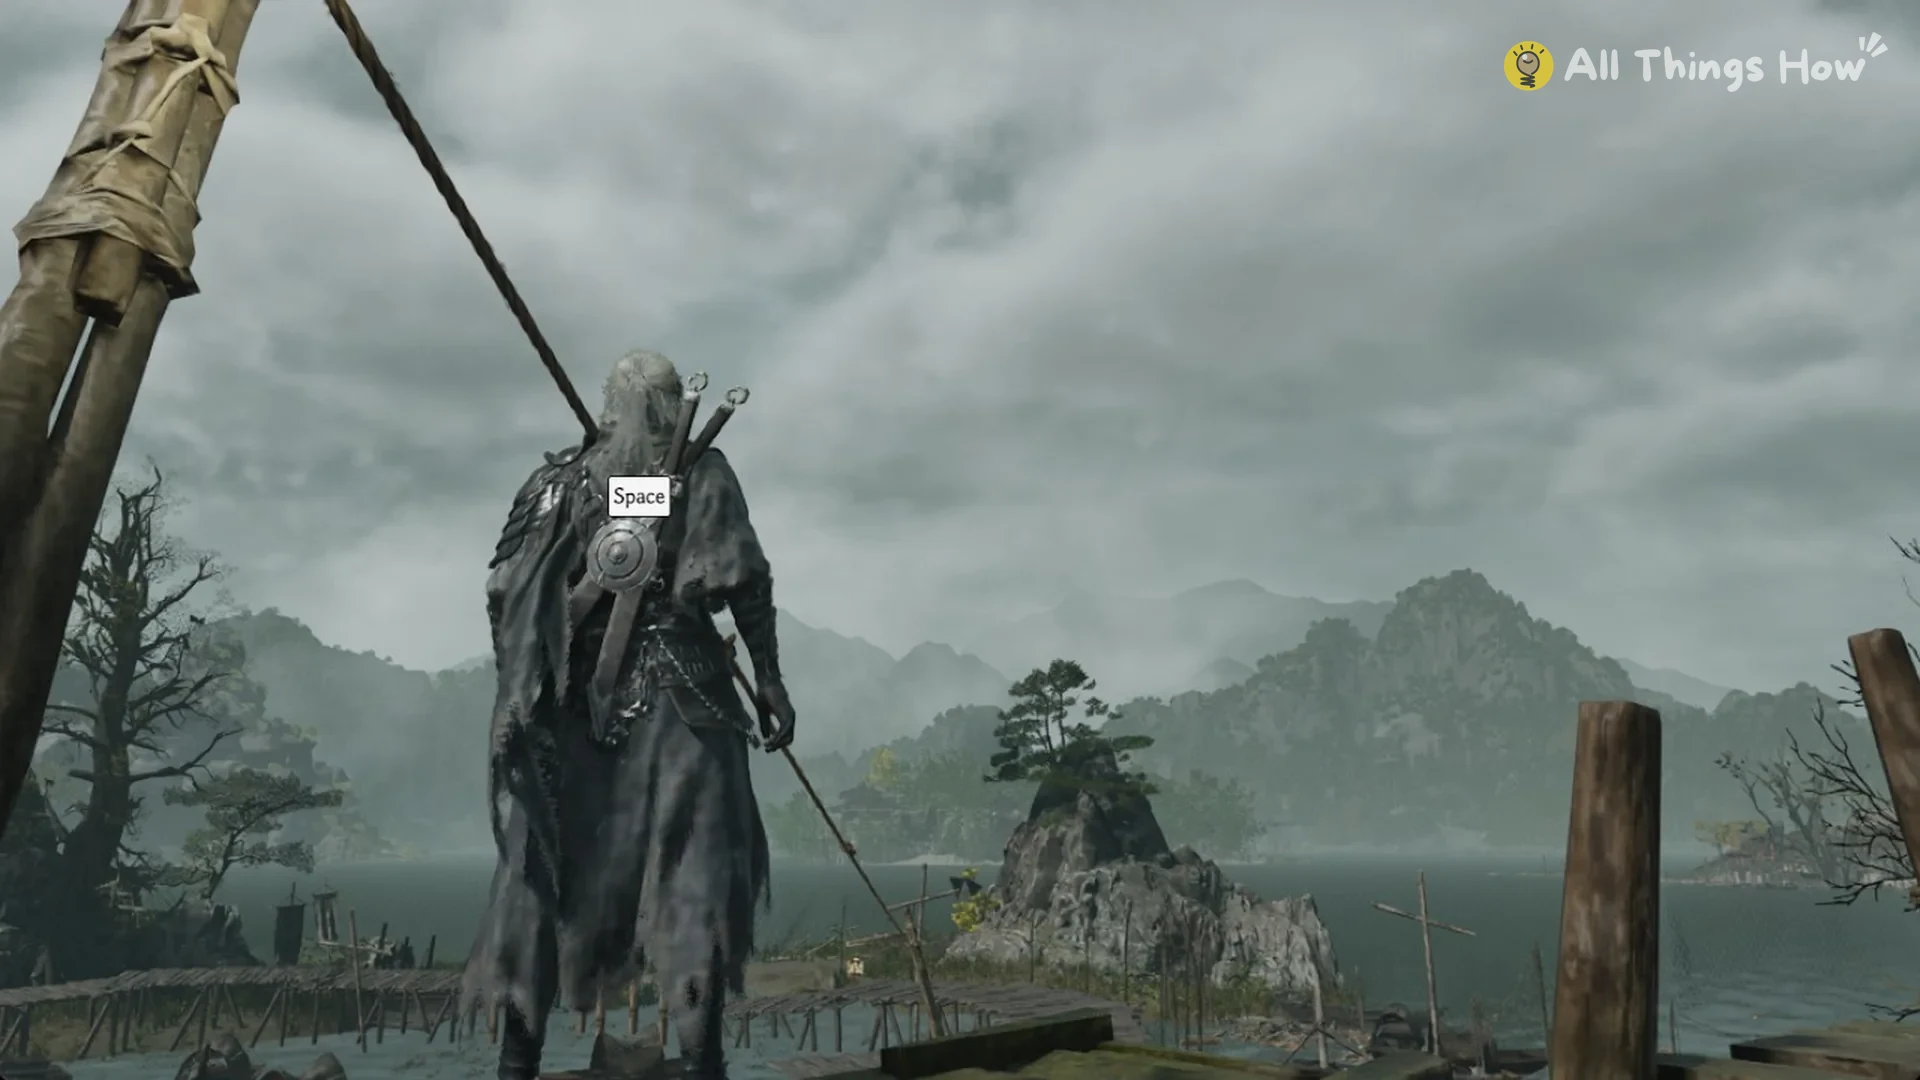
At the deck’s distant end, hold W and press Space to leap onto the first of the lion-dance poles. Keep W held to bound across the poles and arrive on the island’s boardwalk.
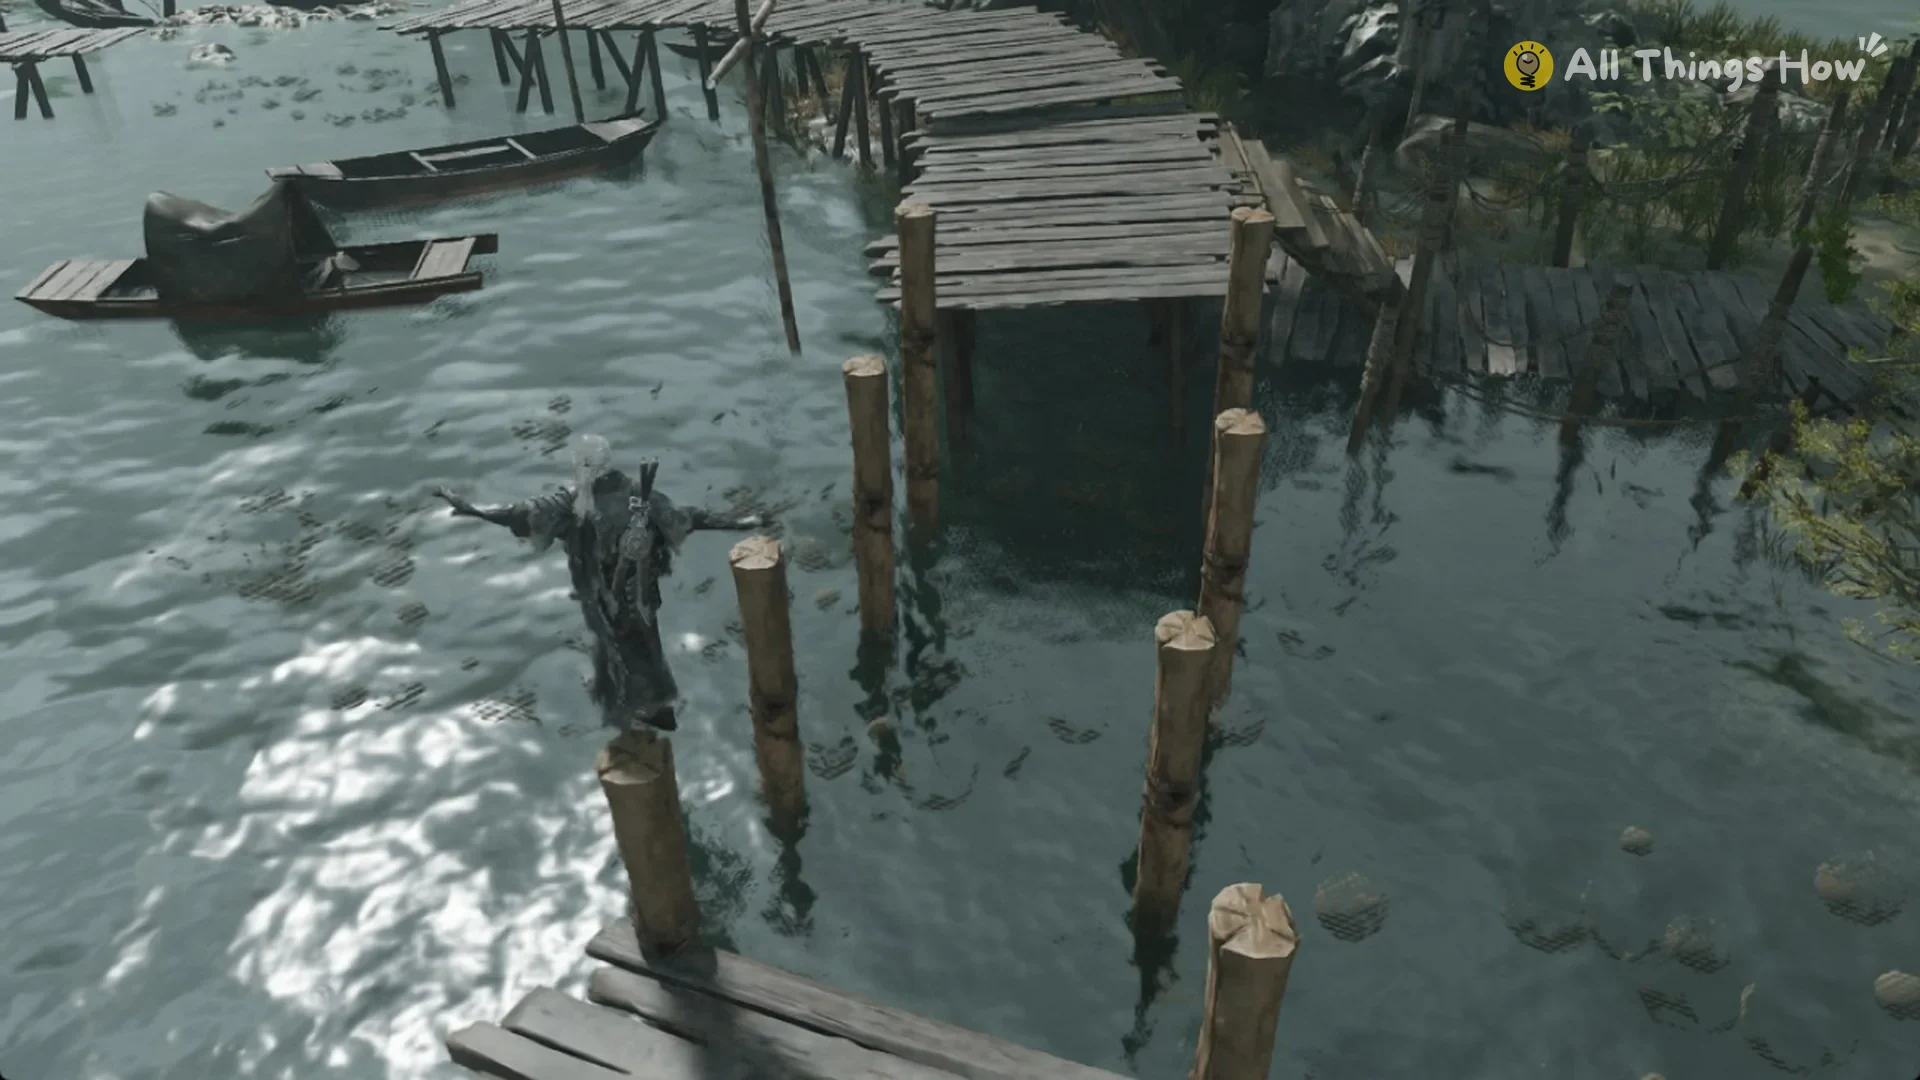
Enemies still threaten you on the island. A Blackwater diver wielding a long blade and another foe may attack from behind as you cross, and the diver hits hard. Turn the camera often to check your rear, and keep your gourd ready.
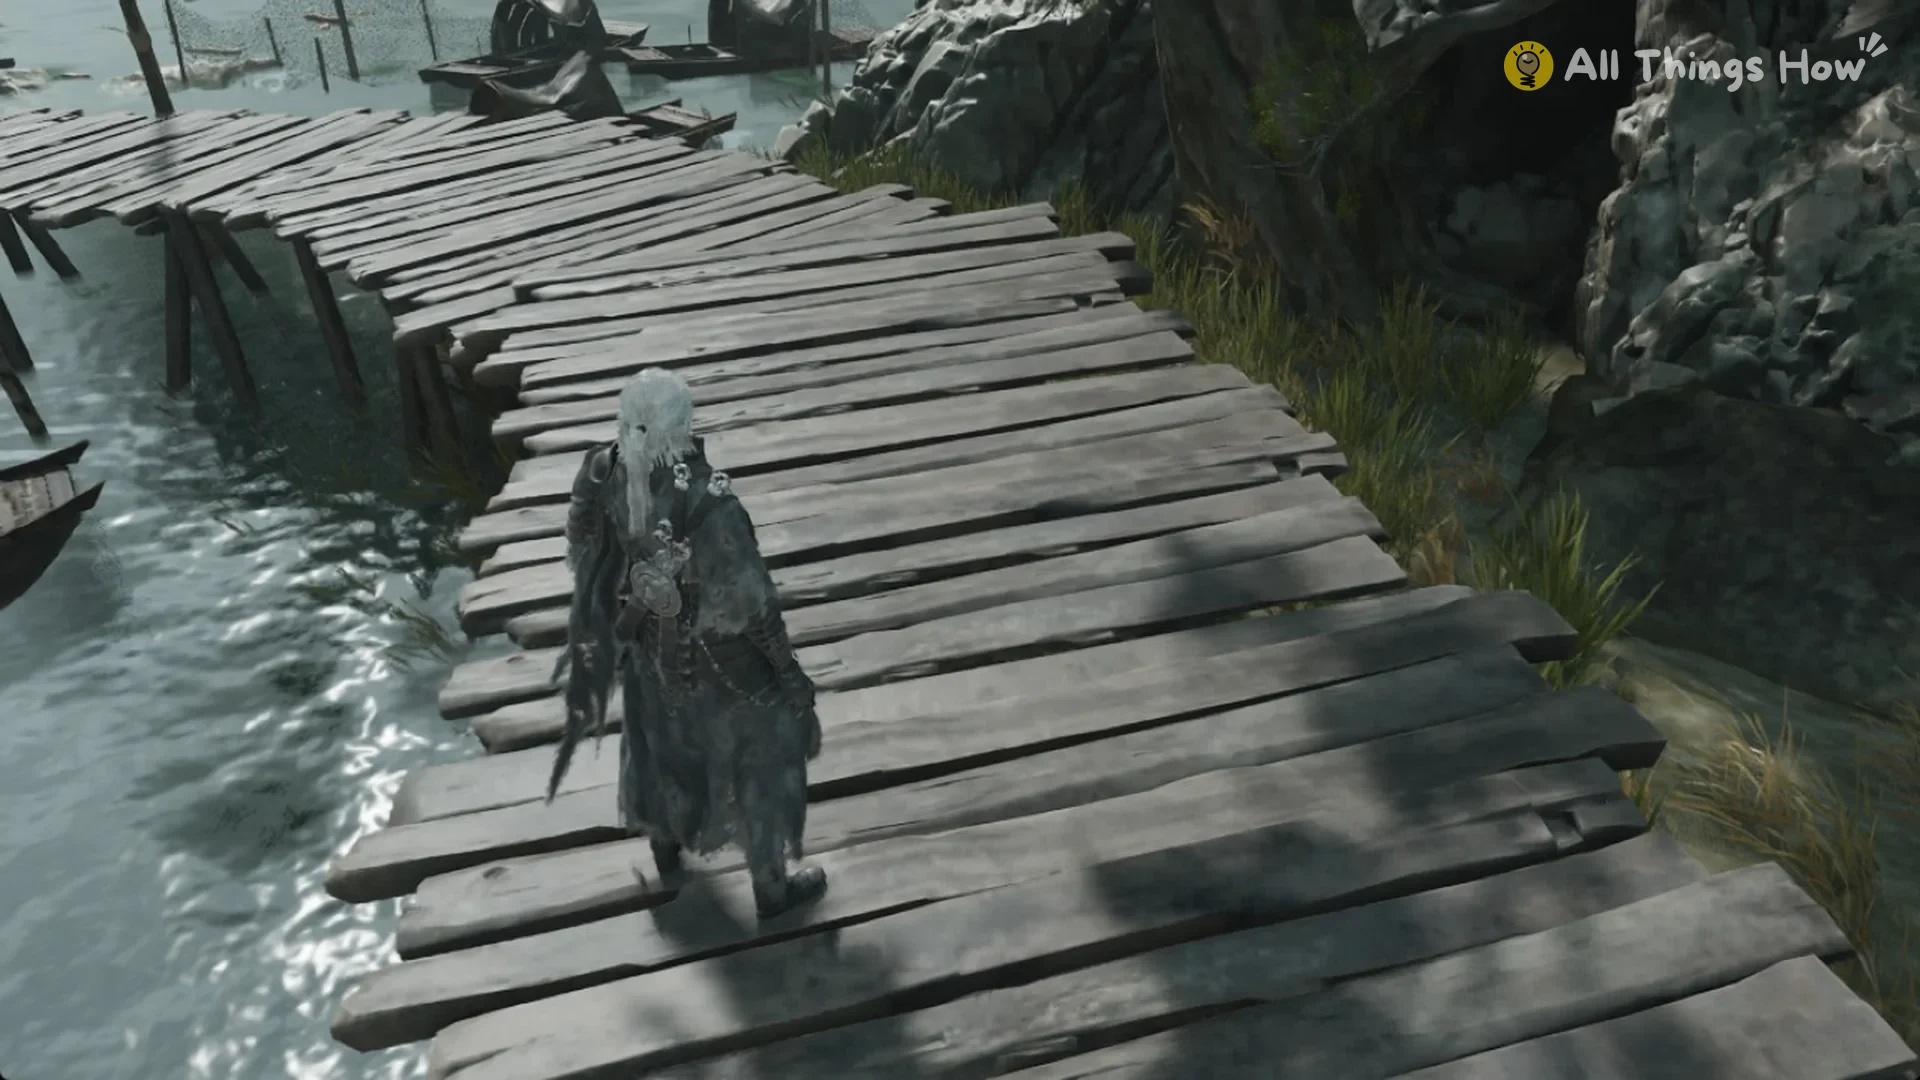
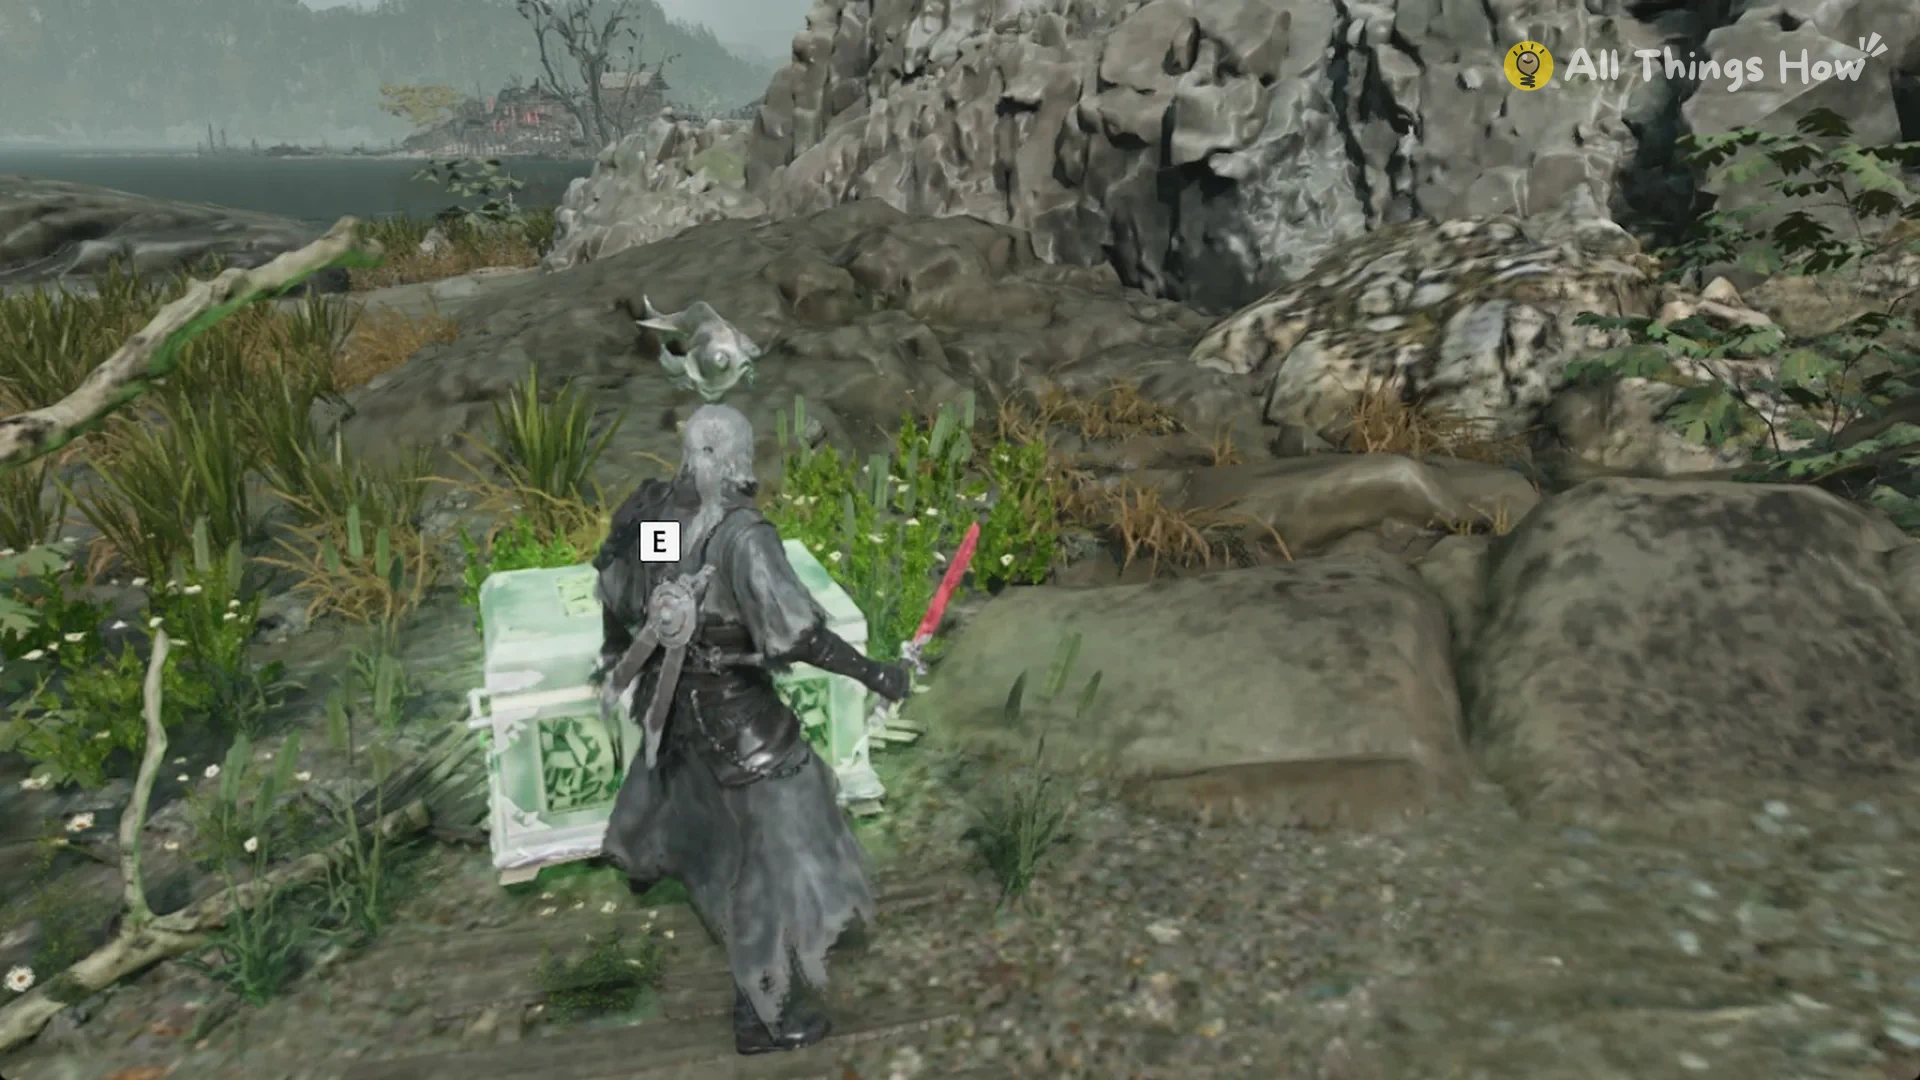
You’ll find the jade chest on the island’s opposite side. Approach its front to bring up the prompt, then open it to receive the Blue Blossom Compass.
Handing in the Meigu Lake treasures
You need all three pieces of the Meigu Lake set: the Blight Astrolabe, the Sundial of Impermanence and the Blue Blossom Compass. Take them to Quick Hand Zhang at his Meigu Village hideout. His Village of Lu hideout has no option for this set, so a visit there leads nowhere.
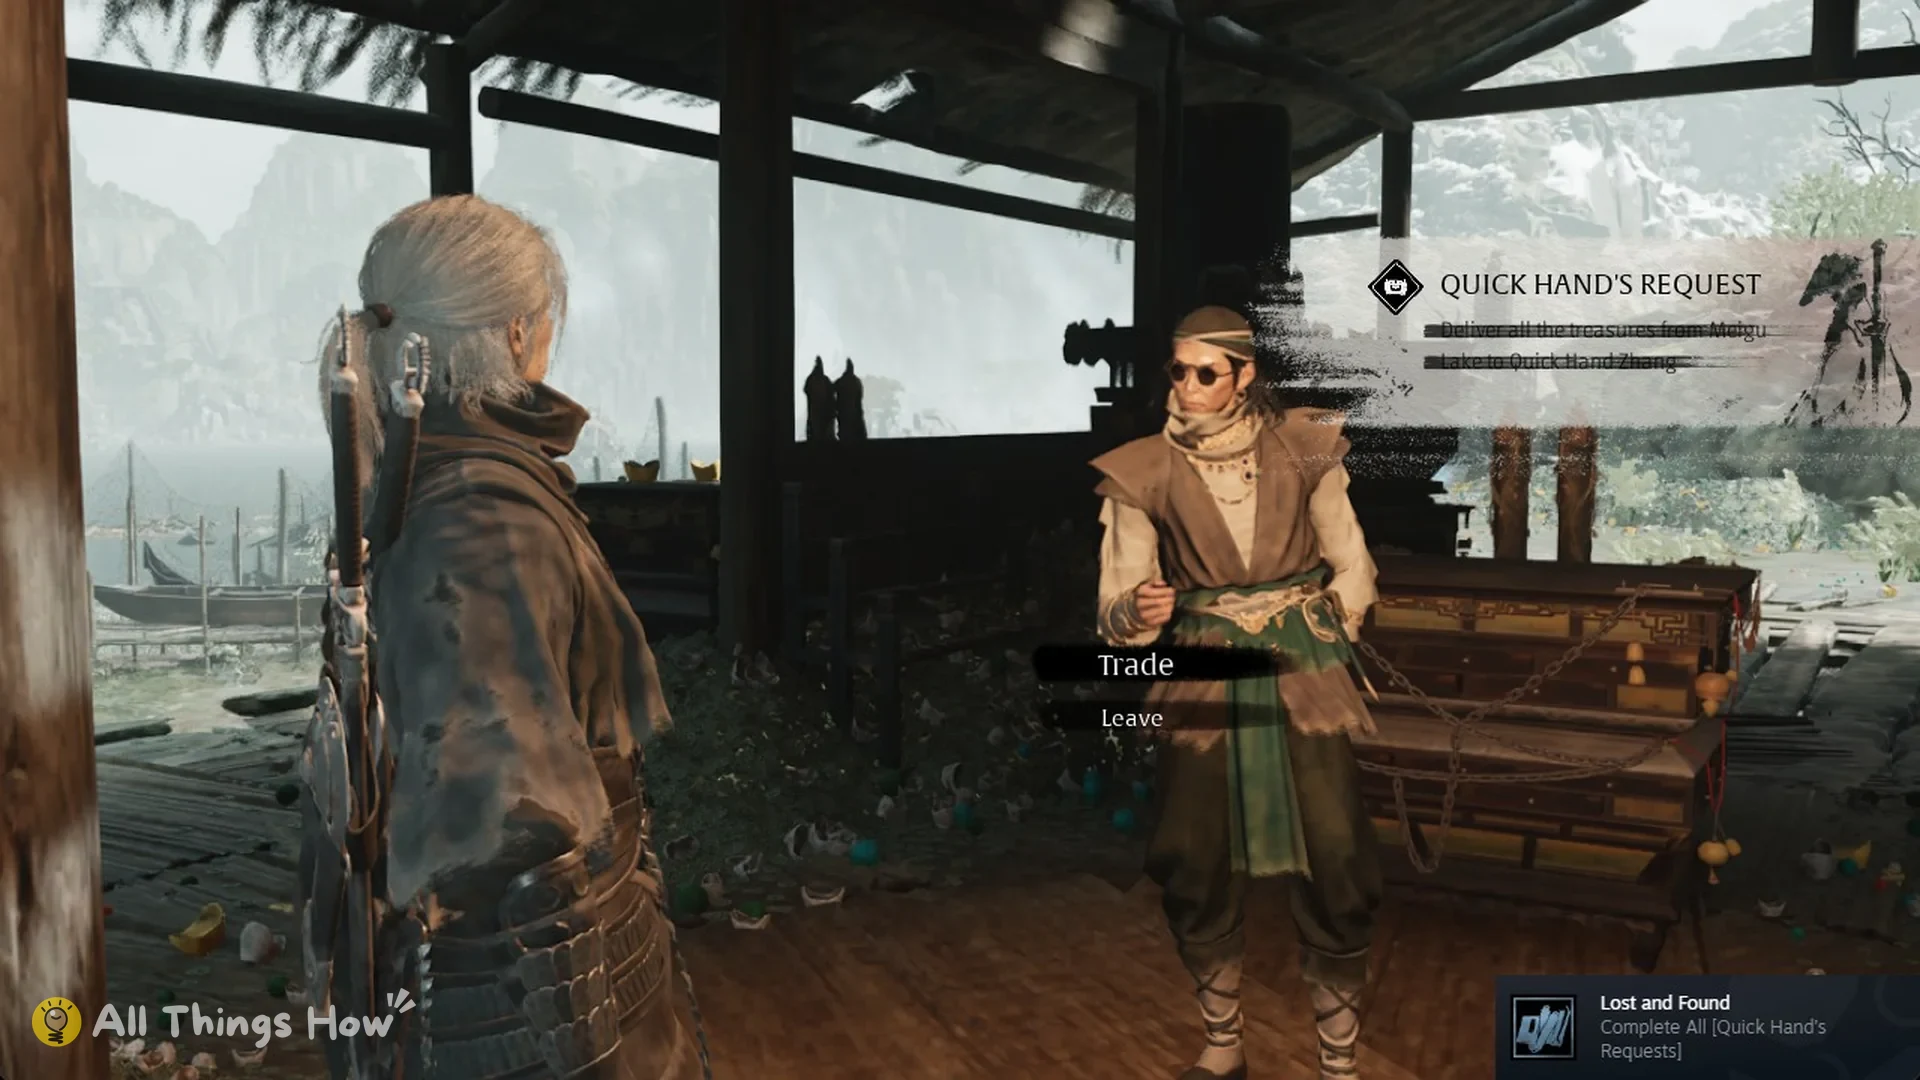
At the Meigu Village hideout, the objective “Deliver all the treasures from Meigu Lake to Quick Hand Zhang” shows up. Talk to Zhang and pick Lost relics of Meigu Lake, which sits between Trade and Leave in his menu.
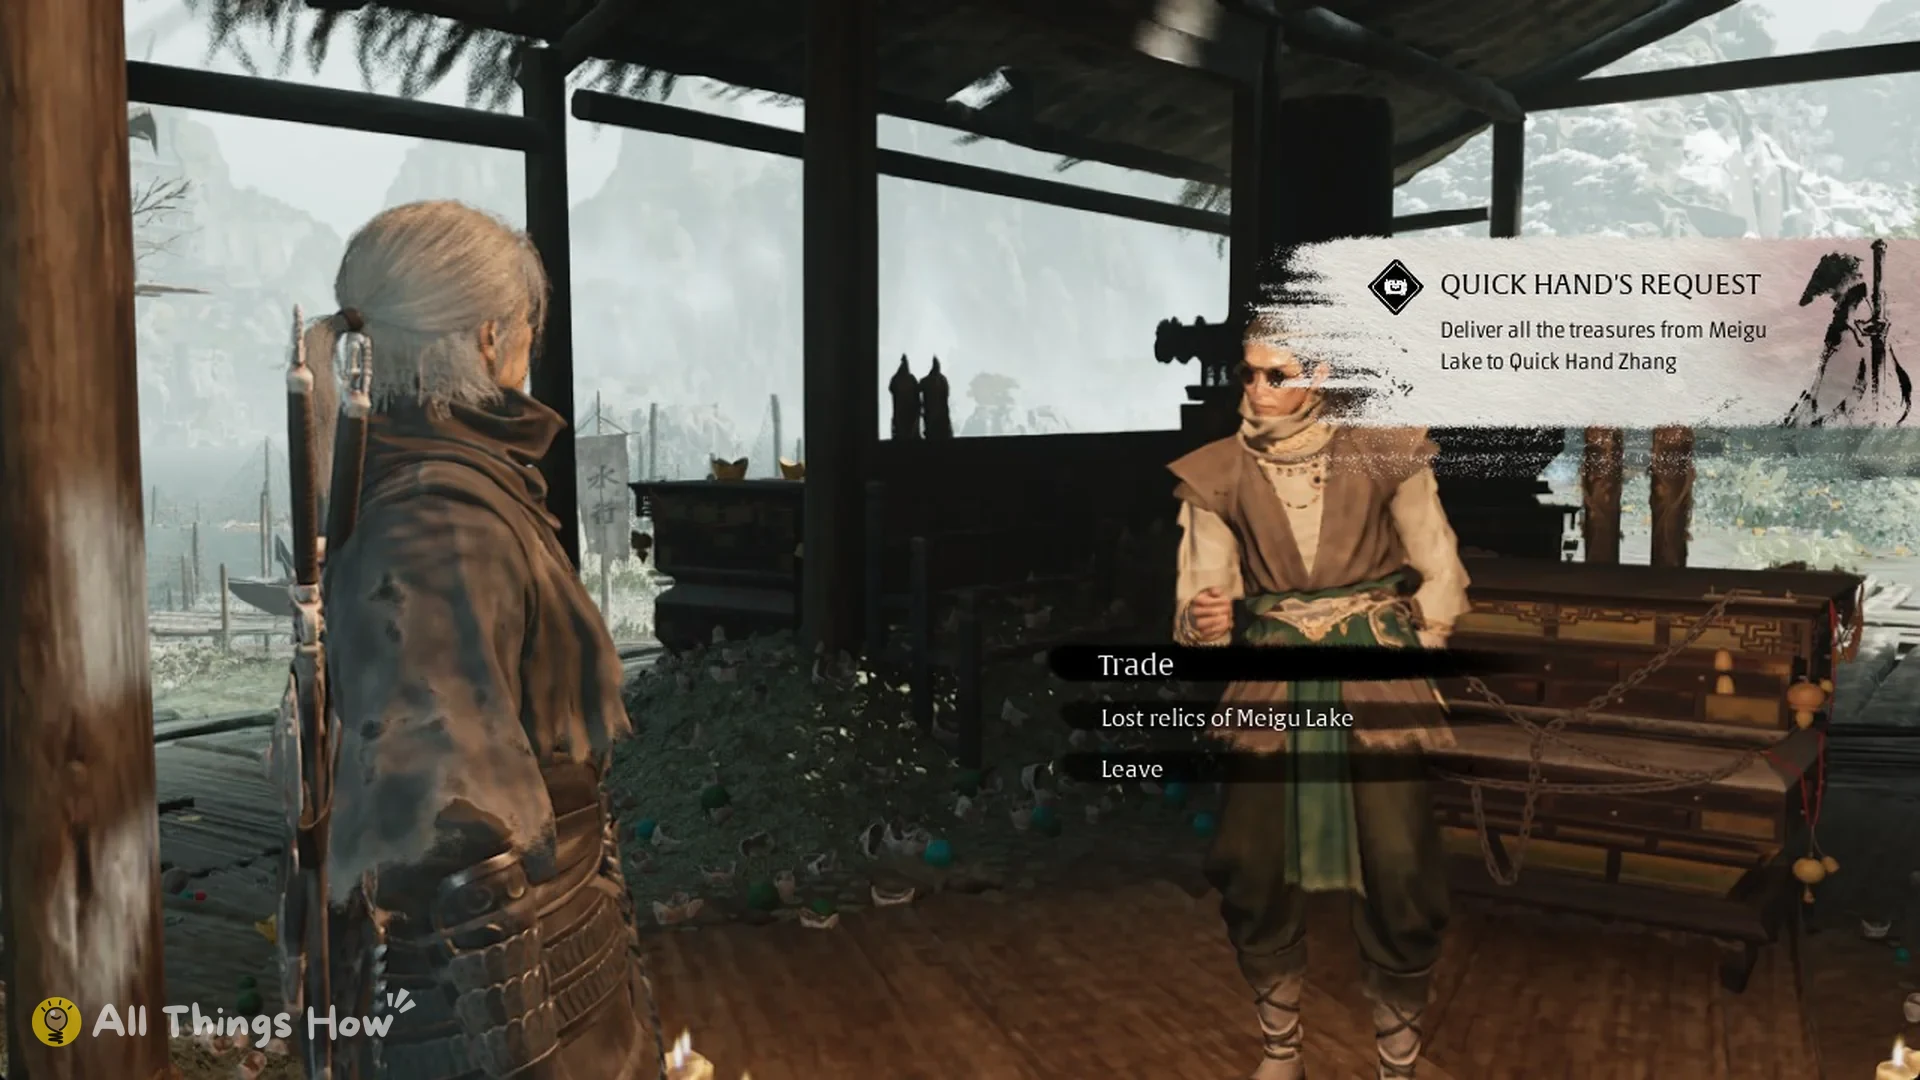
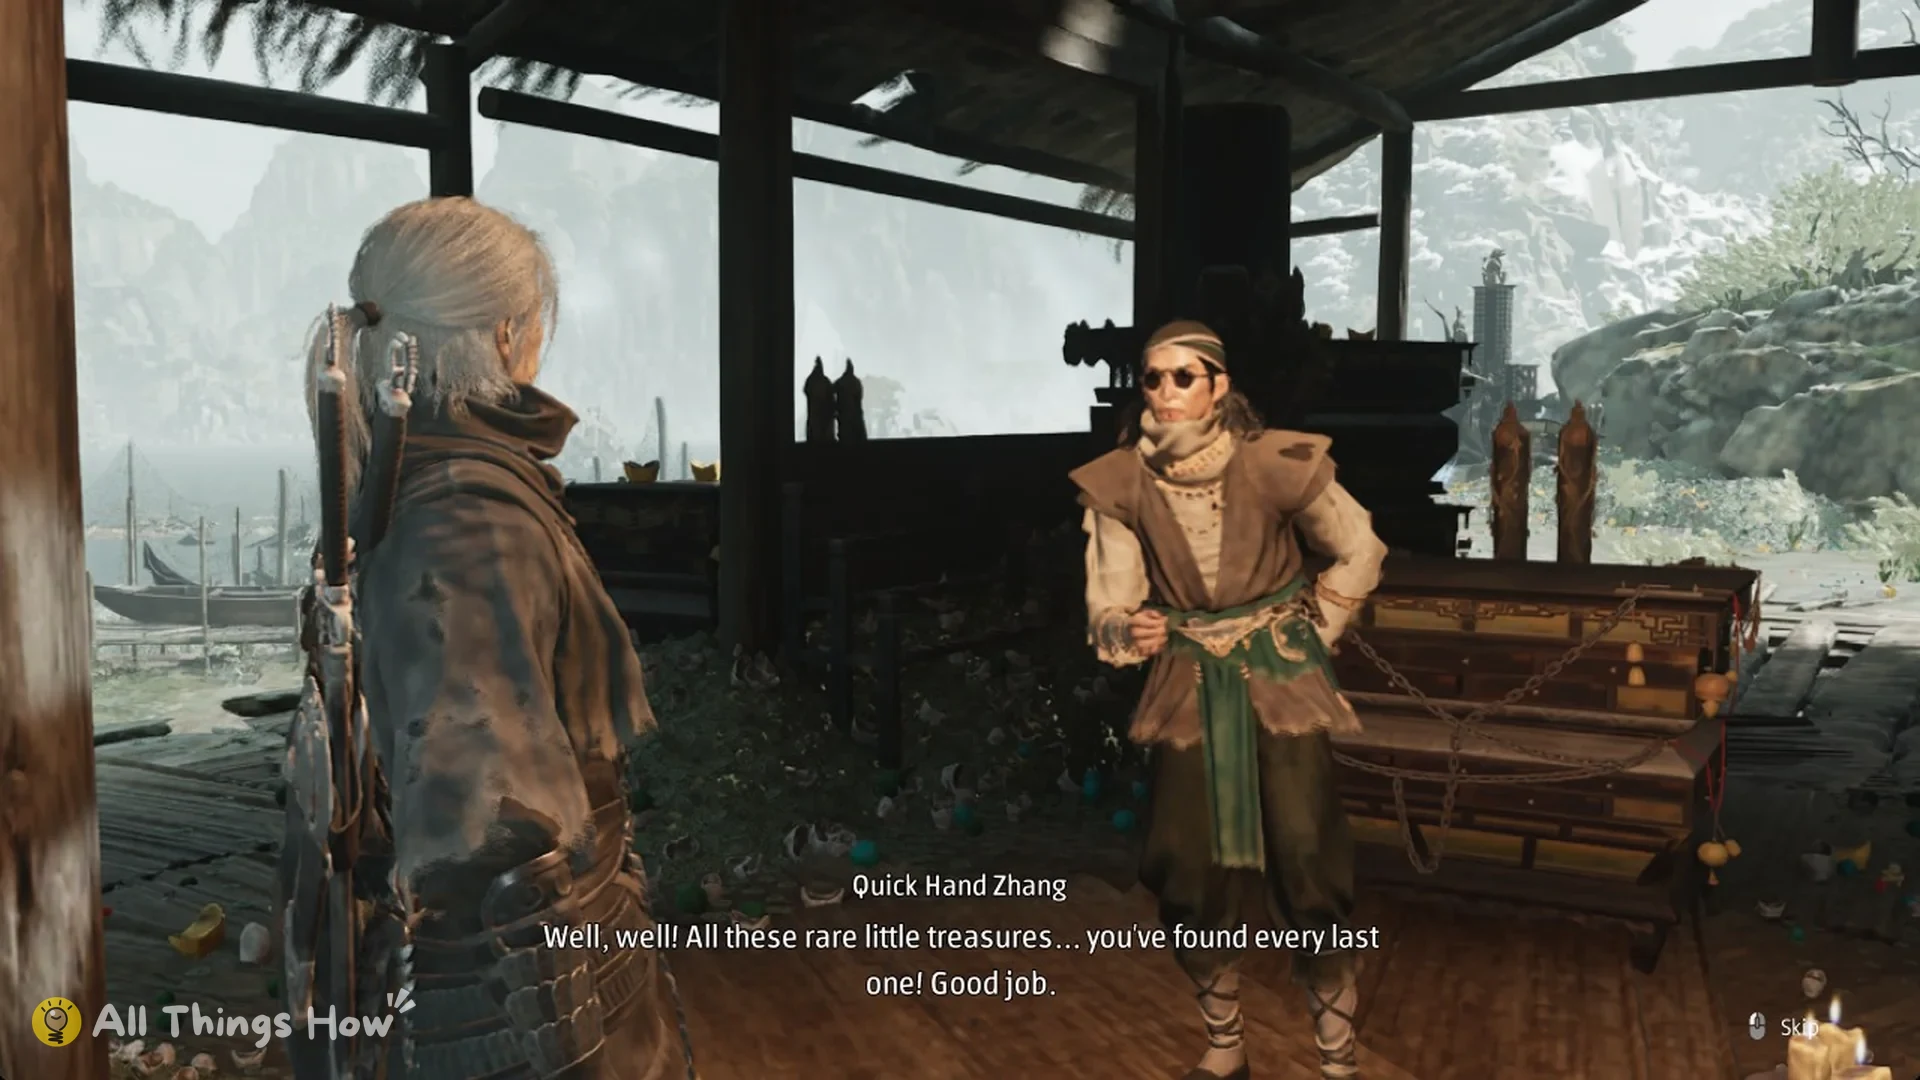
Delighted by the haul, Zhang exclaims “All these rare little treasures… you’ve found every last one! Good job”, then adds “Here, a little something from me”. He also asks Master Soul to watch over him and his business.
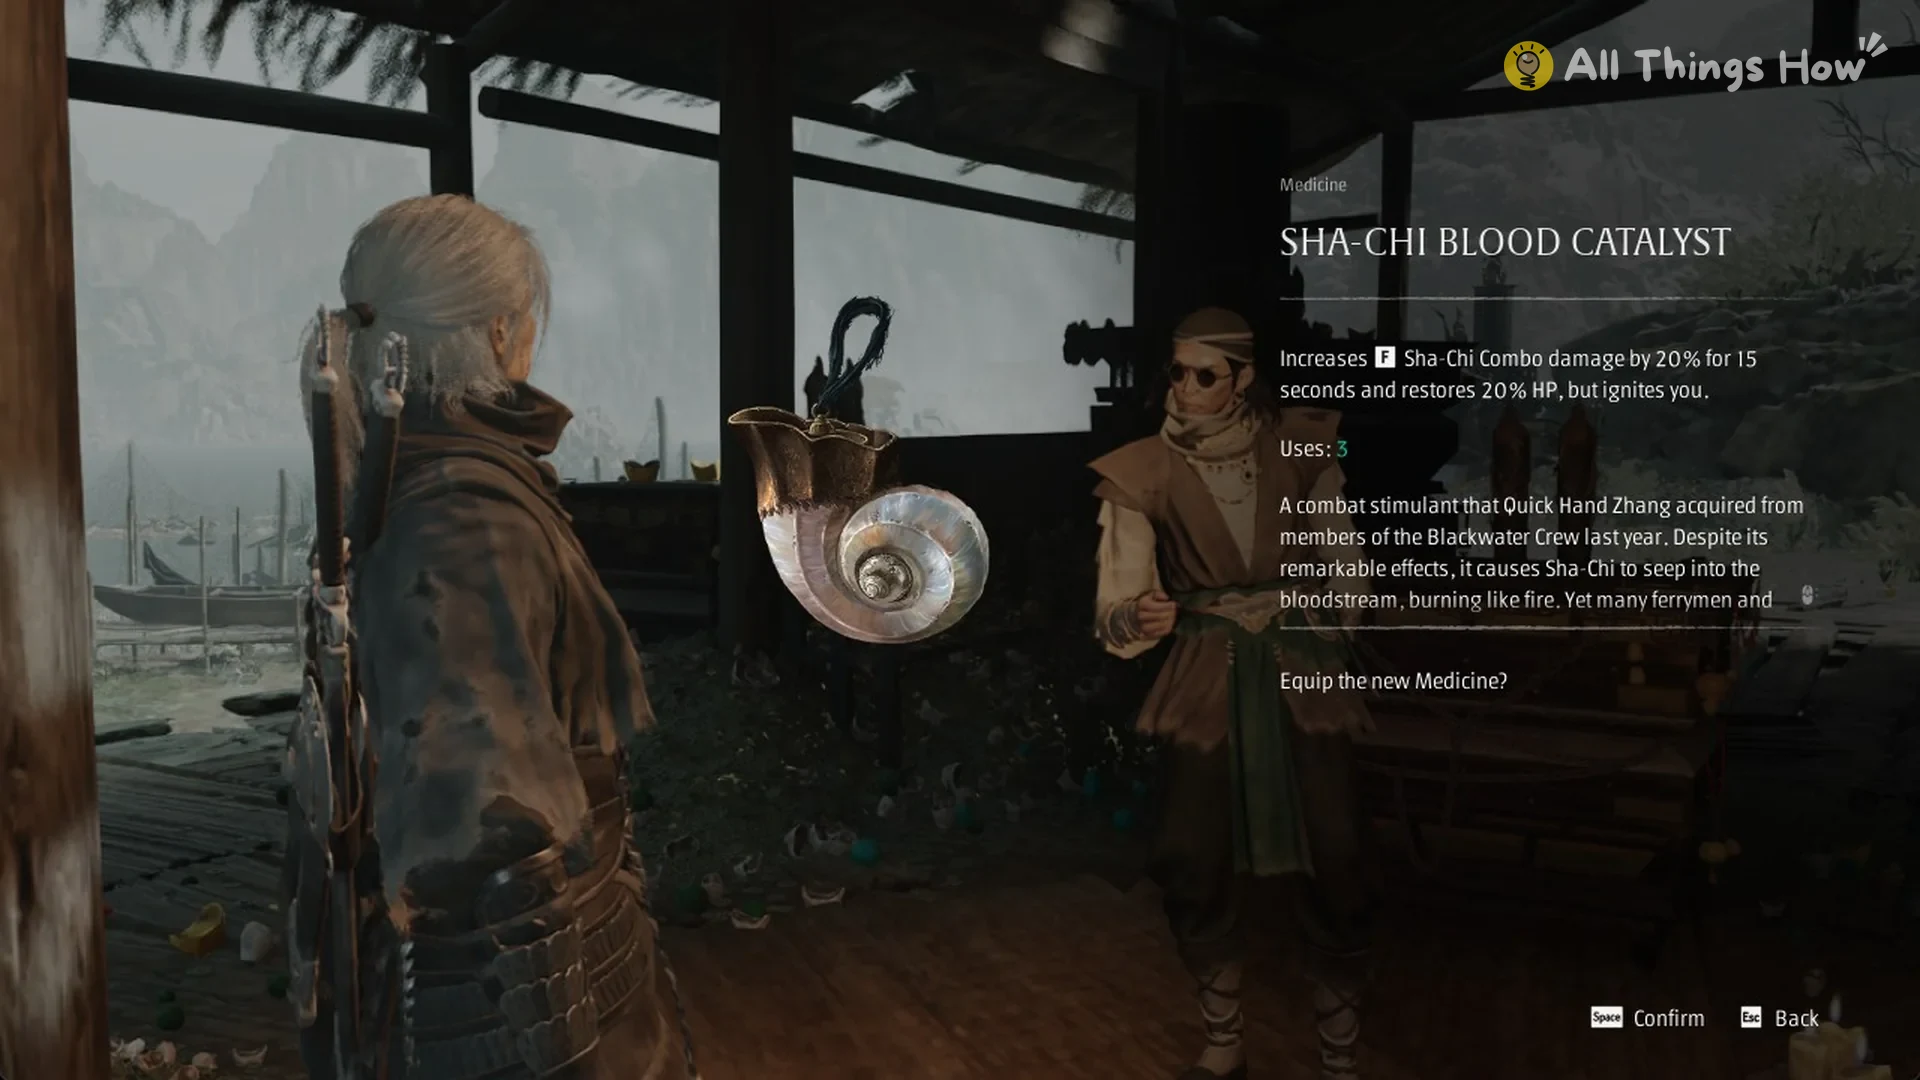
The Sha-Chi Blood Catalyst is a Medicine with 3 uses. For 15 seconds, it boosts Sha-Chi Combo damage by 20% and restores 20% HP, while also setting you alight. The game prompts you to equip it immediately.
Quick Hand’s Request is marked complete. After you turn in the other treasure sets as well, Lost and Found (“Complete All [Quick Hand’s Requests]”) unlocks immediately.
Mirage Estate treasures
Every other chest and collectible in the region is listed in the Mirage Estate collectibles guide.
The relic list page is “LOST TREASURES OF THE MIRAGE ESTATE”. The objectives are “Collect all the treasures in Mirage Estate” and then “Deliver all the treasures from Mirage Estate to Quick Hand Zhang”. Hand them in at the bell “Zhang’s Hideout (Mirage Estate)”.
General’s Bronze Mirror
The chest is about 86 m from the Opera House bell and sits about 21 m below it.
From the Training Grounds bell, head toward the open-air opera stage with the burning cages, about 120 m away. Along the way the path drops off a short ledge you can’t climb back up, so if you want to return to the bell later, take the trail that loops around it. Keep going past the stage to its far side, where a short step up puts you on a raised terrace with railings, red lanterns, and a stone dragon statue by the steps. Stay up on that terrace. The lower walkway running beside it dead-ends below a wall and a water channel.
From the terrace, enter the costume hall, where robes hang from the ceiling and tall red guardian figures line the walls.
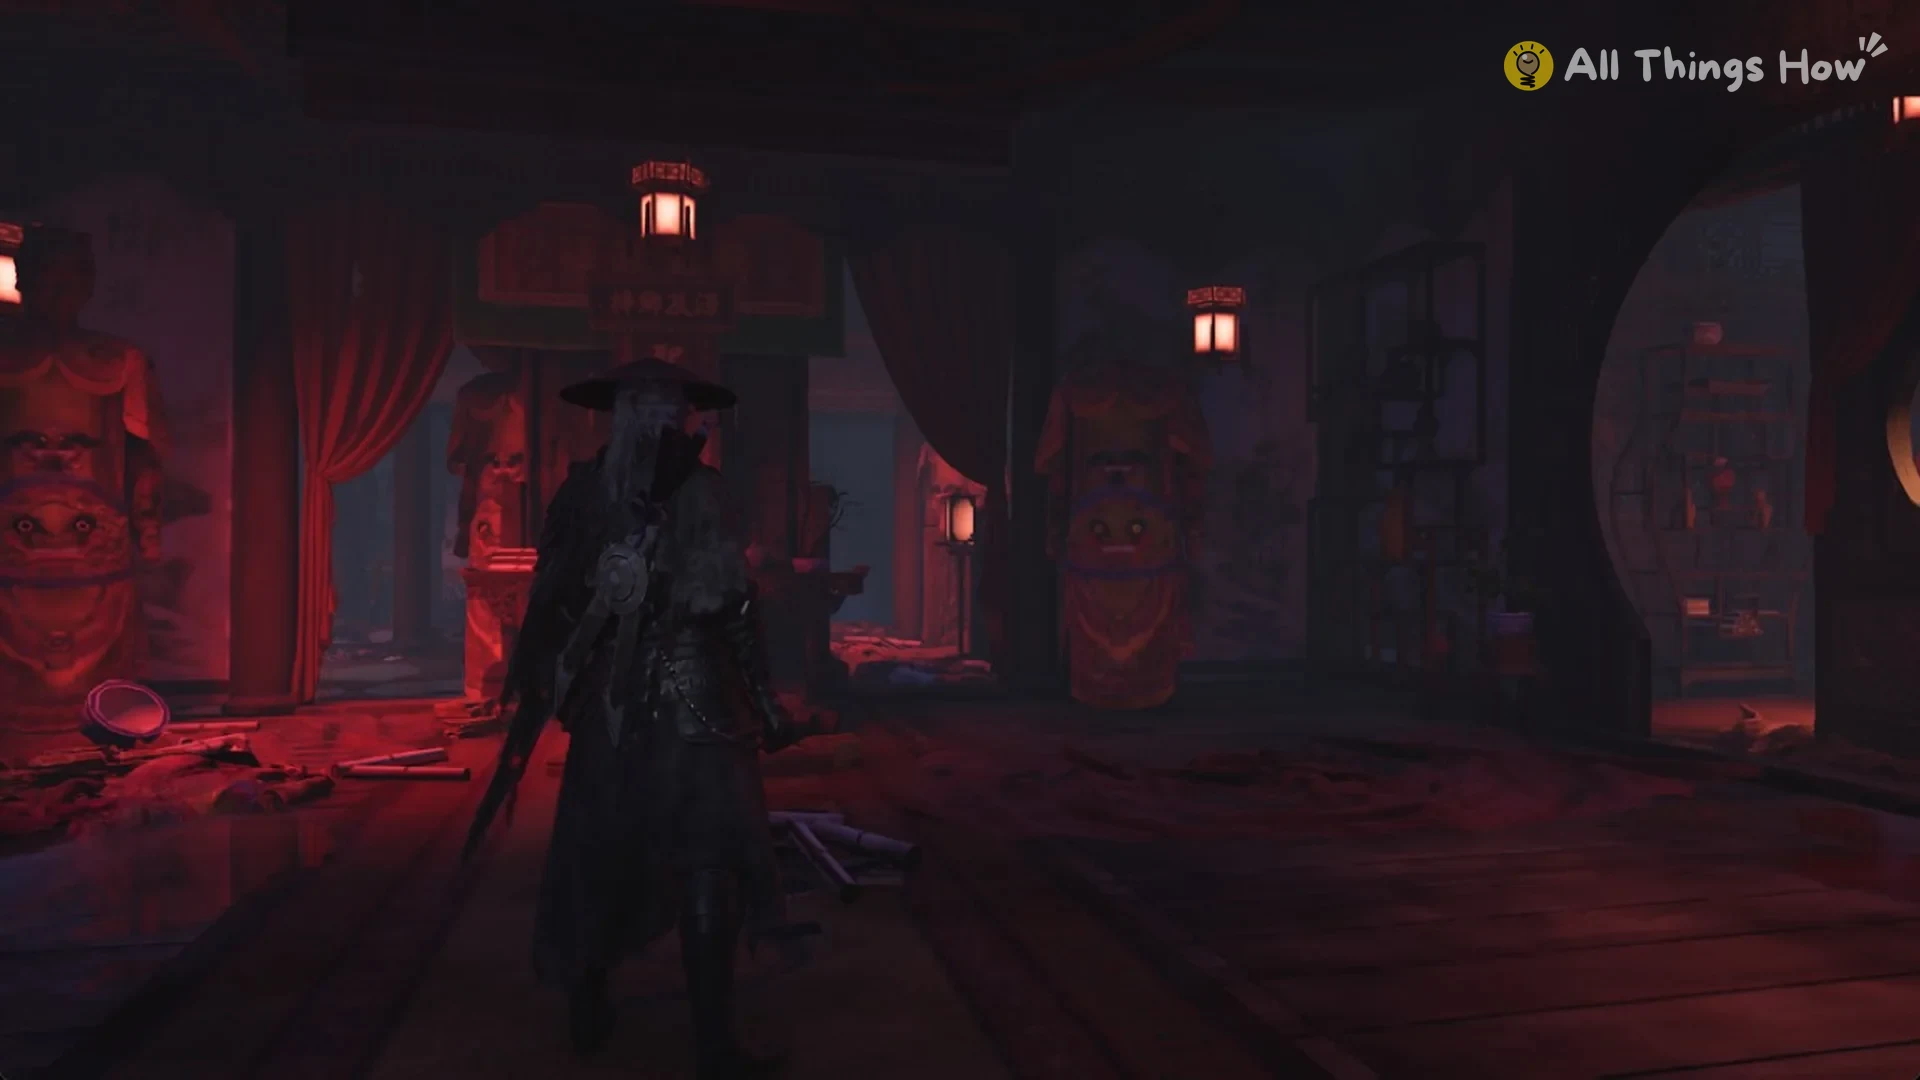
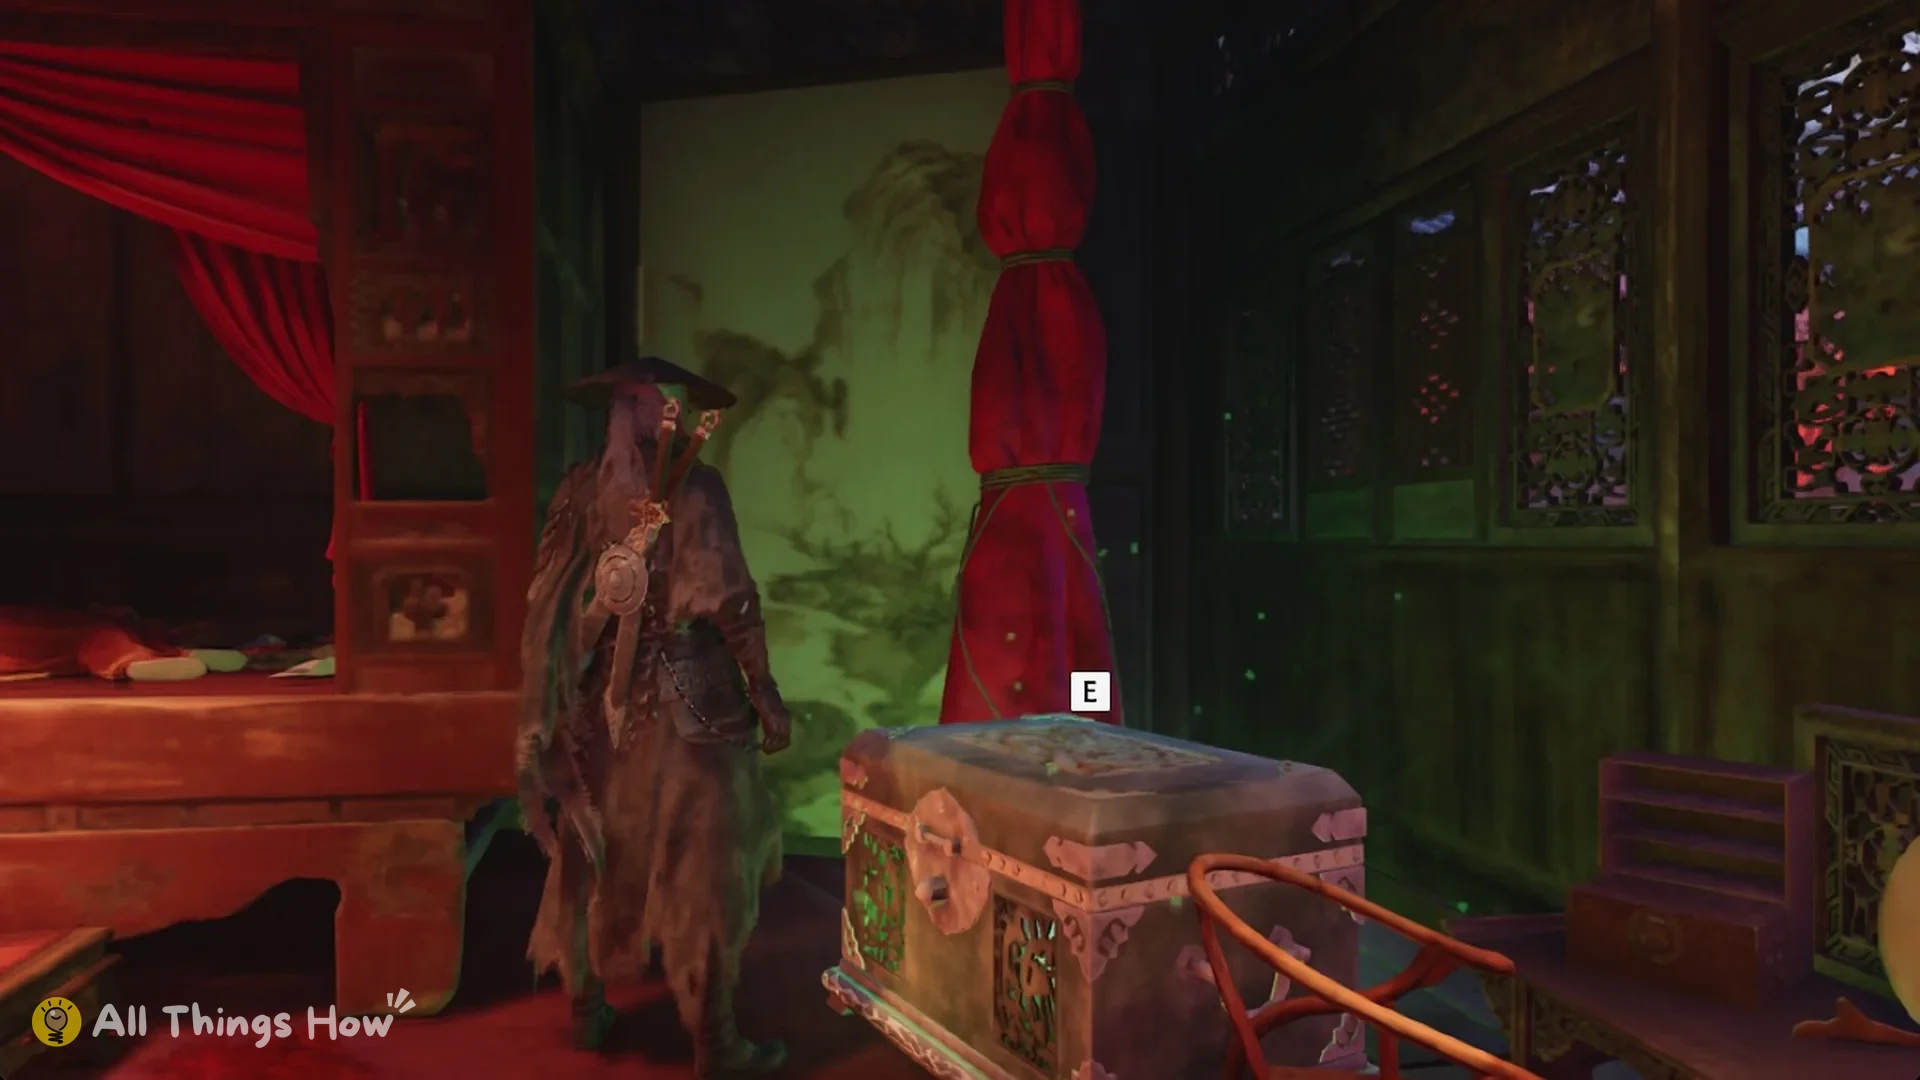
Pass through the round moon gate with the “double happiness” screen into the bedroom beyond. The chest sits next to a canopy bed with red curtains and a pillar wrapped in red cloth. Press E to open it. You get the General’s Bronze Mirror, filed under Quick Hand Zhang’s Treasures in the Treasure tab of ITEMS.
An ancient bronze mirror inlaid with turquoise. Legend has it that a general of old once used it to expose evil forces. The damaged base is scorched and mottled, as though eaten away by some lingering corruption.
A priceless treasure. It can be traded to Quick Hand Zhang for useful items.
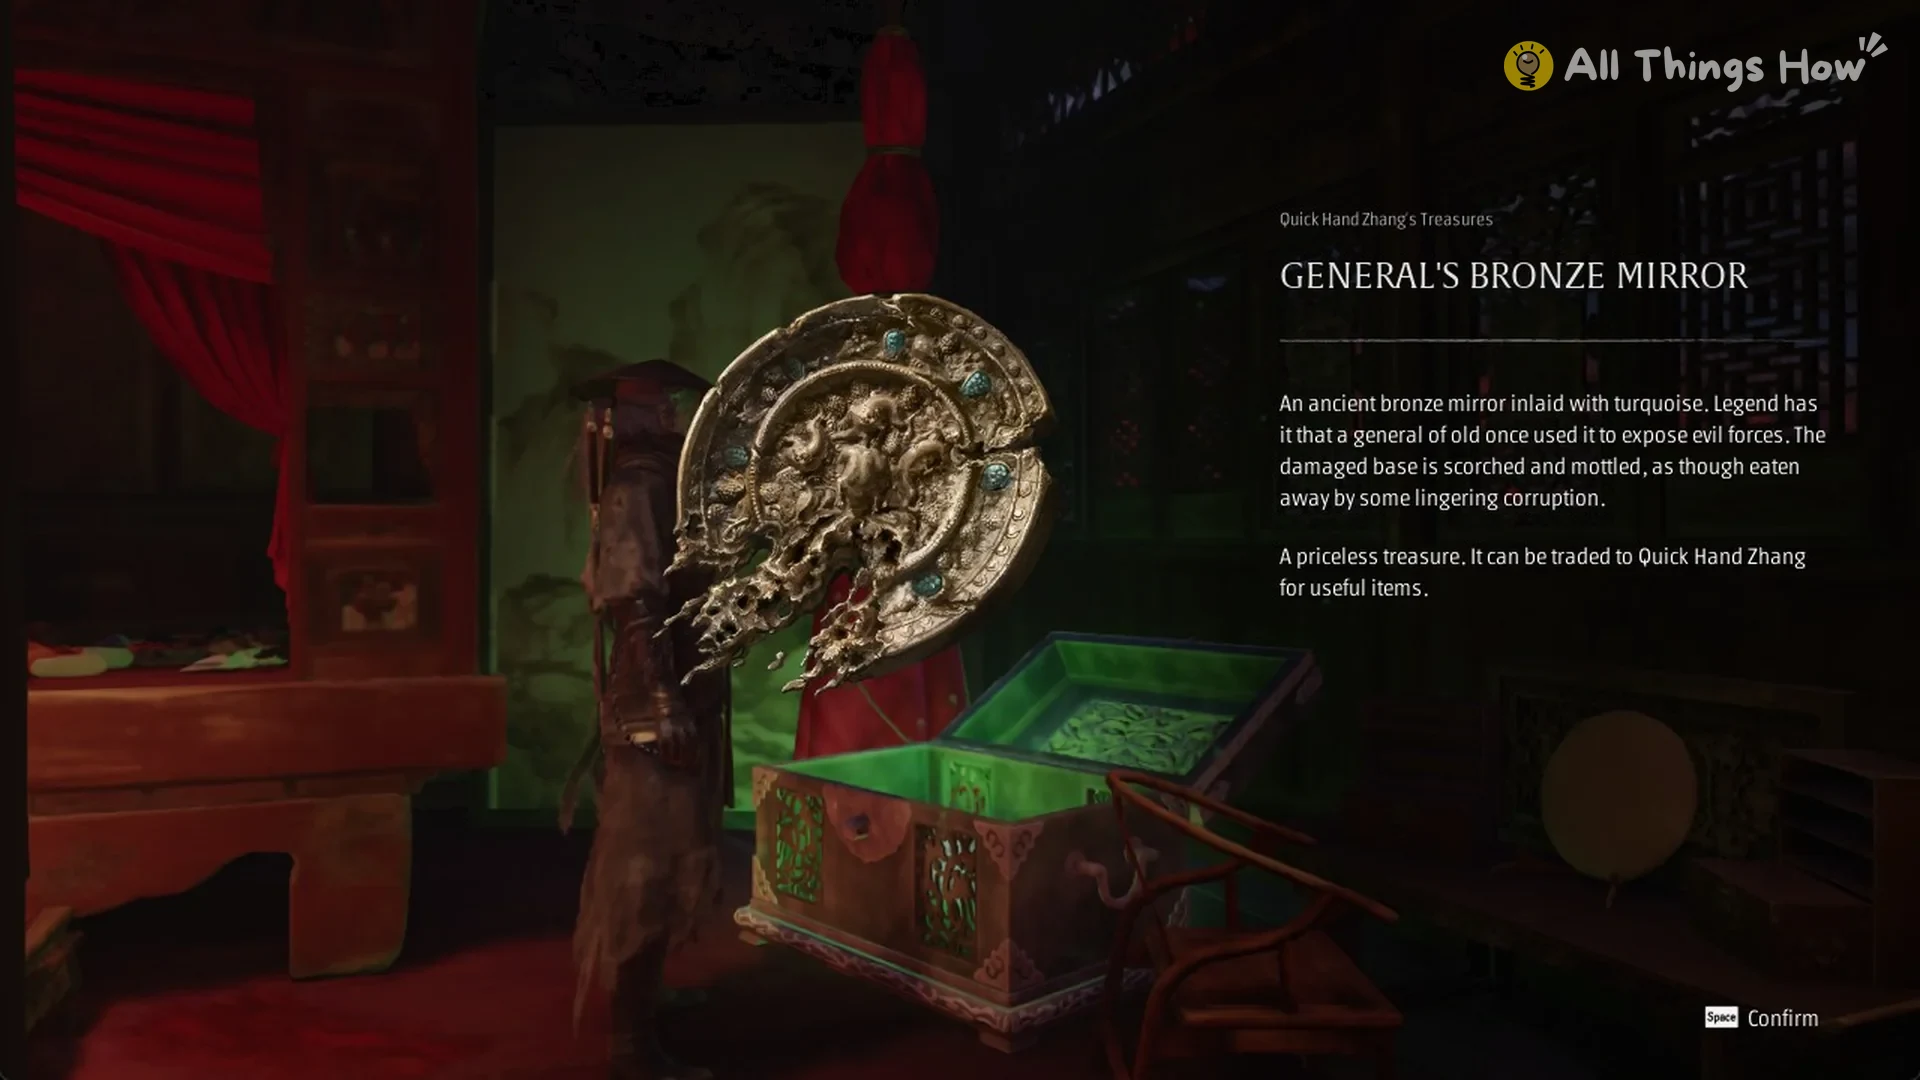
The chest itself may not trigger an attack. On the way out, after you pass back through the moon gate, a group of Yang Puppet halves can attack from just below the costume hall, and their blows hurt badly. Fight them there if you’re prepared, or turn back through the moon gate and continue on.
Gold-and-silver Sachet
The chest is about 69 m from the Opera House bell and sits about 2 m above it.
Begin at the Training Grounds bell. Follow the path through the bamboo grove, then climb the long stone stair up to the training yard. It’s a wide wooden deck with weapon racks jammed into it and a red gate building on the far side.
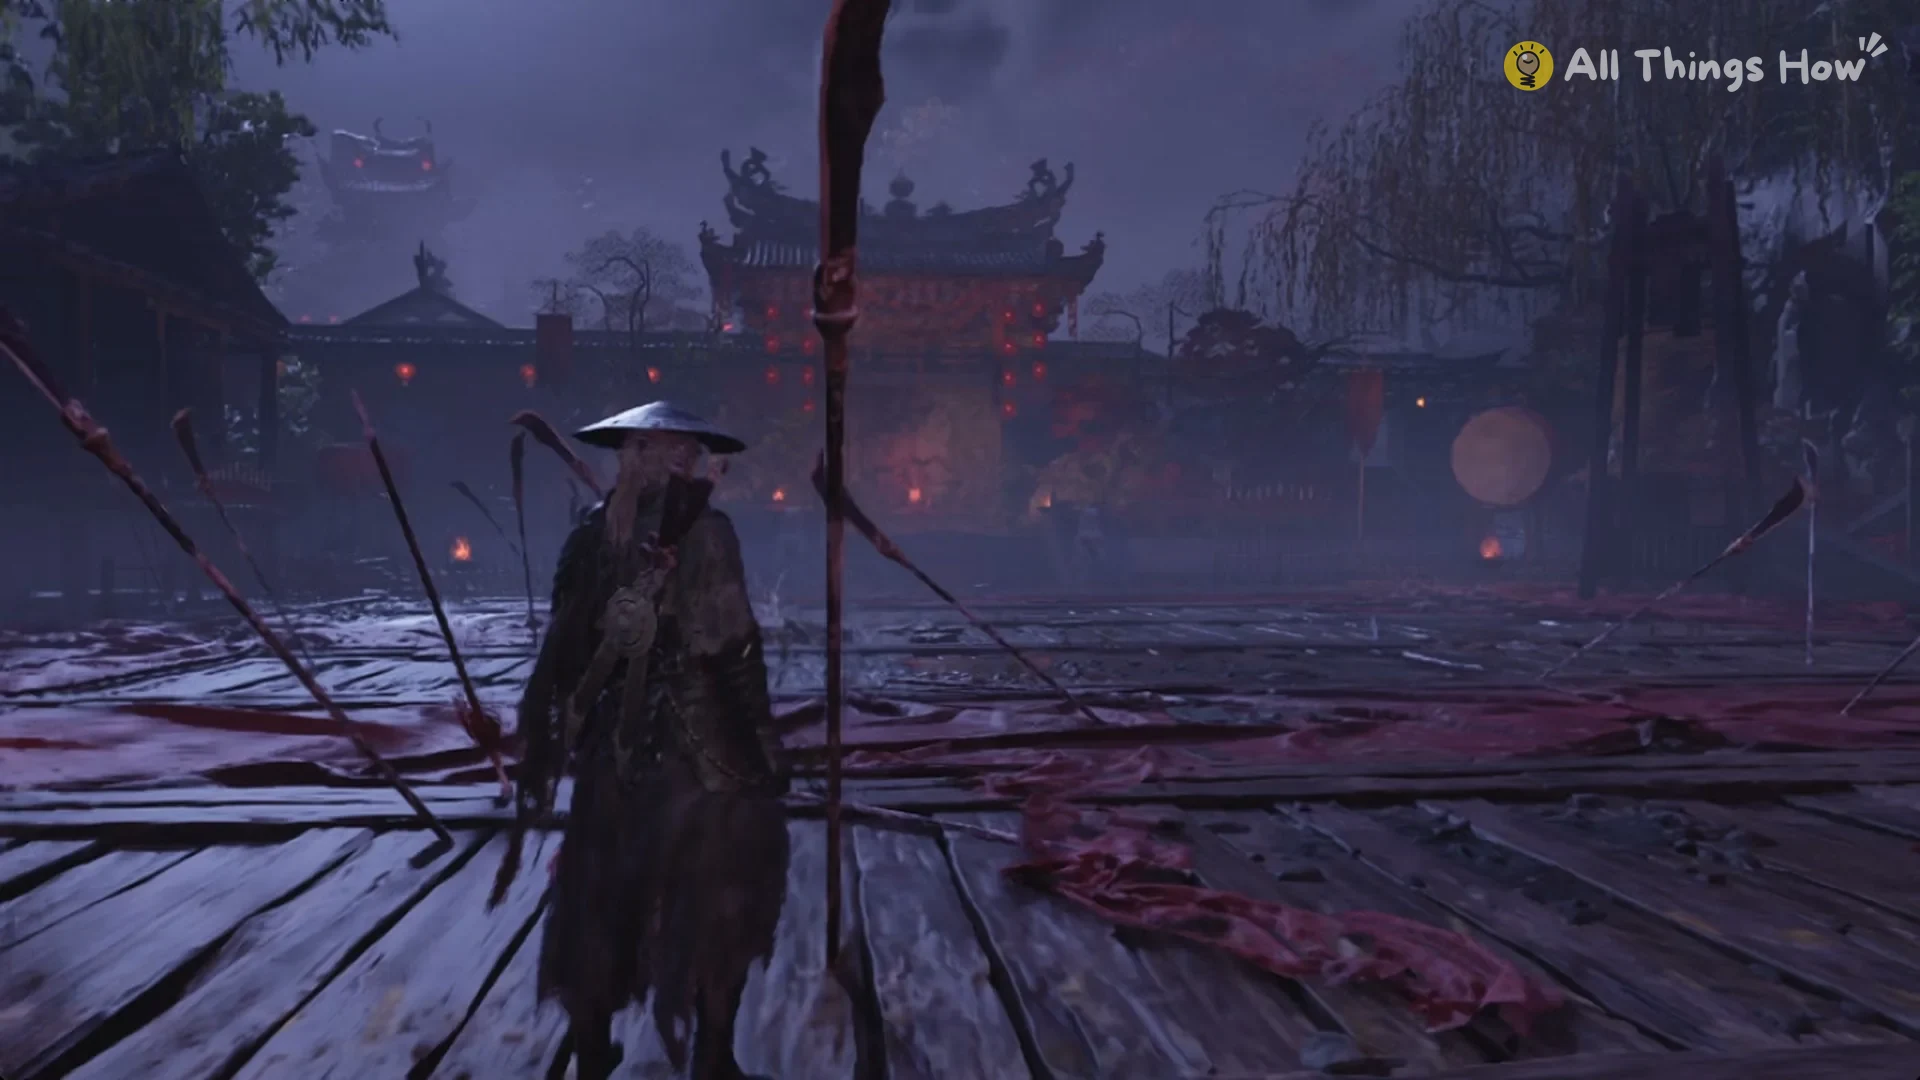
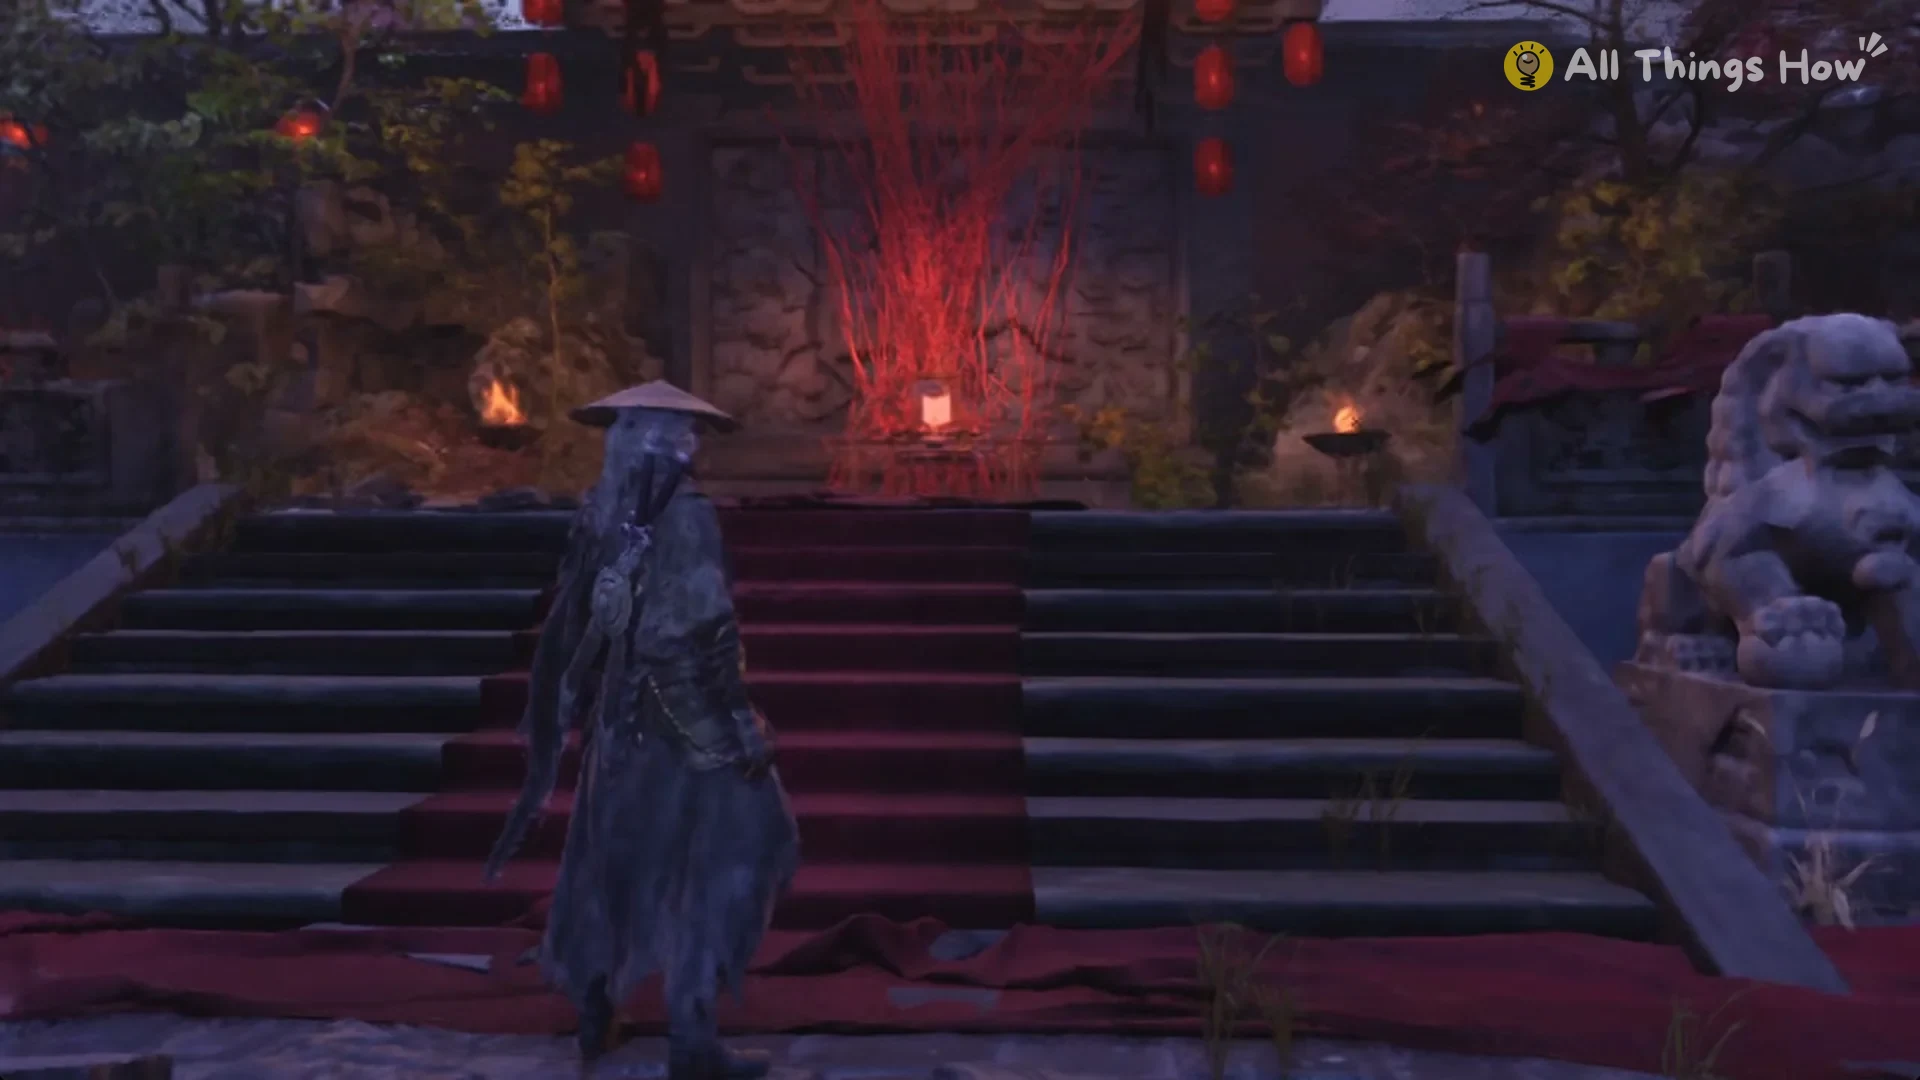
Go beyond the yard and ascend the stone steps covered in red carpet, with a stone lion standing beside them. At the top, red ropes spill over a carved wall and hang above a glowing altar table, flanked by small fires.
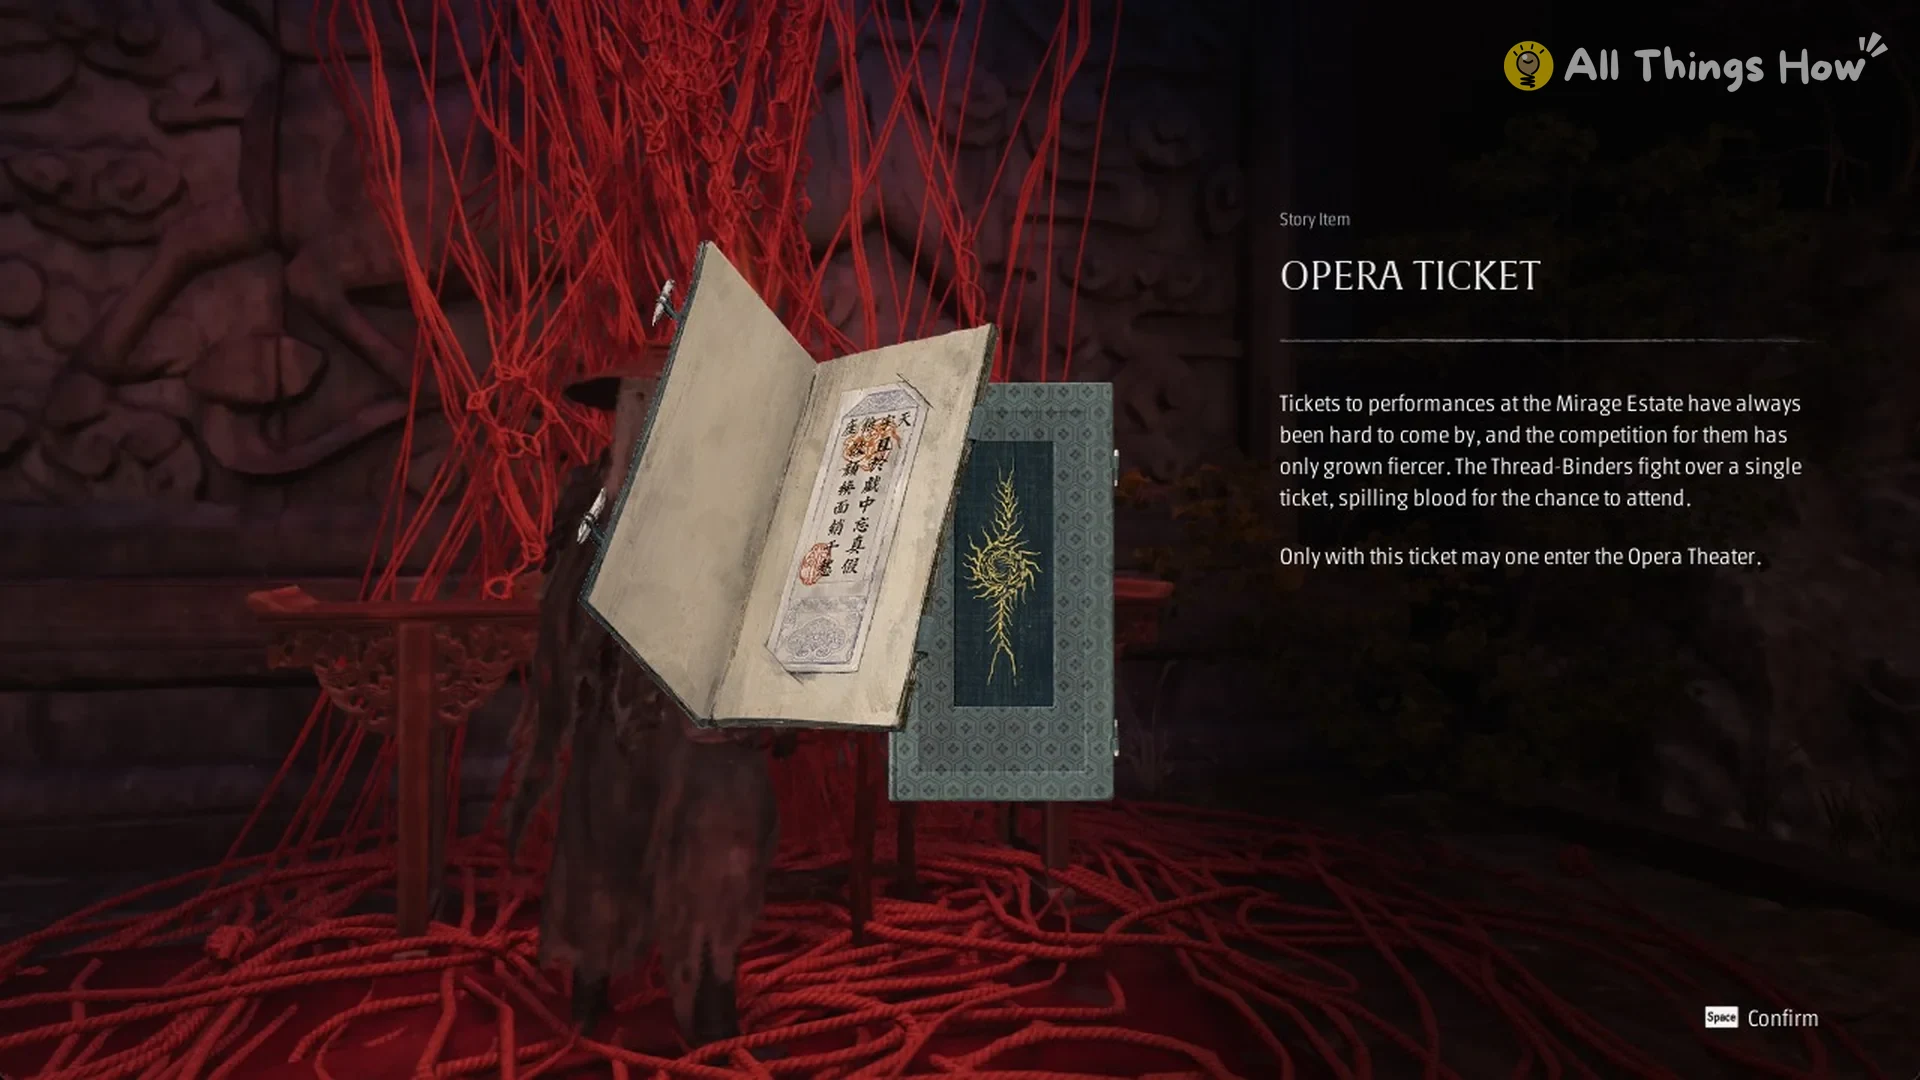
Press E at the altar table. A Story Item card for the OPERA TICKET appears, and its last line reads “Only with this ticket may one enter the Opera Theater.” Once the card closes, Soul says “What secret is hidden in that theater…”
Make your way to the Opera House bell. Leave its pavilion and wade into the shallow, lantern-filled pond, then proceed along the Opera House’s front.
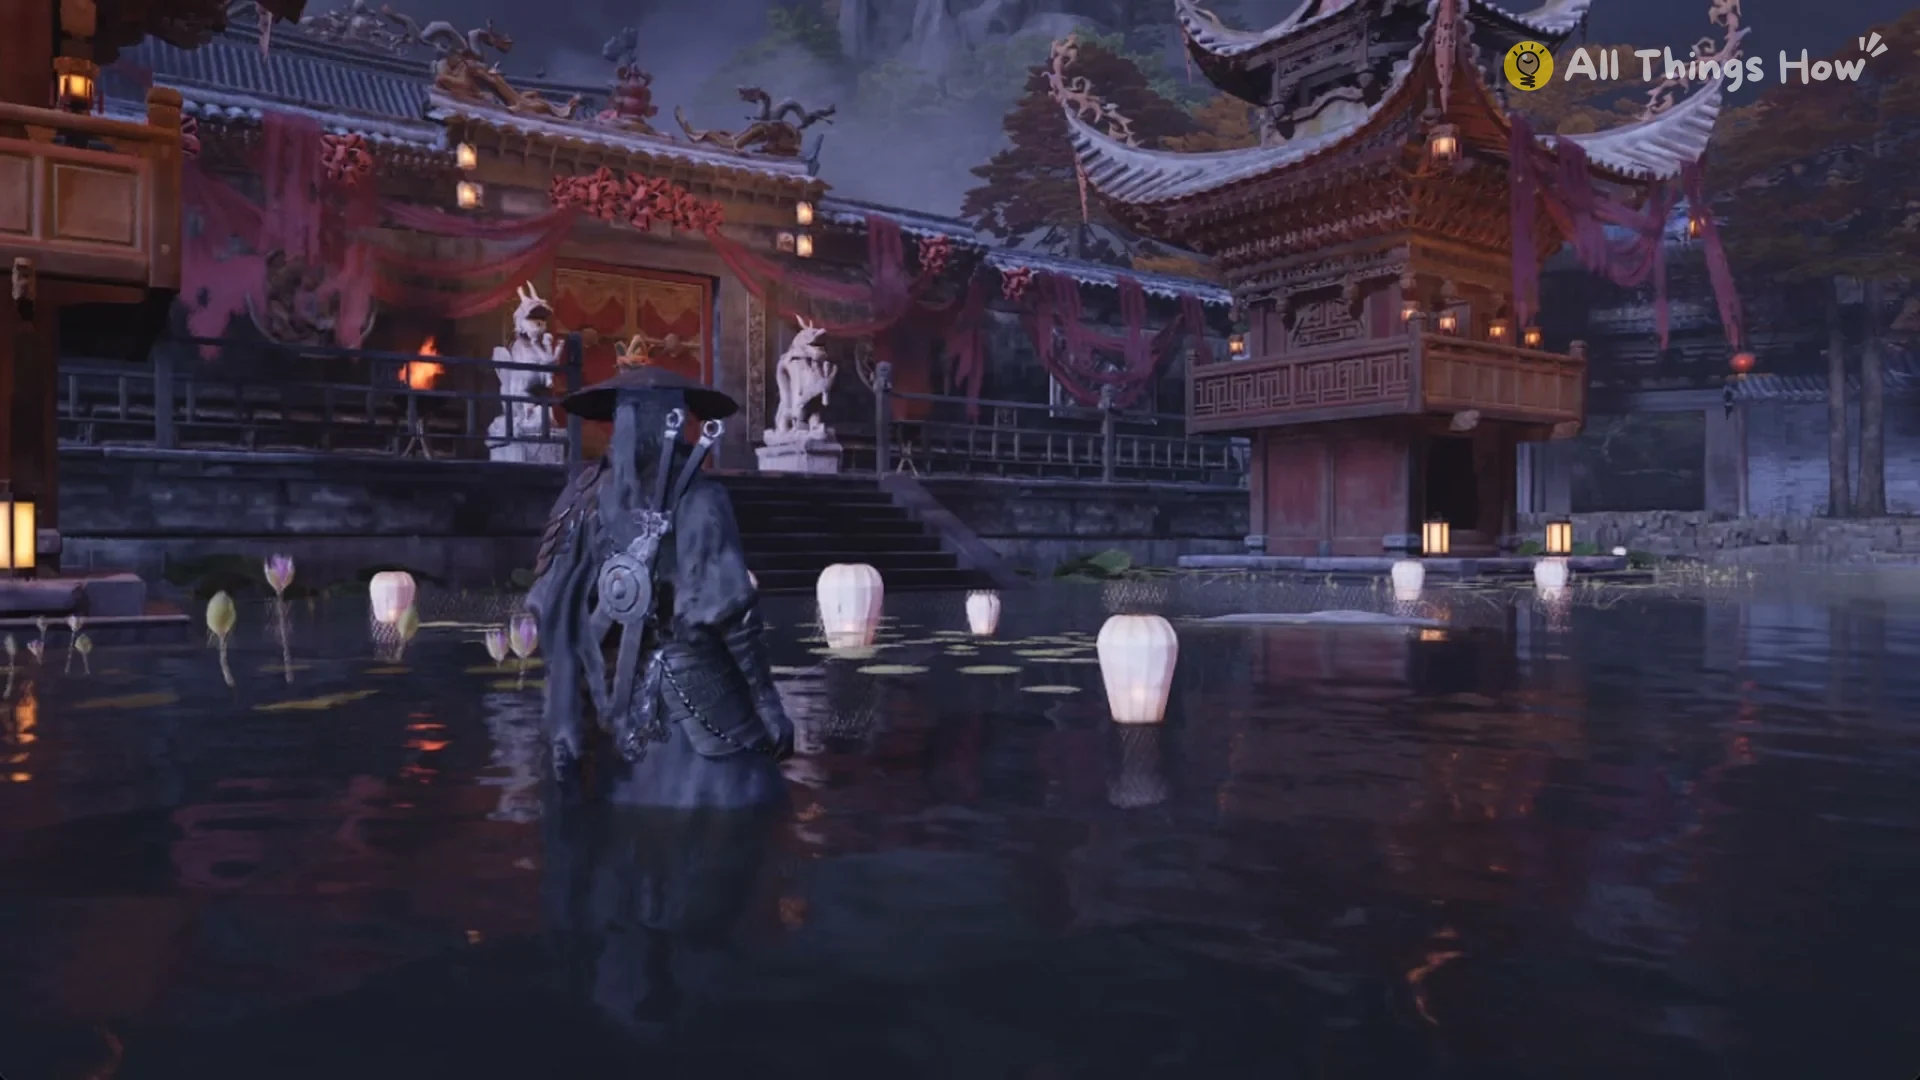
Get out of the water by the red double door positioned between two white stone lion statues. Chained knockers adorn it, with a horned red-and-green mask suspended at its center. Press E to interact with the door.
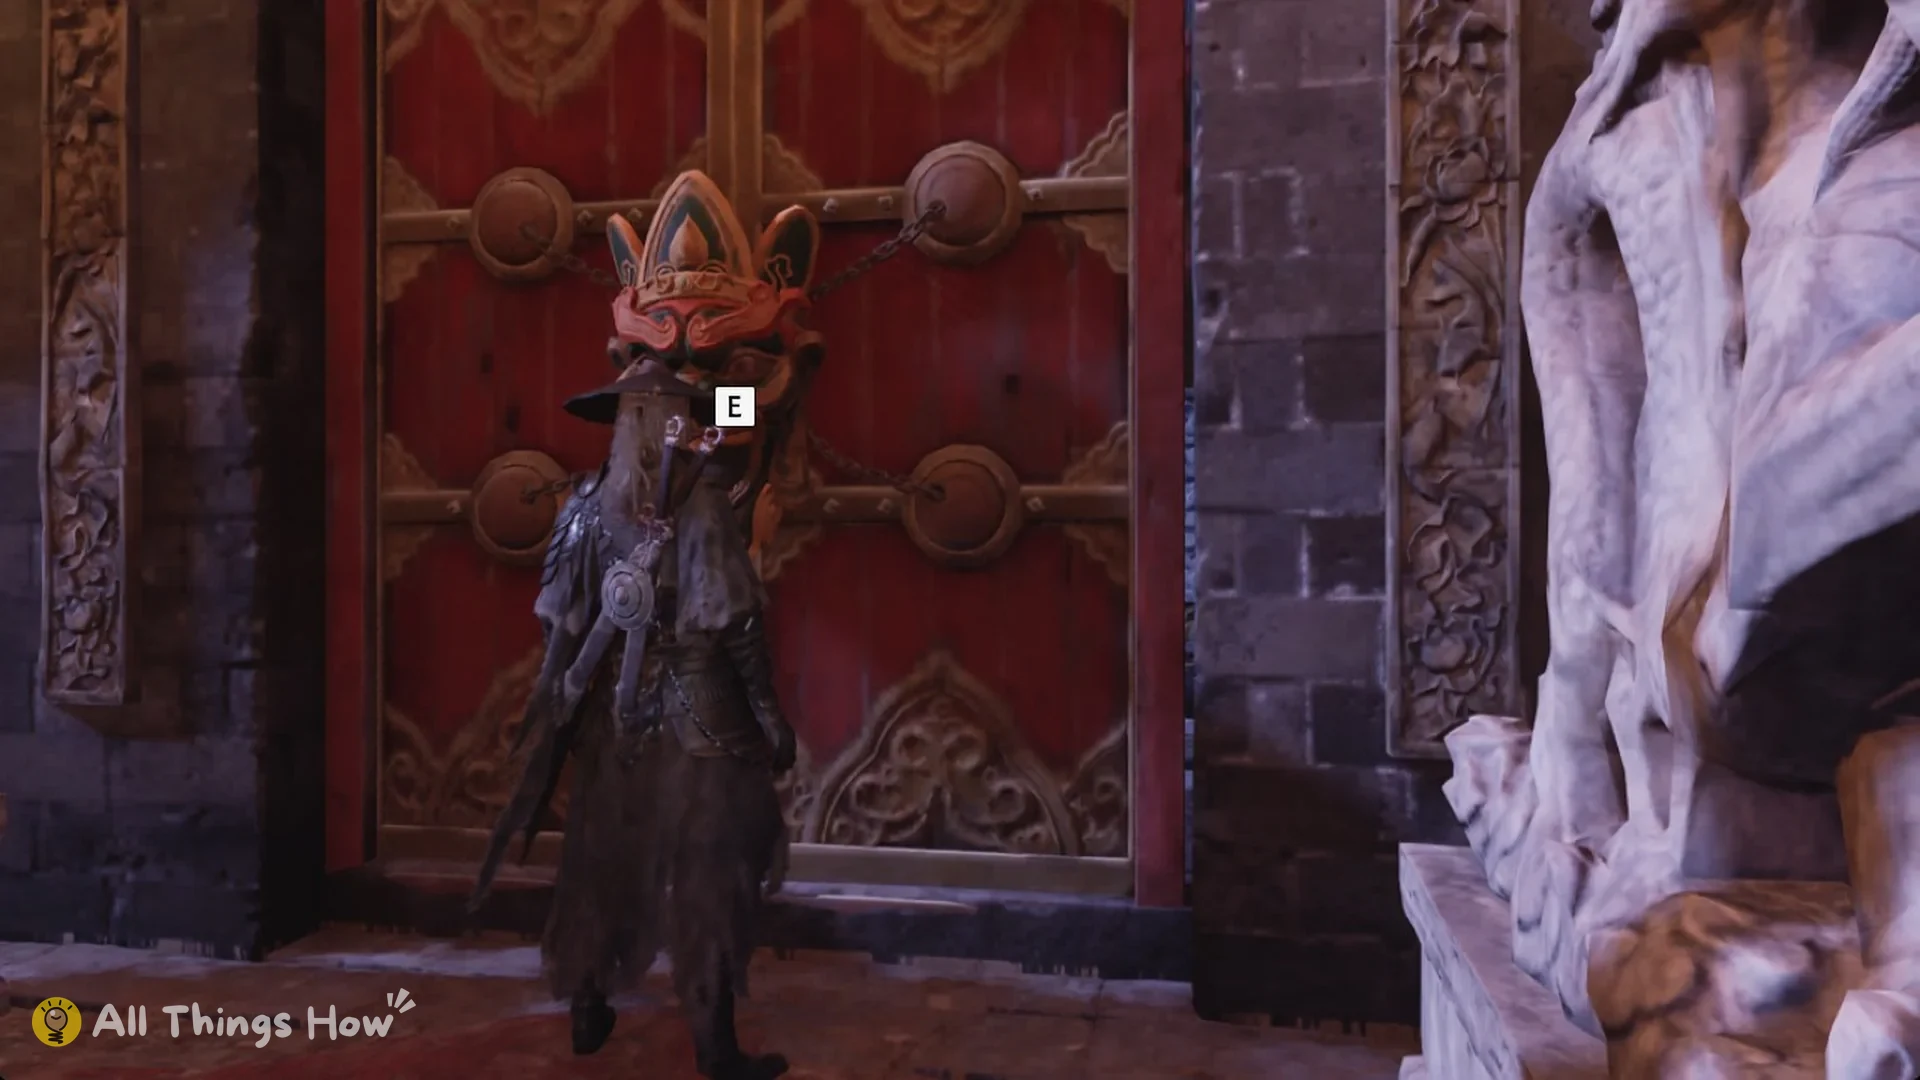
With the Opera Ticket already in your possession, the mask tilts on its chains and the doors swing open. Behind them is a yard with a carved stone screen.
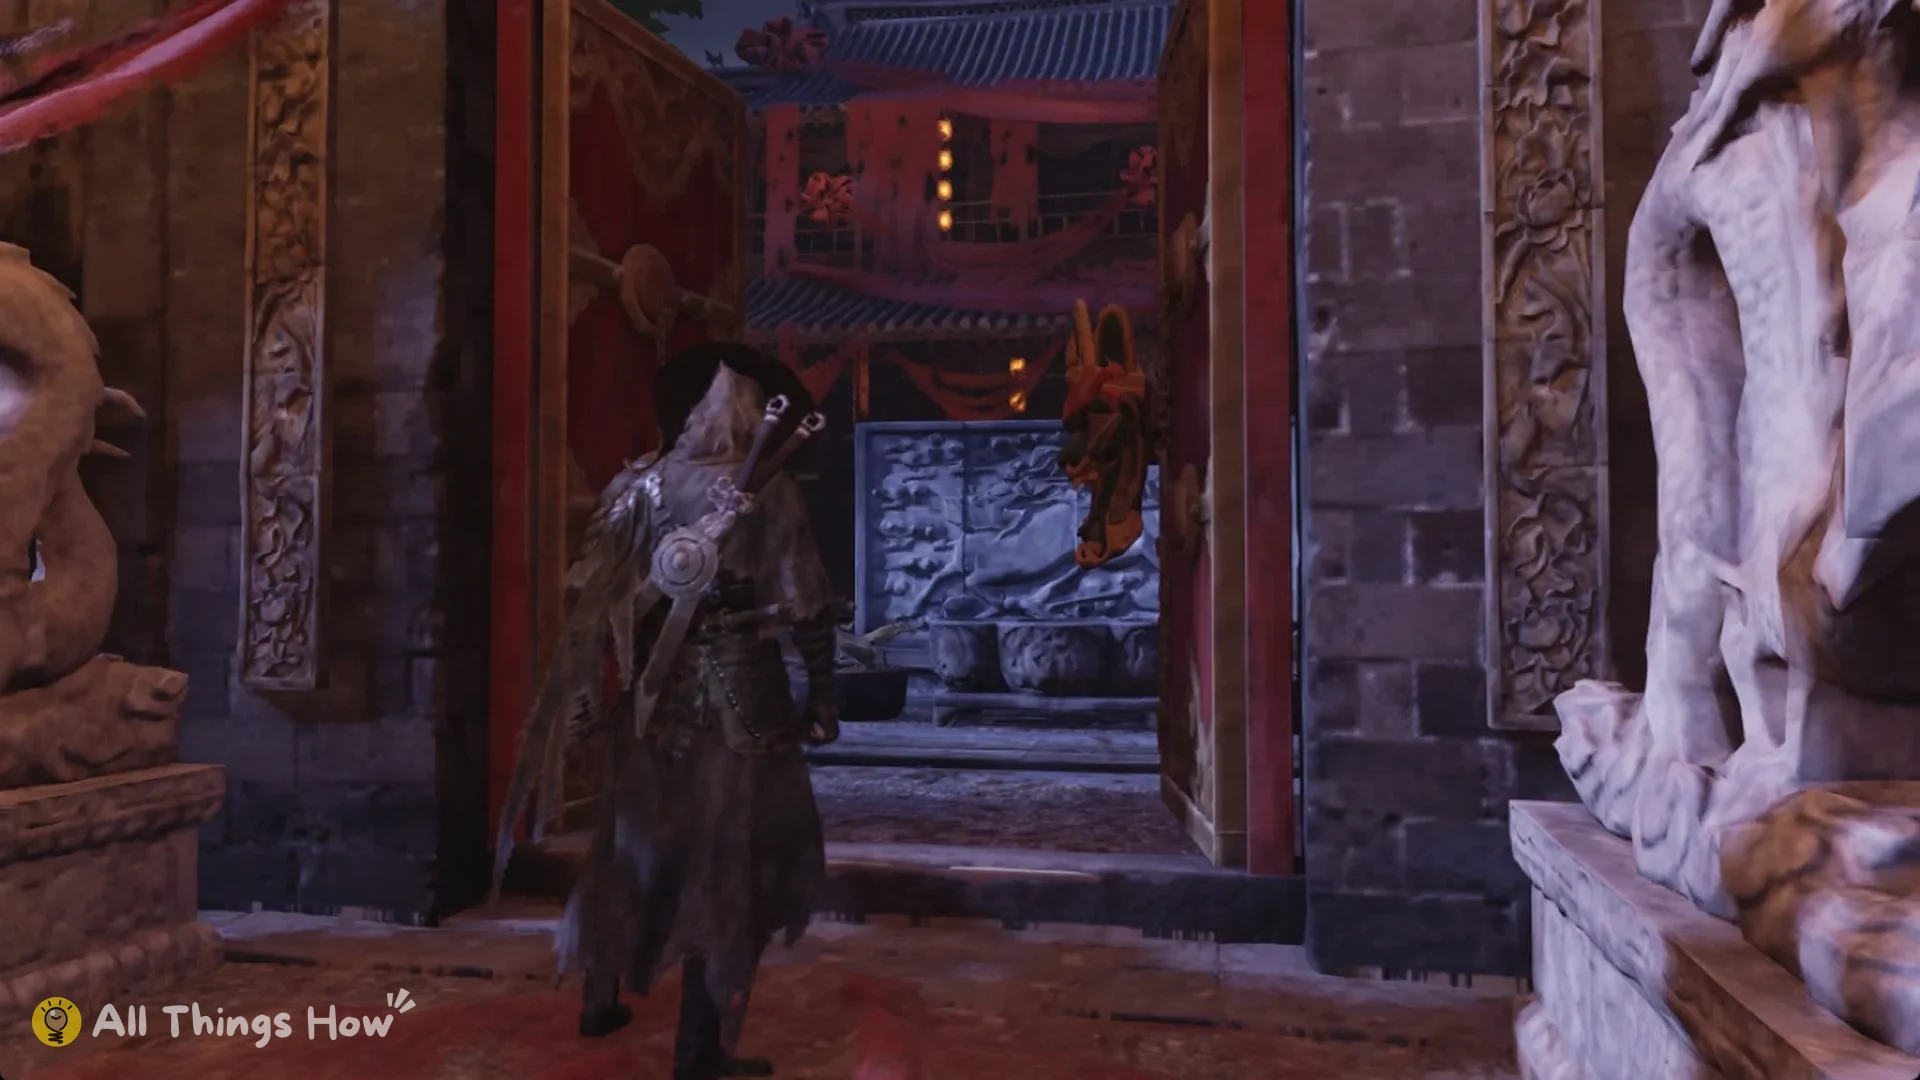
Head through the yard, go by the round stone table, then ascend the stone steps to enter the hall with red curtains.
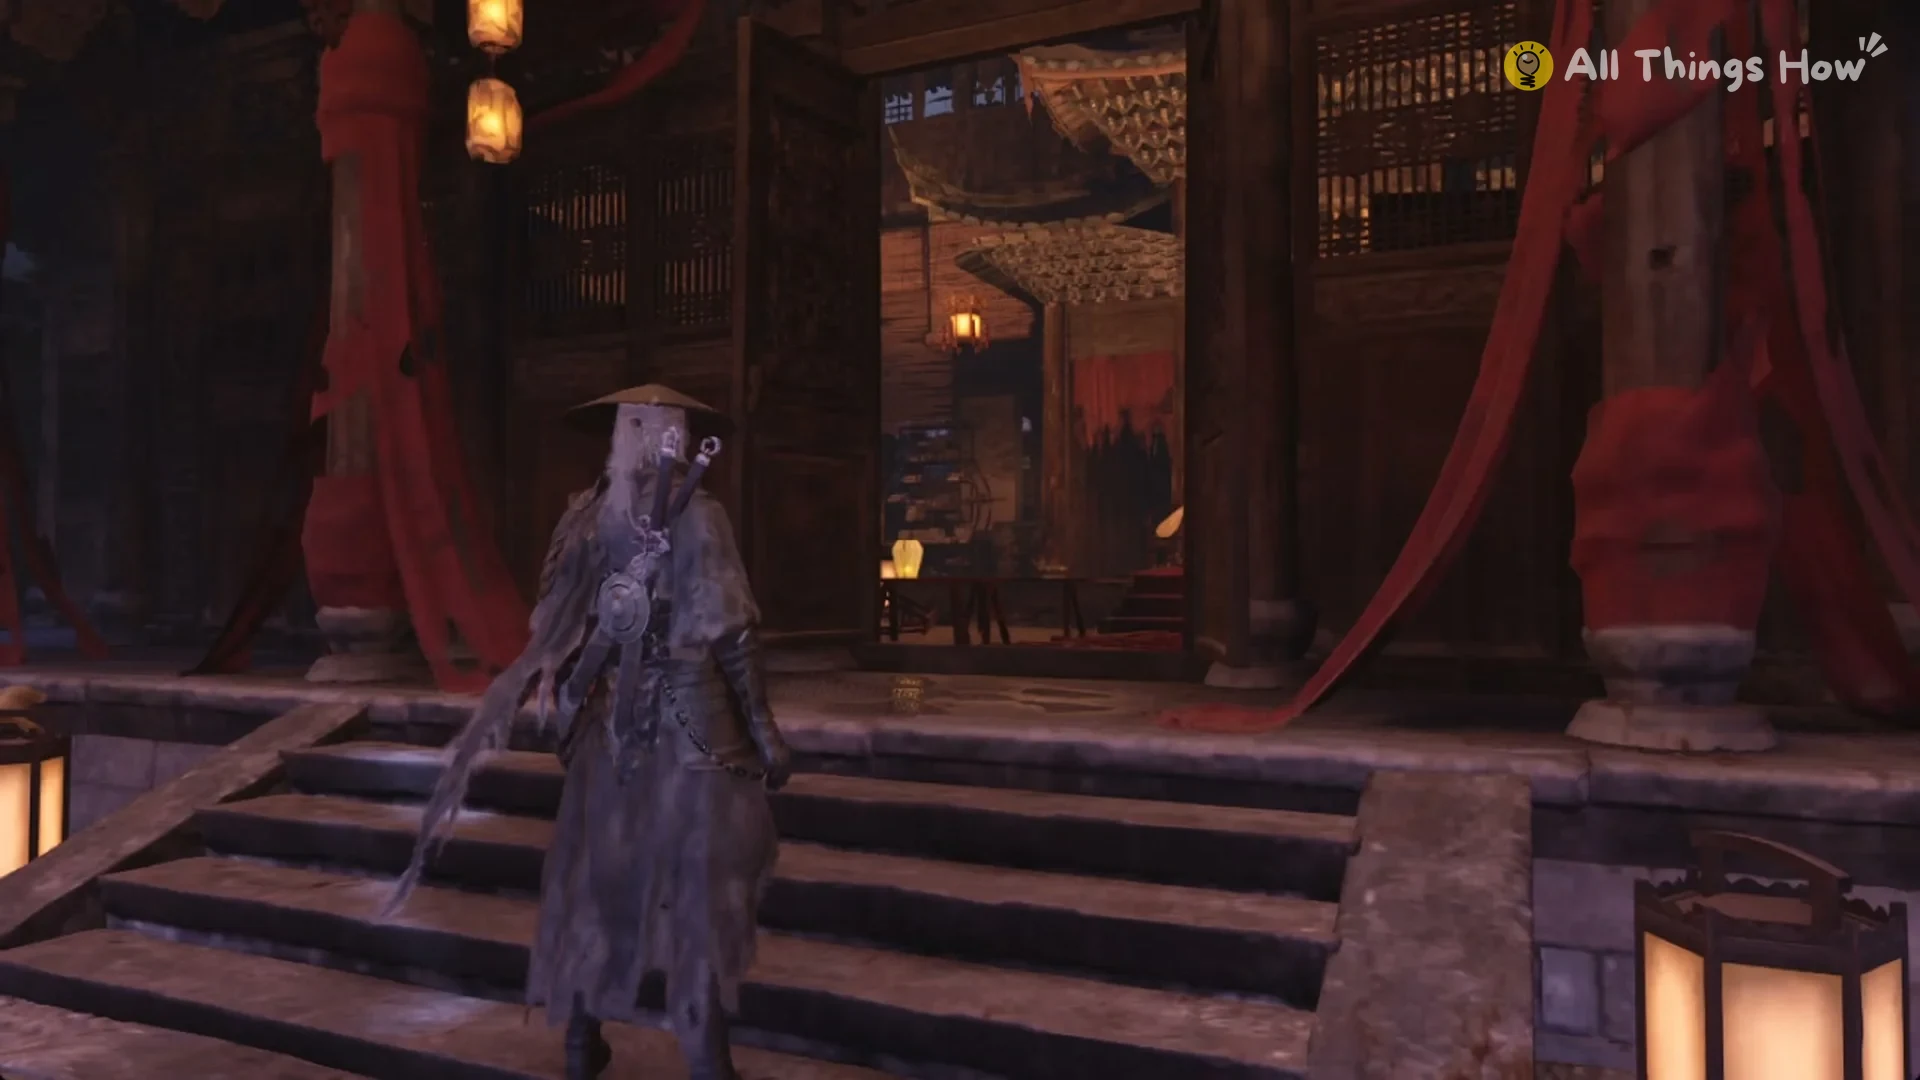
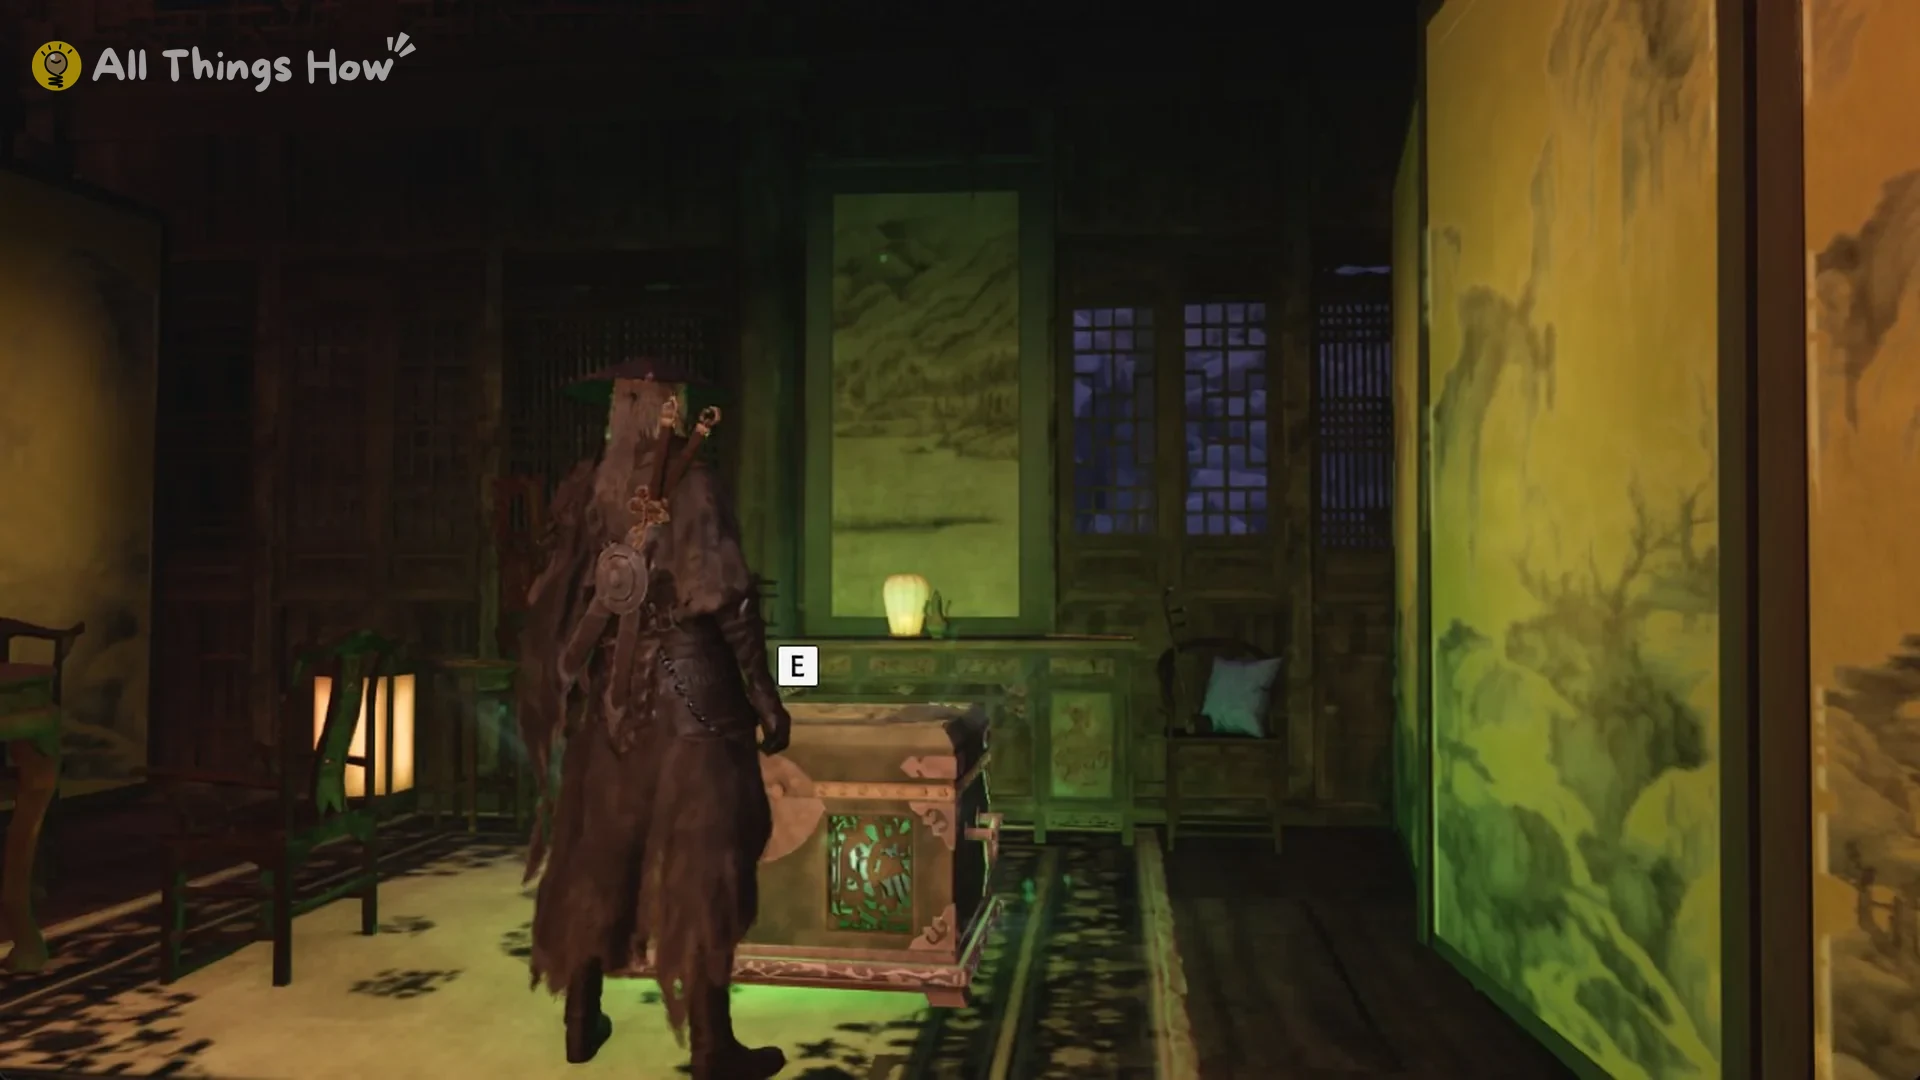
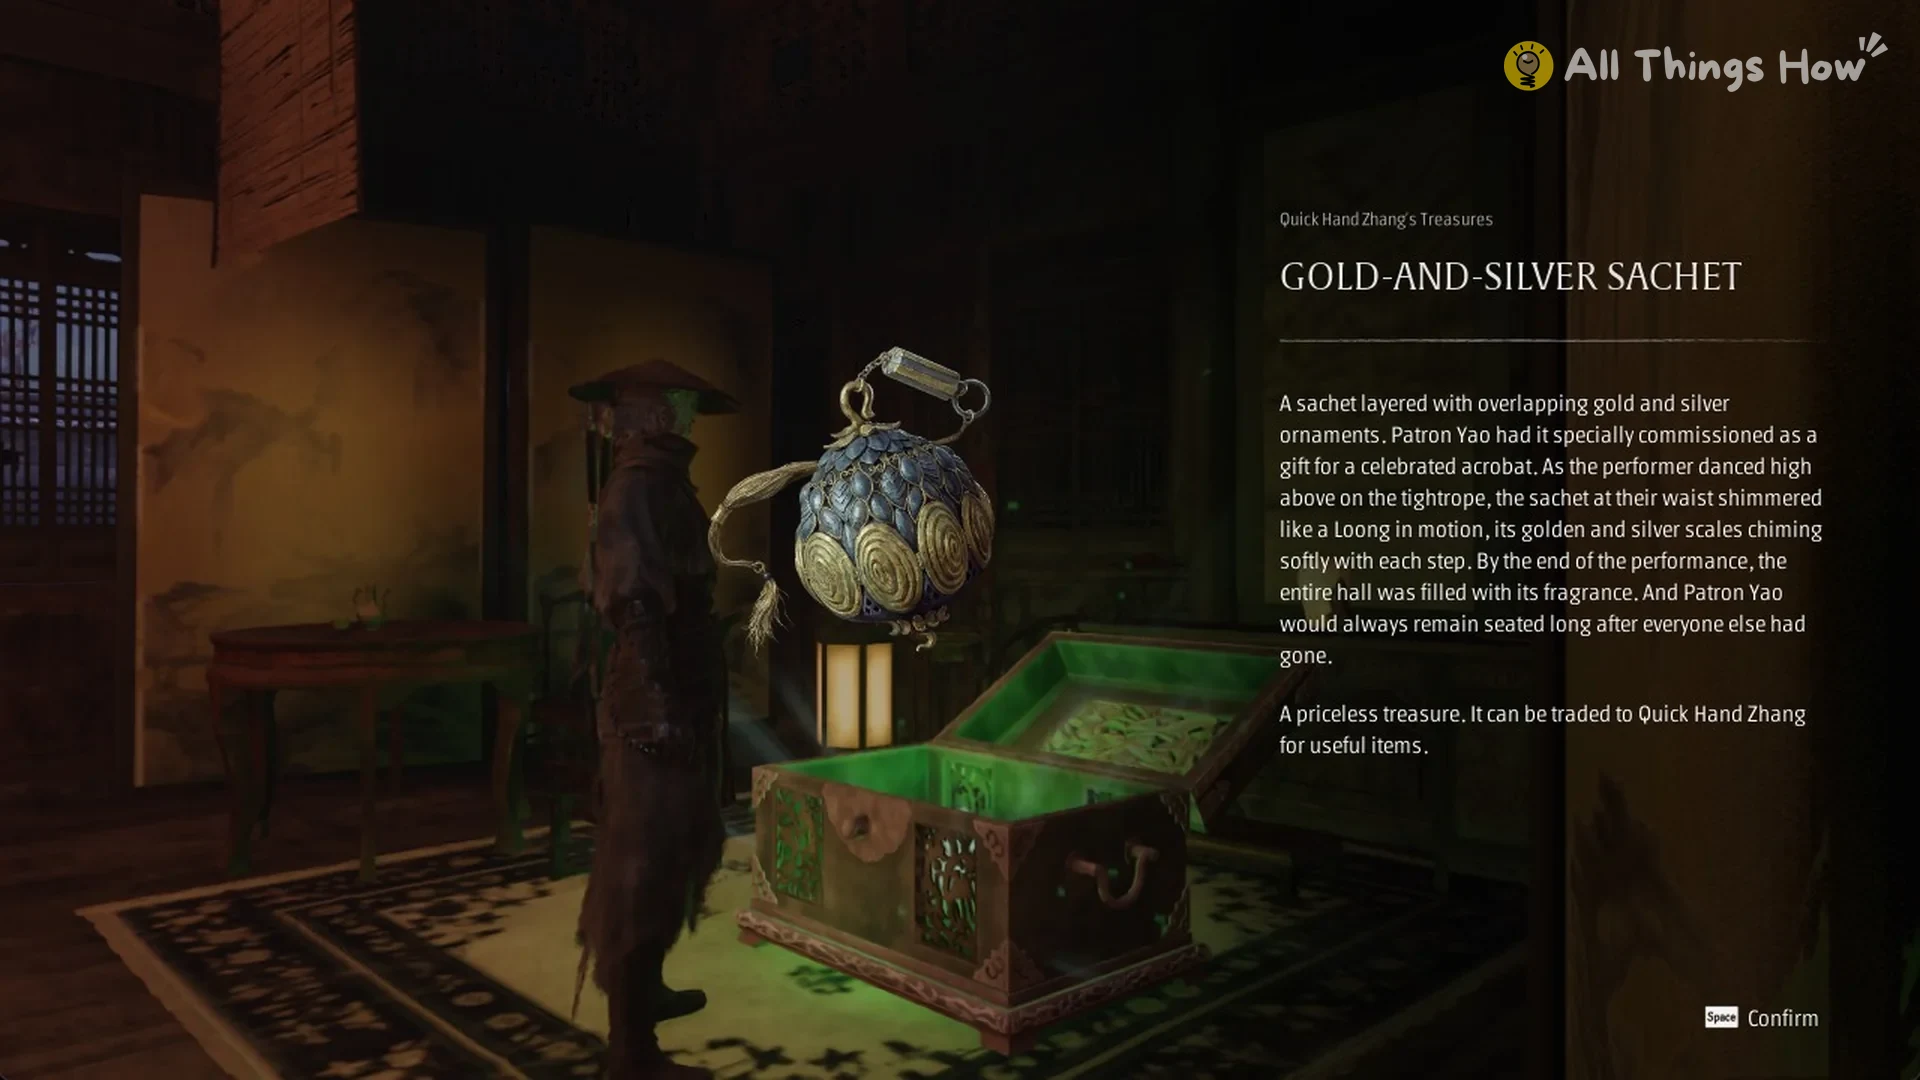
Continue into a study lined with painted landscape screens and lattice windows. The chest is a green-lit carved box resting on a rug in front of a desk. Press E to open it and collect the Gold-and-silver Sachet, one of Quick Hand Zhang’s Treasures.
A sachet layered with overlapping gold and silver ornaments. Patron Yao had it specially commissioned as a gift for a celebrated acrobat. As the performer danced high above on the tightrope, the sachet at their waist shimmered like a Loong in motion, its golden and silver scales chiming softly with each step. By the end of the performance, the entire hall was filled with its fragrance. And Patron Yao would always remain seated long after everyone else had gone.
A priceless treasure. It can be traded to Quick Hand Zhang for useful items.
Golden Cloud-moon Hairpin
The chest is about 23 m from the Perfect Vessel Estate bell, at about the same height.
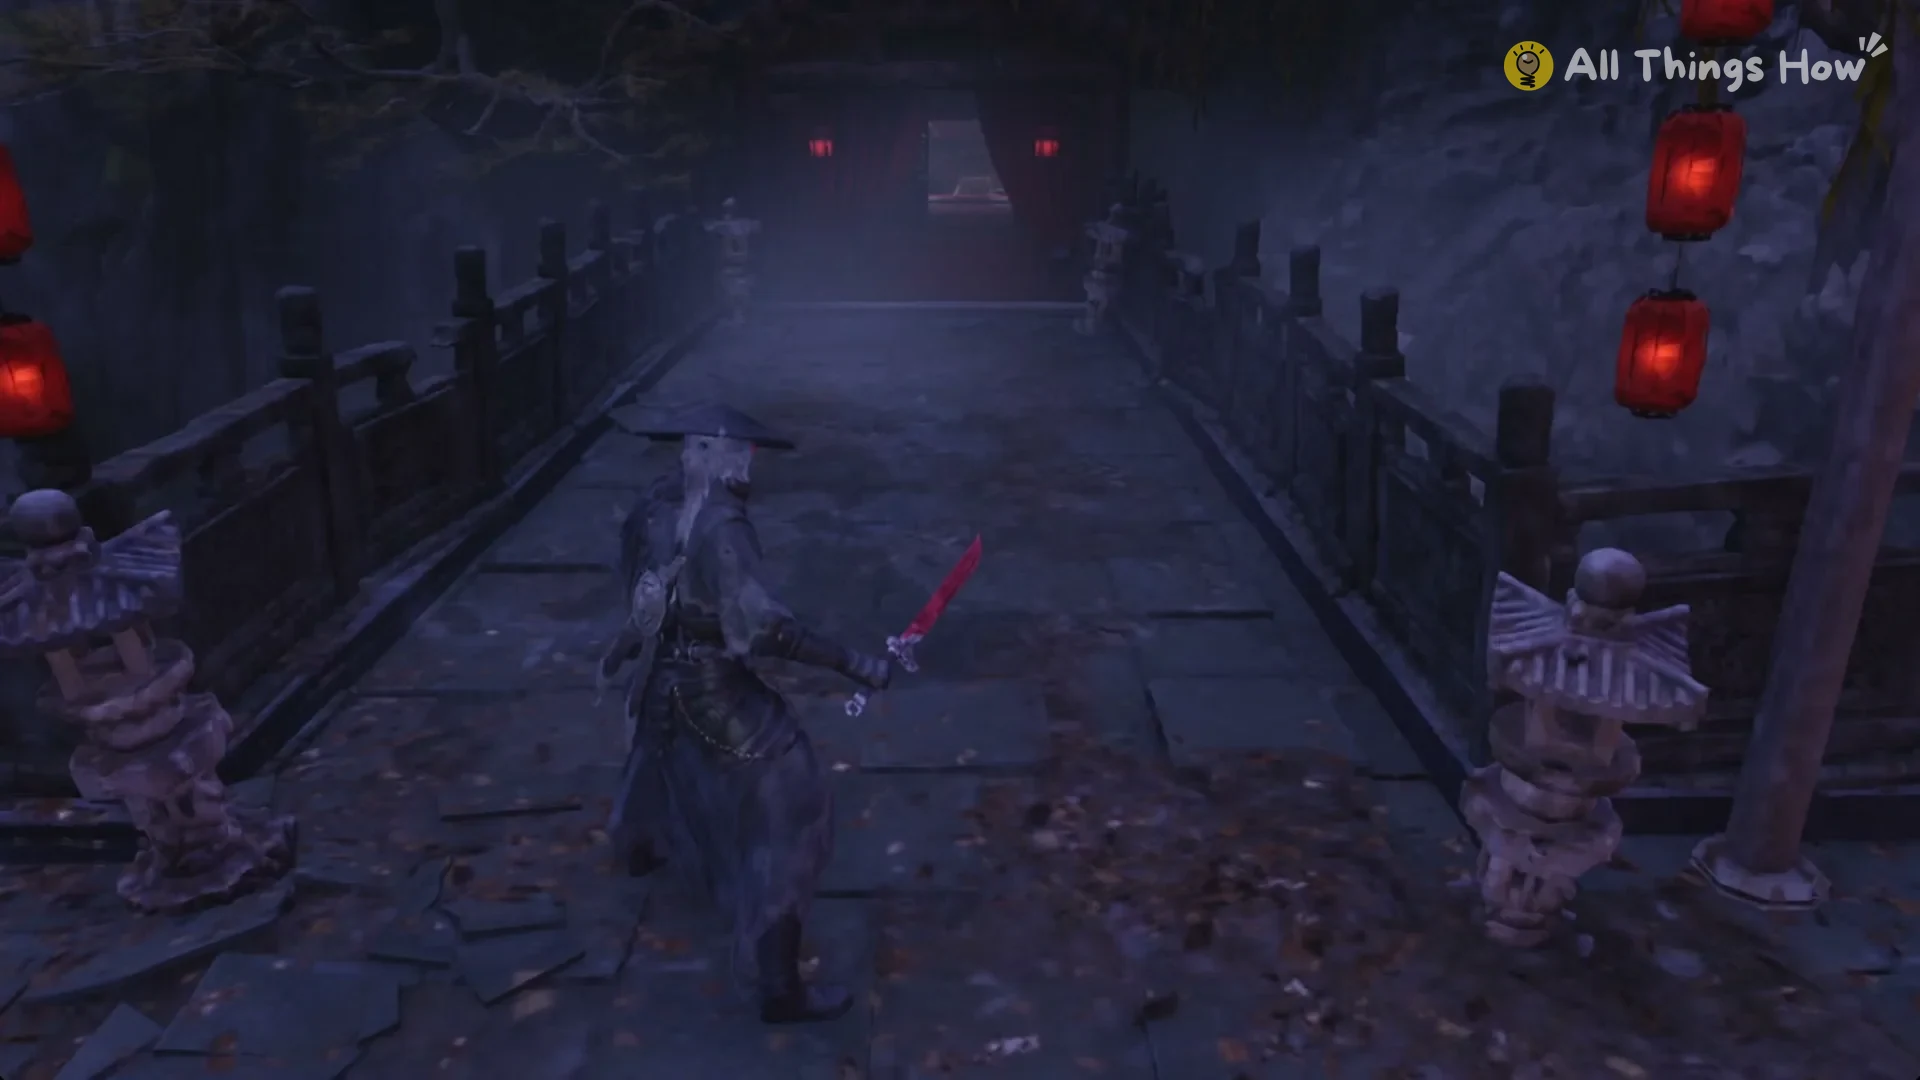
From the Perfect Vessel Pond bell, walk back along the railed stone bridge, the one with stone lanterns at each end, toward the doorway hung with red curtains.
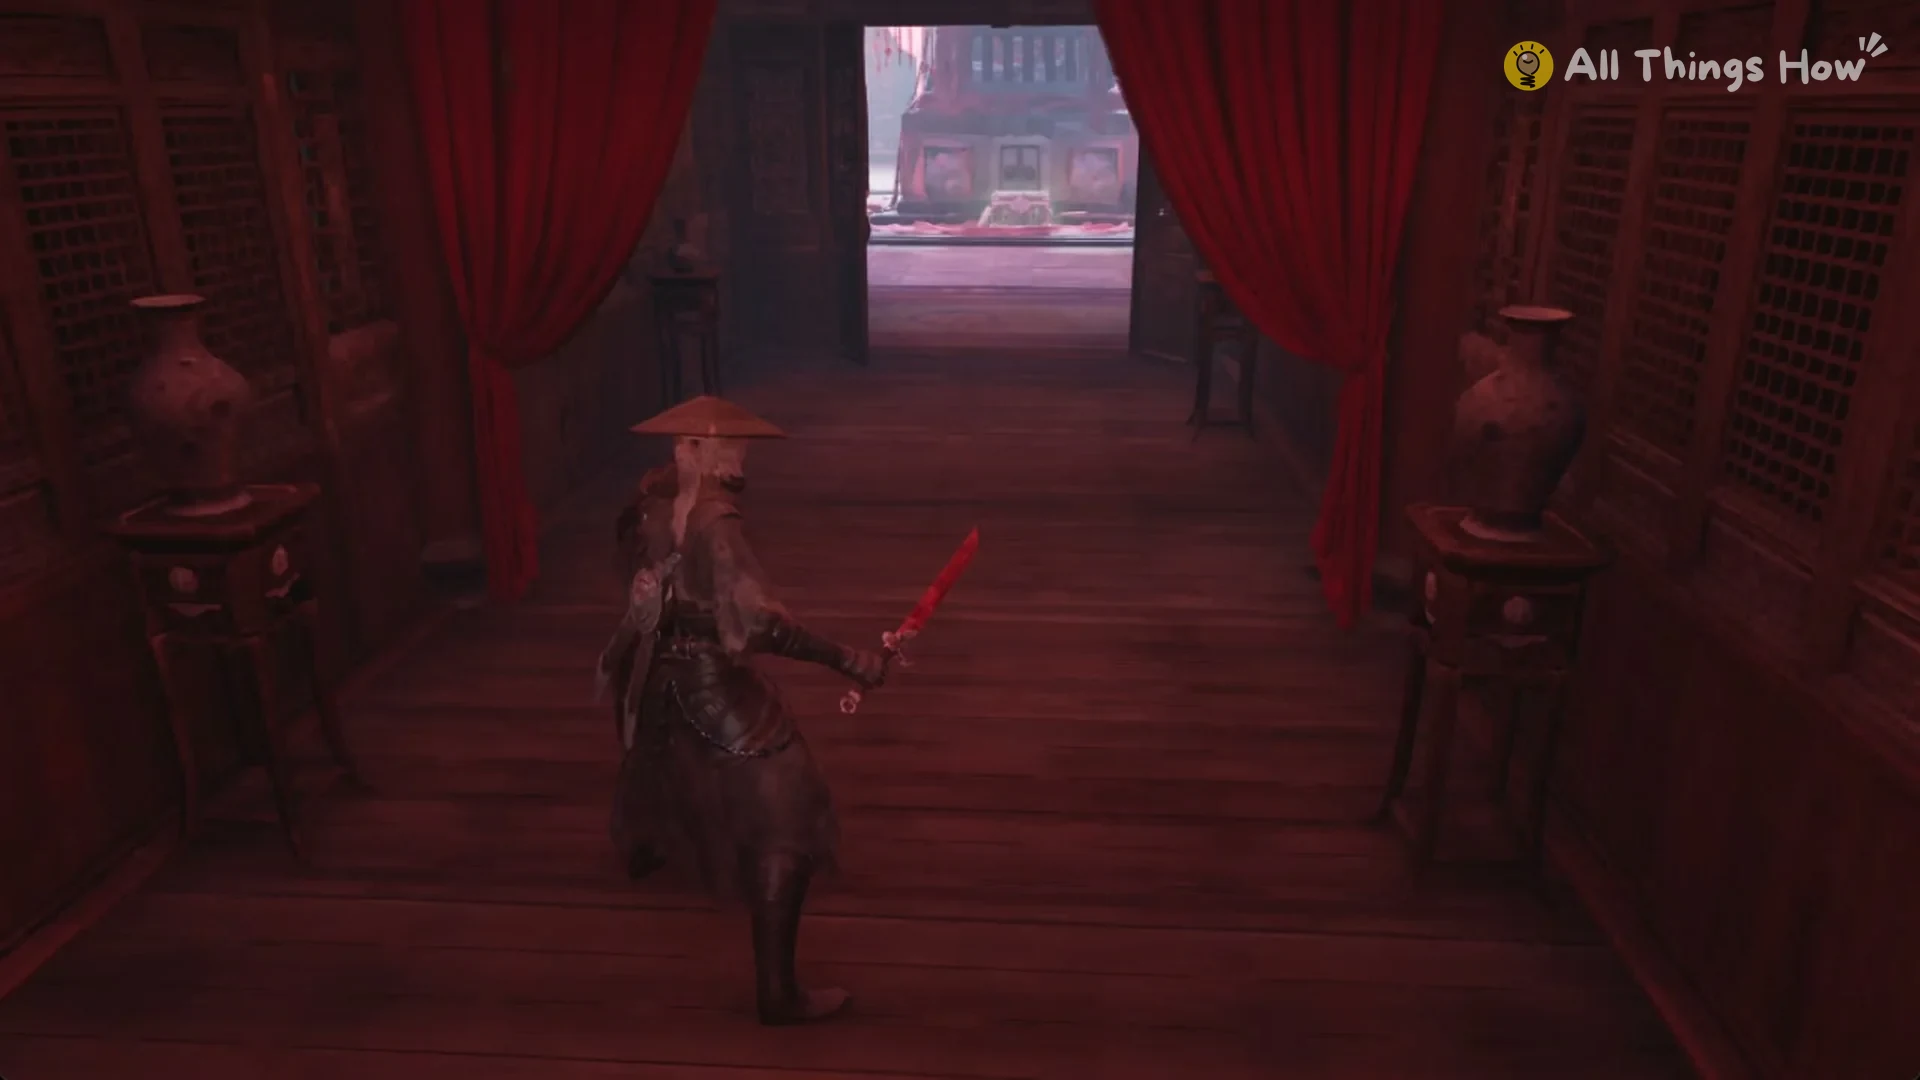
Proceed down the wooden passage lined with curtains; through the doorway at the far end, you can see the tall hall’s stone altar block.
Approach the stone altar block at the center of the hall. The chest is on the floor at one of its corners, atop the red cloth spread around its base. Stand beside it and press E to open it. The chest is roughly 65 m from the Perfect Vessel Pond bell.
Cloud motifs curl around the fine jade set into the hairpin, like drifting clouds cradling the moon. Long ago, during a grand performance banquet at The Mirage Estate, an entertainer used Phantom Arts to bring the clouds and moon depicted on the hairpin to life upon the stage. The guests could no longer tell where illusion ended and reality began.
A priceless treasure. It can be traded to Quick Hand Zhang for useful items.
Handing in the Mirage Estate treasures
At Zhang’s Hideout (Mirage Estate), the bell stands in a stone courtyard. Climb the steps toward the building ahead, then enter through its doorway.
At the rear of the room, a curtained entrance opens into a cave. Continue through its chambers, passing stacks of chests and vases before reaching a low table on red cloth, topped by a red vase.
The cave ends at a wooden platform about 65 m from the bell. It looks down over a huge cave floor piled with coins and treasure chests. When you step onto it, Zhang shouts up at you: “Hey! It’s good to see you in one piece, Master Soul! You look good!”
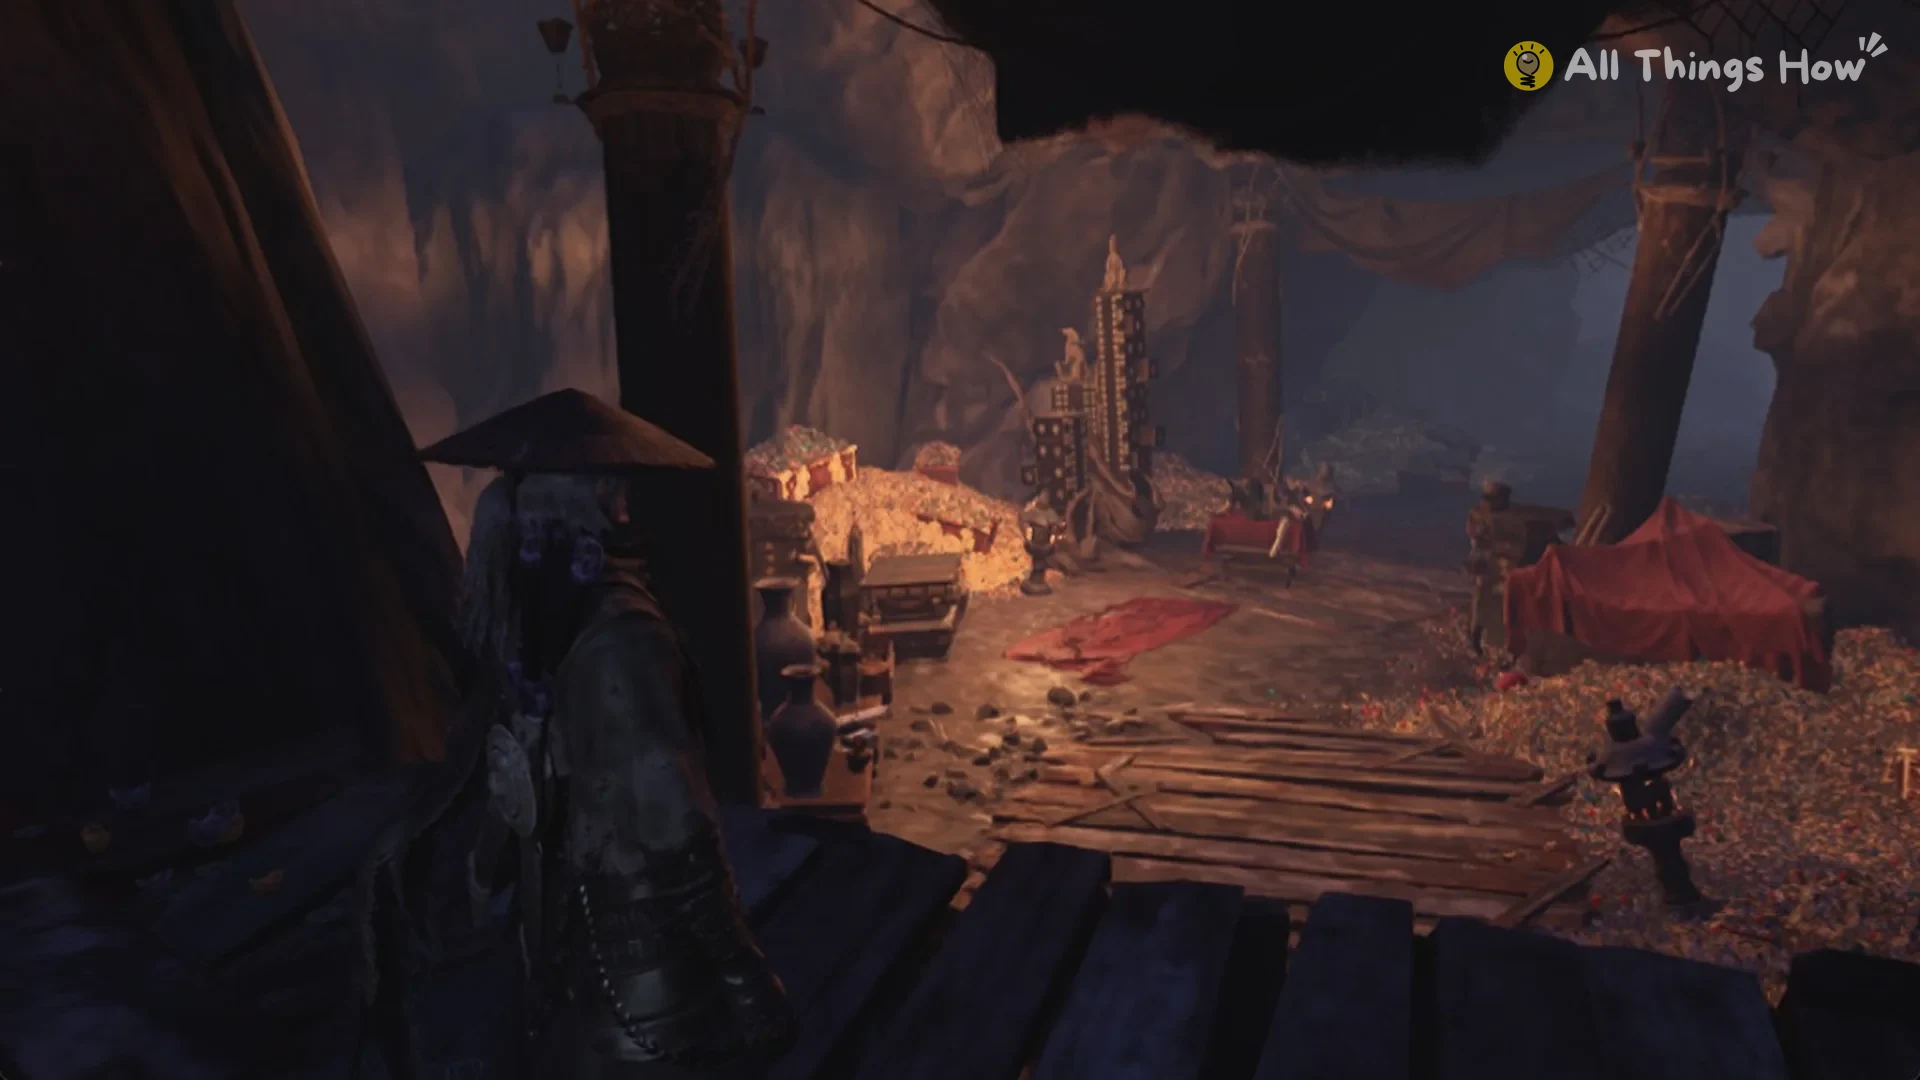
Jump down from the platform onto the treasure floor, then continue for roughly 10 m. Beside a red-draped table, Zhang stands next to a tall cabinet encrusted with coins. Press E to speak with him.
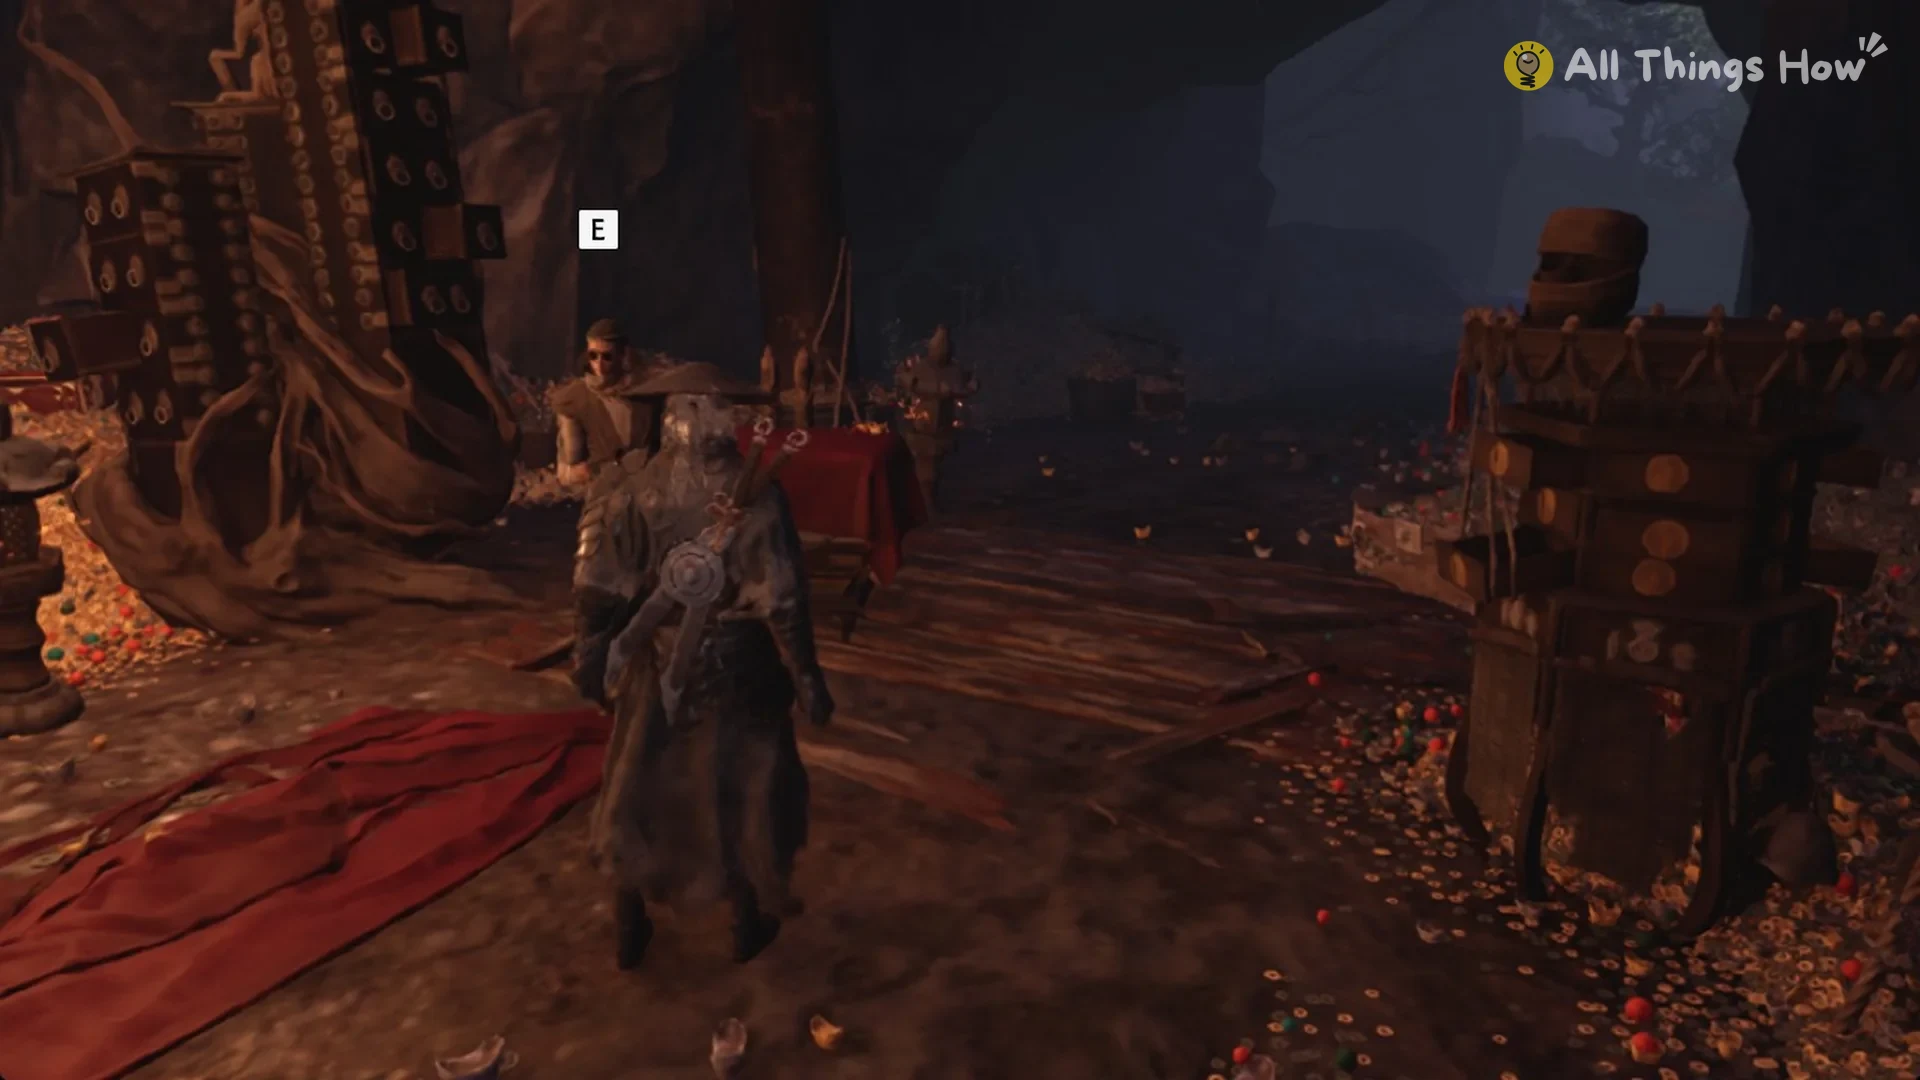
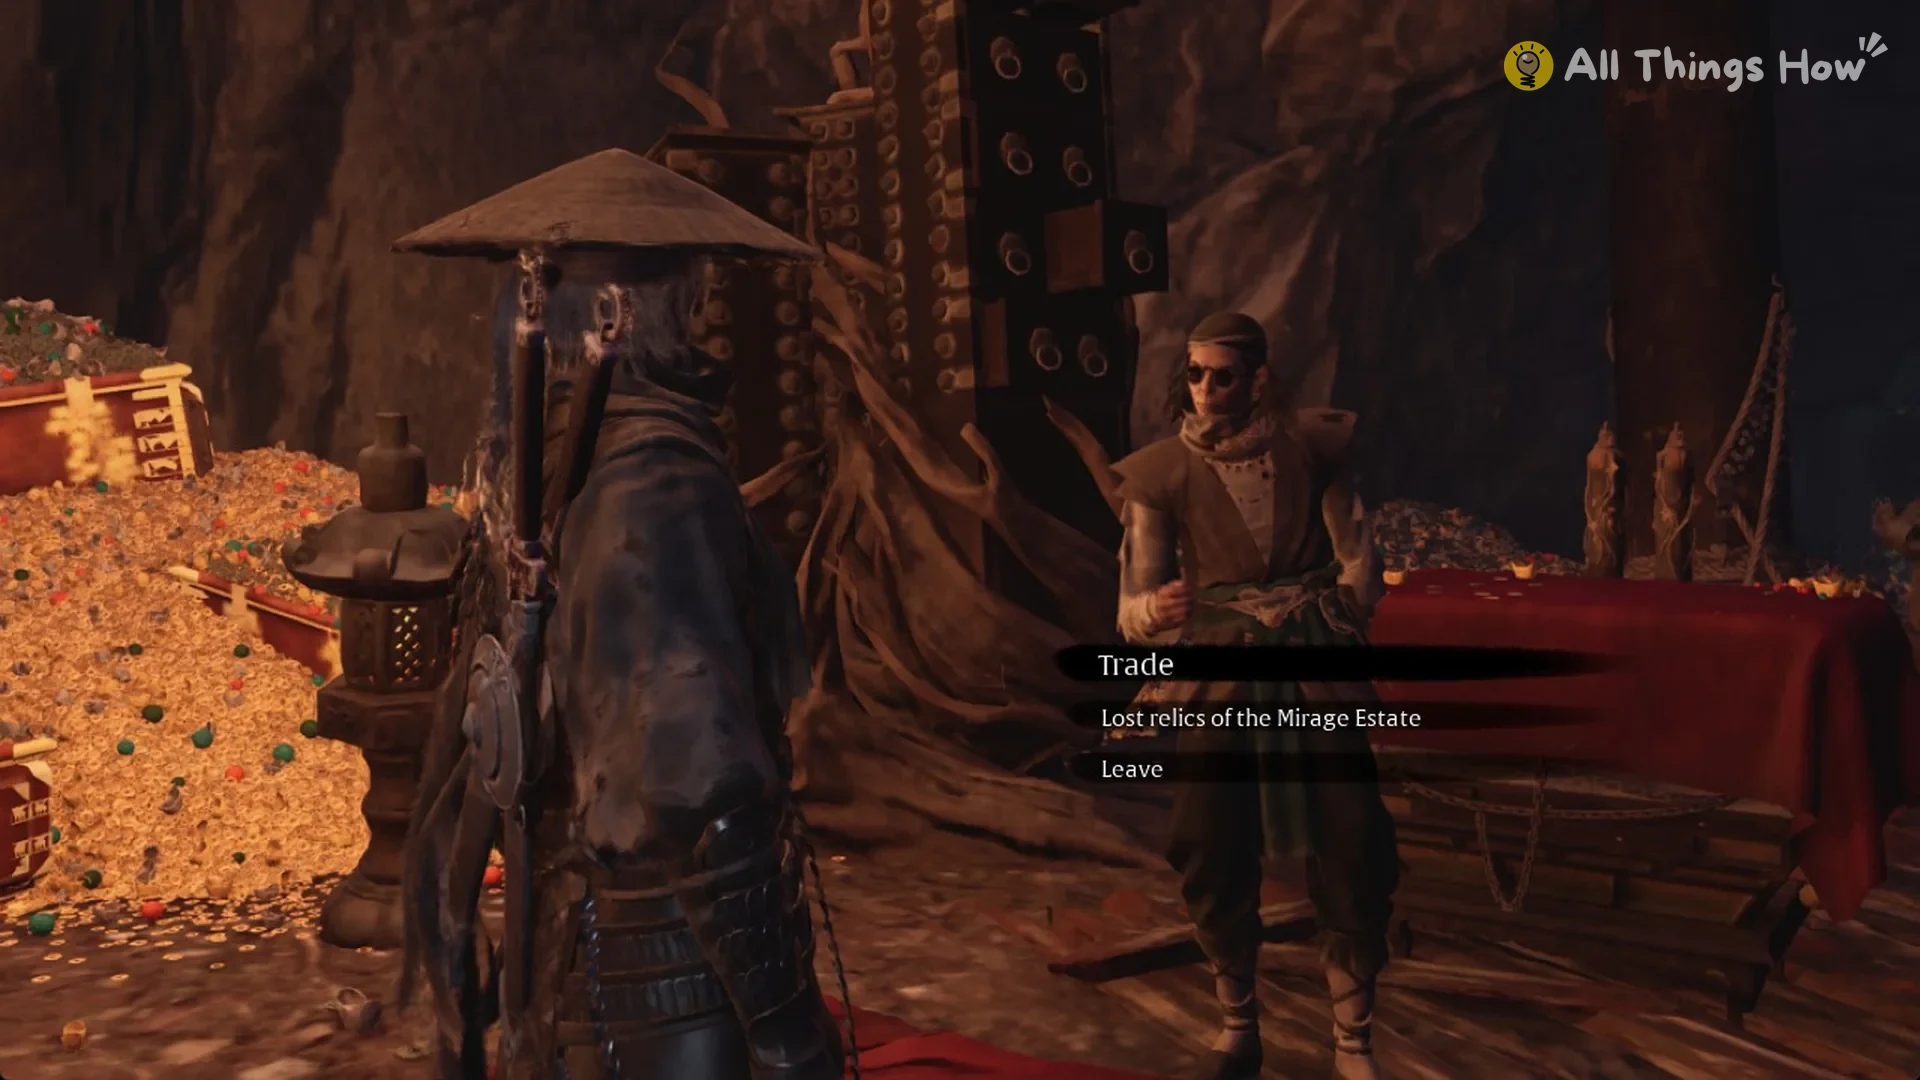
His menu now offers Trade, Lost relics of the Mirage Estate and Leave. The Quick Hand’s Request banner reads “Deliver all the treasures from Mirage Estate to Quick Hand Zhang”. Choose Lost relics of the Mirage Estate.
The reward card shows the Thundermoon Lantern, an Offensive accessory. Its effect reads “Inflicting a Thunderstrike Effect on an enemy automatically triggers Lightning Strikes on enemies within a certain radius.”
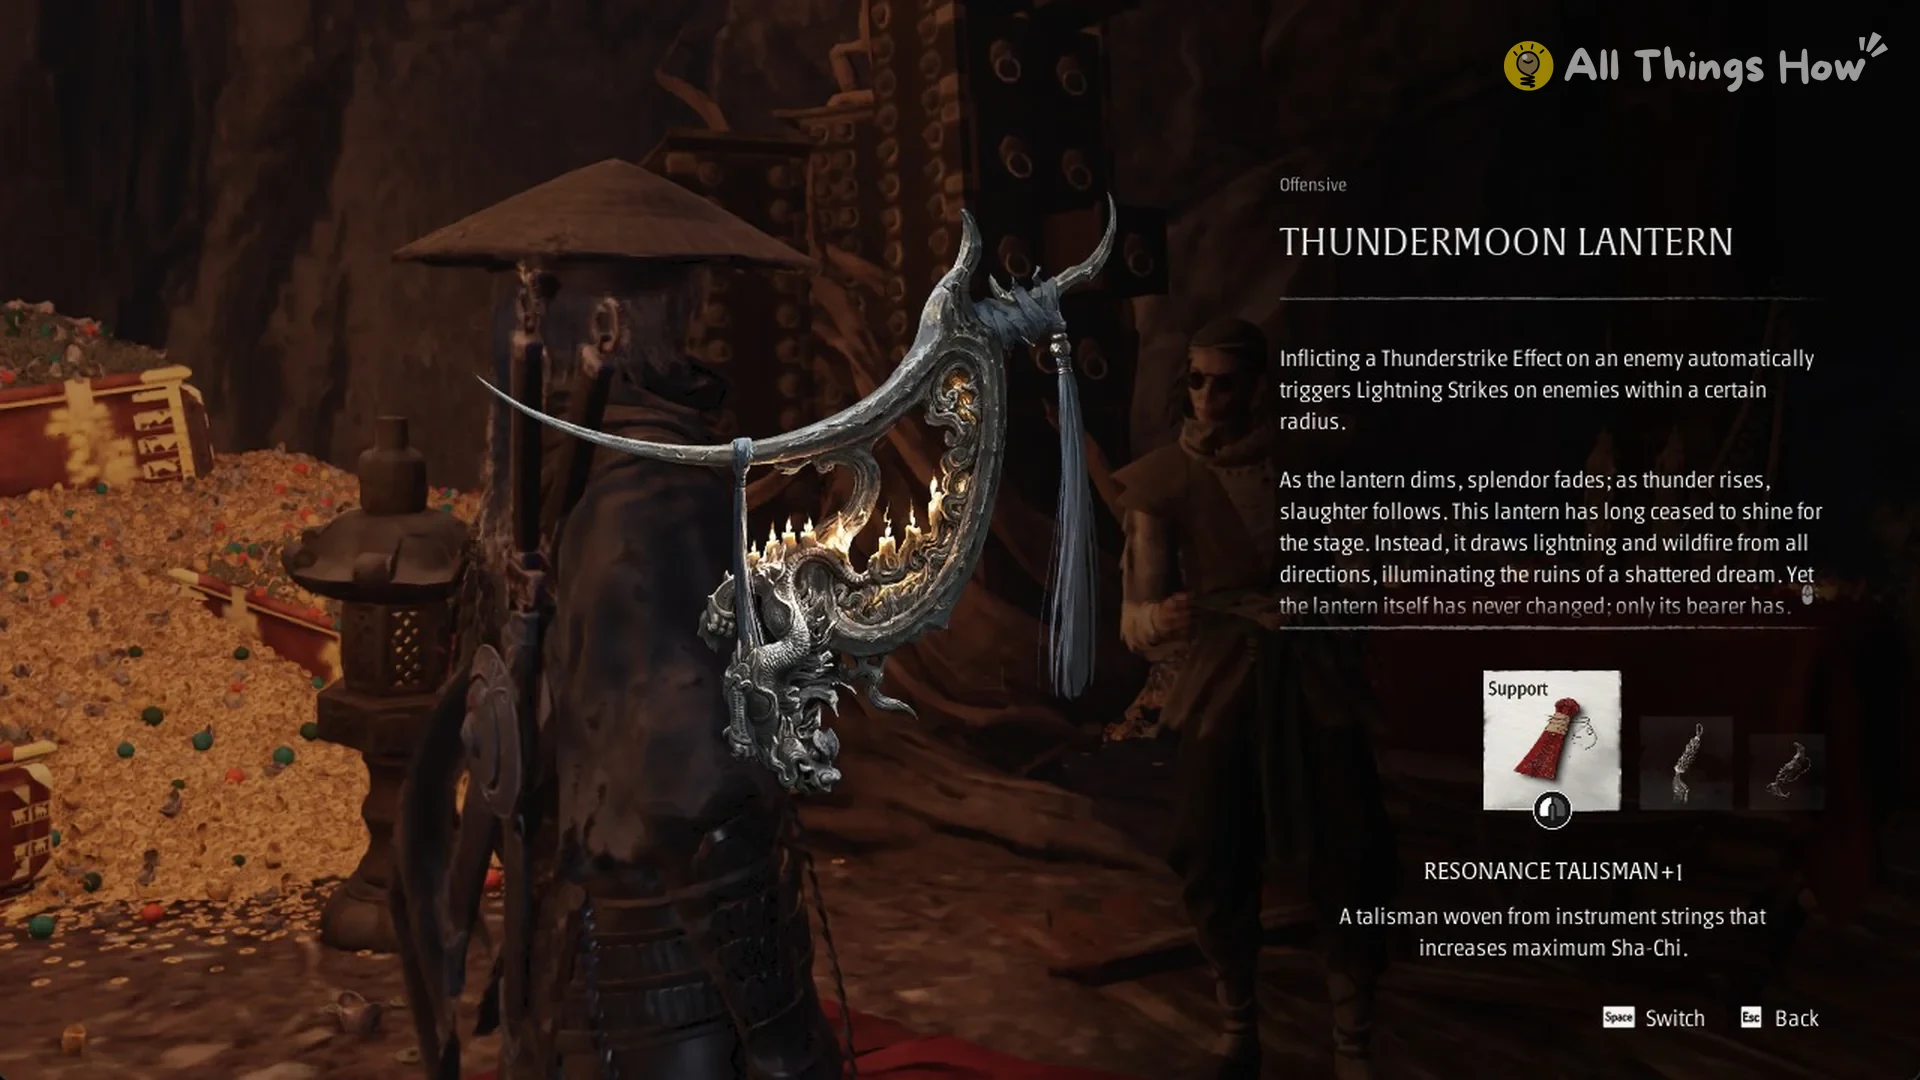
Next, the game asks “Equip the new Accessory now?” Once the hand-in is done, Zhang’s menu drops back to just Trade and Leave.
Pangzhen treasures
Every other chest and collectible in the region is listed in the Pangzhen collectibles guide.
In Pangzhen, Zhang gives you the page “LOST TREASURES OF PANGZHEN”. The objectives are “Collect all the treasures in Pangzhen” and “Deliver all the treasures from Pangzhen to Quick Hand Zhang”. The region holds four relics: the Jade Brush Rest, Tiger Paperweight, Ink Stick, and Carved-edge Inkstone. Each one has its own entry in the Pangzhen treasure locations.
What each treasure set pays
Hideouts that accept a given set award matching rewards, except in one case. Hand the Mirage Estate set in at the Estate if you want the Thundermoon Lantern.
| Treasure set | What Zhang gives you |
|---|---|
| Crimson Forest | Flying Dagger |
| Village of Lu | Fine Thread |
| Pangzhen | Goldblaze |
| Meigu Lake | Sha-Chi Blood Catalyst |
| Mirage Estate, at his Mirage Estate hideout | Thundermoon Lantern |
| Mirage Estate, at any other hideout | Quick Hand’s Manual |
Lost and Found achievement
Every region’s request you finish counts toward “Lost and Found“, which has the description “Complete All [Quick Hand’s Requests]”. It sits alongside the rest of the game’s achievements.