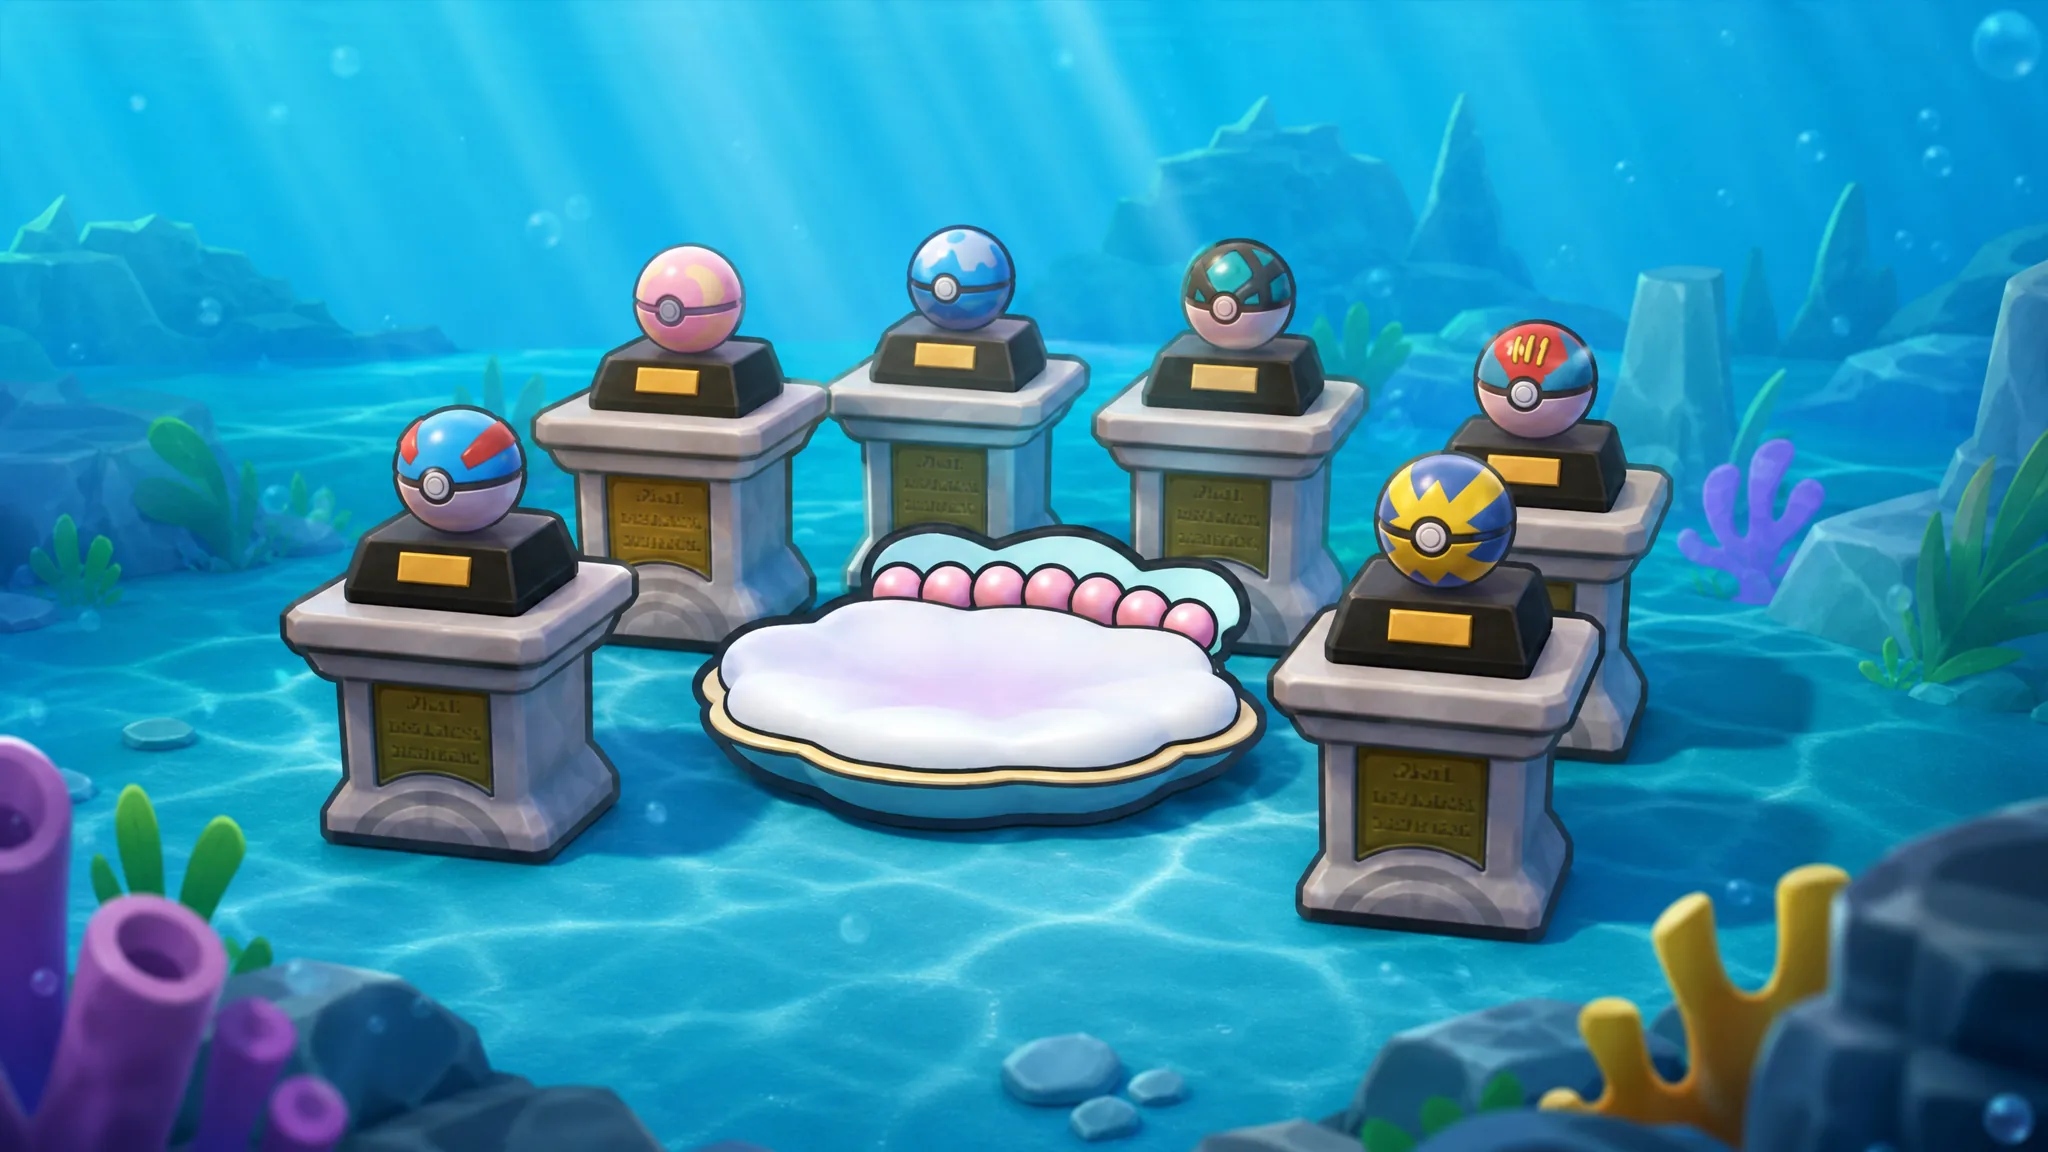
The Mermaid’s Gym display (set No. 036) in Pokémon Pokopia asks for six Decorative Pokéballs, and every one of them sits somewhere inside the Bubbly Basin area added in the game’s Bubbly Basin content. None are lying out in the open. Each ball is tucked behind a breakable wall, buried under diggable ground, or hidden inside a house you have to swim to. Collect all six and the set completes, which is tied to unlocking Starmie’s habitat.
Quick answer: All six Decorative Pokéballs (Dive Ball, Heal Ball, Net Ball, Quick Ball, Great Ball, and Lure Ball) are in Bubbly Basin. You reach them using Rock Smash to break walls, Magnet Rise to drop into dug holes, and Surf to swim underwater. The maps that point to them drop randomly while dowsing.
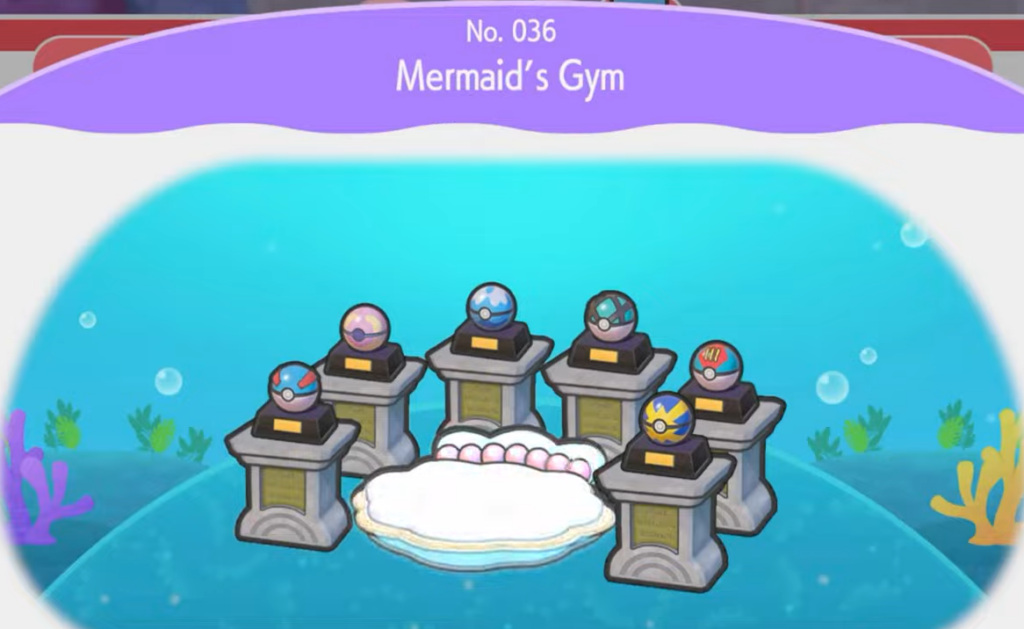
The six Decorative Pokéballs at a quick reference
Every ball completes one pedestal on the Mermaid’s Gym stand. Here is what you need and roughly where each one hides before the detailed directions below.
| Decorative Pokéball | Landmark | Method to reach it |
|---|---|---|
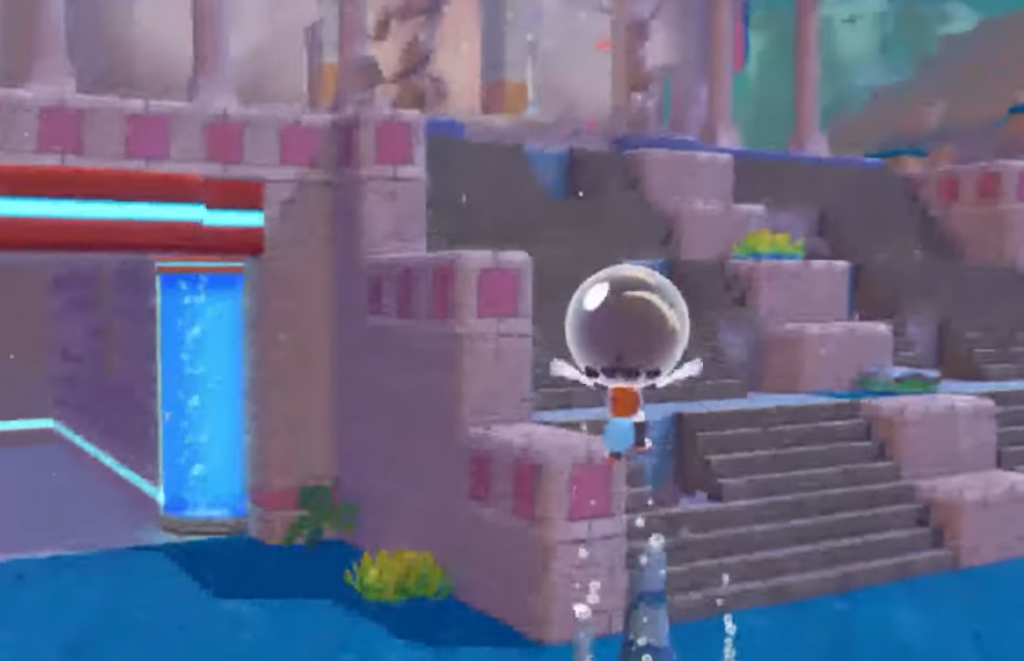
| Dive Ball | Pokéball pedestal building / Misty’s Gym | Break the star-spotted rock nearby |
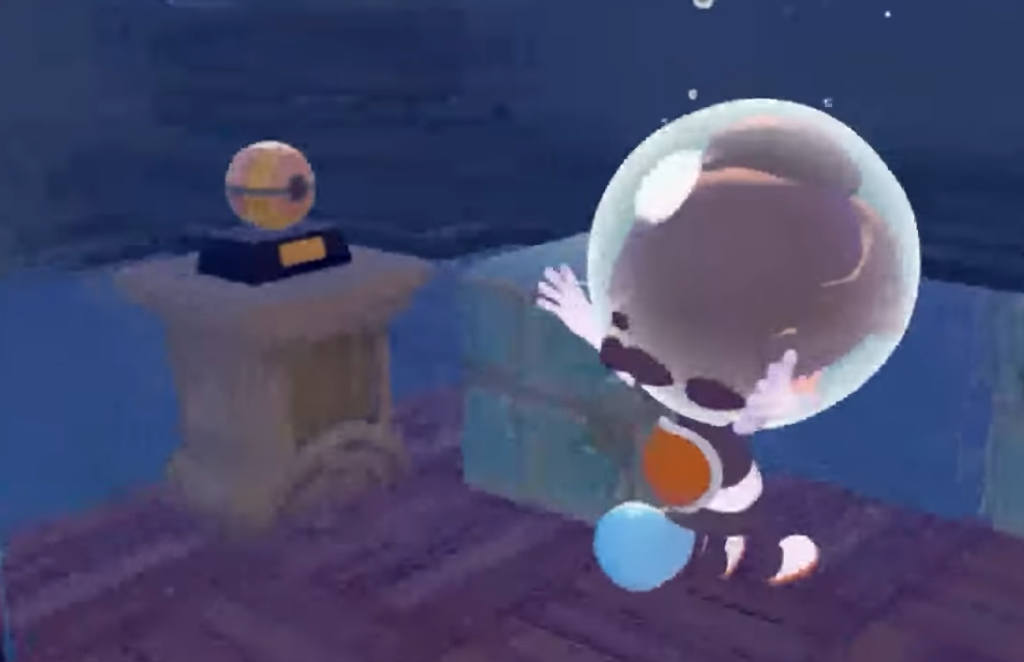
| Heal Ball | Tall red building | Dig beside the adjacent house |
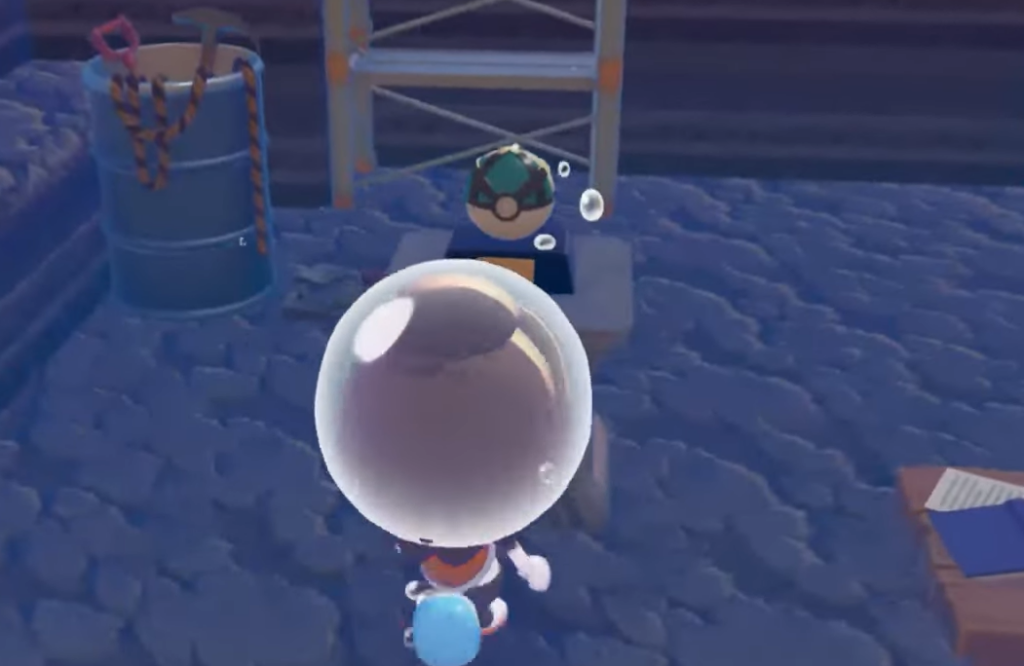
| Net Ball | Cliff near the pink NPC | Dig into pink blocks, follow the rails |
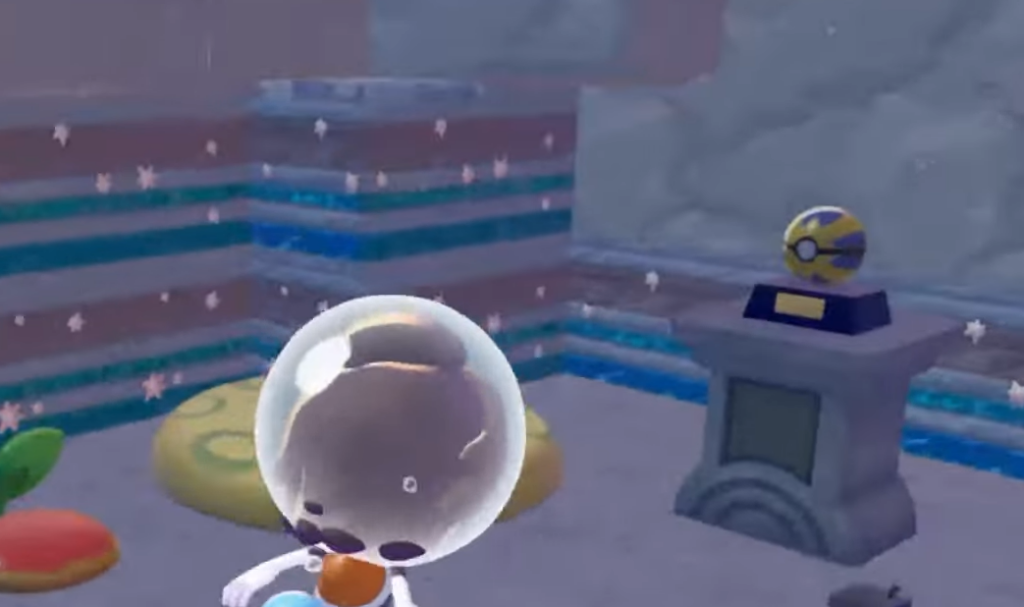
| Quick Ball | Town center | Break the stone wall to the right |
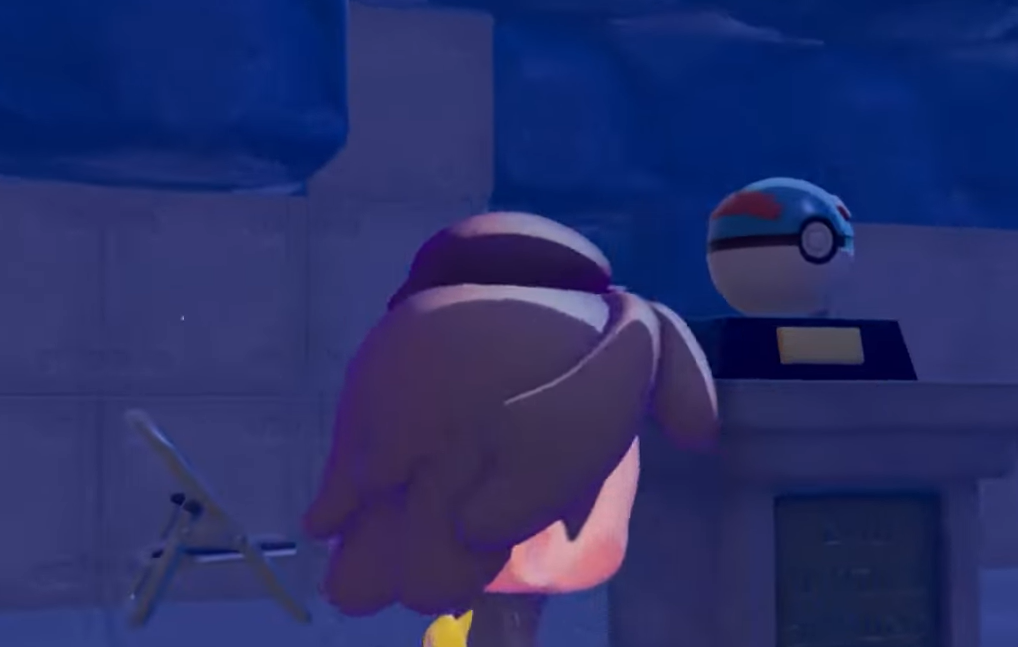
| Great Ball | Pokémon Center | Break the wooden kitchen wall, drop down |
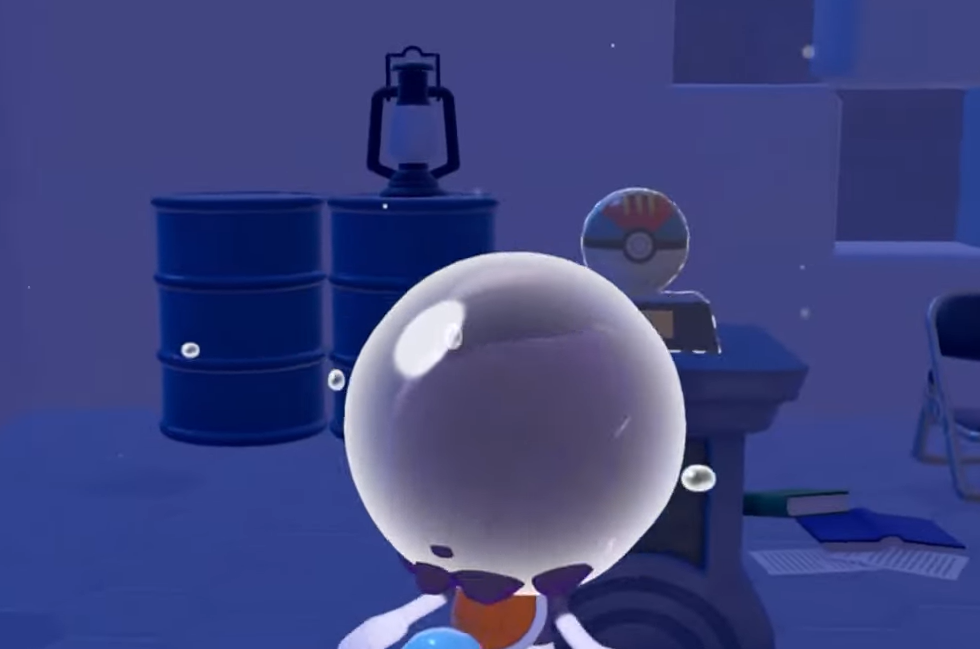
| Lure Ball | Windmill | Dive underwater, break walls upstairs |
Decorative Dive Ball location
Decorative Heal Ball location
Decorative Net Ball location
Decorative Quick Ball location
Decorative Great Ball location
Decorative Lure Ball location
How to find the treasure maps by dowsing
The maps that mark these balls are random loot when you use the Dowsing Machine. There is no fixed order and no guaranteed drop, so keep dowsing around Bubbly Basin and the maps will eventually appear. Once you have a map, the directions above take you straight to the matching ball.
Have Rock Smash, Magnet Rise, and Surf ready before you set out. Rock Smash clears the walls and star-spotted rock, Magnet Rise helps you drop cleanly into dug holes, and Surf gets you to the underwater Lure Ball house.
Confirming the Mermaid’s Gym set is complete
Set No. 036 needs all six balls plus a Marine sofa and six pedestals (exhibition stands) to display them. When each Decorative Great Ball, Heal Ball, Dive Ball, Net Ball, Lure Ball, and Quick Ball is placed on its stand, the Mermaid’s Gym set list shows every entry filled in. That completed display is what you are working toward, and it feeds into unlocking Starmie’s habitat. If the set still reads as incomplete, check which pedestal is empty and return for the ball you are missing.