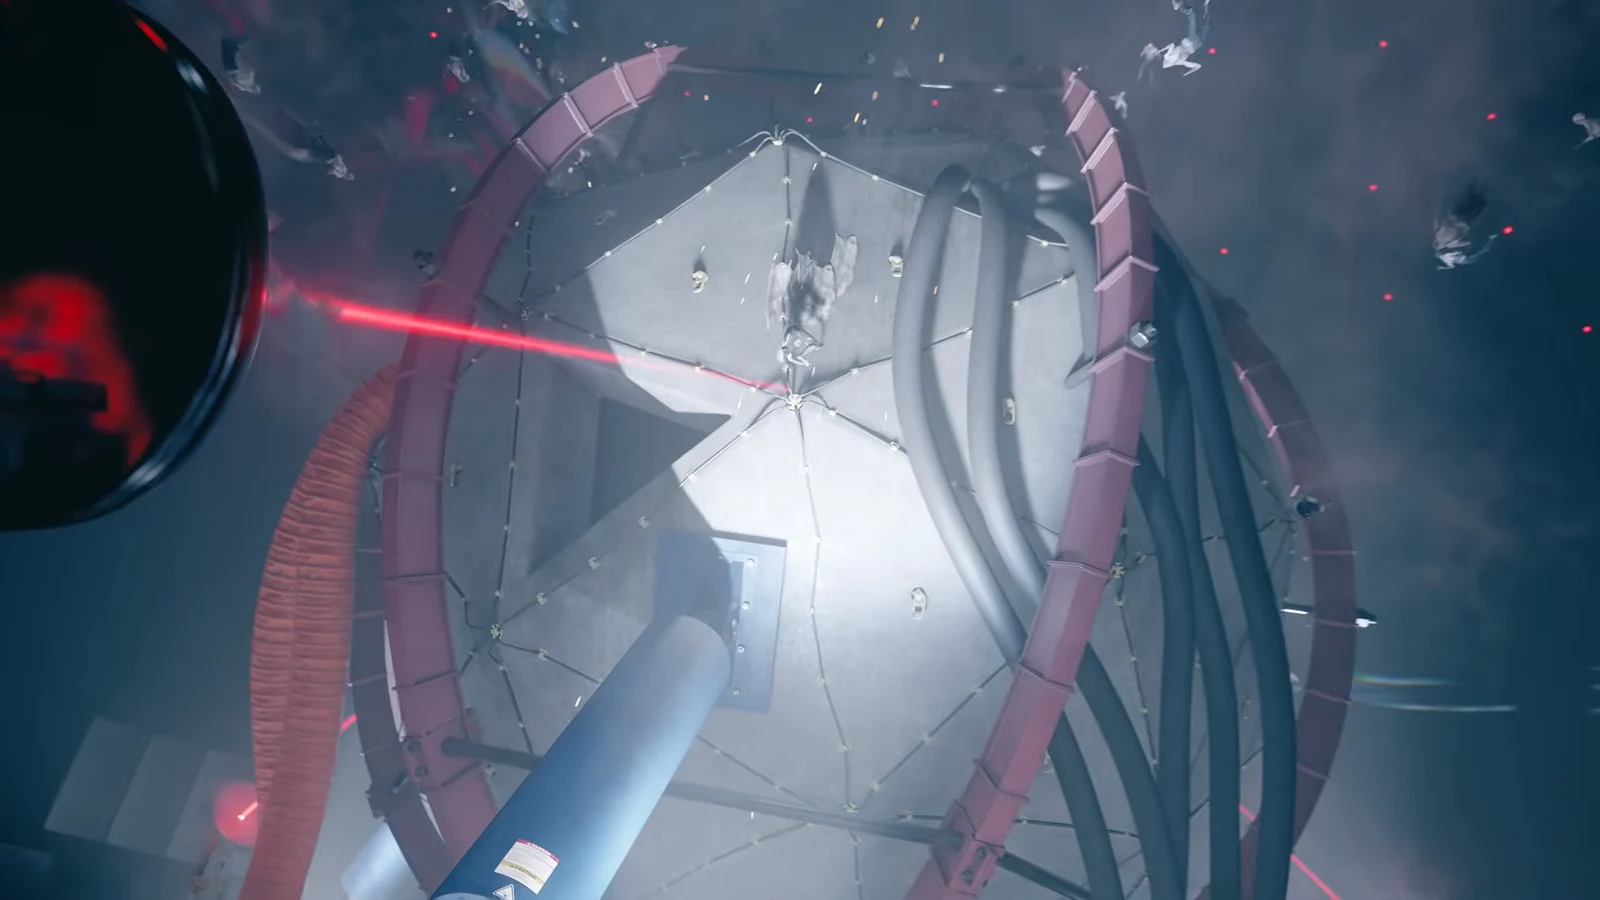
Power Lines is the mission where Control Resonant stops being a shooter for a while and turns into a subway engineering problem. Dylan has to push electricity back through four stations under Manhattan, and every one of them hides its puzzle behind mold, locked shutters, and a machine that teleports you when you get the answer wrong.
Quick answer: Calibrate Perimeter, East Park, and Factory Stations by placing three calibration units on the yellow floor squares at each tuning device, then reroute both platforms at the Vanished Station and report to Dr. Florez.
Where Power Lines starts and what the quest log asks for
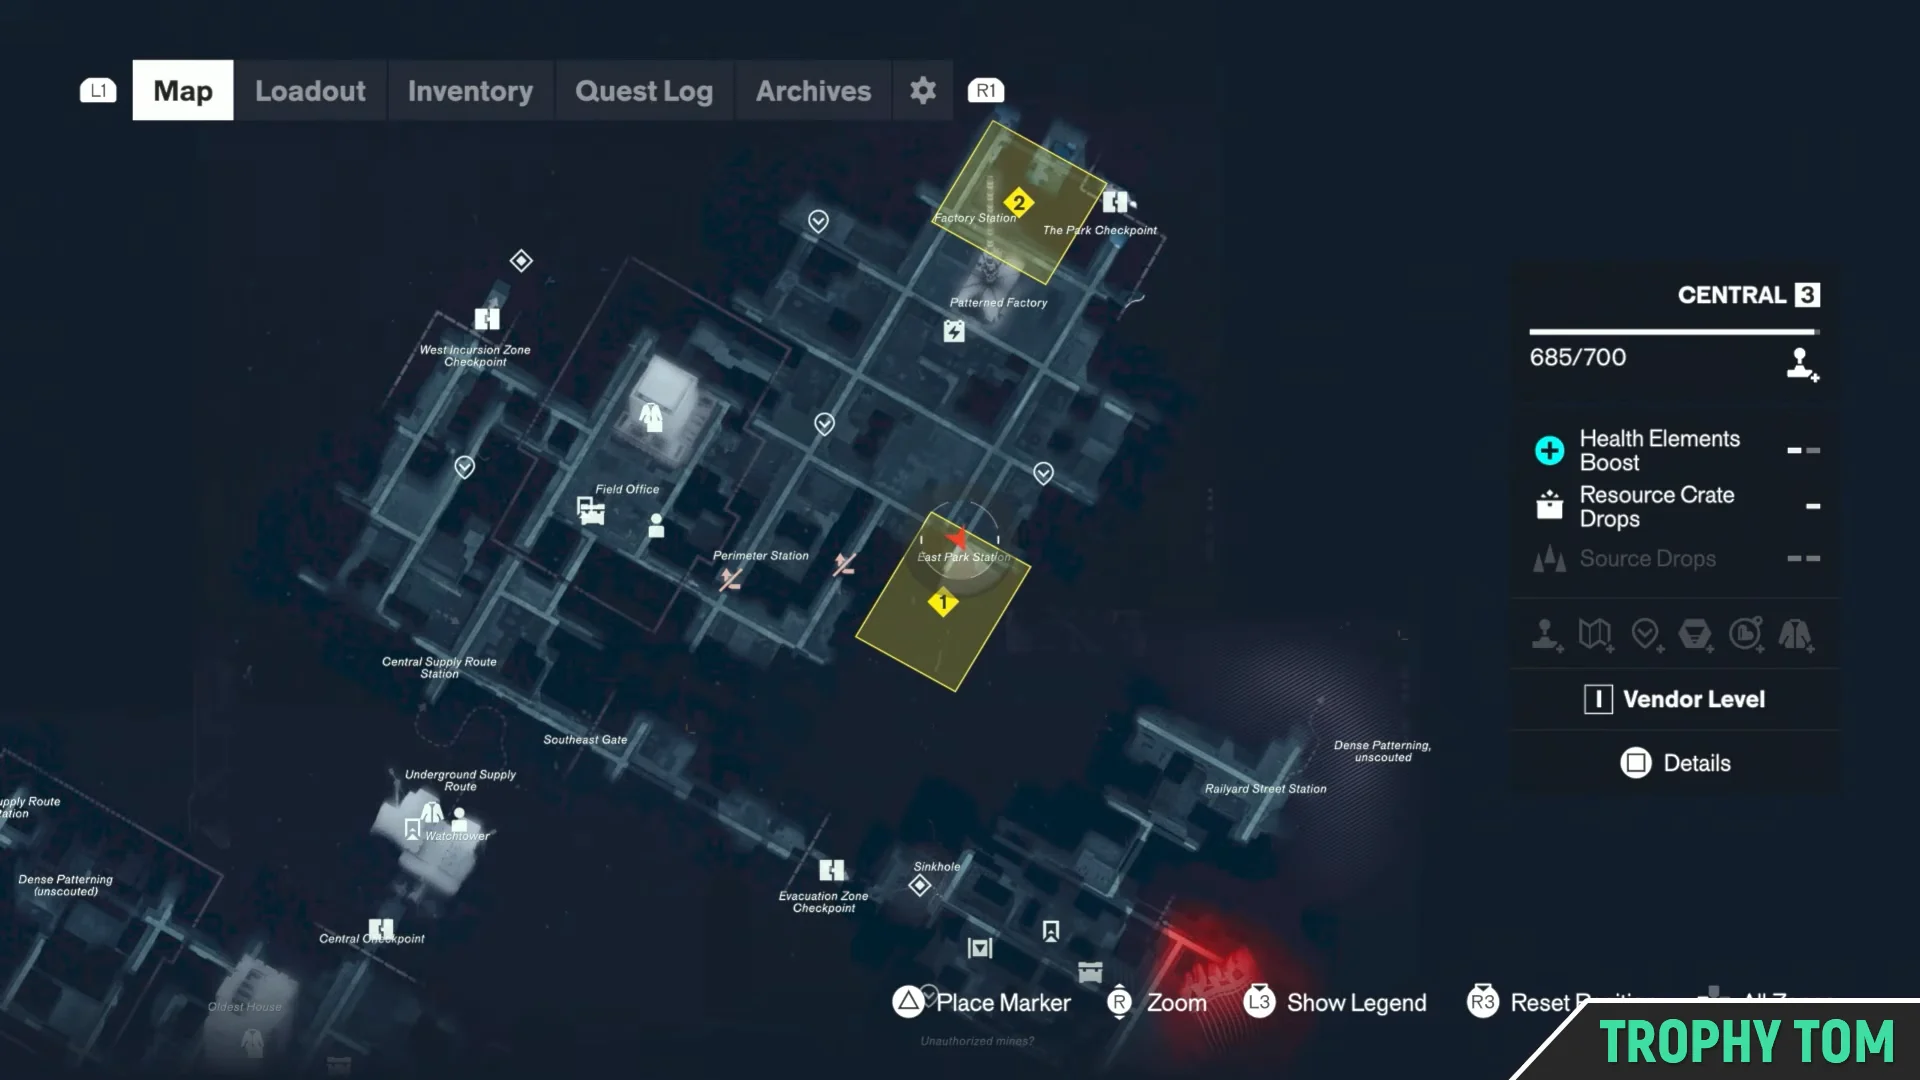
The mission unlocks after Arish’s Briefing. Meet Arish at the FBC Field Office in Central, hear him out on the power crisis hitting the CFD, and the three subway stations get pinned to your map in Central. You can clear them in any order — the story does not change based on which one you take first.
| Objective | Where | What it takes |
|---|---|---|
| Reroute Factory Station | North of the other two stations | 3 units in one straight line |
| Reroute East Park Station | East of Perimeter Station | Clear mold, teleport into a locked store |
| Reroute Perimeter Station | East of the Field Office | Move a power core between generators |
| Head to the surface | Wherever you finish last | Follow the tracks, fight Mold |
| Reroute the Vanished Station | End of the tunnel | Calibrate Platform A, then Platform B |
| Talk to Dr. Florez | Survivors’ room | Conversation only |
Each station entrance seals behind you and spawns two waves of Hiss before it lets you downstairs, so treat every arrival as a fight first and a puzzle second.
How calibration, power cores, and mold work
All four puzzles run on the same handful of rules. Learn them once and the stations stop feeling random.
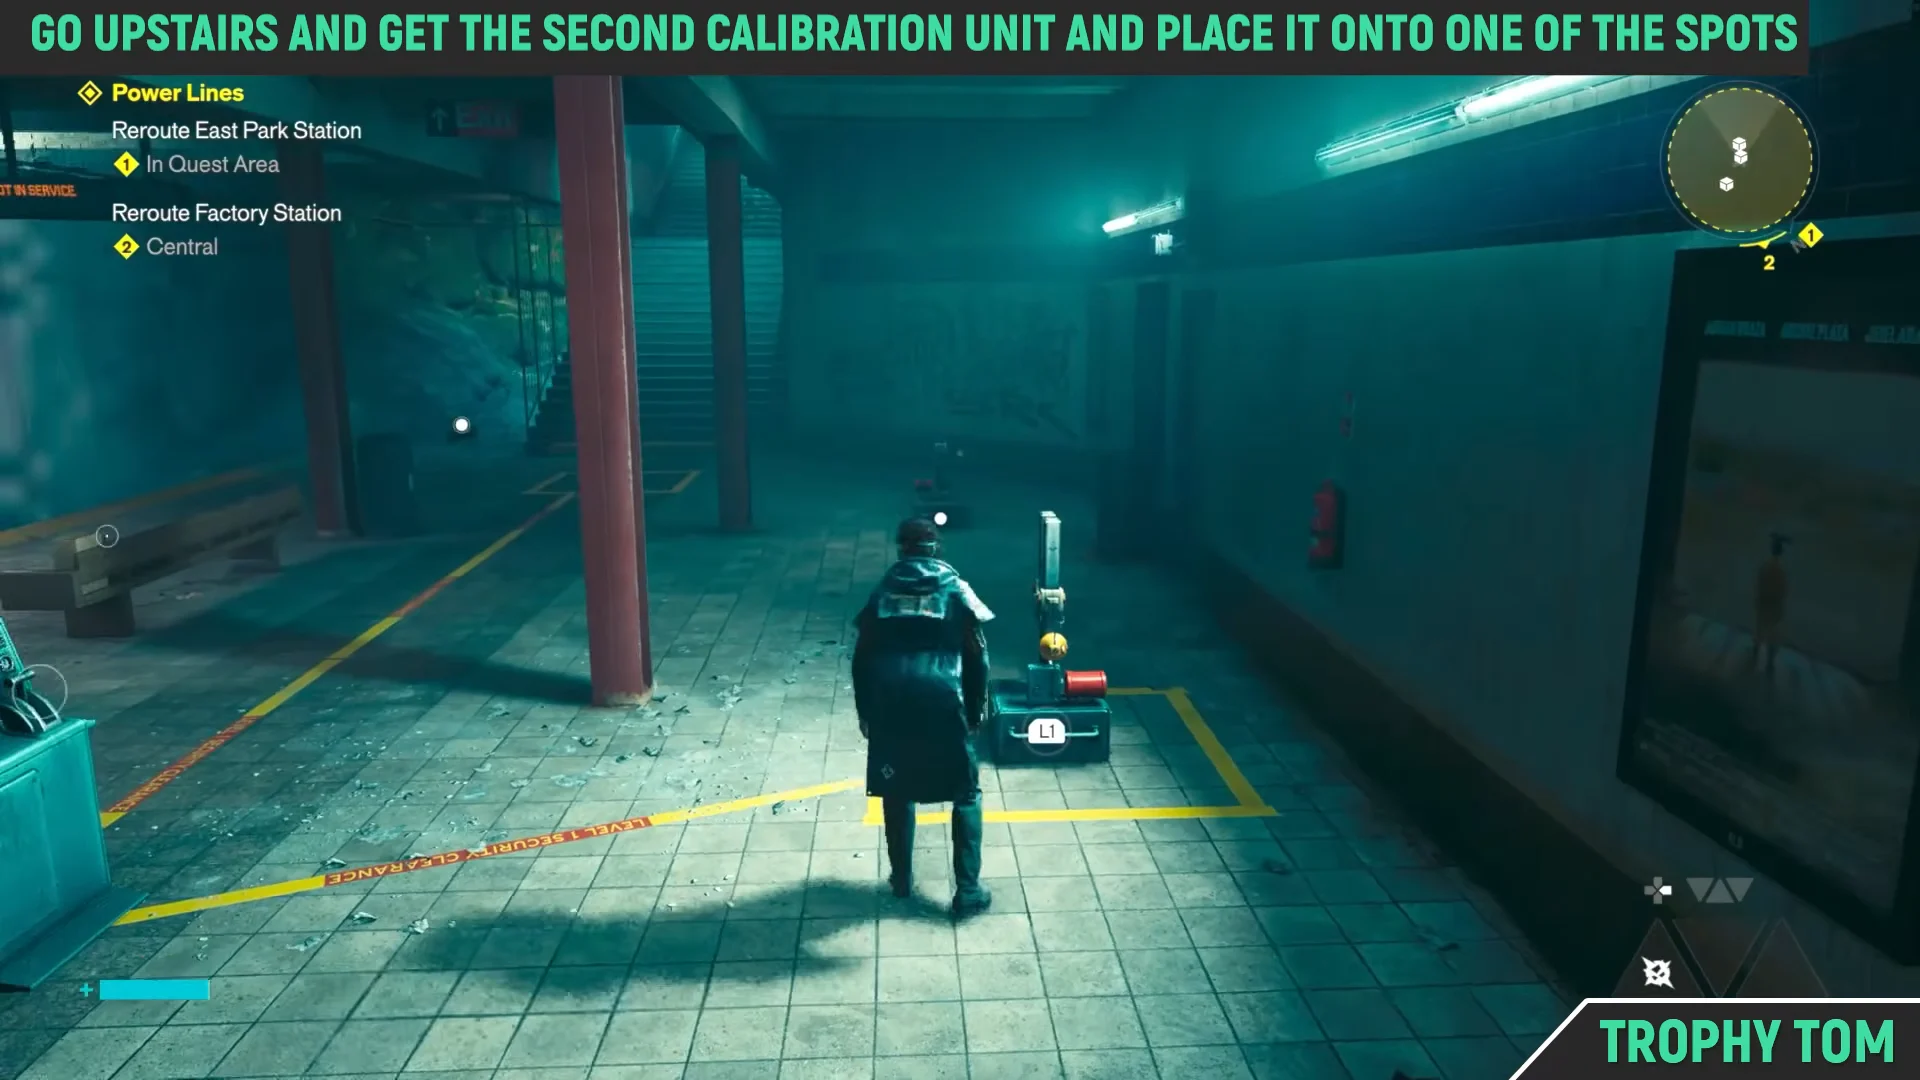
- Every tuning device needs three calibration units sitting on the yellow squares taped onto the floor around it.
- Yellow lines painted on stairs and floors point toward the squares you still have to fill.
- Orange power cores and nodes hold a single current. Strike a live one to carry the charge on your weapon, then strike another to hand it over — which usually opens a shutter somewhere.
- Activating a tuning device with the wrong setup does not fail the puzzle. It physically moves you somewhere else, and that relocation is often the intended solution.
- Mold grows where lights get power, and it conducts electricity across broken cables. Some blobs need smashing, others are doing the wiring for you.
Calibrating the three surface stations
Factory Station: line the three units up by eye
Factory Station sits north of both other markers, and the ambush outside mixes Hiss with Mold enemies. Mold Scrappers wear armor, so bring a blunt weapon or a combat ability to crack it, and lean on fire damage.
East Park Station: use the wrong calibration on purpose
East Park sits east of Perimeter Station. During the fight outside, kill the Hiss Cluster first — it keeps healing everything around it.
Perimeter Station: one power core, two locked doors
Perimeter Station is east of the Field Office, with its entrance near one of the Gravity Anomaly walls you can run up. The Hiss waves here are around difficulty level 4, so top up your build first if Dylan is still underpowered.
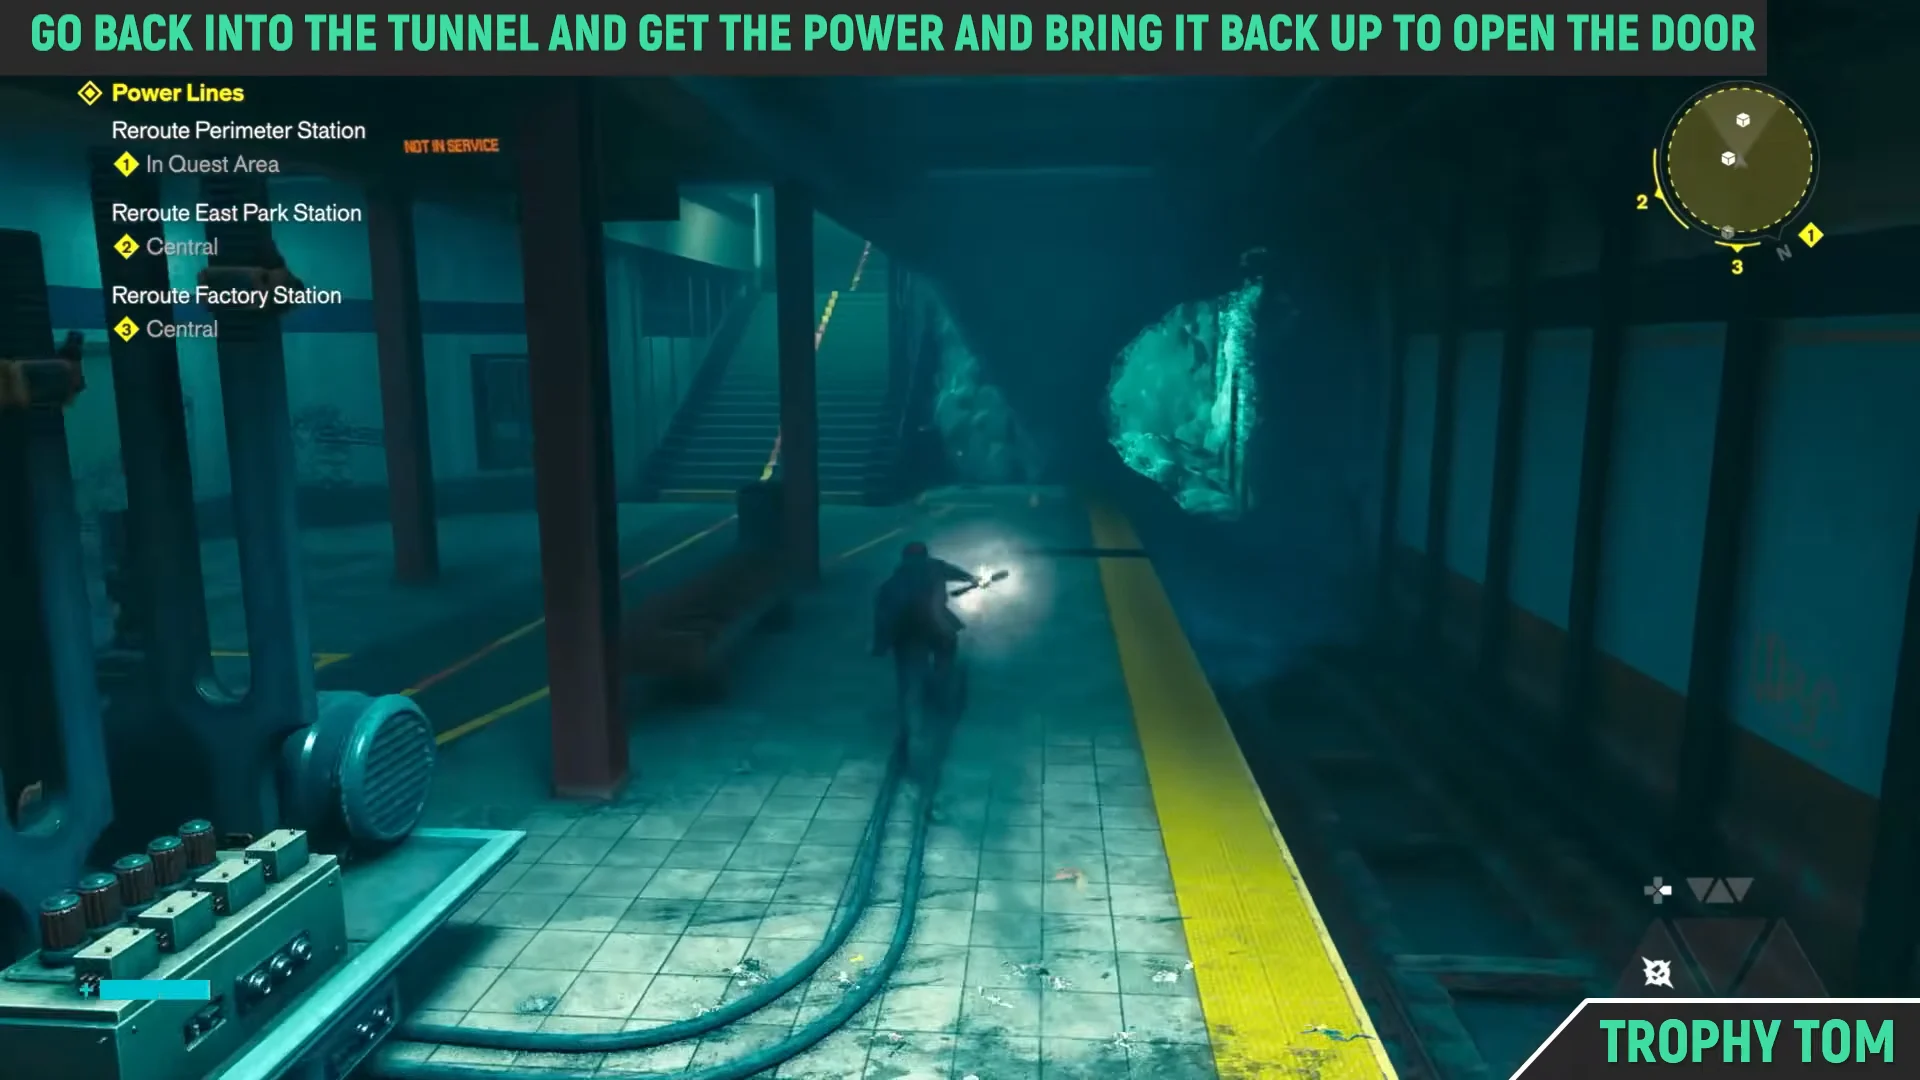
You only ever have one live current to work with, so plan the order — open the door you need, grab the unit, then move the charge back before you place anything.
Getting out after the stations vanish
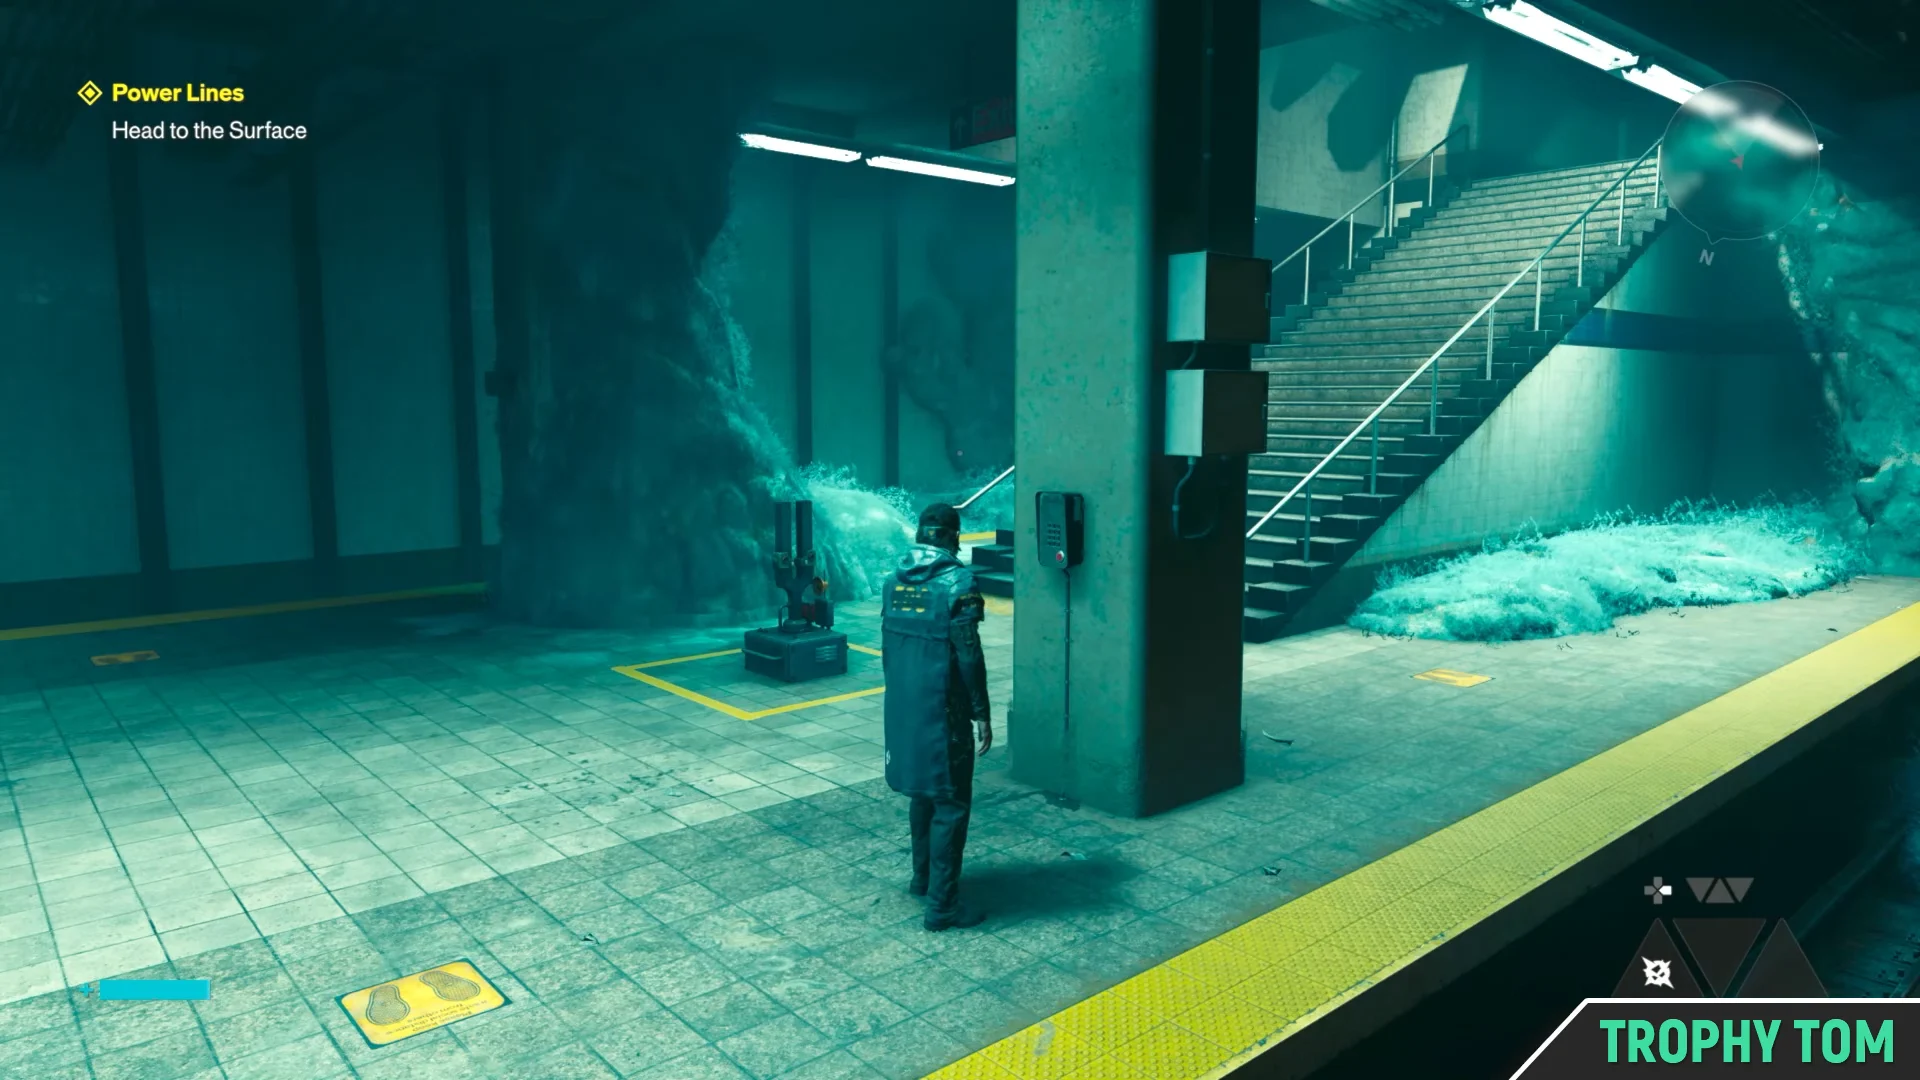
Once the third station is calibrated, Zoe radios in to say every subway exit in the city is gone. Climb the stairs anyway and you will hit a wall where the way out used to be.
Go back down, take the right-hand path, and look for the tunnel that has opened onto the tracks. Follow them until a corner seals and a group of Mold enemies drops in. Space is tight for that fight, so break Scrapper armor with a blunt form or ability, chain executions where you can, and spend the damage bonus on whatever is still armored. Keep following the tracks afterwards and they end at the Vanished Station.
Rerouting the Vanished Station: Platform A and Platform B
This one breaks the pattern. There are two platforms, two tuning devices labelled A and B, and only two calibration units per platform instead of three. The maintenance notes on the wall spell out the order that matters: A goes first.
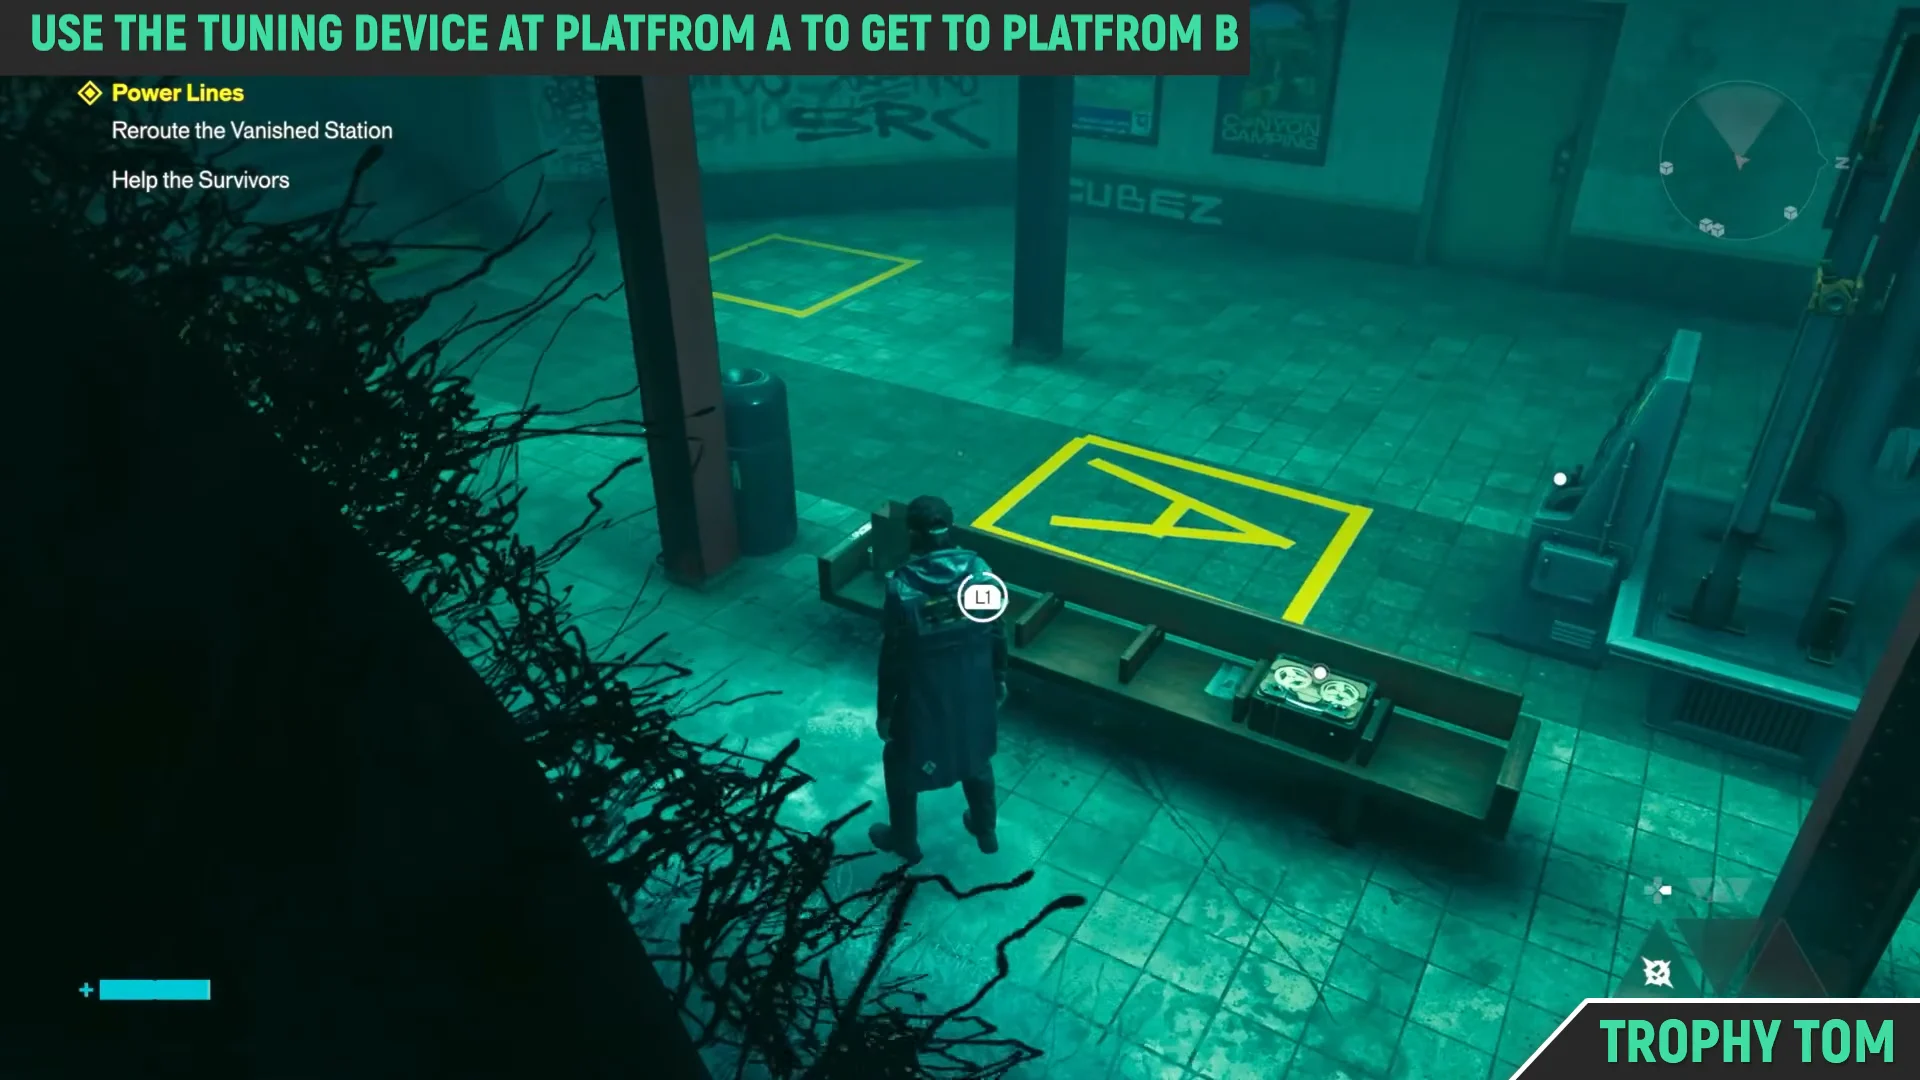
Do not destroy those cable-side blobs. They are the only thing carrying current across the gap, and smashing them cuts the power you just restored.
How to confirm Power Lines is finished
Each station gives you the same confirmation: the tuning device fires, the quest log strikes that reroute objective, and the tracker rolls onto the next one. At the Vanished Station, clearing both platforms flips the log to the final instruction to talk to Dr. Florez.
Walk back to the survivors and speak to the doctor. A Quest Completed banner for Power Lines appears on screen, along with a Living Shard and a Talent Point.
It is worth spending that Talent Point before you move on. The next mission in the chain, Into the Sinkhole, throws a long Hiss fight at you, and the upgrade points you picked up down here — including the Health segment in the locked room at Platform B — are exactly the kind of buffer that makes it manageable.