The four damage Titles in Project Slayers 2 are pure accumulation rewards. They do not care how you deal damage, who you deal it to, or whether you are even watching the screen — they only track your lifetime damage total. That makes them the one set of Titles you can realistically farm while you are asleep, using a training statue at Windy Peak and a macro that never stops swinging.
Quick answer: Phase inside the Windy Peak training statue with Reaper C, then loop an M1 attack string in TinyTask. Being stuck inside the statue removes pushback, so damage racks up indefinitely.
All damage Titles in Slayers 2 and their total damage requirements
Four Titles unlock purely from cumulative damage dealt. Each one gives a flat additional damage buff when equipped, plus a smaller passive that applies while it is slotted. The jump from Devastator to Annihilator is the long one — 2.5 million to 10 million.
| Title | Total damage | Buff | Passive |
|---|---|---|---|
| Hard Hitter | 50,000 | +0.75 Additional Damage | +0.1 Additional Damage |
| Bonebreaker | 500,000 | +1 Additional Damage | +0.15 Additional Damage |
| Devastator | 2,500,000 | +1.5 Additional Damage | +0.2 Additional Damage |
| Annihilator | 10,000,000 | +2 Additional Damage | +0.25 Additional Damage |
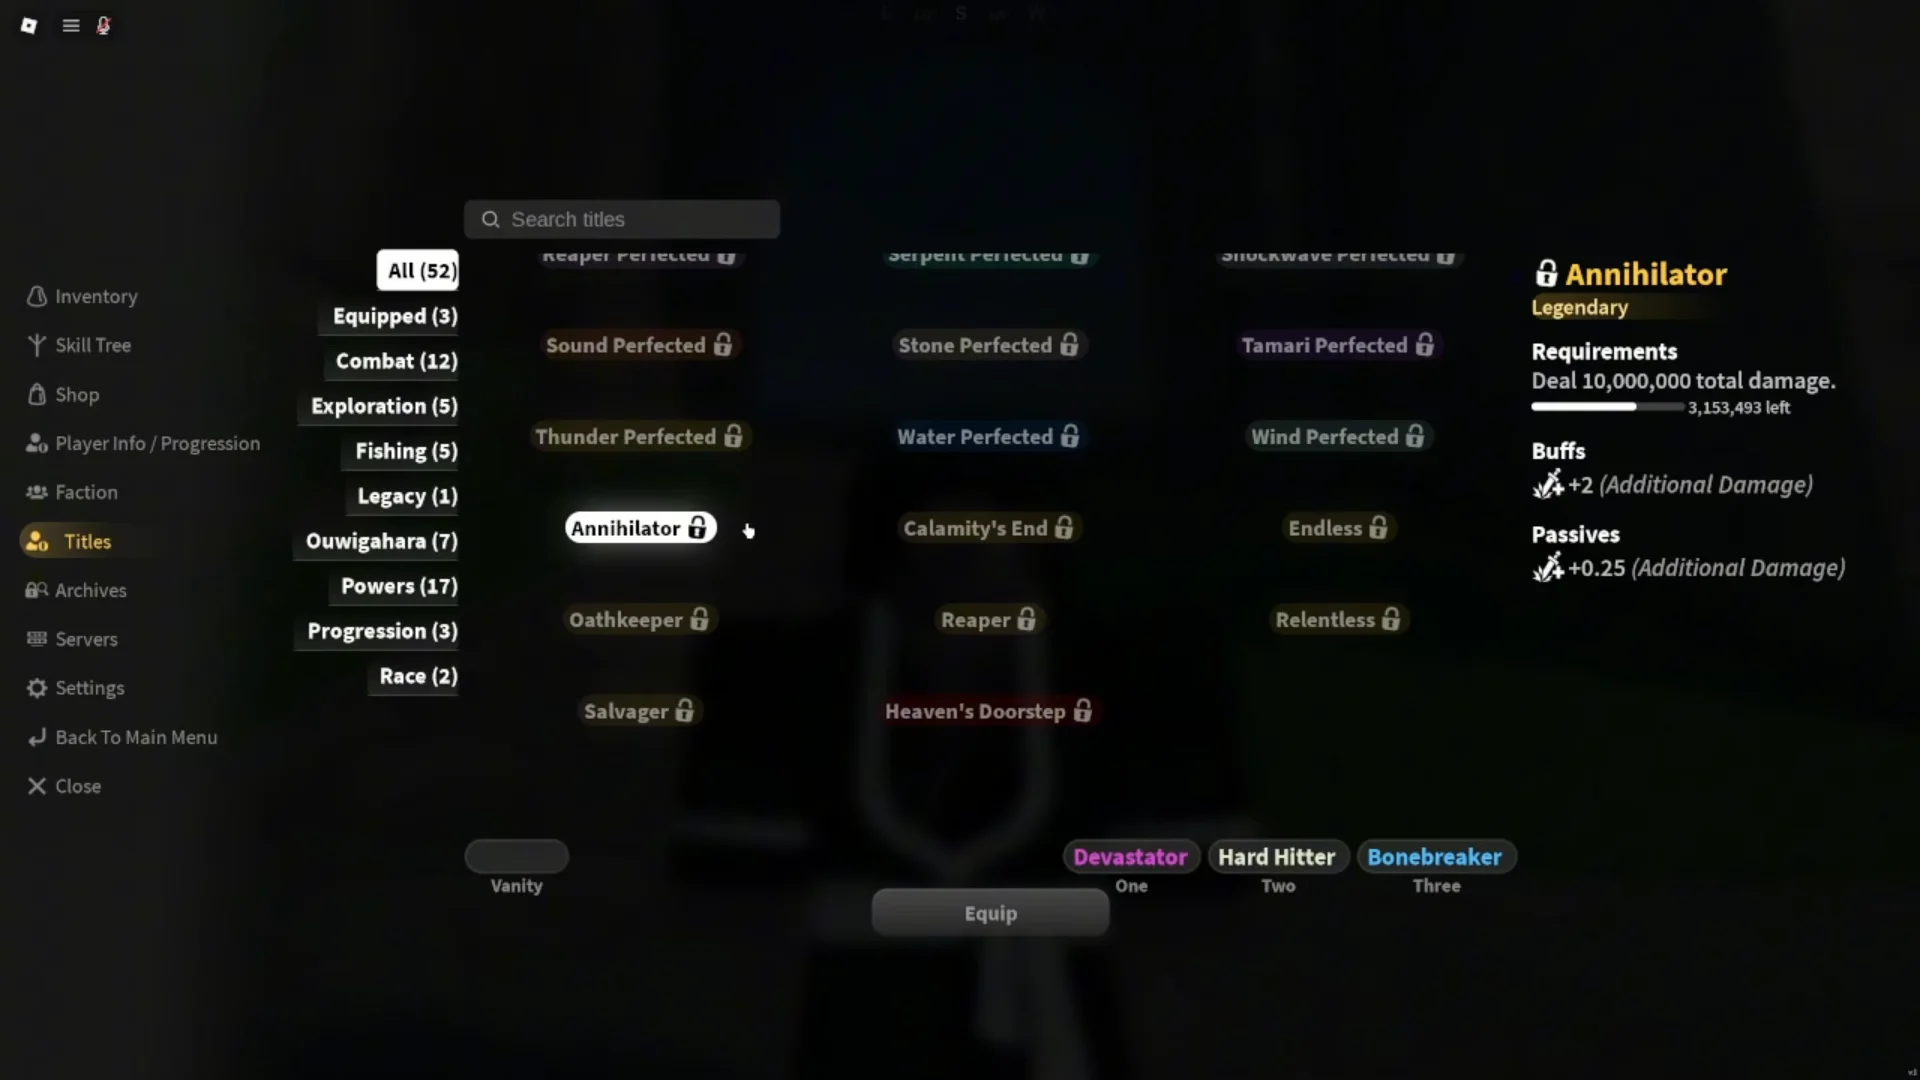
You can equip three Titles at once, and the damage buffs stack. Running Bonebreaker, Devastator, and Annihilator together is the ceiling for this category at +4.5 additional damage, which is why the grind pays for itself — every Title you unlock makes the next threshold arrive faster.
What you need before setting up the AFK farm
- Access to the Windy Peak training statue, inside the cave opening ringed with pink lotus flowers.
- TinyTask or an equivalent macro recorder running on your PC.
- Reaper C or Reaper V if you want the glitch-inside version of the loop.
- Your highest-damage weapon and any damage gear you own, such as the Bamboo Muzzle (+2 damage, 1.01x factor) and haori accessories.
- Any damage Titles you have already unlocked, equipped before you start.
Weapon scaling and your raw damage stat decide everything about how long this takes. A character hitting for a few hundred per swing will cross 10 million in a couple of nights; a fresh character hitting for double digits will not.
Statue glitch method: AFK farm damage with a TinyTask loop
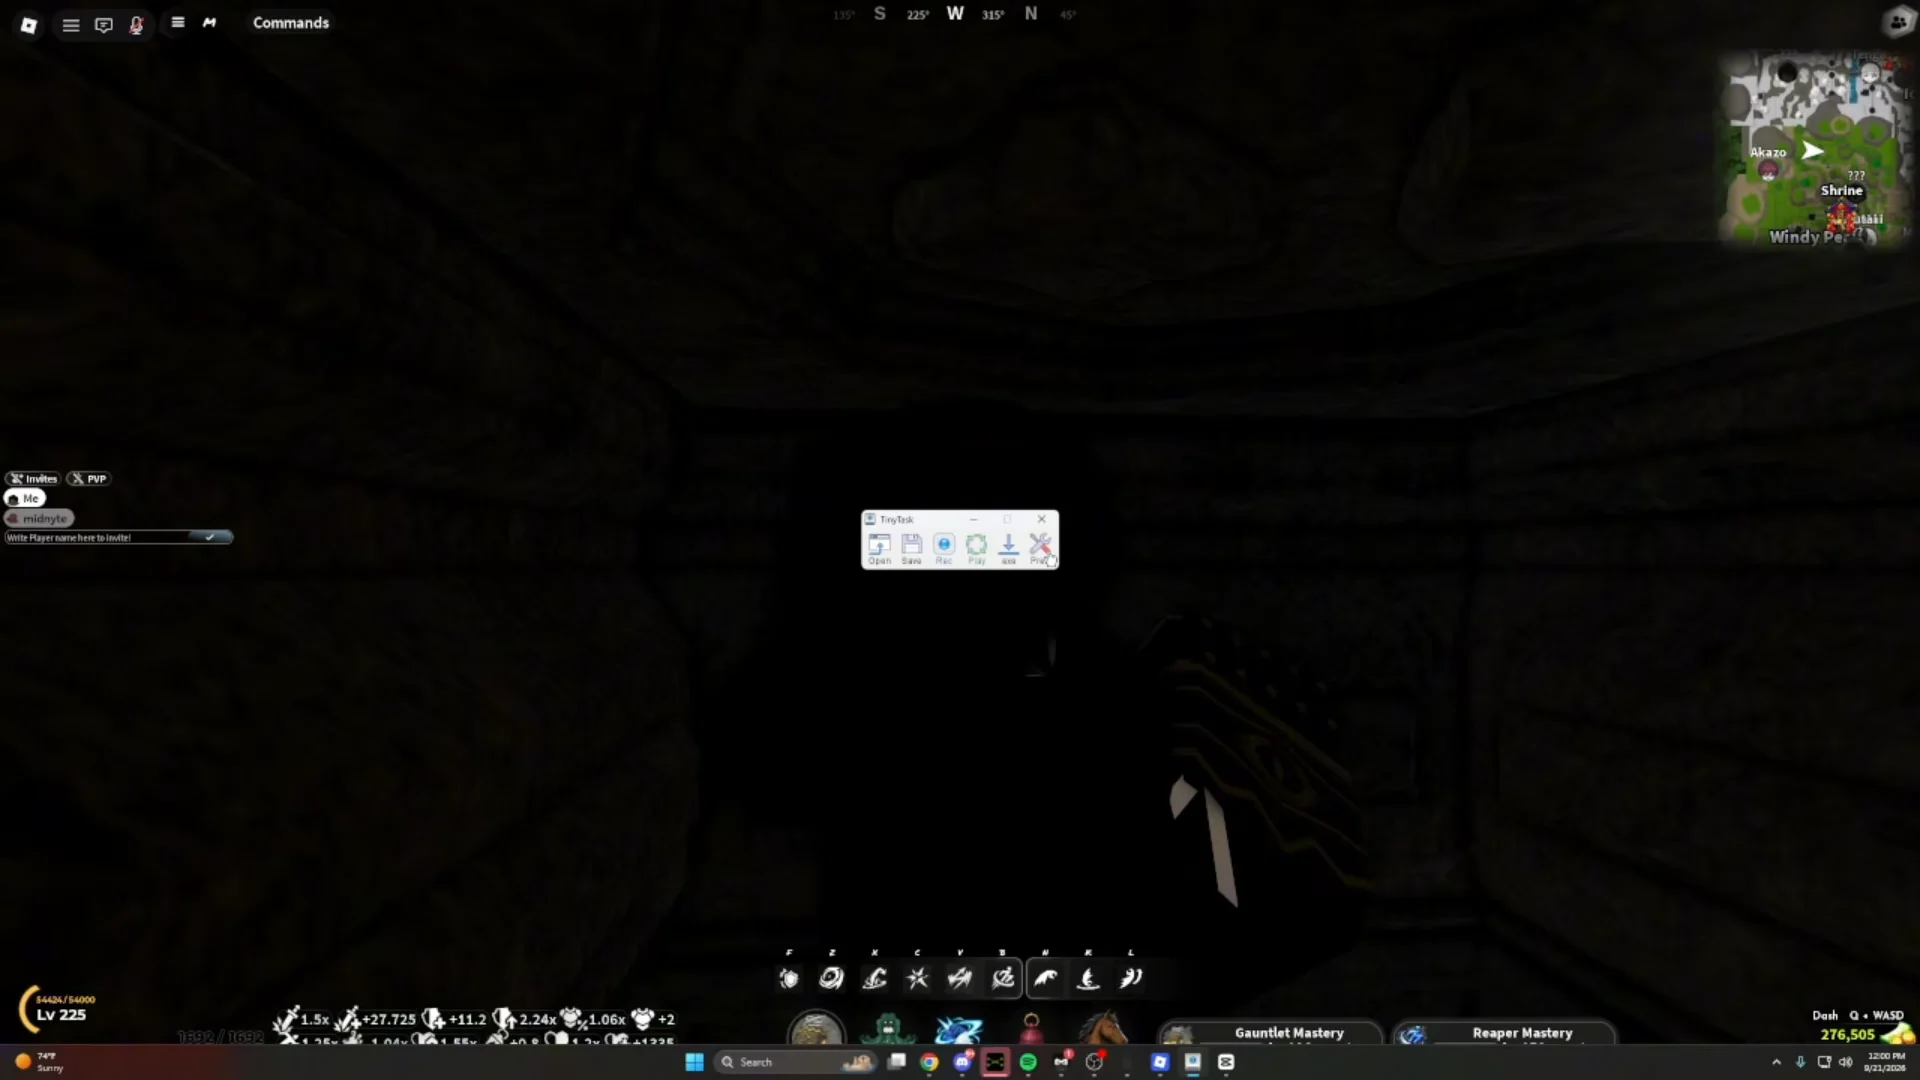
Run the macro on a second PC or a laptop so the loop keeps going while you play something else on your main machine.
Non-glitch alternative: the 4-hit M1 loop
If you would rather not phase into the statue — or the glitch stops working after a patch — you can farm from the outside by respecting the combo’s pushback. The fifth M1 in a string displaces your character, which breaks the macro’s positioning within a few cycles.

How to confirm the damage is counting
Open the Titles menu before you start and note the remaining damage listed for whichever Title you are chasing. Come back later and check the same number. An overnight run on a well-geared character can move Annihilator from roughly 5.9 million remaining down to about 3.5 million, so a working loop should visibly eat into that figure within an hour.
If the counter has barely moved, the macro drifted, your character was pushed off the statue, or the loop stopped replaying. Reposition, re-record, and verify for a minute before walking away again.
Dungeon runs vs. statue farming for total damage
Dungeons put up bigger damage totals per hour thanks to damage cards, but they demand you sit at the keyboard and actually clear them. The statue loop produces less damage per minute and makes up the gap by running for eight or ten hours while you do nothing. If you are already grinding dungeons for loot, the damage Titles will come along for the ride — the macro is for the hours you are not playing.
AFK setups that do not build damage totals
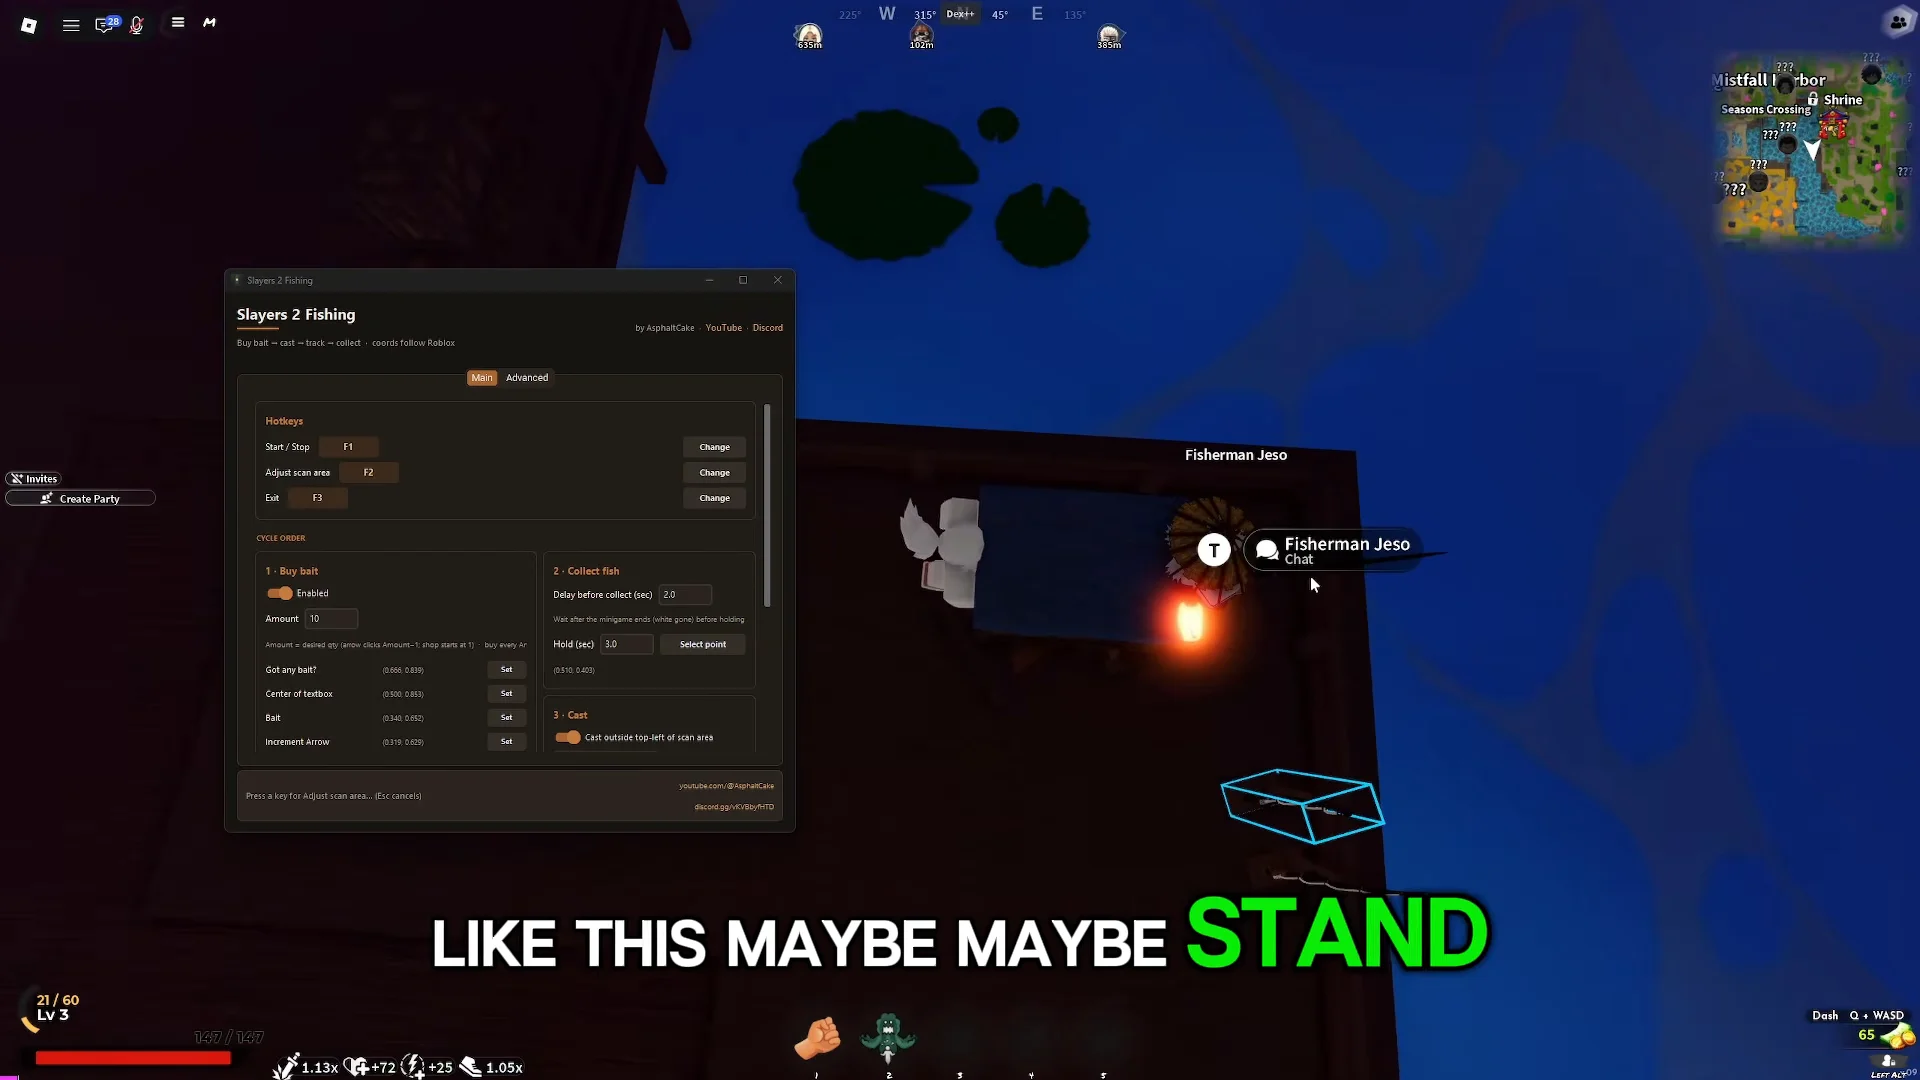
Slayers 2 also has AFK fishing macros, which park your avatar on the dock near Fisherman Jeso so bait purchases and catches happen automatically once you have finished the fishing rod quest. Useful for the fishing Titles and loot, but none of it feeds the damage counter — Hard Hitter through Annihilator only move when you are actually hitting something.
Whether the statue trick survives long-term is an open question — it relies on a collision quirk that the developers could close at any time, and no fix has been confirmed. The 4-hit M1 loop is the safer bet if you want a setup that keeps working, since it uses ordinary combo timing rather than clipping into the model. Either way, unlock the cheaper Titles first and keep them equipped; at +4.5 additional damage across three slots, the grind gets shorter the further into it you go.