

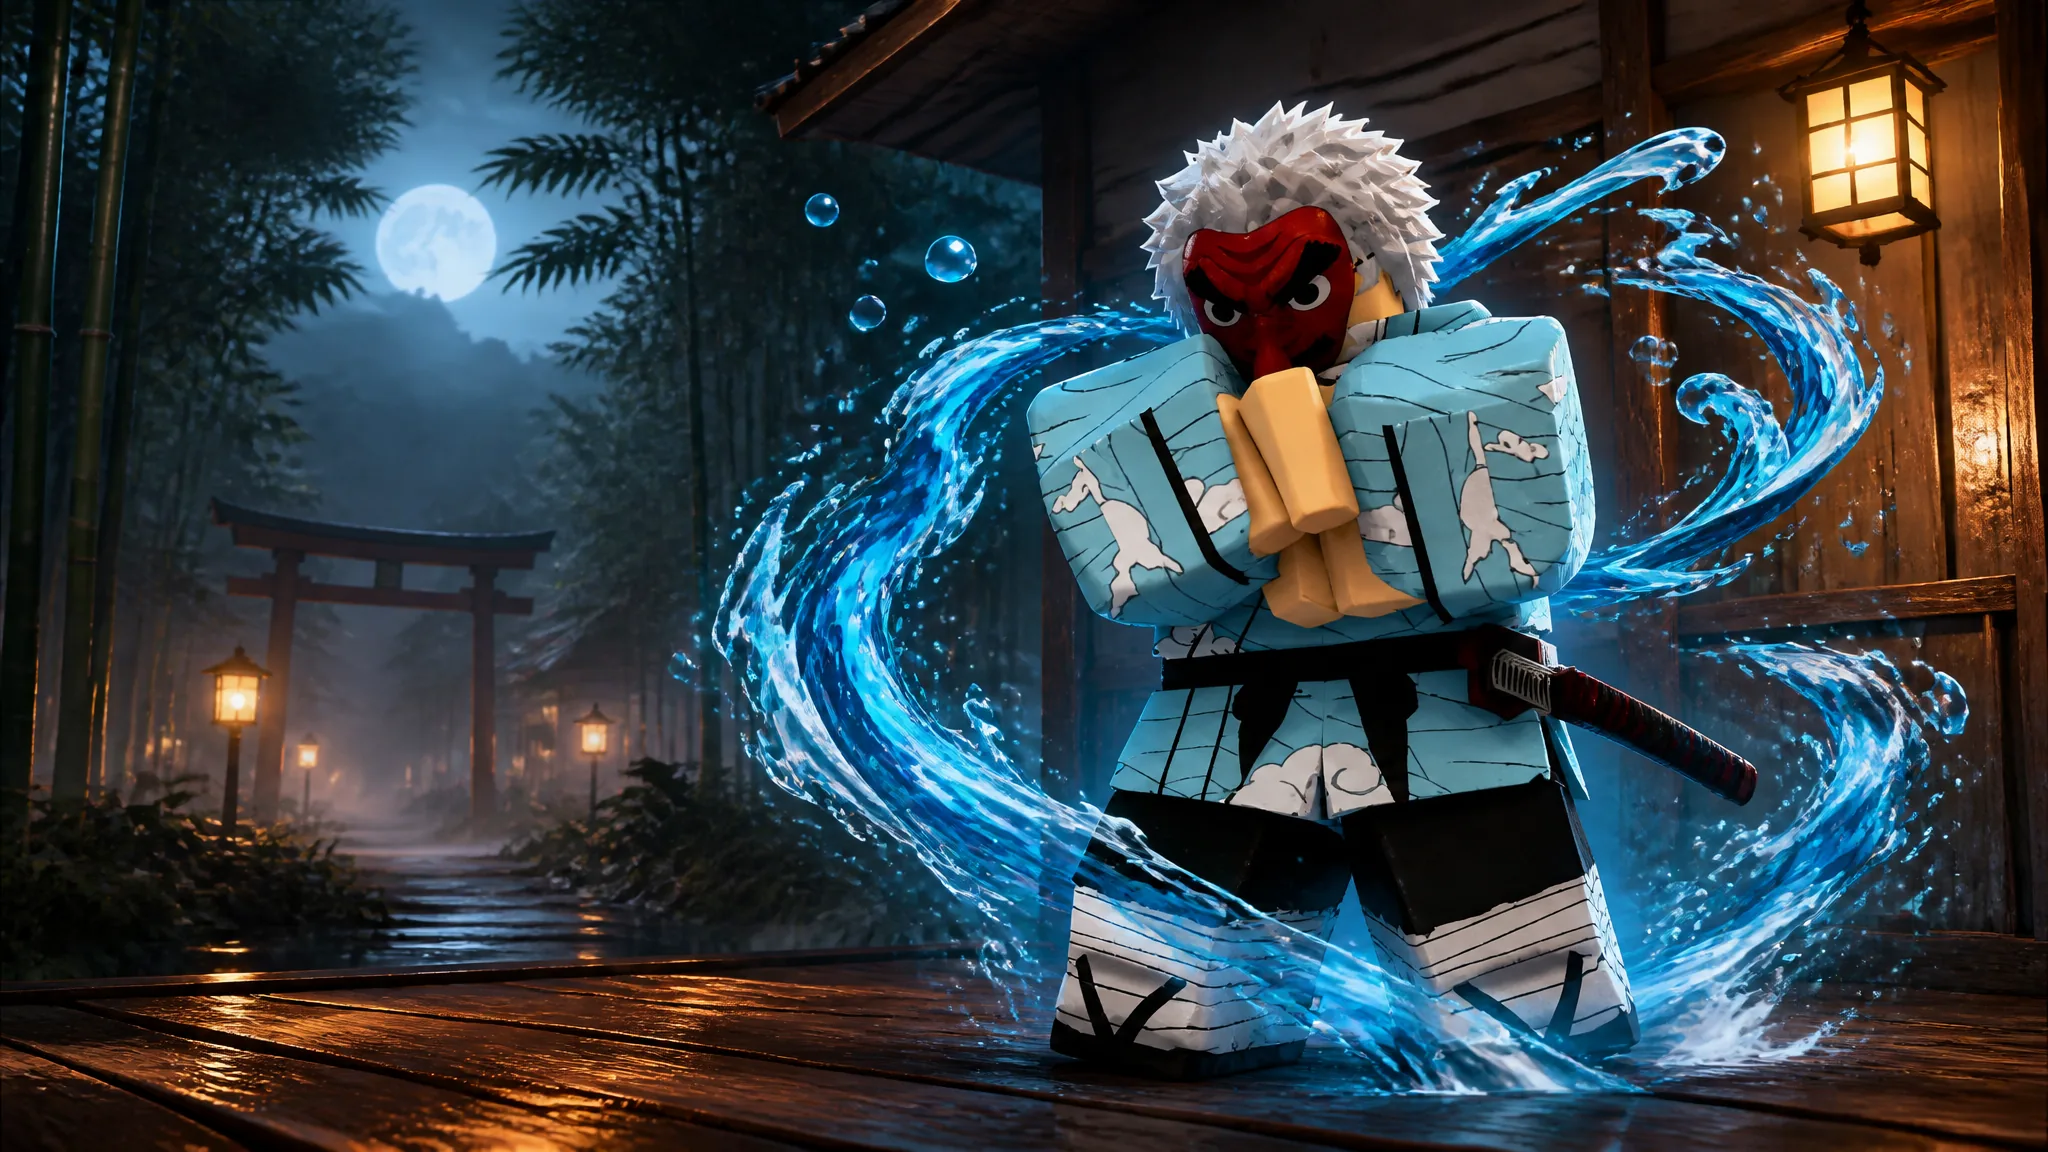
In Project Slayers 2, the Water Breathing trainer is not waiting in a village plaza beneath a quest icon. His position is a locked wooden chamber beyond a submerged tunnel, reached by leaping from the cliff and swimming below the waterfall. Many players cross directly above the entrance and never notice it.
Quick answer: Reach Level 25 with 5,000 Wen and 30 Demon Horns, then dive off the Bamboo Grove cliff, swim the tunnel beneath the waterfall, climb the ladder, and speak to Water Trainer Sakonji.
Water Breathing requirements in Project Slayers 2
The trainer alone does not grant the style. You can run the complete Level 5 route to scout it beforehand, yet the training questline remains unavailable until all three requirements are met at once.
| Requirement | Amount |
|---|---|
| Level | 25 |
| Wen | 5,000 |
| Demon Horns | 30 |
| Weapon | Katana (Regular Katana, 500 Wen) |
Inside Windy Peak, weapon vendor Raze offers a Regular Katana for 500 Wen and a Fancy Katana for 1,500 Wen. Both weapons are sufficient for the training, so keep your money for Sakonji’s fee instead of paying more than necessary.
Oni near the waterfall area and demons in the snowy region next to the bear zone can drop Demon Horns, frequently two at a time. Collect them before heading there, since the trainer’s room offers no enemies to farm.
How to reach Level 25 and bank 30 Demon Horns
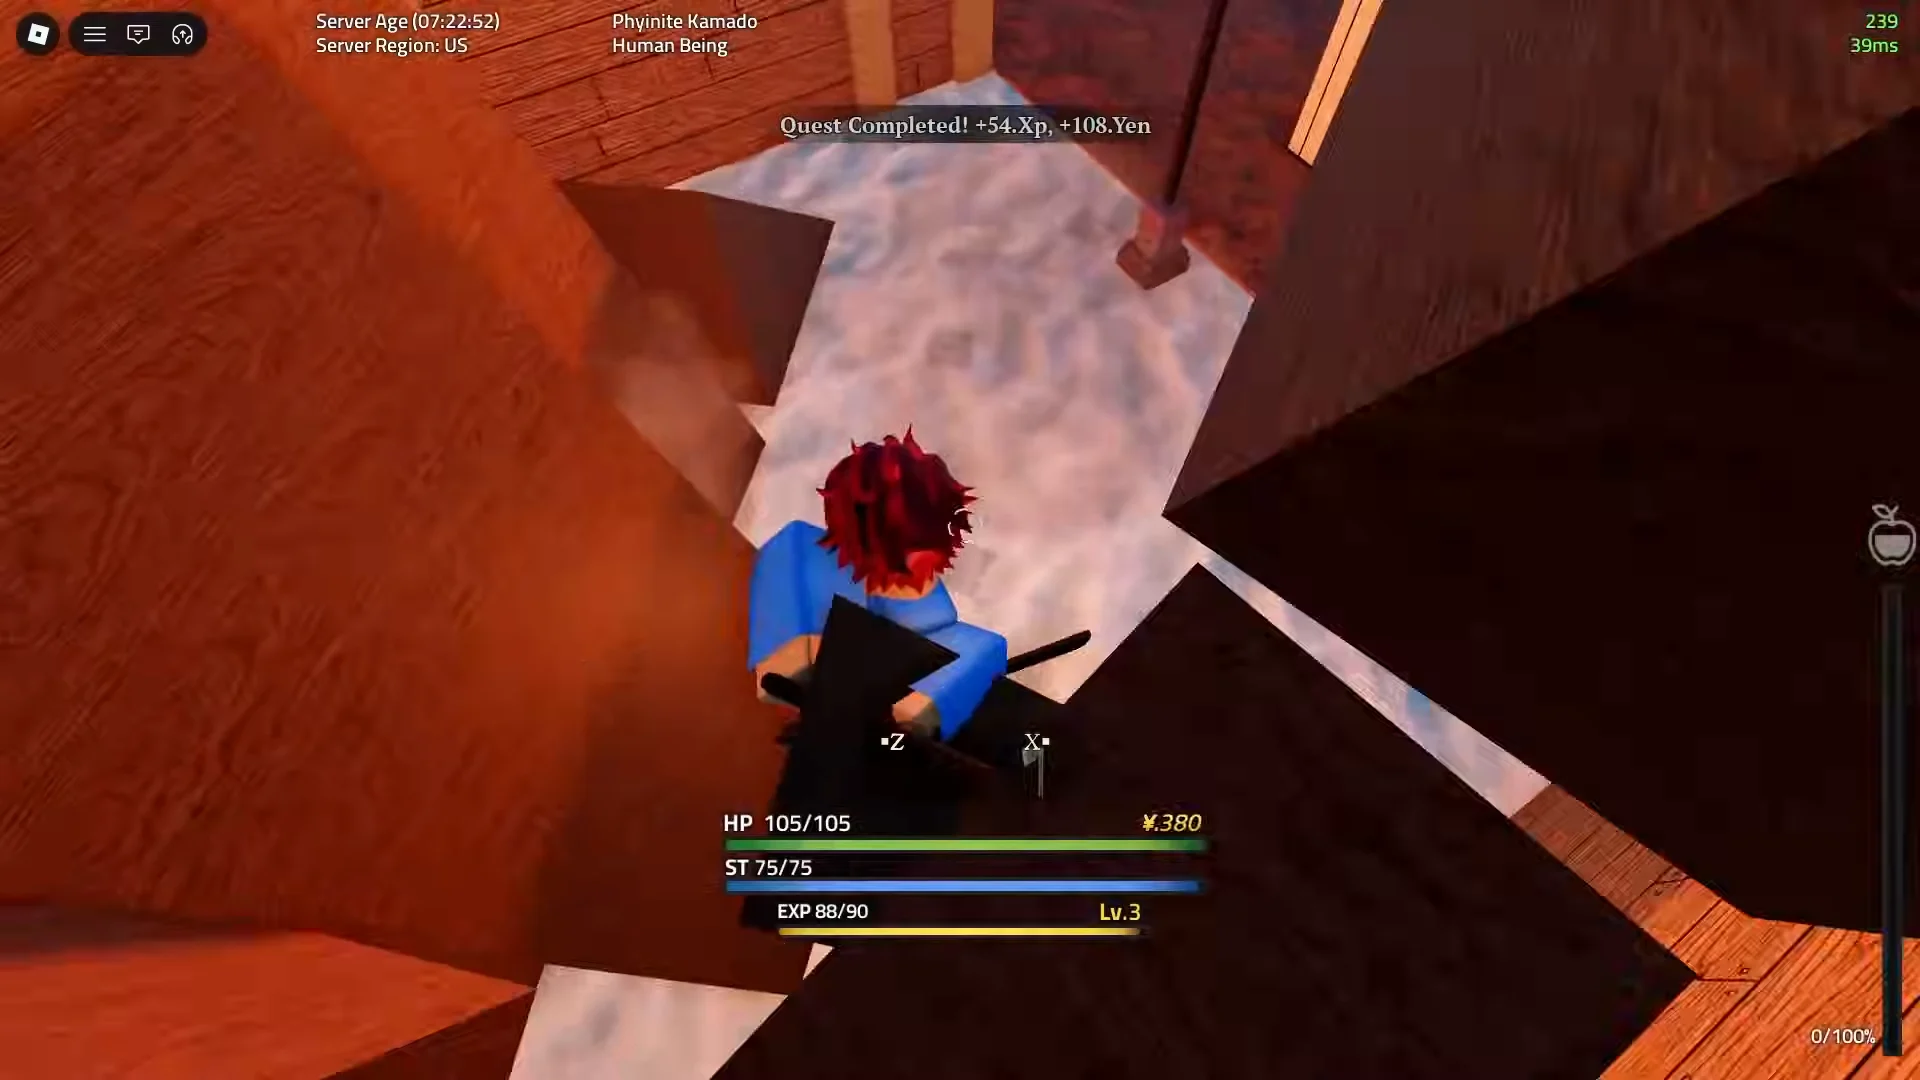
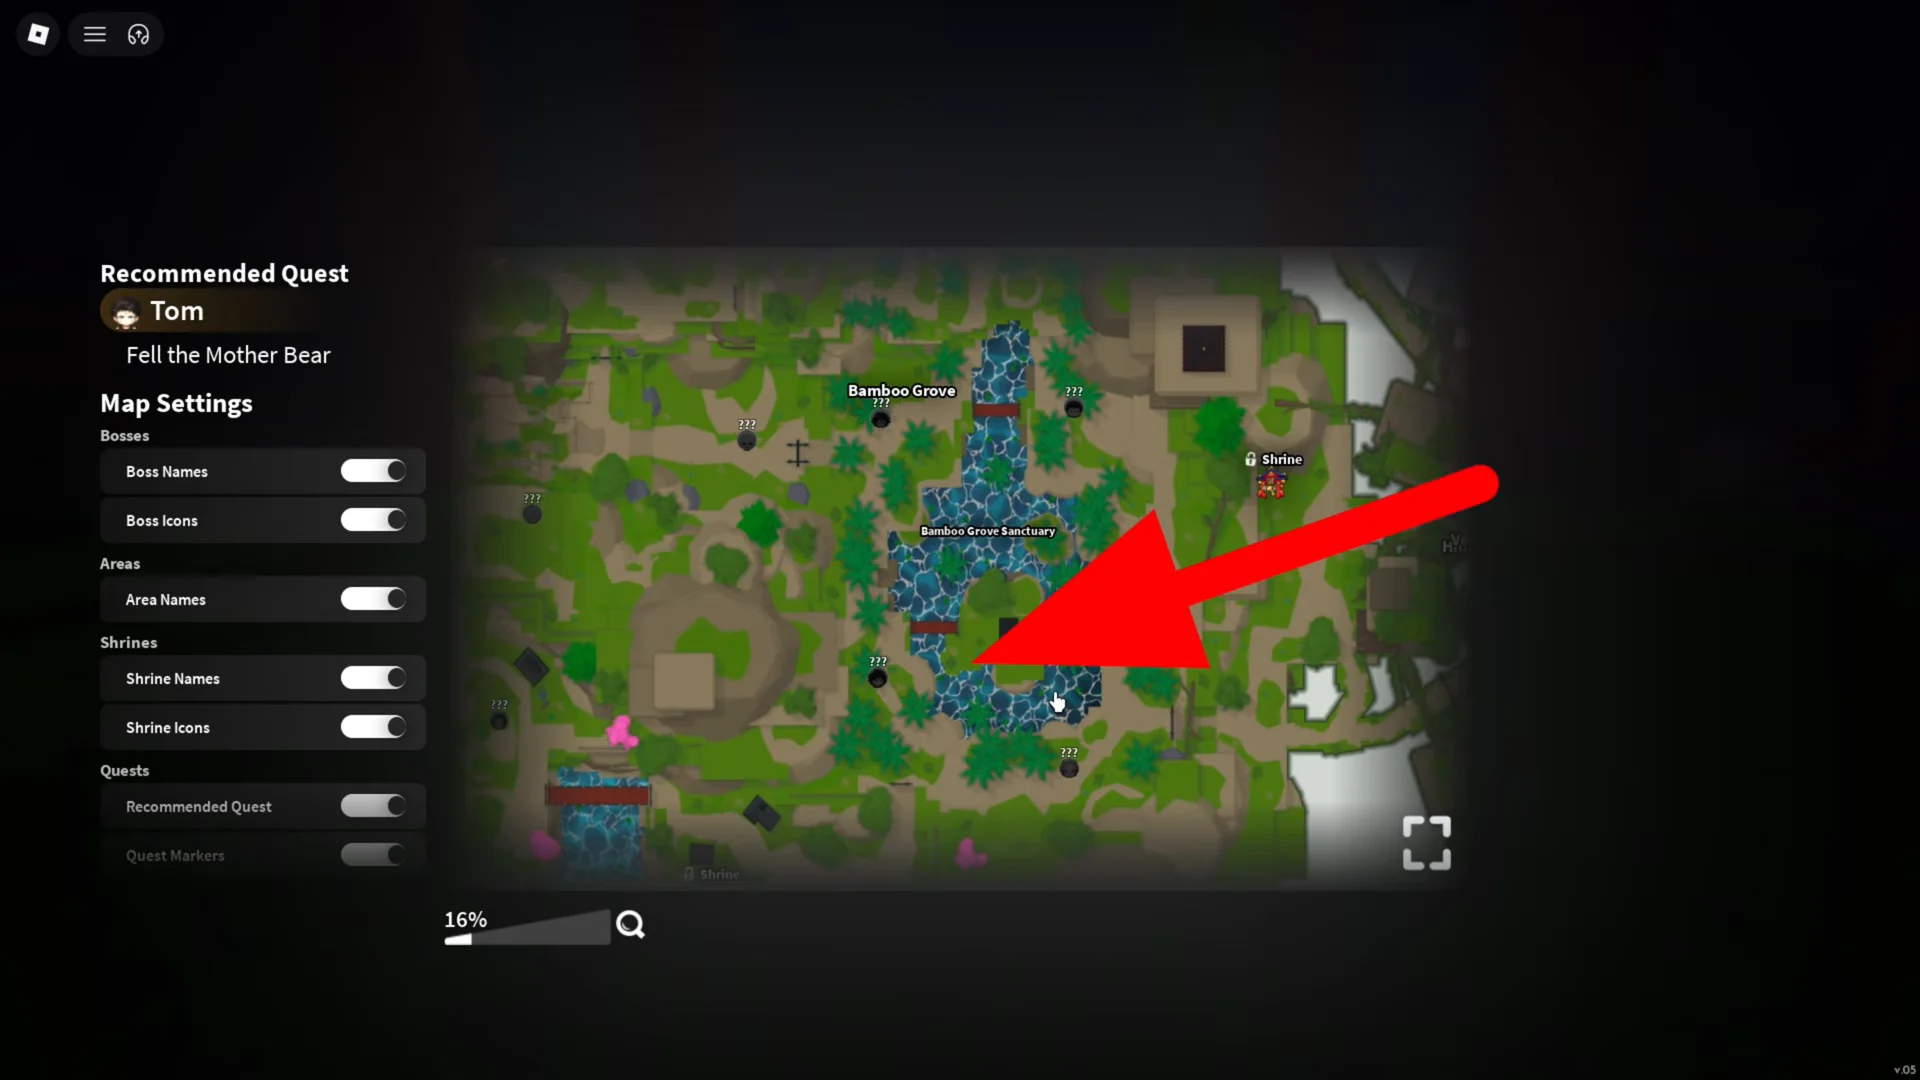
Water Breathing trainer location in Bamboo Grove Sanctuary
The hidden room containing the trainer is in Bamboo Grove Sanctuary, south of Windy Peak. On the game map, go beyond the Bamboo Grove marker and below the cliff line; the sanctuary is not on that line, which lets players pass over the entrance without seeing it.
The NPC is named Water Trainer Sakonji, although certain builds display Water Trainer Urokodaki. He has a red tengu mask and blue patterned haori, and stands by barrels inside a small wooden room reached by a ladder. That room is also a safe zone.
Route to the trainer from Windy Peak
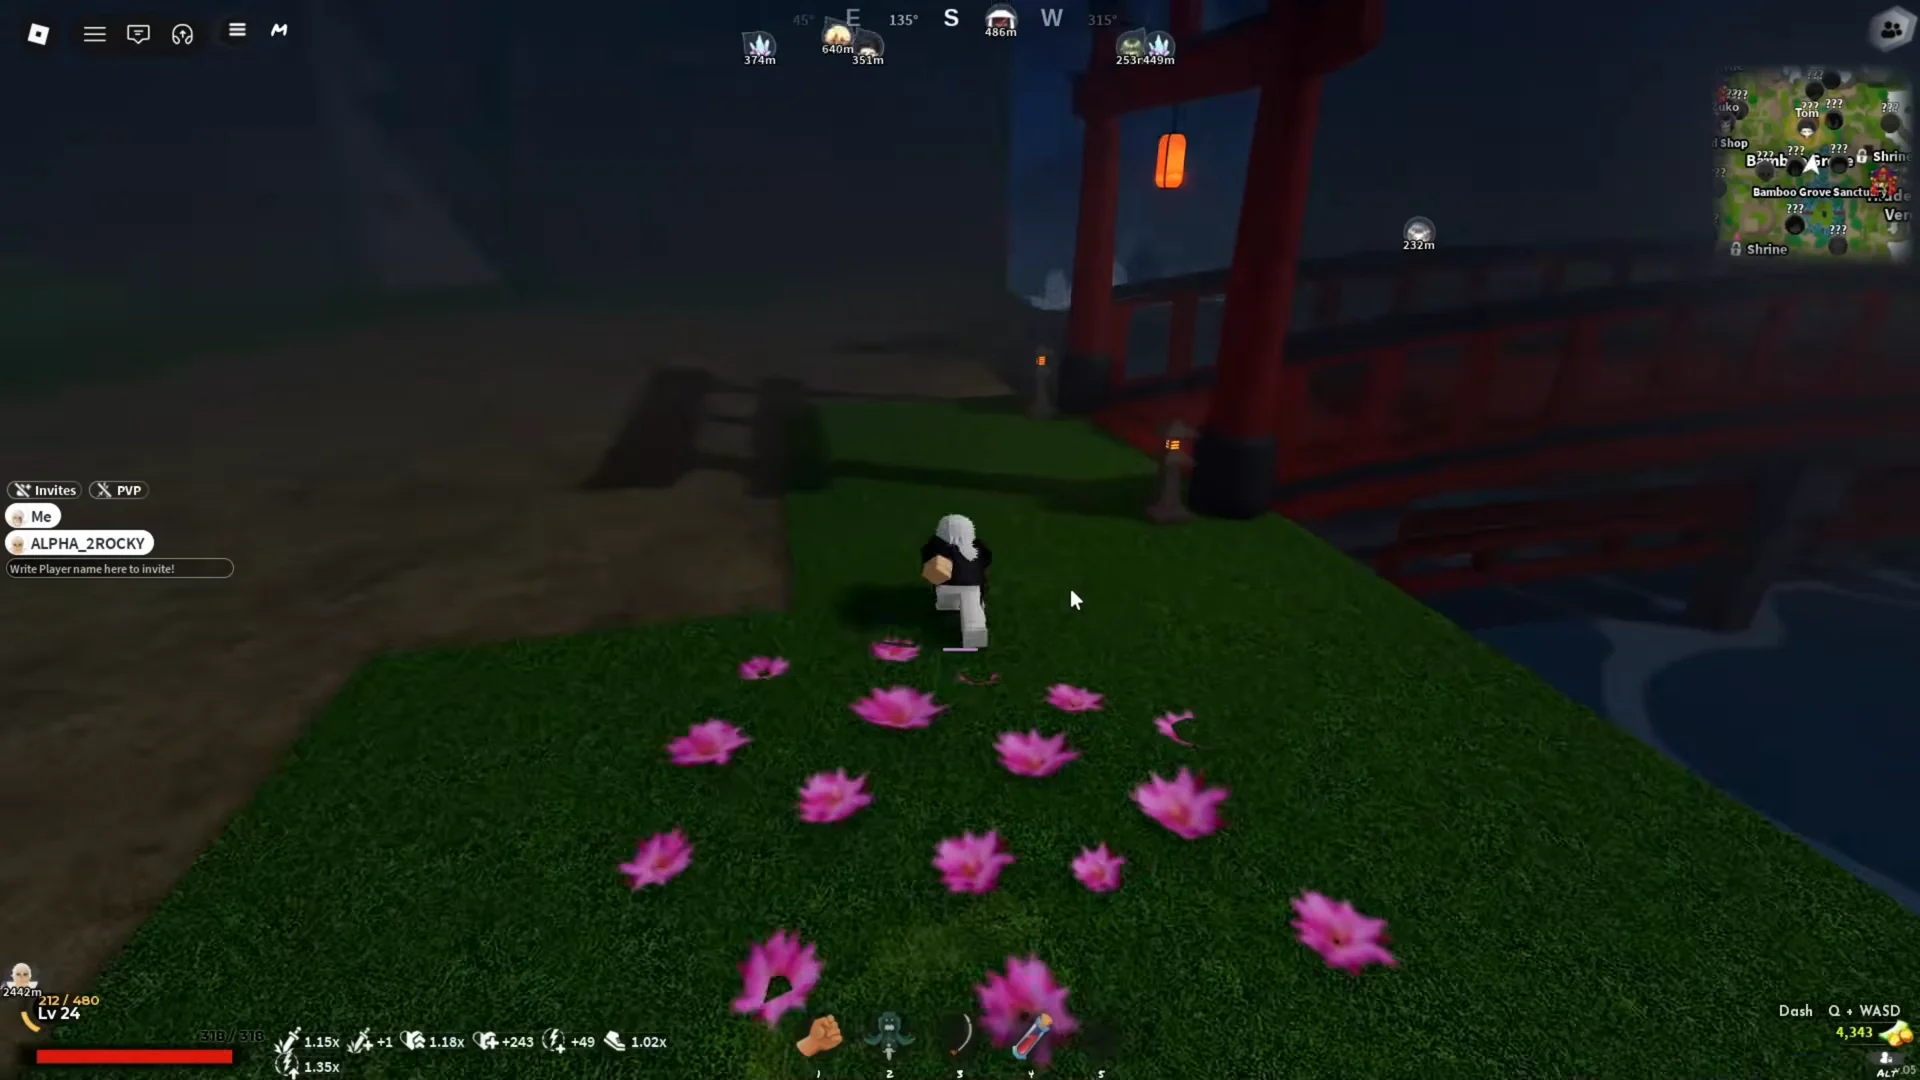
Stopping or turning around in the passage can drown you, so continue ahead until the tunnel opens.
Shorter route from the bear area
If your leveling already took you to the bear area, returning to Windy Peak is unnecessary. Go down beyond the bears, travel opposite the snowy route used for Wind Breathing, and scan over the cliff for the same island house.
Go down to the level ground by the hut and look around the foliage for a partially concealed hole filled with water. It connects to the same submerged tunnel and brings you to the ladder without requiring the cliff jump. Wall Climb helps with the climb out, but entry does not require it.
How to confirm you found the trainer
The correct room displays Water Trainer Sakonji on the interaction prompt and shows the safe-zone indicator. Speak with him to bring up the requirement check; paying the fee then activates the objectives.
The unlock does not happen merely because you are standing before him. You must complete the training objectives, which conclude with a duel, before the style is yours.
Sakonji’s six Water Breathing training tasks
Give him the 5,000 Wen and the horns to reveal a six-objective tracker. The objectives may be tackled in any sequence, and a failed one leaves the others intact; repeat only the task you missed.
| Task | What it asks for |
|---|---|
| Parkour Dungeon 0/1 | Timed platforming course, no falls |
| Push ups 0/1 | Hit the key prompts as they appear |
| Boulder Push 0/1 | Shove a boulder through a maze on a timer |
| Aim Training 0/1 | Hit the targets in the shooting drill |
| Underwater Rocks 0/5 | Collect five rocks while managing oxygen |
| Defeat the Water Trainee 0/1 | Beat Water Trainee Sabito in a duel |
The Parkour Dungeon entrance is near the Mother Bear area, with a lever inside that begins the course. The conditioning objectives send you south to the training village, so follow your map markers to link them rather than trying to infer the route.
Underwater Rocks ends most runs. While submerged, oxygen continually decreases, so come up for air between pickups instead of covering the riverbed in one dive. Drowning ends the attempt but does not remove progress saved on the other objectives.
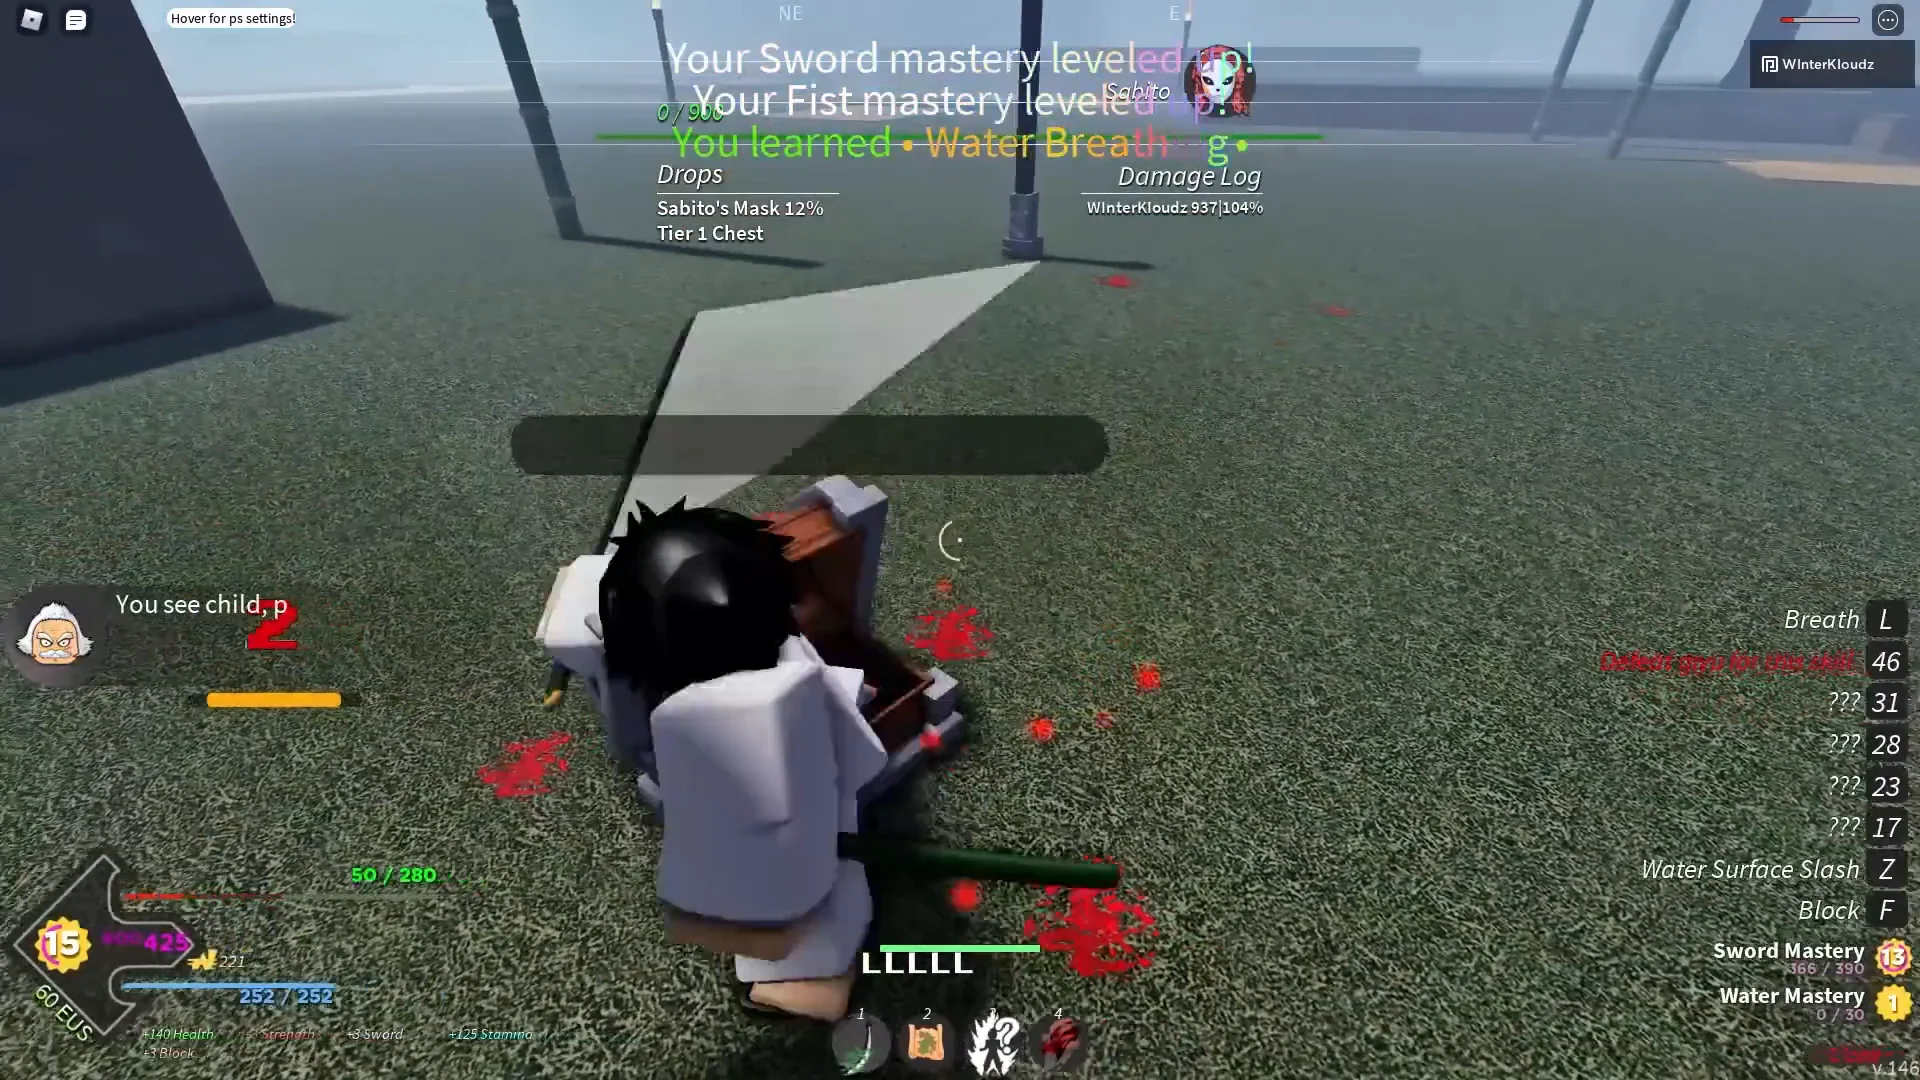
The final gate is Sabito, and this encounter is a real boss fight rather than a practice session. He appears close to Sakonji’s area and leaves a scarred protective mask behind upon defeat, so arrive with a repaired katana and healing items.
How to confirm Water Breathing unlocked, and what the moves cost
Defeating Sabito finishes the questline and applies the style at once. Check the Skill Tree: its Water Breathing branch should now be selectable, with Water Surface Slash listed as the first move available for purchase. If it remains locked, inspect the tracker for an incomplete objective instead of paying Sakonji again.
Learning the style does not unlock every technique. Skill points are required for each move, while every technique after the first also demands a mastery threshold earned by fighting with the style.
| Move | Skill Points | Mastery |
|---|---|---|
| Water Surface Slash | 3 | — |
| Whirl Pool | 6 | 14 |
| Water Wheel | 9 | 27 |
| Constant Flux | 12 | 40 |
| Dead Calm | 15 | 53 |
Bosses build mastery much more quickly than ordinary mobs, making repeated fights against Susamaru, Tomioka and Yahaba the fastest route through the tree. Dead Calm additionally requires defeating Giyu Tomioka; that victory grants the move together with the Water Haori and Water Katana.
The resets are separate purchases. Reset Breathing is 80 Robux, while Reset Skill Points is 150 Robux, so allocate points carefully rather than experimenting carelessly.
The Kamado clan and the Tanjiro look
Many players pursue Water Breathing for its connection to Tanjiro, but learning it does not depend on your clan roll. Kamado belongs to the Supreme tier with a 0.1 percent chance, the game’s rarest bracket alongside Rengoku, Uzui and Agatsuma.
| Tier | Chance |
|---|---|
| Common | 50% |
| Uncommon | 23% |
| Rare | 12% |
| Legendary | 4% |
| Mythic | 0.9% |
| Supreme | 0.1% |
Free spins replenish with time. Paid options begin at 4 Robux for one spin and reach 480 Robux for 250 spins; the middle choices include 50 spins for 120 Robux and 100 for 216 Robux. With only a 0.1 percent chance, any selected bundle can mean a lengthy session.
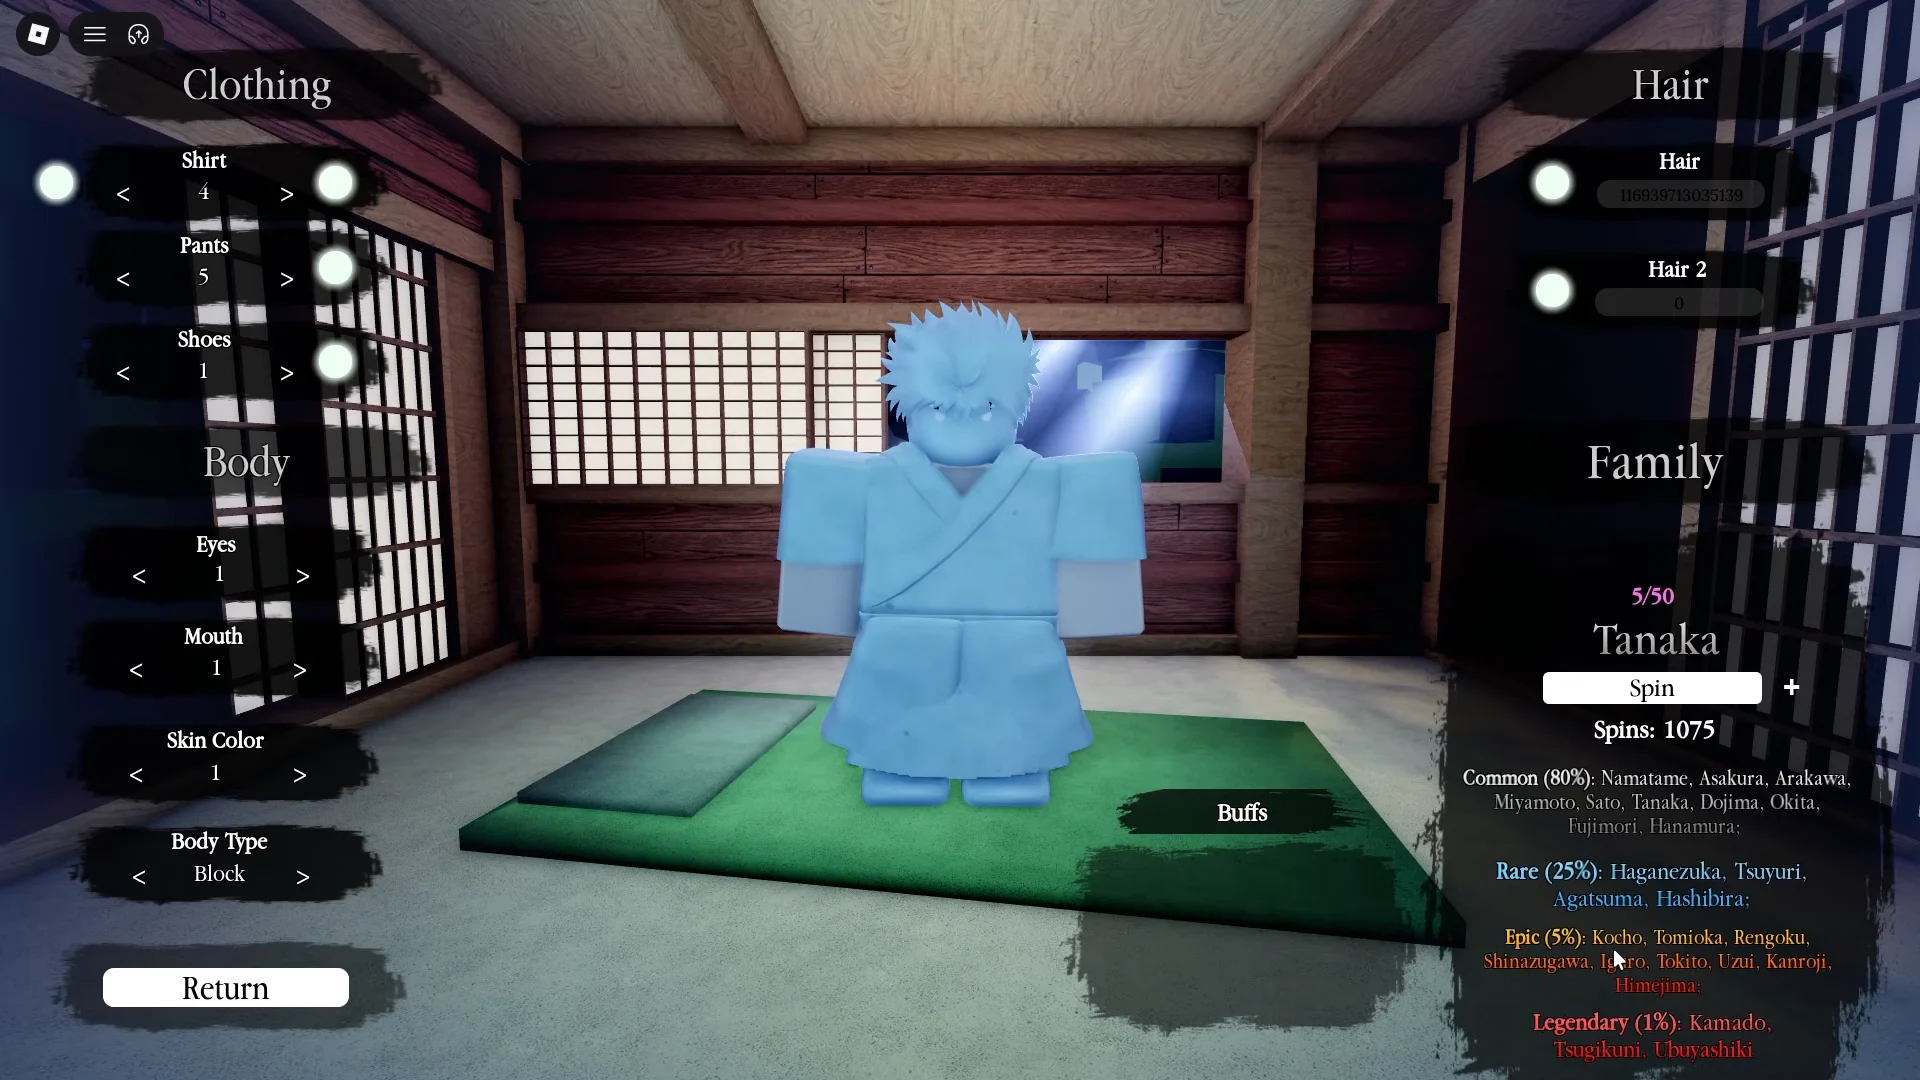
The clan screen also lists each clan’s buffs next to the appearance options, so you can check what a roll actually does before committing to it.
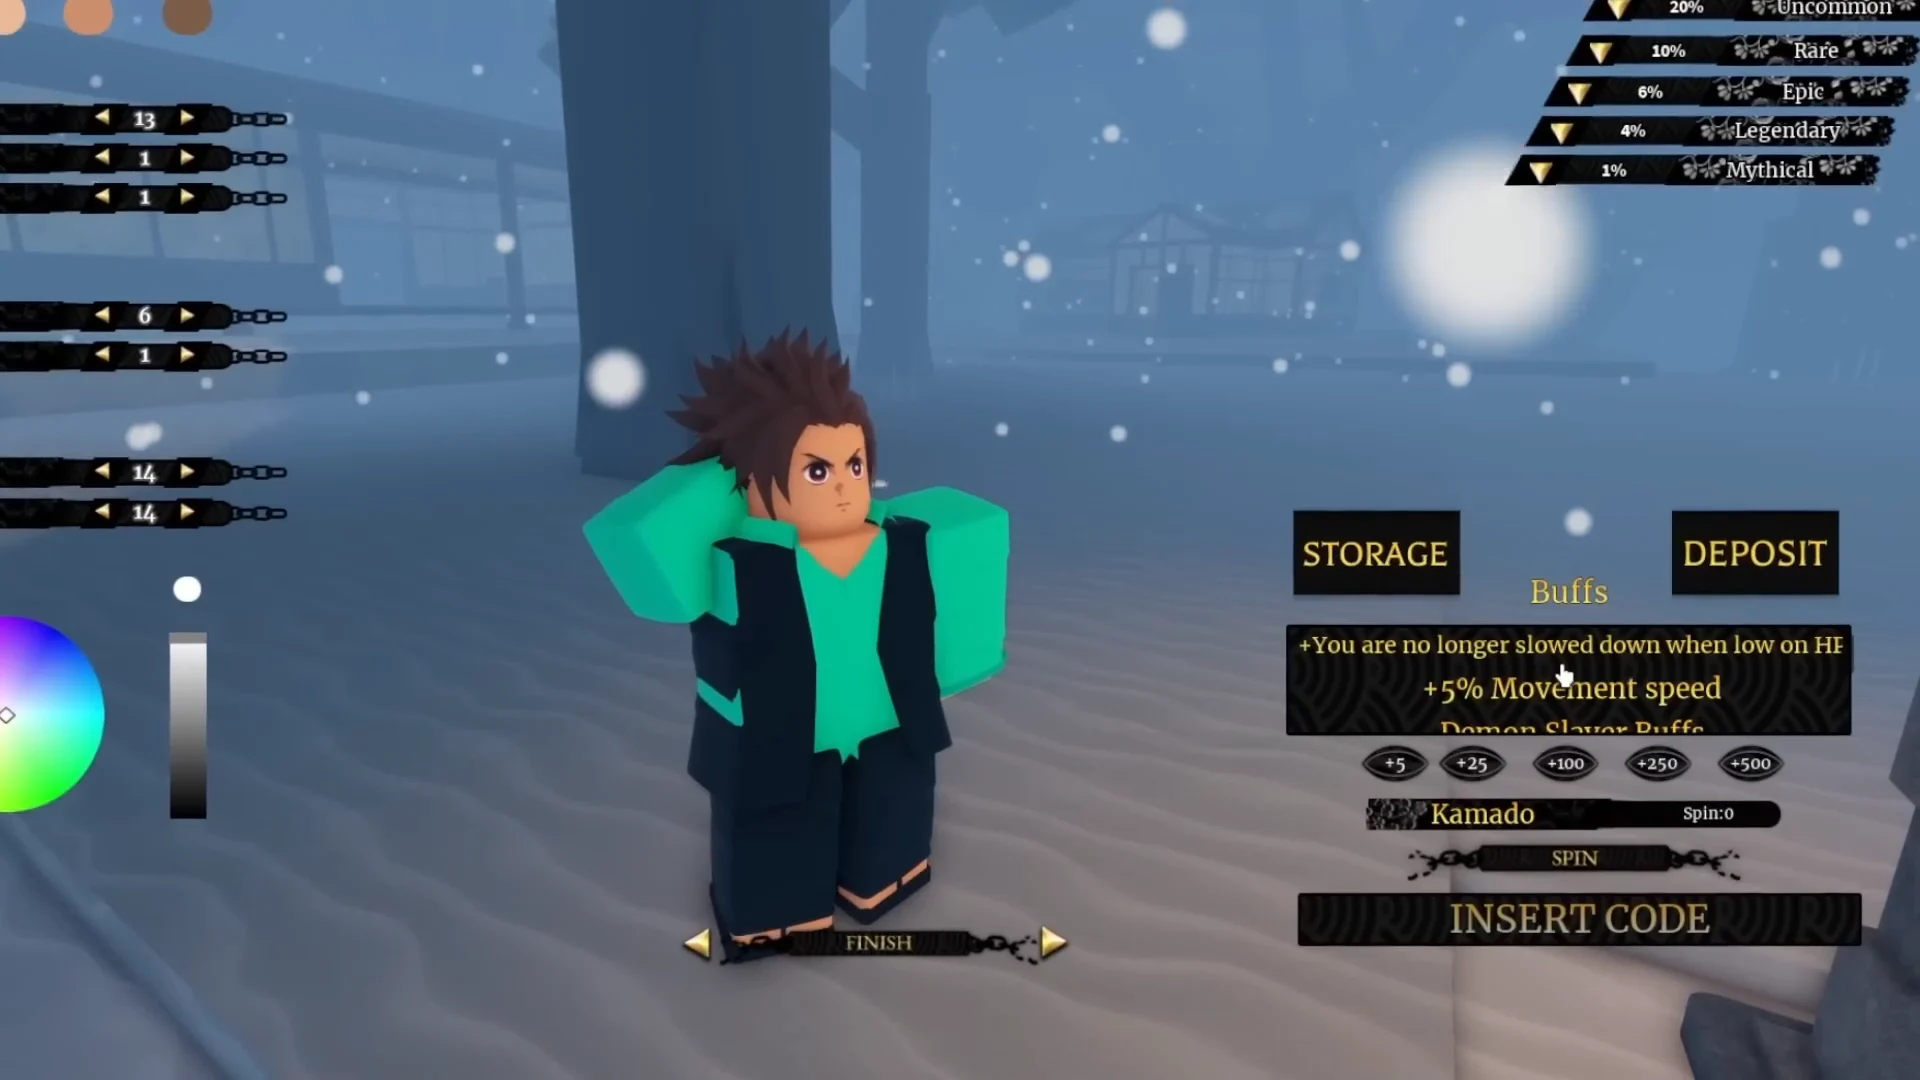
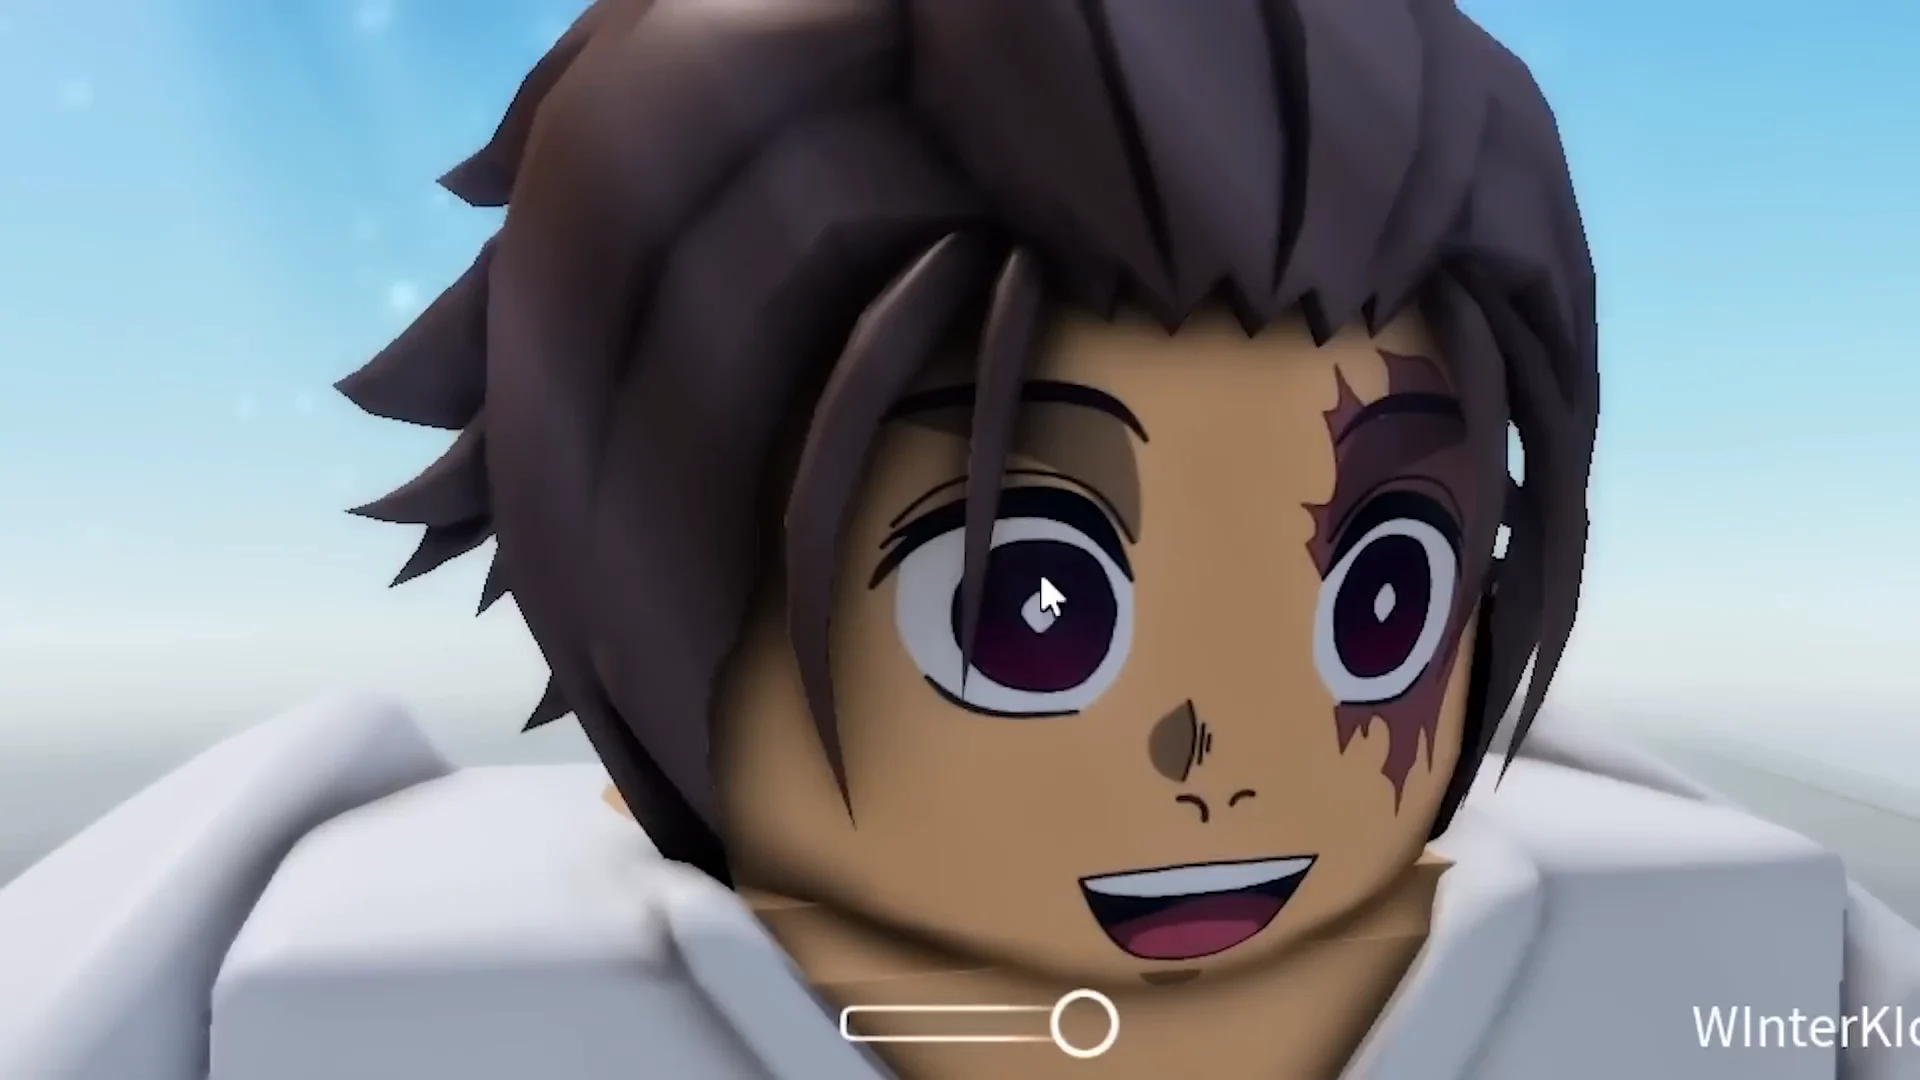
The look itself is free. Spiky brown-red hair, a face scar, red eyes, a black kimono top and black pants in the customization menu get you close enough without touching the clan system at all.
Other Breathing trainers near the same routes
The Bamboo Grove and bear zones connect to multiple trainer routes, so take note of nearby trainers while you are there. Water Breathing and each of those routes use the same Level 25 requirement.
| Trainer | Style | Location |
|---|---|---|
| Gyorei | Stone | Lower path from the bear area |
| Zentaro | Thunder | Mountain route near the bear village |
| Saneri | Wind | Snowy platform in the water |
| Obari | Serpent | Cliff above the starting area |
Wall Climb must be unlocked to clear the Thunder route. Stone Breathing additionally requires the Axe and Mace, obtained by defeating the Stone Trainee. Serpent adds 20 Demon Horns and 5 Beast Cores to its level requirement, making extra horns useful.
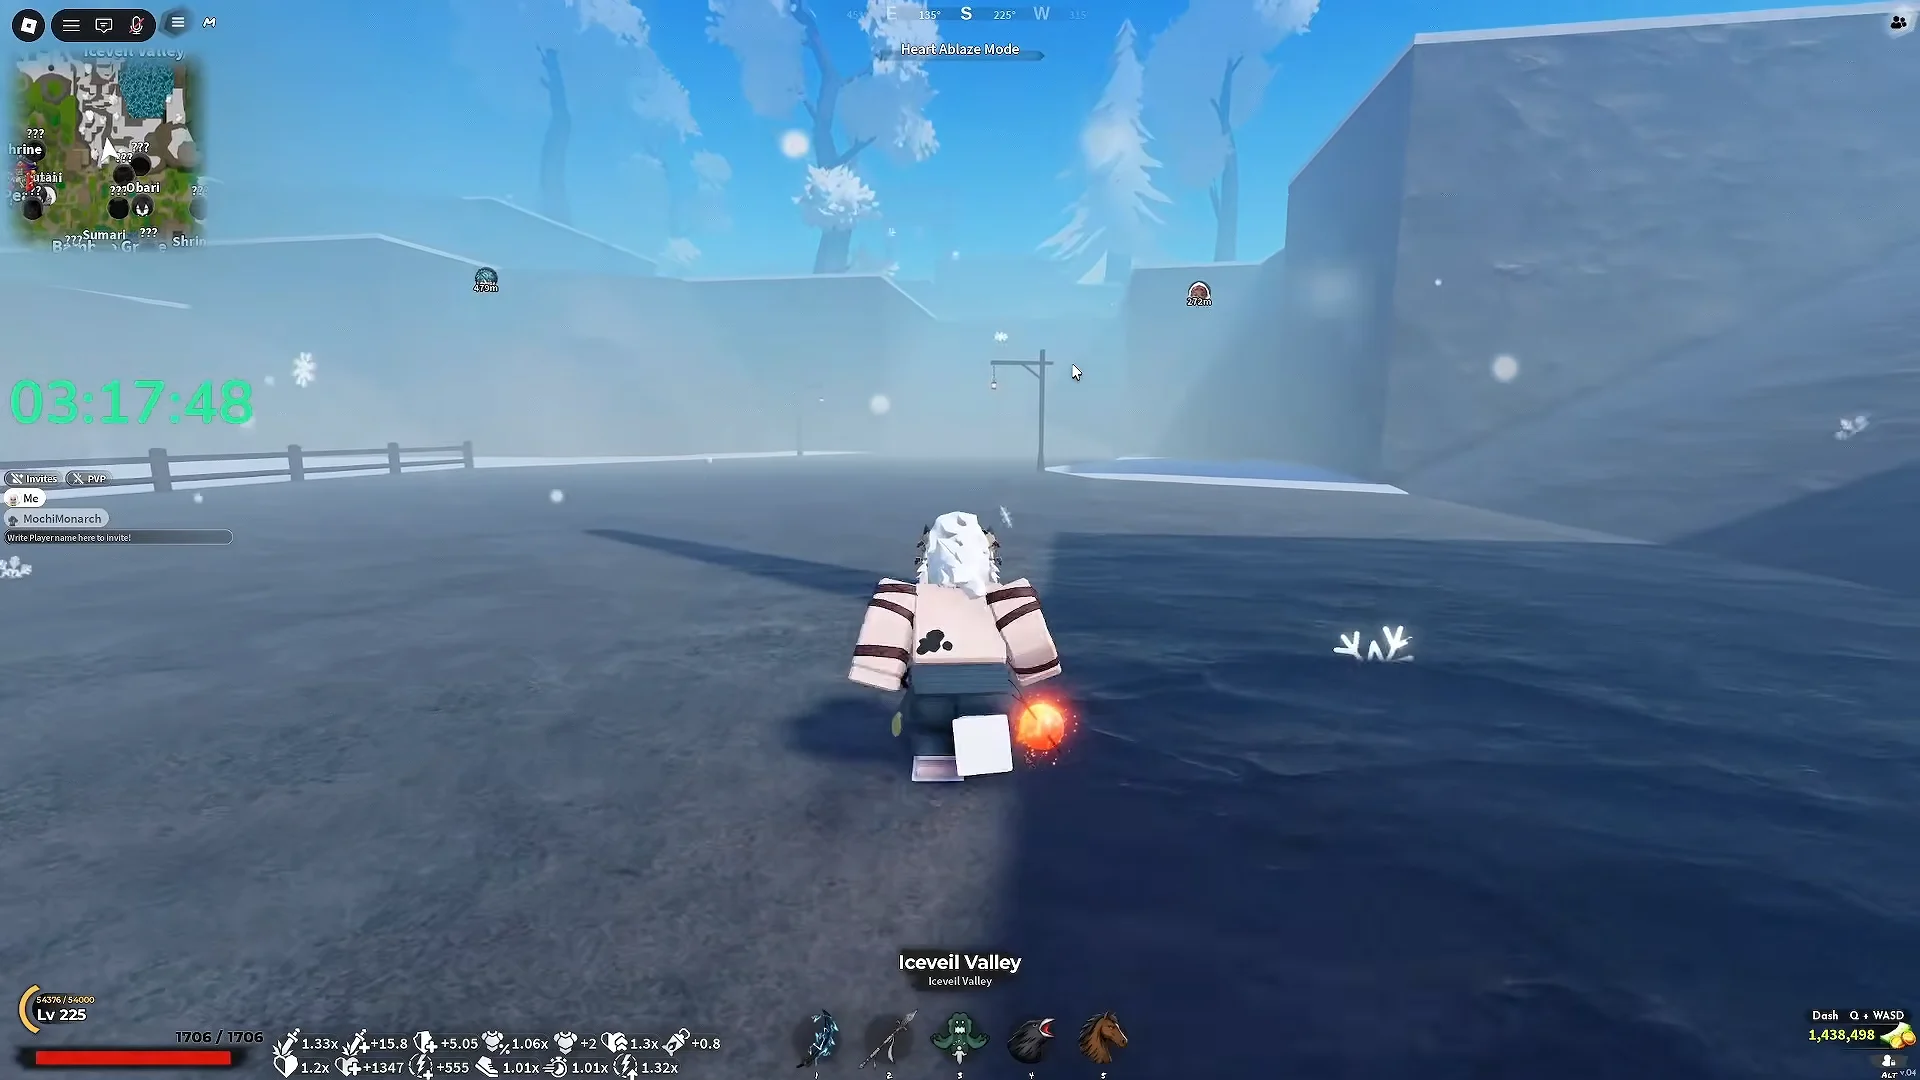
Wind is the exception: in the snowy Iceveil Valley area, Saneri is positioned on a stone platform surrounded by water. Go beyond the frozen village and the snow-covered torii gates to find him, rather than searching solid ground.
After Water Breathing: Final Selection
The style makes you a swordsman, but not a Demon Slayer. That status requires Final Selection, a timed survival trial with a current level 45 requirement. Start by going through Mistfall Harbor toward the Butterfly Estate, use the long bridge heading south to reach the Final Selection Plains, and then take the northeast path.
Within the trial, NPC assignments include collecting fruit, defeating Lesser Demons, recovering a katana and finding an underwater key while demons pursue you between objectives. The Hand Demon boss concludes the event. Victory grants the Slayer Uniform and a Kasugai Crow that remains perched on your character.
After making the swim once, you can return quickly, so remember the island house before leaving. It is much faster to come back carrying 5,000 Wen and 30 Demon Horns than to search for the waterfall again.





