


In Project Slayers 2, becoming a demon requires three conditions: reputation below zero, finding Muzan at night, and completing a quest series that finishes with drinking his blood. Blood Demon Arts, soul progression, demon-exclusive weapons, and everything else become available only after the change succeeds.
Quick answer: Drop your reputation to -40, find Muzan at night in Mistfall Harbor, finish his Spider Lily and Dr. Higoshima quest, then drink Muzan’s Blood to transform.
What to set up before you transform
A new character slot begins as a Human, so the choice remains open until you drink the blood. You can therefore make a demon on an unused slot without removing an existing slayer; purchasing another slot from the shop preserves both characters.

A level 1 demon with no hat and no money is a miserable character to play, because daylight kills you and the quest chain drags you across the map. Sort these out first:
- Level 20 to 40 is the recommended range before transforming, since the slayers appearing during the demon quest can otherwise kill you.
- The Book of Guidance, earned from Kona at Windy Peak by finishing Recover the Lost Pages (five scattered pages).
- Double Jump and Wall Climb from the skill tree — the doctor rescue is vertical.
- MoldySugar’s delivery task in Windy Peak, the quest that opens the hat shop.
- Save 10,000 Wen to purchase the Black Amigasa sun hat.
To reach the movement skills quickly, complete the short delivery and fetch tasks near the starter village until level 5. Then spend points on Double Jump, Wall Climb, and Core Detachment. After activation, the Book of Guidance remains available on the map screen, marking suggested leveling routes and quest markers; that guidance is especially useful for demons because the chain repeatedly sends you between regions.
How to reach -40 reputation fast
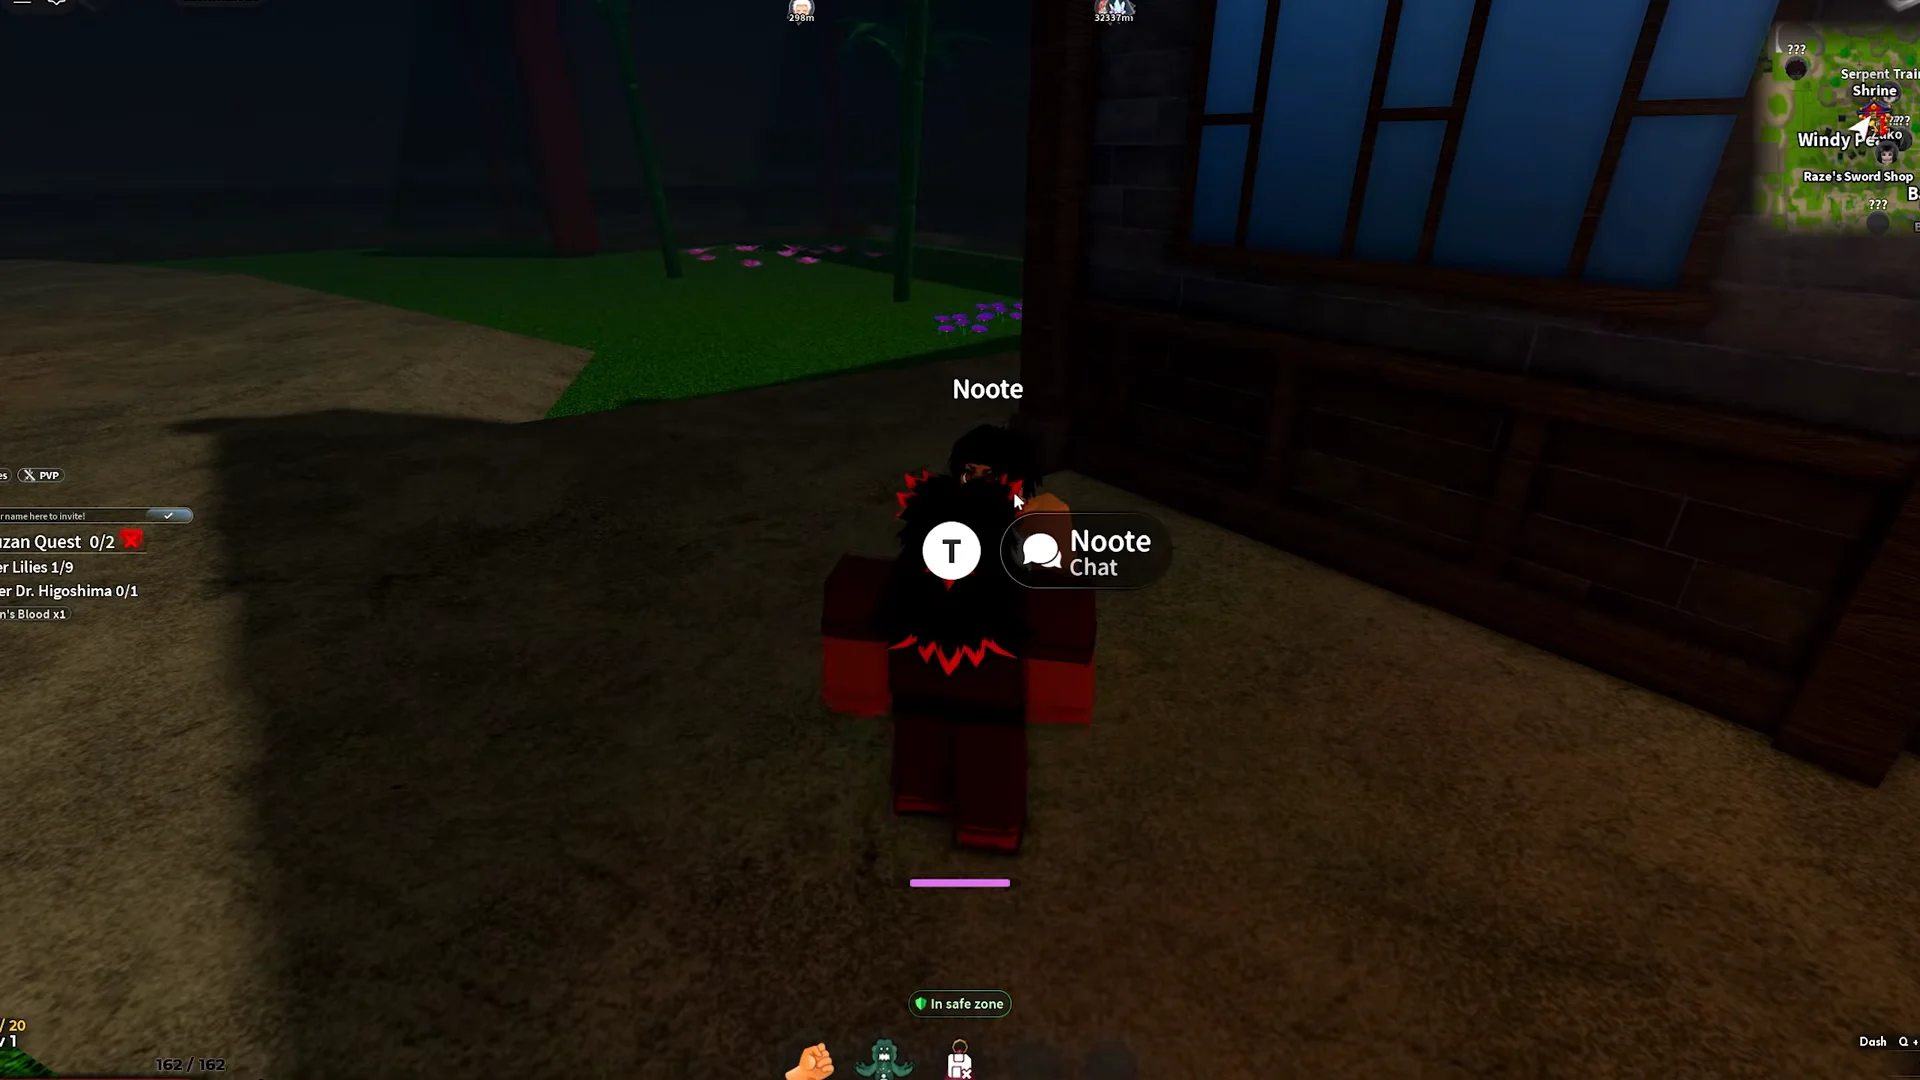
Muzan refuses to talk until your reputation reaches -40 or below. Civilians near the starter village are valid targets, but every kill changes the counter by only -1, requiring 40 kills that way.
Slayers offer the quickest route. Patrols near the Butterfly Estate award about -9 reputation per kill, putting the requirement within reach after roughly five kills. Bosses such as Giyu also qualify, while Kanoe Demon Slayers in Iceveil Valley make a solid alternative because they provide useful EXP as you defeat them.
The same negative reputation also grants later access to Muzan’s Lair, so after choosing the demon route, there is no benefit to restoring a positive score.
Muzan’s transformation quest, step by step
Muzan appears only after night falls and moves among village zones. Mistfall Harbor produces the most sightings because it is close to the beginner area, although Hidden Mist Village and Iceveil Valley can spawn him as well. You may server-hop until you find nighttime, or remain in one server through a complete day cycle; the latter can occasionally be quicker.
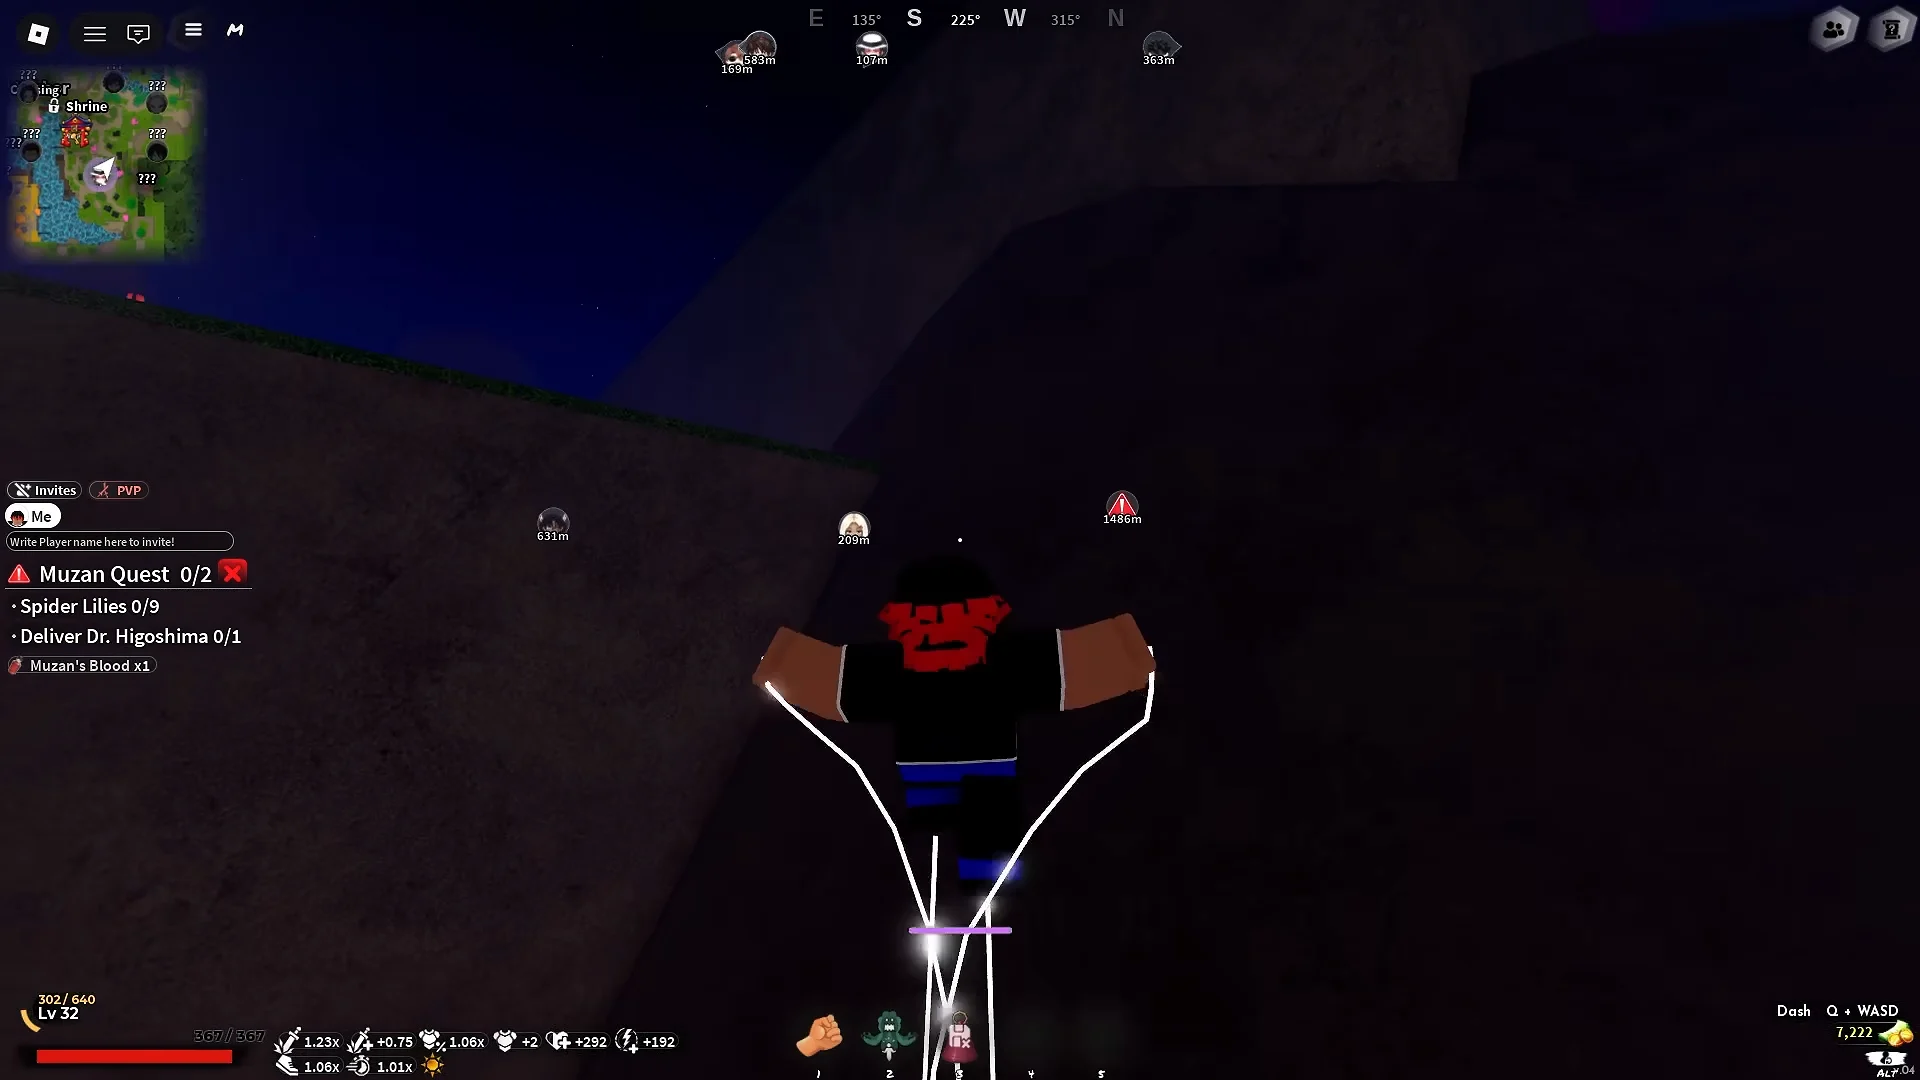
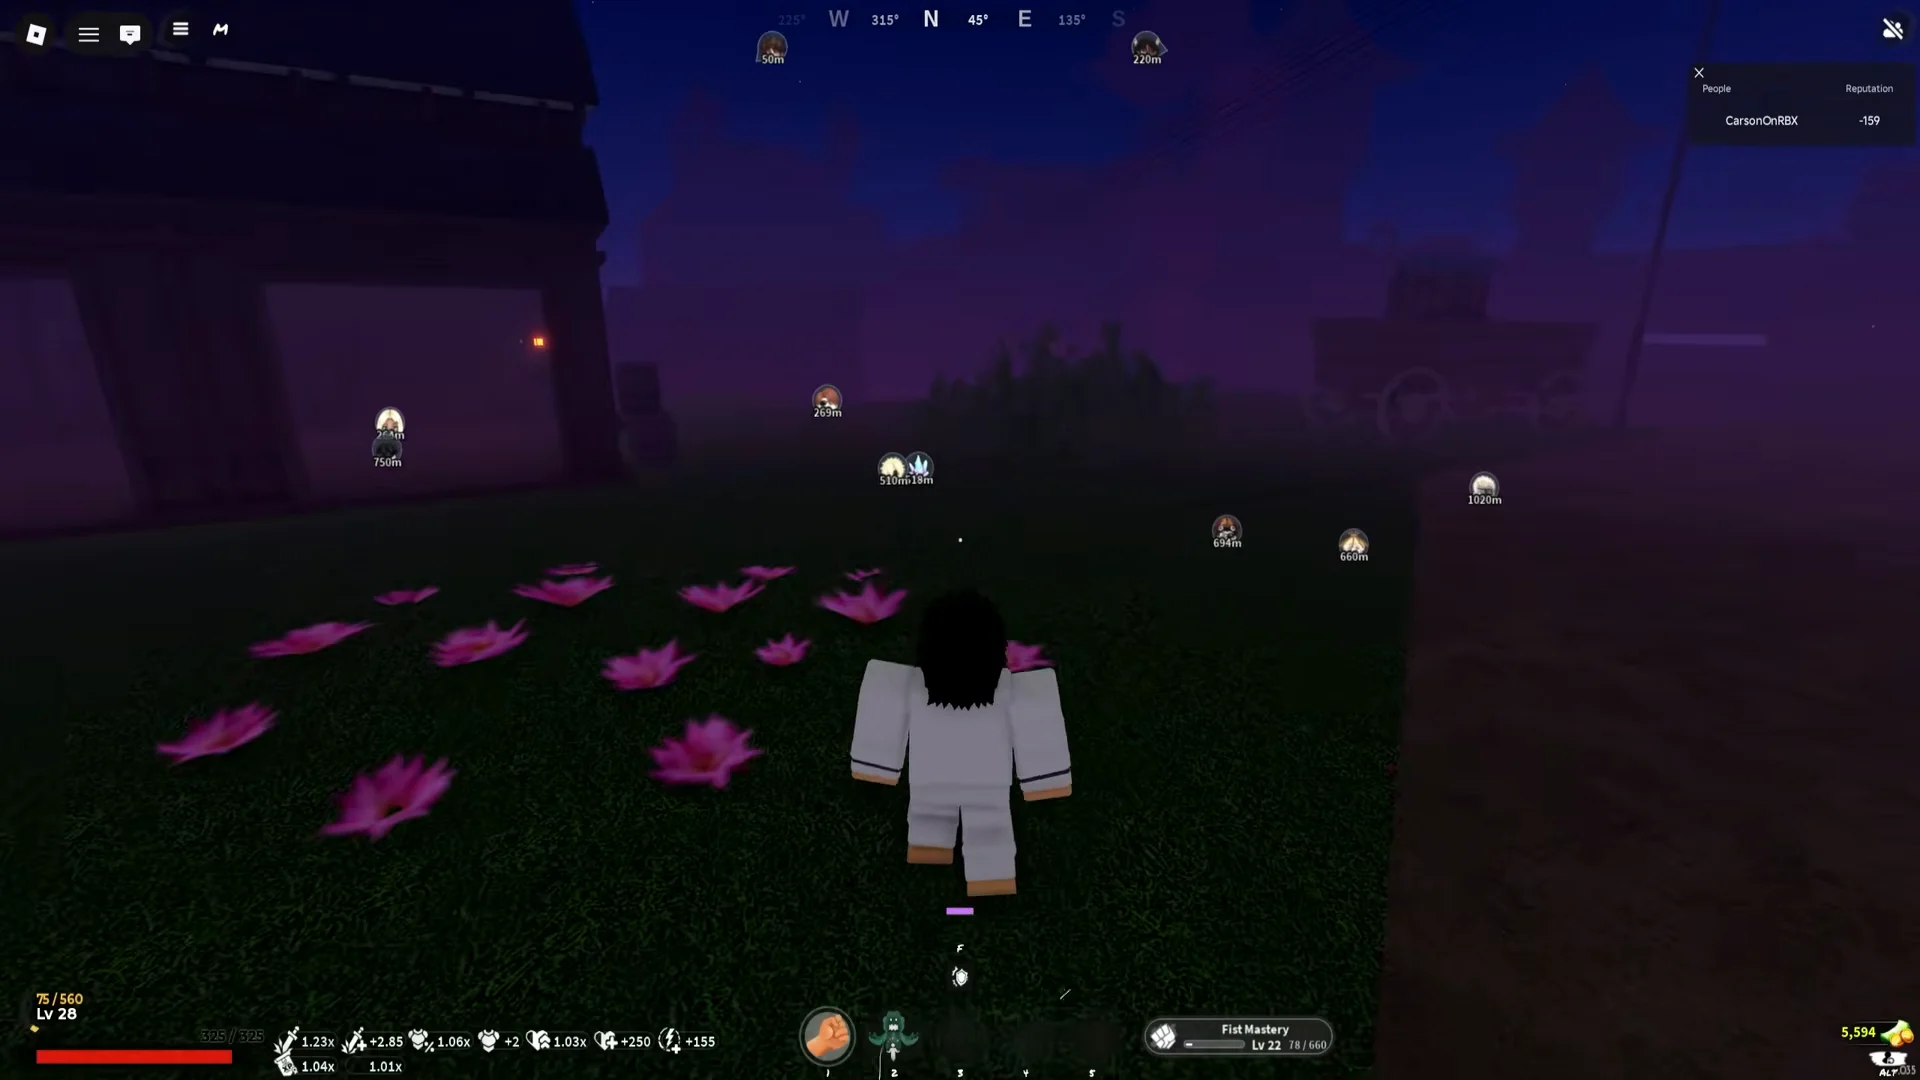
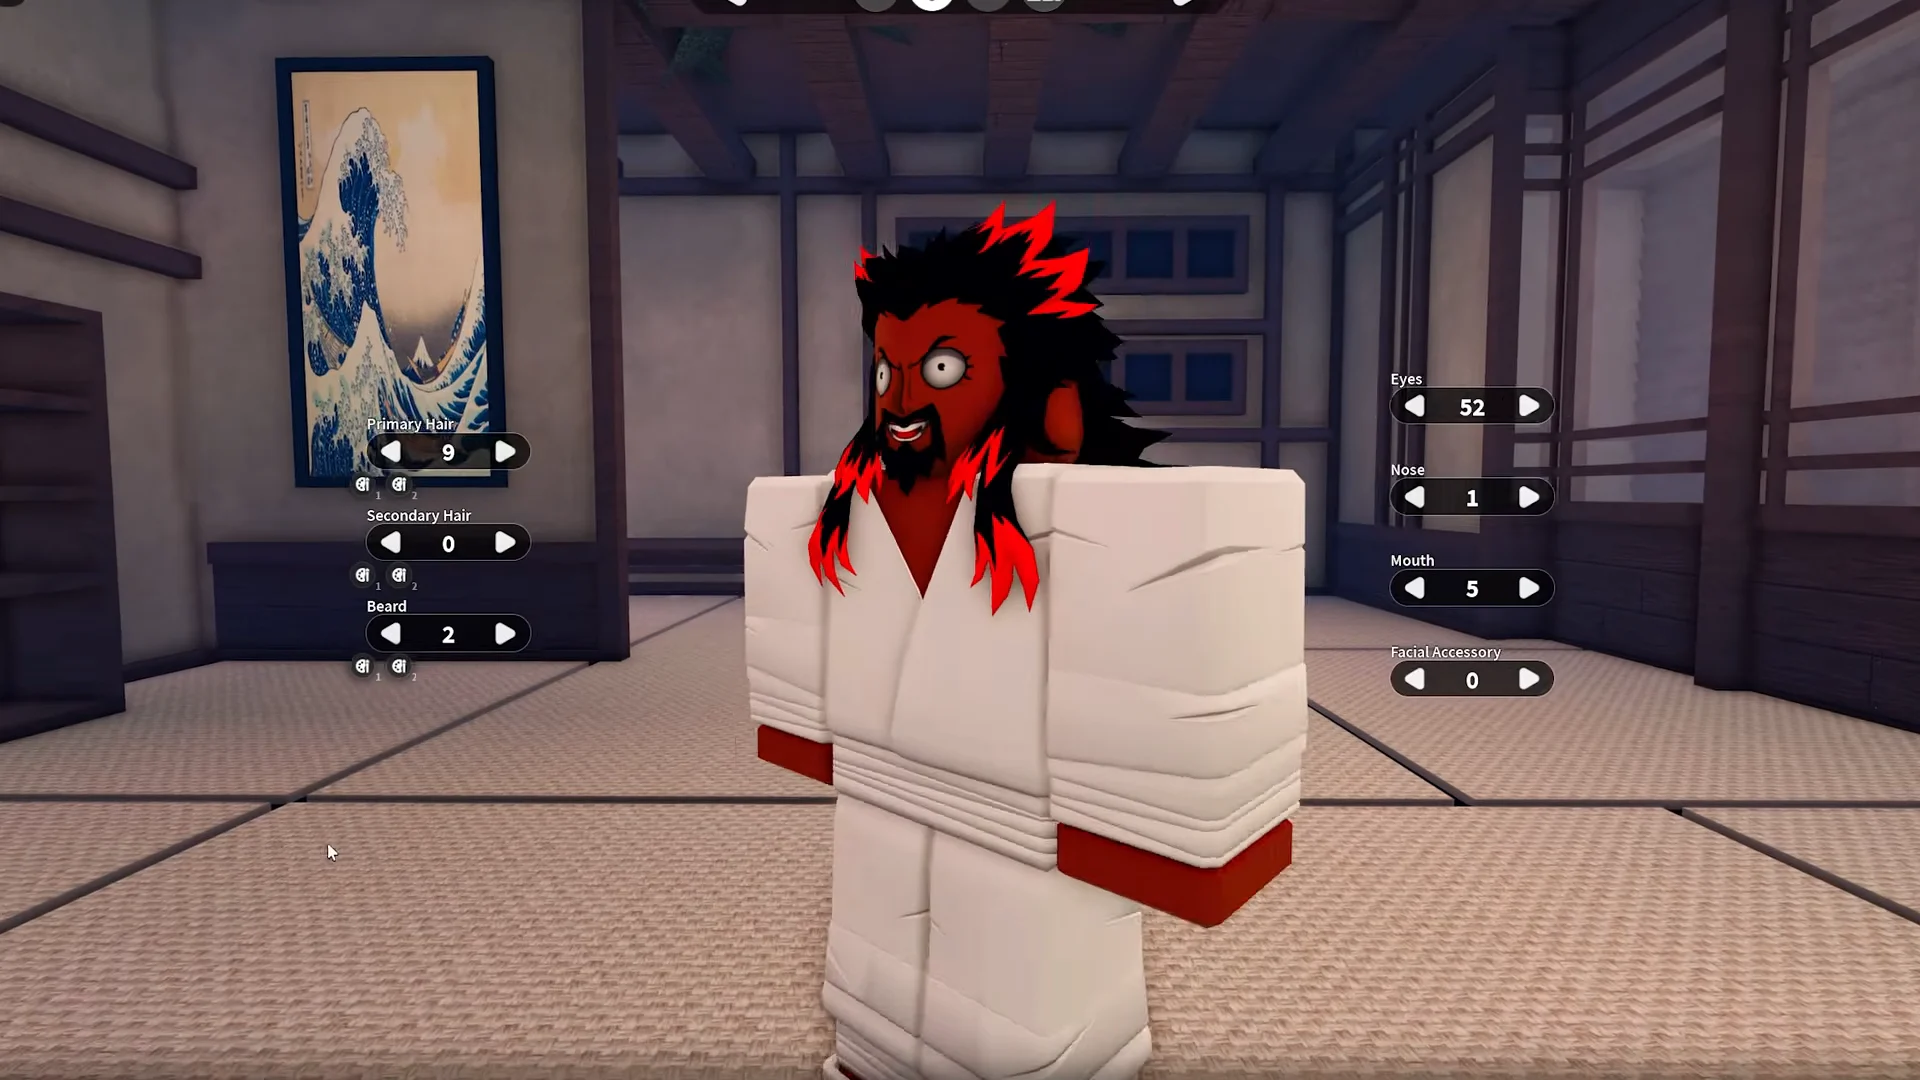
You can head back into the character editor afterwards to rework hair, skin tone, eyes and clothing for the new form. Some demon-only appearance options only appear as you climb the demon ranks.
Surviving daylight: clan choice, Black Amigasa, and Bamboo Sandogasa
Demons die in sunlight. Going outside unprotected during the day causes your character to burn away and die, preventing daytime questing until you address the problem. Some Blood Demon Art training objectives also take place outdoors.
Choosing Kamado grants demons immunity to sunlight, putting it among the leading Clan Spin choices with Douma and Himejima. If you lack that perk, visit Elara in Mistfall Harbor after completing MoldySugar’s delivery and pay 10,000 Wen for the Black Amigasa. Elara’s inventory changes and refreshes about once per hour, so return later if the hat is missing. Raid captains can also drop the Bamboo Sandogasa, which grants identical immunity.
Treat the Black Amigasa as a temporary solution. Its only benefit is sun protection, with no stat buffs, while stronger hats with useful bonuses appear later.
Rolling a Blood Demon Art and clearing Core Training
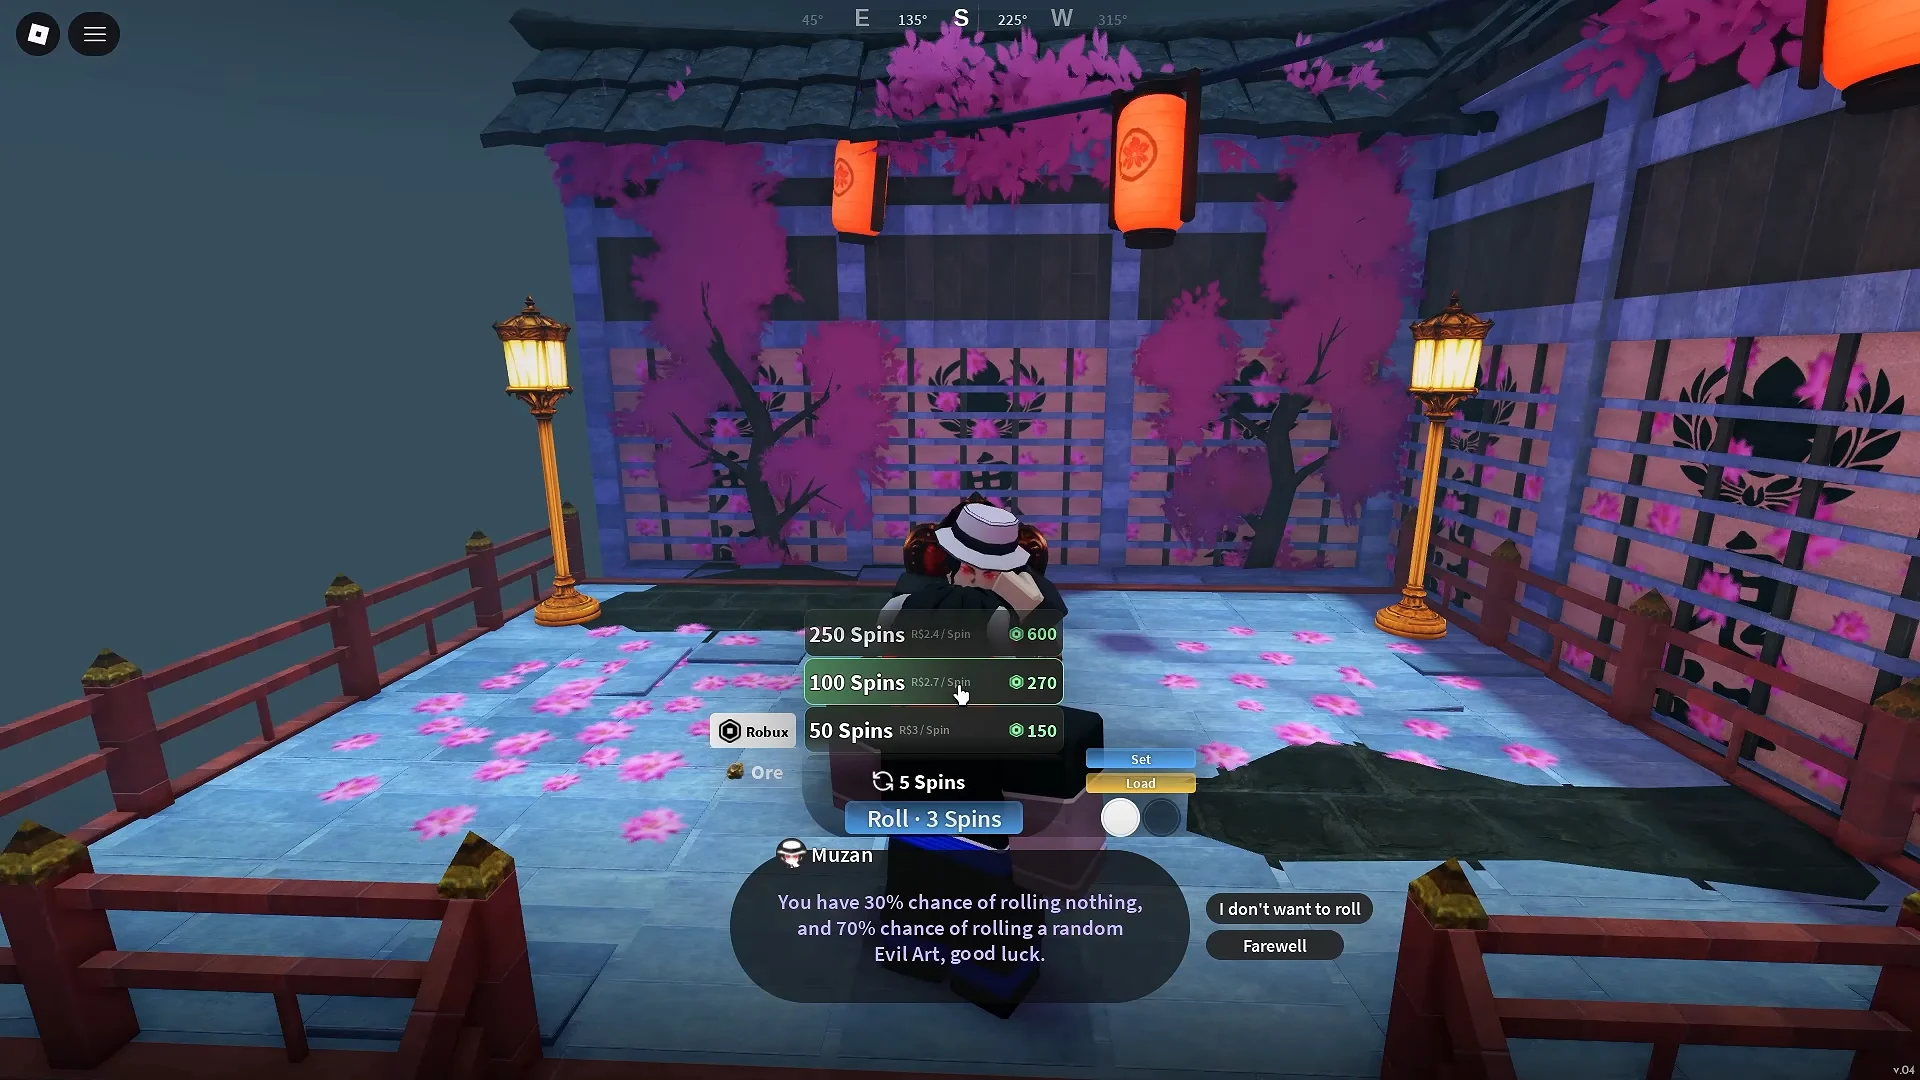
Negative reputation grants reentry to Muzan’s Lair, the place where you roll for Blood Demon Arts. A character begins with five spins, while each roll costs three; consequently, the first pull is free and the second requires more.
Robux is unnecessary. Bosses and chests, including luck chests, can drop BDA orbs, letting map farming replace paid spins altogether. Choosing an orb gives you a randomized quest with markers on the map.
That quest is Core Training, and it varies by art. Cryokinesis runs meditation at the Butterfly Estate, a Boulder Split timing minigame at White Terror Lair, five underwater rock nodes at Bamboo Grove, and five Mizunotos. Shockwave asks for push-ups at the Butterfly Estate gym, barbell squats outside it, a boulder push course, the same Boulder Split minigame, and two Mizunotos. Finish the list and the art unlocks.
Death during the Blood Demon Art quest may erase its progress. Stay away from dangerous battles until you complete the objective.
Next, open the skill tree and purchase its first ability. Unlocking the abilities beyond it depends on mastery, earned by using that art’s techniques during combat. Some arts require no weapon, while others depend on a particular weapon; Blood Manipulation requires a sickle, obtained as a level 52 boss reward, making it a bad choice for a demon just starting out.
Blood Demon Arts ranked for PvE
| Tier | Blood Demon Art | Origin |
|---|---|---|
| S | Blood Sickles | Gyutaro |
| S | Cryokinesis | Douma |
| A | Speed Augmentation | Slasher |
| A | Dream Manipulation | Enmu |
| A | Destructive Death | Akaza |
| B | Combustible Blood | Nezuko |
| B | Arrow | Yahaba |
| C | Flesh Manipulation | Daki |
| D | Temari | Susamaru |
These rankings focus on PvE, the game’s current main activity. When evaluating a roll, prioritize how consistently its primary damage move lands over its theoretical maximum. A reliable art clears content faster than a stronger option demanding perfect setup, and rerolling solely because an art is popular generally spends more resources than it saves.
Demon progression and soul farming
Demon progression runs independently of character level and supplies much of your passive strength. Slayers increase their comparable stat with purchased gourds, whereas demons gain it by killing NPCs and collecting the souls left behind. To view the bar, press M, choose Player Info, and select Progression.
| Soul type | Dropped by | Progression value |
|---|---|---|
| Weak Soul | Low-level NPCs | Smallest gain |
| Strong Soul | Tougher NPCs | Moderate gain |
| Brave Soul | Hashira-tier NPCs | +25 |
The meter reaches its cap at Level 4, with every level adding buffs and passive abilities. Remember two ways to avoid wasted effort: demon kills award no souls, so target human NPCs, and save 2x Soul boosts for boss sessions instead of spending them on ordinary mobs.
Demon leveling route to 125
After becoming a demon, your quests diverge from the slayer progression. The quest givers listed below each serve a particular level range. If you forget where to go, open the map with the Book of Guidance and enable Recommended Quest; it will identify the next glowing NPC.
| Levels | Quest giver | Location | Targets |
|---|---|---|---|
| 1–10 | Krue | Starter area | Bandits |
| 10–26 | Tom | Starter area | Bear cubs, Mother Bear |
| 26–40 | Chaka | Starter area | Kaiden subordinates |
| 40–62 | Wagwan | Bamboo Grove cave | Hoyozu quests |
| 62–75 | Shady Individual Rooyi | Mistfall Harbor | Mizunotos |
| 75–90 | Demon Mokuro | Behind Butterfly Estate waterfall | Assorted hunts |
| 90–105 | Demon Delroy | Iceveil Valley | Kanoe slayers |
| 105–125 | Demon Slayer Mitsu | Iceveil Valley | Frost and Blaze demons |
Between level-range quest groups, review Muzan’s task menu. Nearby trainee slayer targets provide fast EXP while driving your reputation even lower. You should also complete the starter-area quests at least once with any race, because several unlock shrines and additional progression systems.
The Iceveil Valley restocking quest for level 100+
Once you pass level 100, regular quests become very slow, leaving one repeatable errand to finish the climb. Use fast travel to reach the Frost Veil Shrine in Iceveil Valley, accept Iceveil Guard Shiro’s restocking task, purchase the requested health elixirs in Mistfall Harbor, and return them. At that level, each turn-in awards more EXP than most combat quests.
Level 125 and up: Muzan’s bounty missions
When you reach the cap, use the Biwa Bell to accept Muzan’s high-tier elimination work. These bounties target bosses including Rengoku, Shinobu, and Akaza. Since further levels are unavailable, the reward is mastery; repeating the jobs is the fastest way to build weapon and Blood Demon Art mastery for the remaining skill tree.
Demon weapons and the bosses that drop them
Demons use a separate weapon selection rather than breathing-style katanas. The normal choices are Sickles, Claws, and the Spear, while the Bladed Wagasa umbrella stands out by combining strong combat numbers with sun immunity. Kaiden drops Claws, making them the simplest early upgrade while following Chaka’s quests.
Hoyuzo: Sickles and Sickles V2
Inside the waterfall cave in Iceveil Valley, Hoyuzo the Sickle Reaper drops the Sickles and related gear, with those drops beginning at about level 52. This is the boss you need if Blood Manipulation was your roll, since the art otherwise cannot be used. Repeated clears supply the Sickles V2 upgrade and refinement materials; Damascus Sickles have about a 7% drop rate, so plan on multiple attempts.
Fujiko: Bladed Wagasa
Fujiko is fought out near the Butterfly Estate and Final Selection Plains. Beating her yields the Bladed Wagasa umbrella and the Shade Breaker move. Because the umbrella handles sunlight by itself, it retires the Black Amigasa and frees your hat slot for something with actual stats.
Ultimate move bosses by Blood Demon Art
| Boss | Where | Reward |
|---|---|---|
| Hoyuzo | Bamboo Grove cave | Sickles, V2 materials |
| Yahari | Below Hoyuzo, night only | Arrow ultimate |
| Sumari | Torii gate bridge, night | Temari ultimate |
| Reaper | Behind Sumari | Reaper’s Scythe, Sonido Surge |
| Dabi | Cave near the gate | Obi Manipulation |
| Gyutai | Cave near the gate | Blood Manipulation |
| Domae | Iceveil Valley houses | Ice Demon Art, War Fans, outfit set |
| Akazo | Past the Wind Trainees, Iceveil Valley | Shockwave ultimate |
| Nezura | Final Selection Plains | Blood Rupture ultimate |
Several of these spawn only at night, Domae and Yahari included, so plan a run around the day cycle rather than fast-travelling in blind. Domae is a long fight with heavy crowd control and multiple drop tables — the Black Dragon Armour, the Legendary War Fans, Domae’s Top and Bottom, and the Black Lotus Crown all come out of repeat kills.
Ouigahara Dungeon and V2 weapons
V2 weapons are made in the Ouigahara Dungeon, but access must be unlocked. Locate the Blacksmith in Hidden Mist Village and complete his questline; the standard dungeon will then appear as an option in the main menu. For endgame demon armor, the Duelist set is the best match. Inside Hidden Mist Village, Refiner Hagane upgrades weapons and fighting styles to +7 with Refinement Ores and Yen.
The endgame routine is deliberately compact. Farm souls until demon progression reaches Level 4, continue accepting Muzan’s bounties to earn mastery, and run Hoyuzo together with the Ouigahara Dungeon until the weapon reaches V2. A completed demon character has all three of those progression lines maxed simultaneously.





