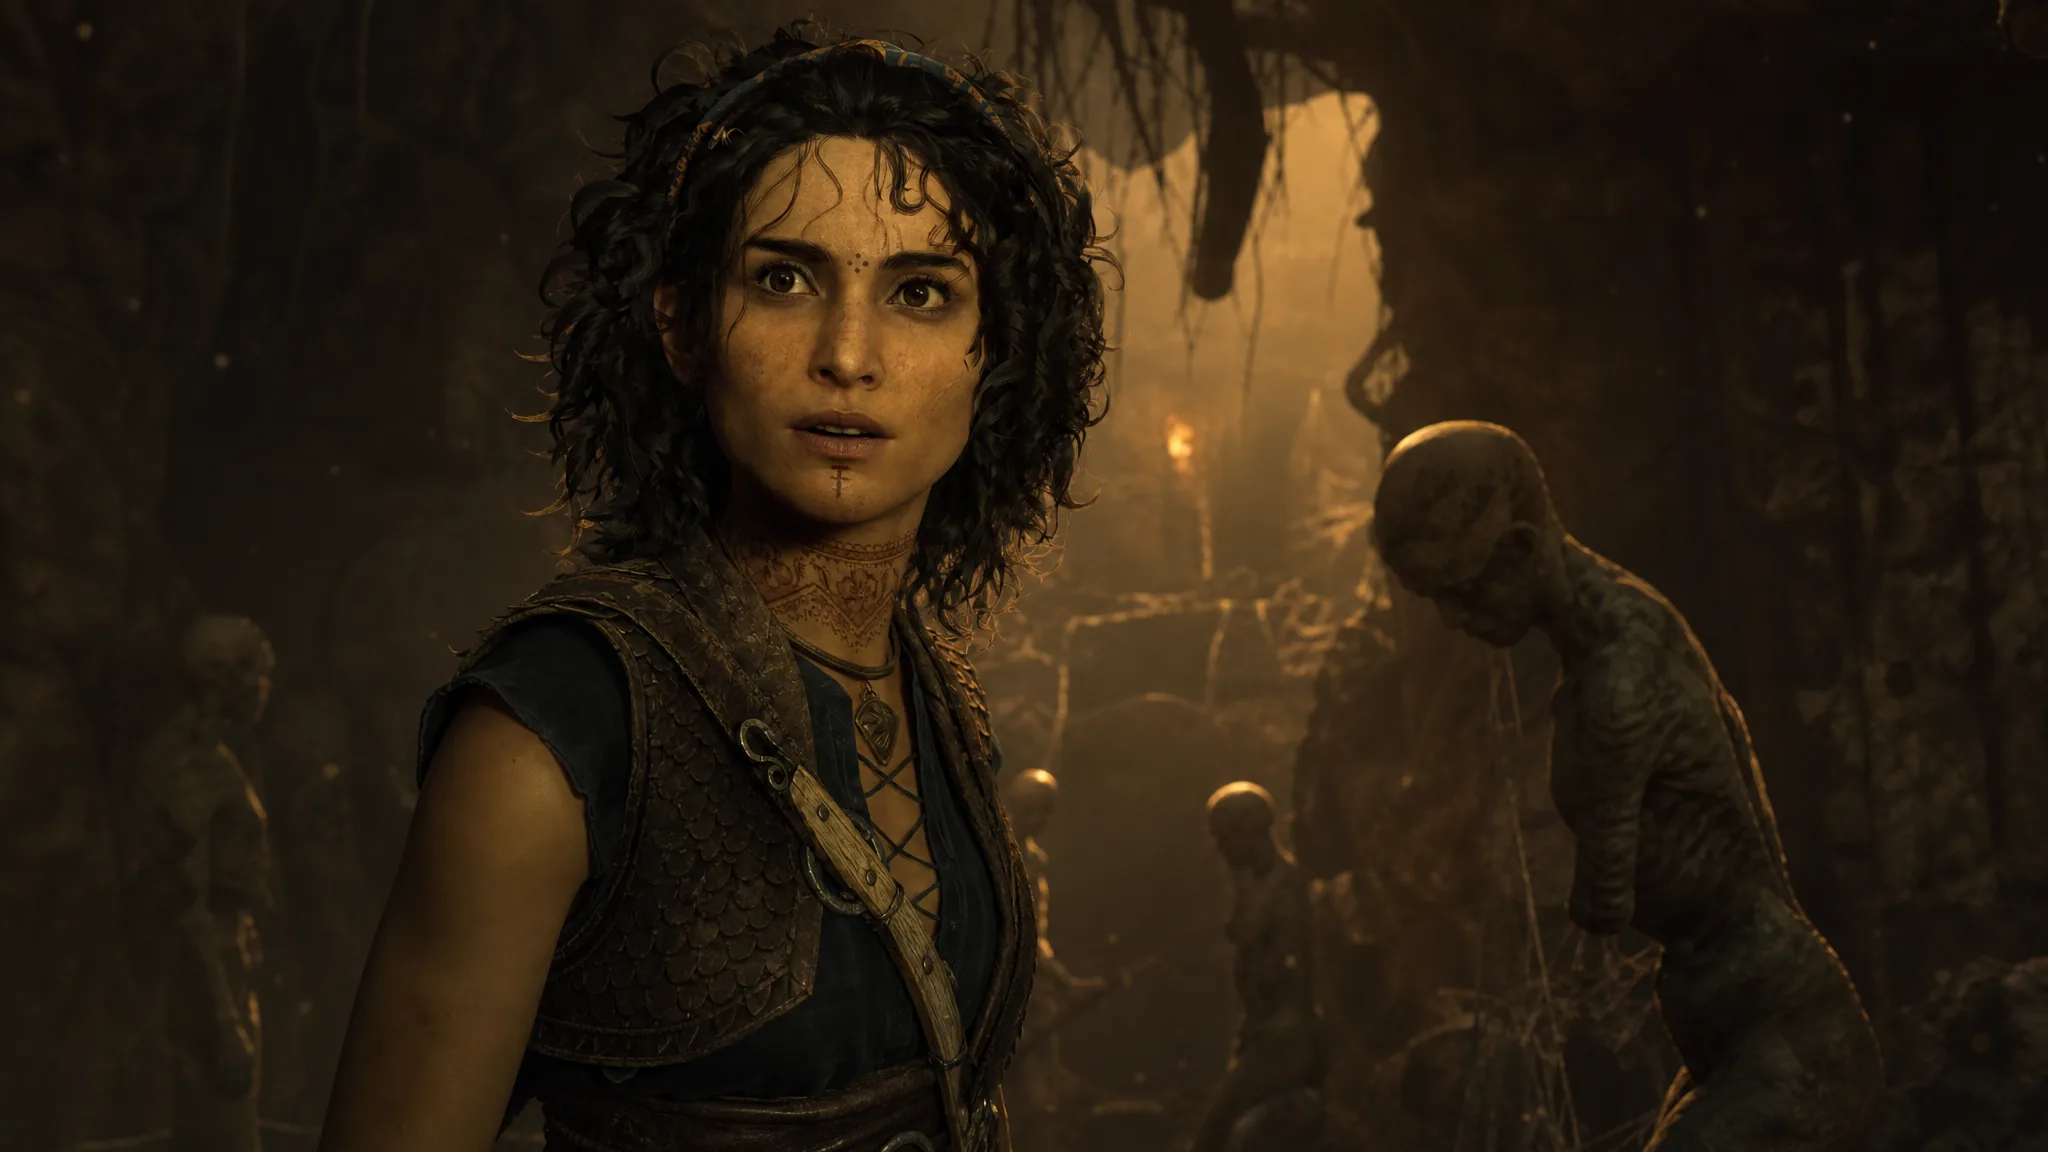
Chapter 4, From Hell It Rose, drops Sophia and Leni into the First Trial, and it is the most puzzle-heavy stretch of the game so far. Almost every locked door hinges on the Key Sphere’s Light Reveal ability, which exposes hidden blue markings that tell you which symbols to input or which tiles are safe to stand on. Below are the solutions for all five puzzles, in the order you meet them.
Quick answer: Use the Key Sphere’s Light Reveal on hidden marks to trace each pedestal to its symbol. The first door takes the Y shape, C shape, and upward arrow (left to right); the maze pedestals take the bug/insect symbol on the left and the T-like symbol on the right; then follow the revealed safe tiles across the spike rooms and match the arena’s three two-symbol codes with the mirrors.
Get the Key Sphere’s Light Reveal ability
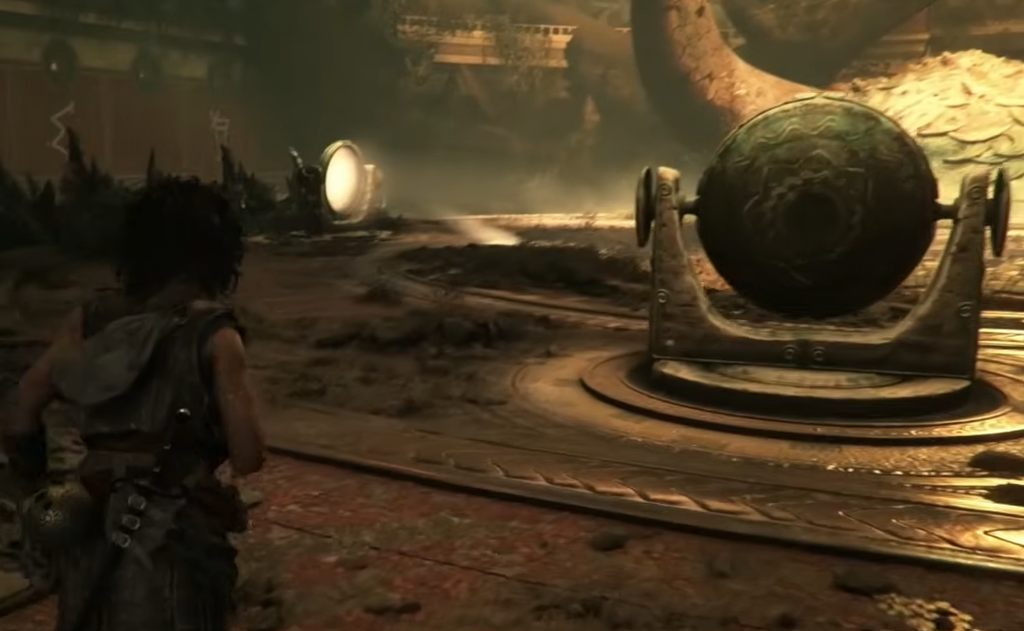
Before any puzzle, you need the tool that solves them. After reaching the Trial’s entrance and clearing the soldiers at the door, step inside and interact with the gilded pedestal. Sophia slots the Key Sphere into it, unlocking Light Reveal. From this point on, shining the Sphere’s light on hidden marks makes them glow blue, and every symbol and safe-tile puzzle in the chapter depends on it.
First door: symbol pedestals
The first locked door sits in a room with three pedestals. Each pedestal has a hidden blue track that runs across the floor and up the wall to a specific symbol. Shine Light Reveal to expose those tracks, then follow each one to its matching symbol so you know what to rotate into each pedestal.
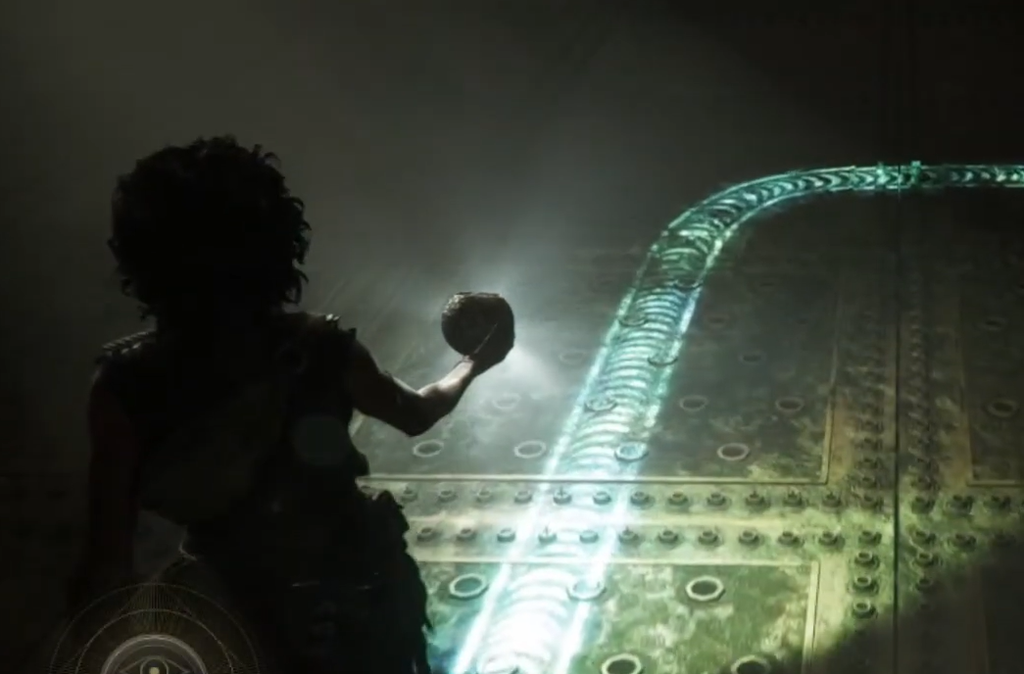
The door opens once all three are set, letting you continue deeper into the Trial.
Second door: mirror light puzzle
Further in, you reach a second locked door guarded by a light puzzle. The goal is to bounce a single beam through a set of steel wall frescos until it hits the golden dial on the door. Blocks hanging from chains get in the way, so you have to route around them.
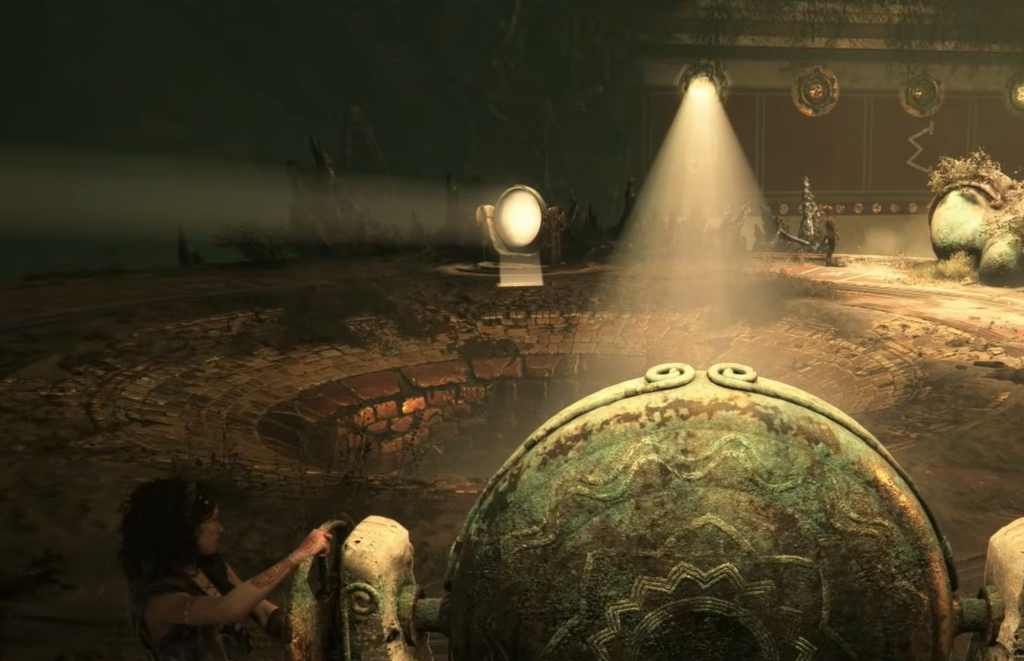
When the beam reaches the dial, the door unlocks. Keep right after it opens and clear the two soldiers at the next door.
Third door: maze pedestal symbols
This room has two pedestals and a circular maze of runes on the floor. There are five runes in the ring, each carrying a symbol you can read with the Sphere’s light. A hidden glowing line connects each pedestal to exactly one rune, and that rune is the symbol you input.
Trace both lines with Light Reveal to confirm them yourself, or use the inputs below.
| Pedestal | Symbol to input |
|---|---|
| Left mechanism | The bug/insect symbol — an oval with four lines sticking out of it |
| Right mechanism (facing the gate) | The T-like symbol |
Interact with each dial and rotate the Sphere until the symbol seats in the top slot with the golden arches. Once both are set, the walls beside the opening light up with a trail of fire, confirming the puzzle is solved. Be ready for a fight the moment it opens, including a Brute-level enemy, before you can move on.
Spike trap crossings
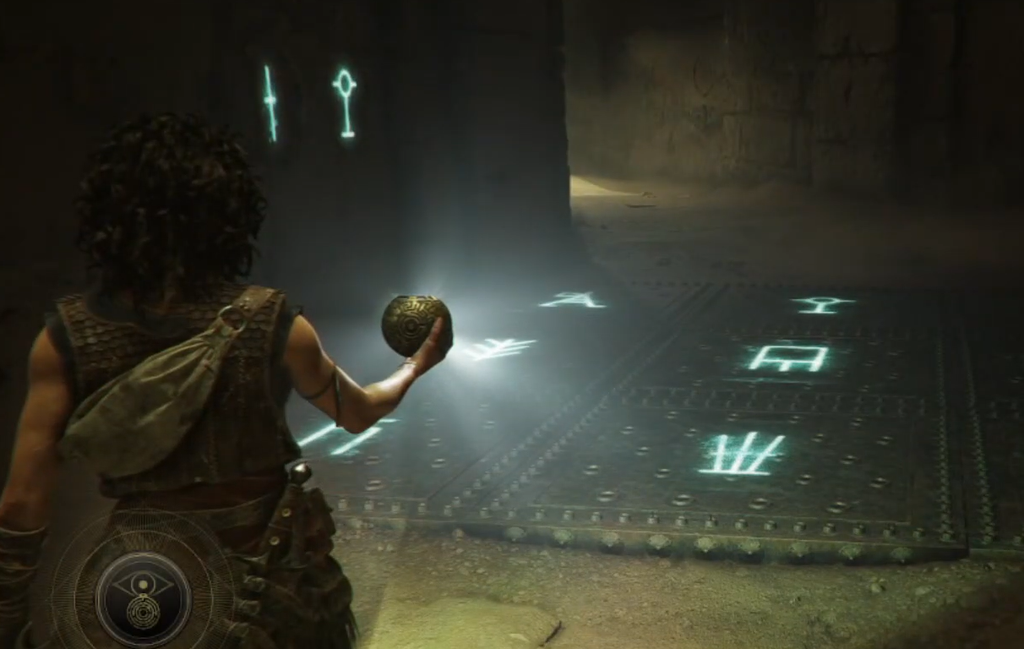
Next comes a series of spike-trap rooms. Reveal the “safe” symbols on the walls with Light Reveal, and those are the only tiles you can stand on without being skewered. Sophia also notes them in her book, so you can check them again mid-puzzle. The first stretch is split into three short sections.
| Section | Safe route |
|---|---|
| First | Walk a straight line starting from the left plate. |
| Second | Start on the right, walk two tiles up, then turn left and continue up. |
| Third | Slot the Sphere into the two-triangles symbol socket. |
After that, you enter a much larger room filled with spikes. On your left you can grab the Horned Rhyton Relic of the Past. Jump down, interact with the rock slab, and Leni takes the glass mirror. As long as her light is on you, the Sphere reveals a safe blue path through the spikes. Follow it to the far door, then help Leni across.
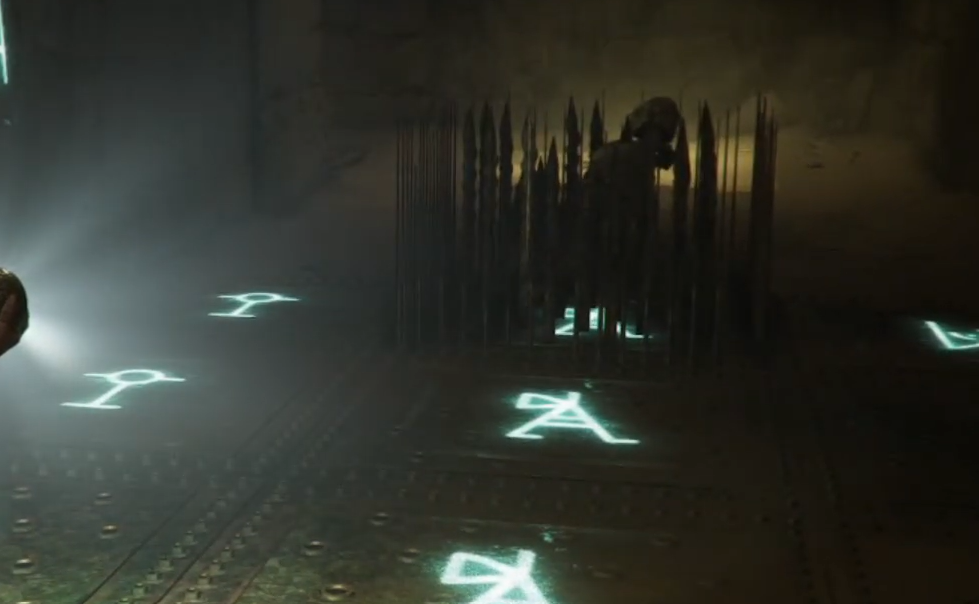
The revealed light gets blocked in places, so count how many tiles each safe stretch covers before it cuts out and keep moving in that pattern.
Beyond this, spikes drop from above along a corridor, so sprint through them. You will reach a skull statue; use its pedestal to open a trap door, head down to the tomb, and take the Kopis weapon from the coffin before crawling through the gap behind it. Further on, a room with more spikes and two levers appears. Pull your lever, kill the soldiers who show up (the grapnel makes quick work of pulling them off ledges), and Leni’s lever will finally trigger the exit.
Arena finale: the Minotaur code puzzle
Interacting with the next pedestal lowers a platform, and Sophia has a vision of Theseus. Play through the Arena fight as Theseus, survive the warriors, and the vision ends. Back with Leni, you face the final puzzle in front of the mechanical Minotaur.
The puzzle uses three codes, each made of two symbols. You read the codes off the floor, then aim the arena’s mirrors so they light the matching symbols on the surrounding walls. Every completed code lowers part of the Minotaur.
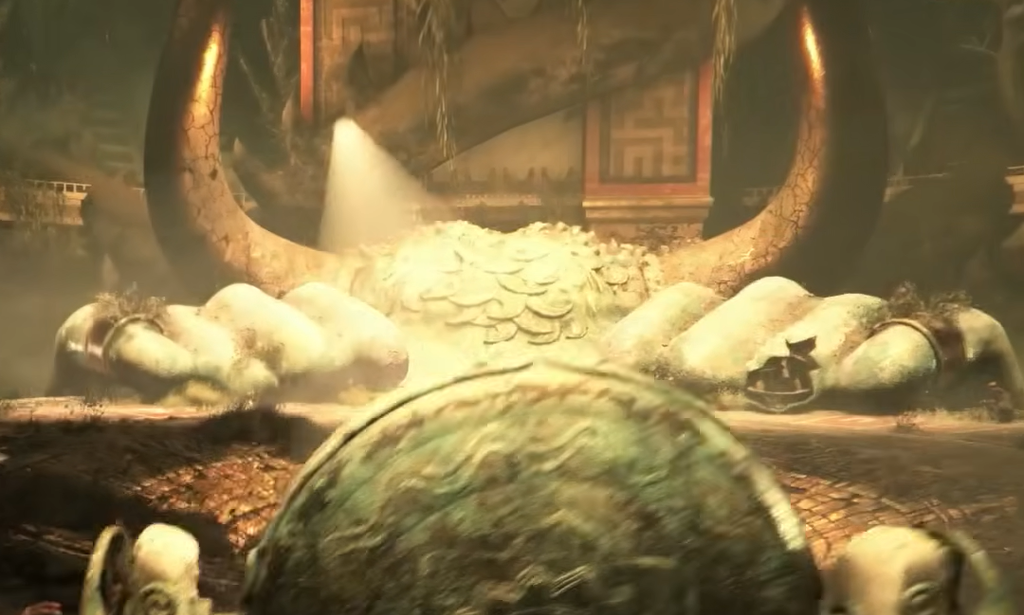
Once all three codes are entered, the Minotaur’s head lifts and a new door rises. Place the Sphere on the pedestal that appears, then clear the ambush of soldiers using Theseus’s abilities. Interact with the pedestal again, walk the new path into the Minotaur’s head, and open the door at the end.
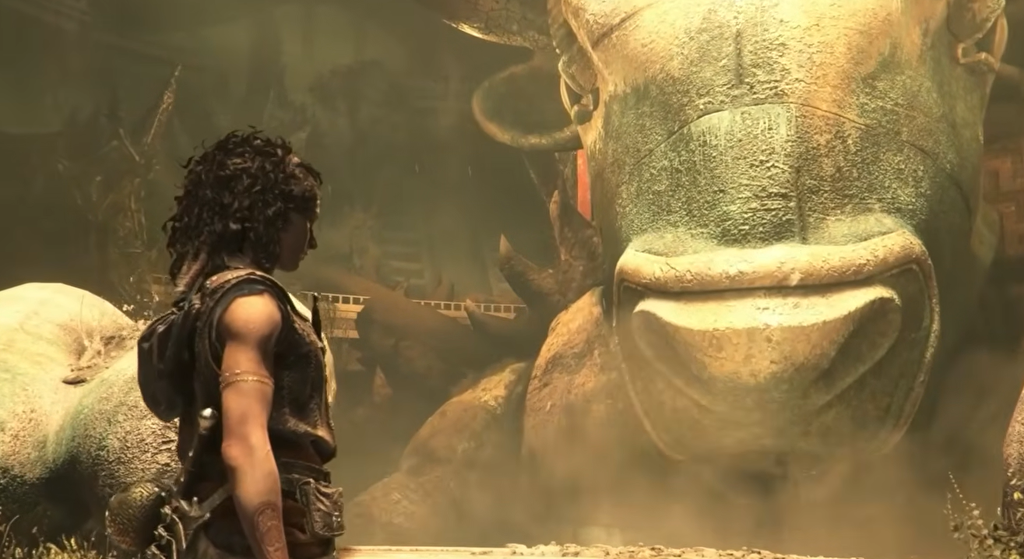
From there, take the boat across the water and interact with the strange sphere ahead. The last door opens, and pushing the large sphere along its railing brings Chapter 4 to a close.