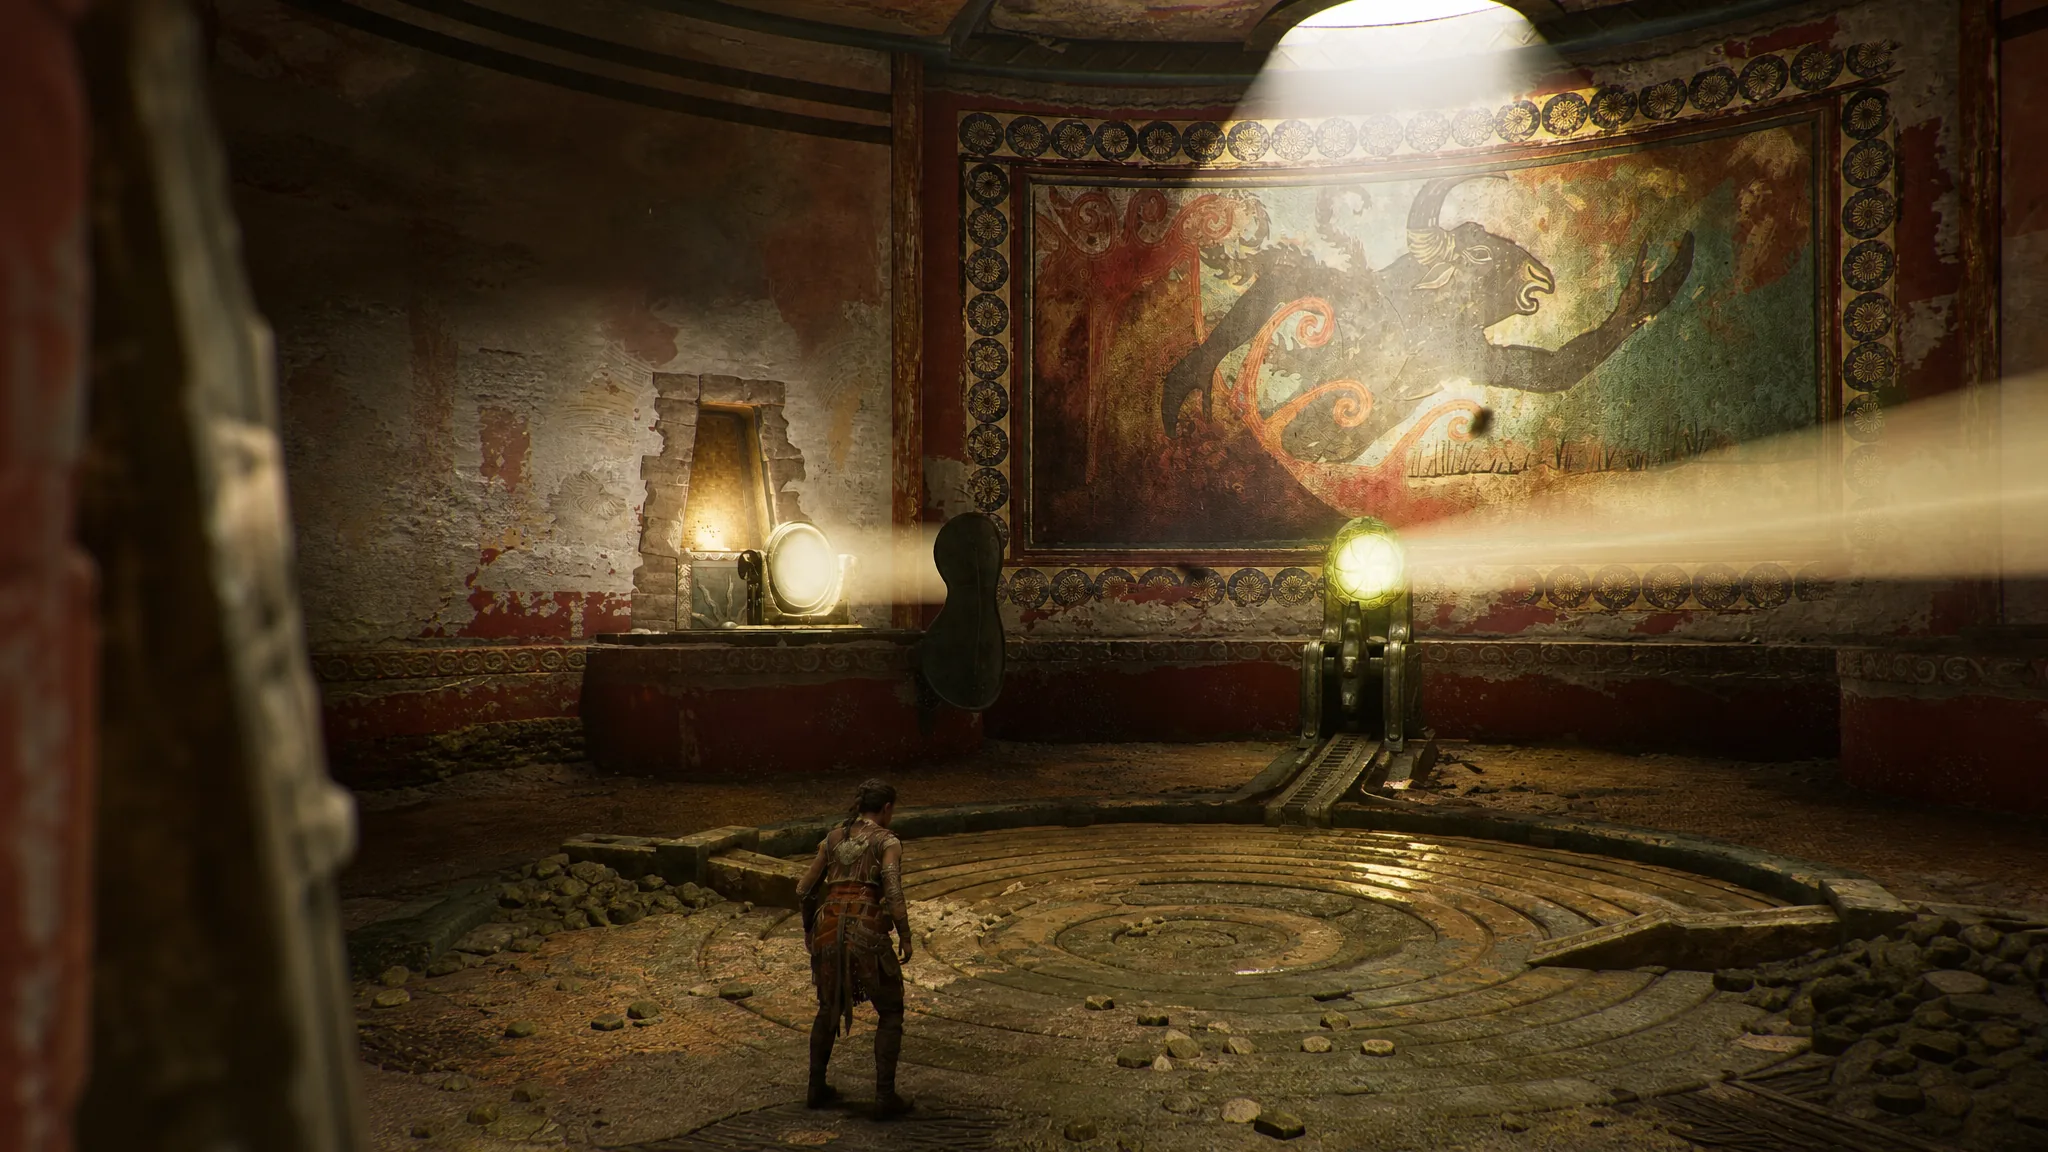
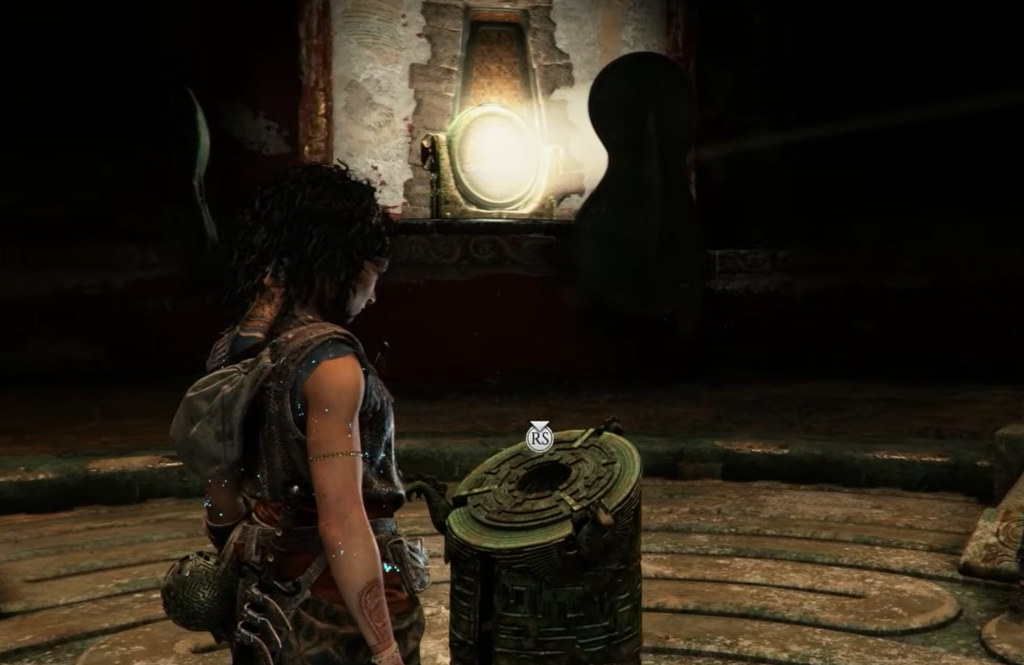
Deep inside the mountain in Chapter 3, Those Before Us, Sophia and Leni reach a dark room built around a sphere pedestal and a set of movable light lenses. The platform in the middle is held shut by three latches, each tied to a golden dial on the walls. You open the latches by aiming beams of light onto those dials, then insert the sphere to send the platform down.
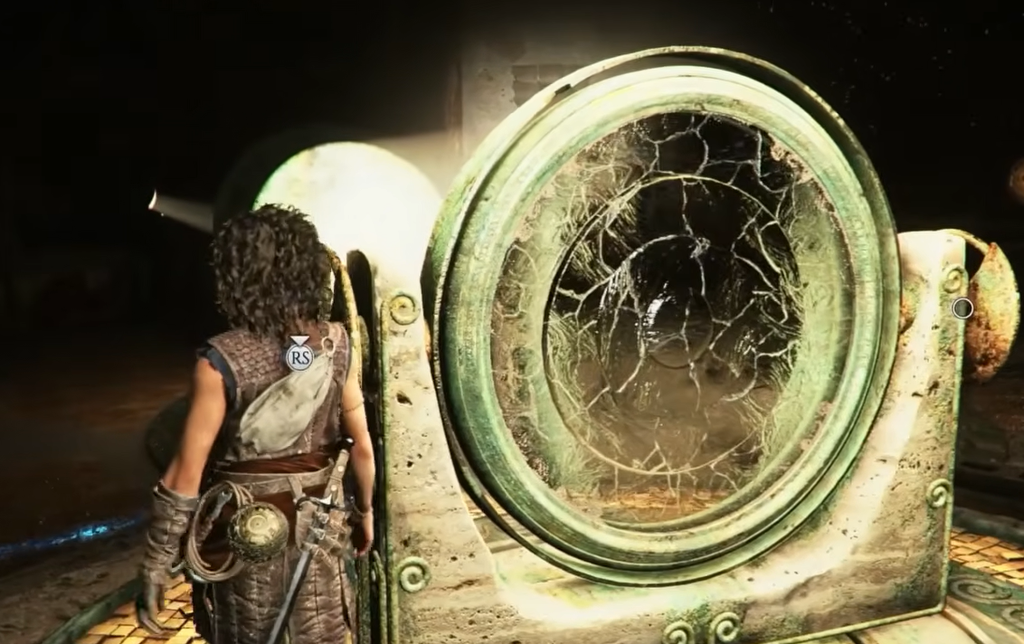
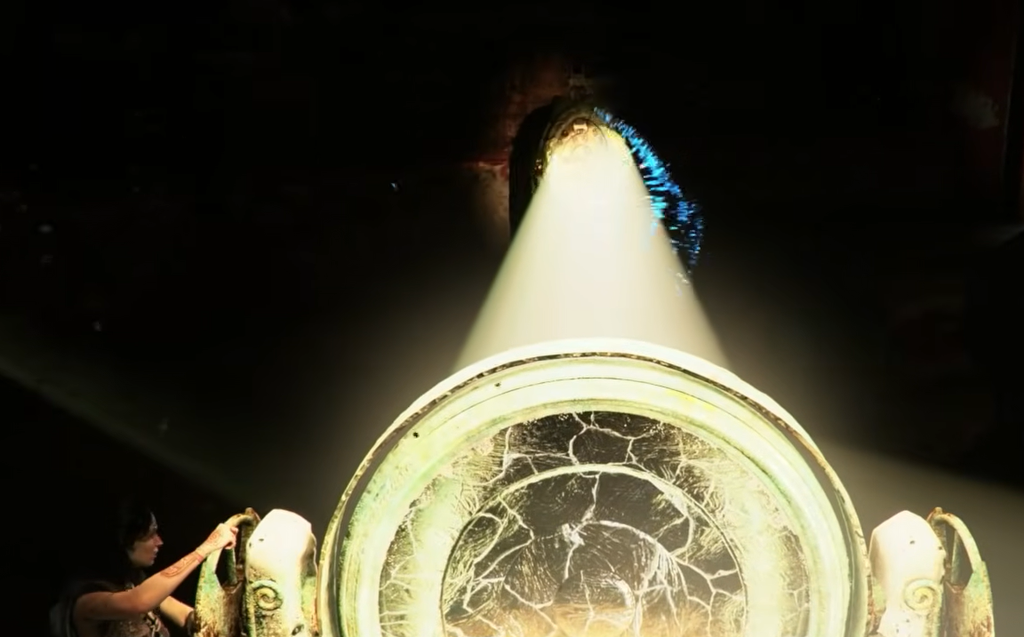
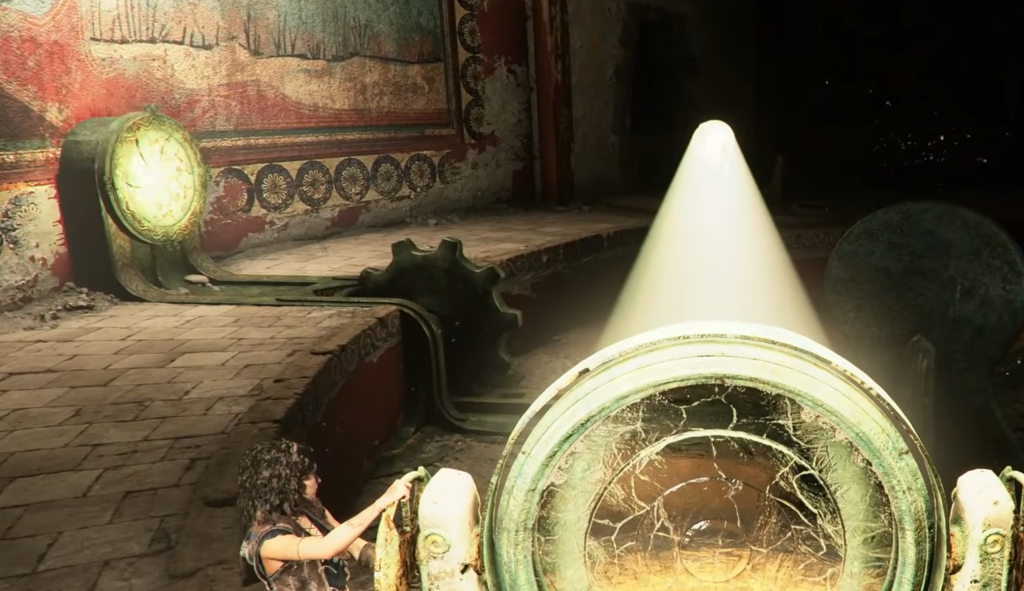
Quick answer: Aim the lens right of the pedestal at the front-center dial to open latch one, rotate that same beam left into a second lens and point it at the left wall dial for latch two, then raise the broken lens in the northeast corner with Leni and shine light into it to hit the final dial for latch three. Insert the sphere into the pedestal to lower the platform.
How the latch puzzle works
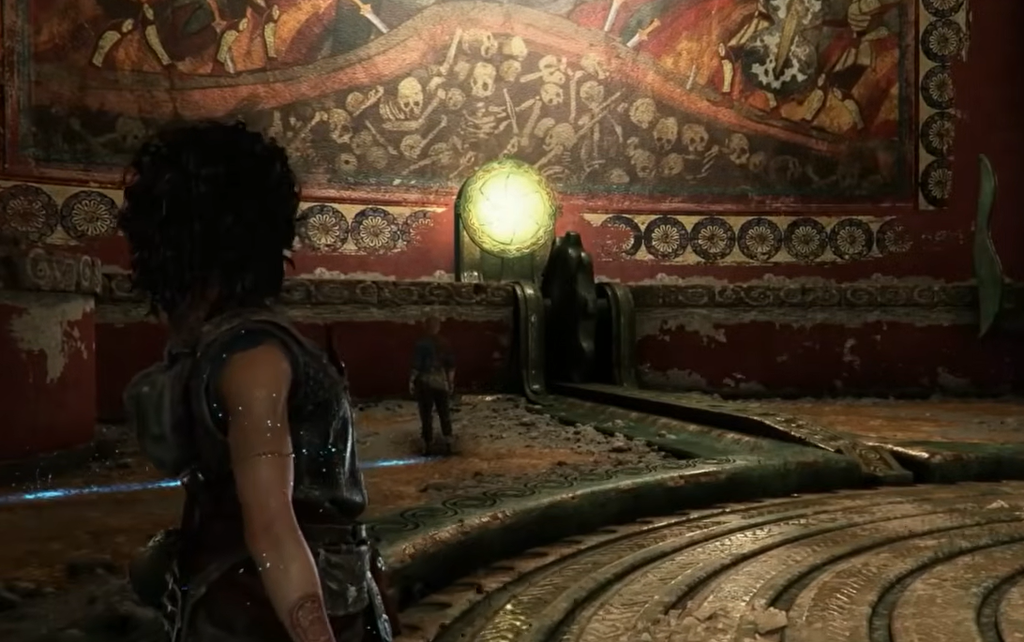
The room is lit by a single source that passes through large glass lenses. You pick up and rotate these lenses to redirect the beam. Every golden dial you fully light unlocks one latch and reveals a fresco on the wall. Once a dial is lit, the latch stays open, so you are free to grab the same lens again and use it for the next part of the sequence.
Not every lens has a clear line to a dial. Two of the three latches need you to bounce the beam from one lens into another before it can reach the wall. Work through the latches in the order below and the chain stays simple.
Latch one: front-center dial
Latch two: left wall dial
Latch three: broken lens and the final dial
Note: Keep Leni steady on the broken lens while you adjust the beam. The final dial only charges once the light passes cleanly through the propped-up glass and lands on the wall.
Insert the sphere and descend
With all three latches open and all three frescoes revealed, walk back to the sphere pedestal in the middle of the room and insert the sphere. The platform then begins to descend deeper into the high temple.
At the bottom, unlock the door ahead to continue. That closes out Chapter 3, Those Before Us, and moves you into Chapter 4, From Hell It Rose.
Latch order at a reference glance
| Latch | Lens to use | Target |
|---|---|---|
| One | Lens right of the pedestal | Front-center golden dial |
| Two | Same lens rotated left into the pedestal’s left-side lens | Left wall golden dial |
| Three | Corner lens shining into the broken lens Leni holds | Final golden dial |
If a dial refuses to charge, check that the previous beam is still feeding the correct lens and that nothing is clipping the line of light. Because each latch stays open once lit, you can freely re-grab a lens without losing progress, which makes the second and third latches easier to line up on a second attempt.