Chapter 3, “Wardens of the Aquapolis,” takes place at the Water Shrine in the Olderion Federation. After Waterfall Way, travel there from the Town of Amore. The objective appears first as “Go to Warden’s Cape”, changes to “Go to the Water Shrine”, and updates inside to “Go deeper into the Water Shrine”.
Interactive map: Water Shrine map
Quick answer: Exit the Town of Amore through the north gate and travel west, then north, to Warden’s Cape, where a bridge rises to the shrine. Activate all three seal pedestals, then take Area 1’s lamp-lit lift down to B2.
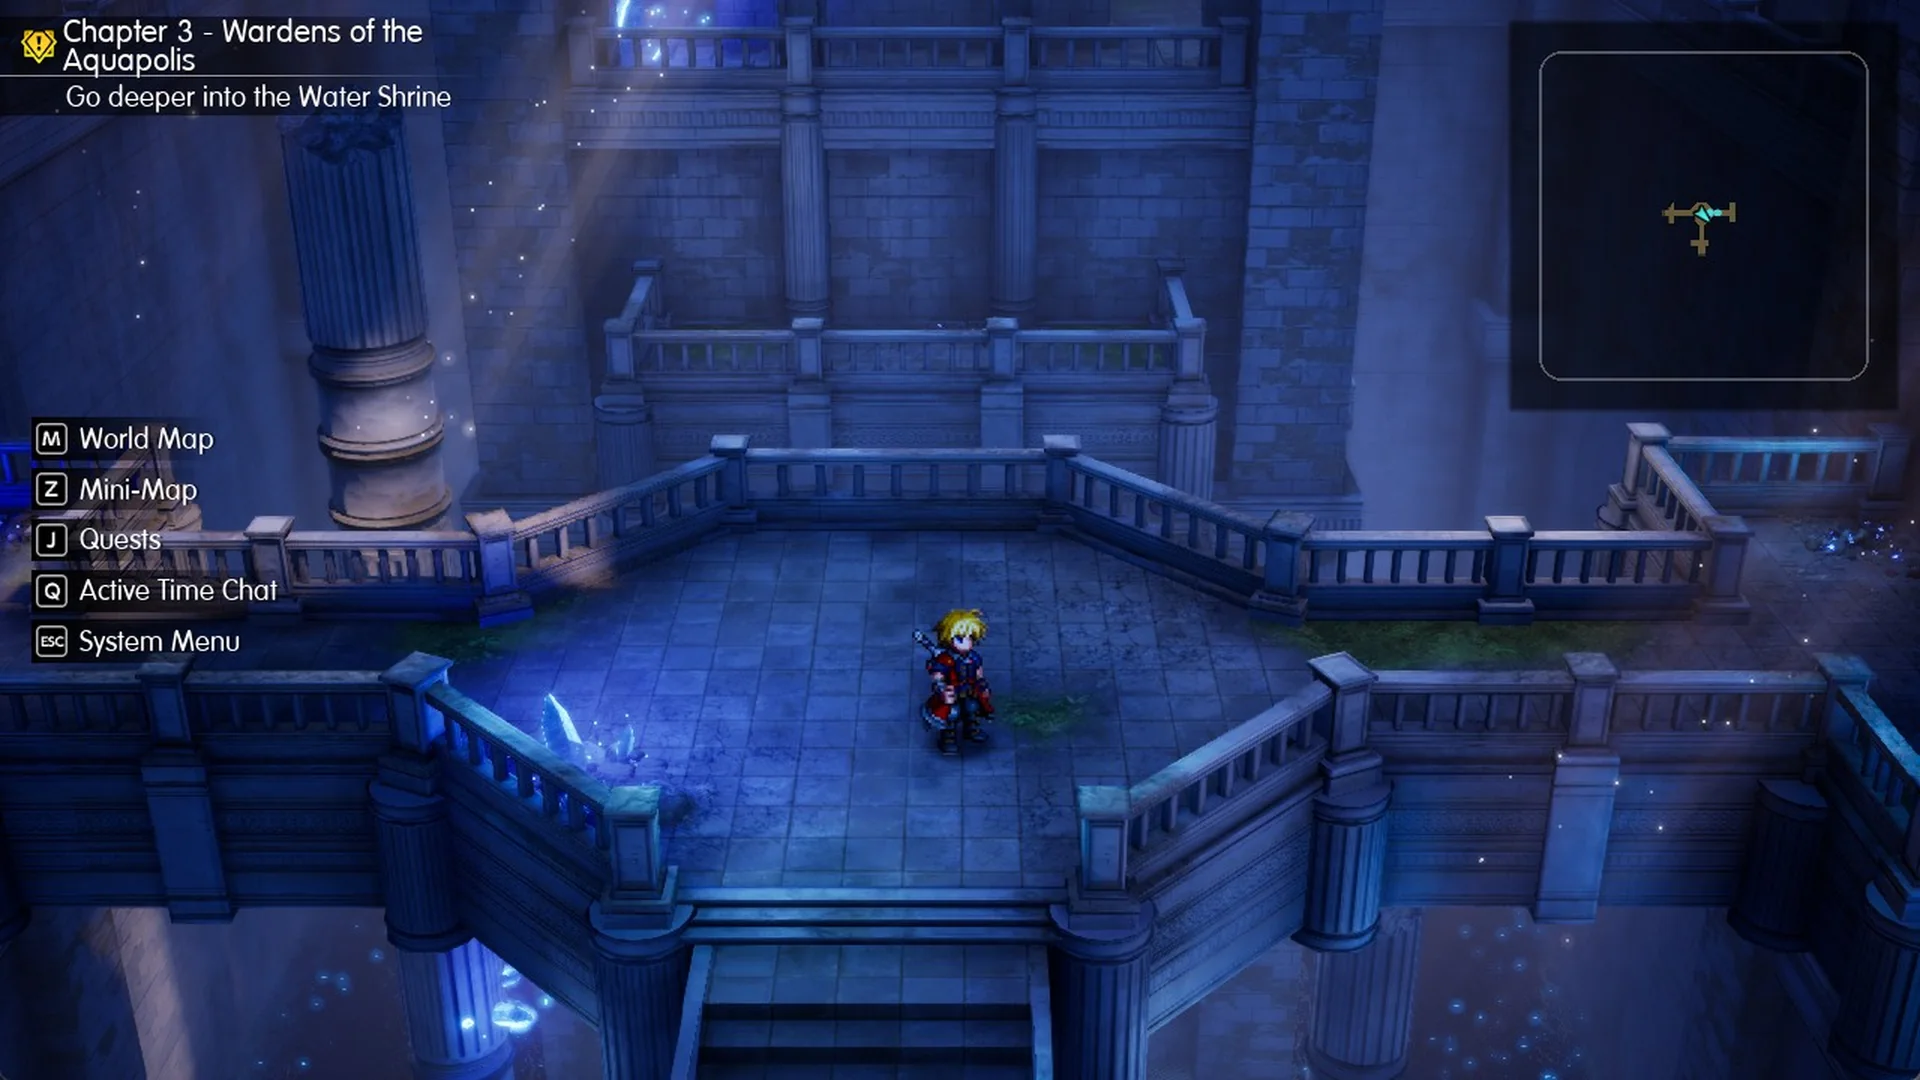
The shrine door shows “Recommended Level 26”. The layout centers on a shaft, Area 1, with side areas branching off it. Area 5 is a raft hall that leads to three water lanes in Area 3. Area 4 is a flooded channel with a crate puzzle, and Area 2 sits off the basement. Each of Area 3, Area 4 and Area 2 holds one seal pedestal. A pedestal can be pressed once, and each one changes something in Area 1. Save points are in the entrance hall and on B2, right before the boss.
| Where | What is there |
|---|---|
| Entrance hall | Save point (Save progress, Rest in a tent) |
| Area 1 1F | Arrival; ladders down to B1; west doorway to Area 5 |
| Area 5 | Raft hall; three channels to the Area 3 lanes |
| Area 3, left lane | Seal pedestal (lowers Area 1’s central floor) |
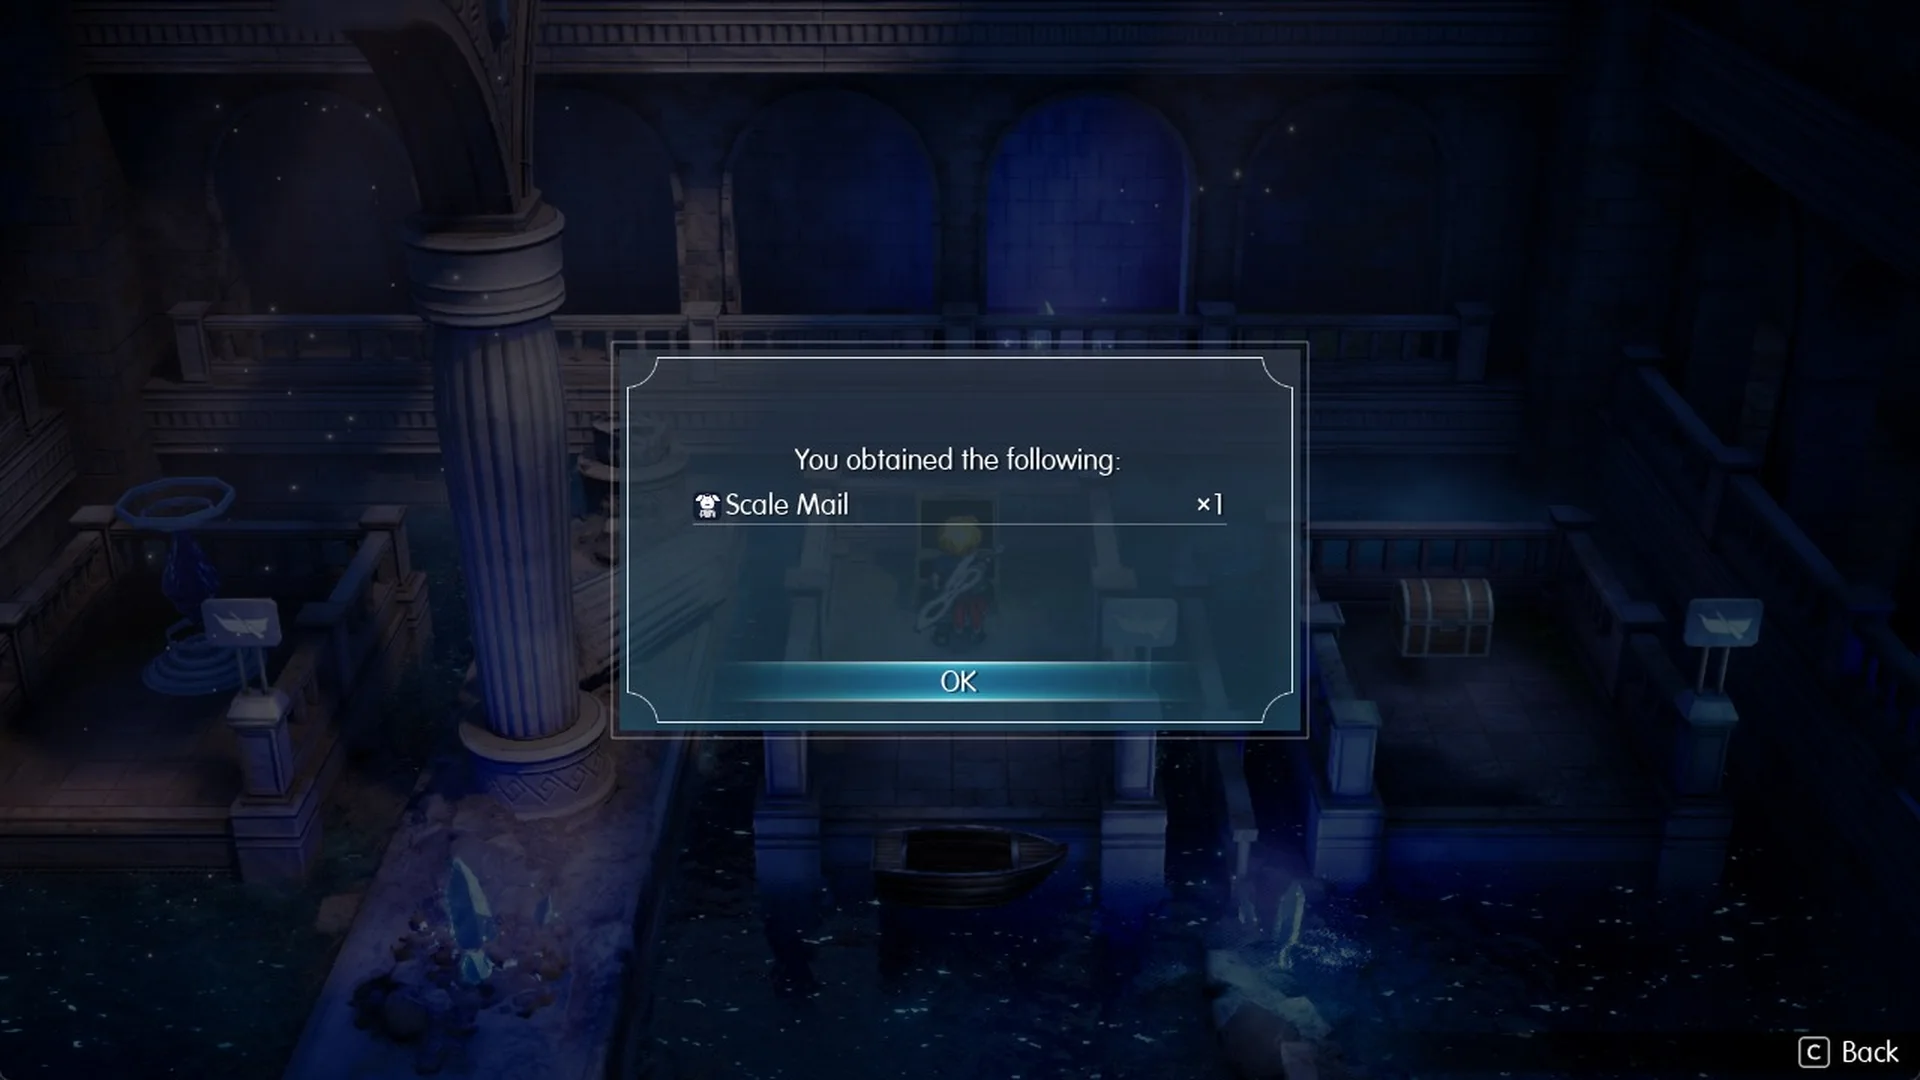
| Area 3, middle lane | Chest: Scale Mail |
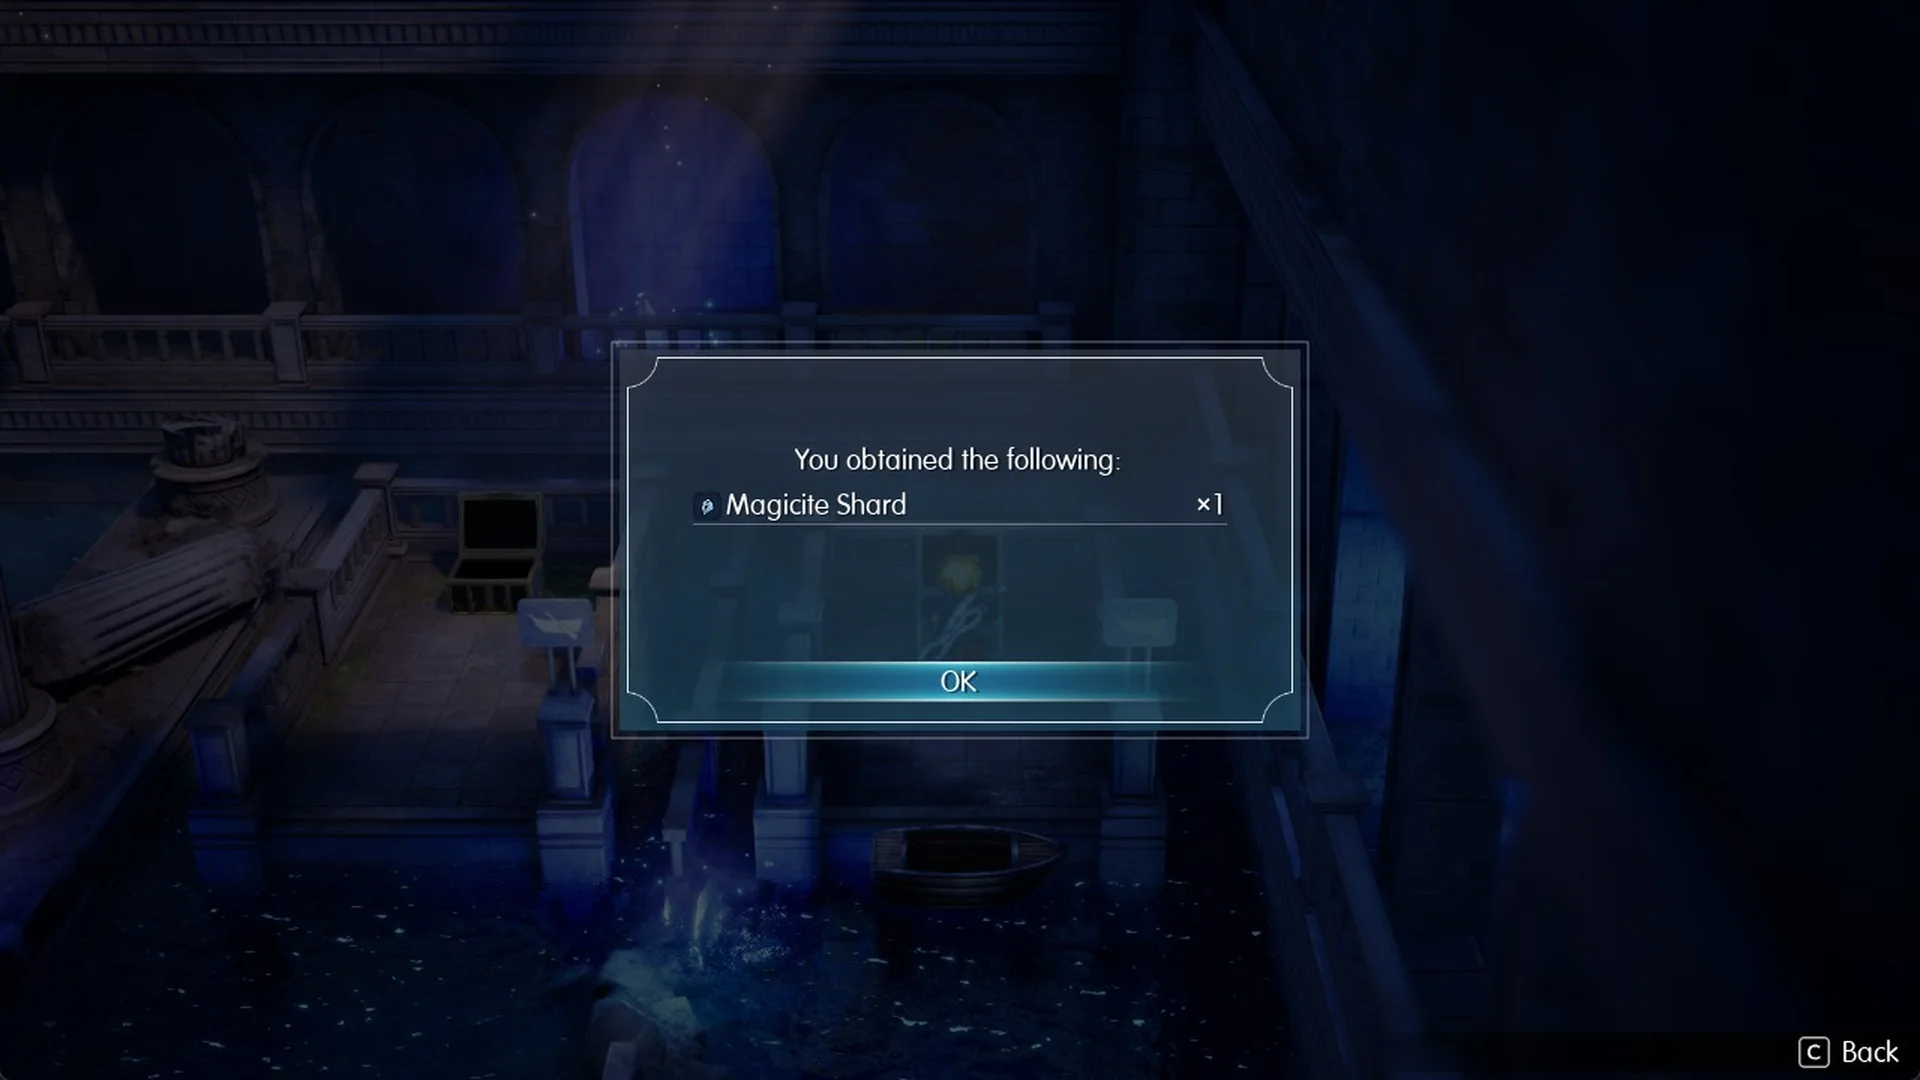
| Area 3, right lane | Chest: Magicite Shard |
| Area 1 B1 | Doorways to Area 4 (east) and Area 2 (west); north arch (drained by the Area 4 seal); Tablet Shard by the north arch |
| Area 4 | Water switch; crate puzzle; chests: R’lyeh Text, Lightning Scroll I x3; seal pedestal |
| Area 2 | Viridian Pot (optional); third seal pedestal; chests: Piercing Mace, Calm Armlet; Tablet Shard |
| Area 1 lower level | Tablet Shard; octagonal lift with four lamps down to B2 |
| Area 1 B2 | Save point (Save progress, Rest in a tent, Teleport); north arch to Alluvion |
How to get to the Water Shrine from the Town of Amore
Once you spend the night at the Amore inn, your objective becomes “Go to Warden’s Cape”. Before setting out, buy Phoenix Downs and Ethers from the Town of Amore shops.
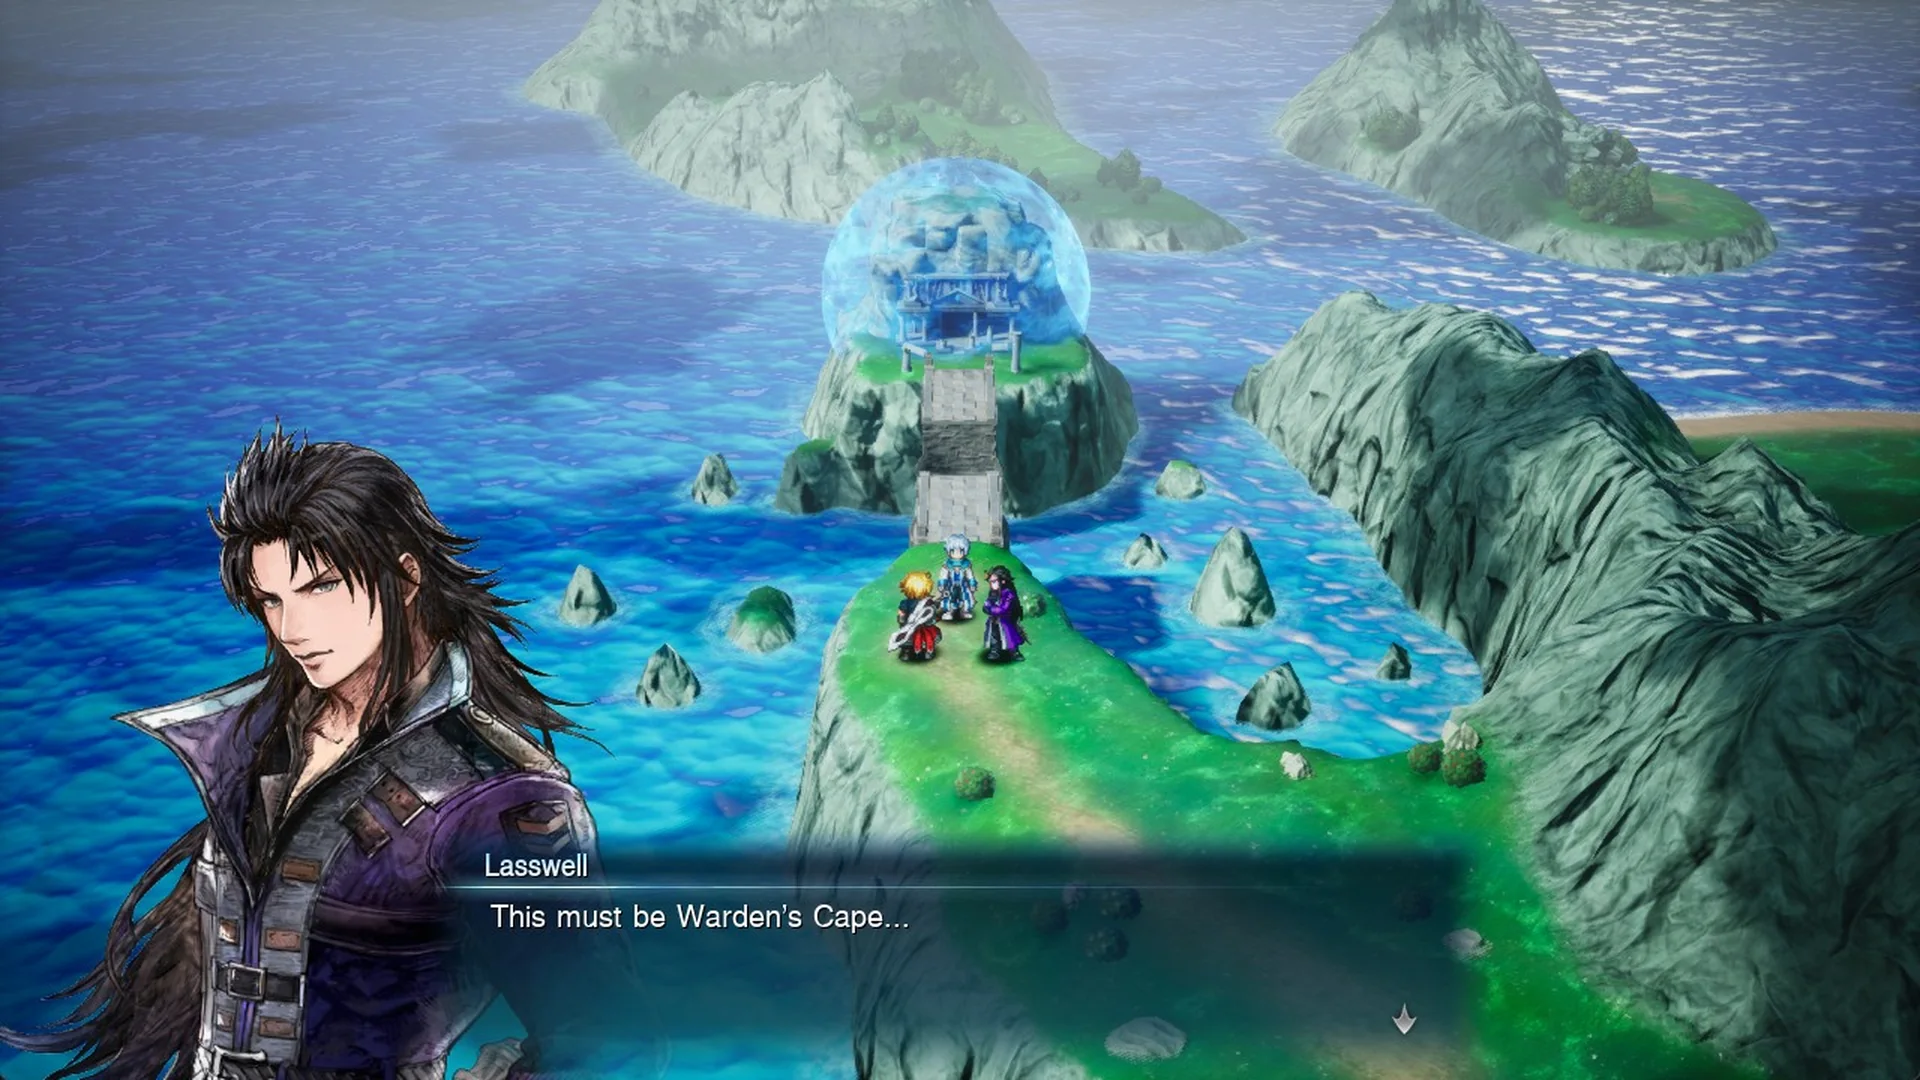
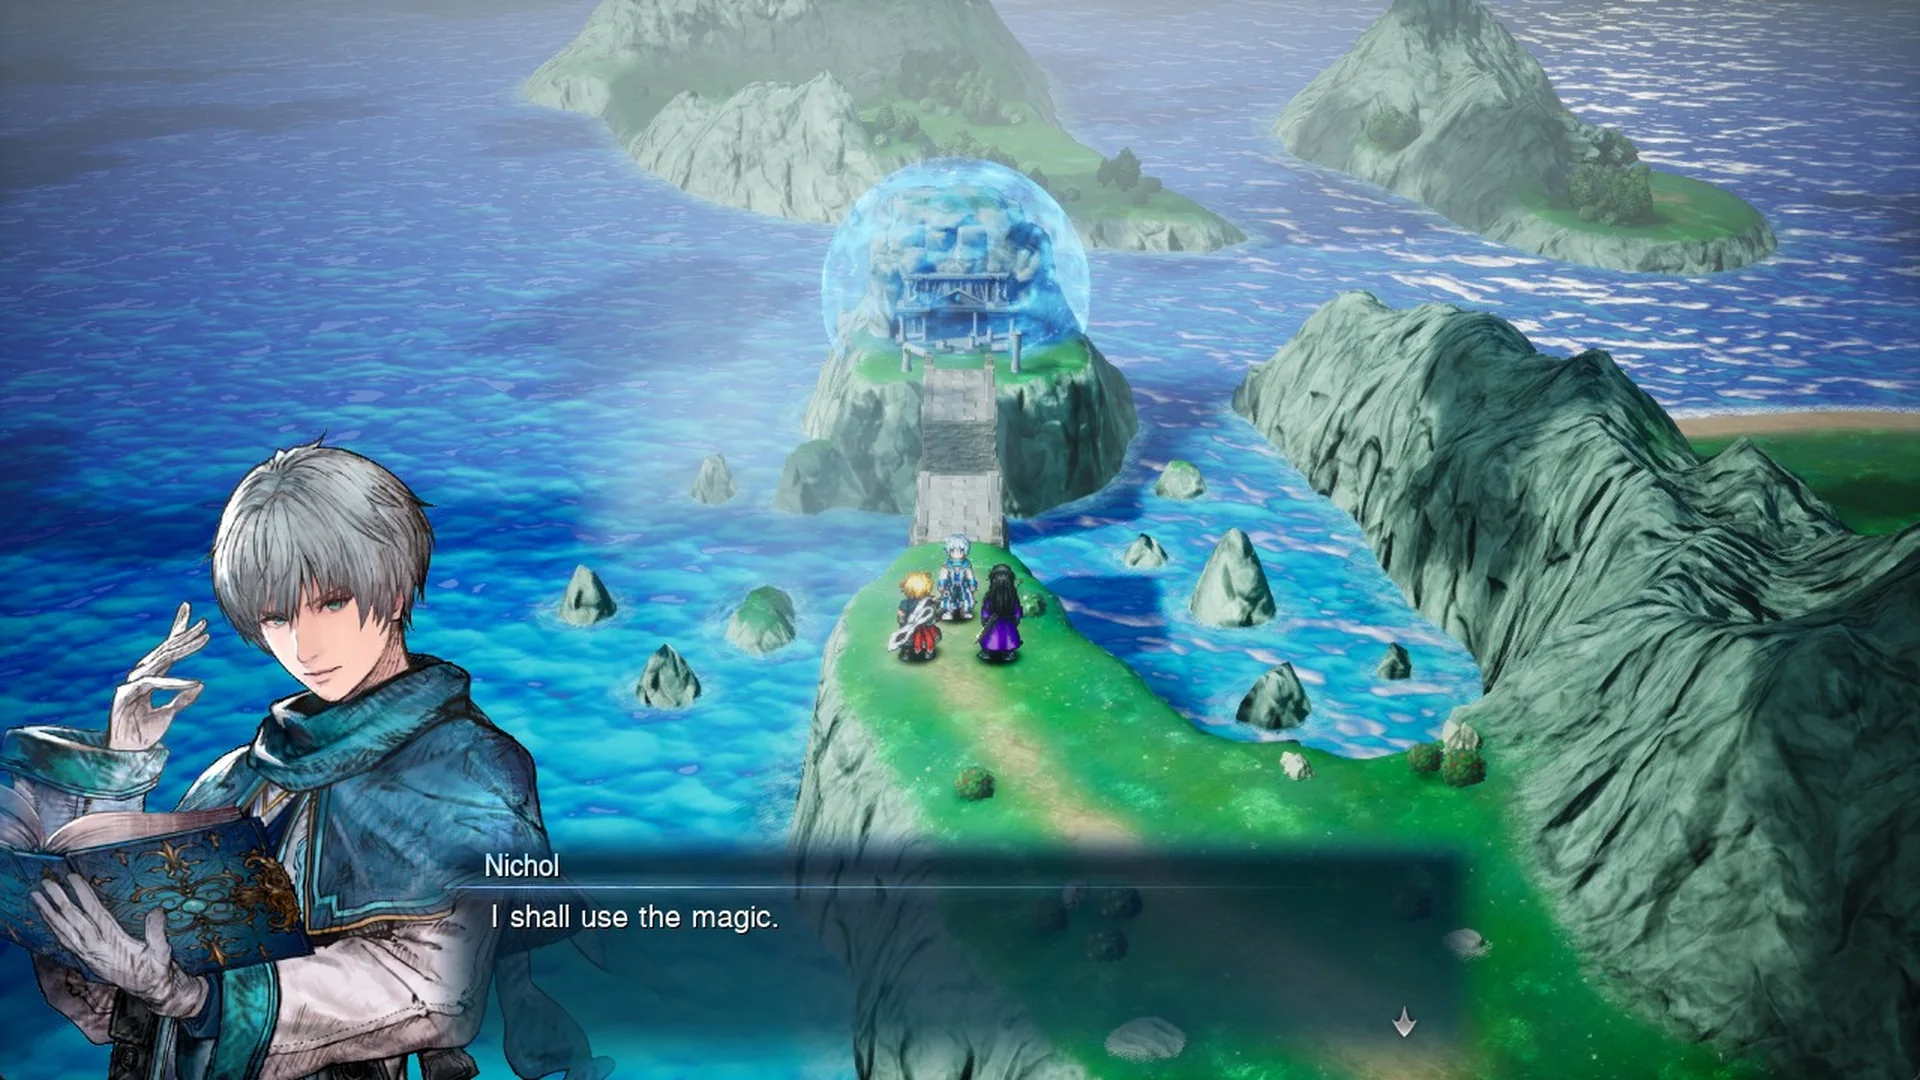
Warden’s Cape: The bridge to the shrine
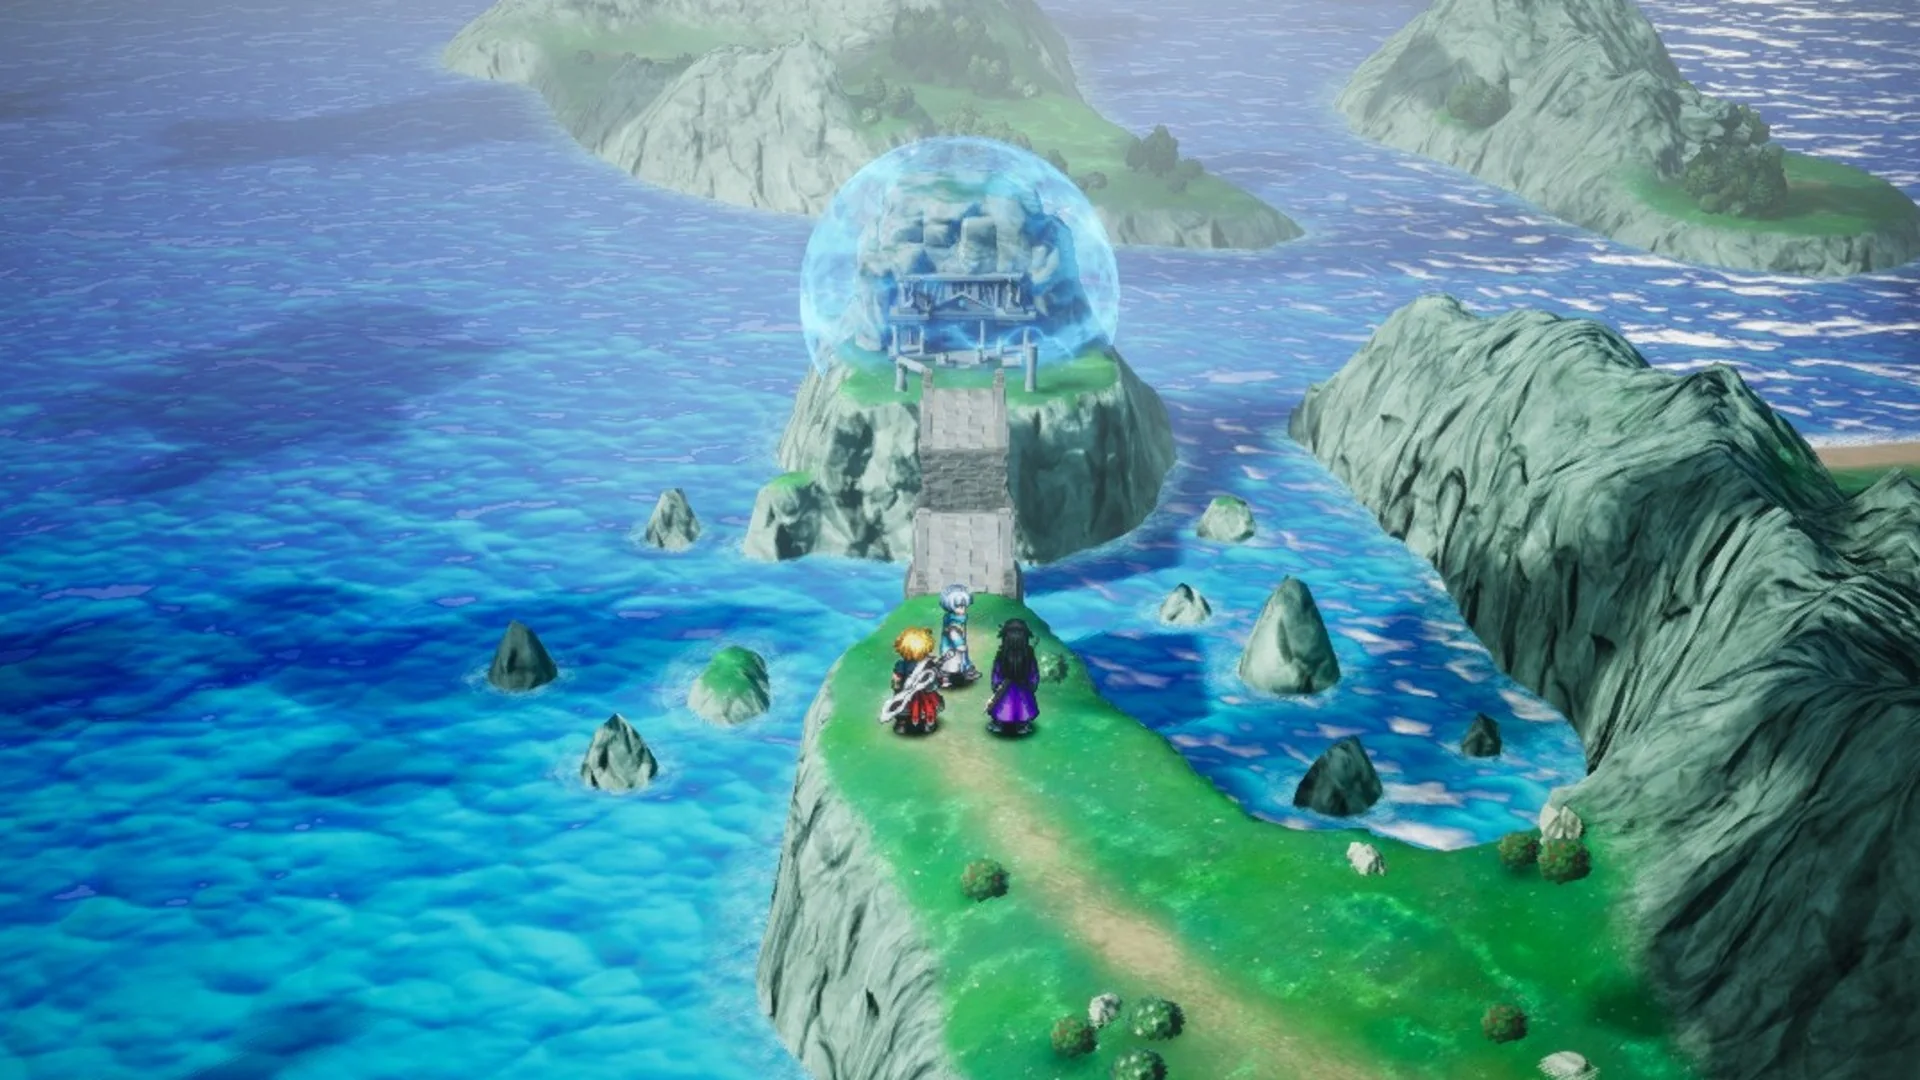
Lasswell opens the scene by saying, “This must be Warden’s Cape…”
Nichol then says, “I shall use the magic.”
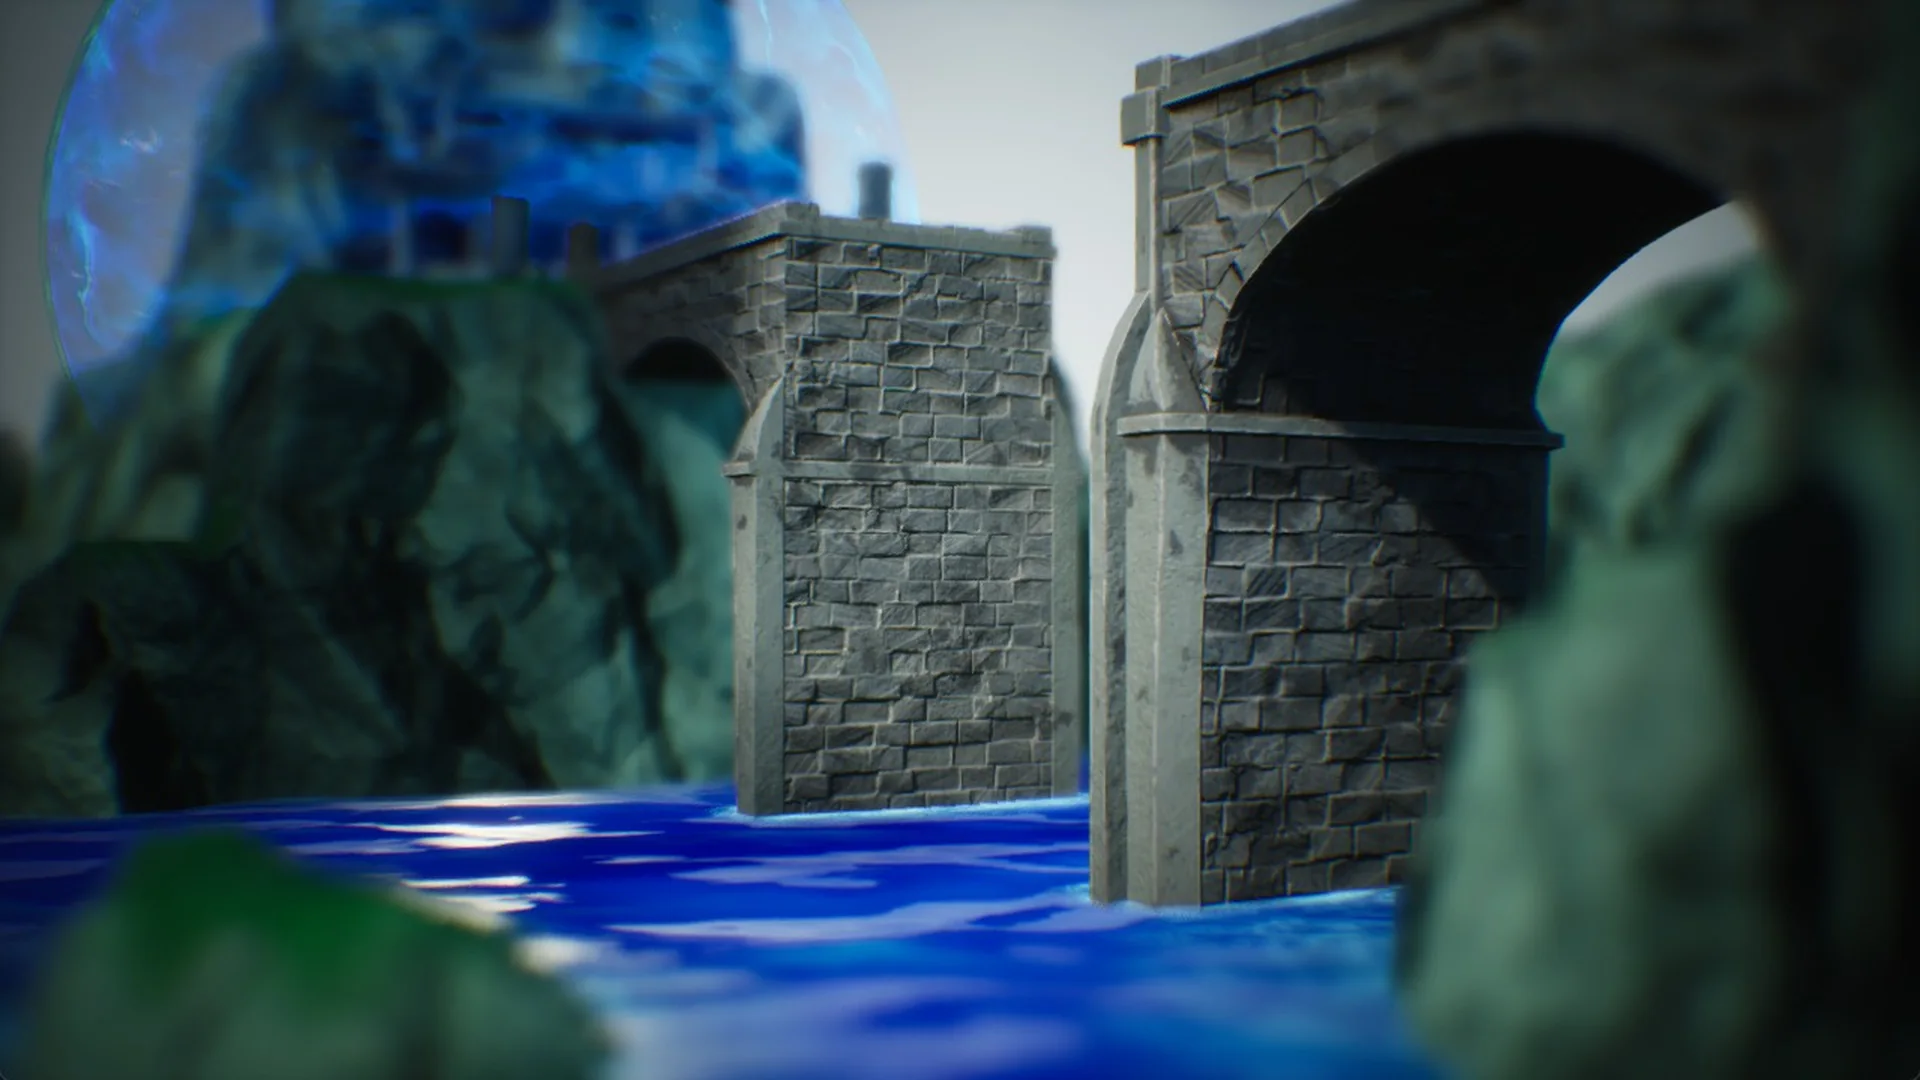
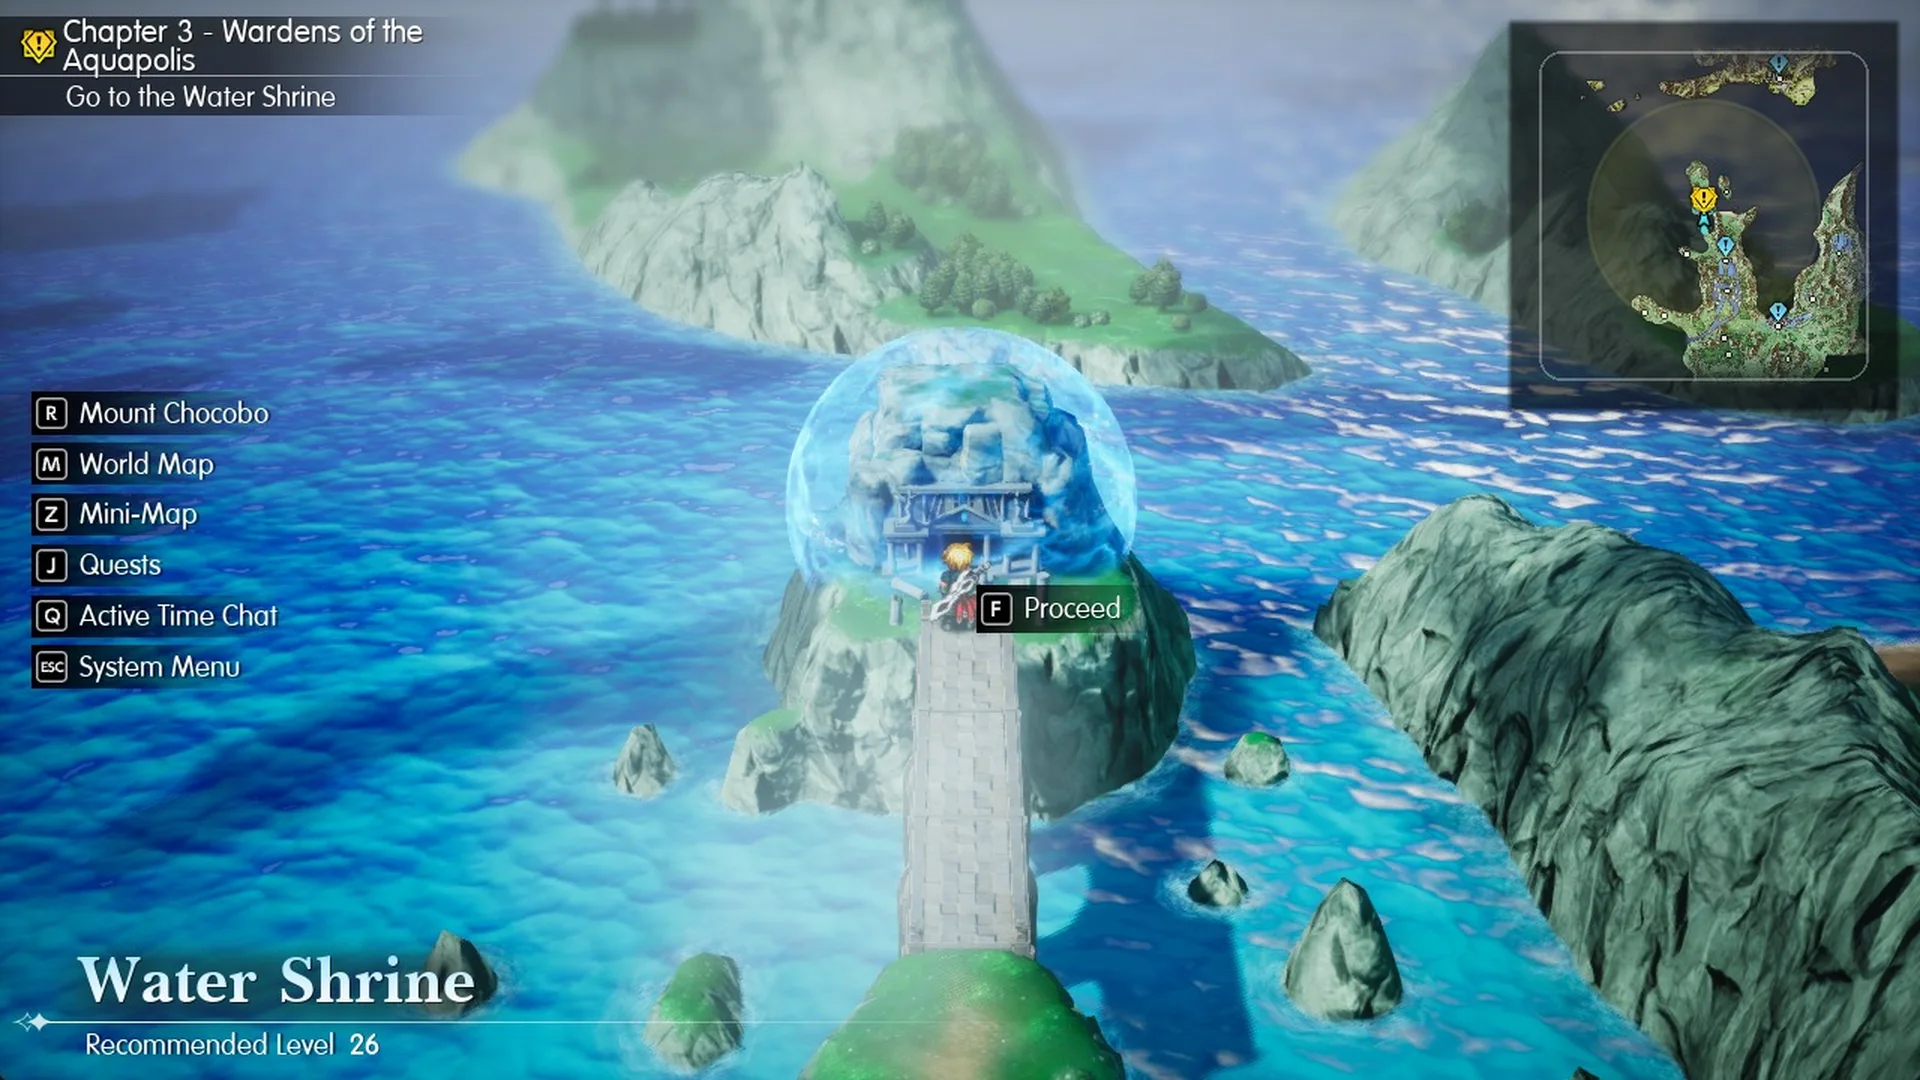
A stone bridge emerges from the ocean toward the shrine, enclosed in an enormous bubble of water.
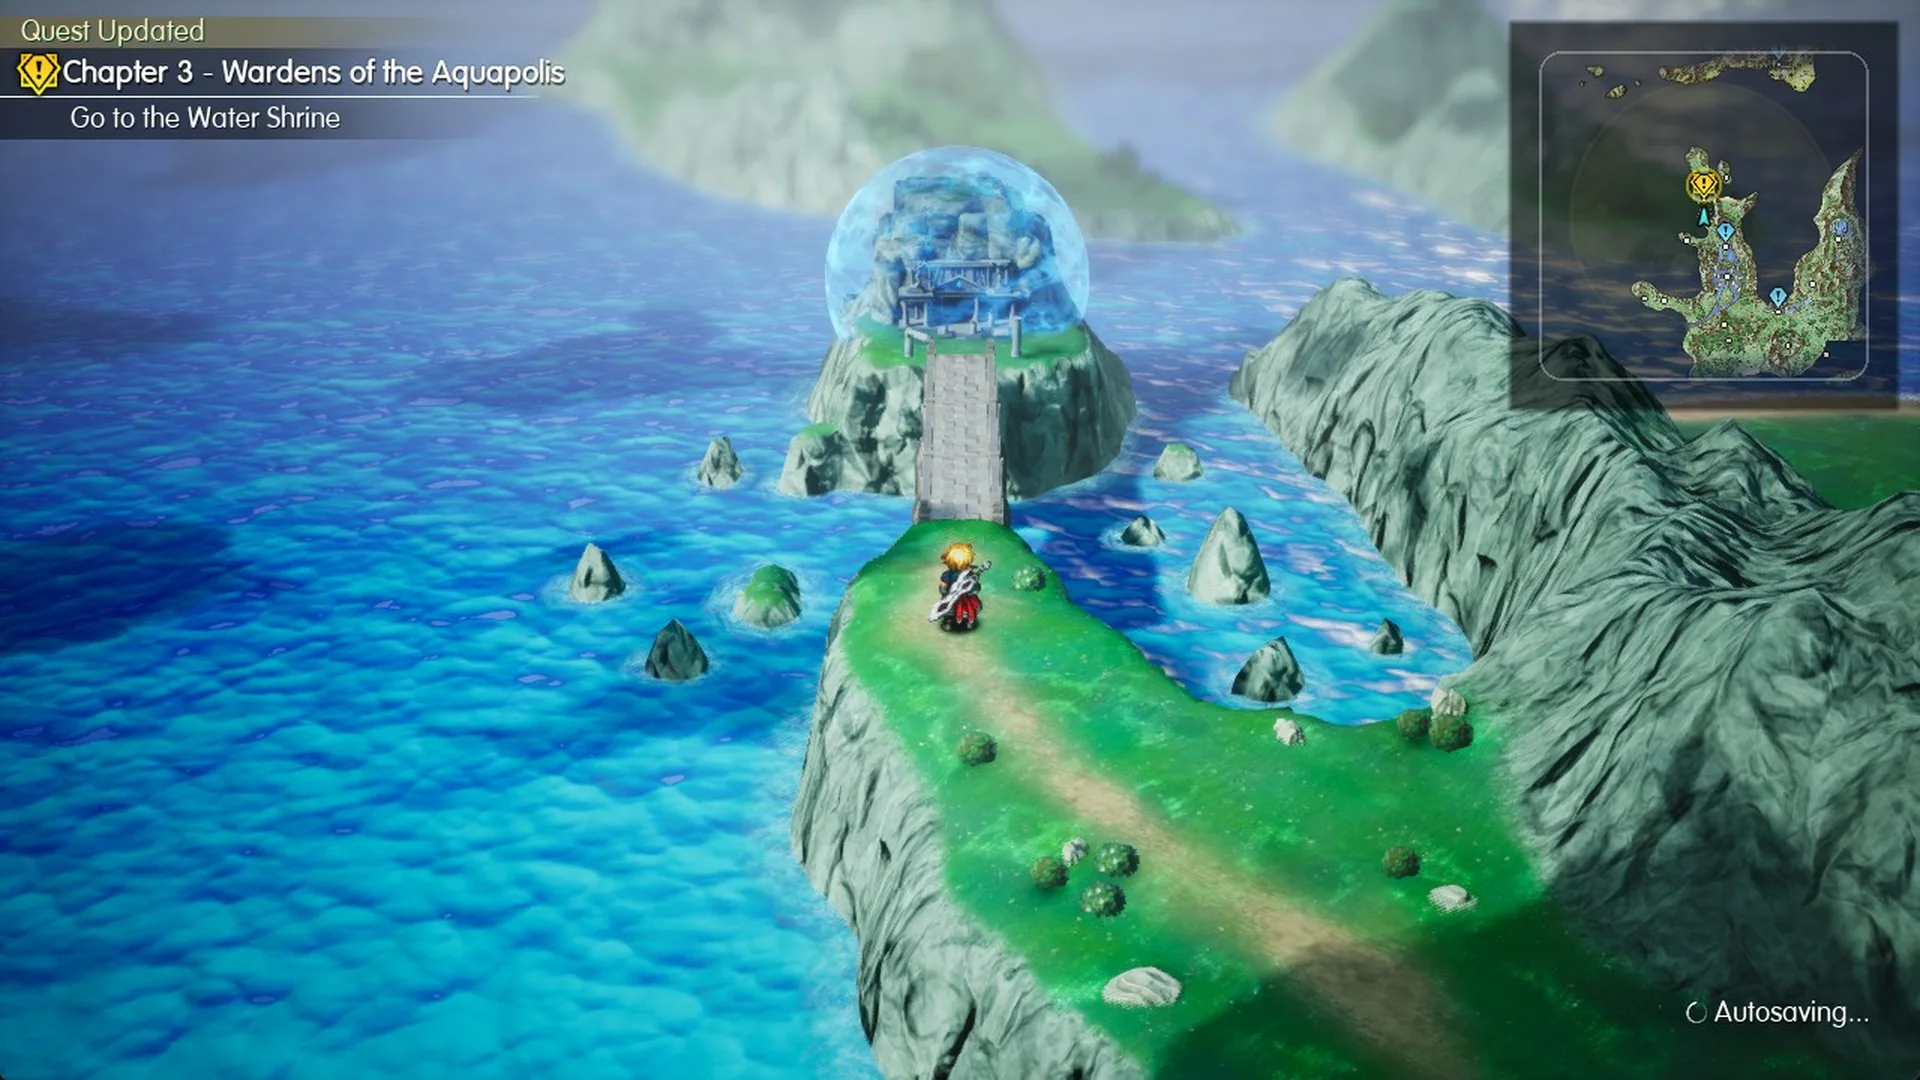
Rain reacts with “So this is the power of the First Maiden…” and Nichol answers, “The path to the Water Shrine has been revealed. Let us be on our way.” The objective changes to “Go to the Water Shrine”, and the game autosaves.
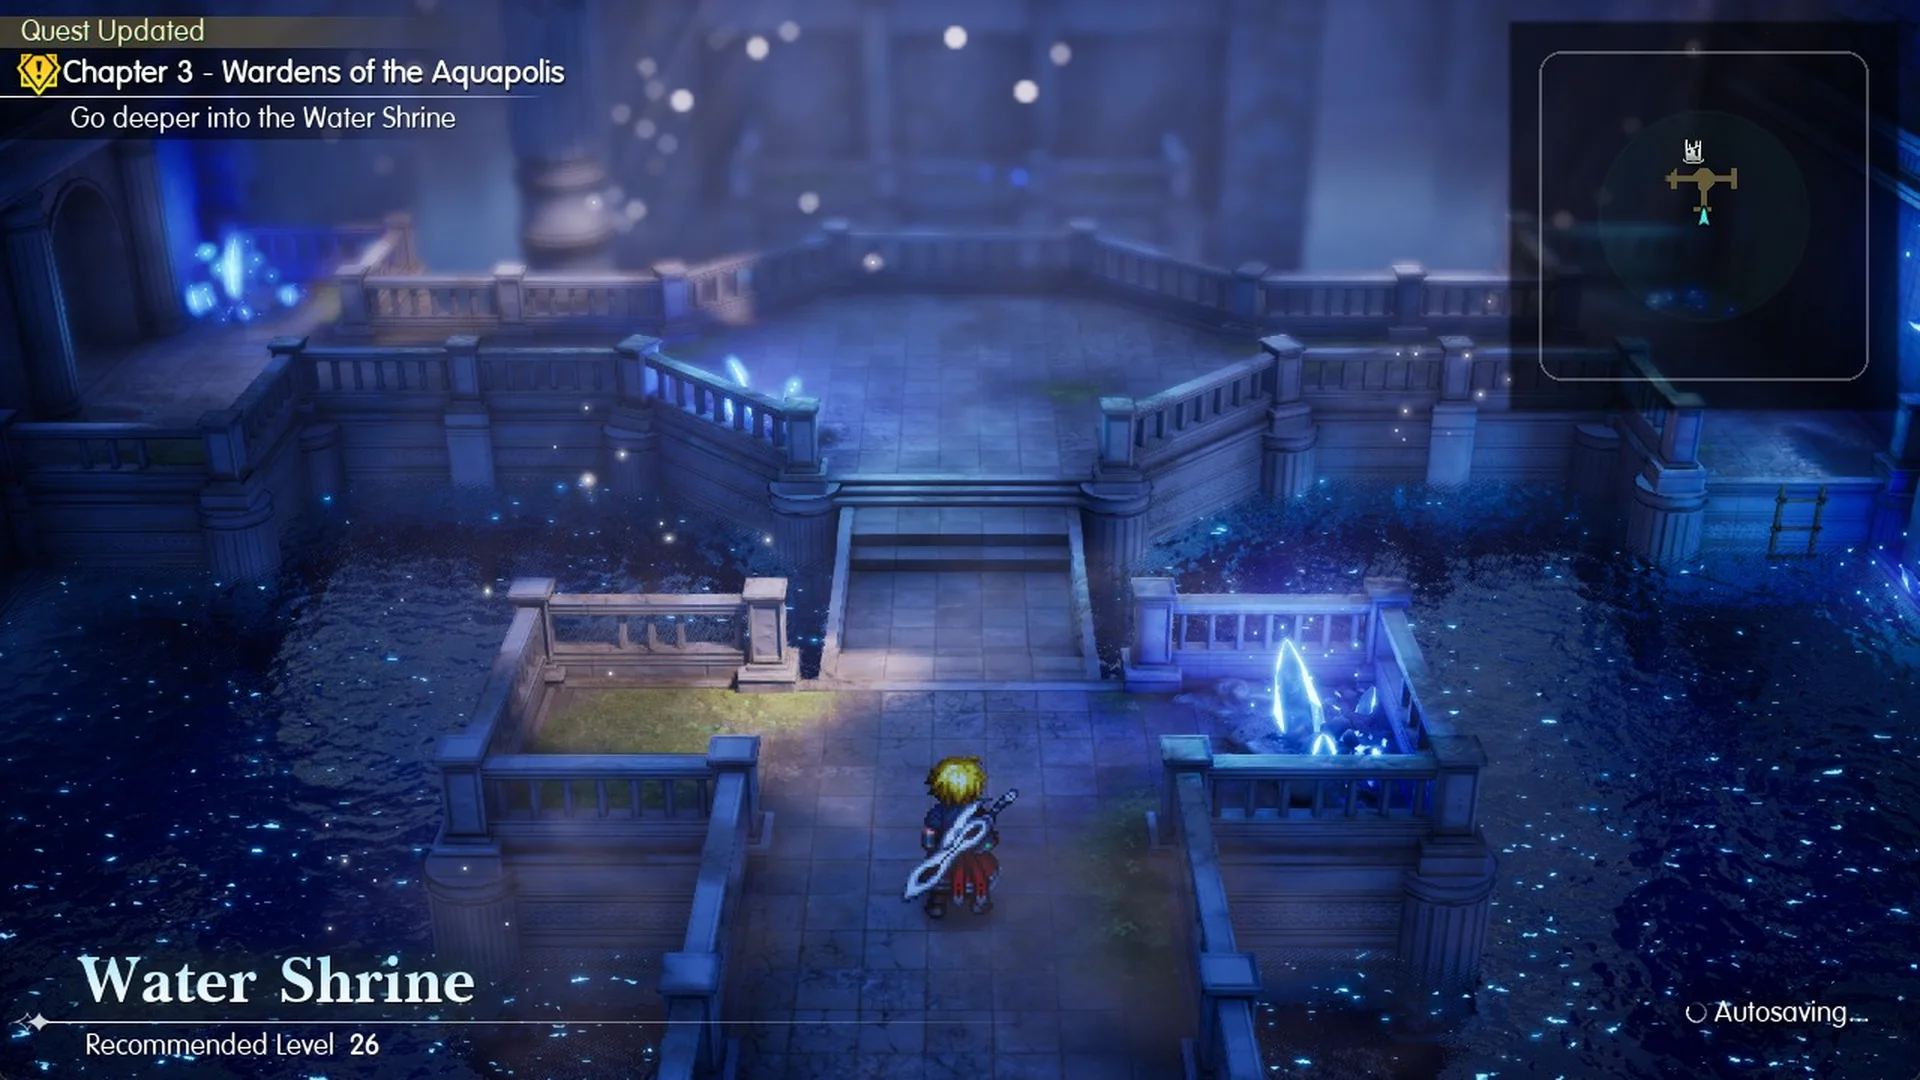
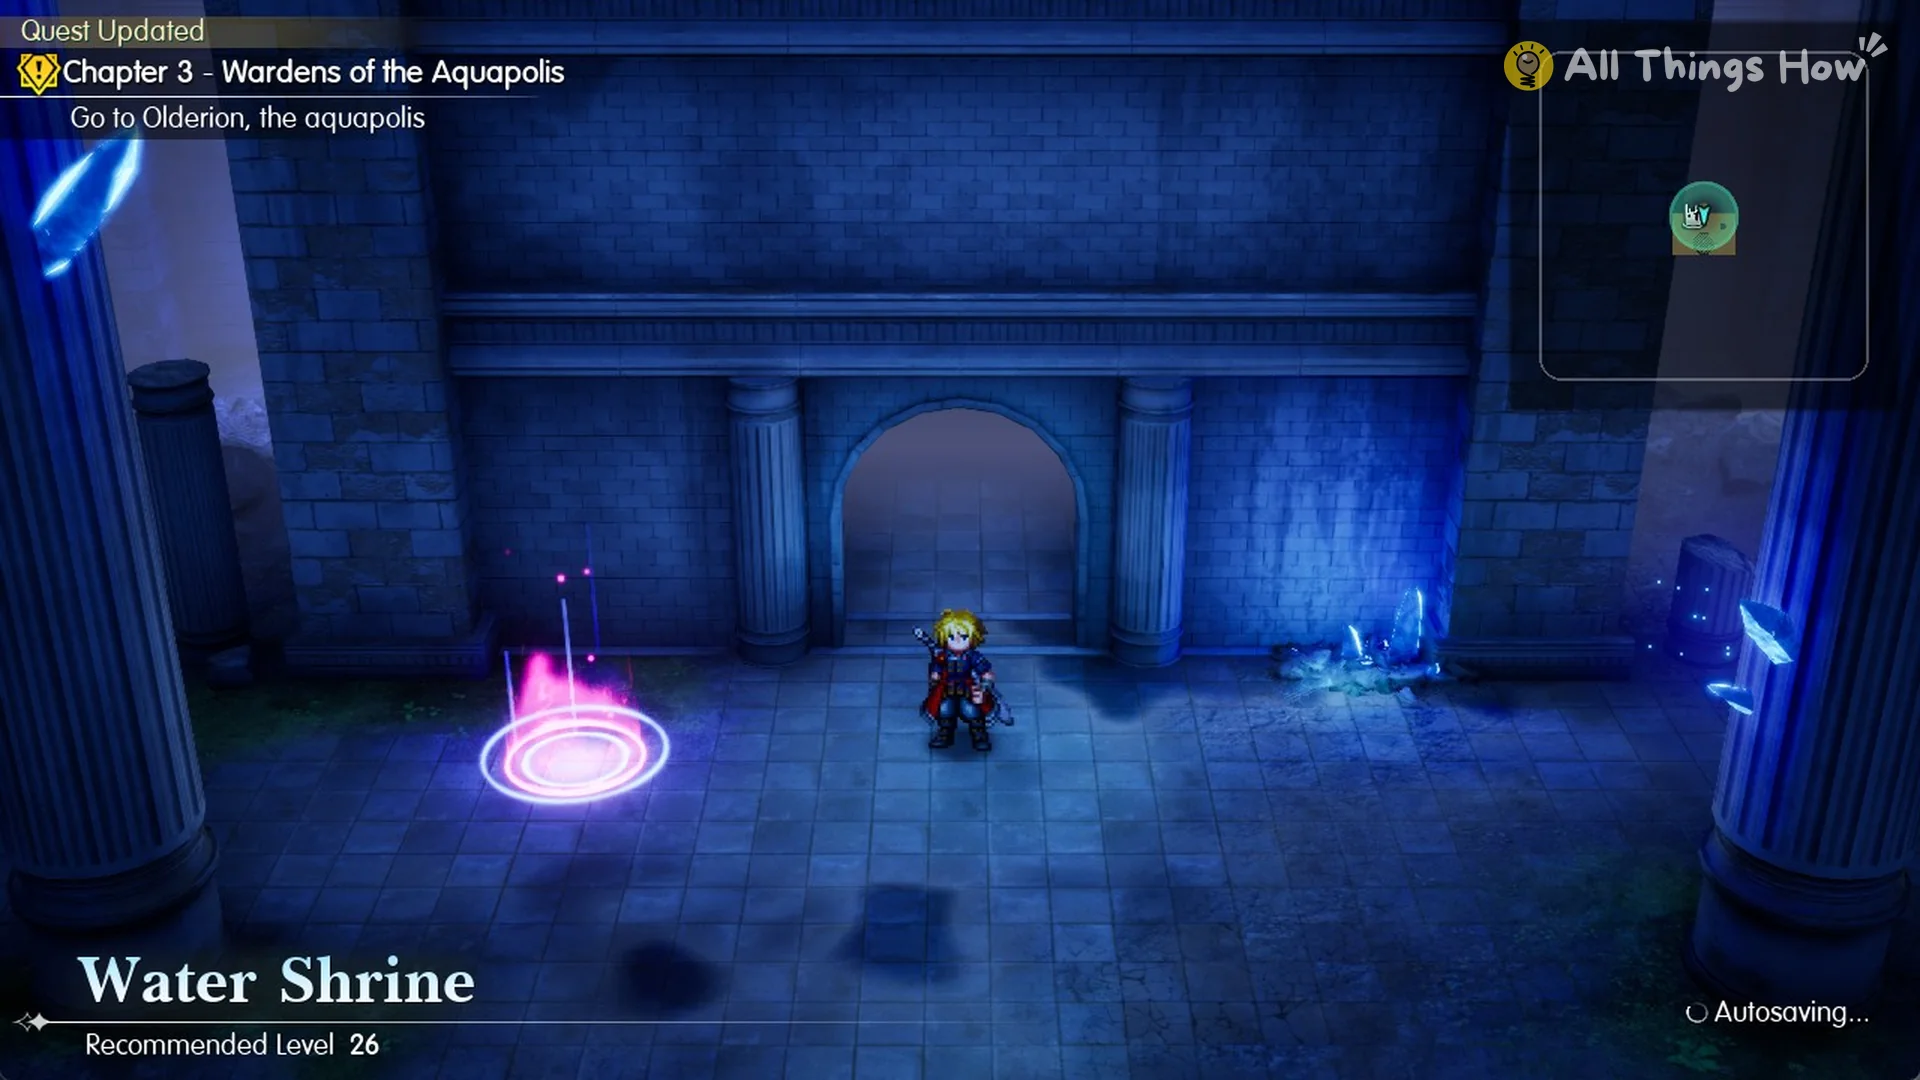
Walk north across the new bridge to the door. It shows “Water Shrine” and “Recommended Level 26”, with F Proceed.
Alluvion’s ambush at the shrine
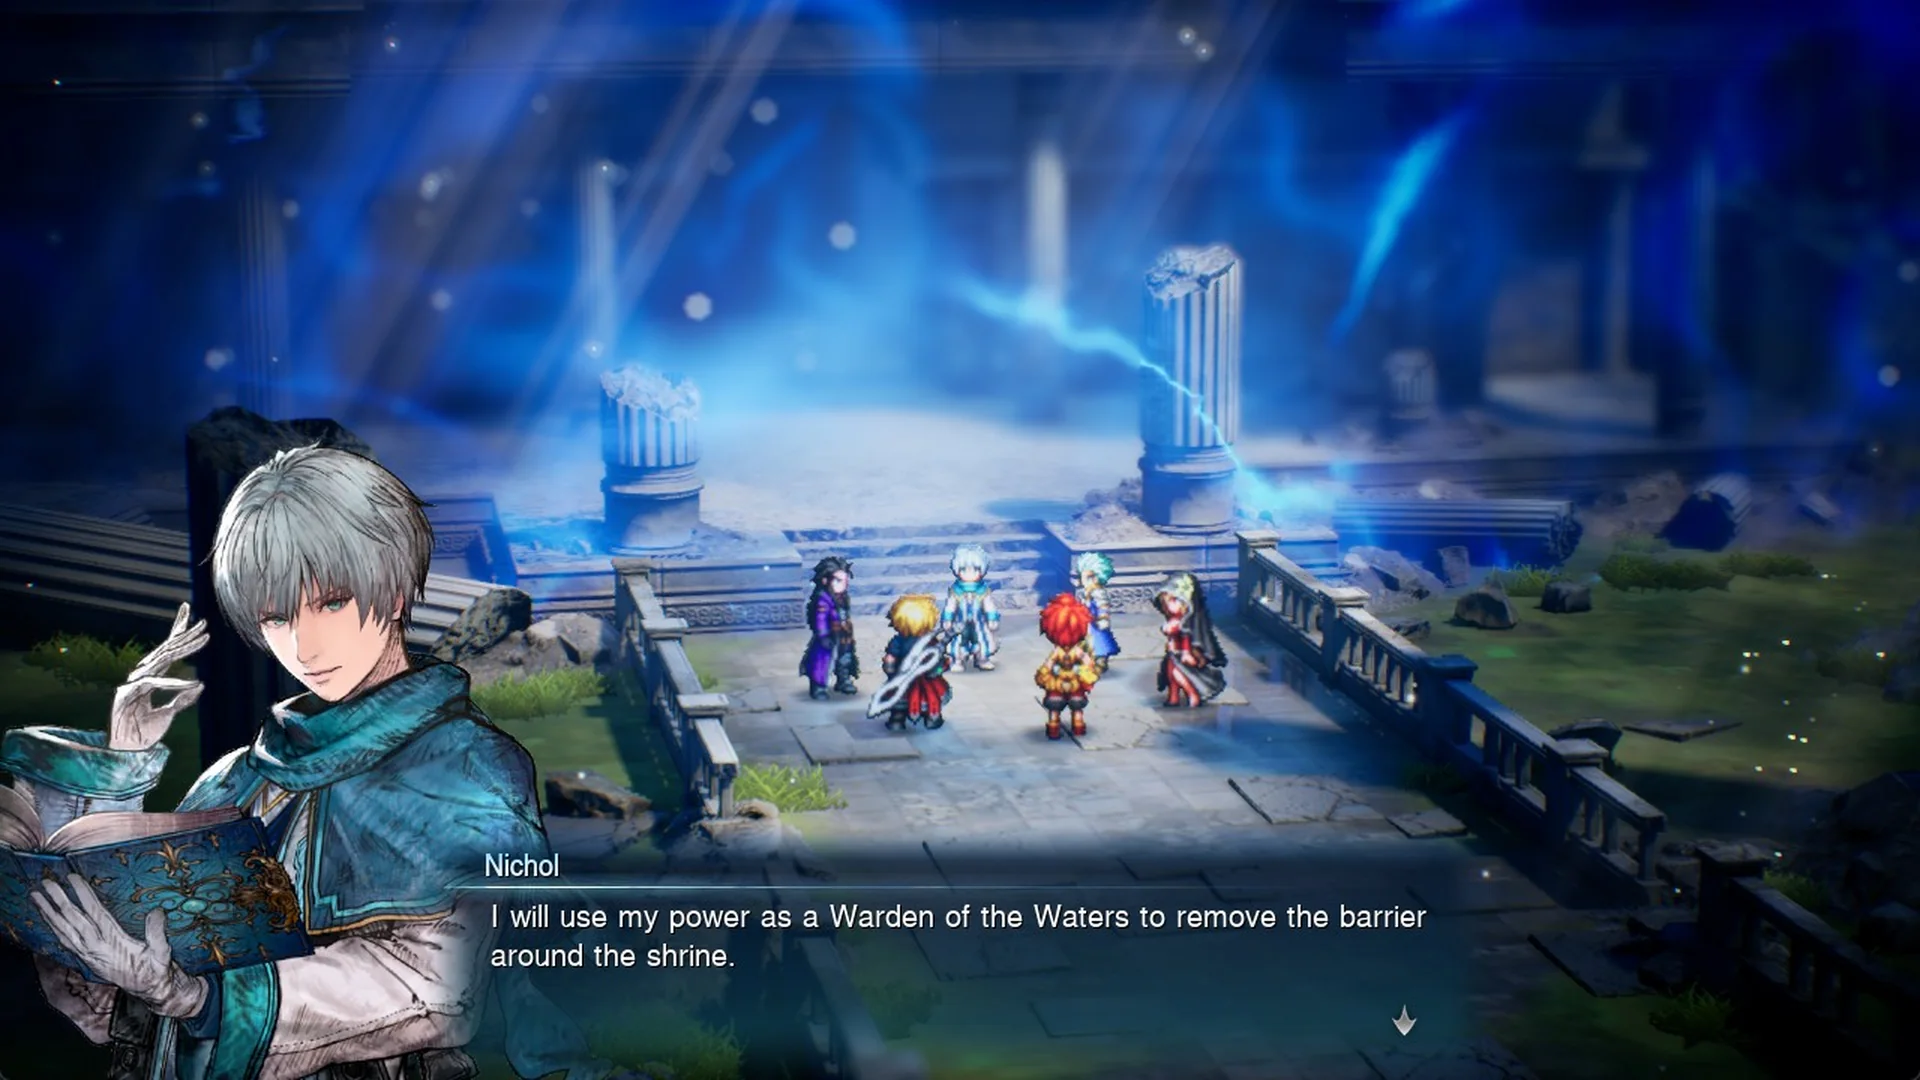
At the entrance, Nichol says, “I will use my power as a Warden of the Waters to remove the barrier around the shrine.”
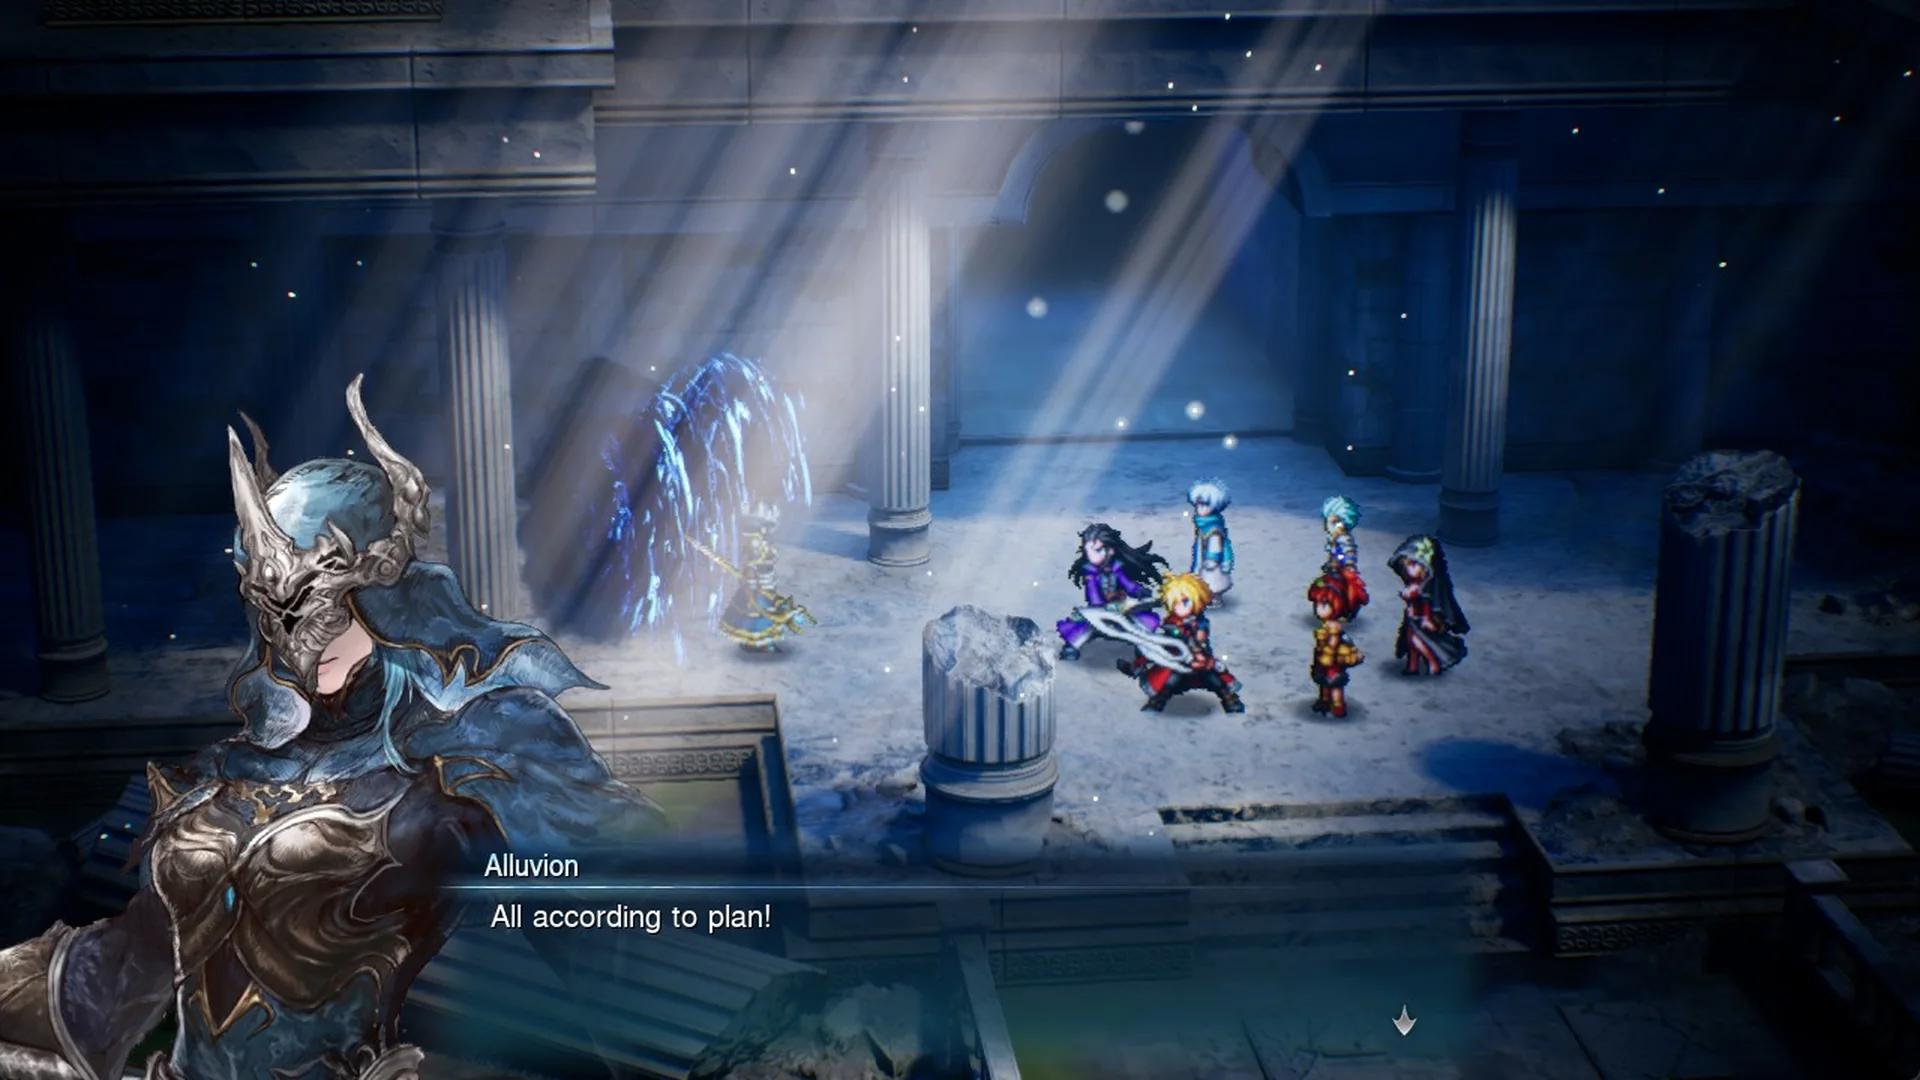
As the barrier disappears, Alluvion arrives and declares, “All according to plan!”
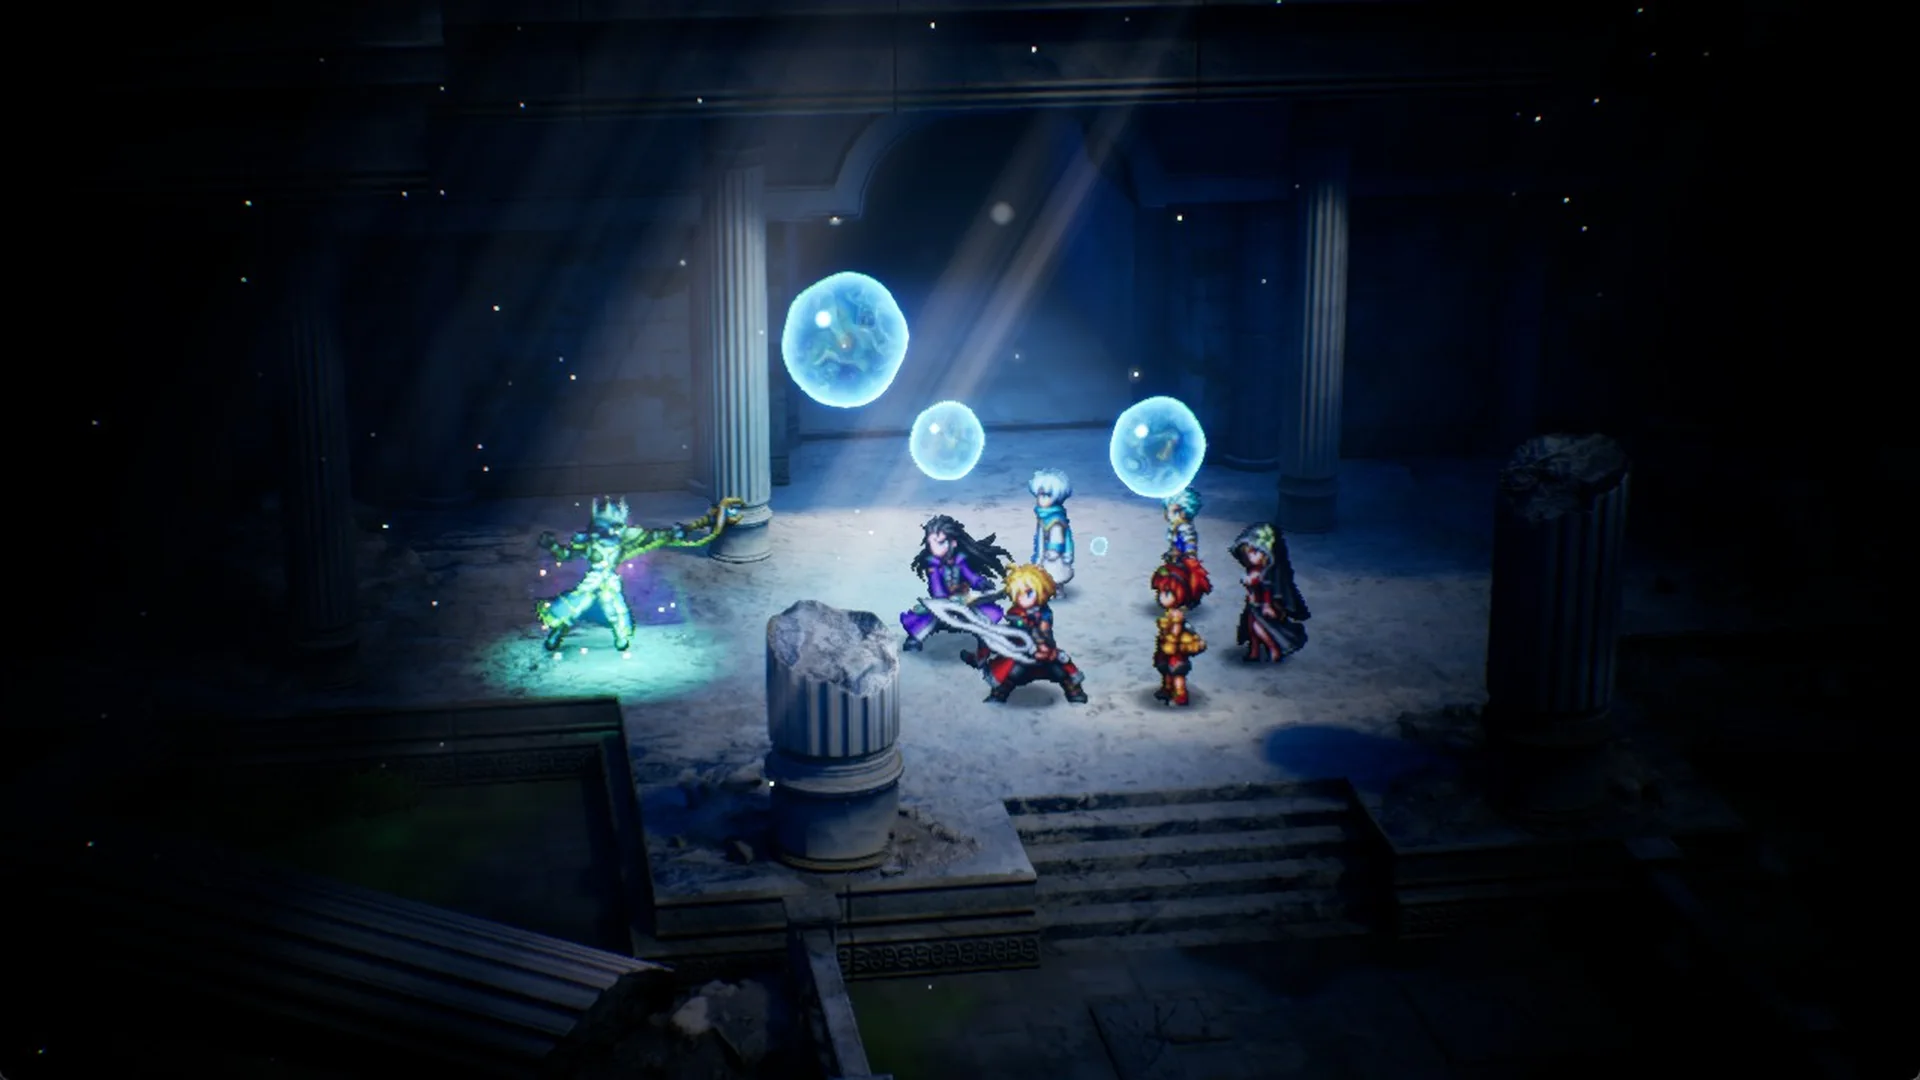
Alluvion confines the party inside water bubbles, then explains that flooding Olderion was intended to make the Wardens draw on the Crystal’s power. Alluvion departs to pursue the Crystal. There is no fight here.
El knows the shrine best and runs in alone to reach the Crystal first. Rain says, “El ran into the shrine. We have to hurry!”
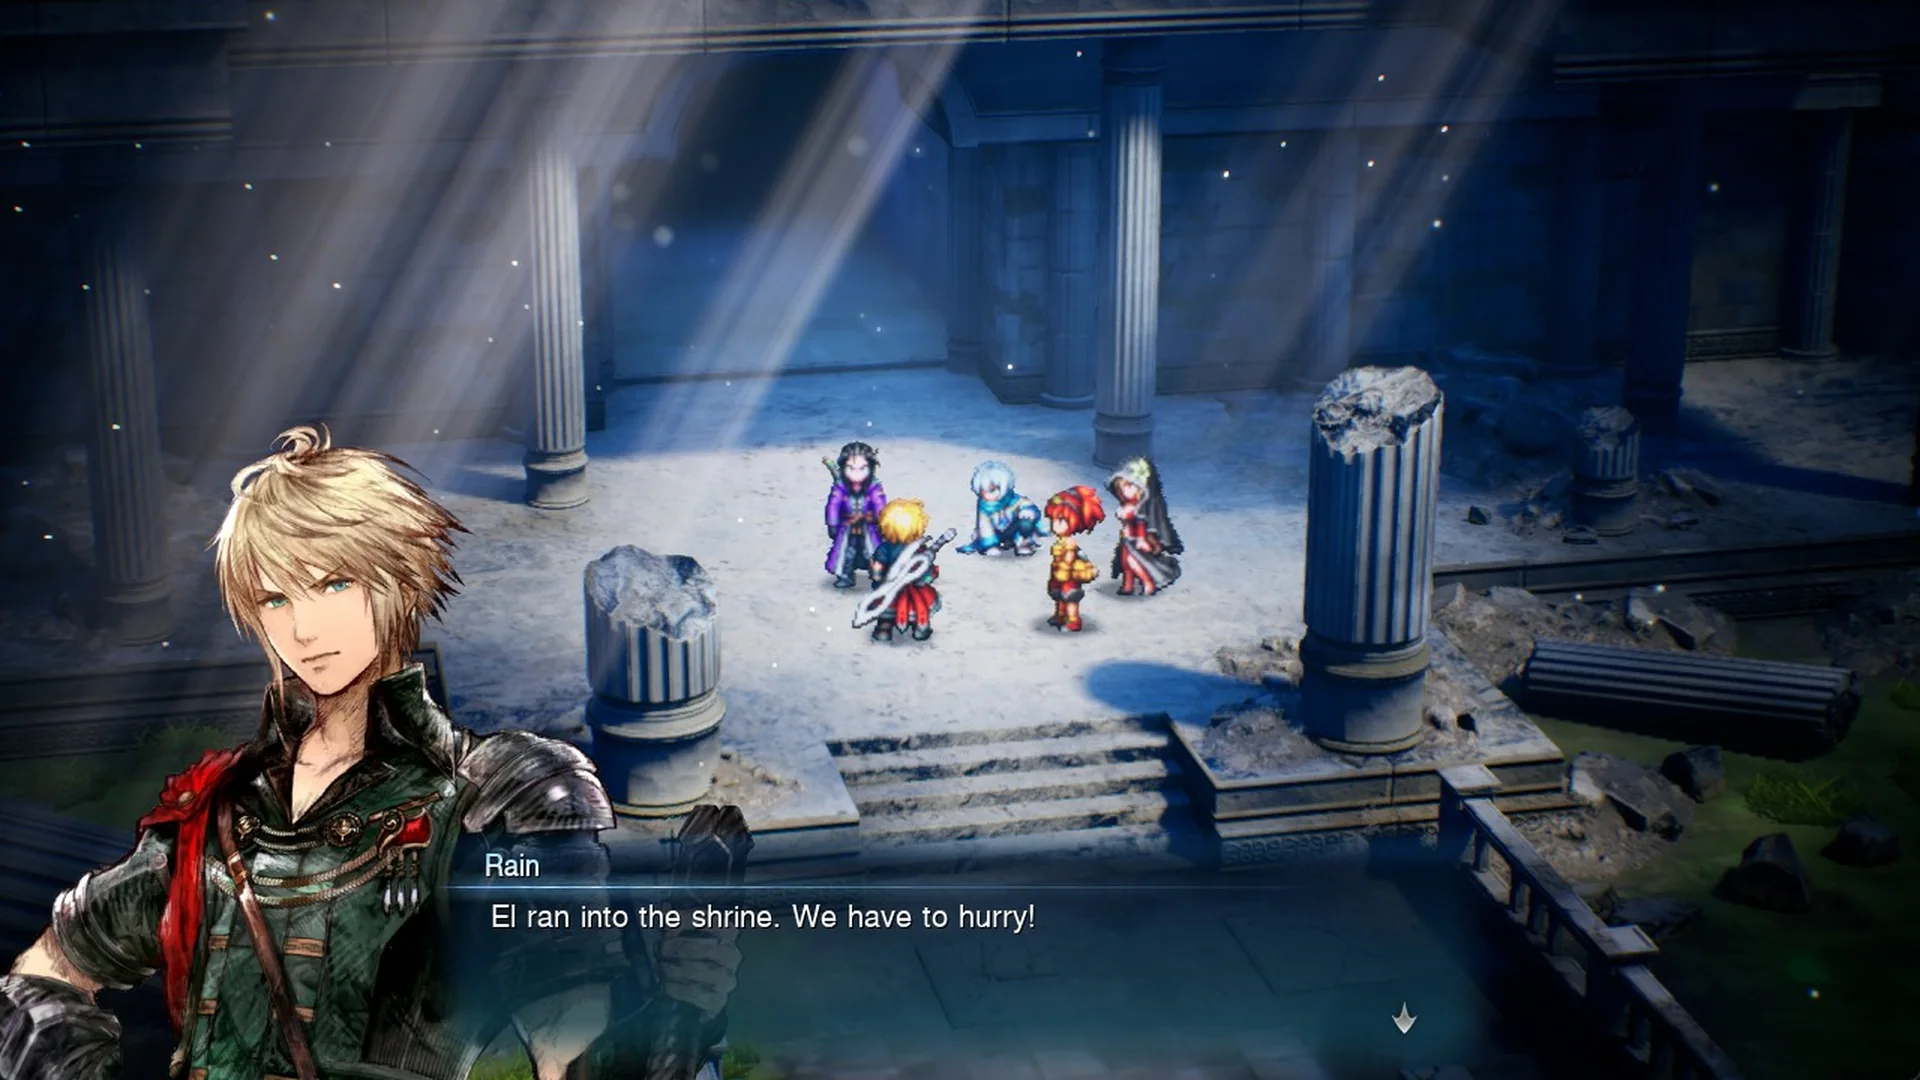
The objective becomes “Go deeper into the Water Shrine”, the game autosaves, and you start on Area 1 1F with the party fully healed. The party here includes Archwitch Fina. The rest of the chapter flow is covered in the Final Fantasy Resonance walkthrough.
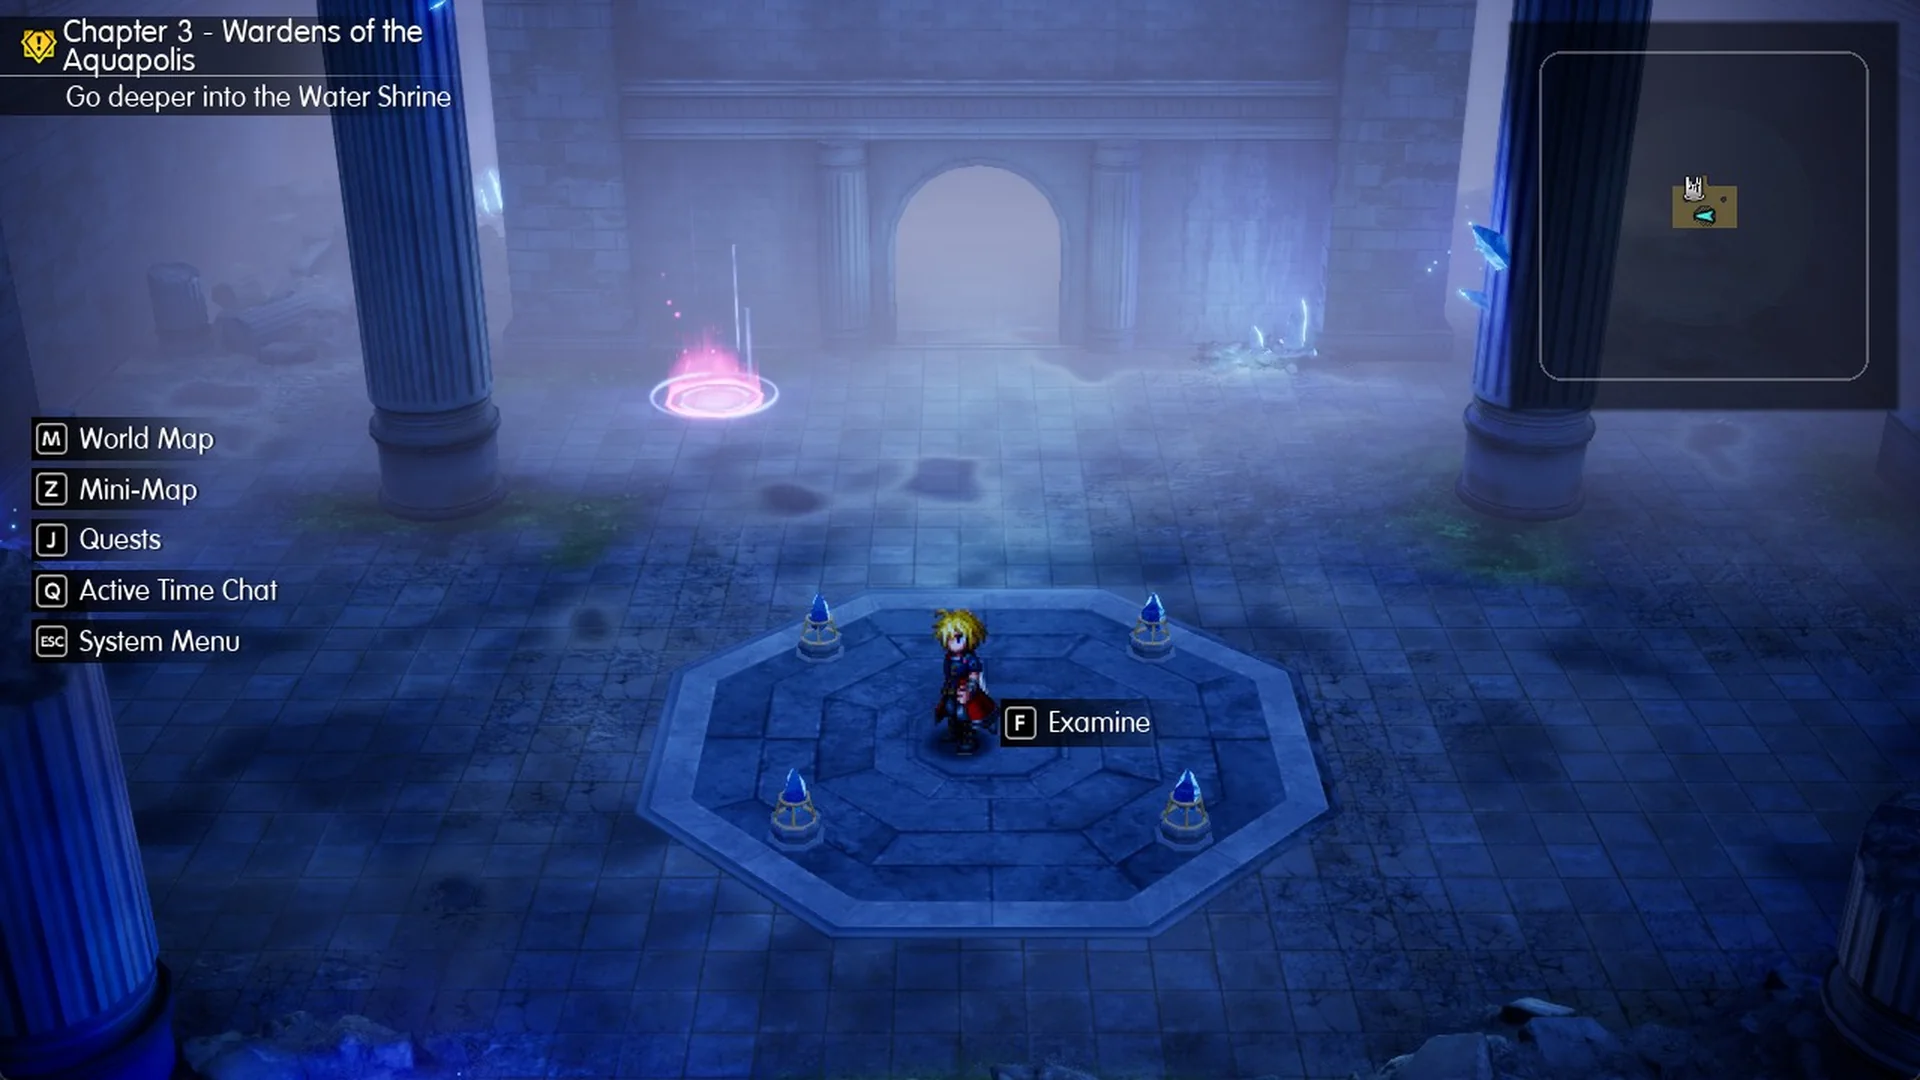
The entrance hall save point
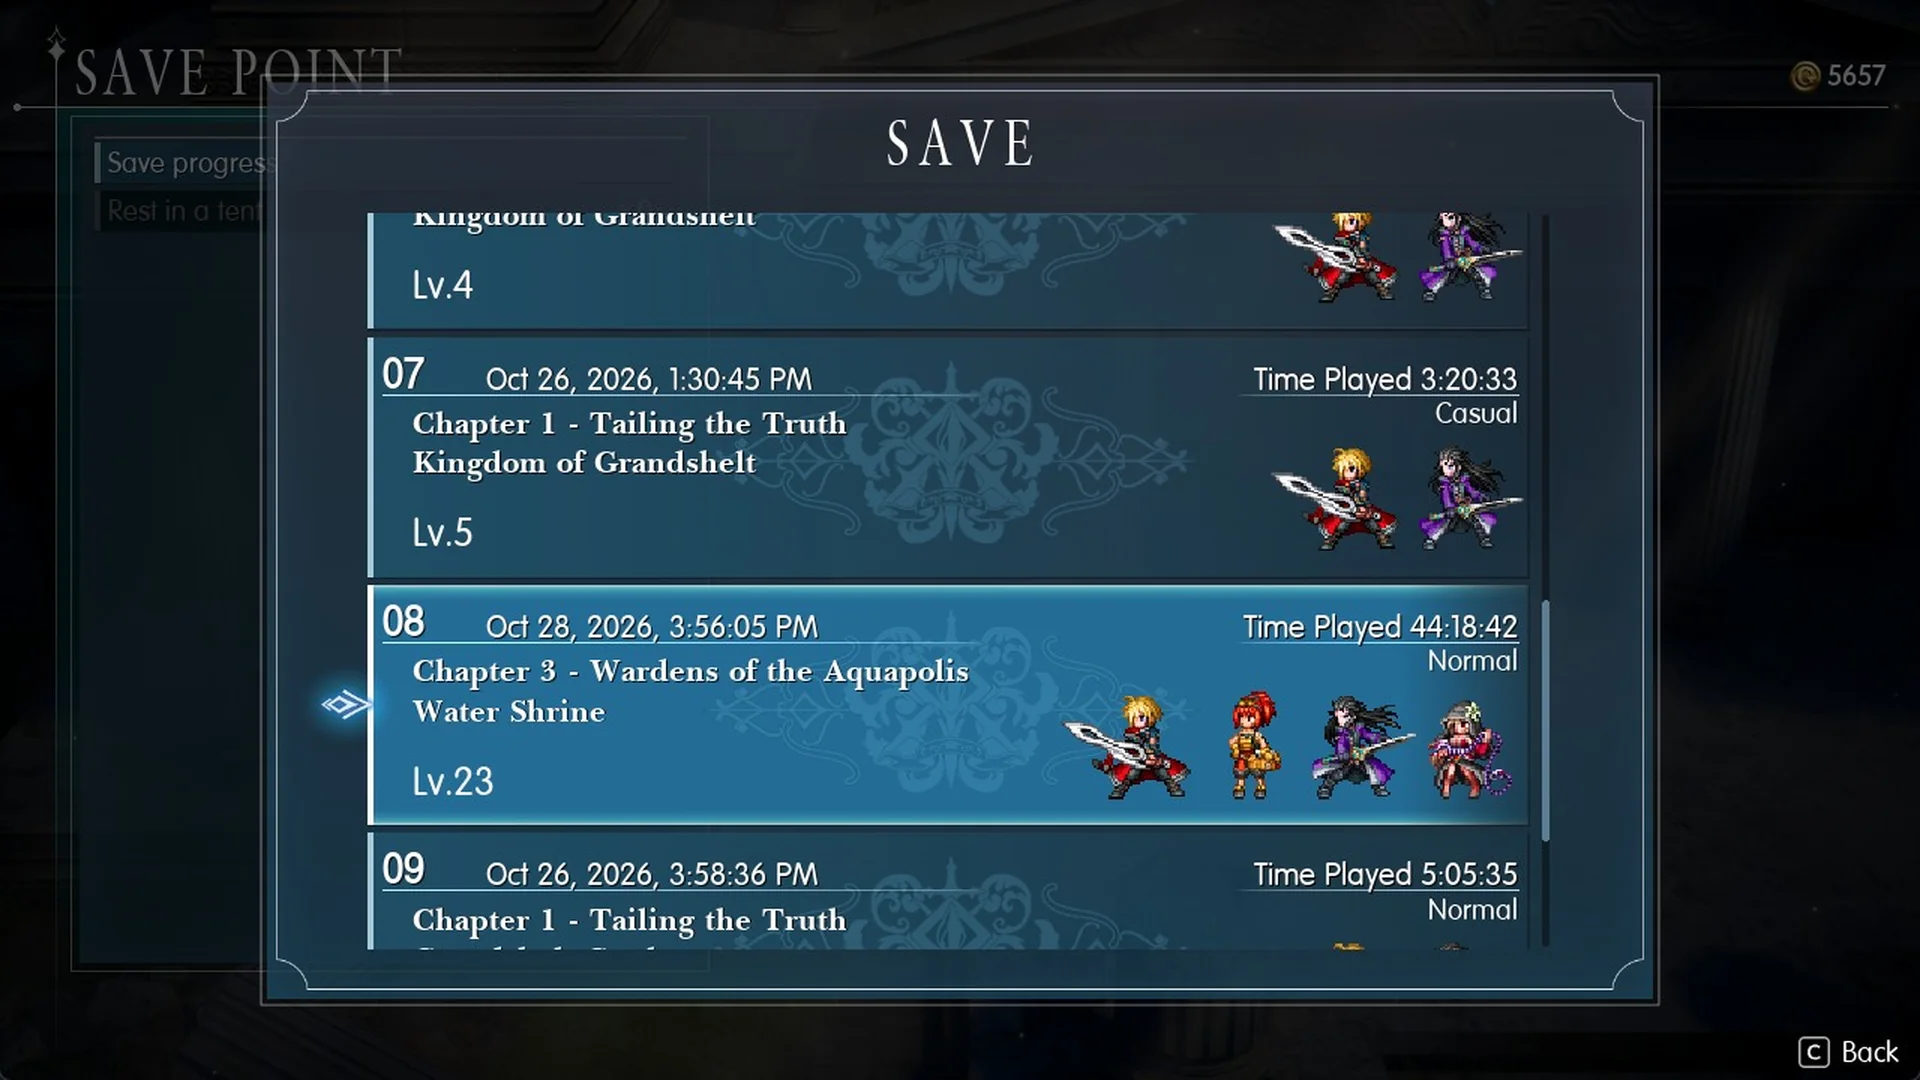
The save point is not at the spot where you arrive. It is in the entrance hall behind you. Step back through the doorway behind the arrival spot to find the save circle. Its menu offers Save progress and Rest in a tent, and the save file reads “Chapter 3 – Wardens of the Aquapolis, Water Shrine”. Save before you go deeper. The menu works as described in how to save in Final Fantasy Resonance.
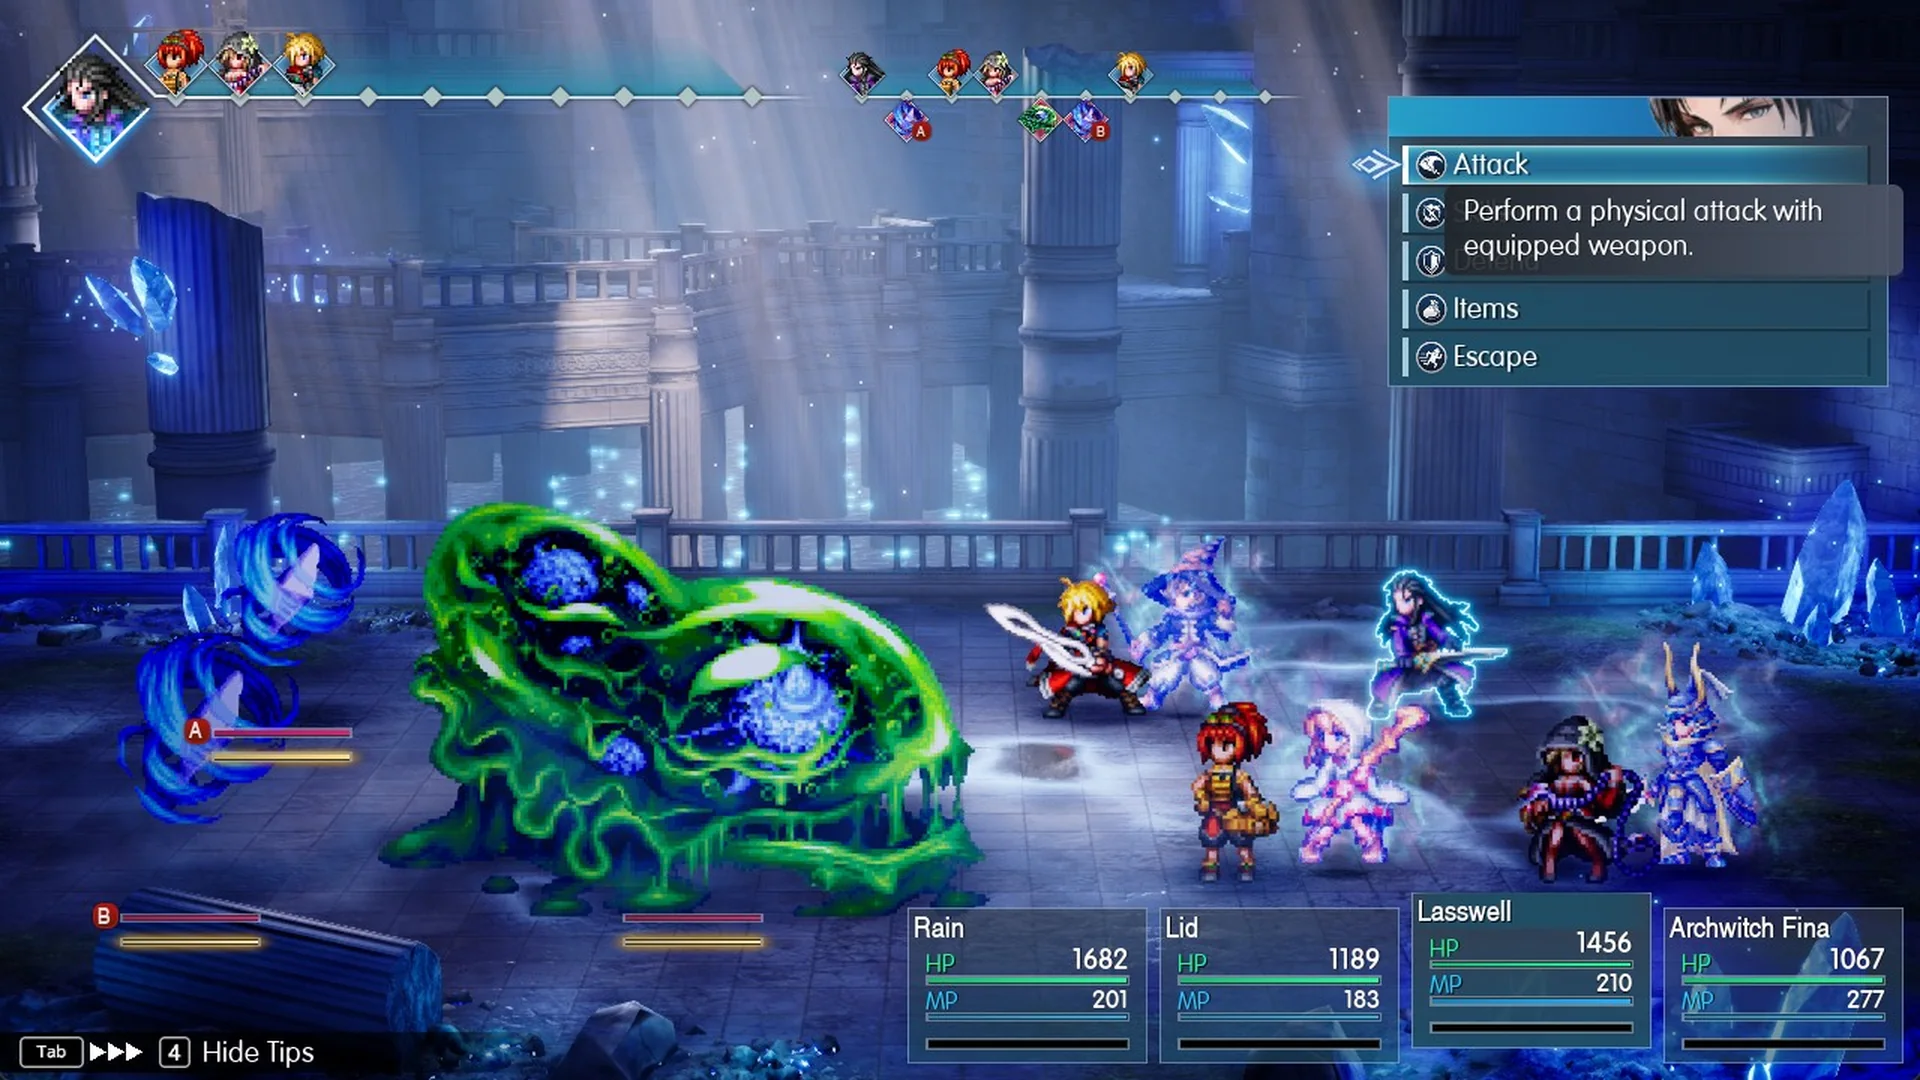
Random fights happen throughout the shrine, such as a slime paired with a wisp. You can escape them without trouble using the steps in how to escape battles. The enemies list covers what you can run into.
How the seals work
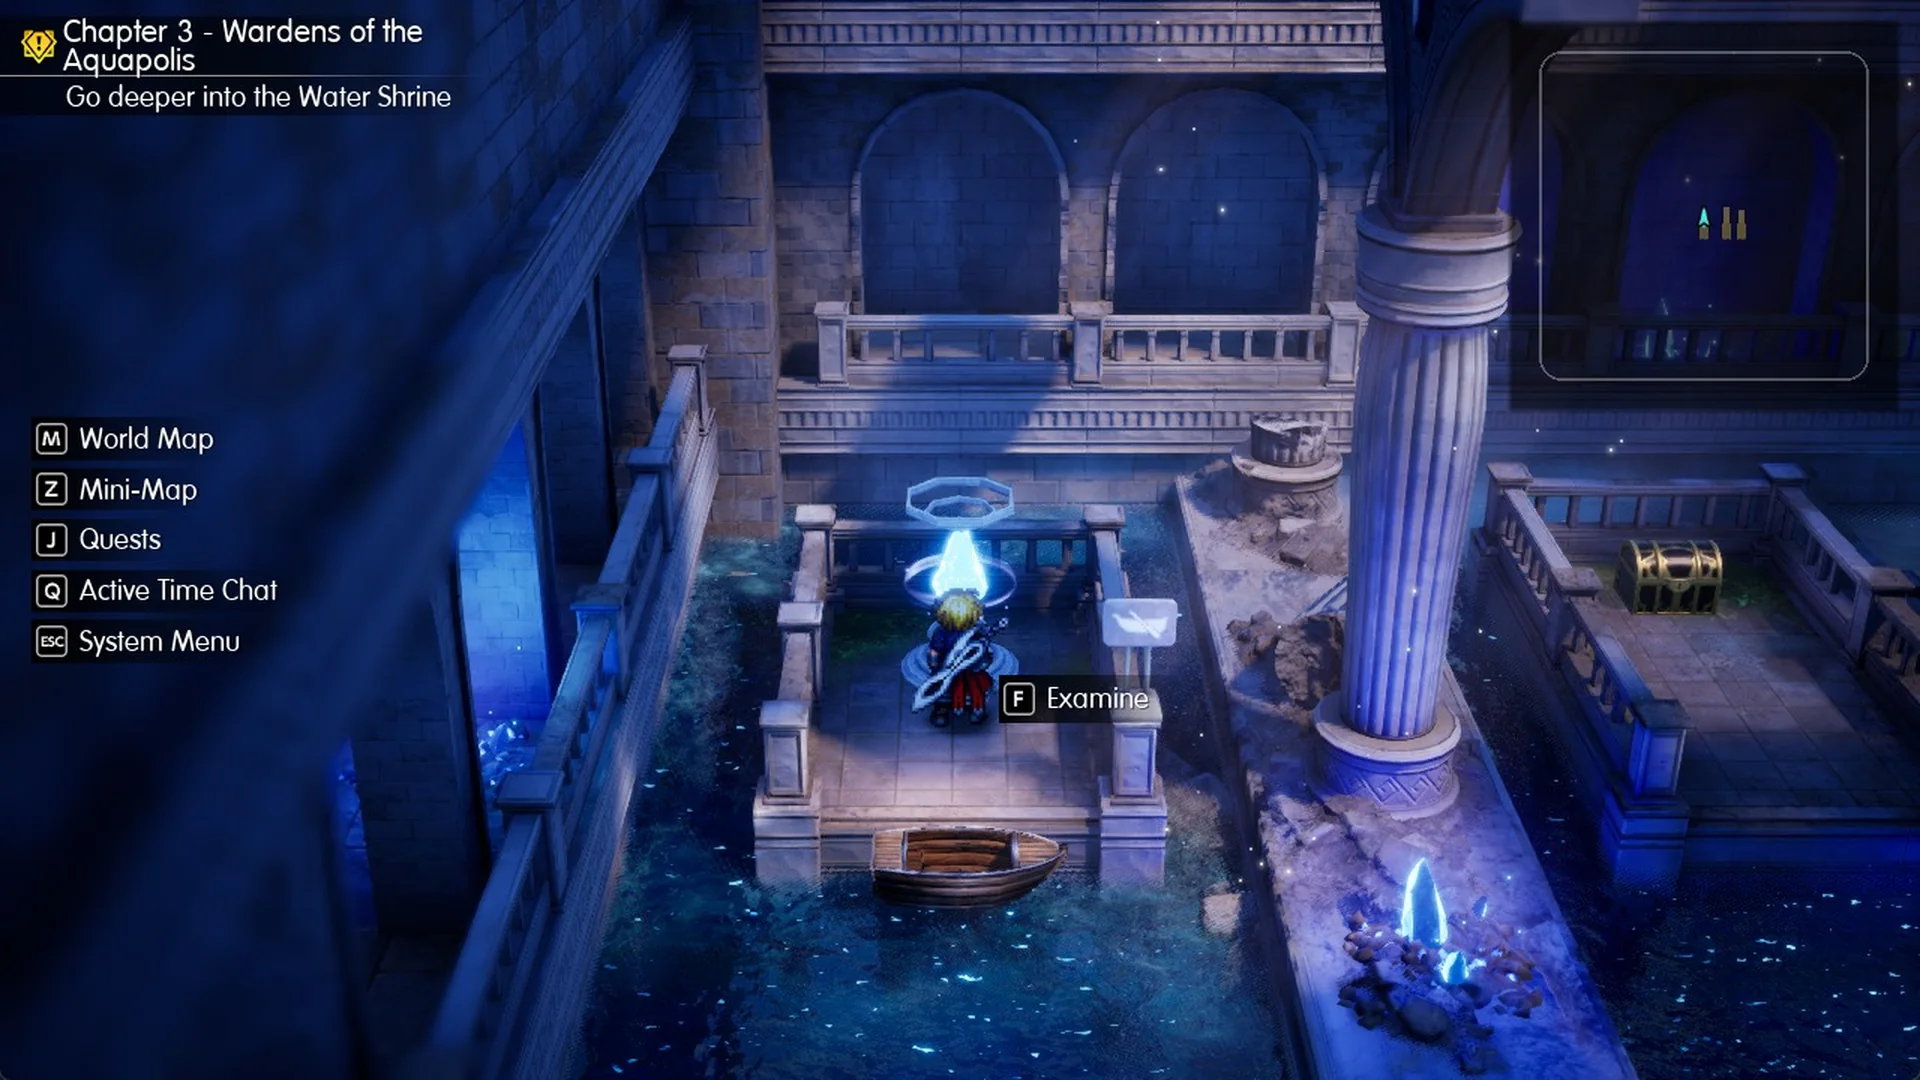
- Each seal is a glowing crystal pedestal that you press with F (Examine).
- When you activate the pedestal, it lights up; a brief camera sweep then reveals the change in Area 1.
- Each pedestal works once.
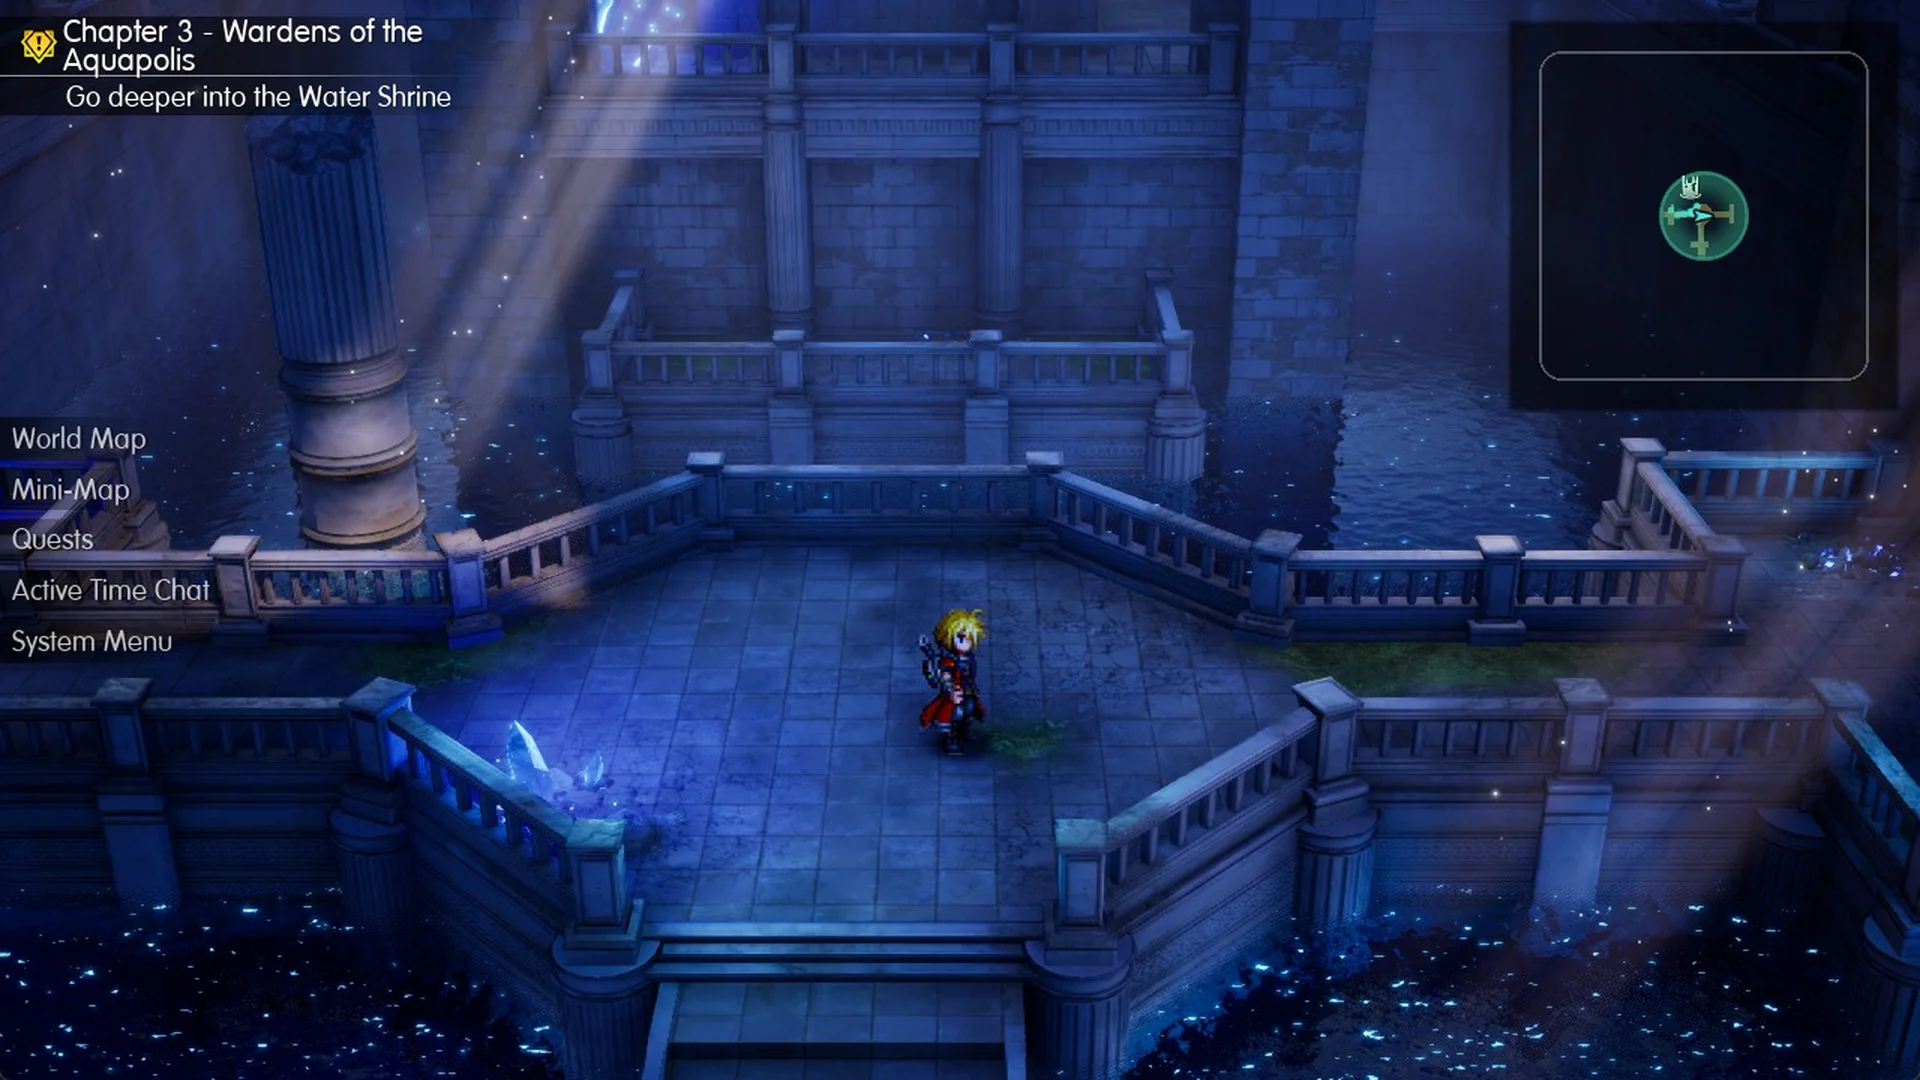
Area 1’s middle is a big octagonal floor that sits high at the start. This route presses the Area 3 seal before the one in Area 4.
Area 5 and Area 3: The raft lanes
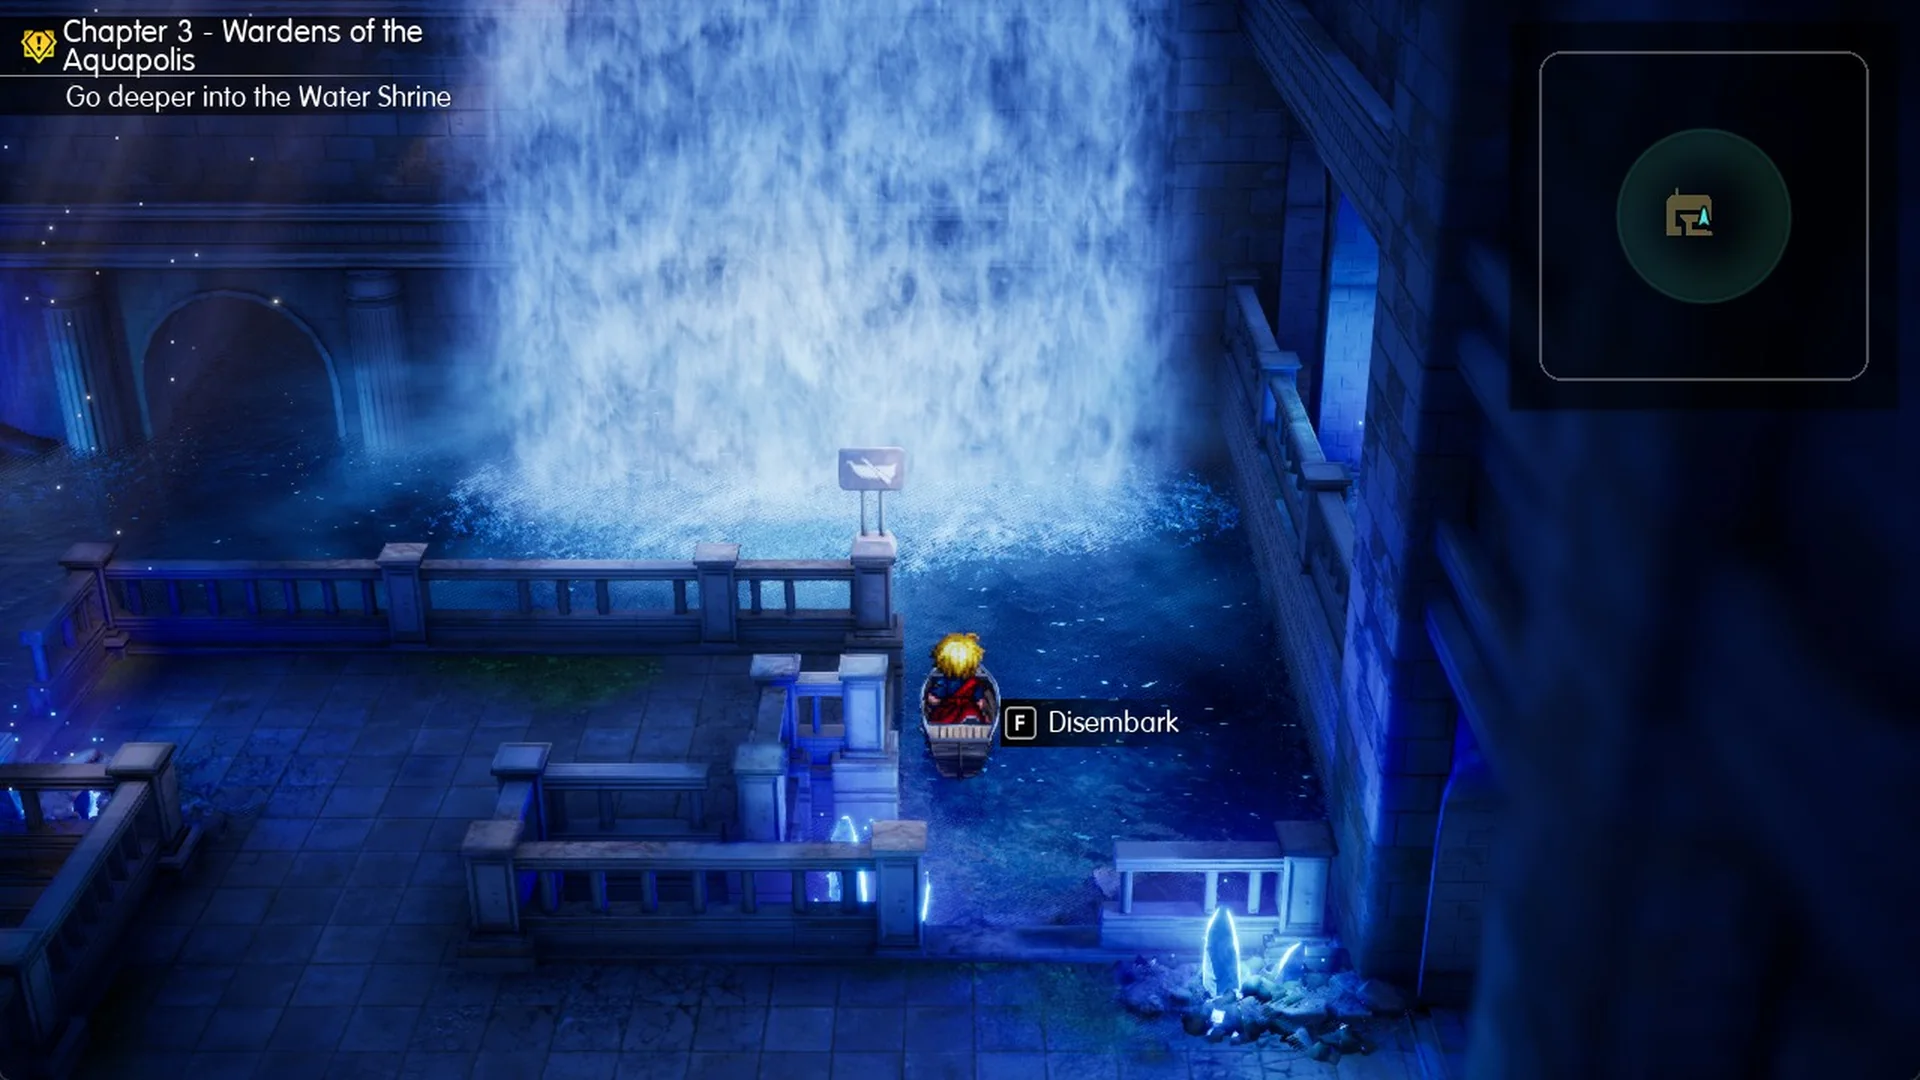
In Area 1 1F, enter the west doorway to reach Area 5, the raft hall. Press F to board the raft and guide it toward one of the three channels at the far end. Each channel connects to a separate lane in Area 3, with a small raft and a landing in each lane; use F for Disembark when you reach the landing. Make the trip through all three lanes.
Left lane: The first seal
Walk up to the crystal pedestal and press F Examine.
The camera pans to Area 1’s central floor.
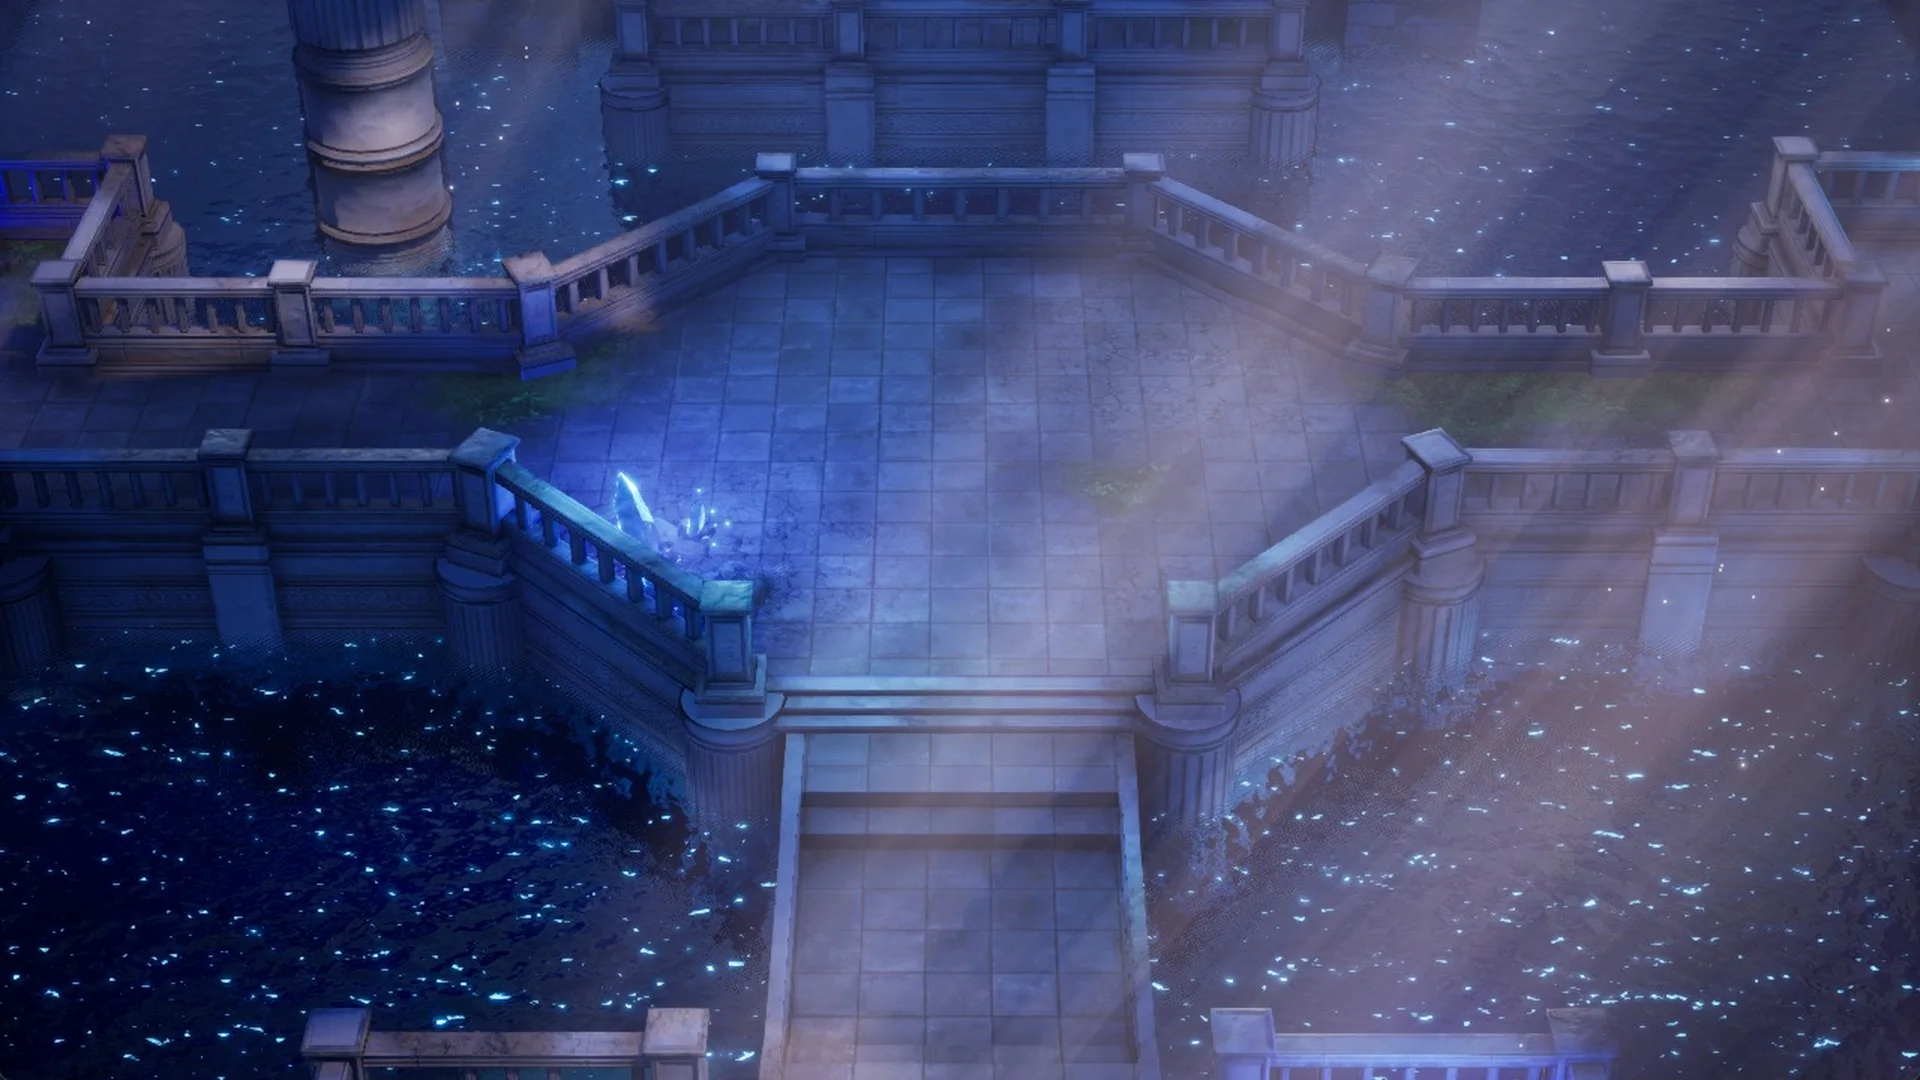
When you return to Area 1, the central floor sits a full level lower.
Middle lane: Scale Mail
A chest here holds the Scale Mail, a piece of heavy armor with Physical Defense 121, Magic Defense 70 and Speed -29. Its effect reads “Increases HP by 170. Grants constant Protect when at less than half of max HP.” It sits alongside the other pieces in the armor list.
Right lane: Magicite Shard
This lane’s chest holds a Magicite Shard, described as “A shard imbued with the power of the Farplane. Has the power to awaken visions.” Its use is explained in how to awaken Visions.
Area 4 crate puzzle, step by step
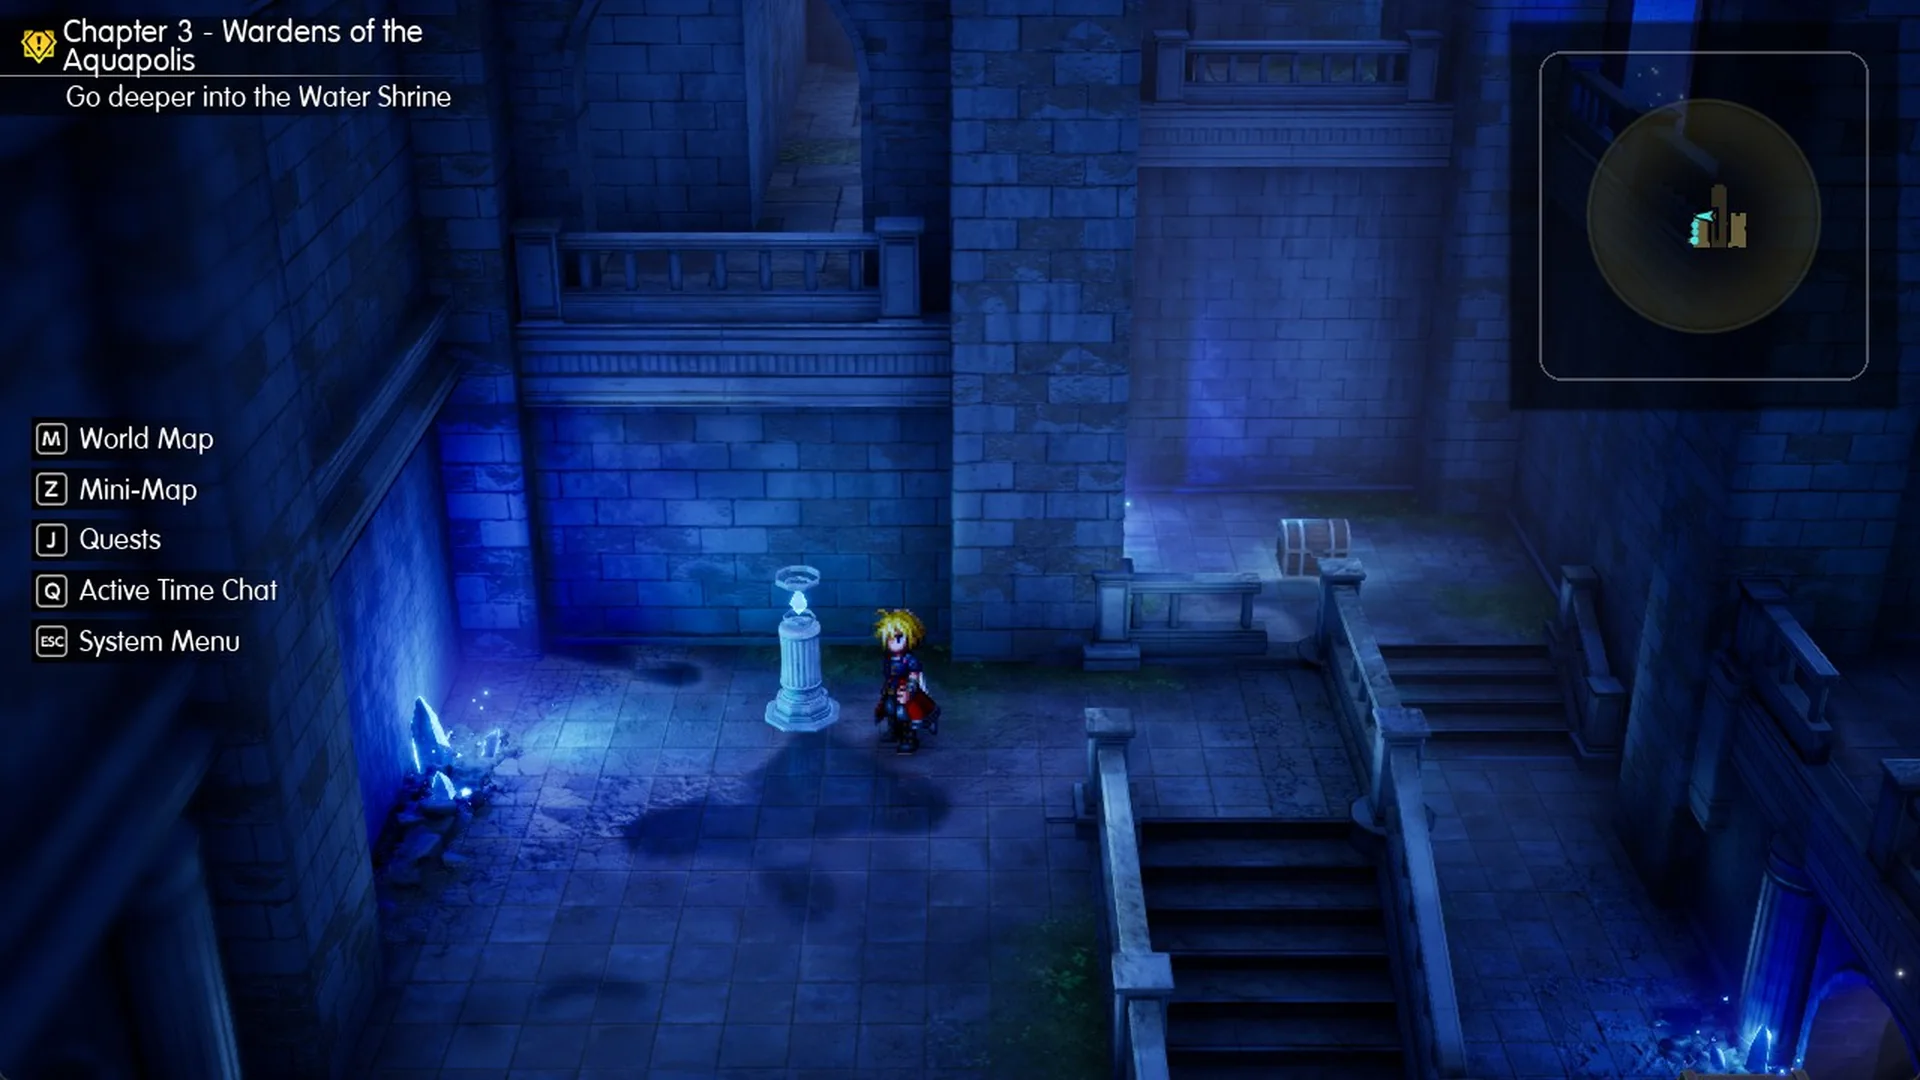
Reach Area 4 by taking the ladders on Area 1 1F’s east side down to the basement, B1. At the bottom, use the doorway on B1 near the ladders.
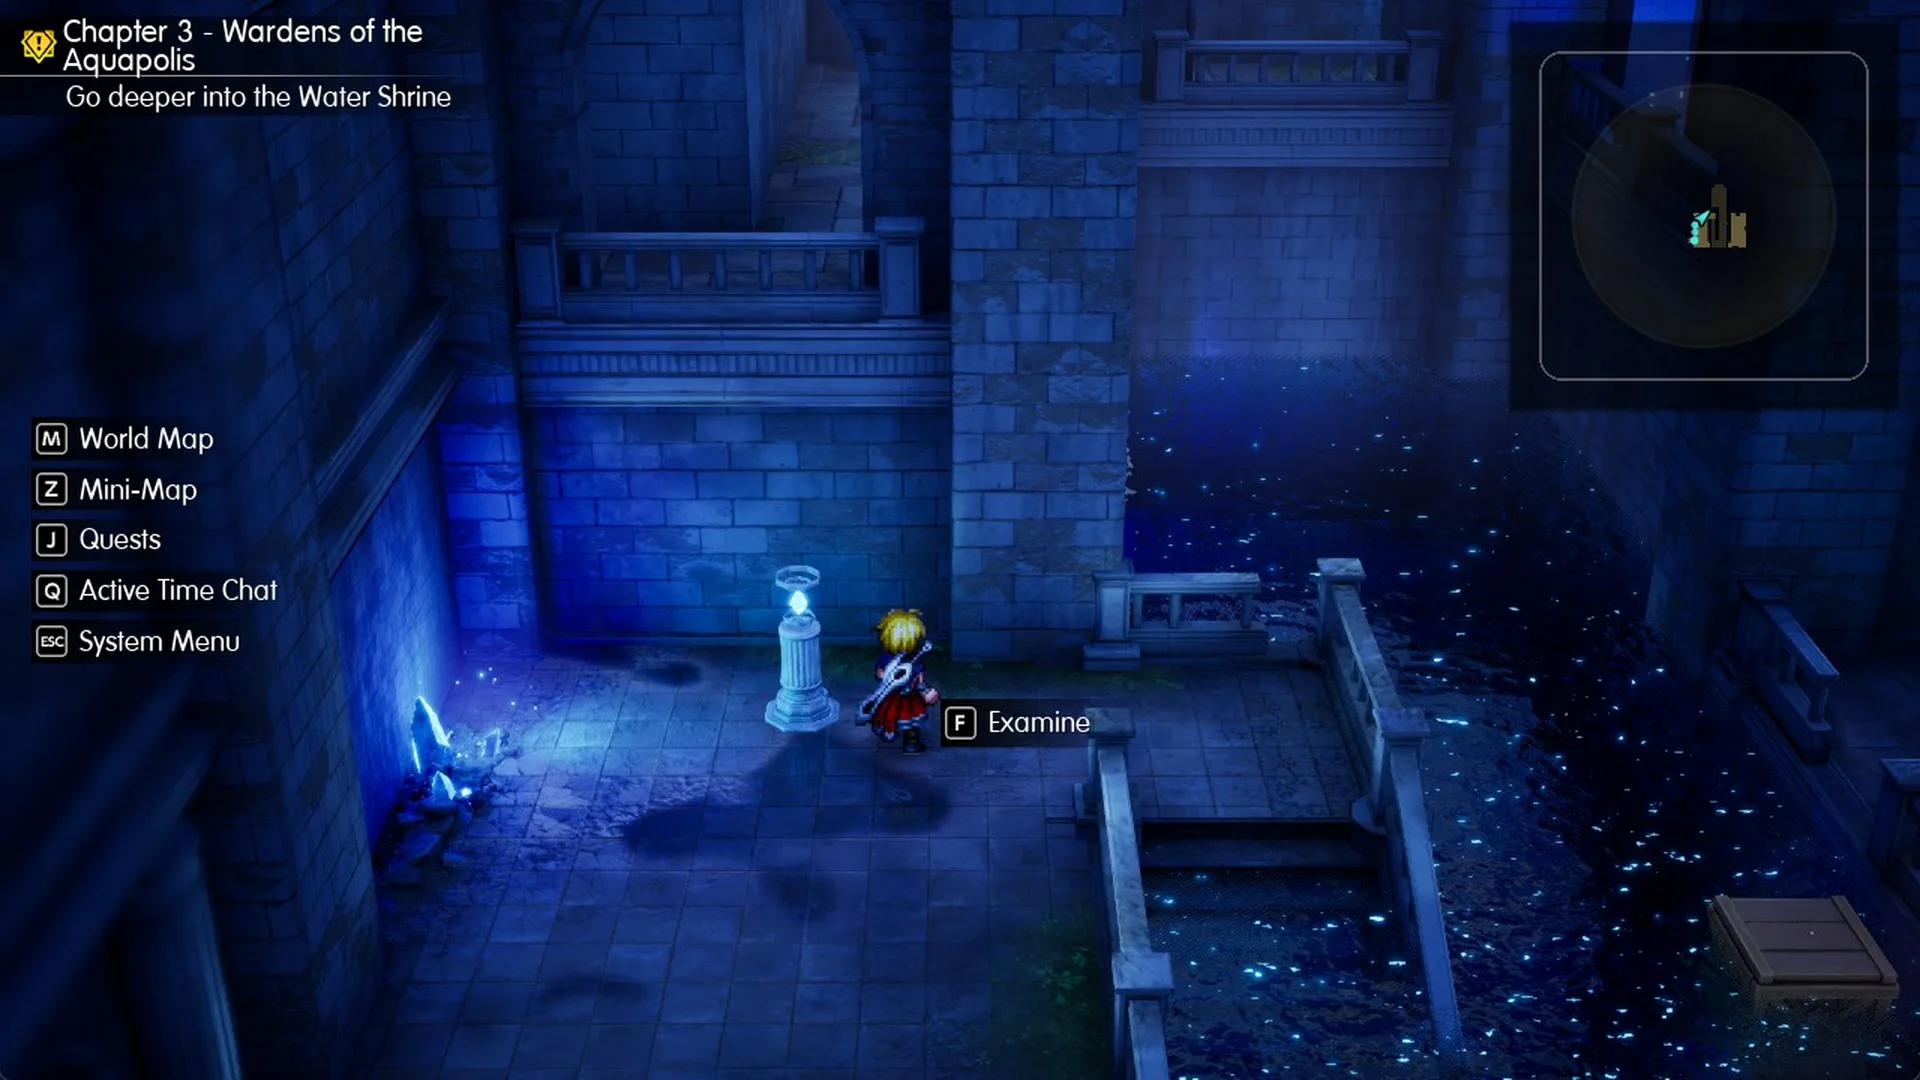
The water in the channel below drains away.
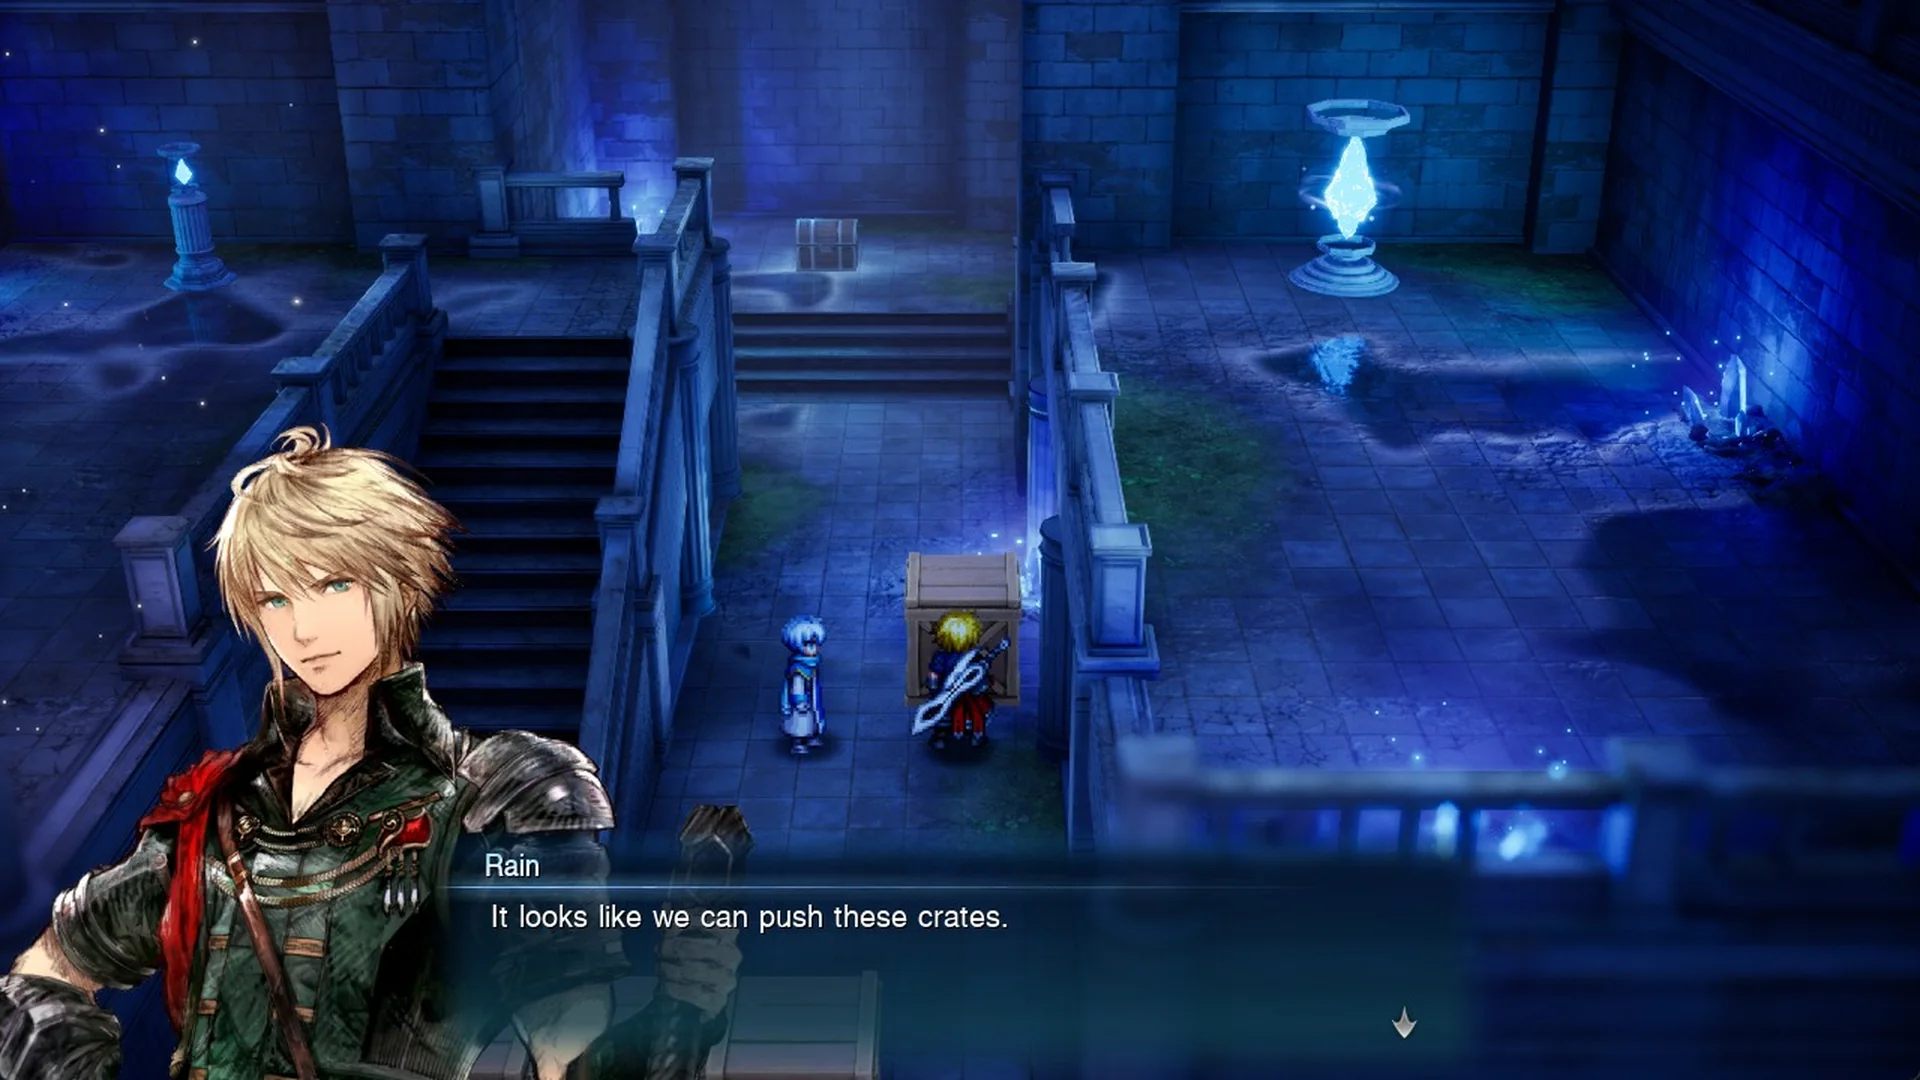
Rain says, “It looks like we can push these crates.” Nichol follows with “They may be of use to us. Let us take a closer look at our surroundings.”
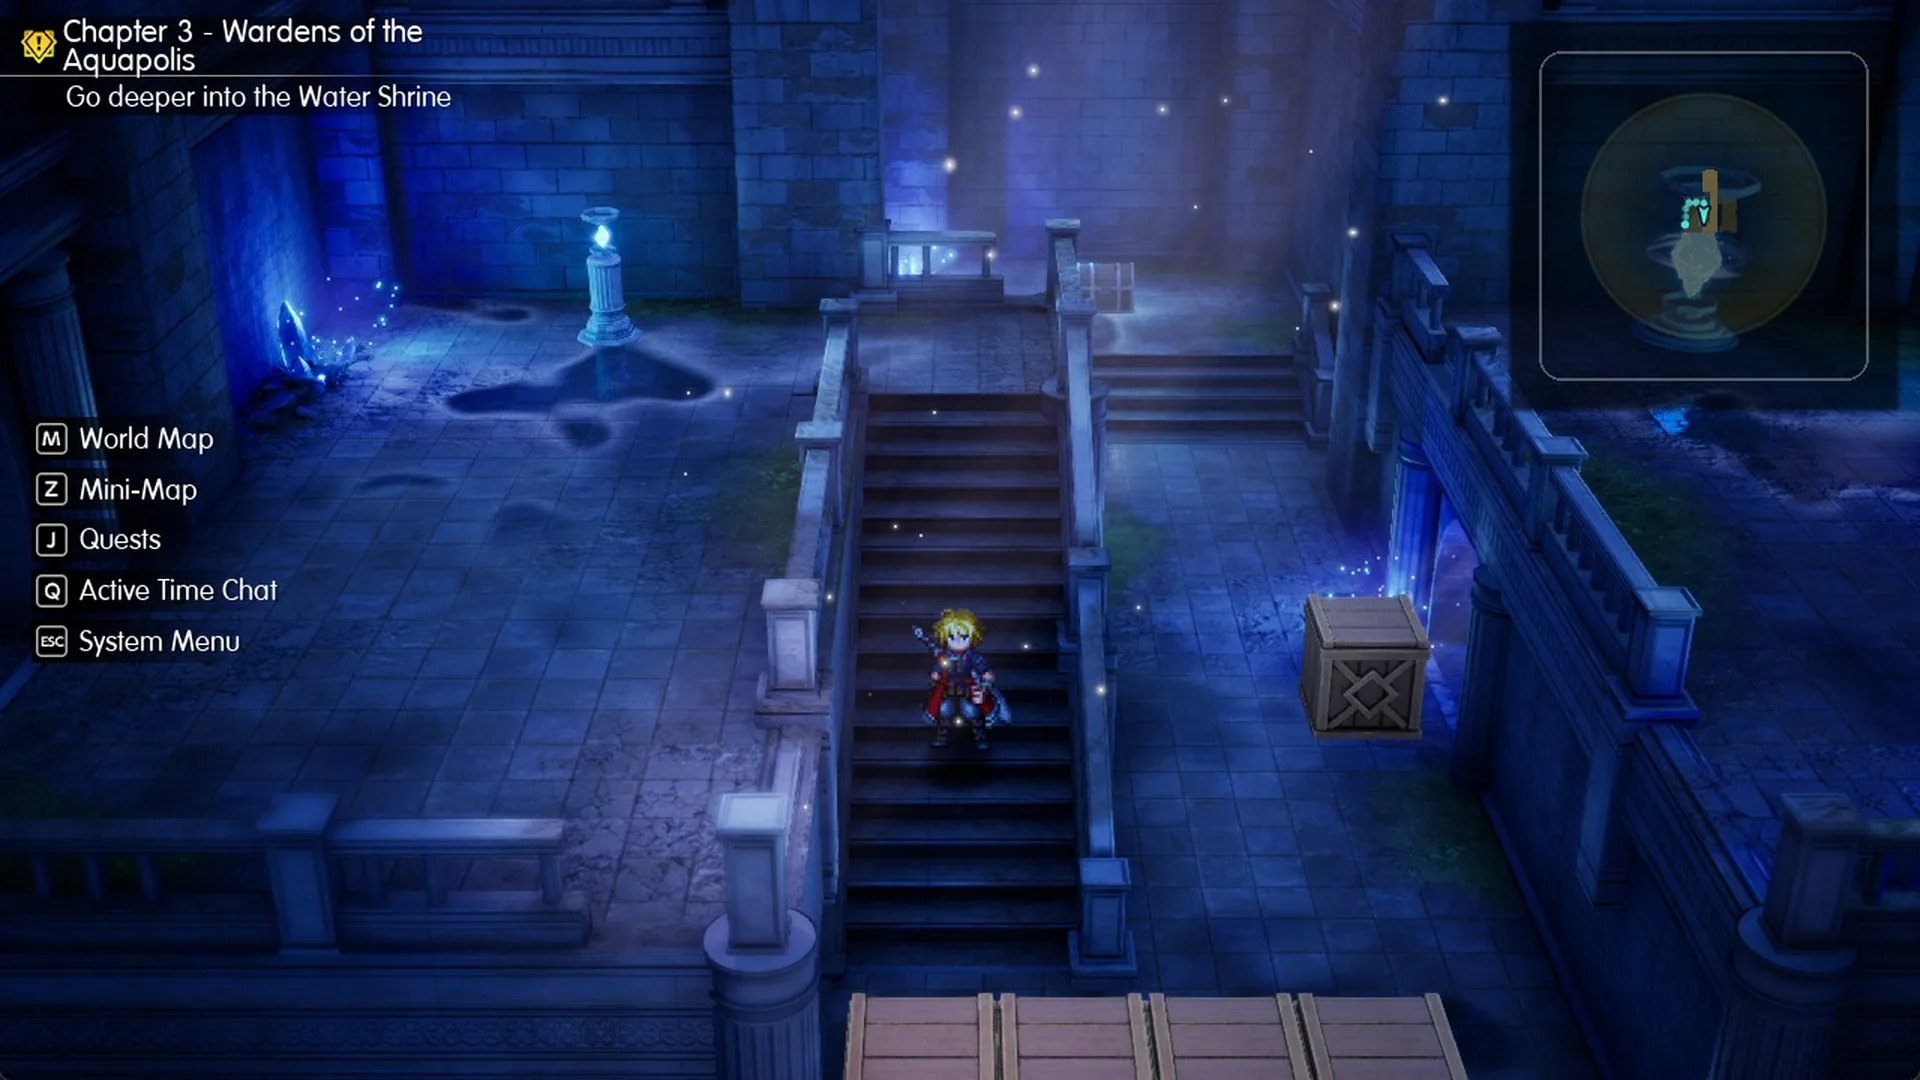
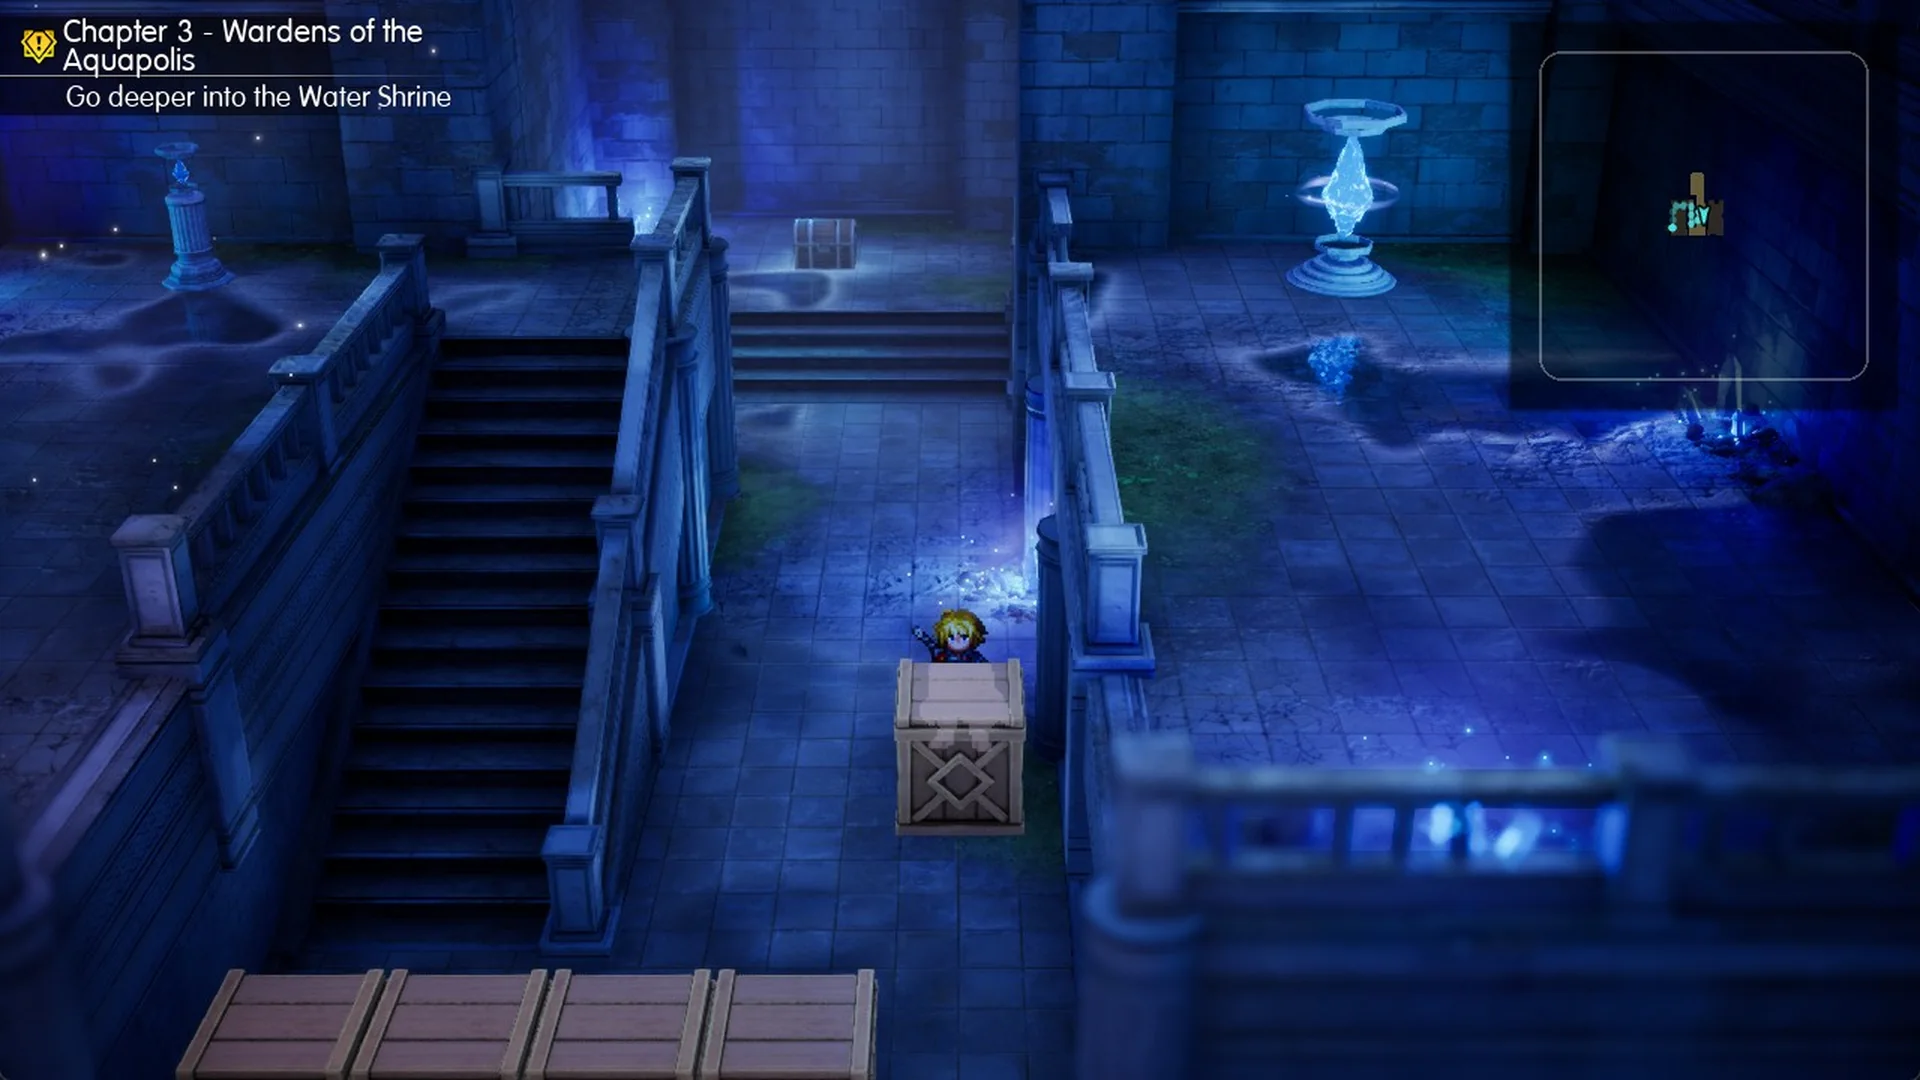
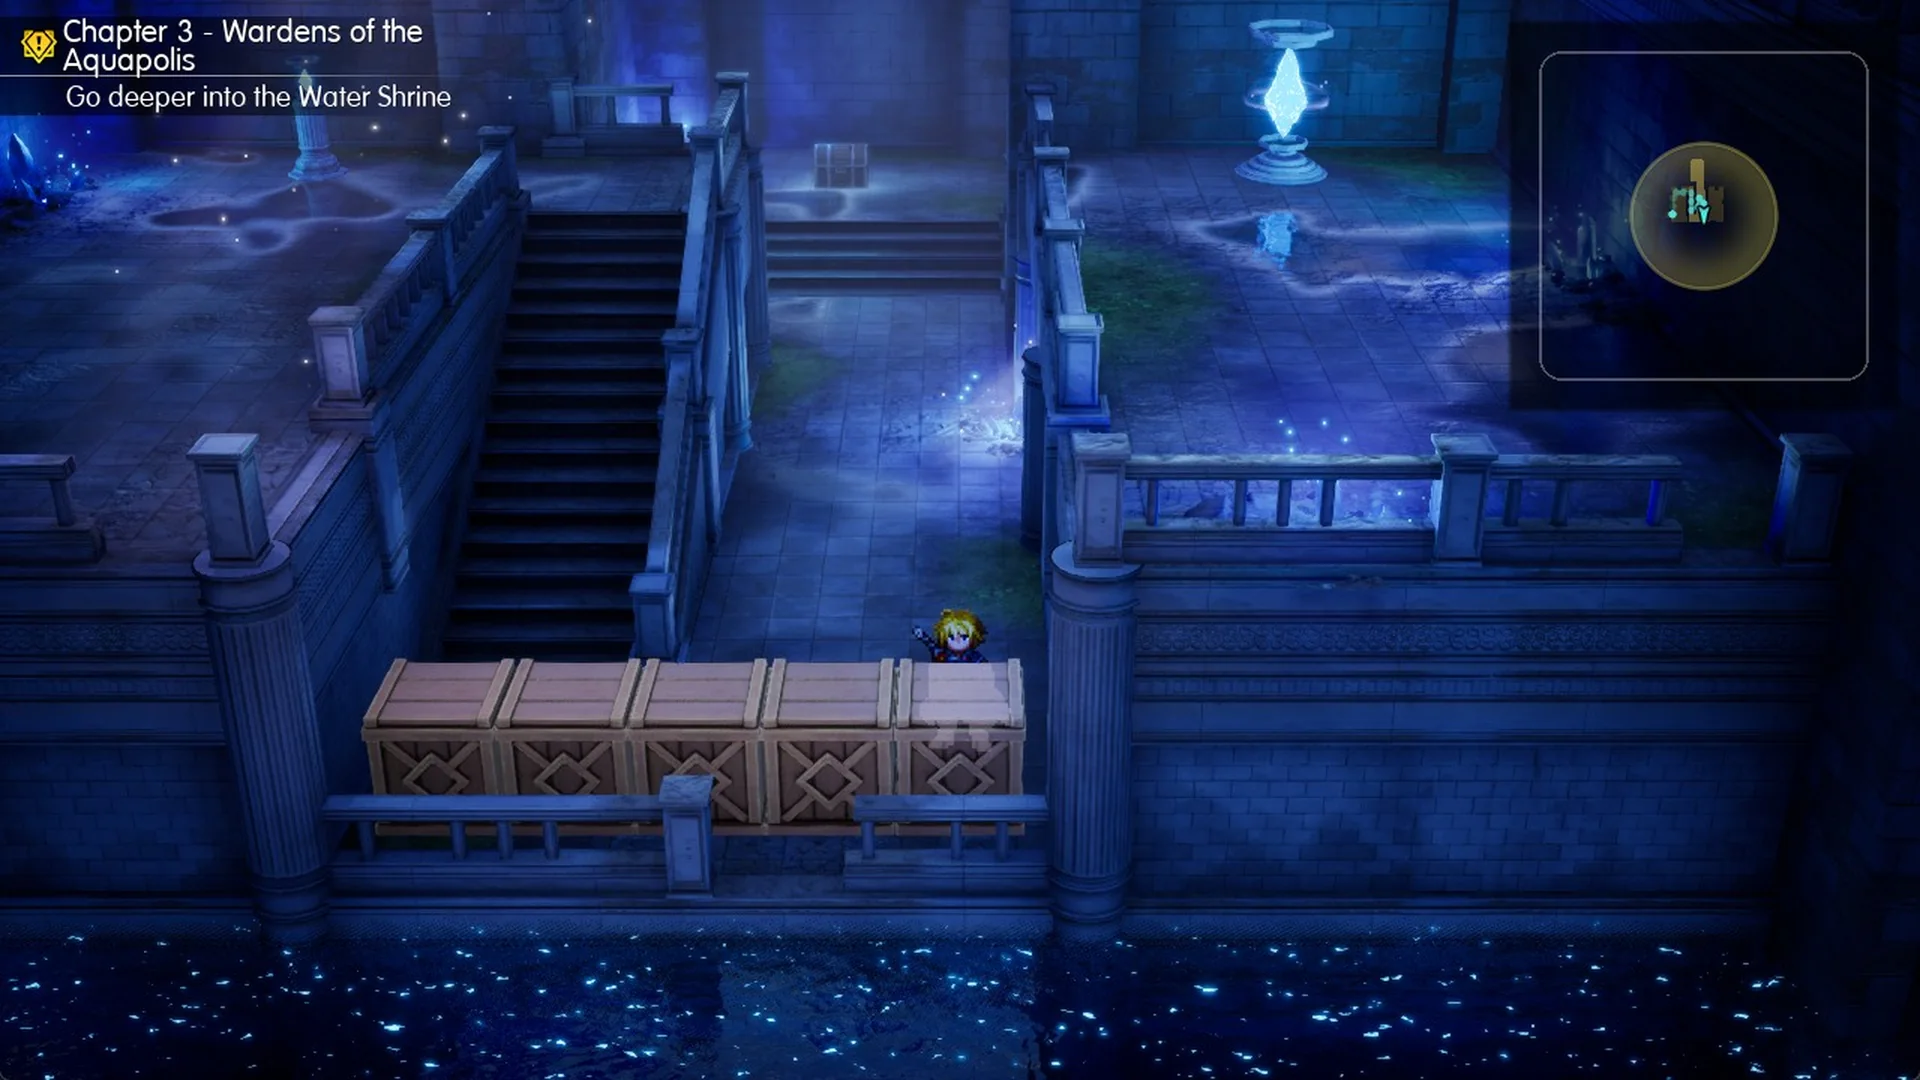
Push it twice more.
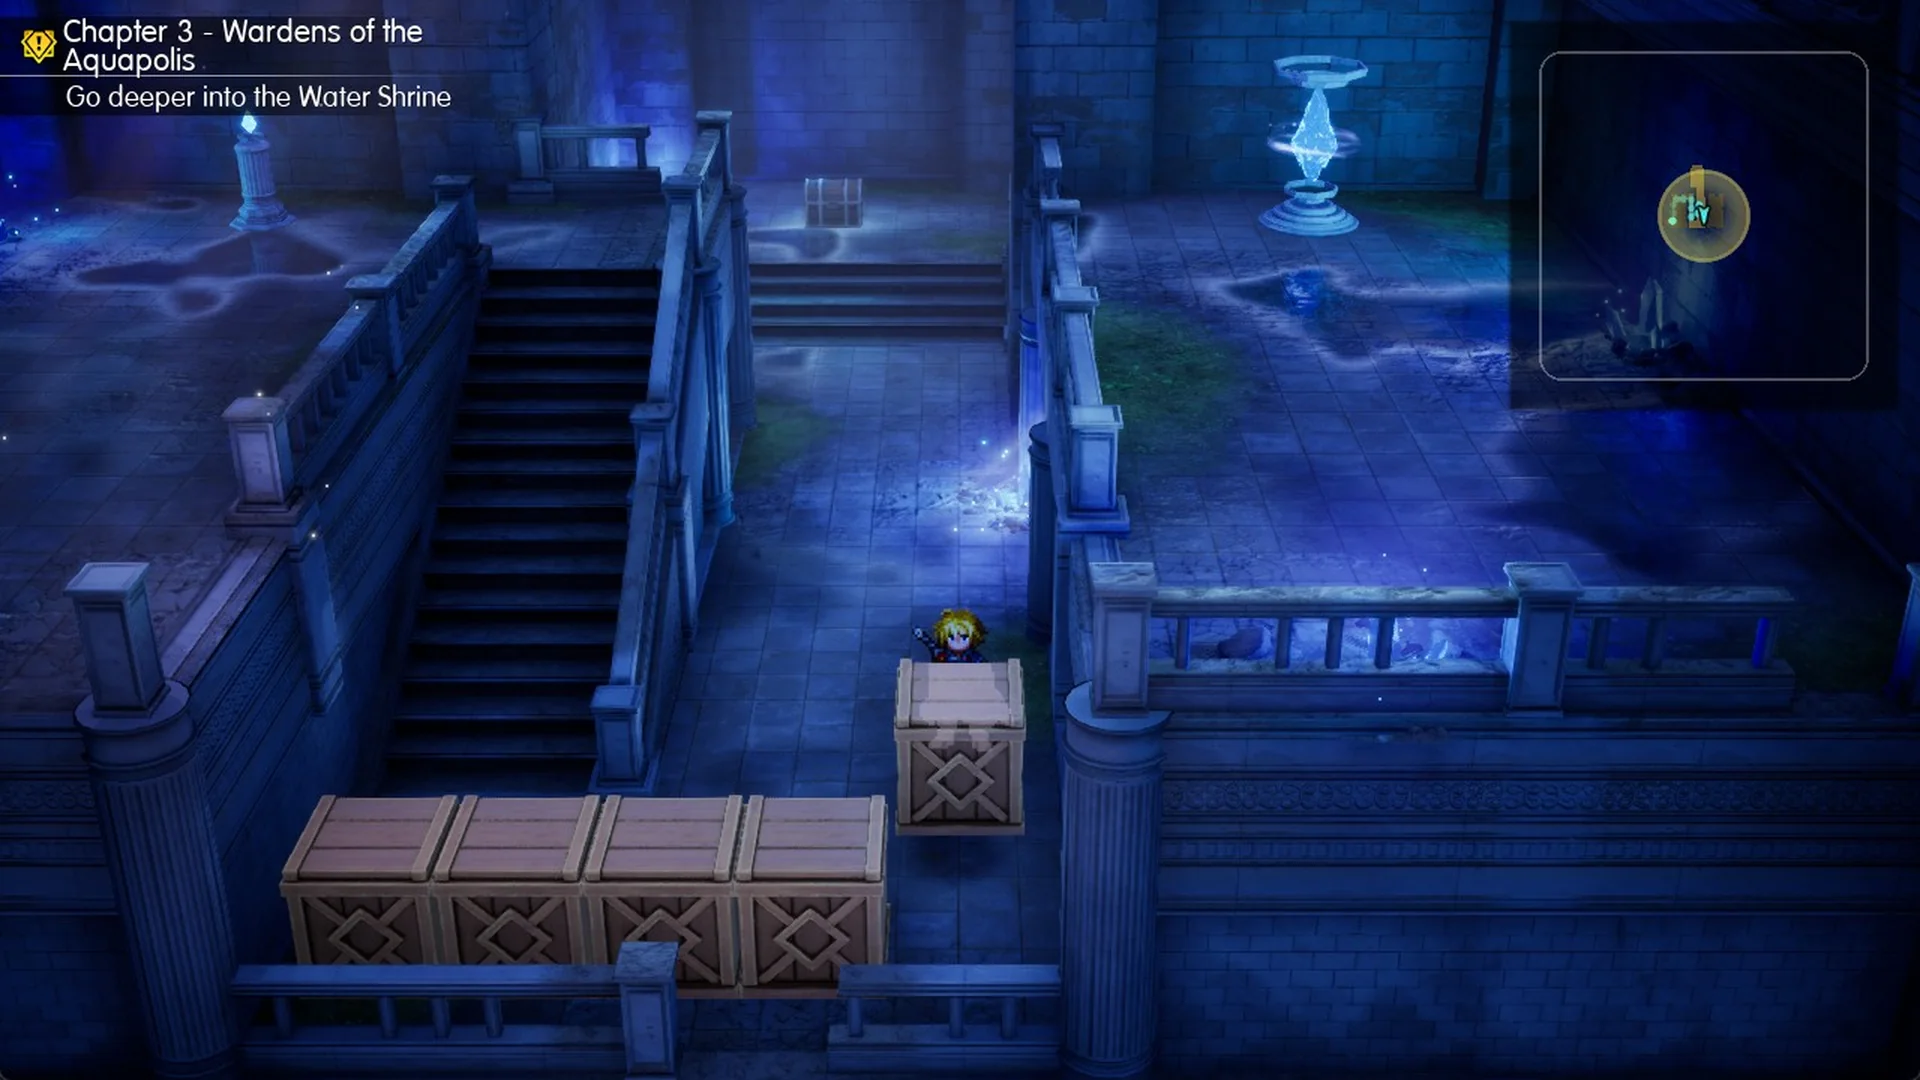
On the third push, it takes the vacant fifth position at the row’s end.
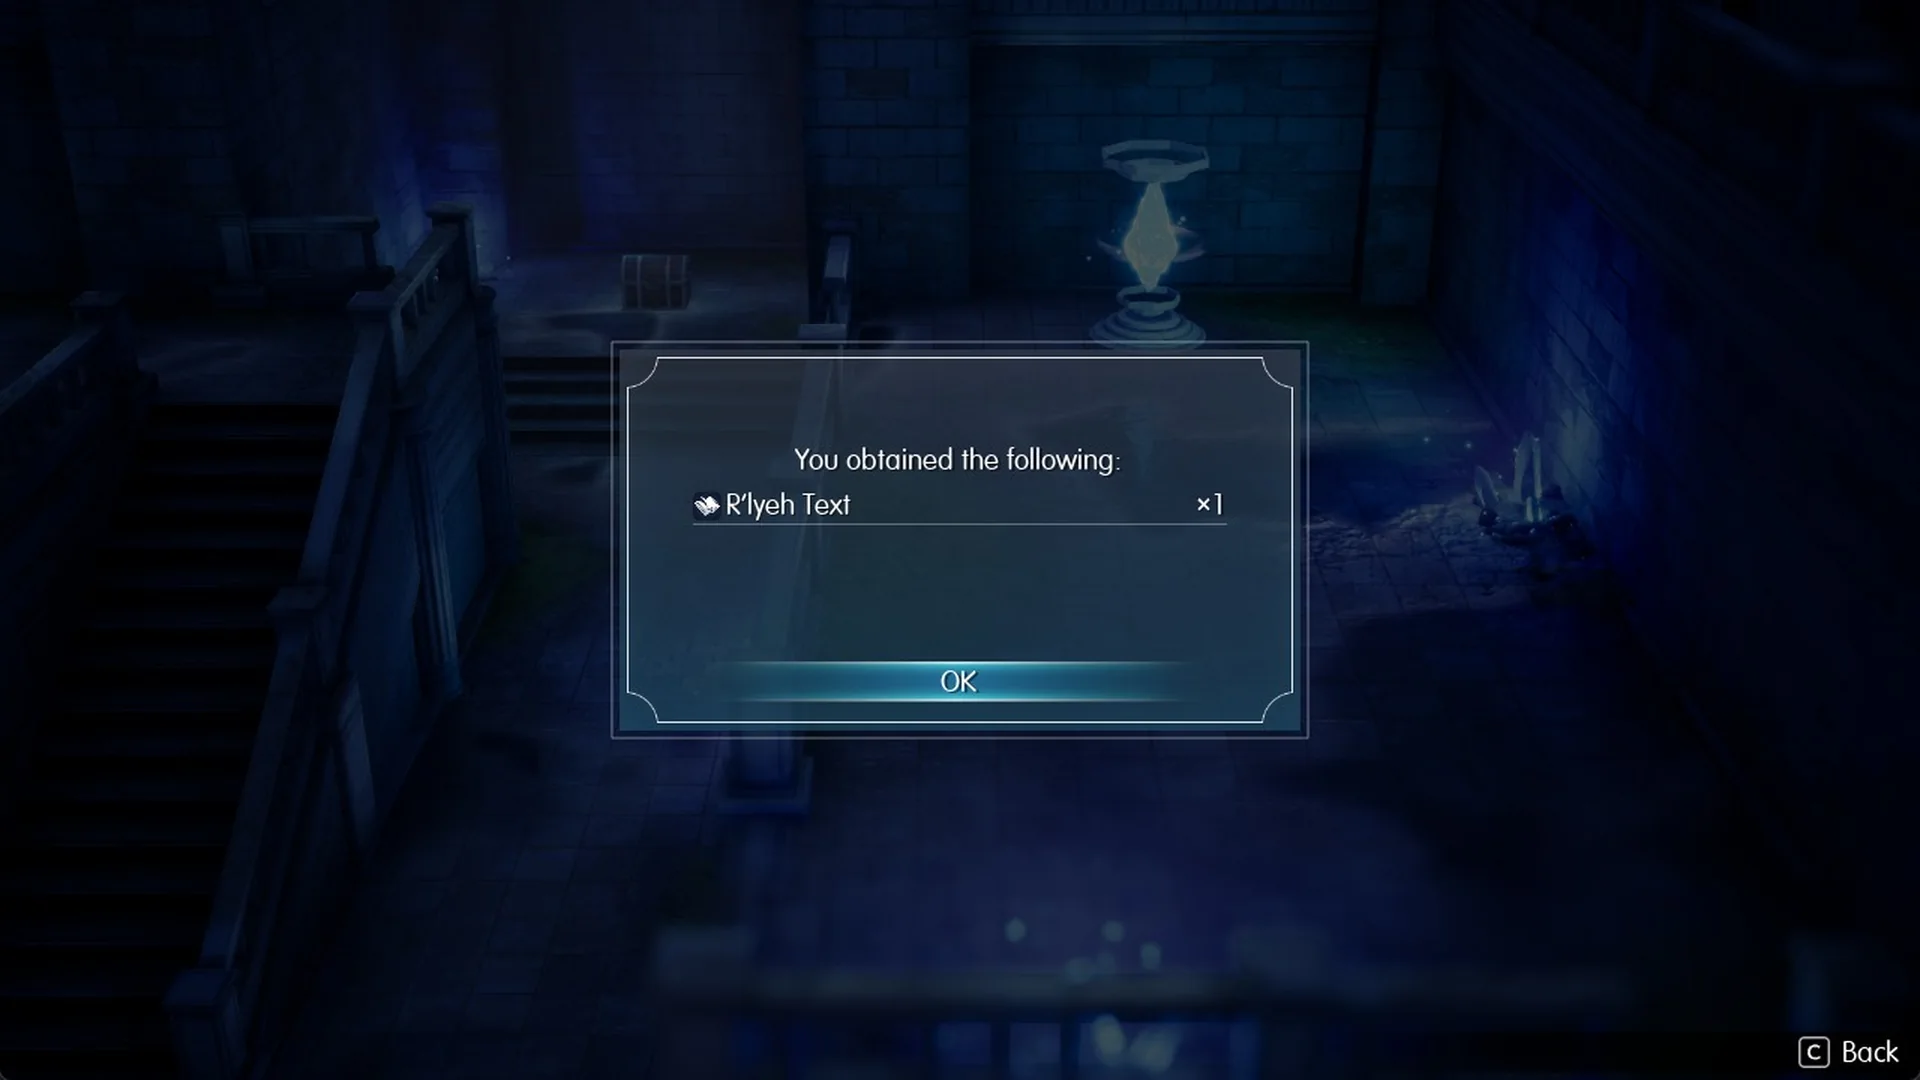
The R’lyeh Text is a grimoire with Physical Attack 35 and Magic Attack 93, and its effect reads “Increases damage dealt by Water attacks by 30%.” The second chest, Lightning Scroll I x3, is at the north end of the channel.
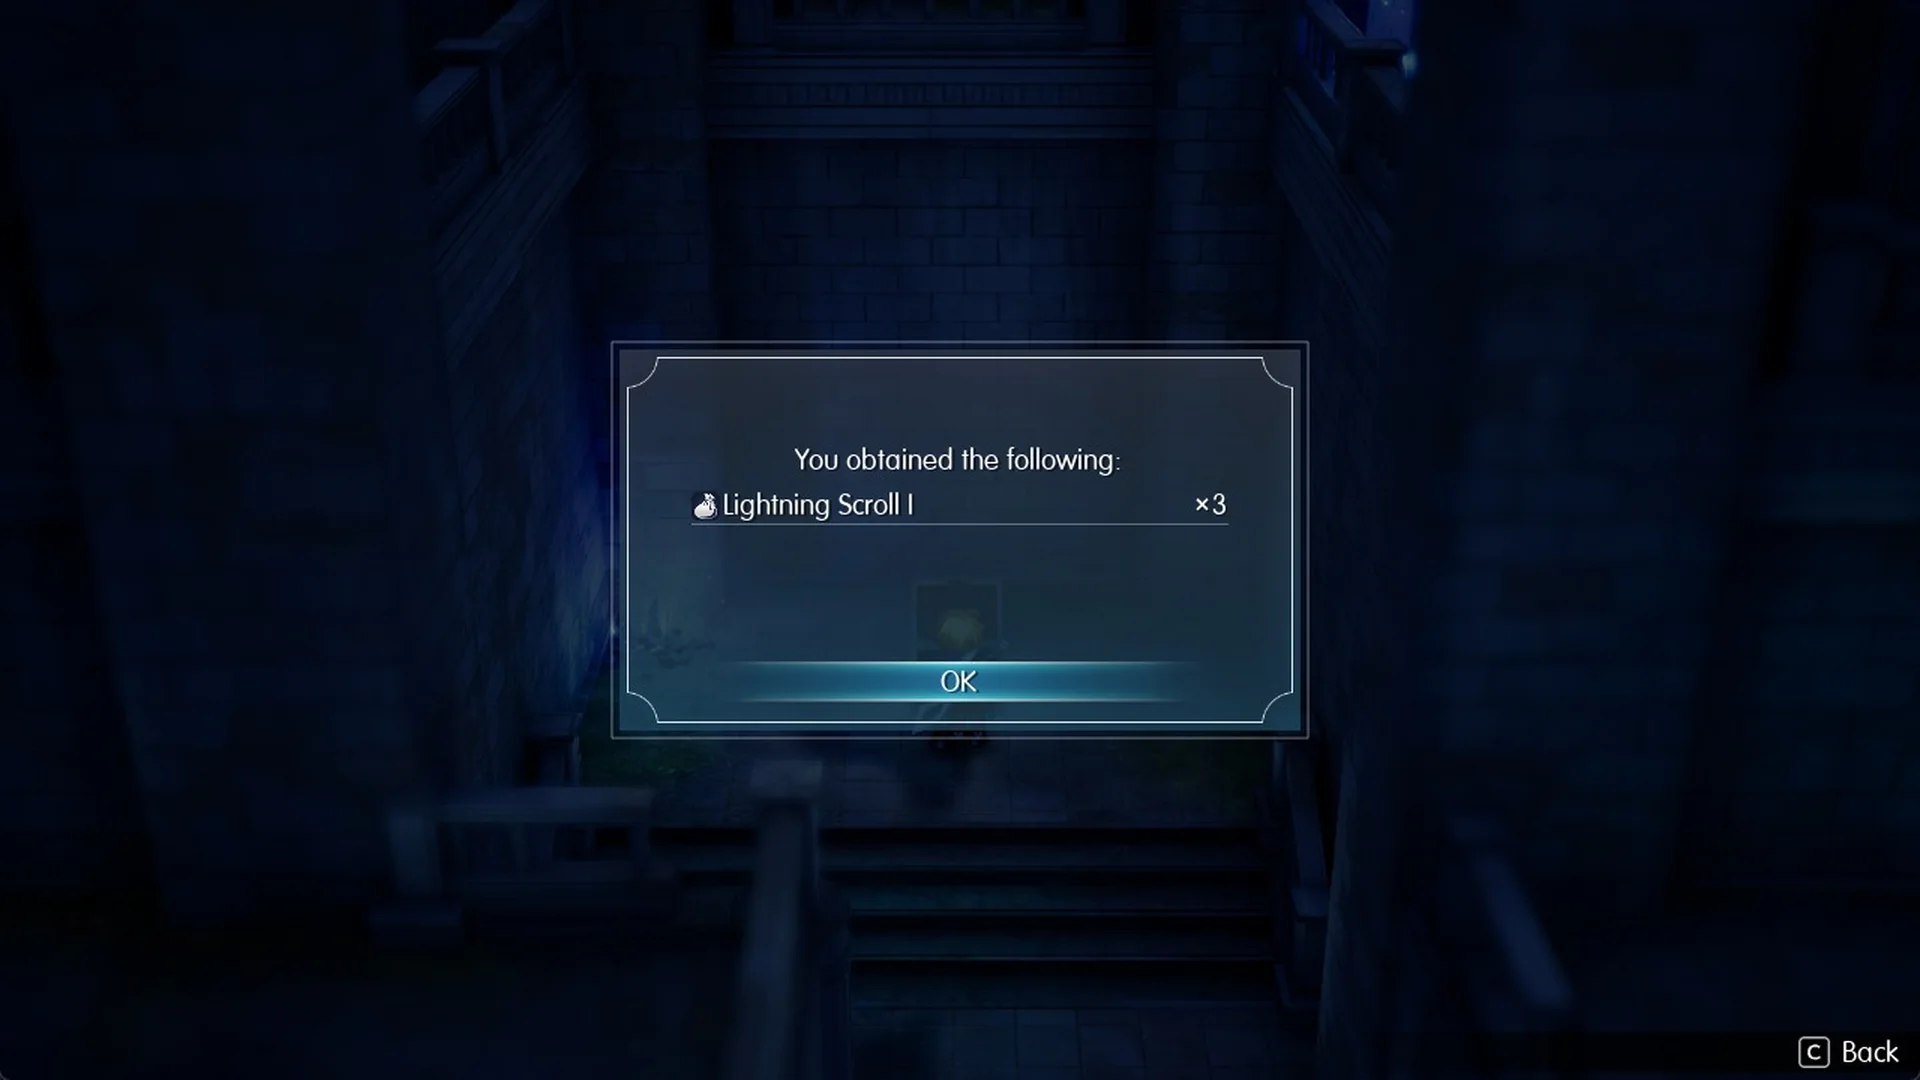
Lightning Scroll I reads “Deals Lightning magic damage to a single enemy. Power increases and targets all enemies when thrown.”
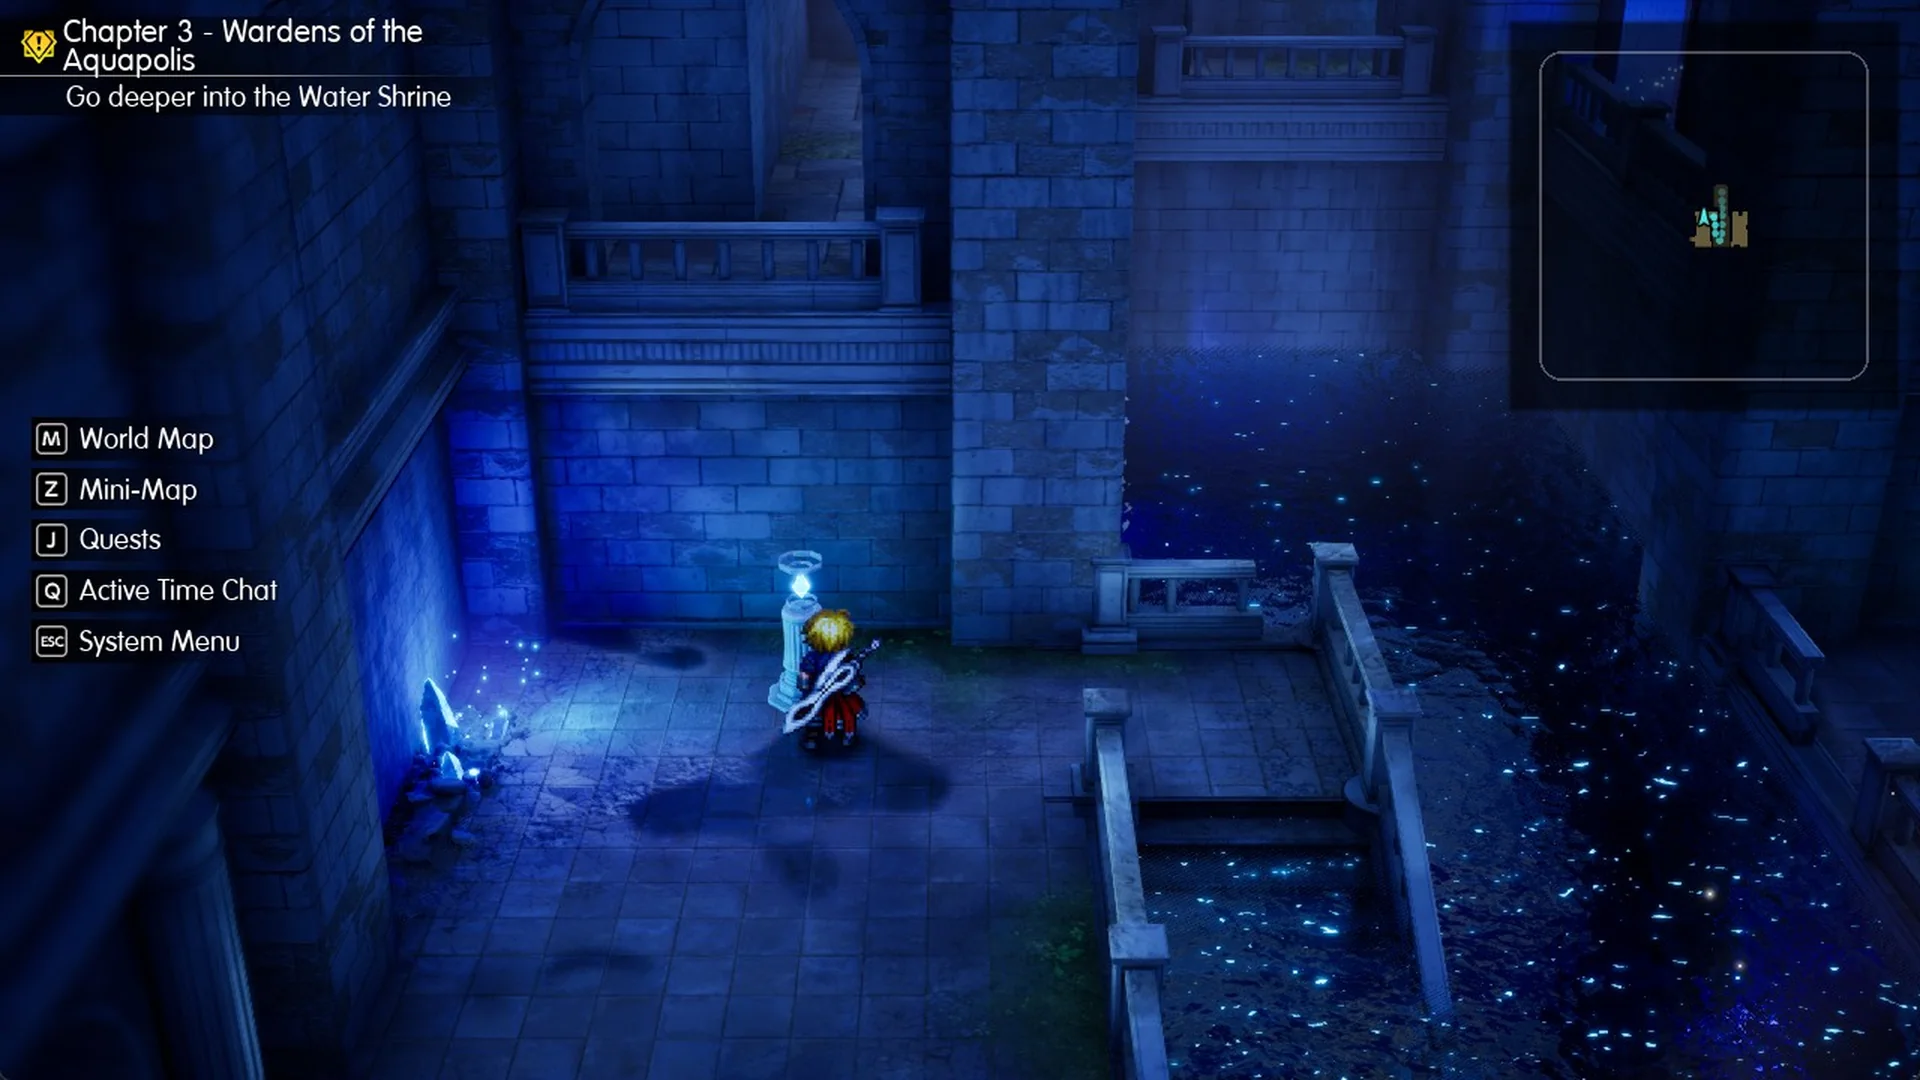
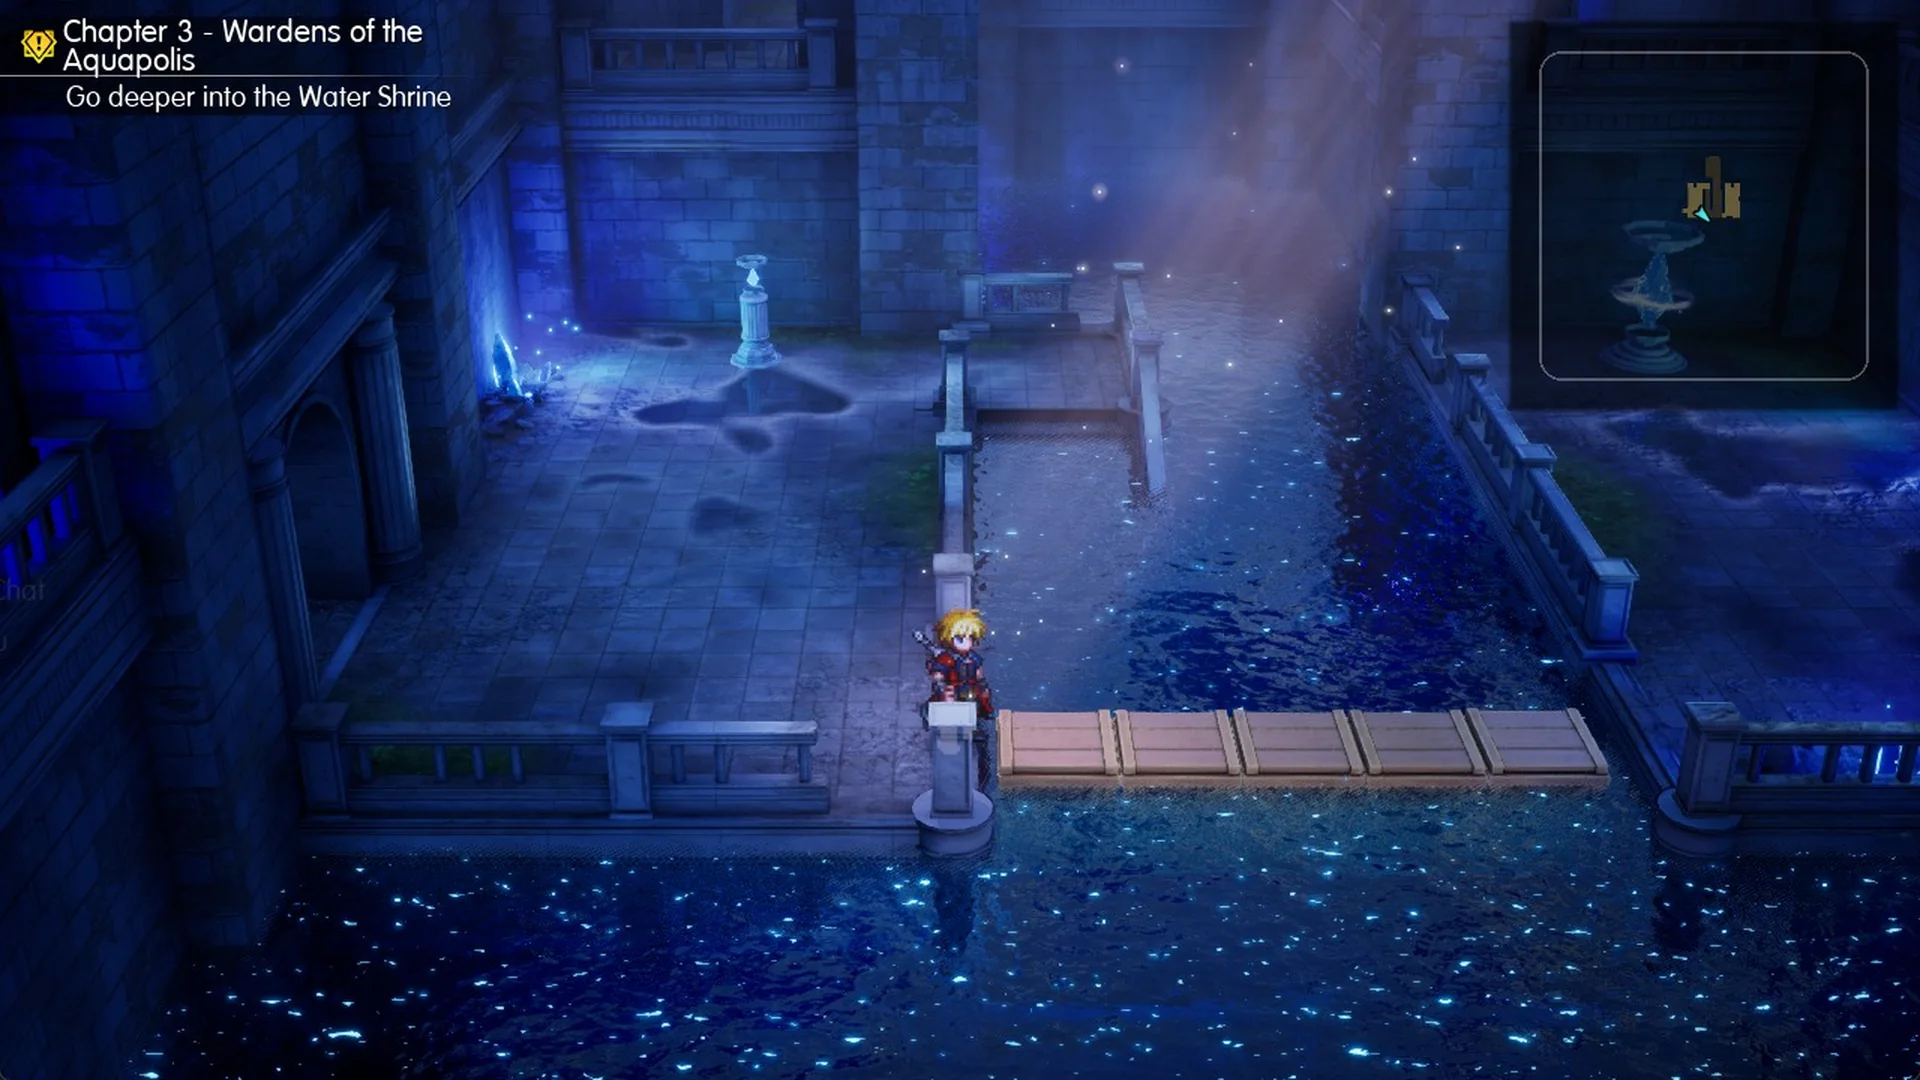
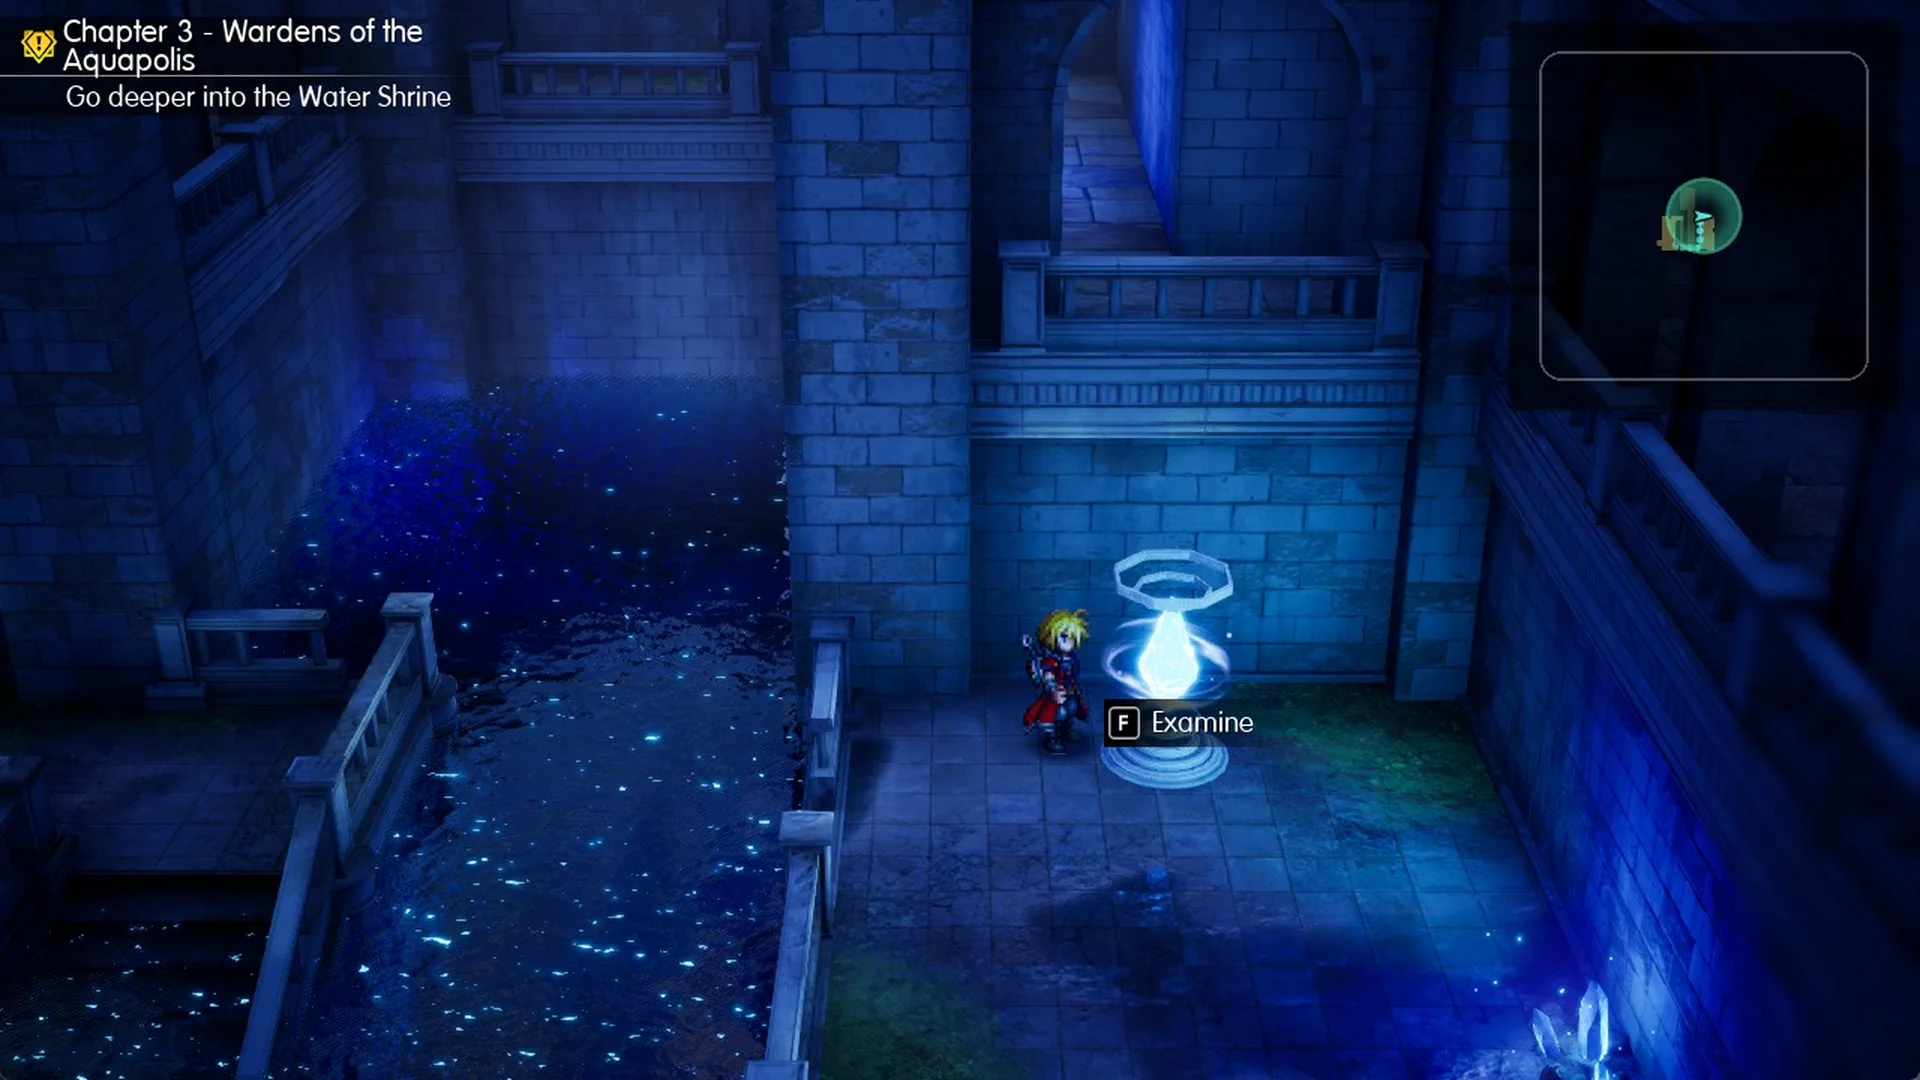
The camera pans to the north arch on Area 1’s basement level, B1, where the water is now gone.
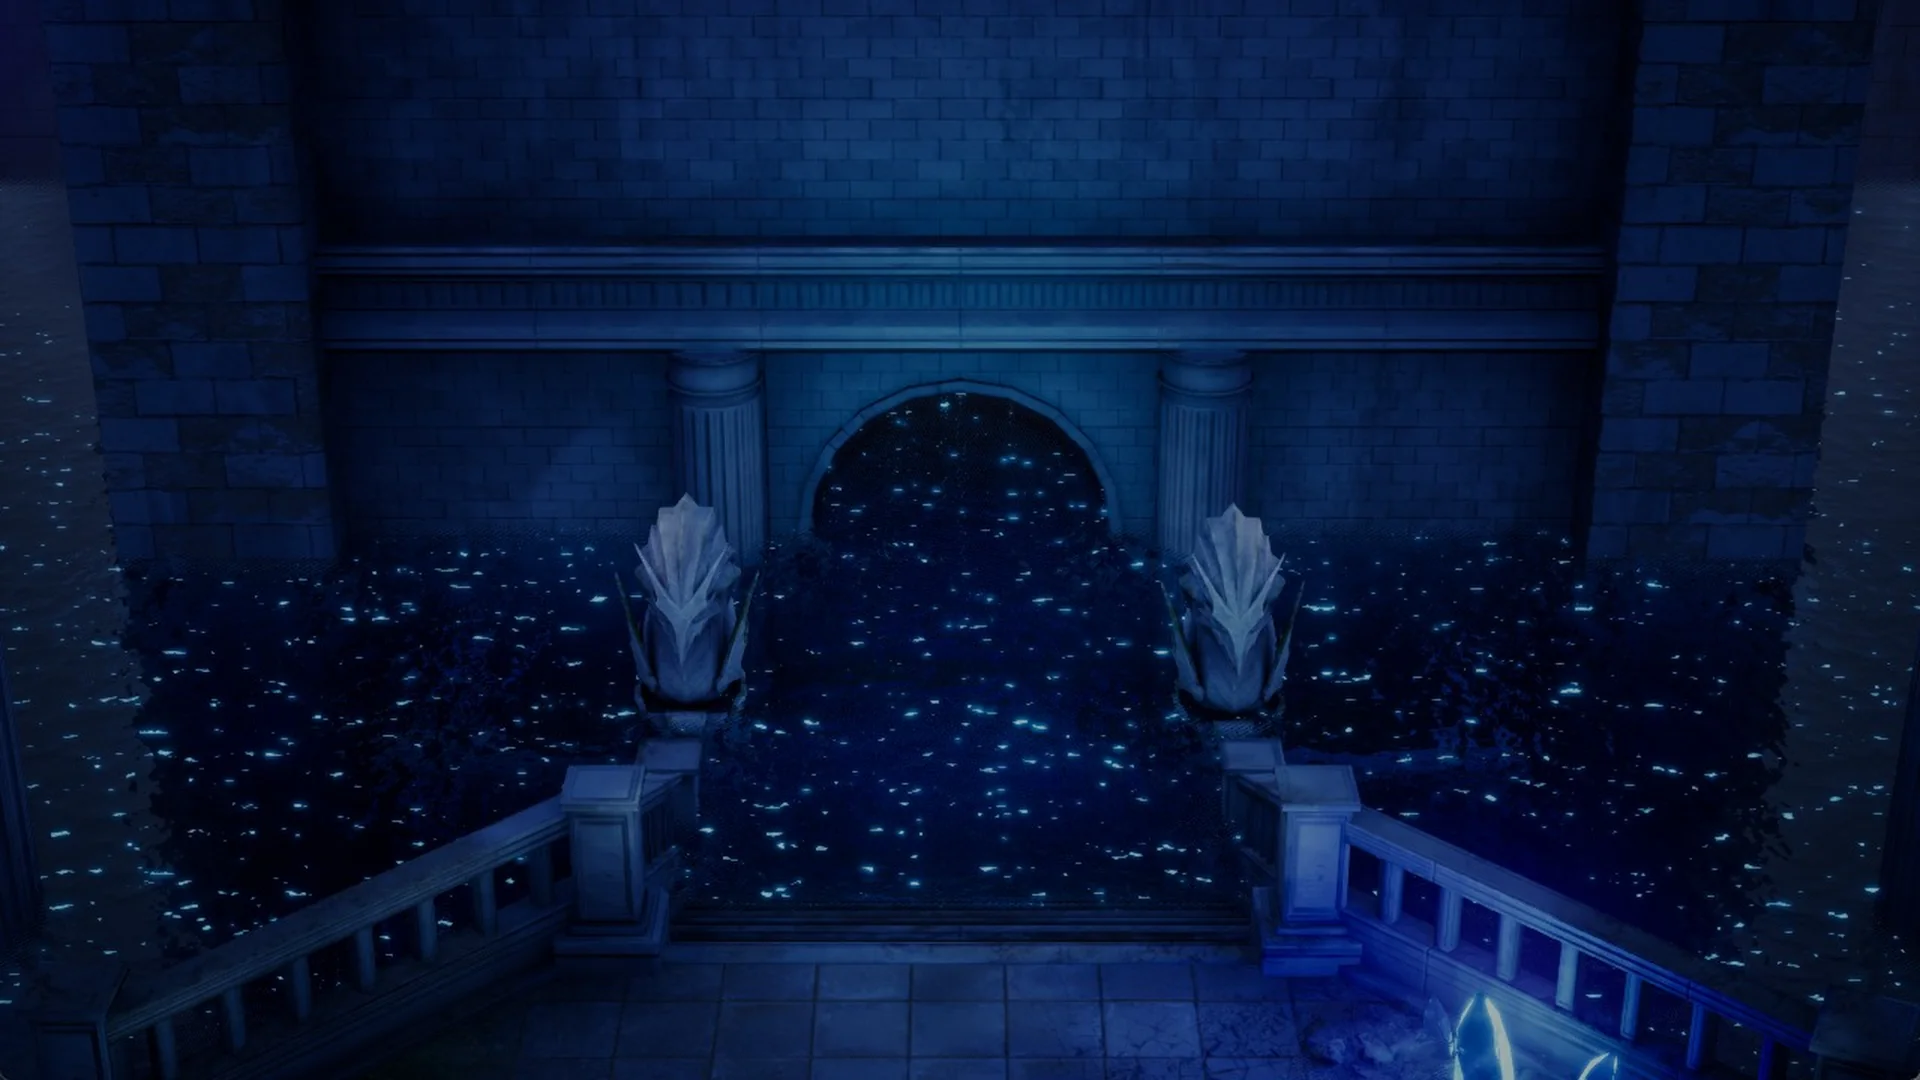
After the Area 4 seal: B1’s north arch and Tablet Shard
Back on Area 1 B1, the formerly submerged north arch is dry and its stairs are visible.
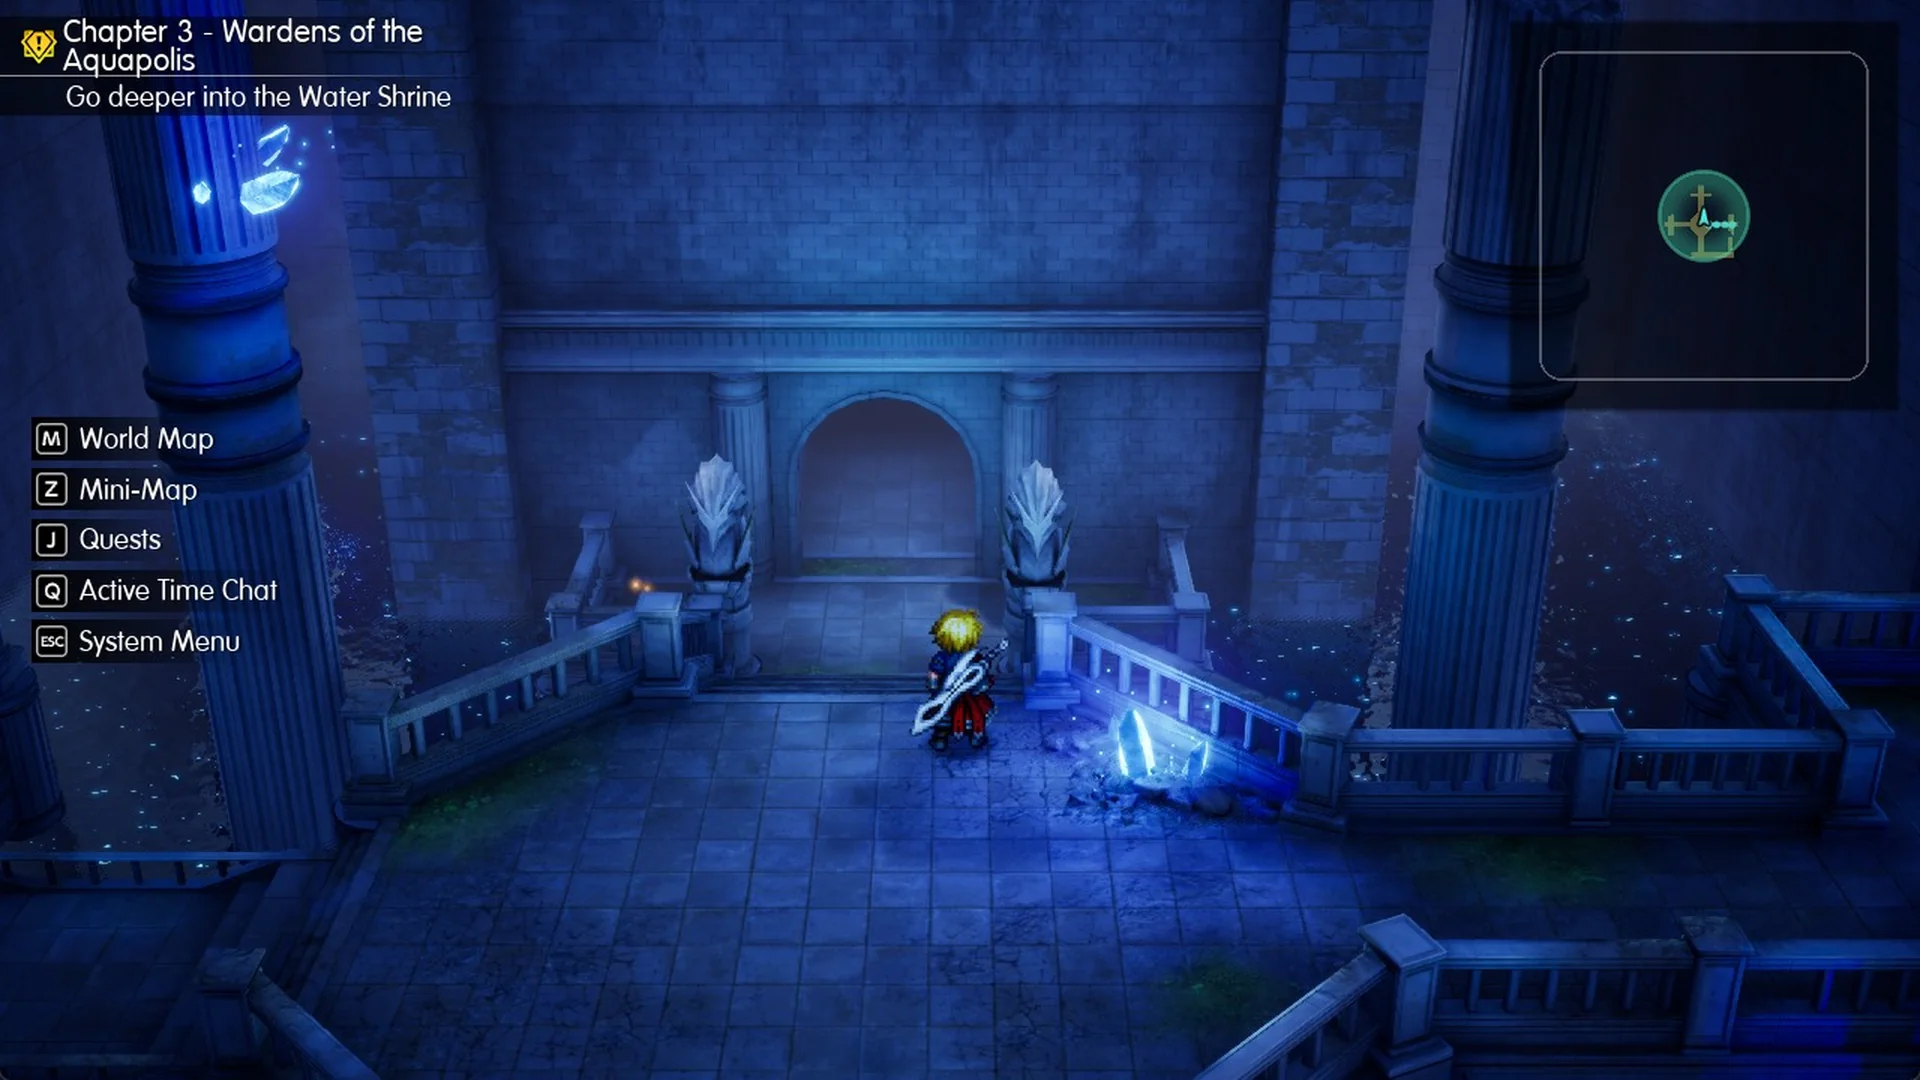
This route leads north into the eastern section of Area 2. In our run, the Area 4 seal did not lower Area 1’s central floor by much; what it opened was this arch.
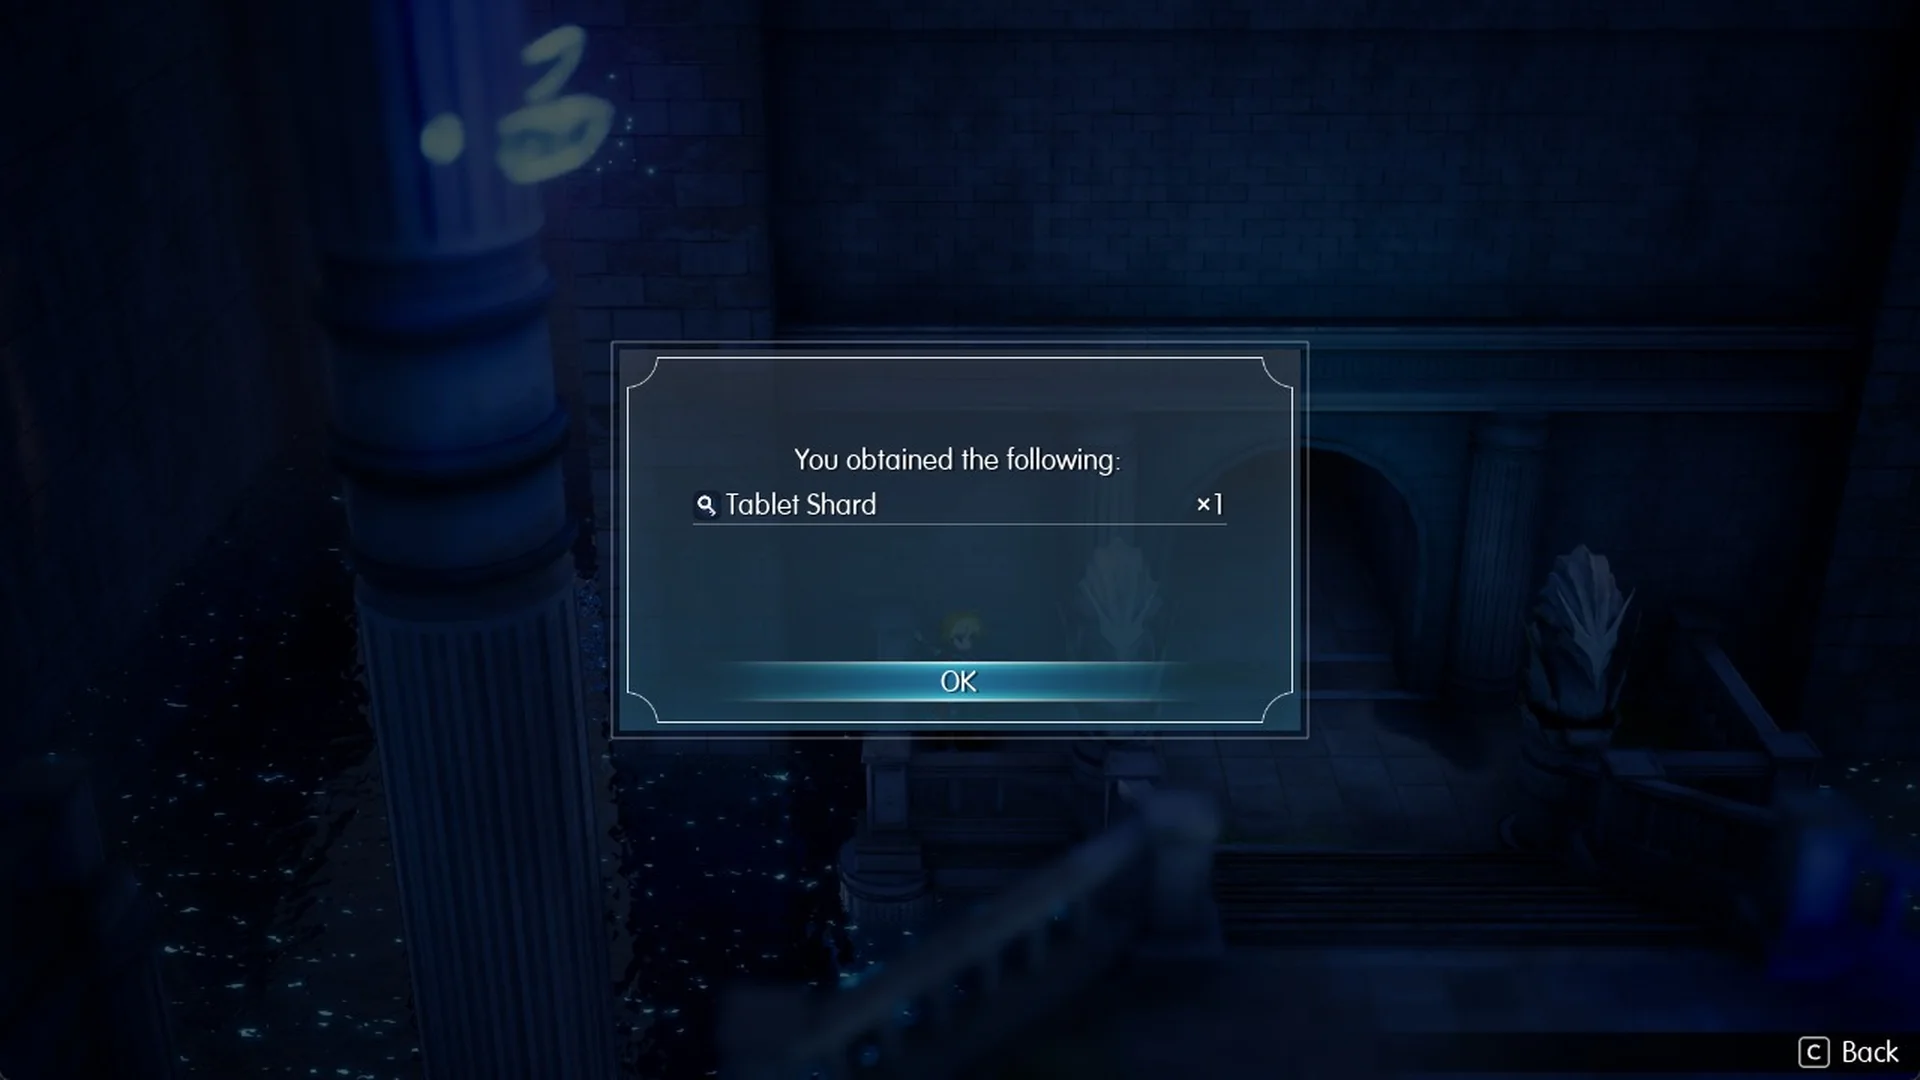
Right next to the arch is a Tablet Shard that the water had cut off. Press F Examine to pick up “Tablet Shard x1”. The rest are covered in the Tablet Shard locations.
Area 2 and the Viridian Pot
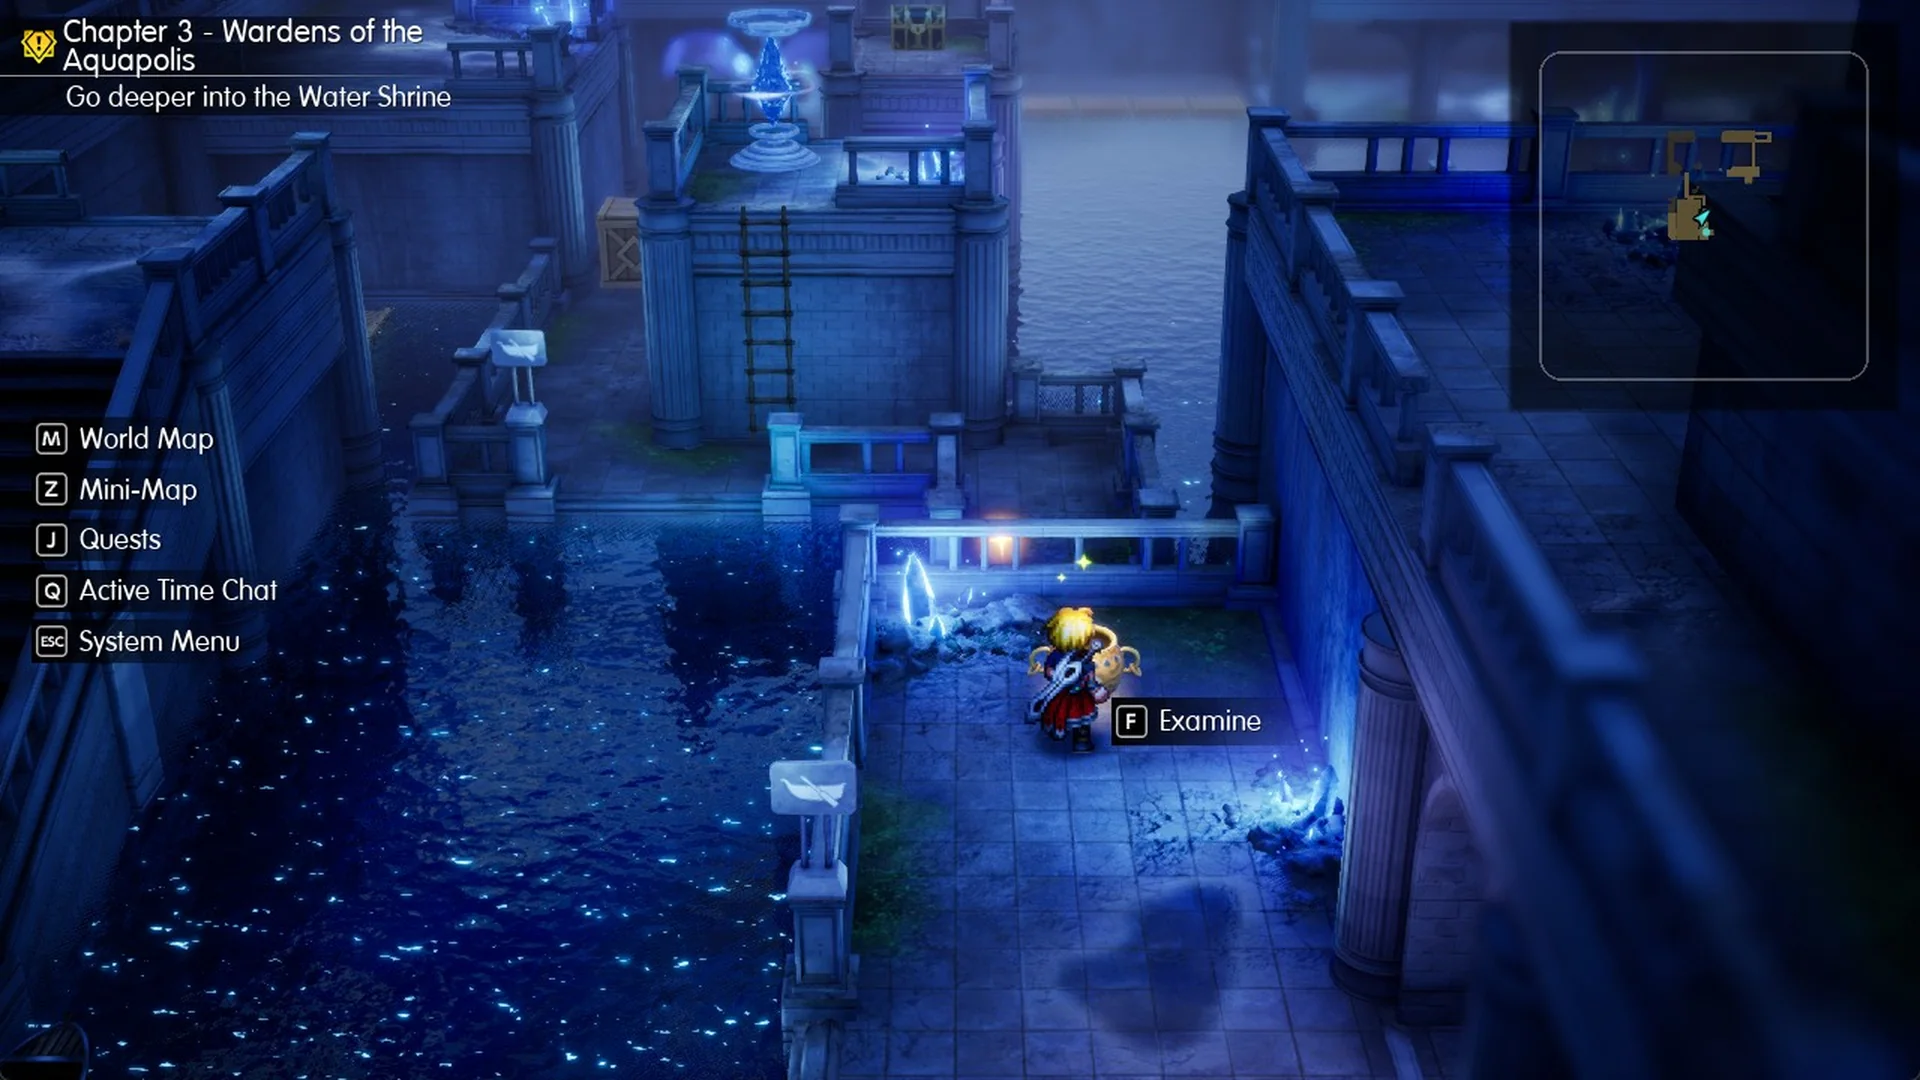
B1’s west doorway opens onto a small railed platform in the west part of Area 2. The Viridian Pot waits here. It is an optional Lv 22 Fairy with 99,999 HP and a rare Elixir drop. In our battle, physical attacks did no damage to it, and we escaped. The platform is a dead end.
Area 2: the third seal, Piercing Mace and Calm Armlet
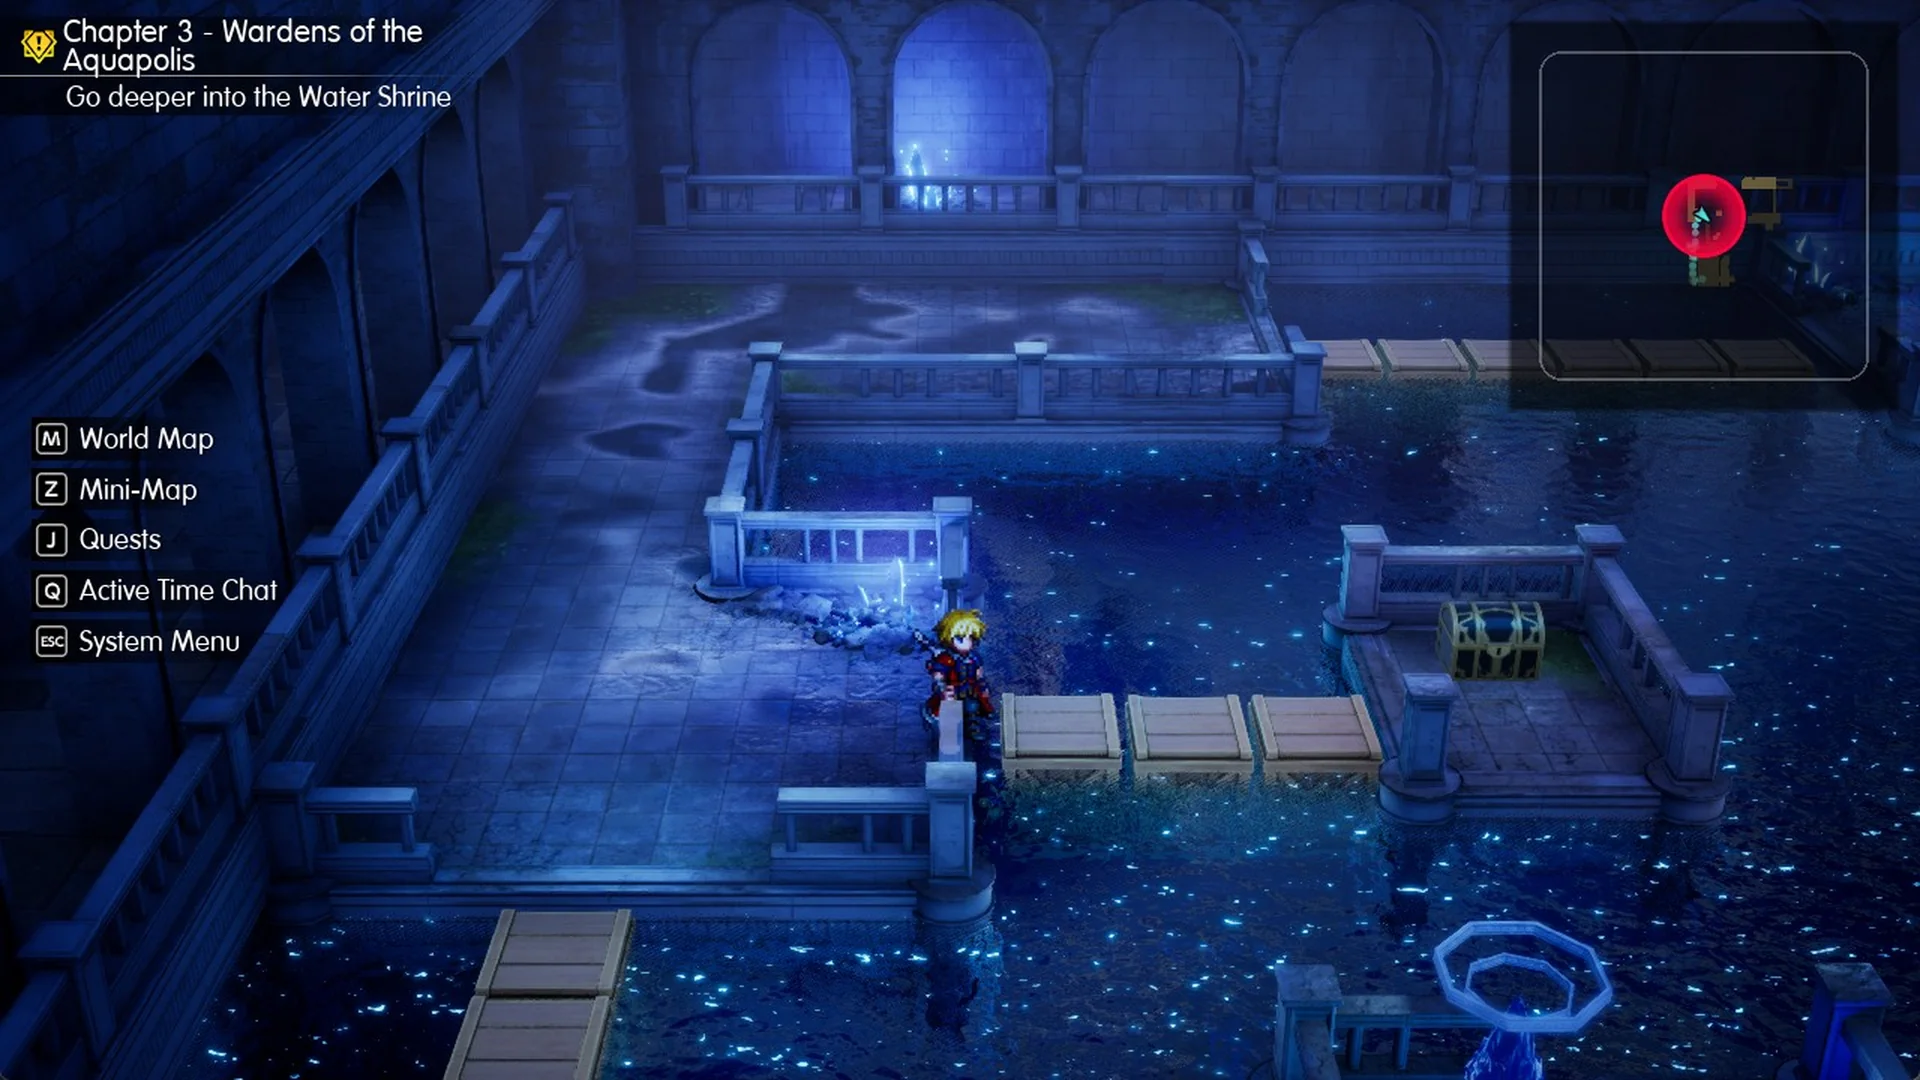
Area 2 contains a single body of water controlled by two switches. The one in the north is on 2F; the other is at the southern tip of the crate bridge. Changing the water level makes the crates bob up or settle below the surface.
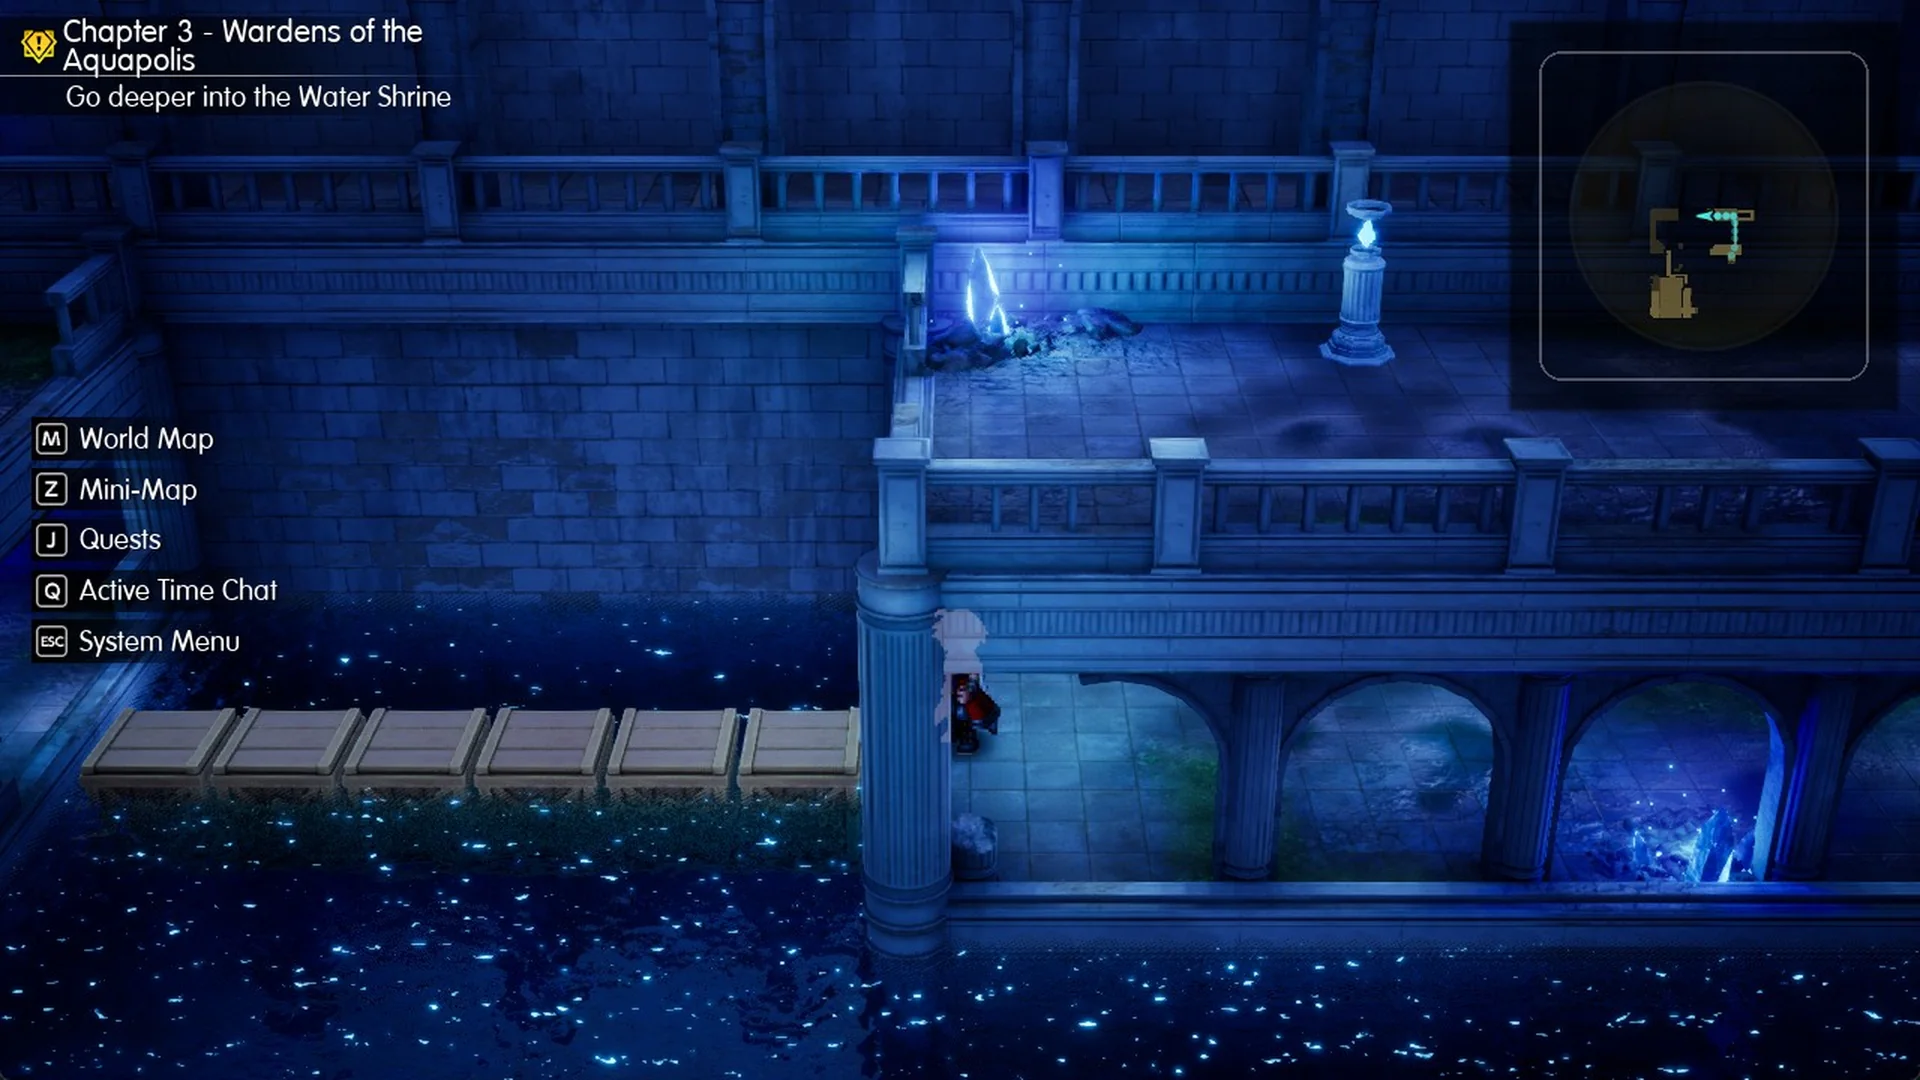
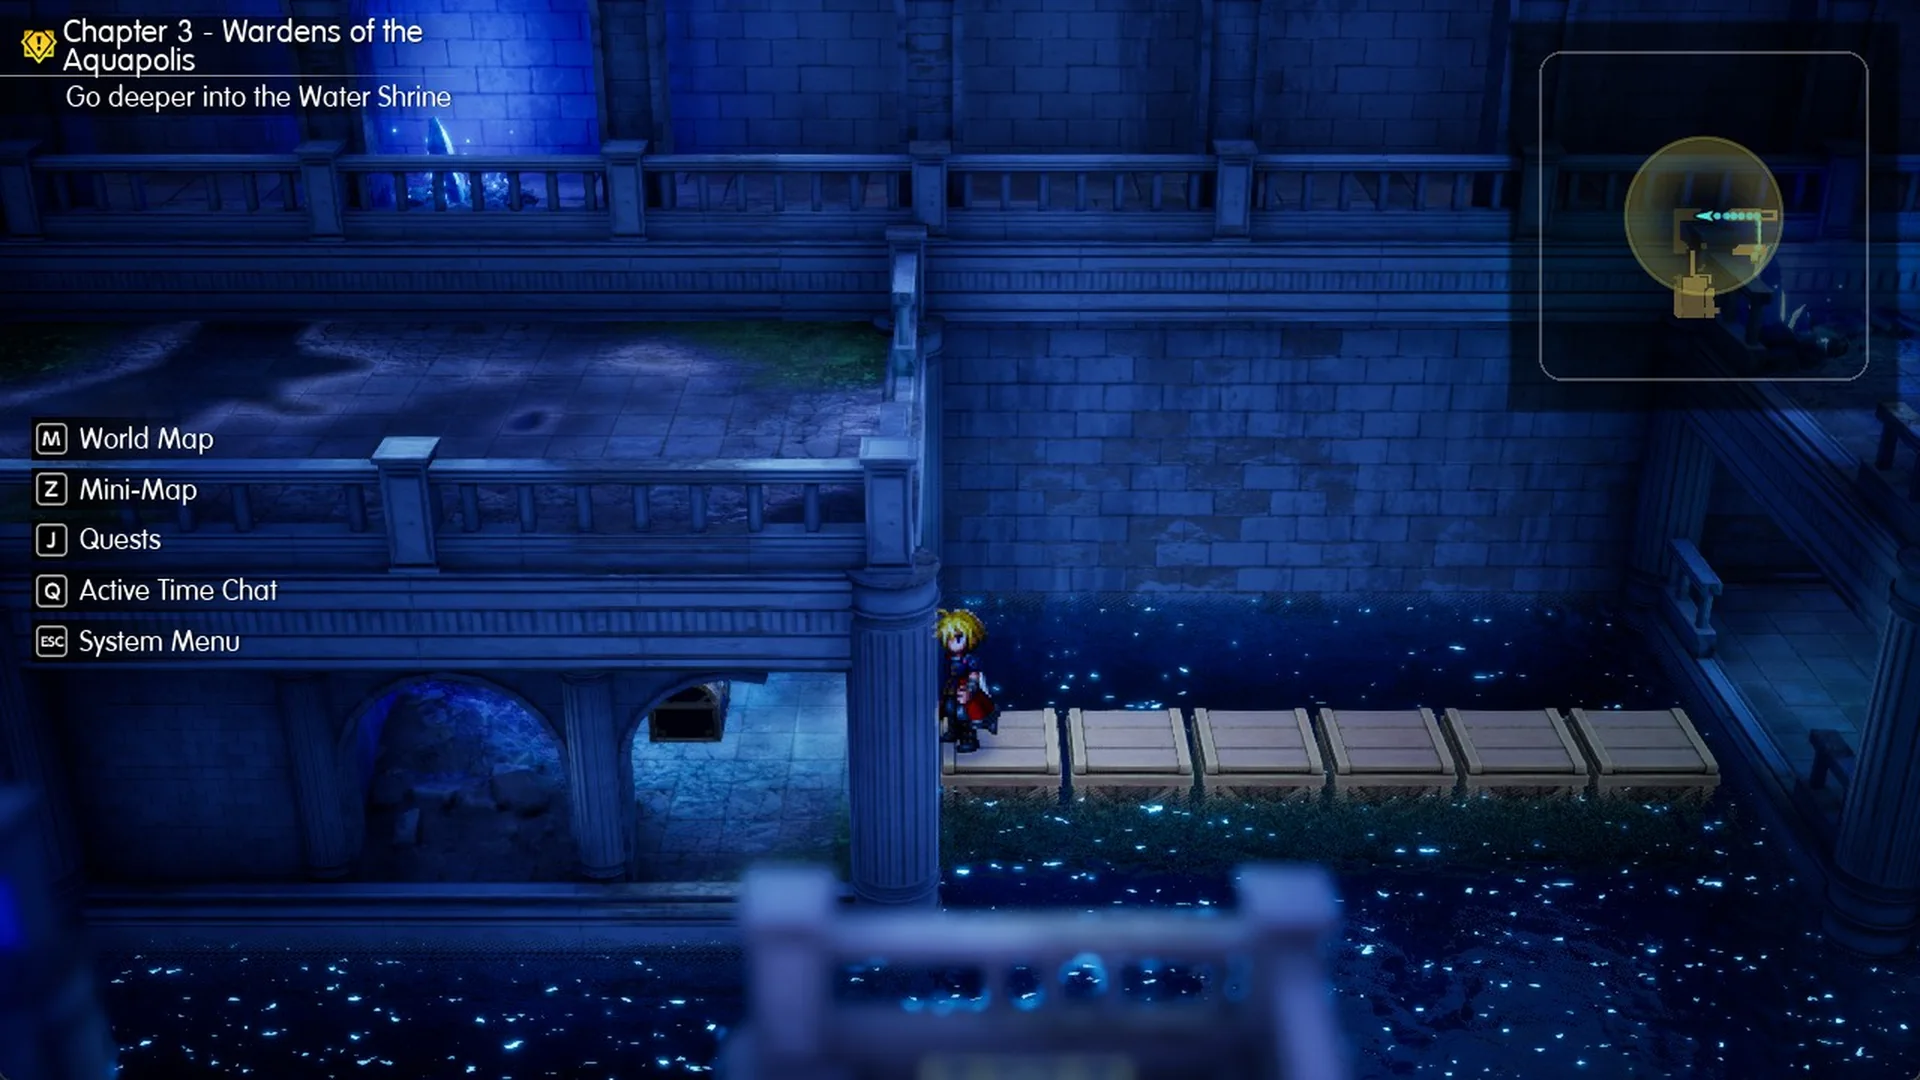
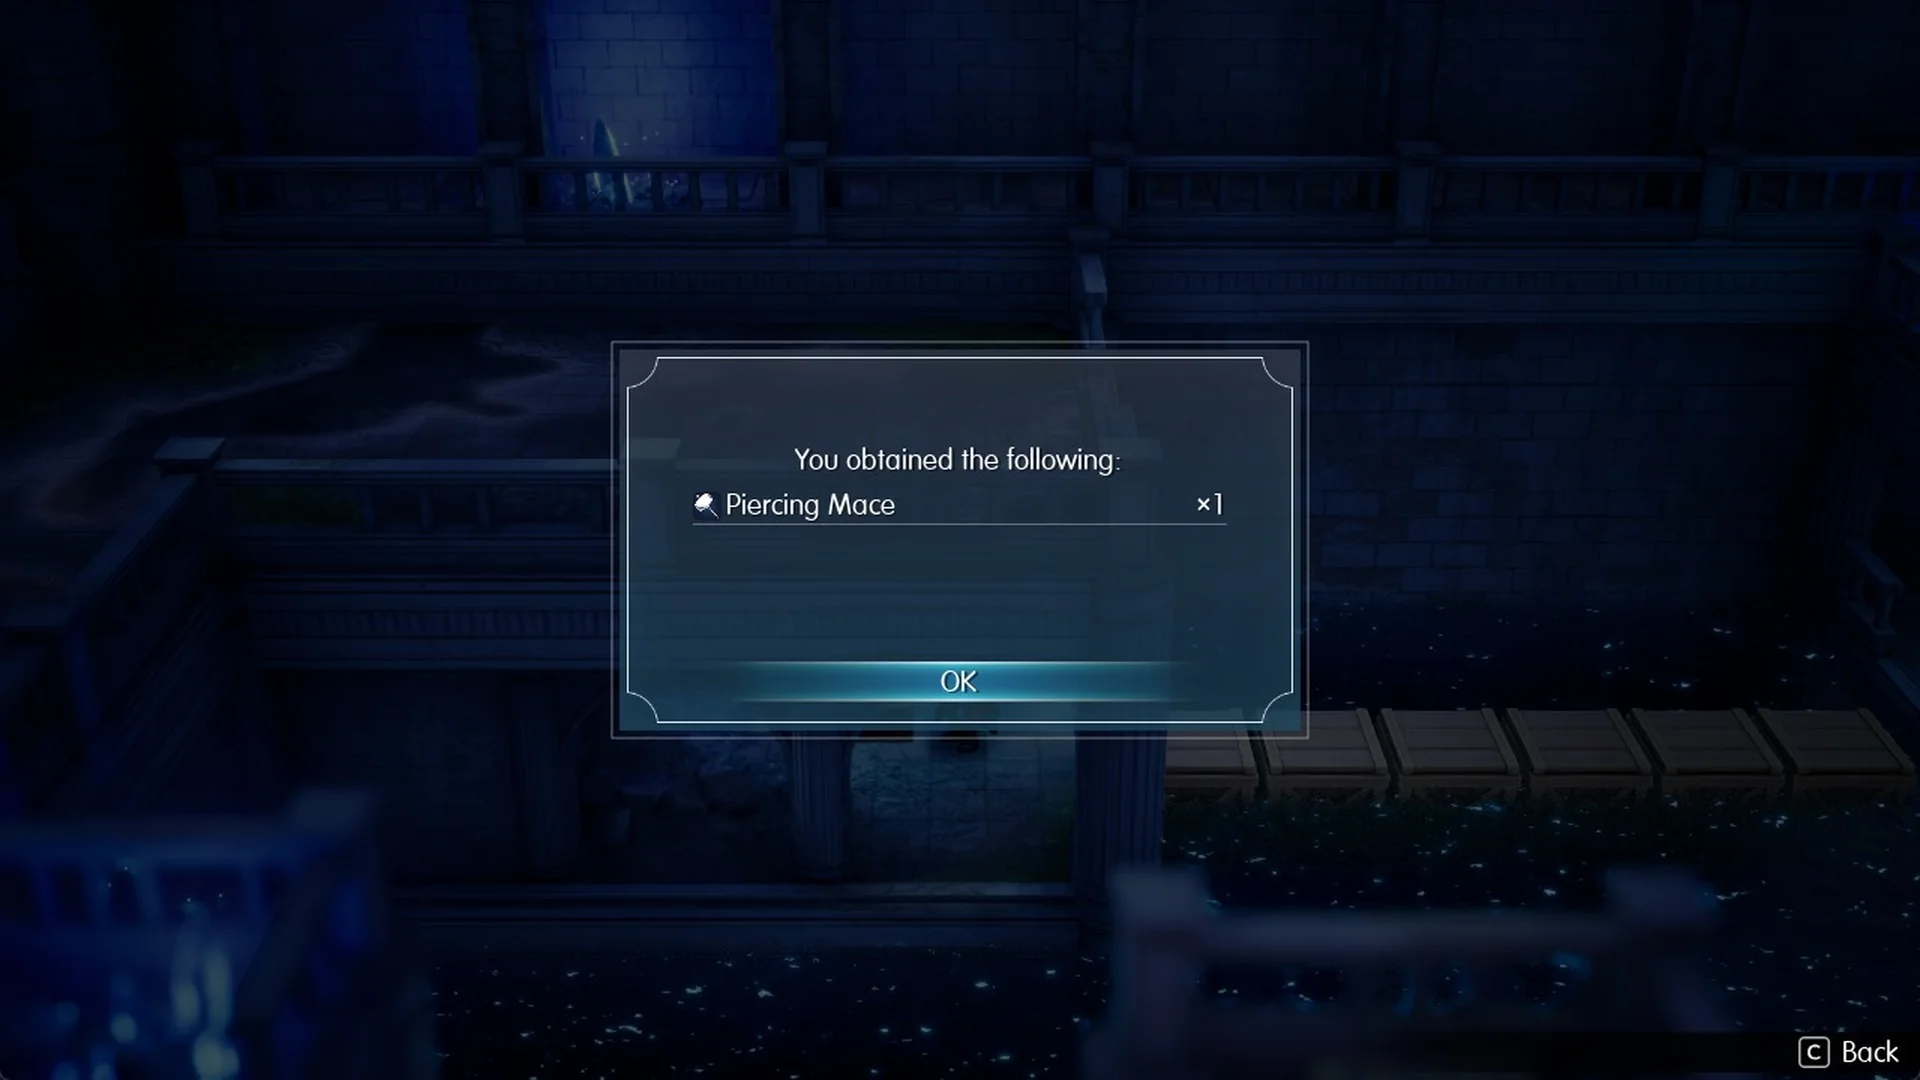
Head along them toward the west and open the chest beneath the 2F walkway at the far end for “Piercing Mace x1”.
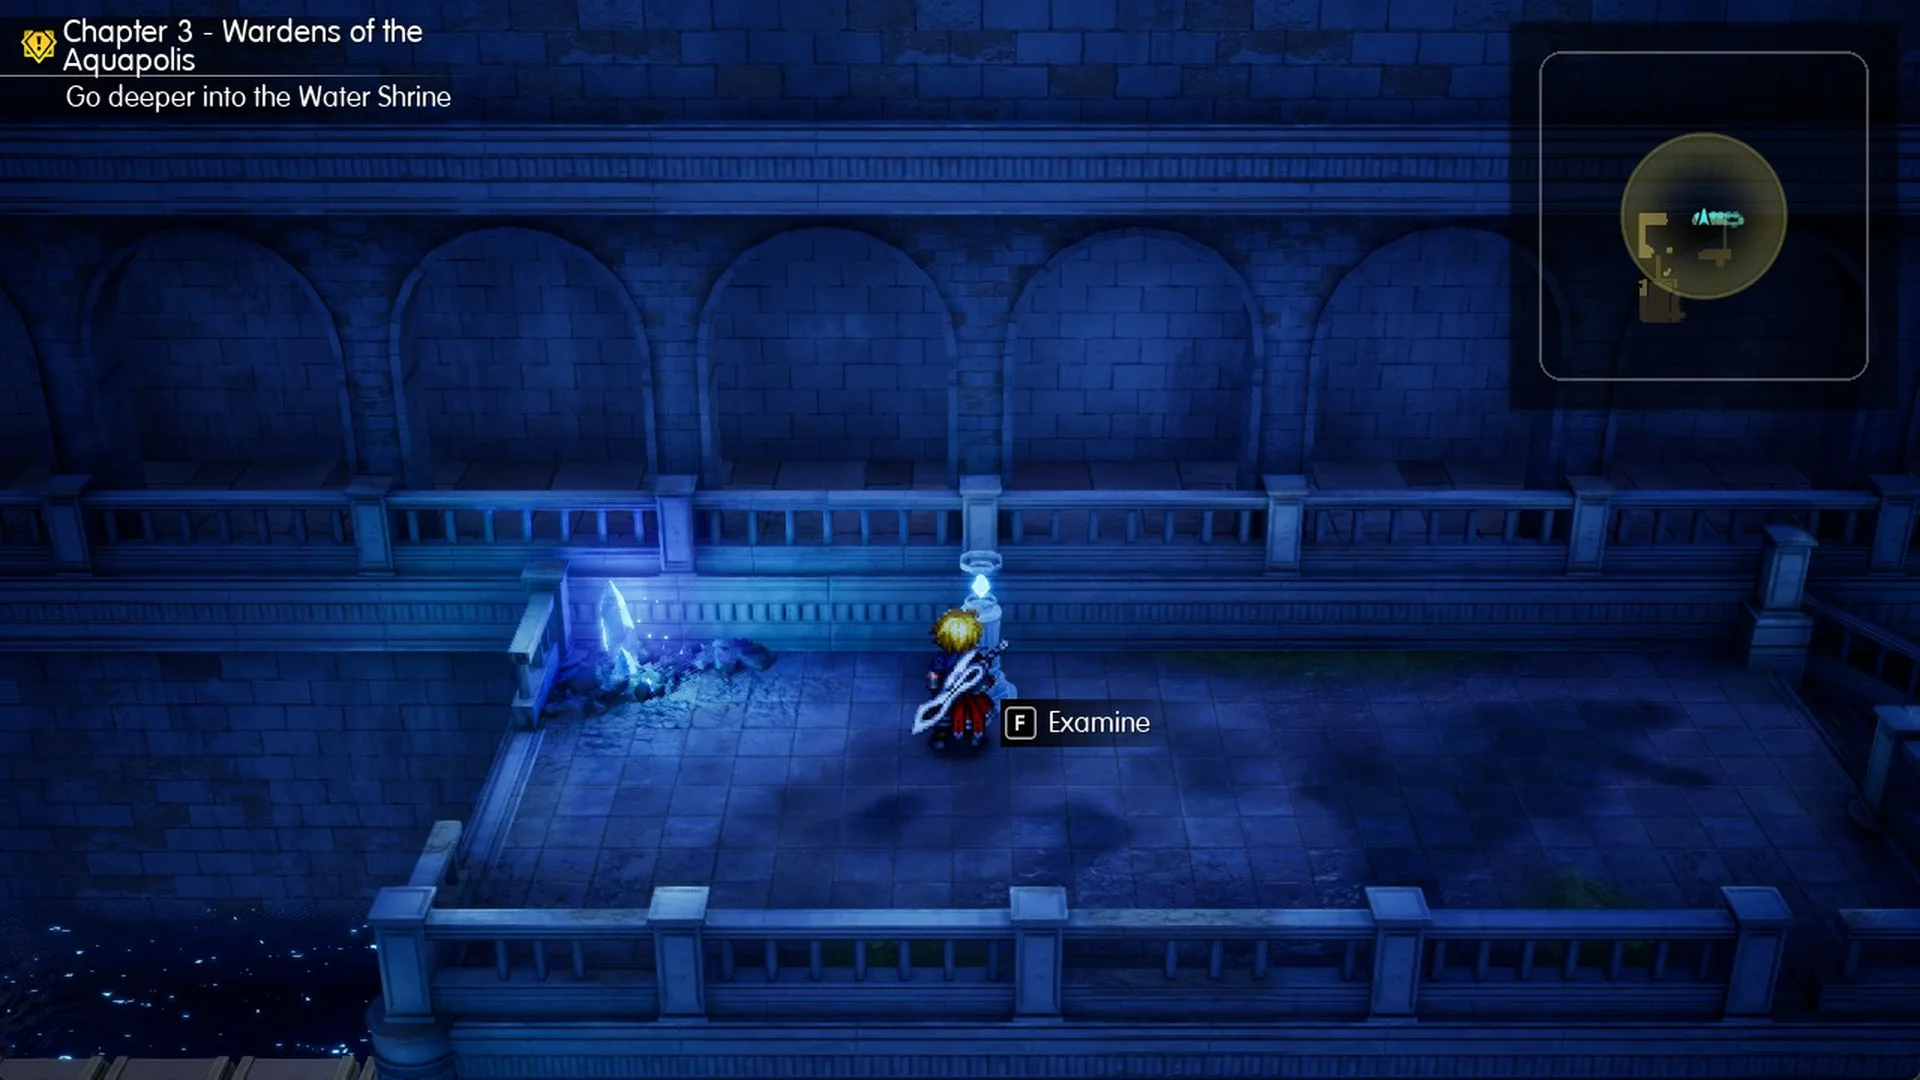
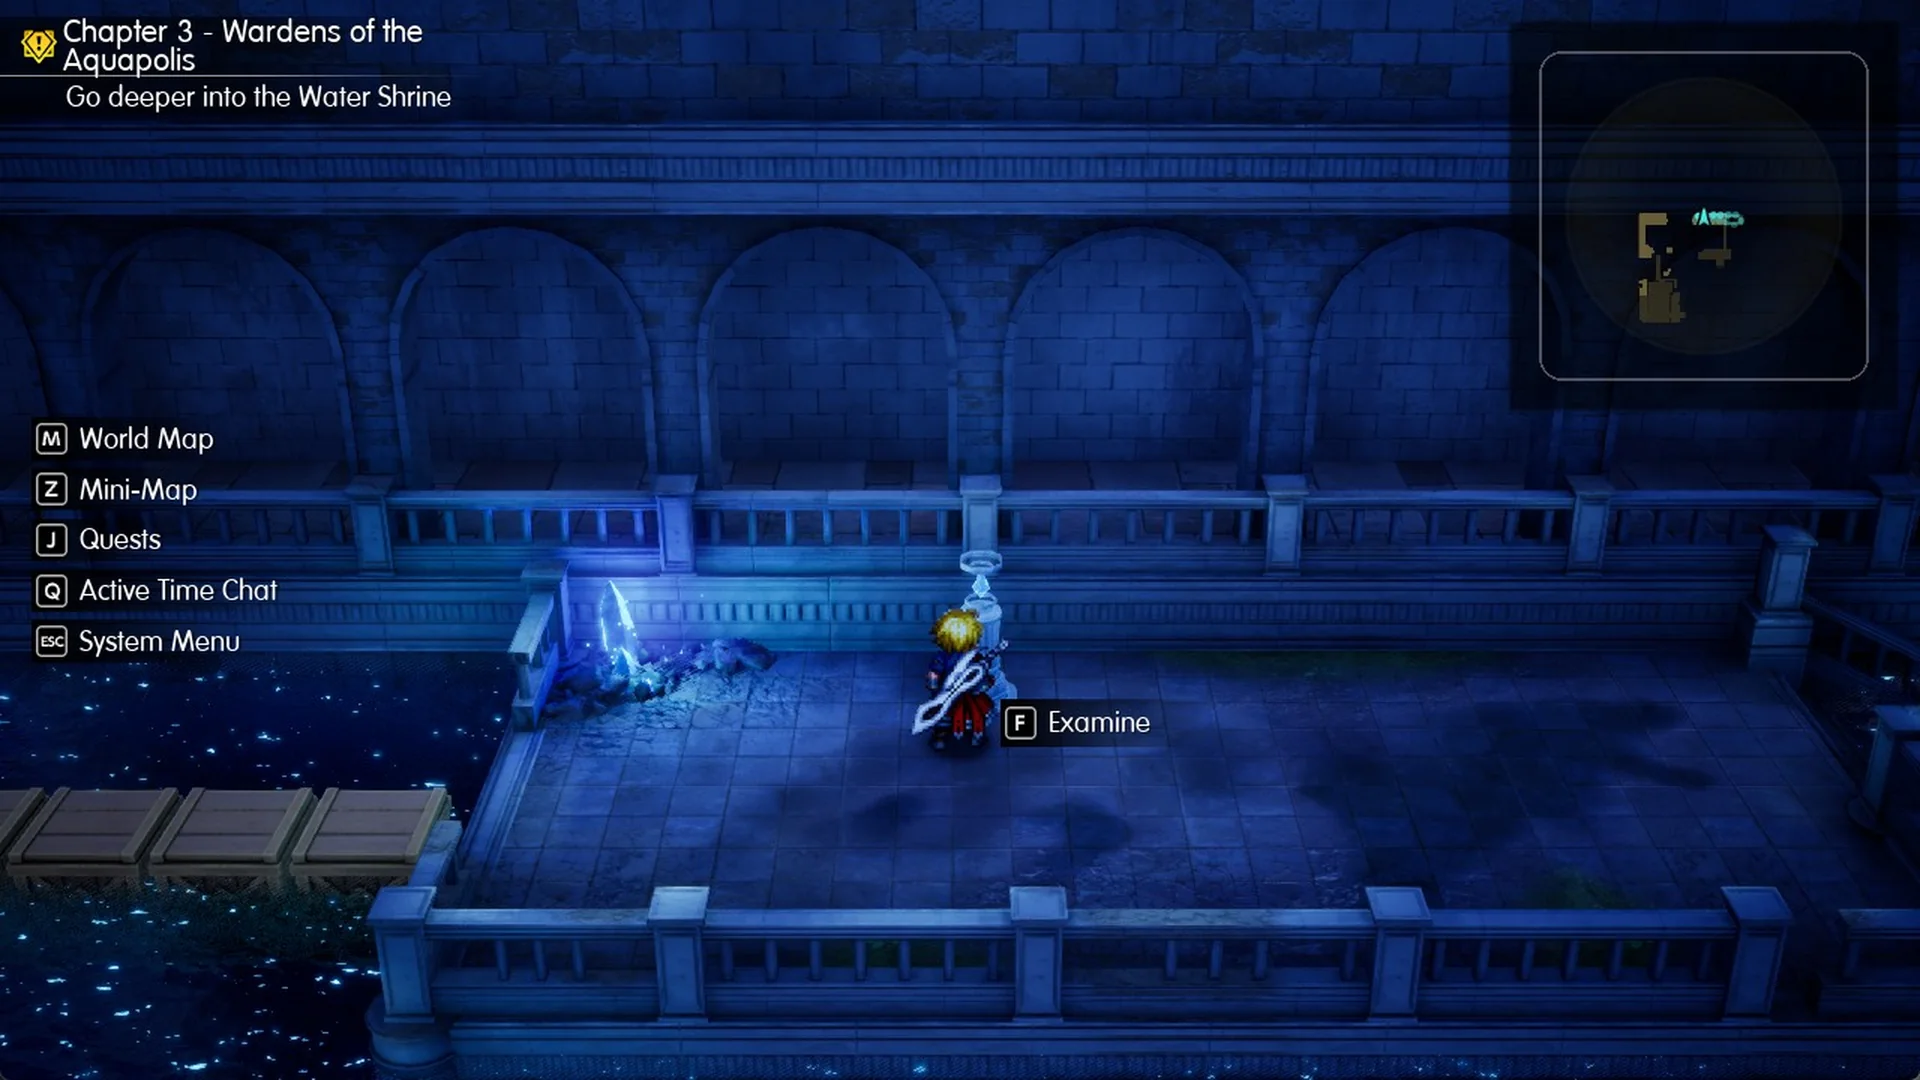
At the walkway’s end, turn south for a platform strewn with crystal rubble. Continue south over the second floating crate bridge to reach the south switch.
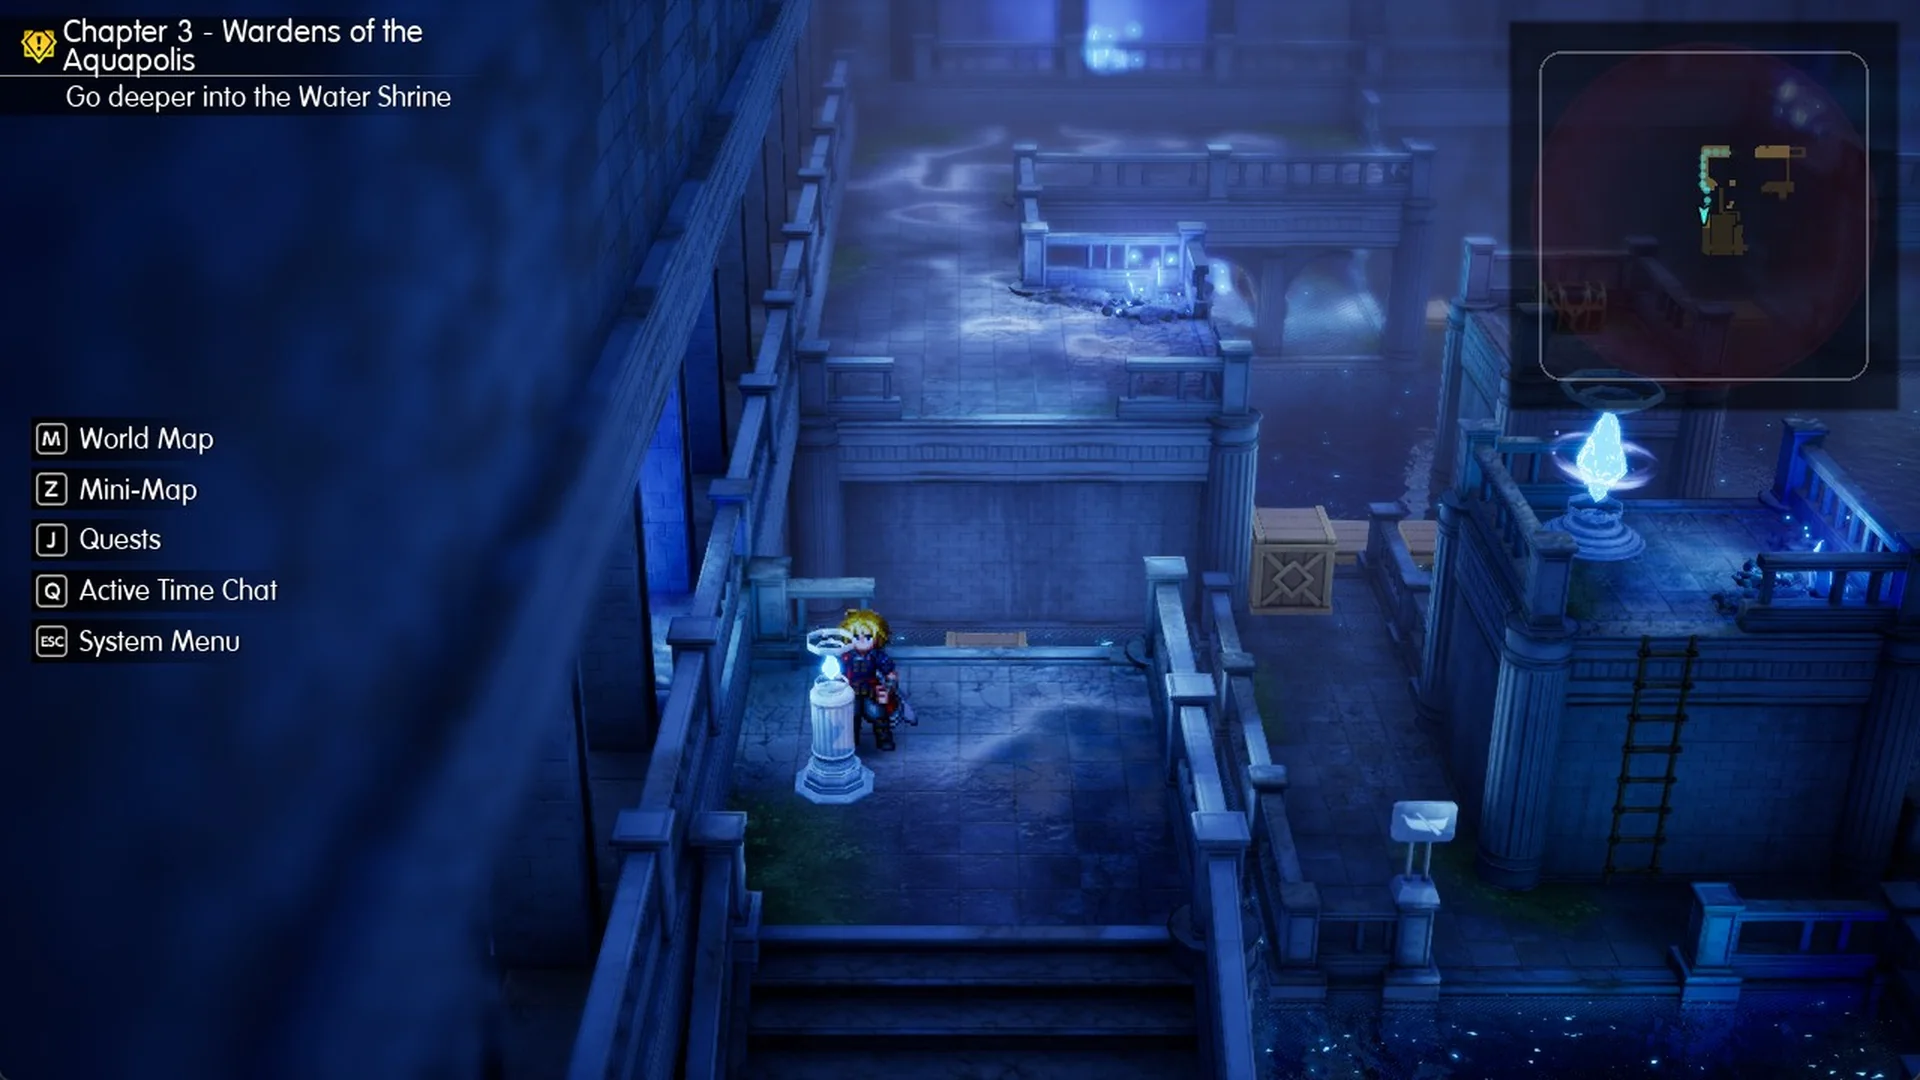
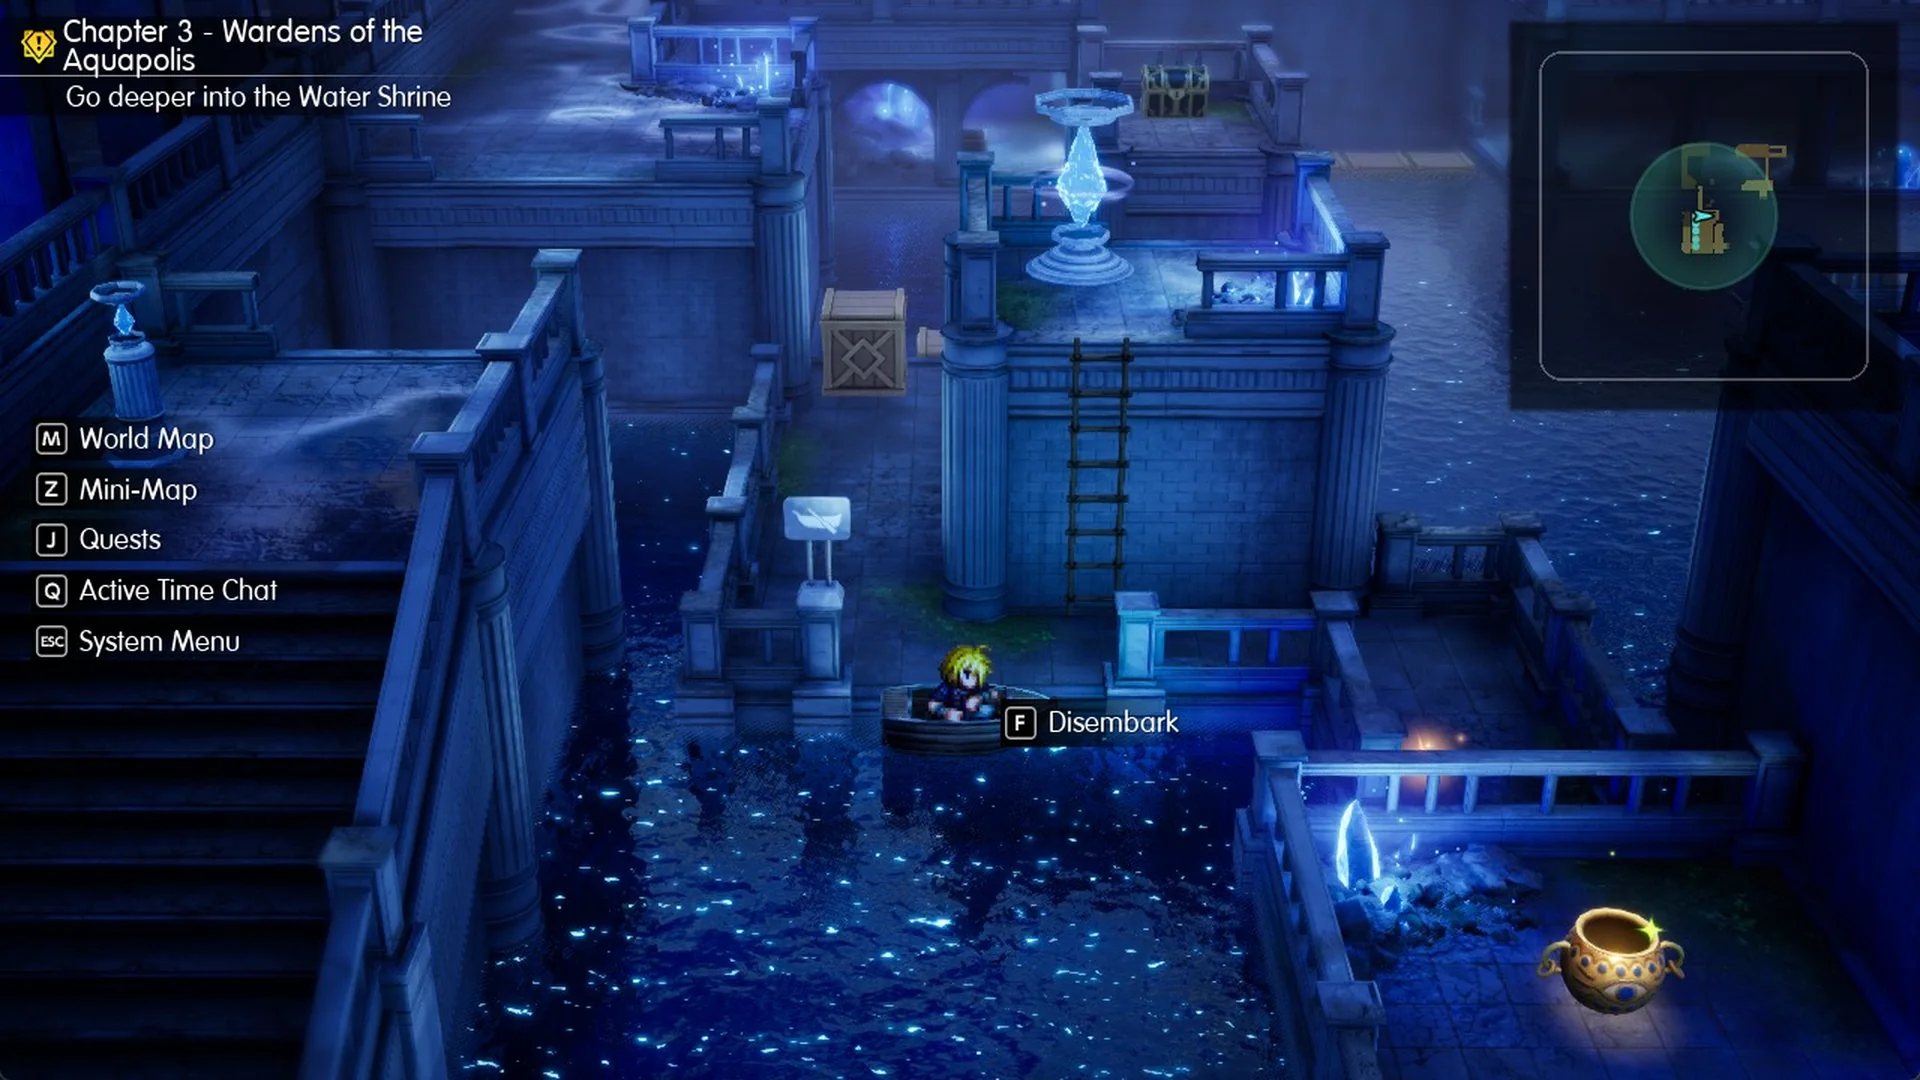
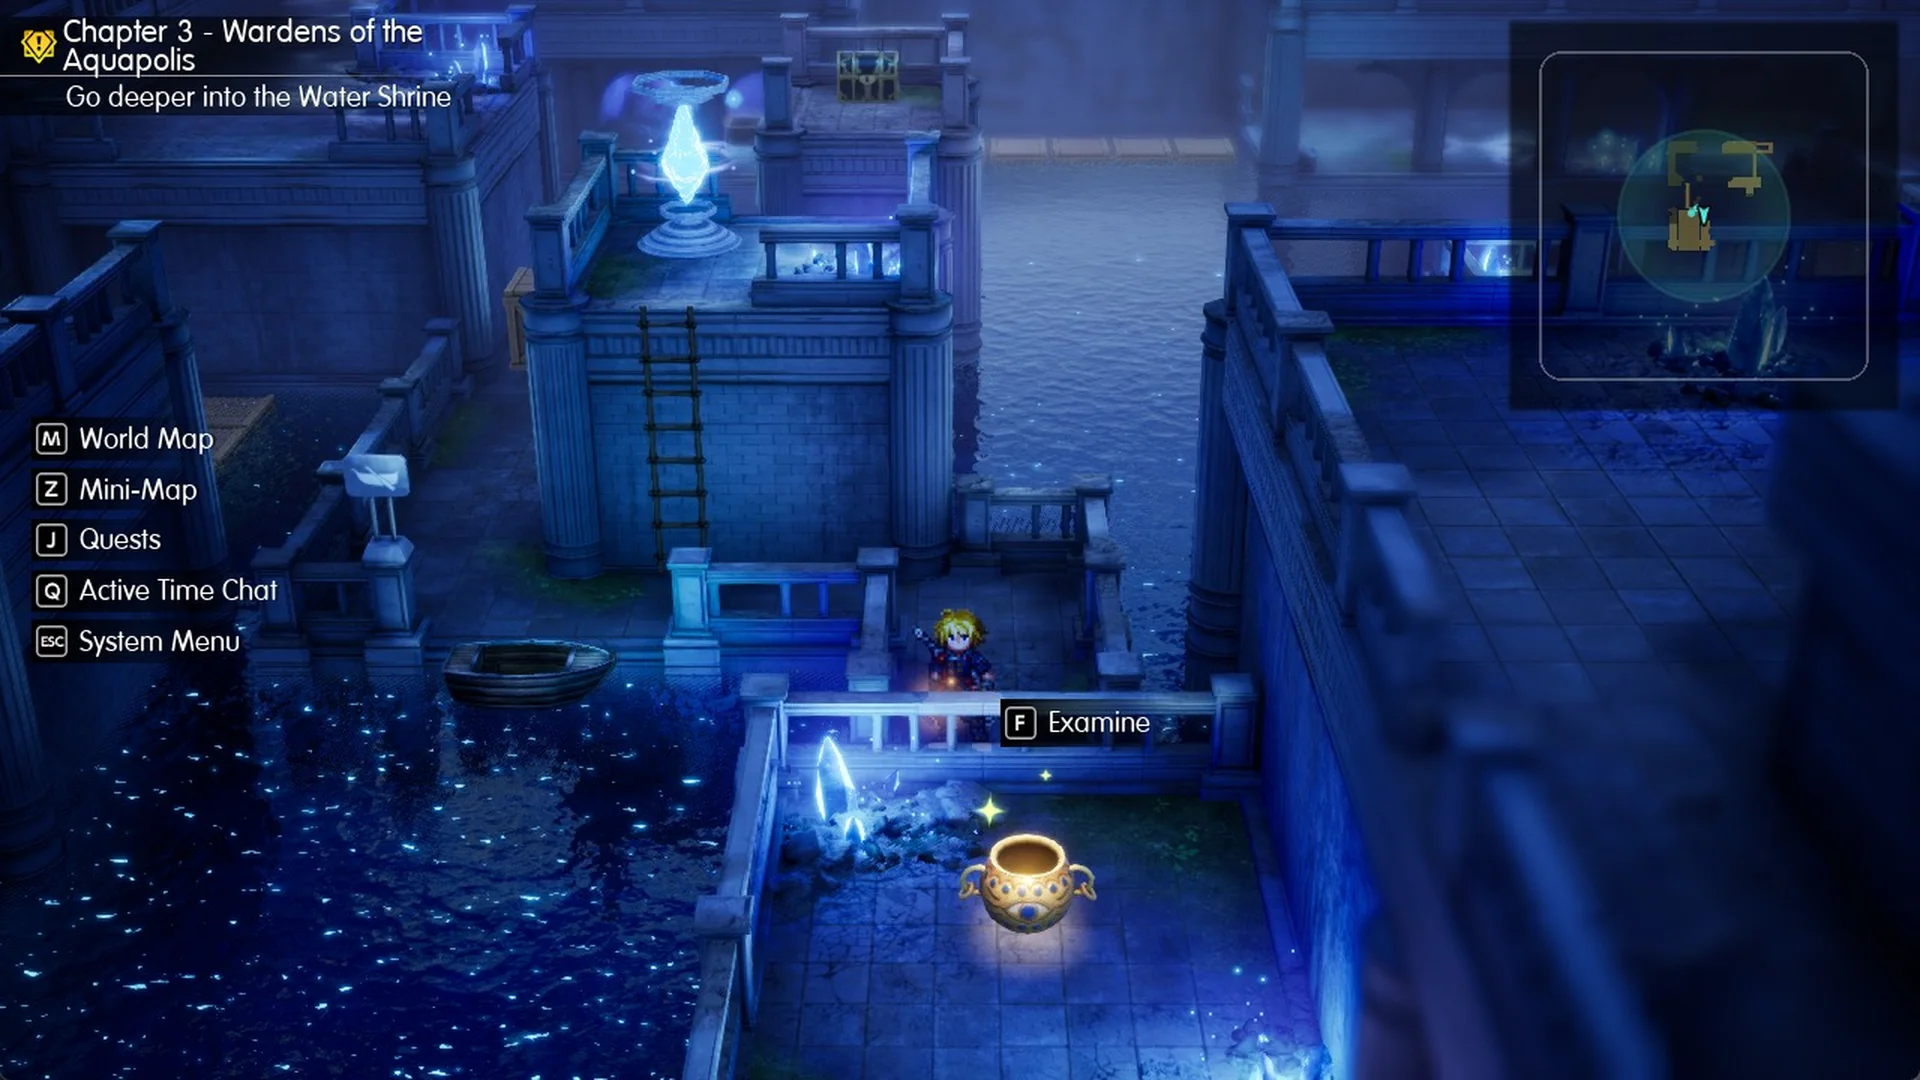
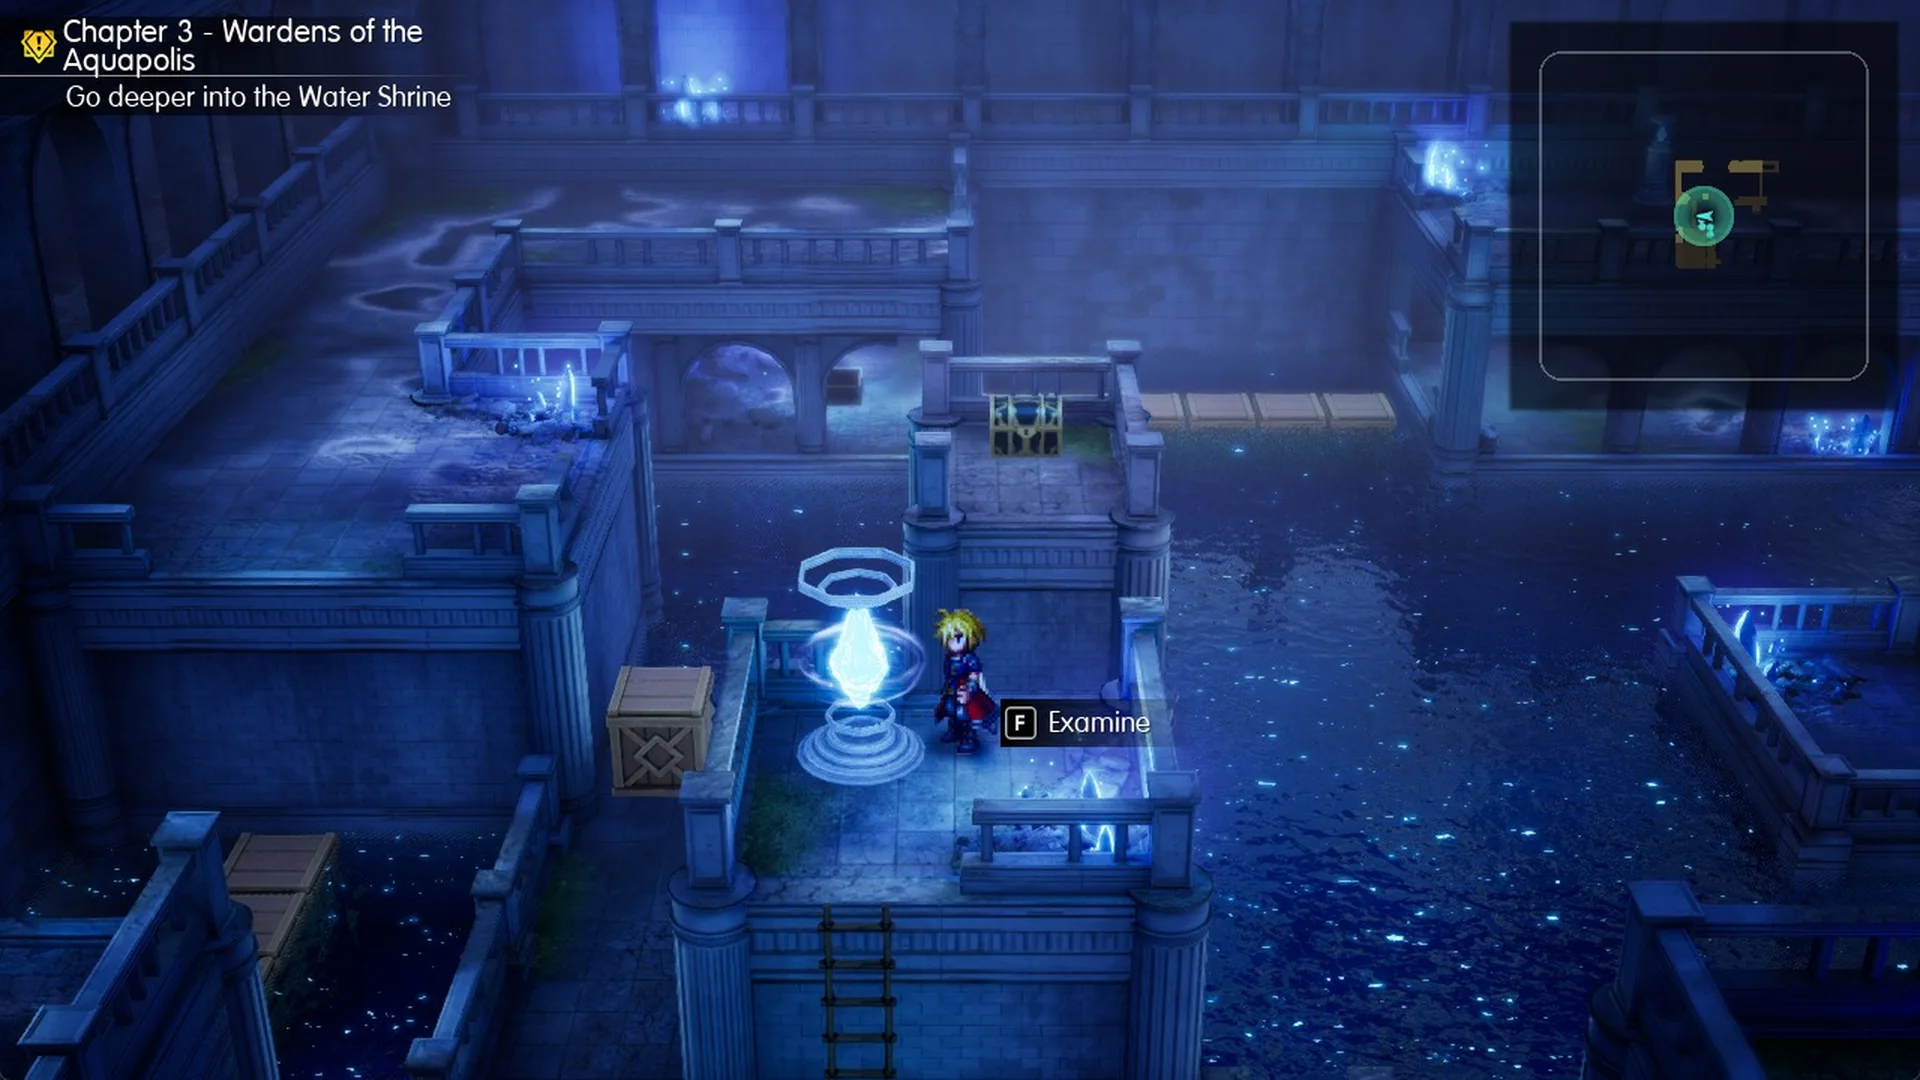
It illuminates, prompting a camera view of Area 1, where the water level and stairs have fallen. This is the third seal.
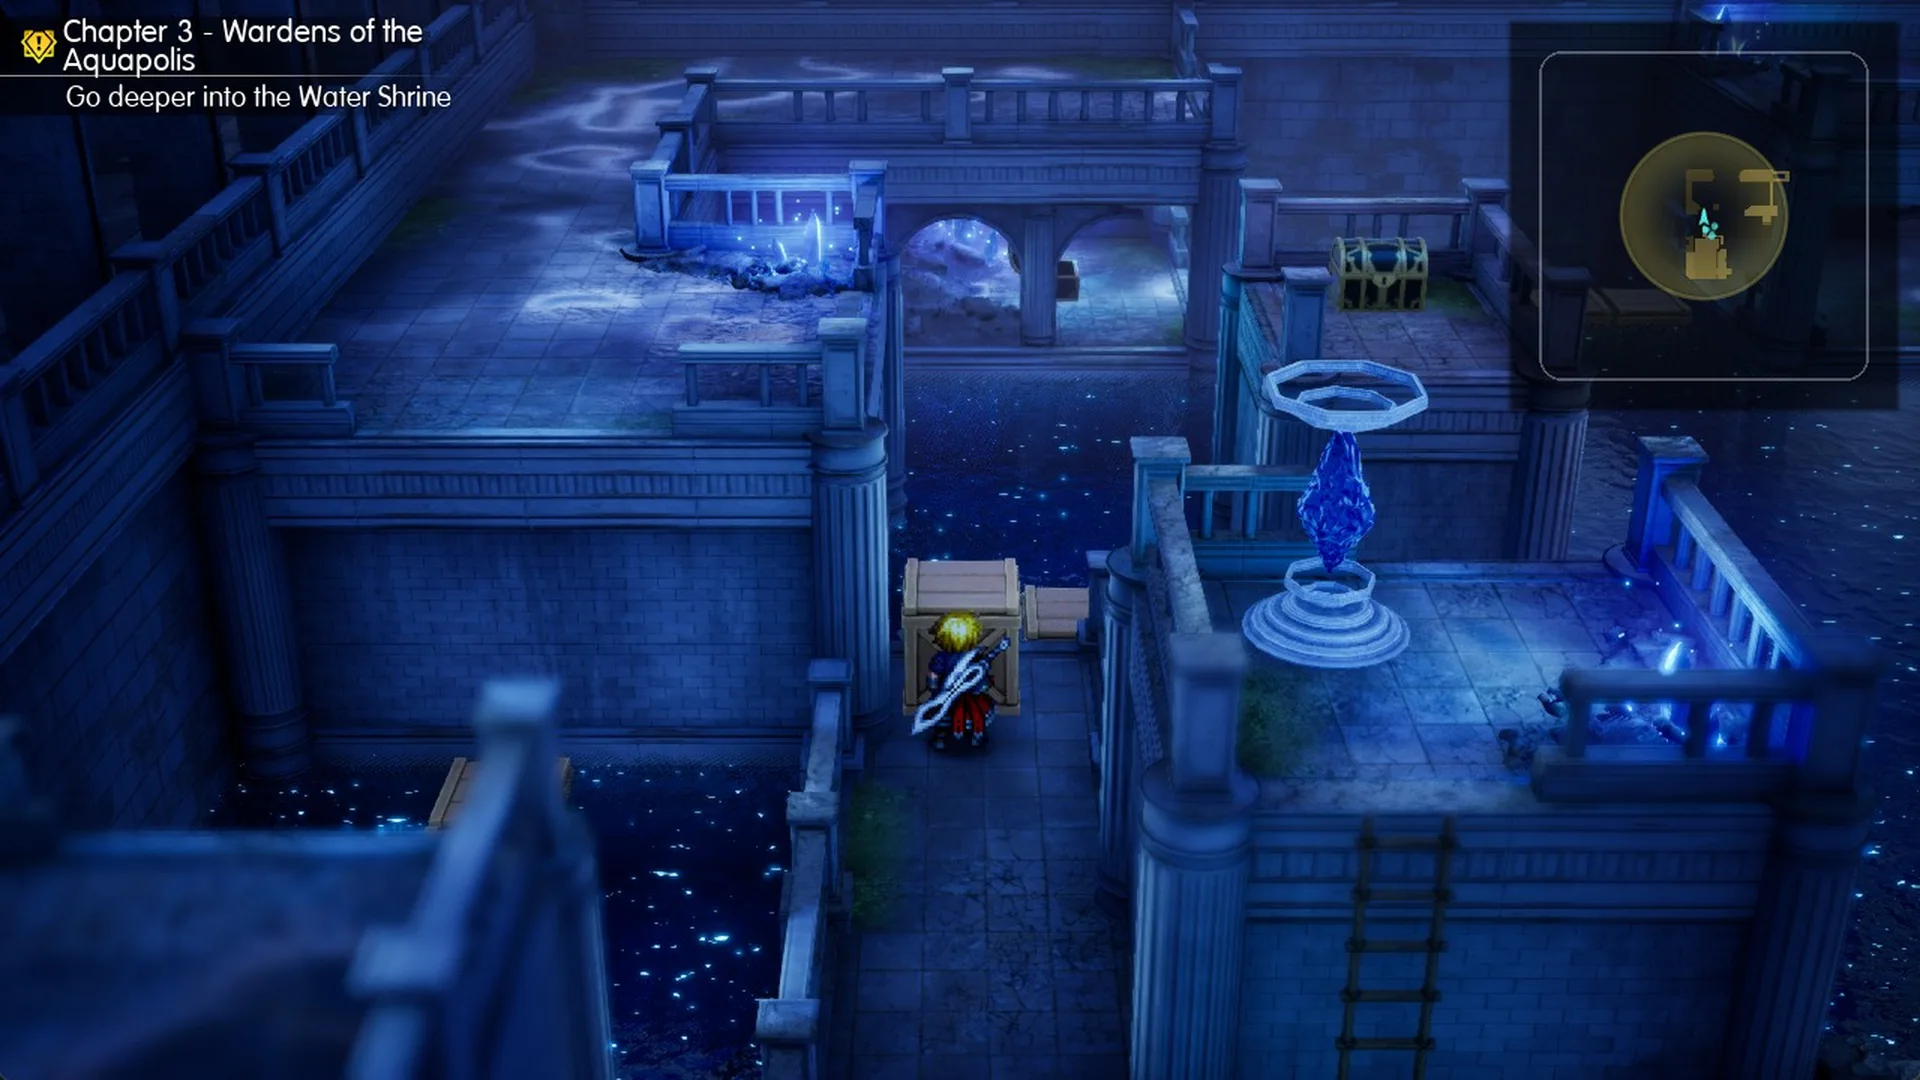
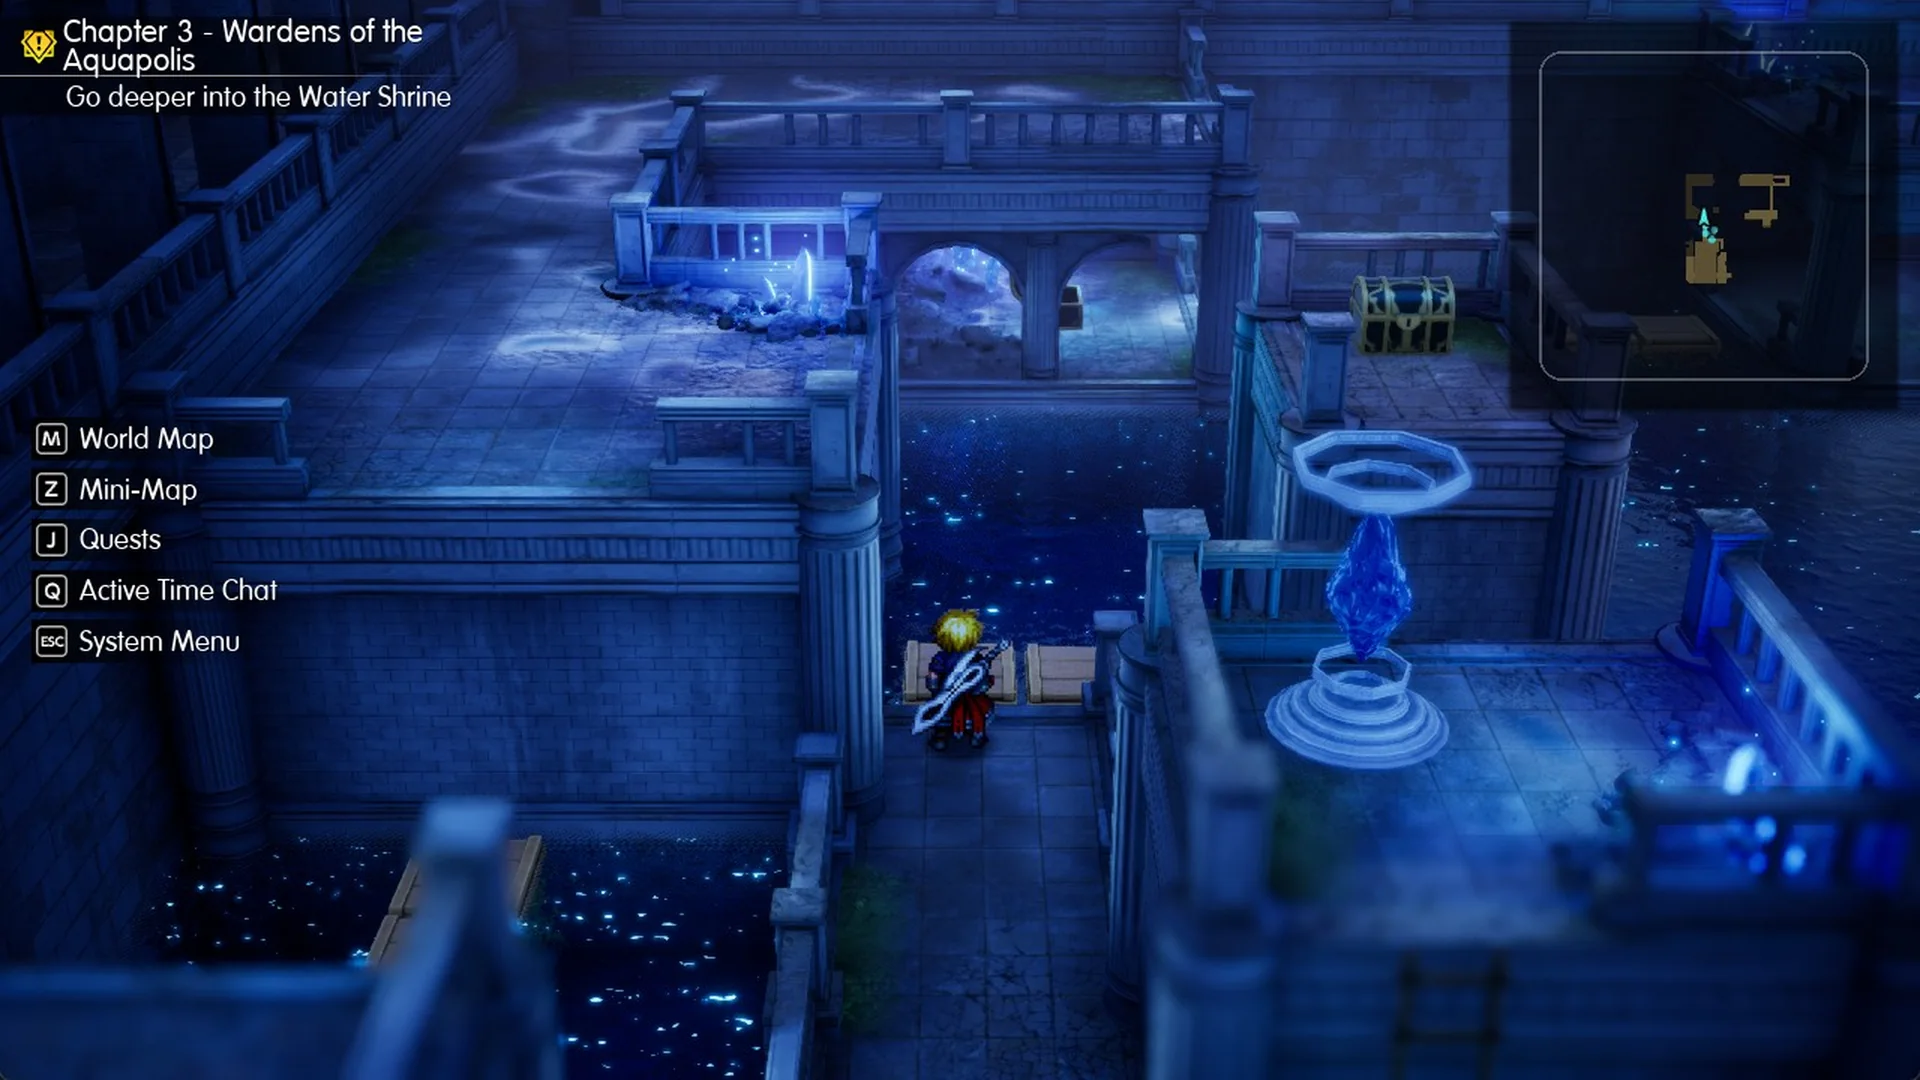
F has no effect, so walk straight into the crate and continue forward. A single shove sends it north into a slot beside the platform.
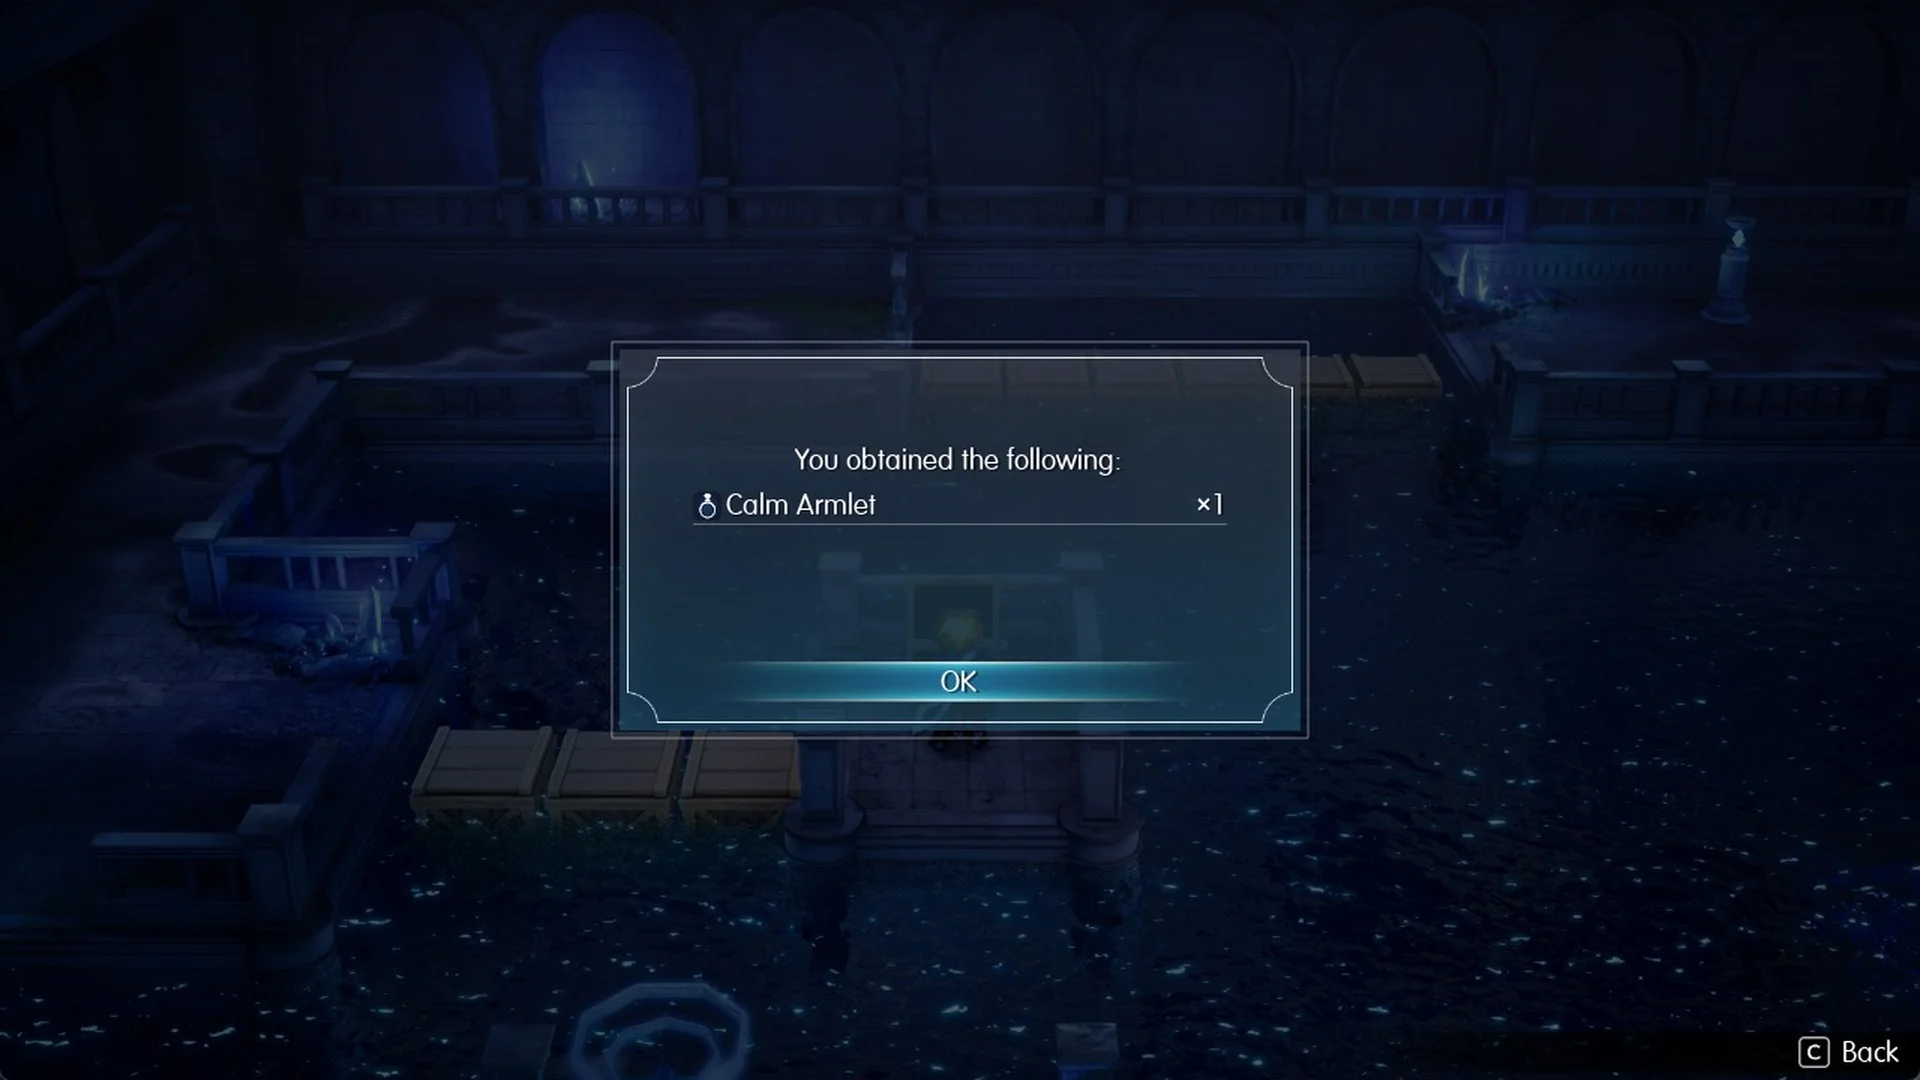
The Piercing Mace is a hammer with Physical Attack 73 and Magic Attack 70. Its description reads “Increases damage dealt by 20% when using attacks of the target’s elemental weakness.” It sits alongside the other weapons in the hammers list. The Calm Armlet is an accessory that reads “Prevents Confuse and Berserk.” The full accessories list covers the rest.
Area 1’s lift down to B2 and the boss save point
After the third seal, the large octagonal central floor in Area 1 sinks to the bottom. You never ride that floor. A smaller lift takes you down instead.
Press F Examine to pick up “Tablet Shard x1”.
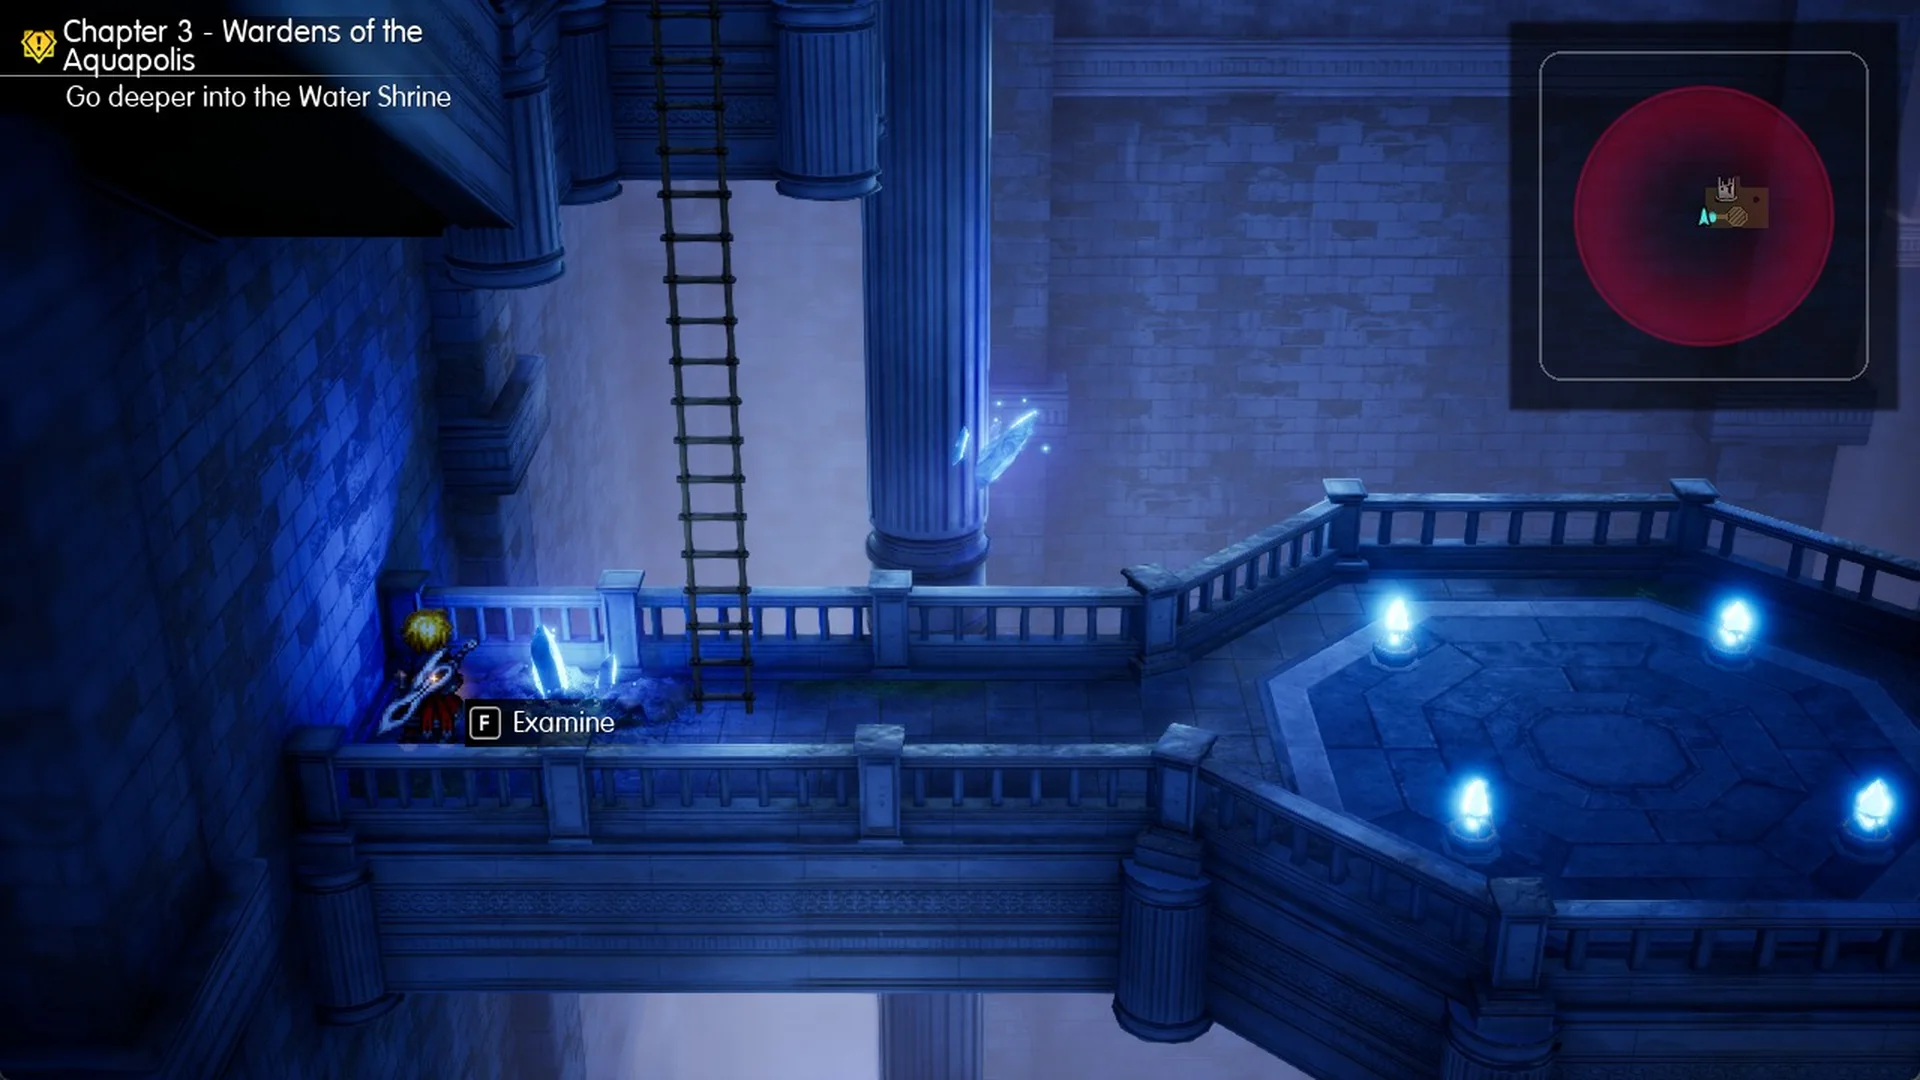
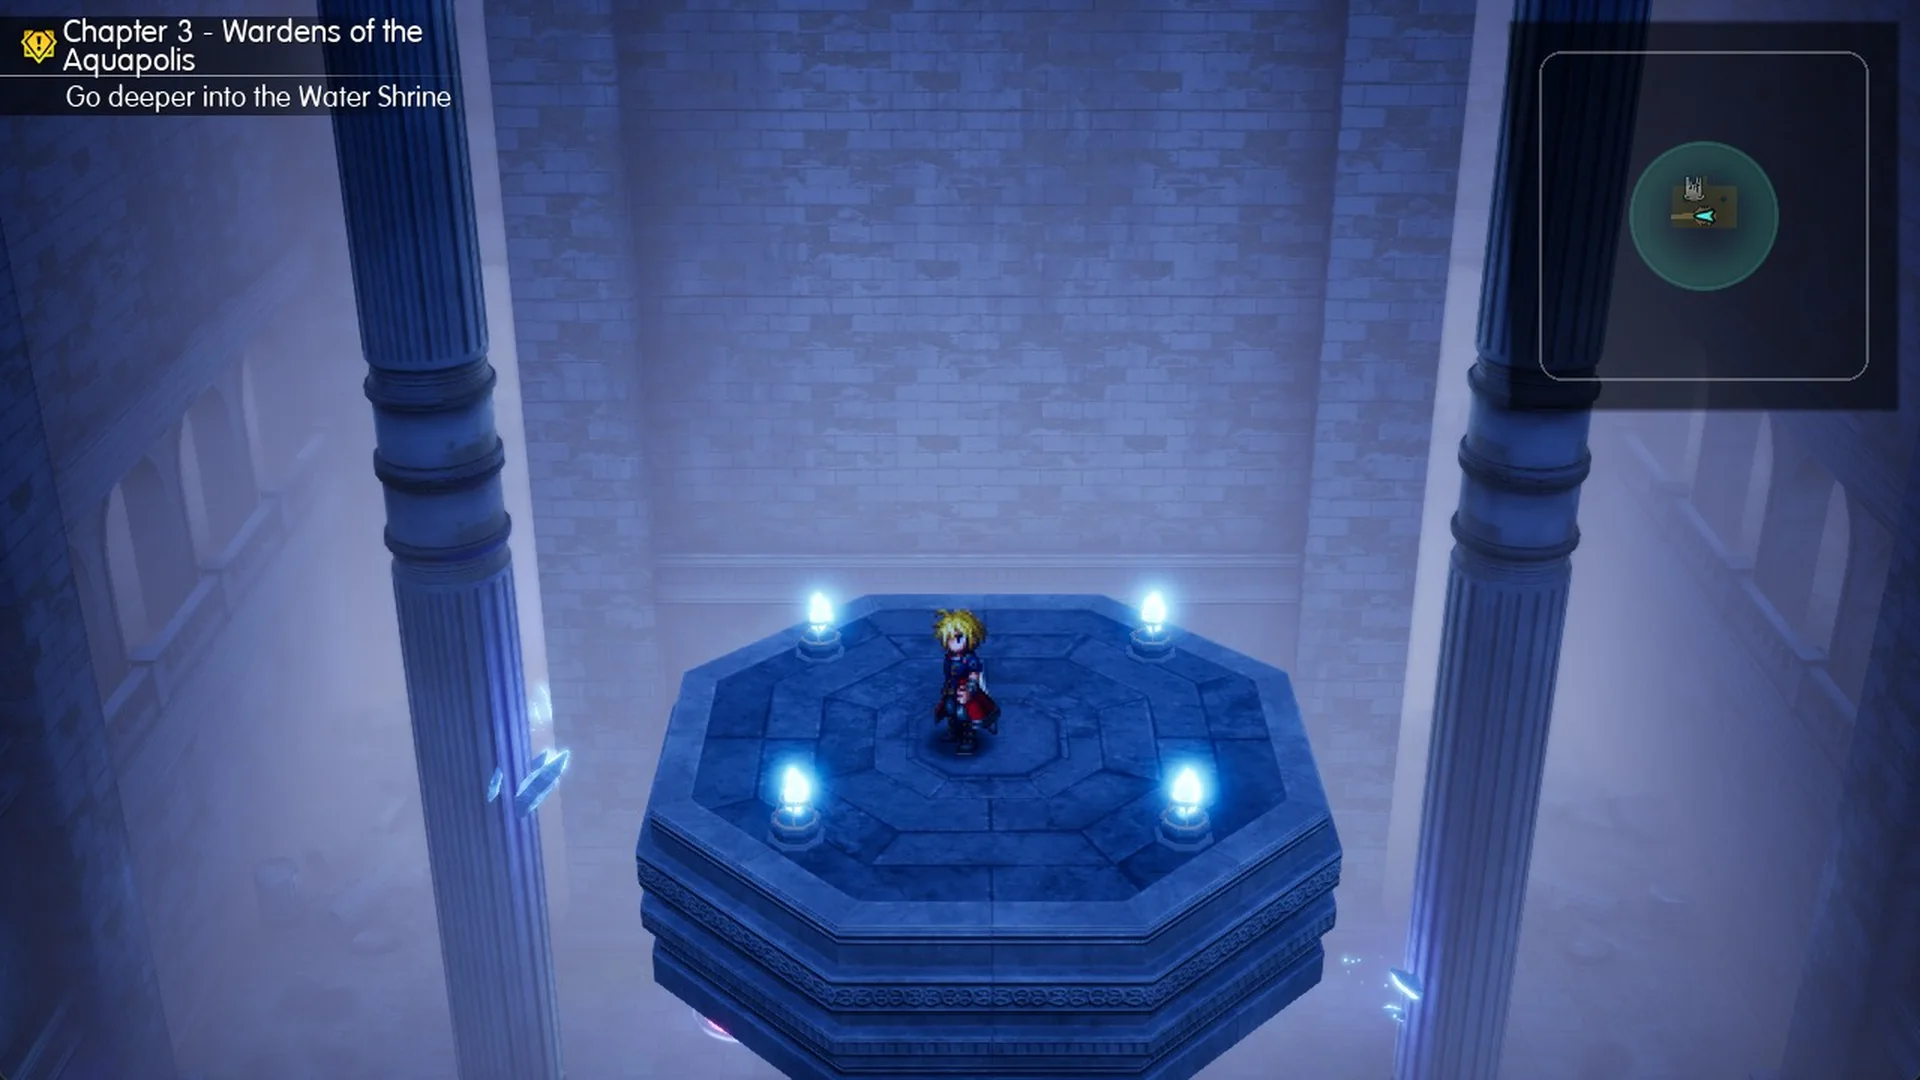
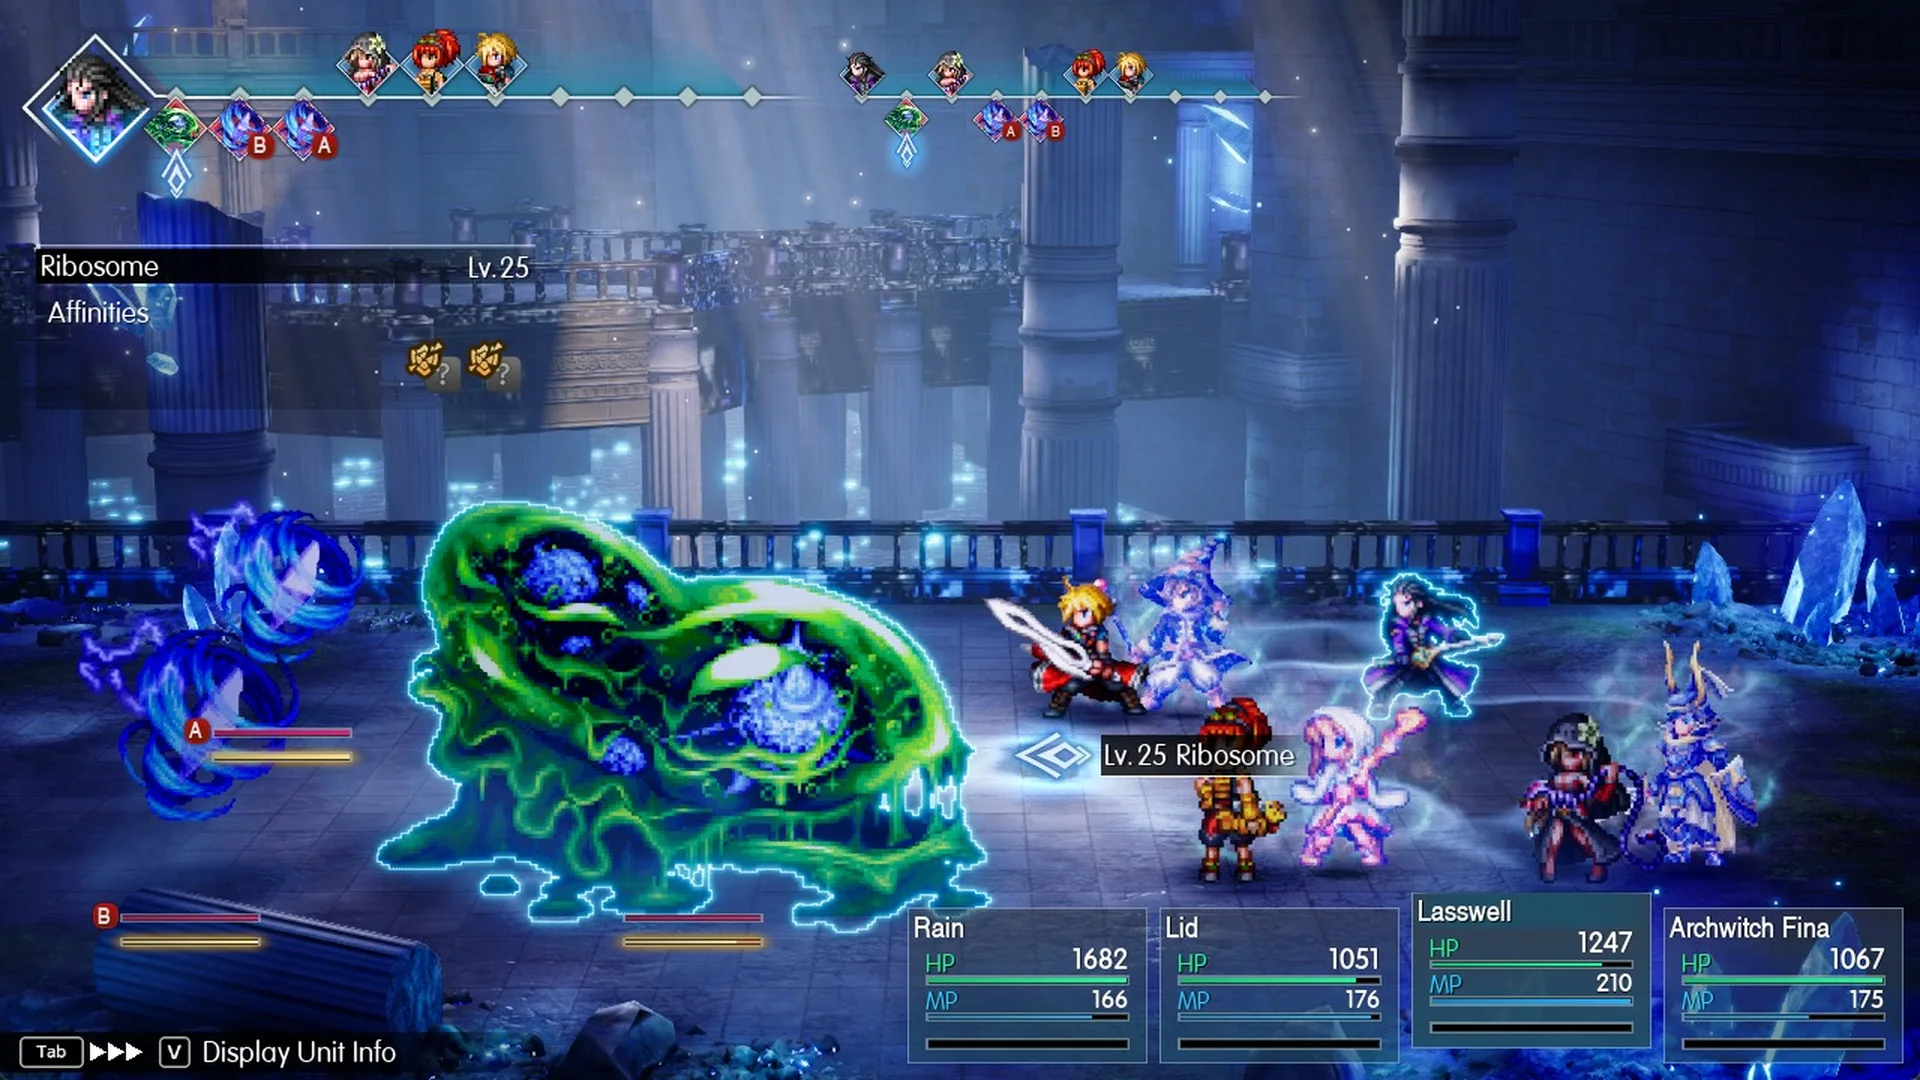
Random battles still happen on this lower level. A Ribosome (Lv. 25) with two wisps can appear, and running from the fight works if you want to skip it. The steps for that are in the guide on how to escape battles.
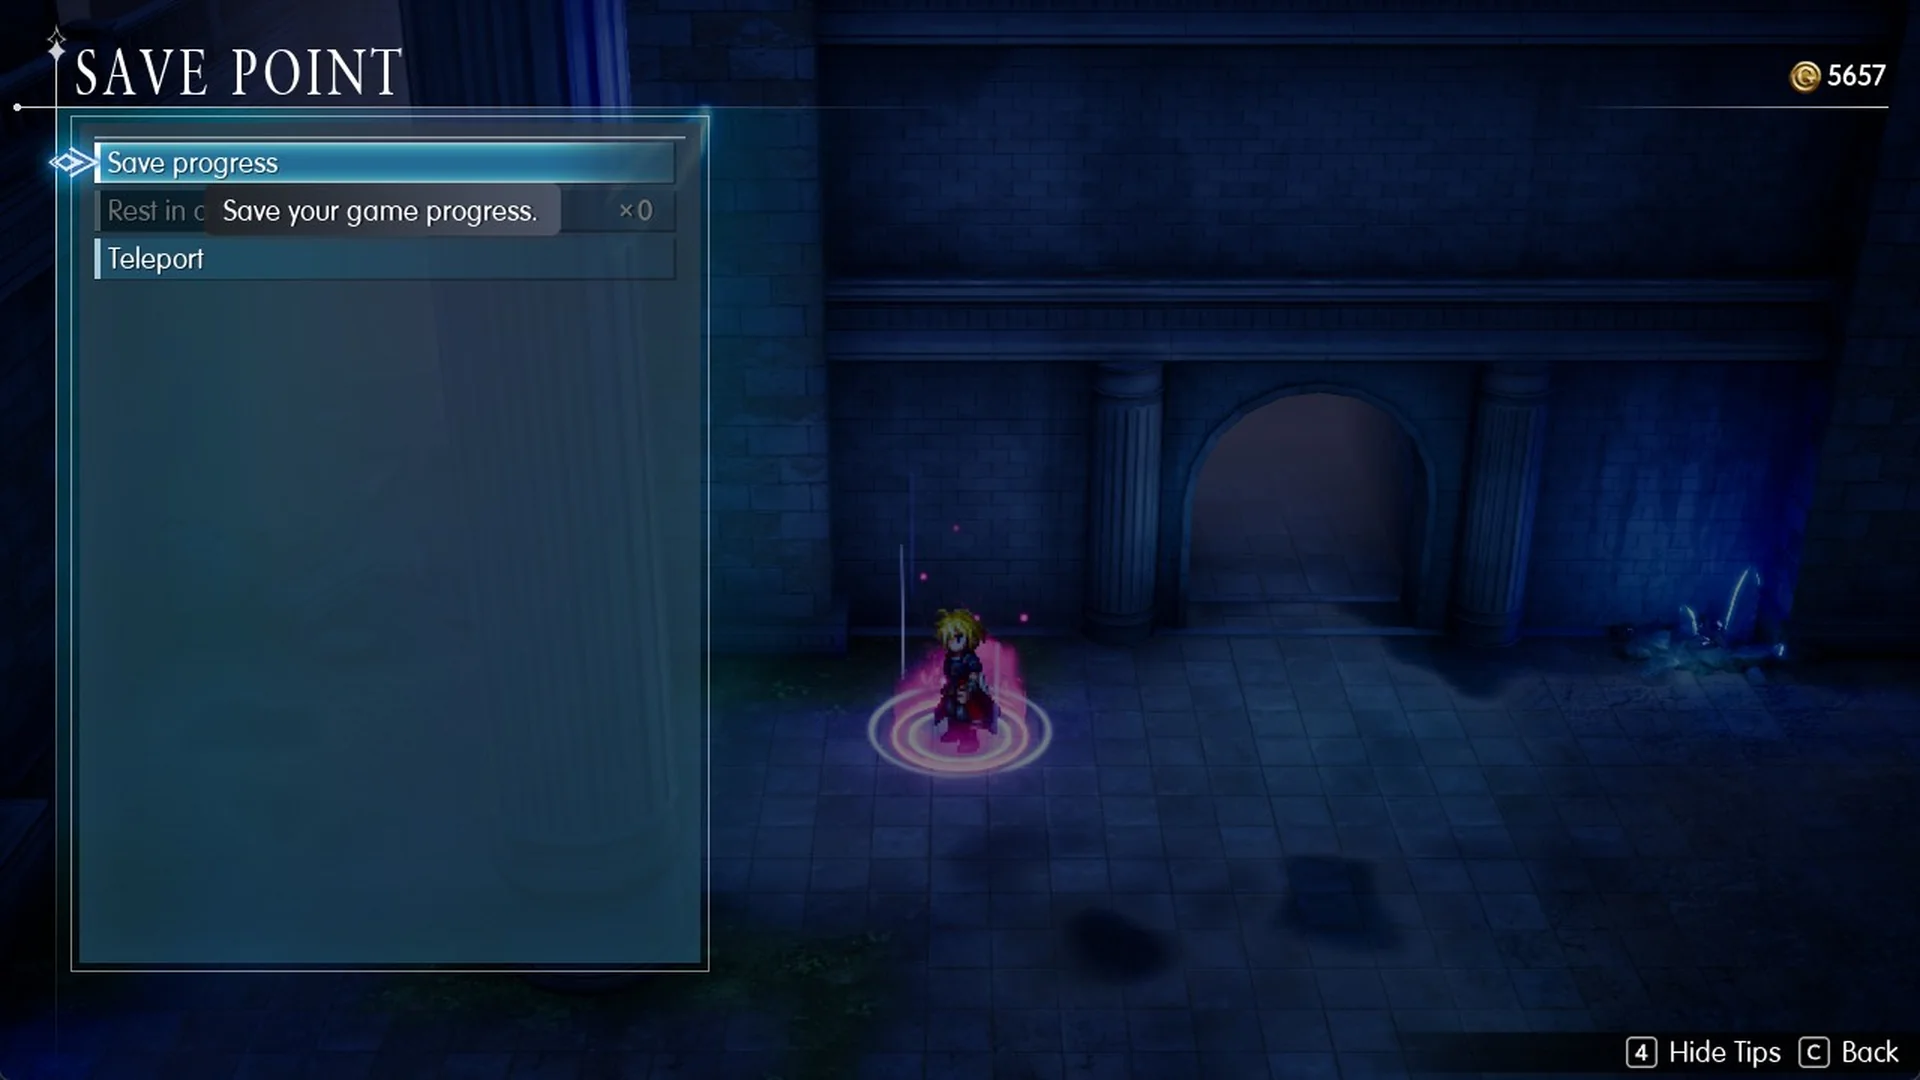
The lift brings you to a save point.
From its menu, you can choose Save progress, Rest in a tent or Teleport. This is the final save before the boss. The boss scene begins when you pass through the north arch beyond the point.
Alluvion, the Water Shrine boss
When you walk through the north arch on B2, a story scene with El begins, followed by the battle against Alluvion. Nichol joins the party as a guest for this fight. Throughout the battle, Prism Cores keep forming, and Alluvion absorbs them to power up Graceful Deluge. The how to beat Alluvion guide covers the full strategy and every attack.
| Stat |  Alluvion |
|---|---|
| Level | Lv 26 |
| HP | 48,000 |
| Type | Humanoid |
| Weakness | Thunder |
| Nullifies | Water |
| Reward | 6,300 EXP, 7,500 Gil |
Alluvion’s trait reads “Power of special skill increases with each prism core.” Since Alluvion nullifies Water, leave Water spells and the R’lyeh Text’s Water boost out of the fight. Alluvion is listed with the other bosses in the bosses list.
The Aquatic Veil from Waterfall Way provides this effect: “Halves damage taken from Water attacks.” Equip it for the shrine. You can find other choices in the accessories list.
Defeat both Prism Cores before Alluvion reaches the turn marked for it on the order bar. Once the cores are destroyed, Alluvion says “Tch…not enough power…” and skips Graceful Deluge. One cast of Archwitch Fina’s Siren can strike Alluvion and the two cores; Thunder also affects all three. Save your Limit Bursts and the Crystal Braver resonance for stagger windows. See how to beat Alluvion for its complete moveset.
The reward is the Azure Amulet, which shows as “Azure Amulet x1” under Items Obtained on the Battle Result screen. Its description reads “Imbues non-elemental physical attacks with Water.”
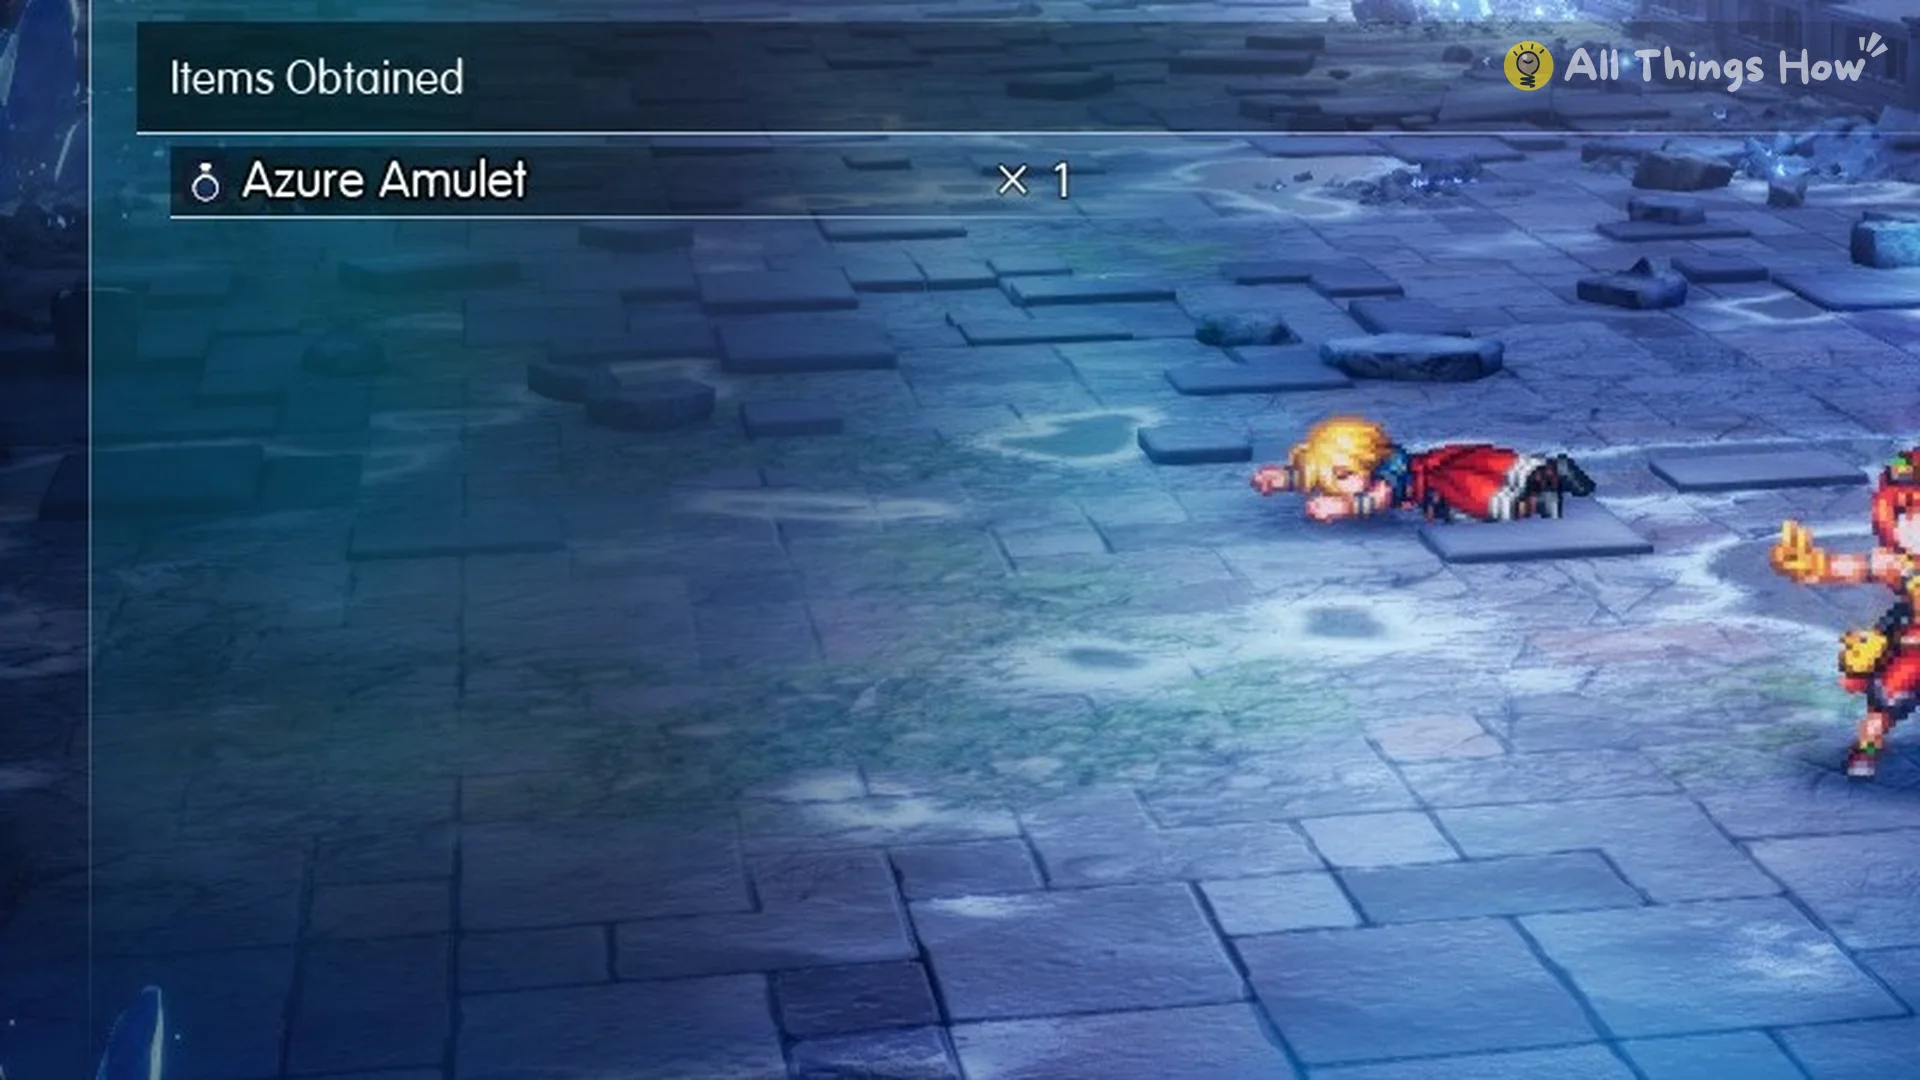
A long story scene plays next. Once it finishes, the quest changes to “Go to Olderion, the aquapolis”, the game autosaves, and you are standing on B2 next to the save point.
Water Shrine chests and Tablet Shards
The shrine holds six chests and three Tablet Shards, and the rest of the game’s chests are in the chest locations.
| Item | Where |
|---|---|
 Scale Mail | Area 3, middle lane |
 Magicite Shard | Area 3, right lane |
 R’lyeh Text | Area 4 channel, east of the loose crate (only while drained) |
 Lightning Scroll I x3 | Area 4, north end of the channel (only while drained) |
 Piercing Mace | Area 2 1F, far end of the sunken crates (only while the water is low) |
 Calm Armlet | Area 2, platform reached over the floating crates (water up) |
| Tablet Shard | Area 1 B1, by the north arch (after the Area 4 seal) |
| Tablet Shard | Area 1 lower level, at the foot of the ladder by the lift |
| Tablet Shard | Area 2, at the foot of the seal tower beside the Viridian Pot platform |