The Blood Moon in TBOD^2 is one of the few things in the game that you have no control over. There is no button, no purchase, no crafting recipe, and no hidden NPC that starts it. It is a pure dice roll that happens when the day flips over to night, and the only thing you can do is be ready when it lands.
Quick answer: You cannot spawn a Blood Moon. Each night has a 1% chance to become one, so keep playing through night cycles and watch the event indicator at the top of the screen for the change.
Blood Moon spawn chance in TBOD^2
Every time the game rolls a new night, it decides whether that night will be a Blood Moon. The odds are 1 in 100. That roll is independent each time, so a long streak of clear nights does not make the next one more likely, and there is no counter building up in the background toward a guaranteed event.
Nothing you own changes that number. No item, upgrade, machine, or amount of cash raises the odds, and there is no setting or server hop trick that forces the roll to succeed. The practical takeaway is simple. Play more night cycles, and the event will eventually come around on its own.
How to tell when a Blood Moon has started
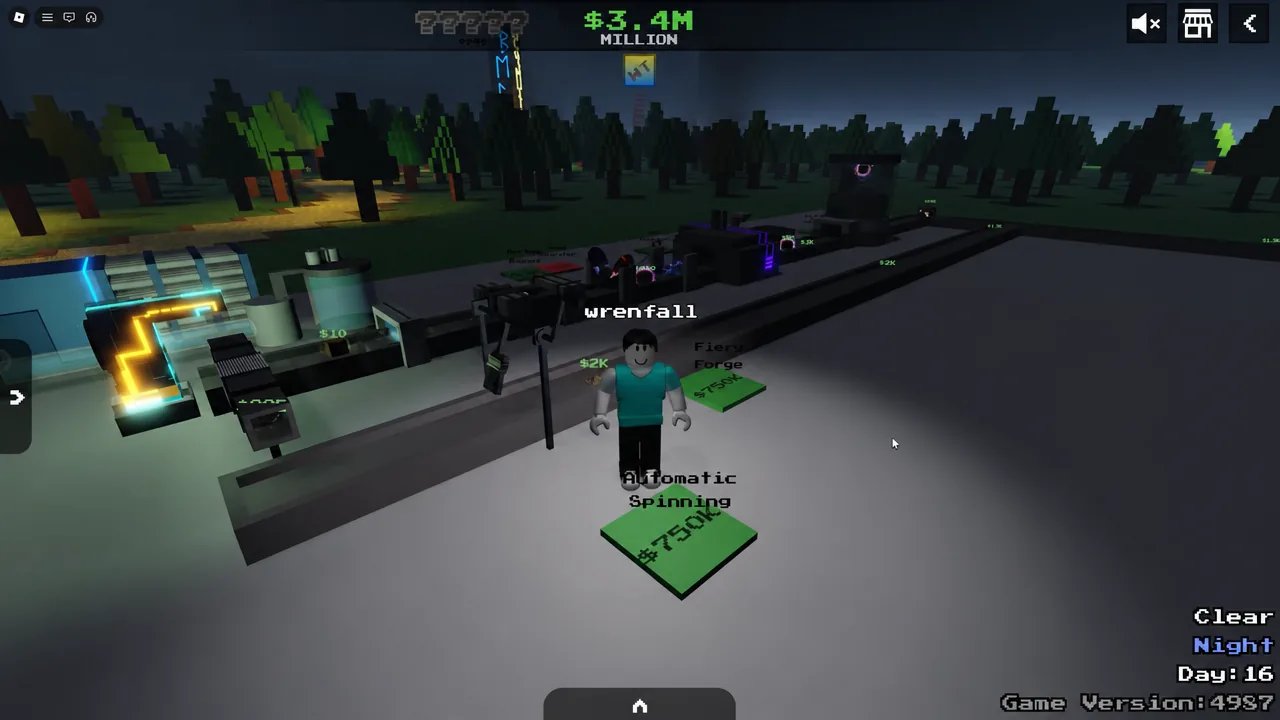
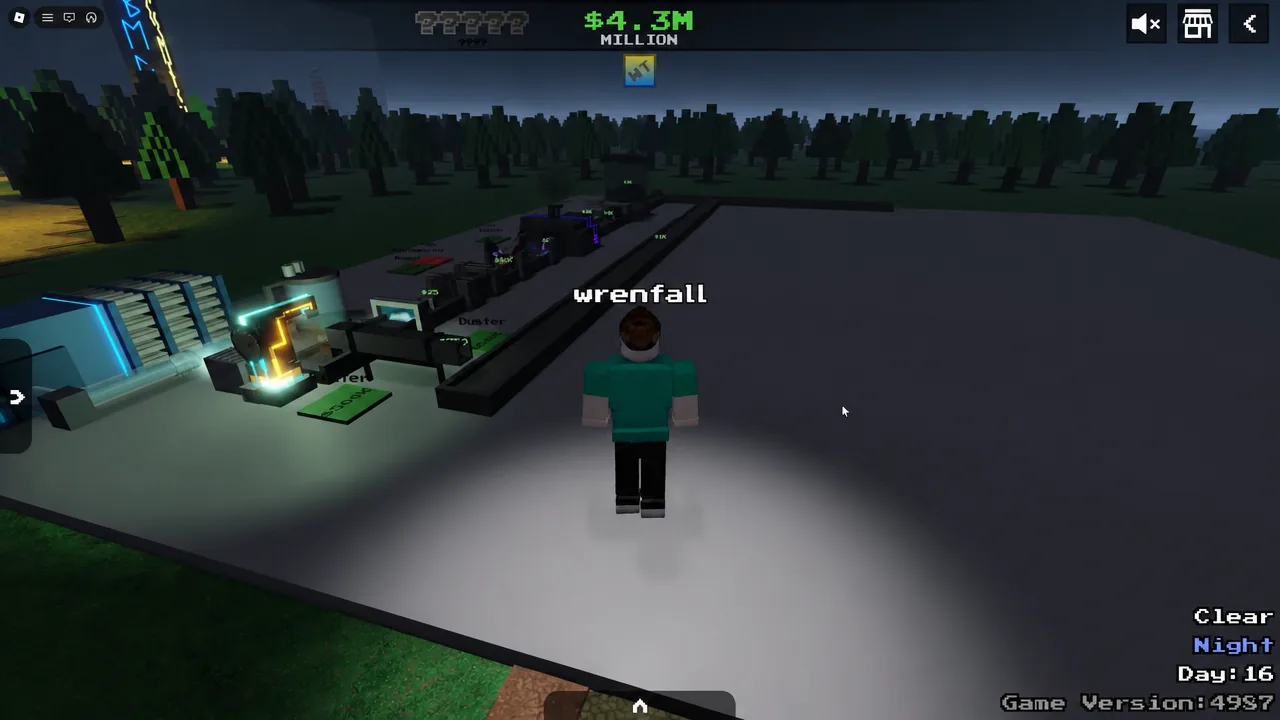
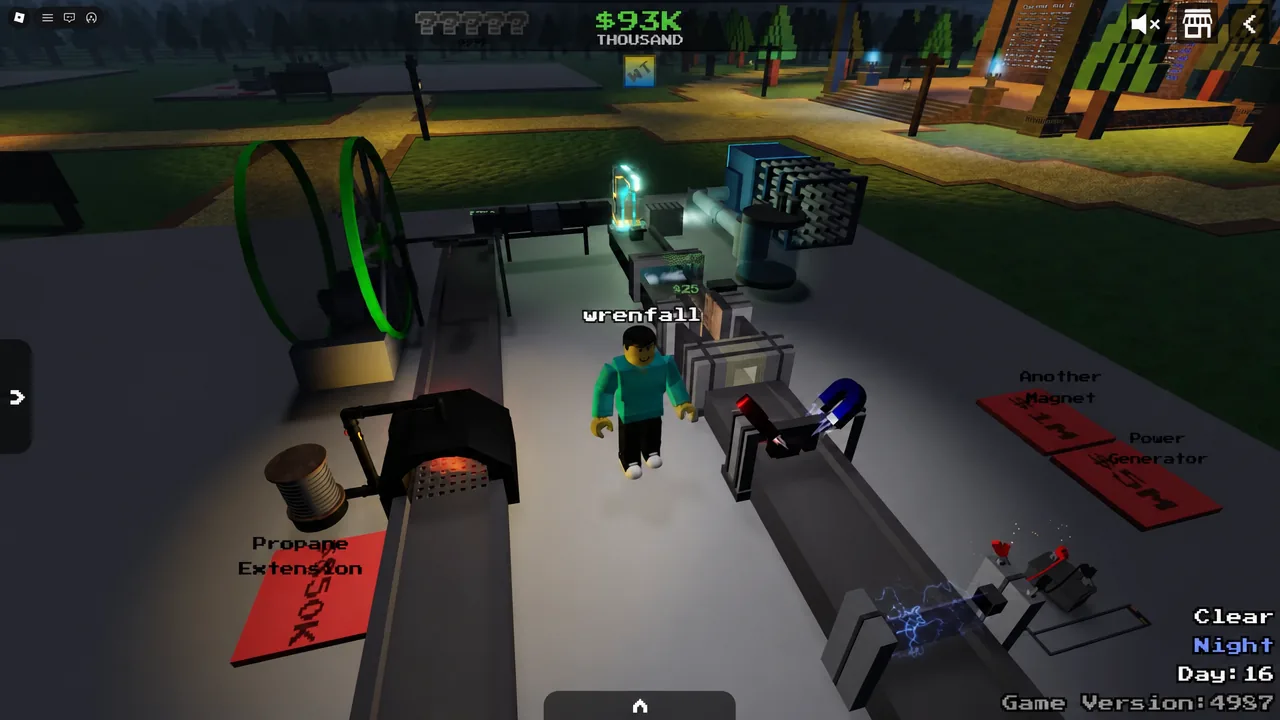
The top of the screen carries the weather and event readout along with the current day count. On an ordinary cycle it reads as a clear night with the day number next to it. When the roll succeeds, that readout changes to reflect the Blood Moon instead, which is your confirmation that the event is live for the current night.
Why the Blood Moon merchant is worth chasing
The entire value of the event sits with the merchant. Under normal conditions the merchant only turns up on even-numbered nights, which means half your nights pass with no shop at all. A Blood Moon overrides that pattern and guarantees the spawn regardless of which night you are on.
On top of the guaranteed appearance, the Blood Moon version of the merchant puts six cards on the table. That is a wider spread than a routine visit, which gives you more chances to pick up bits and stack cash boosts in a single stop.
| Condition | Merchant behaviour |
|---|---|
| Normal night | Appears only on even-numbered nights |
| Blood Moon night | Guaranteed to appear, with six cards on offer |
Card prices swing hard, so it helps to arrive with a healthy balance. Cheap picks such as Another Magnet and Another Planet sit at $400, mid-range options like Power Generator land near $93K, and the expensive end runs through Hammer Time at $1M and Motivation at $2M. Others, including Automatic Spinning, Fiery Forge, and Propane Extension, fall in the $750K to $950K band.
Why your Blood Moon is not triggering
Almost every failed attempt comes down to one of two things. Either the night roll simply came up clear, which happens 99 times out of 100, or you are looking for a trigger that does not exist in the game. There is no summoning item, no altar, and no unlock condition attached to progression.
It is also easy to miss an event that did fire. If you are heads down on your base and never check the top bar, a Blood Moon night can pass with the merchant standing somewhere you never walked. Make the indicator check a habit at every day-to-night transition and you will stop losing the ones you actually rolled.
Treat the Blood Moon as a bonus rather than a goal. Keep your cash reserve topped up between cycles so that when the 1% finally hits, you can clear the merchant’s full spread of six cards in one visit instead of walking away with only the cheap ones.