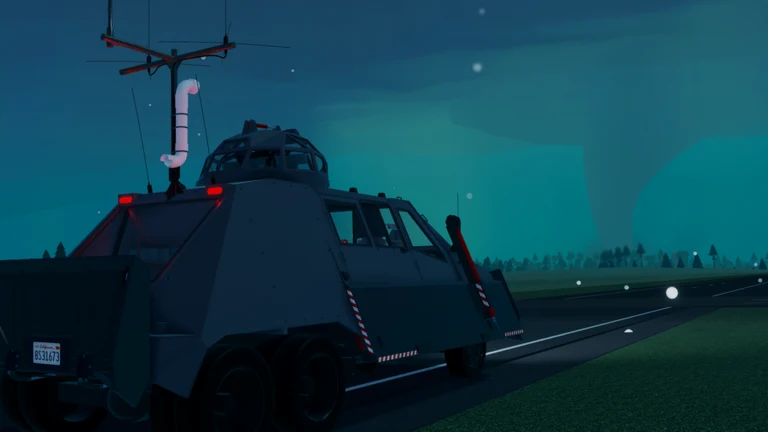
The radar map is the single most important screen in Twisted. It is your map, your storm tracker, and your early warning system all at once, and it is the difference between watching a tornado from a safe road and driving straight into the rain core with no idea what is in front of you. Everything you need to find a storm, judge its strength, and plan a route is on that one screen.
Quick answer: Press M or click the radar icon at the top of the screen, then track the hook echo and the red warning polygon on reflectivity to find the tornado.
What the radar map screen shows
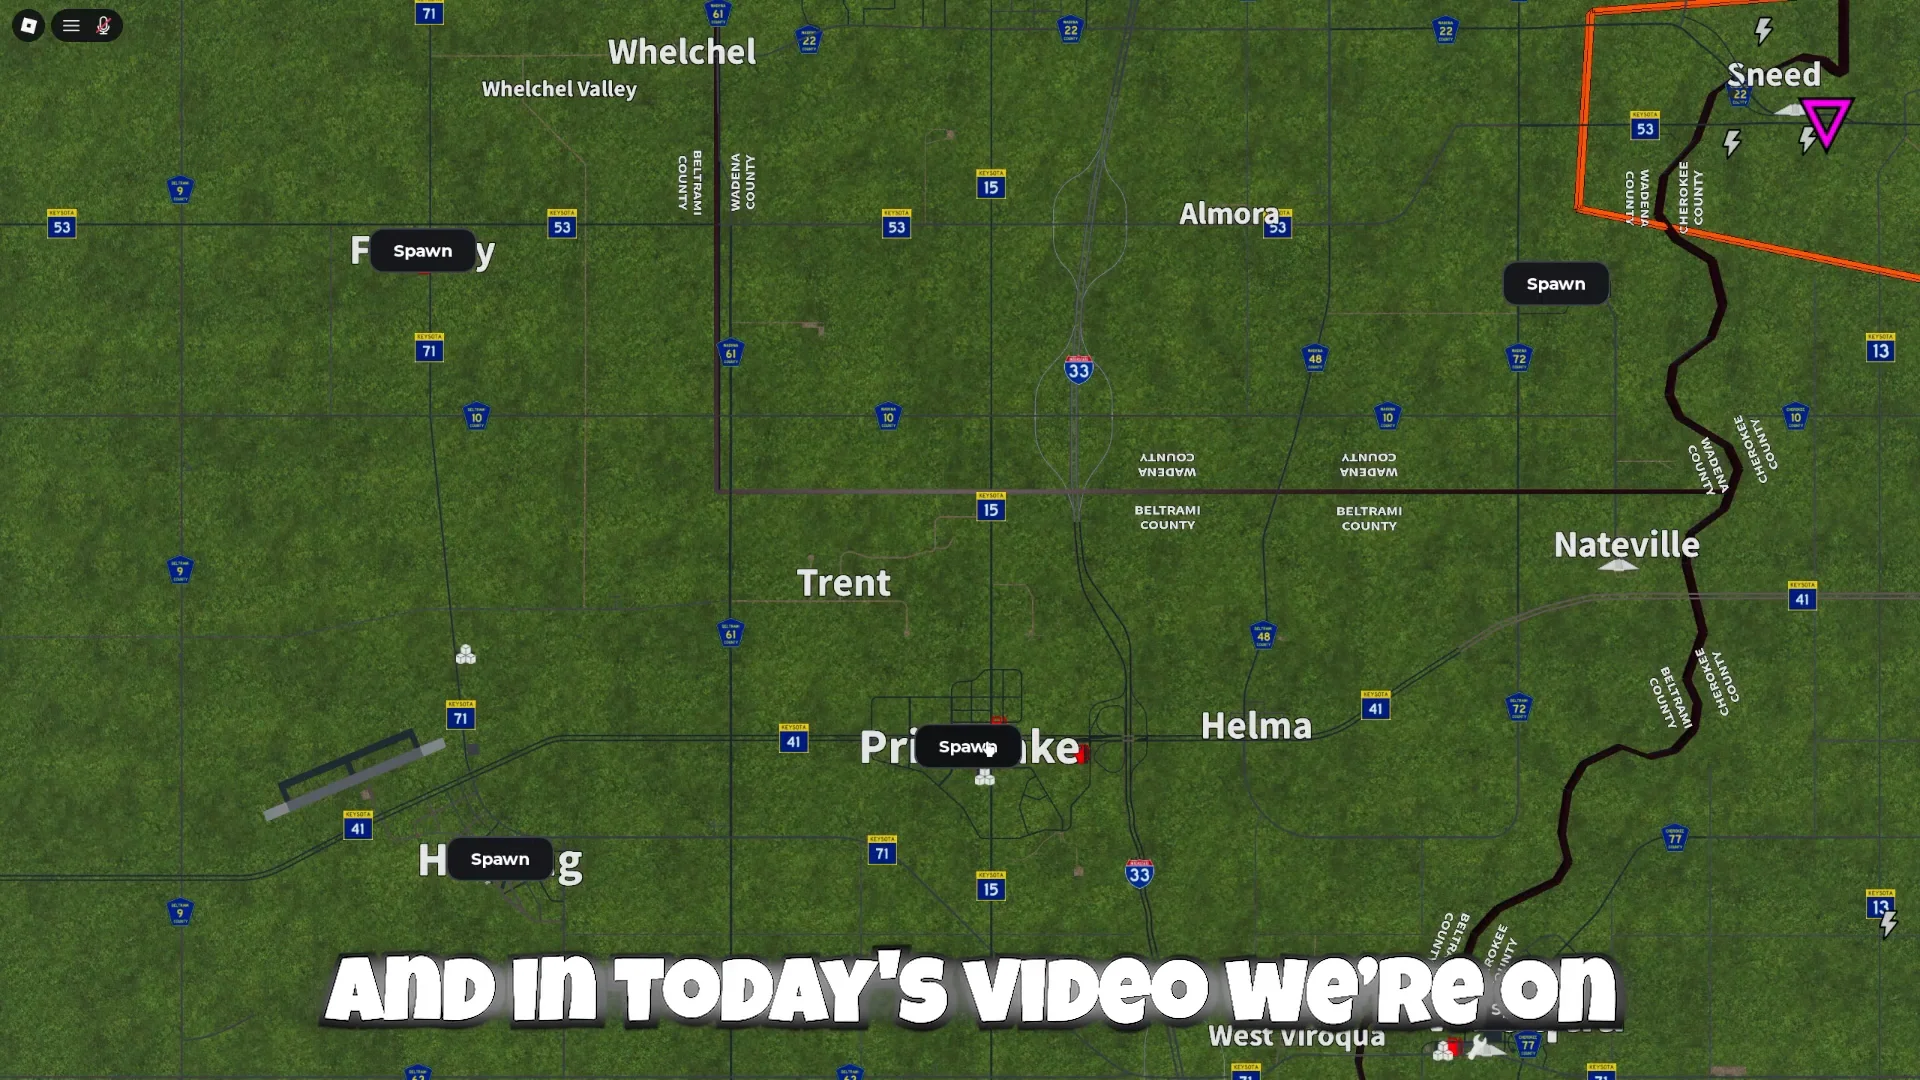
Opening the radar fills the screen with the whole state of Keysota, split into three counties: Wadena, Beltrami, and Cherokee. Towns are labelled, highway shields sit on the road grid, and the storm is painted over the top of it as coloured reflectivity. Your own vehicle shows up as a purple circle with a pointer showing which way you are facing, and other players appear as small coloured dots on the roads.
The left-hand menu is a set of checkboxes that turn parts of the map on and off:
Background— the terrain layer under everything elseStorm Icons— tornado, hail, and rotation markersInterstates,State Routes,County Roads— the road grid you actually drive onRiver— useful, because the Wendigo River limits where you can crossSKYWARN ReportsandRadar Sites— spotter reports and the radar dishes themselves
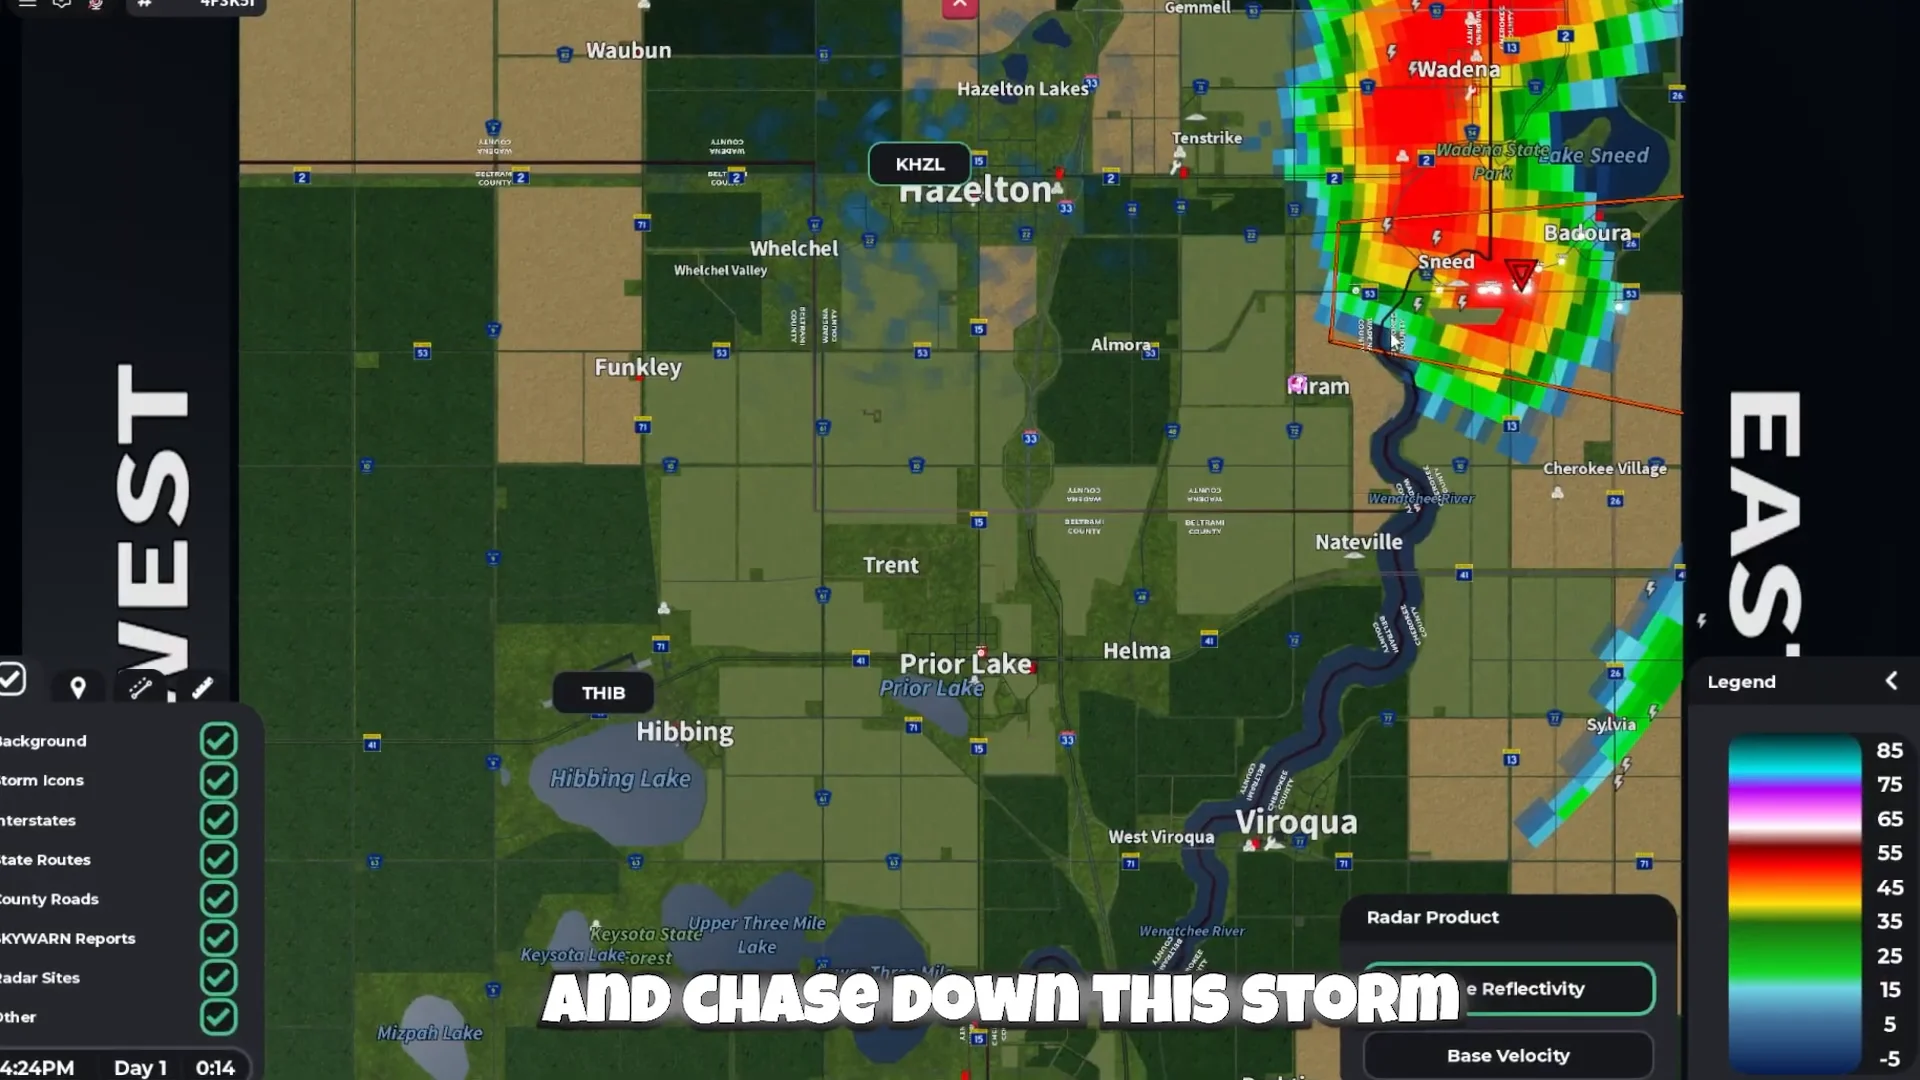
Down in the bottom left is the timeline. It shows the in-game day and clock (Day 1, 4:24PM) with playback buttons to scrub back through previous scans or step forward. Rewinding a few frames is the fastest way to work out which direction a storm is really moving rather than guessing from one still image. The radar also keeps past tornado tracks, which you can pull up from the menu, and it will highlight a specific player if you have lost your friends.
Reflectivity and base velocity radar products
Twisted has two radar products, and you switch between them with the reflectivity button in the bottom right corner of the radar screen. Press it once to swap, press it again to swap back.
Base reflectivity
This is the default view and the one you will spend most of your time in. It is a heat map of precipitation, running from around -15 at the faintest edge of a shower up past 65 and 85 in the core. Greens, yellows, and oranges are rain. Deep red means a heavy rain core. Pink, cyan, and white mean hail. Look for the hook echo on the back edge of a supercell — that curl is where the tornado lives.
Two shapes inside the hook are worth knowing. The Bounded Weak Echo Region, sometimes called the eye, is a pocket of low reflectivity inside the hook, and it is a strong hint that the tornado is rain-wrapped and will be hard to see from the road. A debris ball looks identical to hail on reflectivity, but it sits in the hook and has no hail icon on it — that is a tornado lofting an entire town into the air.
Base velocity
Velocity shows which way the air is moving relative to the radar site. Green is motion toward the radar, red is motion away from it. When a bright green blob and a bright red blob sit directly next to each other, out of step with everything around them, that is a couplet, and a couplet is rotation. Couplets almost always line up with the hook echo, so flipping between the two products is a quick way to confirm you are looking at a real mesocyclone and not just heavy rain.
TVS, hail, and rotation icons on radar
Once a storm gets organised, the game drops icons onto the map. A rotation signature is a green circle made of two arrows chasing each other, and it means the algorithm has found spin inside the supercell. That usually leads to a Tornado Warning, and then to a coloured triangle — a Tornadic Vortex Signature. The triangle’s colour is an estimate of the wind speed the radar is seeing.
| Icon | Estimated winds | Rough EF range |
|---|---|---|
| Rotation (green circle) | Under 64 mph | Meso only |
| Green TVS | 65–94 mph | EF-0 to EF-1 |
| Yellow TVS | 95–104 mph | EF-1 |
| Orange TVS | 105–124 mph | EF-1 to EF-2 |
| Red TVS | 125–144 mph | EF-2 to EF-3 |
| Pink TVS | 145+ mph | EF-3 and up |
A TVS is not a rating. It is a wind estimate, and it can be wrong in either direction. A tornado only counts as on the ground when a player actually sees the funnel touch down, and the real EF rating comes from damage assessment afterwards, not from the colour of a triangle.
Hail gets its own marker, a green triangle with a black outline. If the stones are at least an inch across, the triangle carries a number in the middle giving the size in inches. On reflectivity, the same area shows up as dark red through to white. Getting caught in it damages you and your vehicle, so route around anything with a number on it.
Reading warning polygons on the radar map
Warnings are coloured boxes drawn over the predicted path of a storm, and the arrow on the polygon tells you which way it is heading. Right-click any polygon to open the EAS Bulletin attached to it. Cars inside the warning area also receive the EAS broadcast over the radio.
| Warning | Polygon look | Meaning |
|---|---|---|
| Severe Thunderstorm (SVR) | Yellow, black outline | Covers most of the storm |
| Tornado (TOR) | Red, thin red outline | Tornado on or near the ground |
| Tornado Confirmed (TOR-C) | Orange, black outline | Reported by a SKYWARN spotter |
| PDS | Pink, thick black outline | Large tornado into rural areas |
| Tornado Emergency (TOR-E) | Black line, bright pink outline | Major tornado into a big city |
Tornado Emergencies are the rarest thing you will see on the map. They are only issued when the polygon for a violent tornado crosses Hazelton, Wadena, Viroqua, or Hibbing. Warnings are issued automatically, or manually by a player with the NWS gamepass working out of the NWS Hazelton office. Without that gamepass you can visit the office, but you cannot issue anything yourself.
Switching between KHZL and THIB radar sites
Two radar dishes cover the map, and you swap between them by clicking the other station’s icon. KHZL Hazelton is the long-range site and scans everything except the southeast corner of the map. THIB Hibbing is short-range, so it covers less ground, but it gives you noticeably sharper reflectivity and velocity data inside its radius. If a storm is anywhere near Hibbing, switch to THIB before you try to read a couplet.
Radar sites can be knocked out. A tornado with winds of roughly 150 mph or more that hits a dish — directly or through its wind field — takes the station offline, removes the bulb from the tower, and freezes that station’s radar image on its last scan. The circle at the station’s location tells you the status at a glance:
- Grey — online, and not the station you are currently viewing
- Blue — the station you have selected
- Red — offline
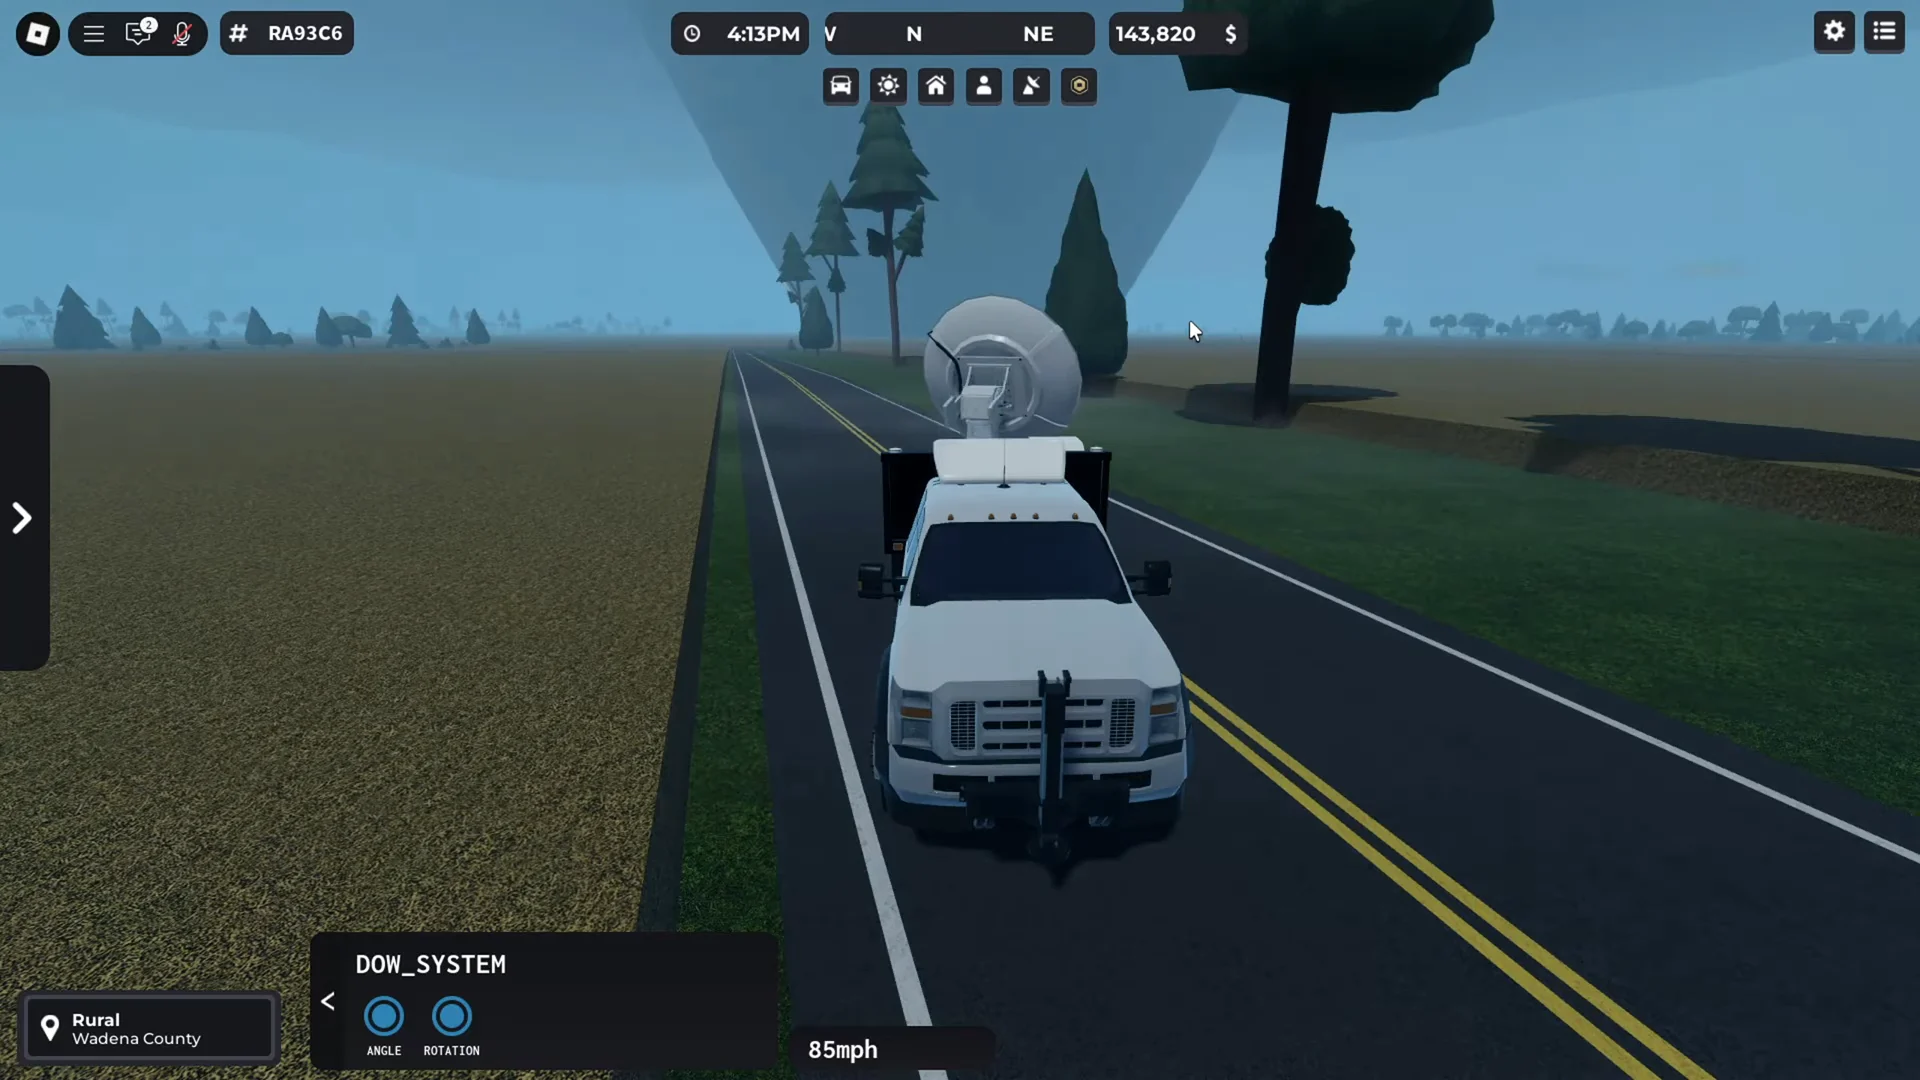
A downed station stays offline for about three in-game days before it comes back. In the meantime the frozen image is useless for tracking precipitation, but rotation and TVS icons will still appear if a DOW truck is operating nearby, feeding mobile radar data into the map.
How to chase a tornado using the radar map
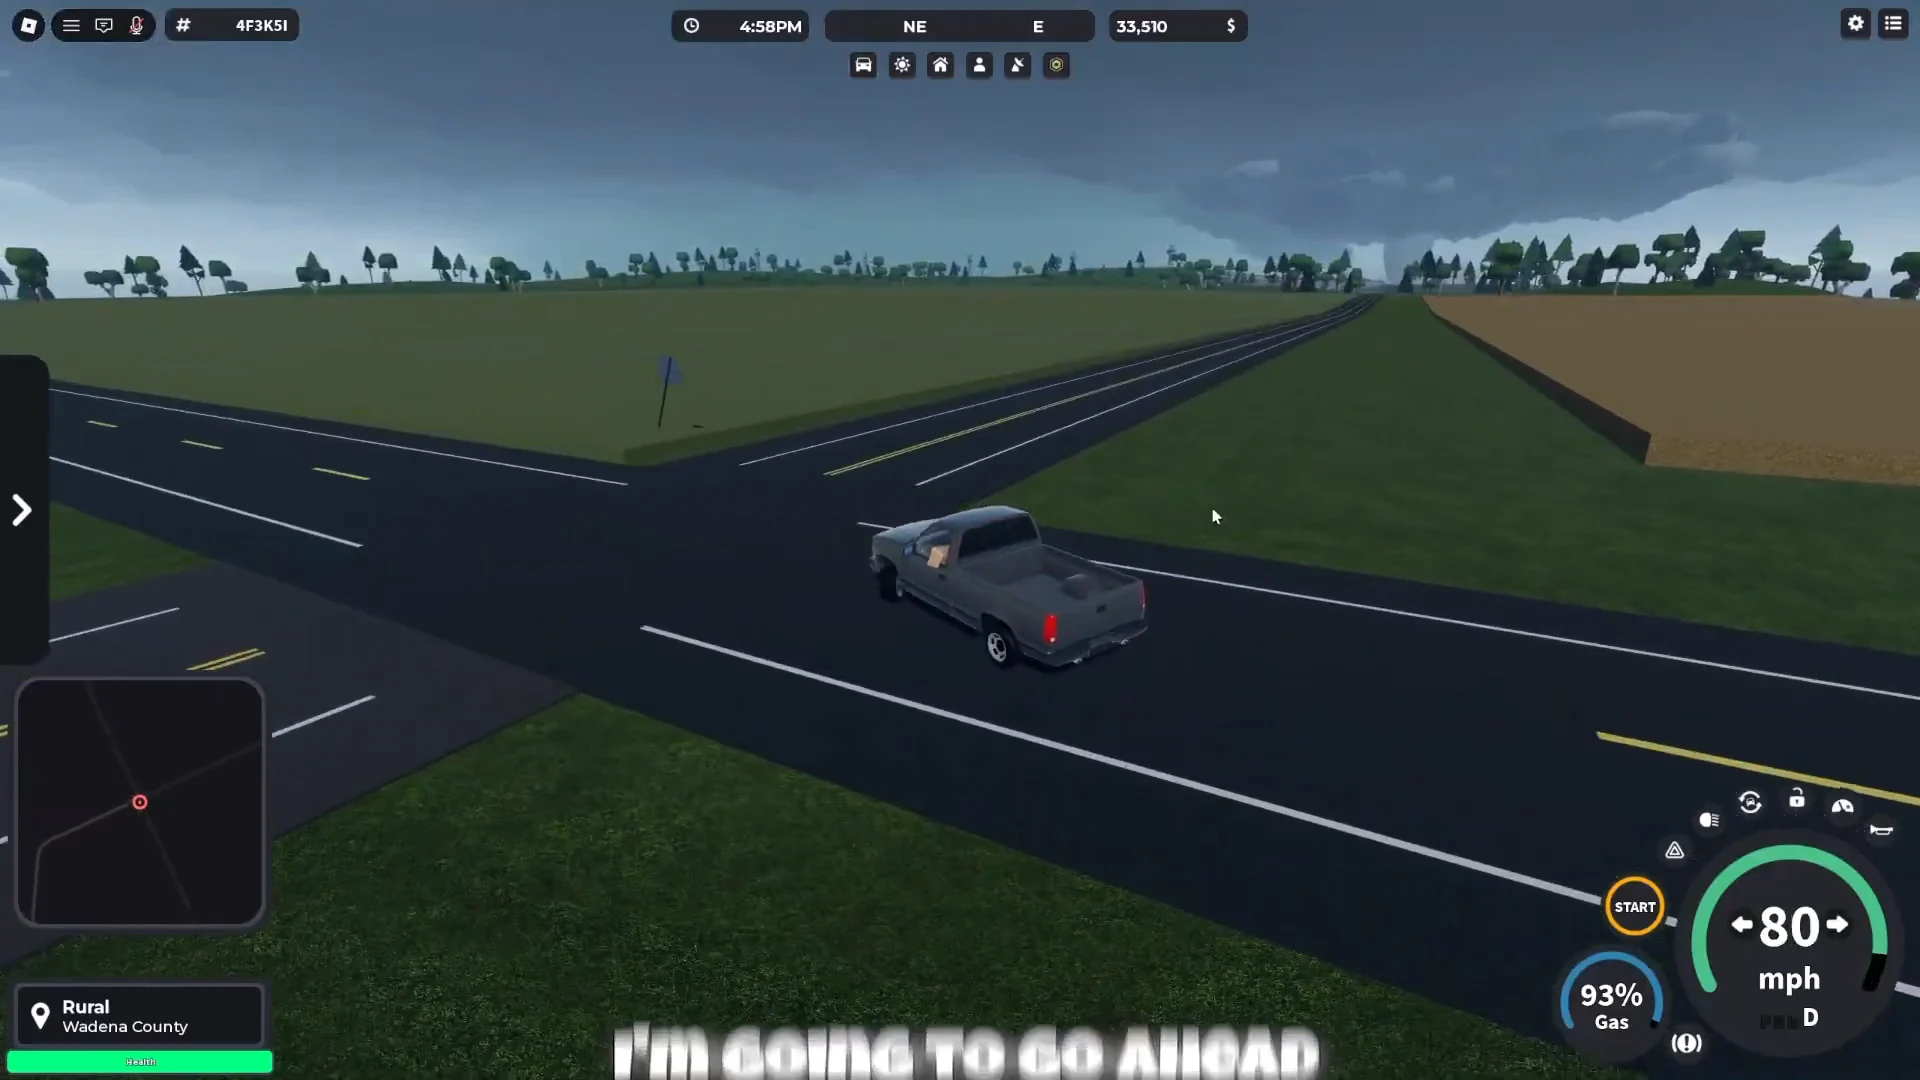
Other players show up as dots on the radar. A cluster of stationary chasers sitting on the eastern flank of a storm is a decent hint at where the viewing is good and the road network still works.
Get comfortable flipping between reflectivity and velocity, and the radar stops being a map and starts being a forecast. The hook tells you where to go, the couplet tells you whether it is worth going, and the polygon arrow tells you how long you have before it gets to you.