Royal Kitchen Walkthrough for Escape Room: The Sealed Castle (Roblox)
Every solution for the Royal Kitchen map, from the stove dials to the final fireplace directions that open the exit.
Every solution for the Royal Kitchen map, from the stove dials to the final fireplace directions that open the exit.
by AllThingsHow Staff · Edited by Pallav Pathak
The Royal Kitchen map in Escape Room: The Sealed Castle strings together five linked puzzles that gate a single exit. You start at a stove, work your way into the basement, decode a five-letter word from colored plates, fix a dining table display, and finish by aligning four fireplace dials to compass directions. Solve them in order, and the exit door opens.
Quick answer: Set the stove dials to Star, Hexagon, Plus, Triangle to get the axe. Push the basement drums onto matching tiles, decode CLOVE from the colored plates, enter it into the crate lock, fix the dining table wall puzzle for the bucket, douse the fireplace, then set the fireplace dials to Northeast, South, East, Southwest to escape.
Image credit: Roblox
All Royal Kitchen puzzle solutions
Every code and setting you need for the map is fixed, so you can jump straight to any puzzle you are stuck on.
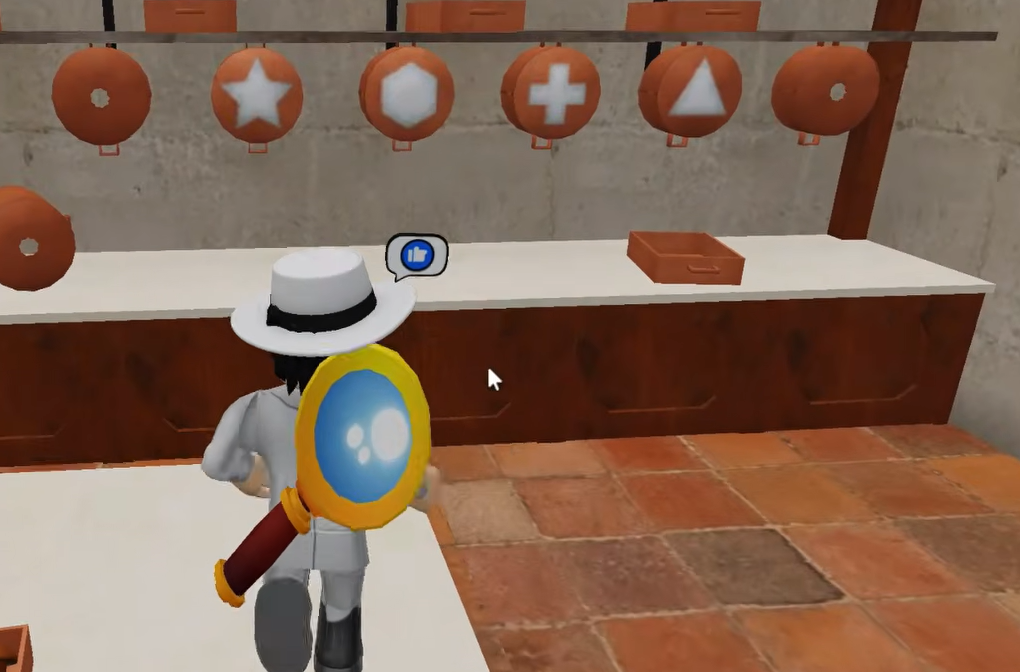
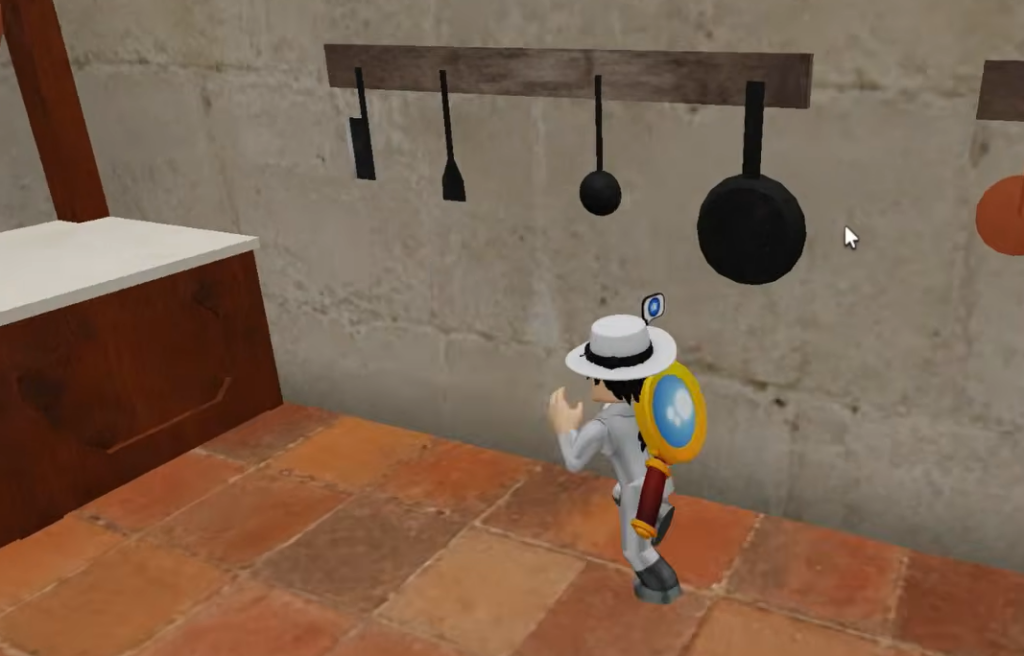
Look at the pots mounted on the kitchen wall and note the four symbols on them, which are Star, Hexagon, Plus, and Triangle. Turn the stove dials so they match that same order.
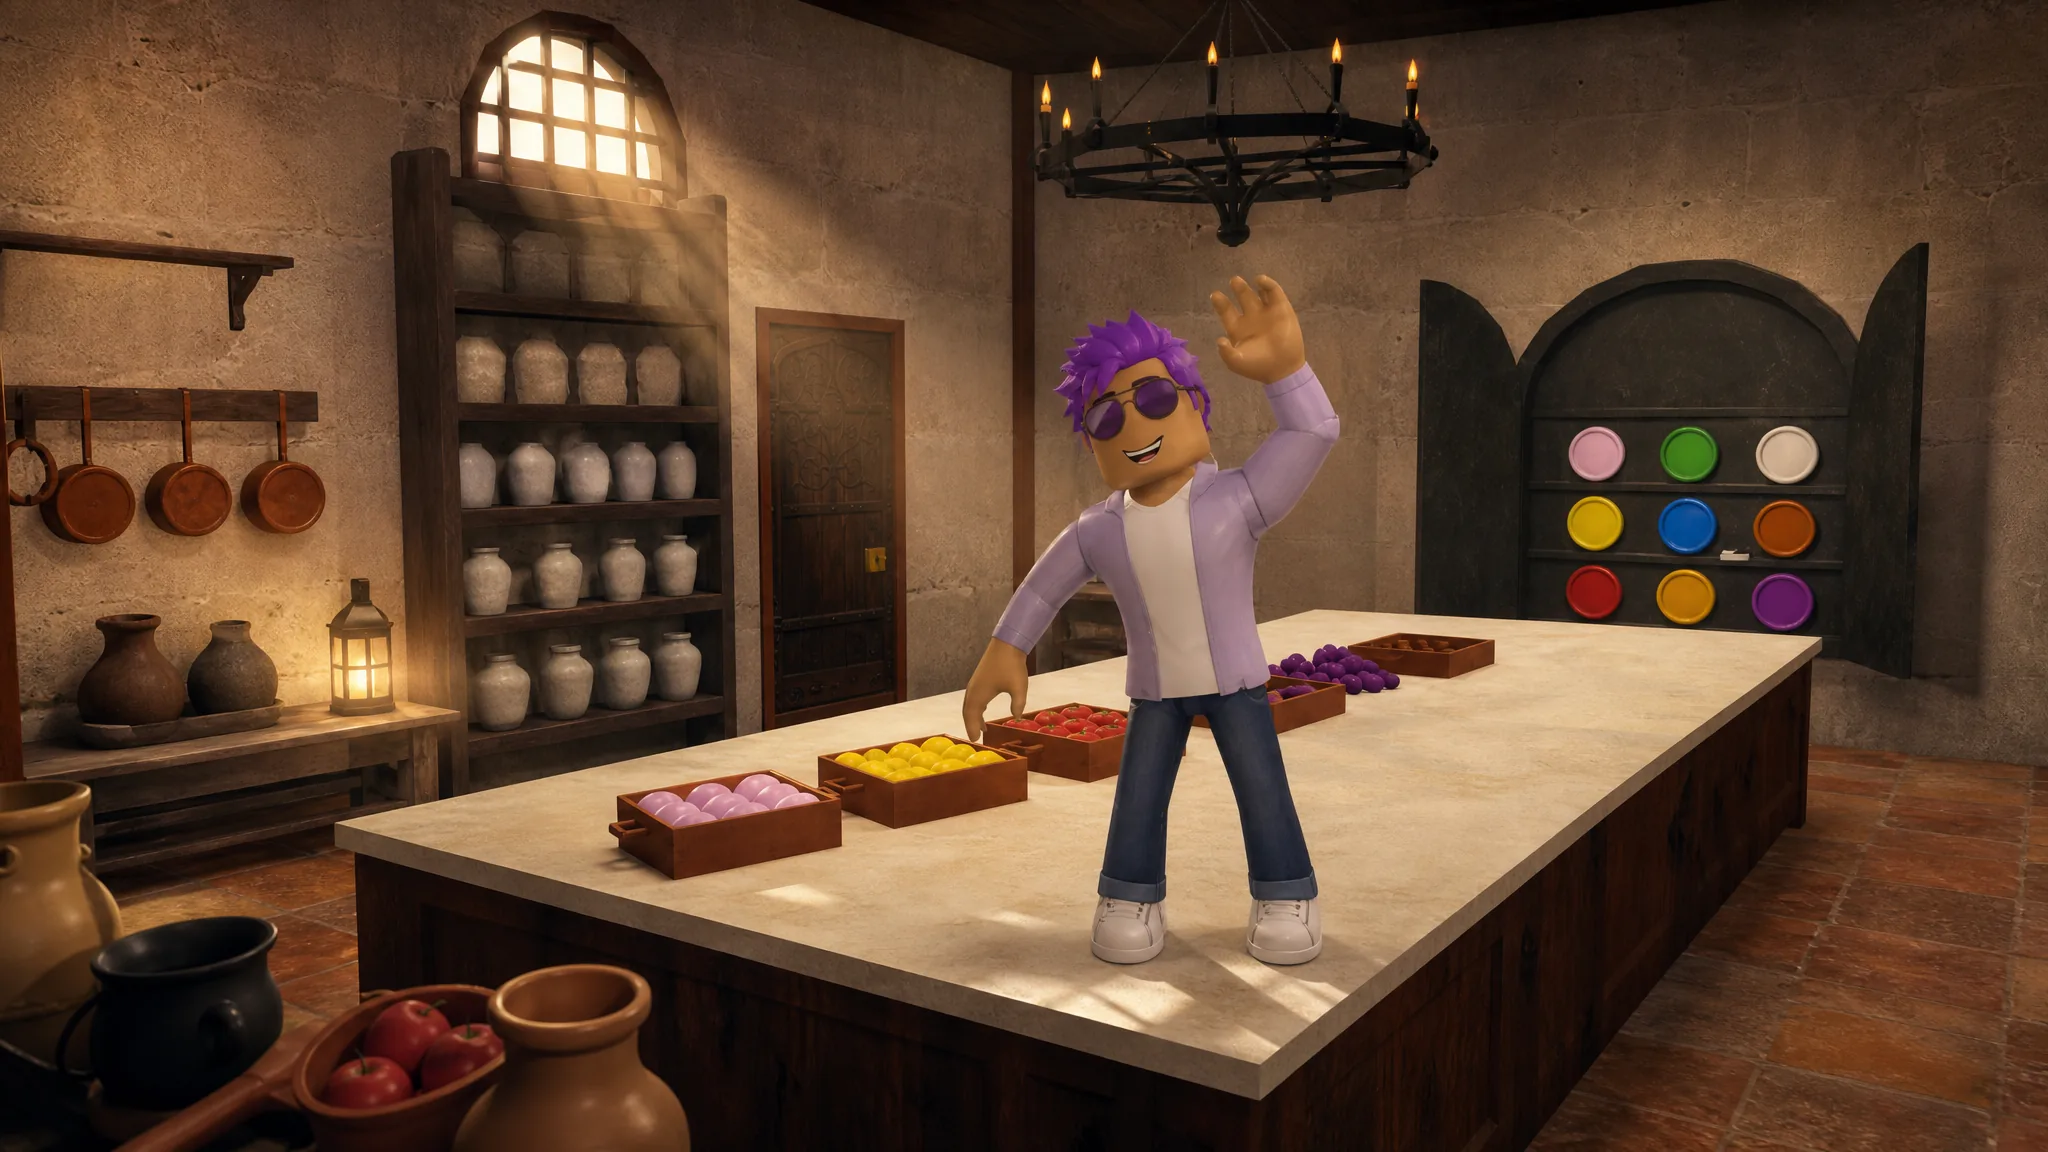
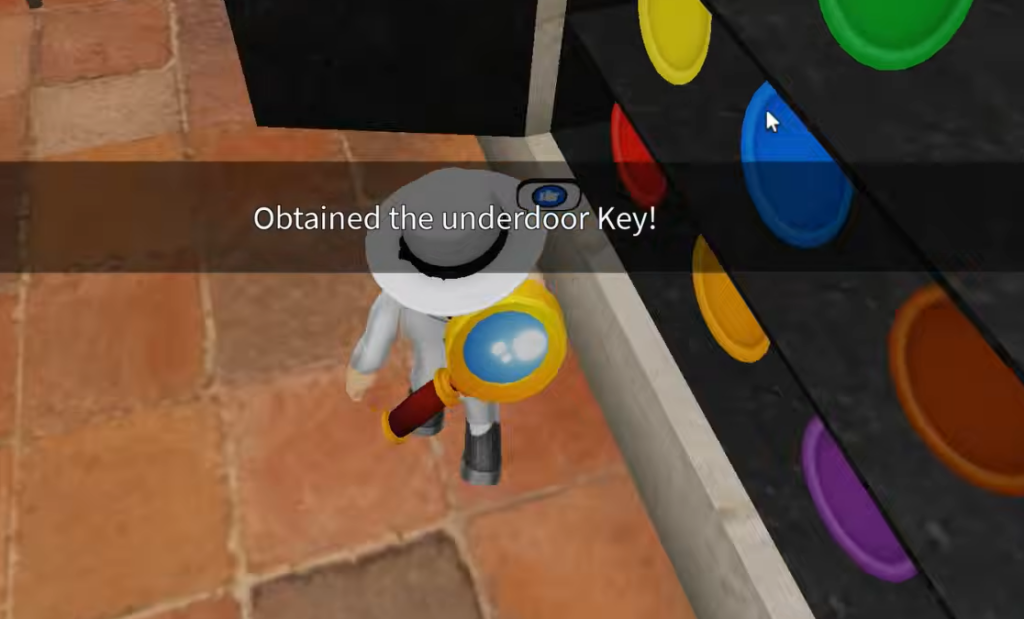
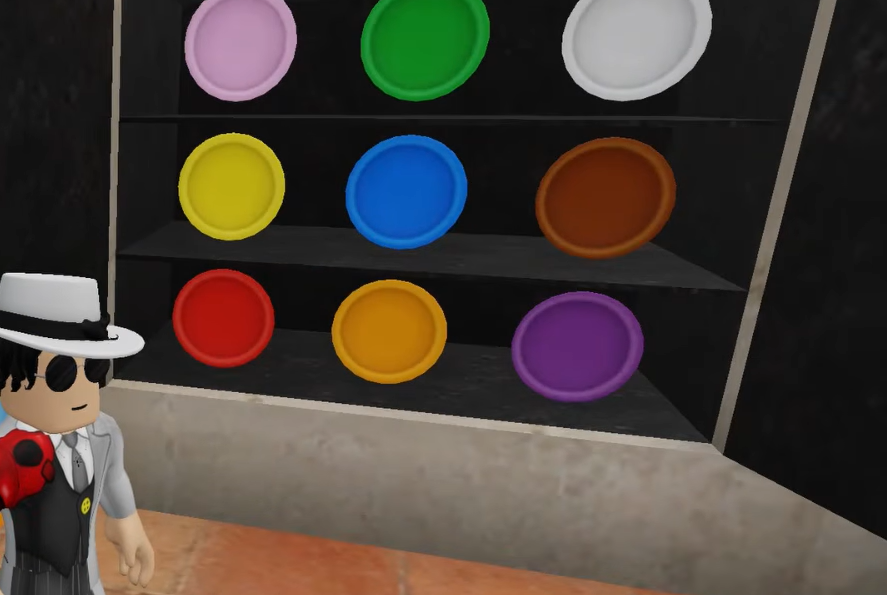
Use the axe to break the door open. Inside, you will see a set of colored plates on the wall and pick up the underdoor Key. Hold onto the plate layout because you need it later for the password.
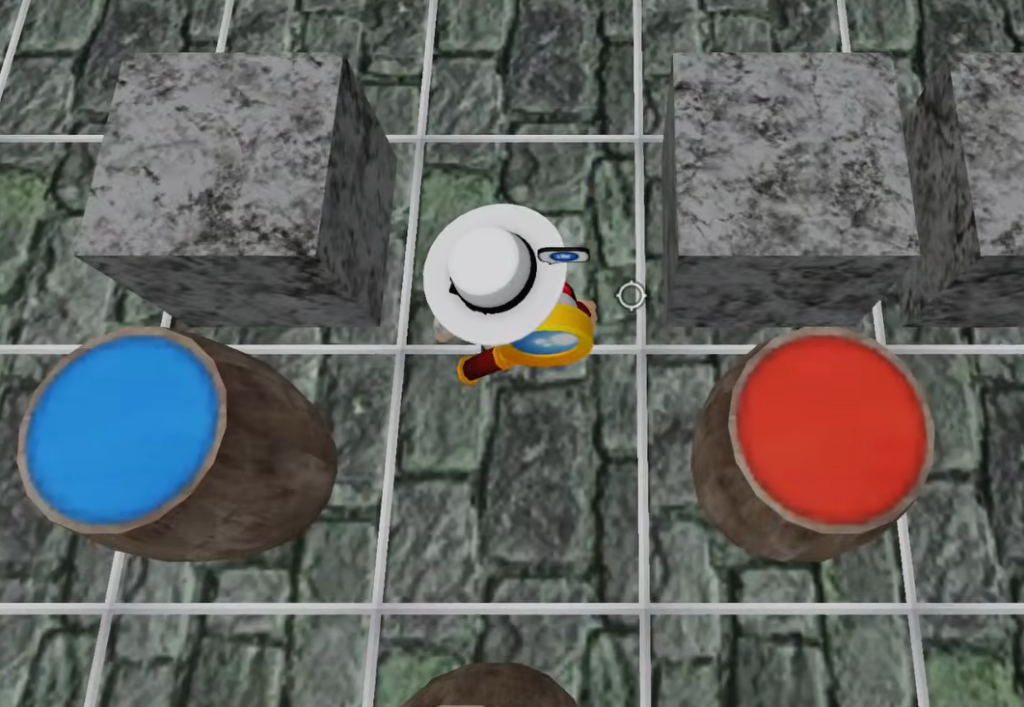
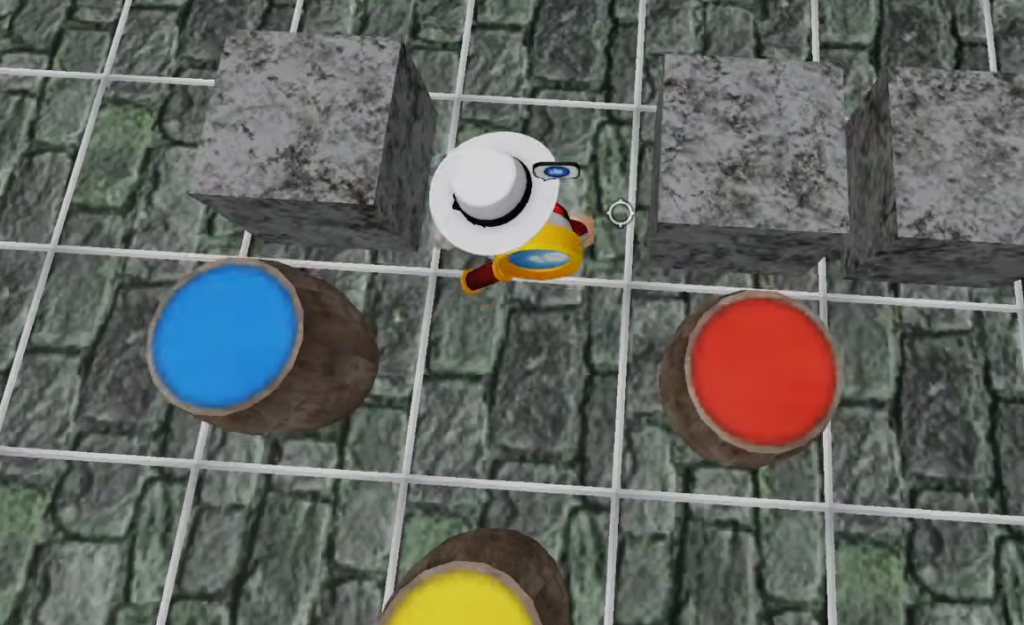
Head downstairs into the basement. In the first room, push the Red, Yellow, and Blue drums so each one sits on the floor tile of its matching color. The door unlocks once all three are placed.
The next room adds a fourth drum. Push the Green, Yellow, Red, and Blue drums onto their matching tiles to open the room that holds the combination lock and a clue poster.
Study the clue poster carefully. It shows colored paths that tell you how to read the plates upstairs, so keep its layout in mind before you leave the room.
Return upstairs to the colored plates you found behind the broken door. Use the poster’s color paths to trace across the plates in sequence. The letters spell out C, L, O, V, E in that order.
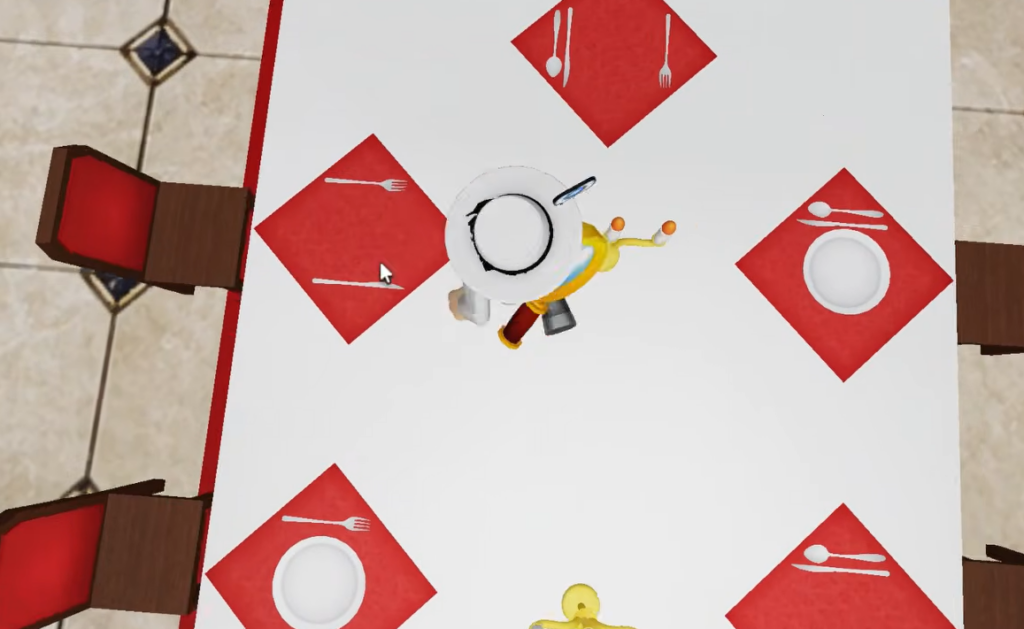
Inside the dining room, examine each place setting on the table and work out which item is missing from every setting. The gaps point to a plate, a fork, a spoon, and a knife.
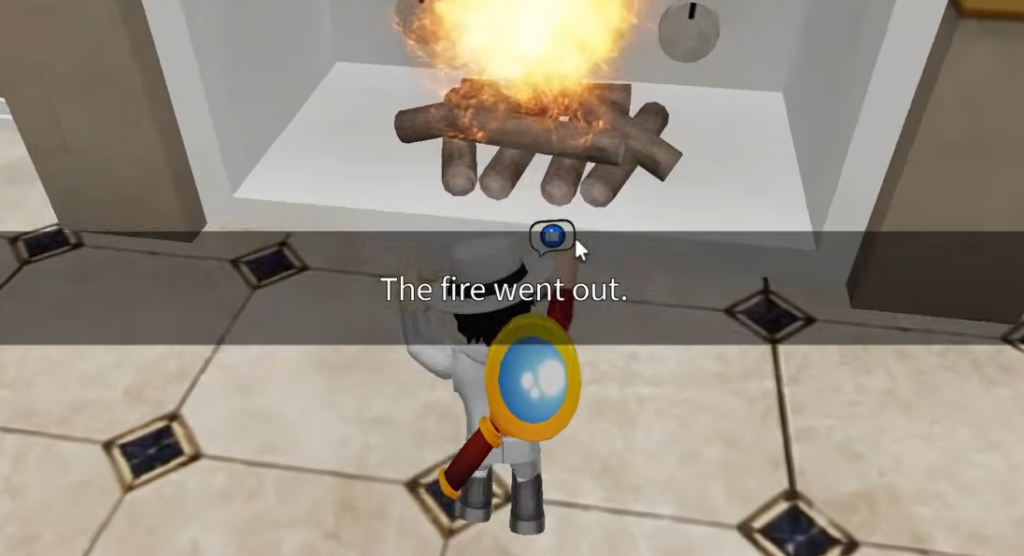
Fill the bucket with water at the kitchen trough, then throw the water onto the lit dining room fireplace. The fire goes out and exposes the dials behind it.
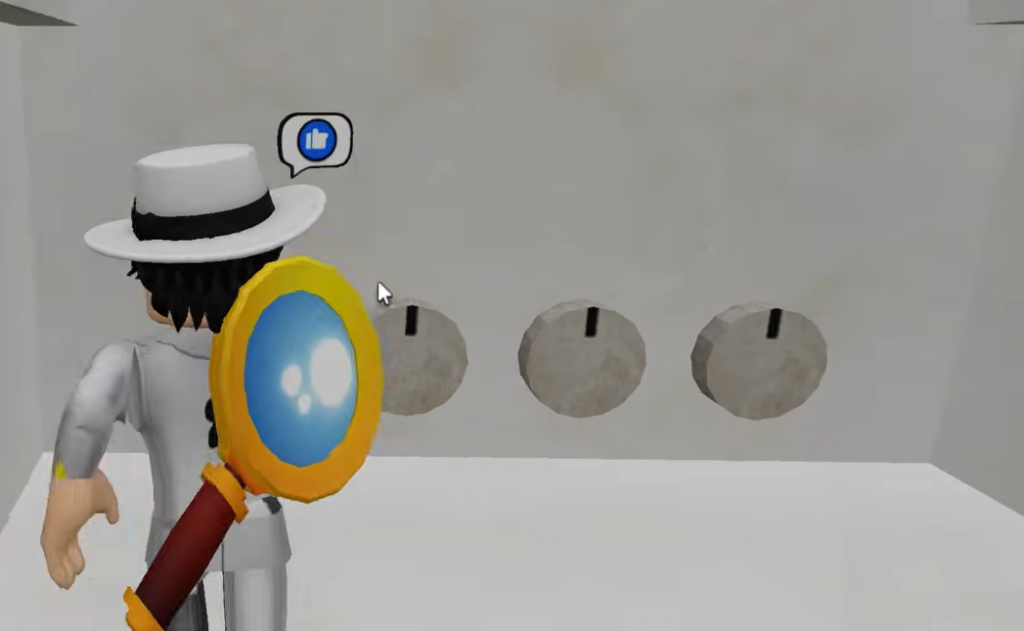
Set the fireplace dials to Northeast, South, East, Southwest. The exit door opens and the escape is complete.
Image credit: Roblox
How to confirm the escape worked
You will see the “ESCAPE SUCCESS!” message when the final dials are correct, along with a Badge Awarded notification and a prompt to return to the lobby. If the exit does not open, the dials are almost always the cause. Recheck that each direction matches the correct tool in the Knife, Turner, Ladle, Pan order, since a single misaligned dial keeps the door locked. The same applies earlier, where a drum sitting on the wrong colored tile or a plate letter read out of sequence will stop the next door from unlocking.