

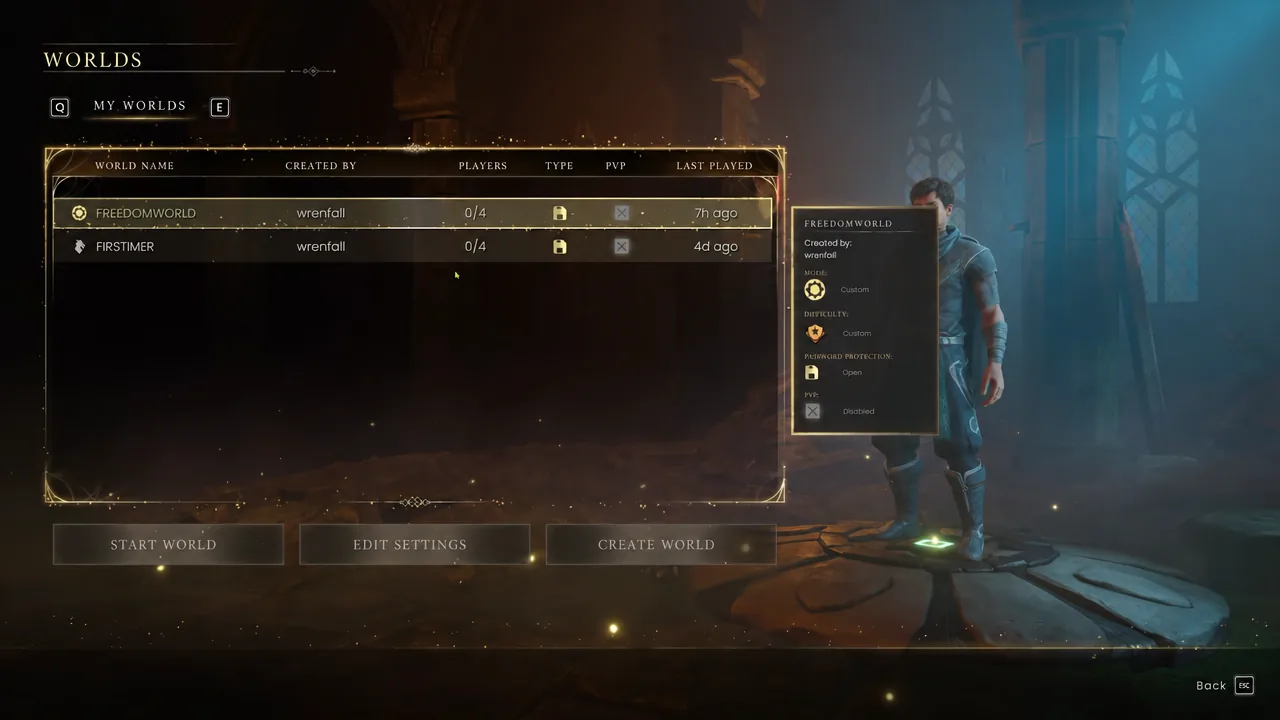
RuneScape: Dragonwilds hit version 1.0 on 15 September 2026 and is now playable on every supported platform, including Xbox Game Pass (Premium and Ultimate) and PlayStation Plus (Extra and Premium), alongside the Jagex Launcher, Steam, the Epic Games Store and the Nintendo eShop. Before you touch a single tree in Ashenfall, the game asks you to make two decisions that shape everything after: solo or online, and which world mode you want.
Quick answer: Choose Solo or Online in the Characters menu, then create a Standard world for the intended difficulty, or a Custom world if you want to scale health, hunger, XP gain and crafting costs.
Solo or online: what each option actually changes
The Solo and Online choice sits right after the character slots screen, and it is not a permanent identity. You can create a character from either path, and Ashenfall plays the same way whether you are alone or with friends. What changes is who else can be in your world and who shares the survival pressure with you.
| Option | What it gives you | Best for |
|---|---|---|
| Solo | A local world only you play in | Learning mechanics at your own pace |
| Online | Public or dedicated servers, joining a friend’s world | Sharing gathering and boss fights |
One thing worth knowing before you commit: public and dedicated servers, along with hard mode versions of the game, are tied to the Normal character mode. If multiplayer is the point of your run, start Normal. If you join a friend’s world instead of making your own, you still begin at the tutorial quest, First Steps, so nobody gets skipped past the basics.
World modes: Standard, Custom and Creative
The mode selection shows up twice, once when you create a character and again on the Create World screen. There are three of them, and the middle option is the one most new players underestimate.
| Mode | What it does | Trade-off |
|---|---|---|
| Standard / Normal | The game as designed, plus hard mode and server access | No difficulty tuning |
| Custom | Scales health, stamina, resistance, costs and XP; invulnerability available | Not the intended balance |
| Creative | Unlimited resources, no restrictions | Progression loop disappears |
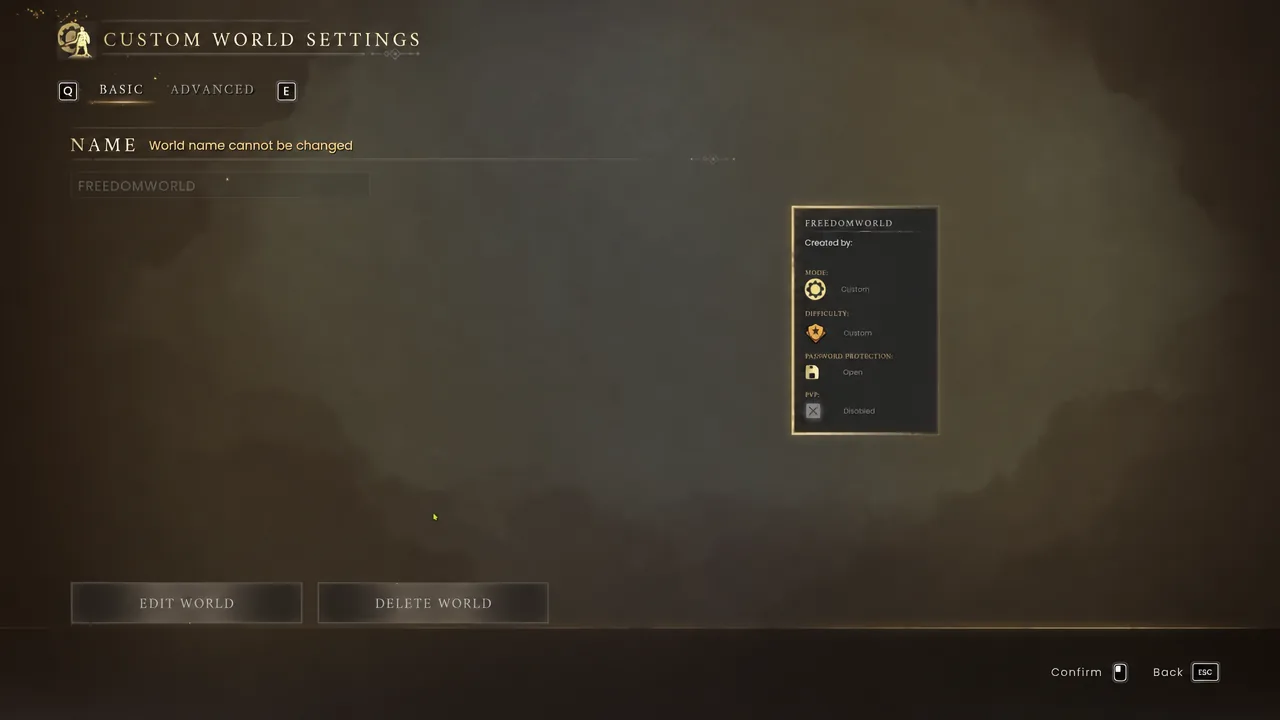
Custom settings are editable later. Select an existing world from the Worlds list, open Edit Settings under Custom World Settings, and adjust anything you got wrong on your first pass.
How to create your first world
While you are in the menus, the Settings page is worth a quick pass. It holds toggles for chat, gravestone protection, screen shake and magnetization, and those are easier to sort out now than mid-fight.
Custom world settings that matter most for beginners
The Custom sliders are grouped by what they affect, and there are a lot of them. These are the ones that change how a first playthrough feels.
| Setting | What it controls | Easier direction |
|---|---|---|
| Player Health Scale | Your total health pool | Raise |
| Player Damage Scale | Damage you deal | Raise |
| Sustenance / Hydration Drain | How fast food and water run out | Lower |
| XP Gain Scale | Skill levelling speed | Raise |
| Inventory Carry Capacity | How much you can haul | Raise |
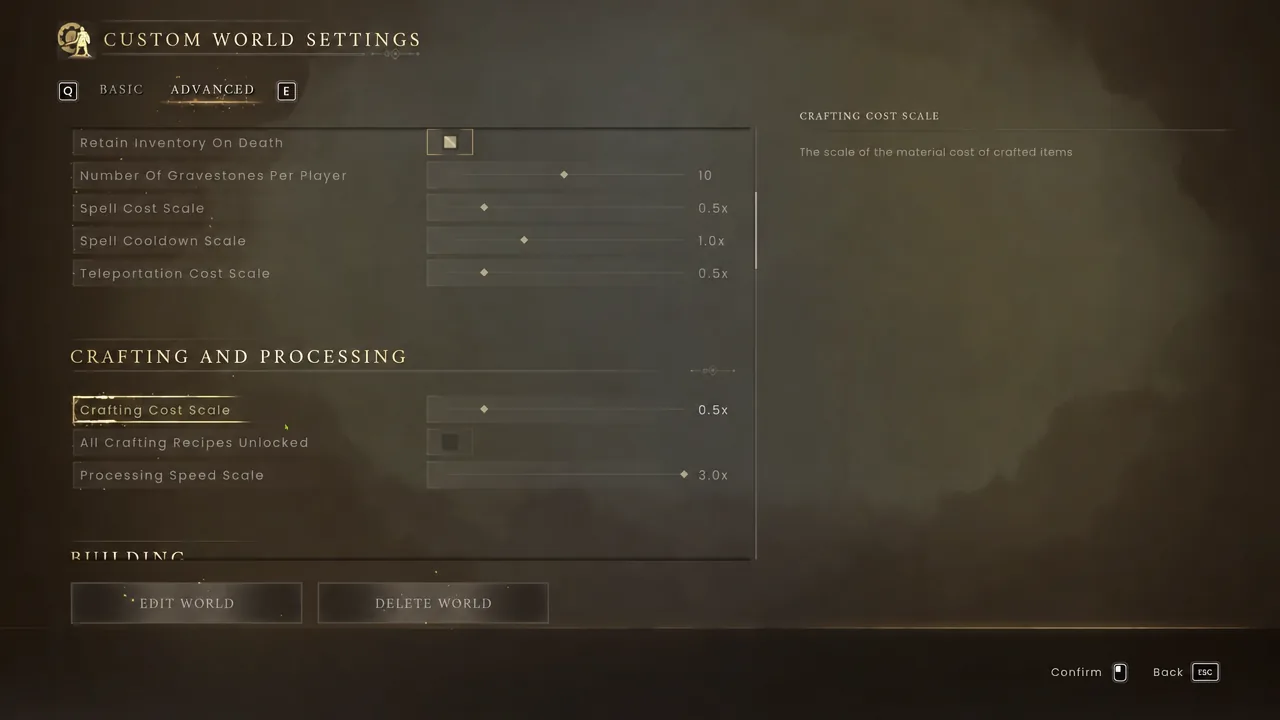
| Crafting Cost Scale | Materials per craft | Lower |
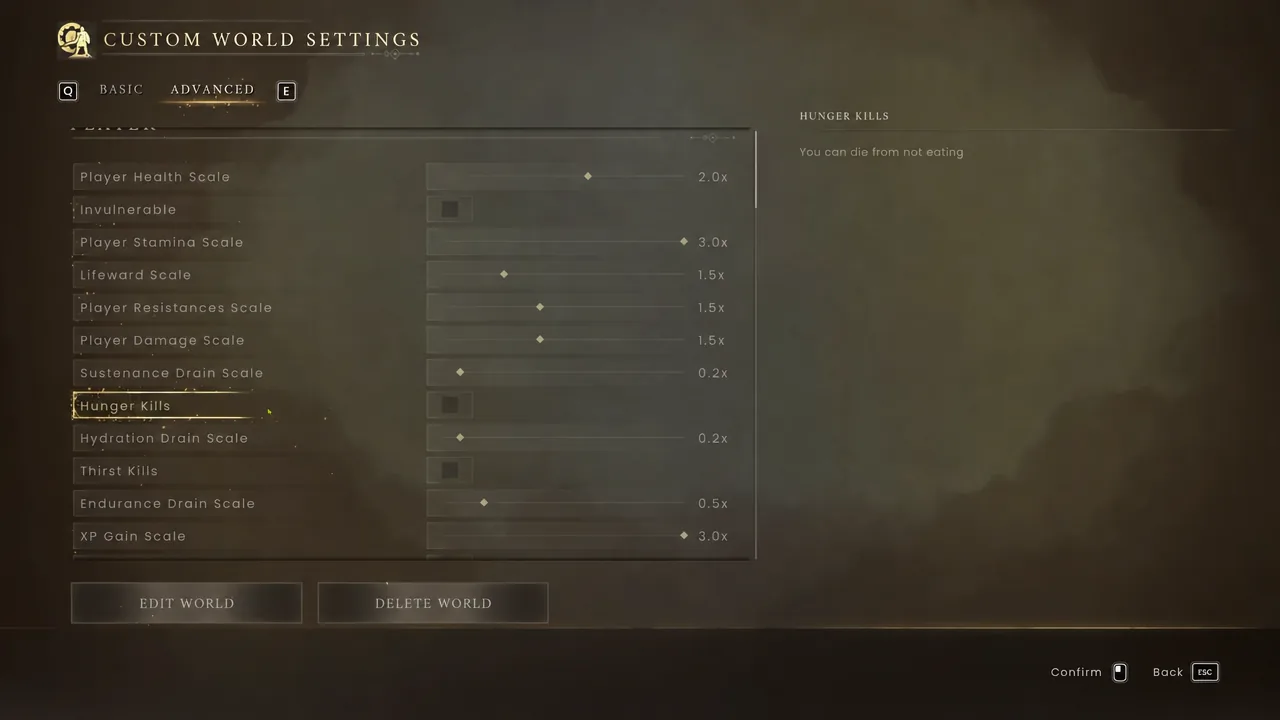
Beyond those, the Advanced tab also exposes Player Stamina Scale, Lifeward Scale and Endurance Drain Scale, plus Spell Cost Scale, Spell Cooldown Scale and Teleportation Cost Scale if magic and lodestone travel feel too expensive. The AI section lets you scale Beast, Construct, Critter, Garou, Goblin, Skeleton, Undead, Zamorak, Mini-Boss and Boss enemies separately, and World Event Frequency controls how often the world interrupts you.
Hunger Kills and Thirst Kills
These two are separate checkboxes from the drain scales. They decide whether running empty on sustenance or hydration can actually kill you, rather than just weakening you. Turning them off removes the harshest edge of the survival layer while leaving the food loop intact, which is useful if you would rather spend your first hours learning combat than cooking.
Retain Inventory On Death
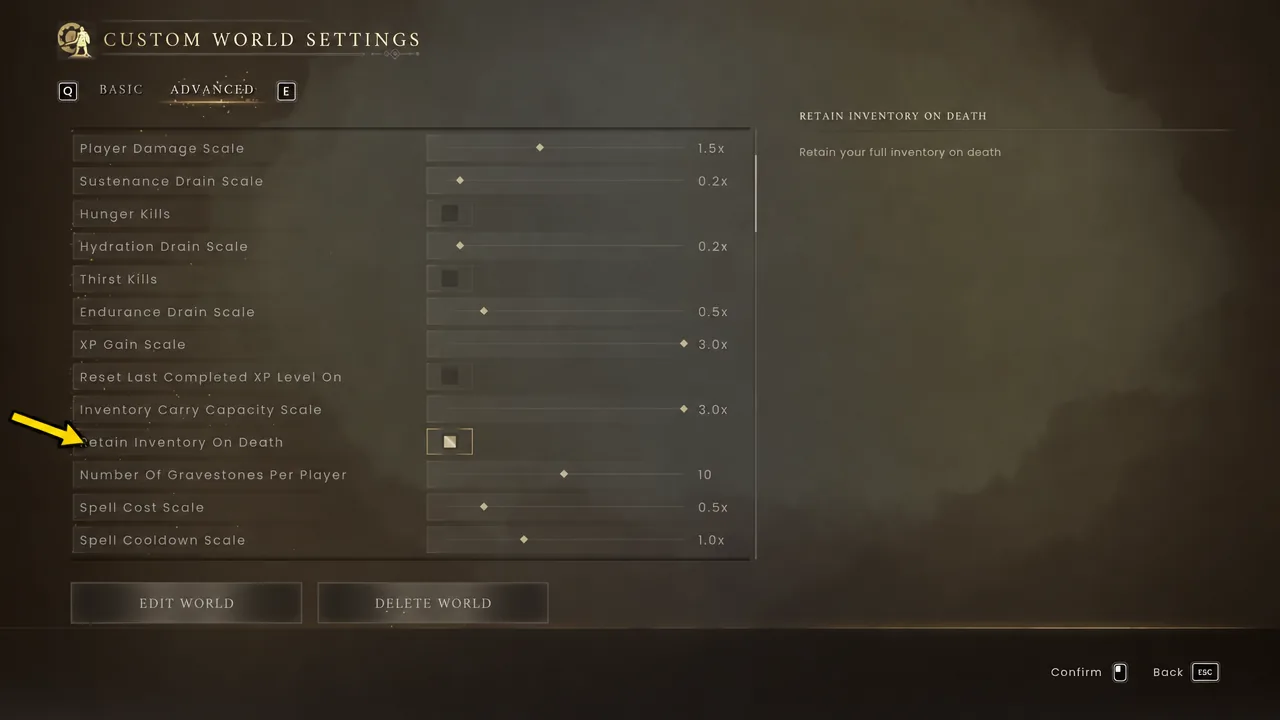
Dying far from base normally means a recovery run. The Retain Inventory On Death checkbox keeps your full inventory instead, which pairs well with a first run where you are pushing into unfamiliar regions and are not yet reading enemy power levels correctly.
Crafting, building and processing speed
Crafting Cost Scale, Building Material Cost Scale and Processing Speed Scale are the three that cut down on gathering time. Pushed far enough, Processing Speed Scale makes stations like the Grill finish instantly, which turns cooking from a chore into a button press.
Your first hours: tutorial, quests and a shelter
You spawn next to the Wise Old Man in the temple, with an inactive lodestone behind you that stays dormant until you place or discover one. The tutorial can be skipped, but skipping it means teaching yourself hydration, sustenance and crafting on the fly.
Getting Started puts you with Doric outside the temple. He sends you to a pond for dirty water, explains why you boil it, and walks you through building a crafting table from 4 ash logs before crafting a stone club from a further 6 ash logs and 8 stone. He then hands you off to Vannaka for Ratcatcher, which teaches combat.
After the tutorial chain comes Dragon Slayer, the first primary quest and the real spine of early progression. It runs you through building a shelter, hunting, crafting gear and preparing for General Velgar. Stay near Brynmoor while you work through it rather than wandering north early.
Where to put your first base
Bramblemead Village is the natural first base because it sits next to early resources, wildlife and the quest chain. Your shelter only needs room for a bed, storage and a couple of stations, but it must be fully enclosed with walls, a roof and a door. Place a bed and claim it to set your respawn point.
Structures built from ash logs have 100 building health. Oak and willow logs give higher building health, which matters once things start attacking your base.
Picking a combat style for solo or group play
There are no classes. You level Attack by swinging melee weapons, Ranged with bows and crossbows, and Magic by casting, and you can swap between them at any time by changing weapon and armour. That said, the three styles suit different situations, and the solo or team question leans on this more than anything else.
- Melee is the most forgiving overall, thanks to shields, blocking, parrying and Tempest Shield.
- Ranged is the safest for solo exploration, since you can clear threats before they reach you.
- Magic has the strongest crowd control but works best when someone else holds aggro.
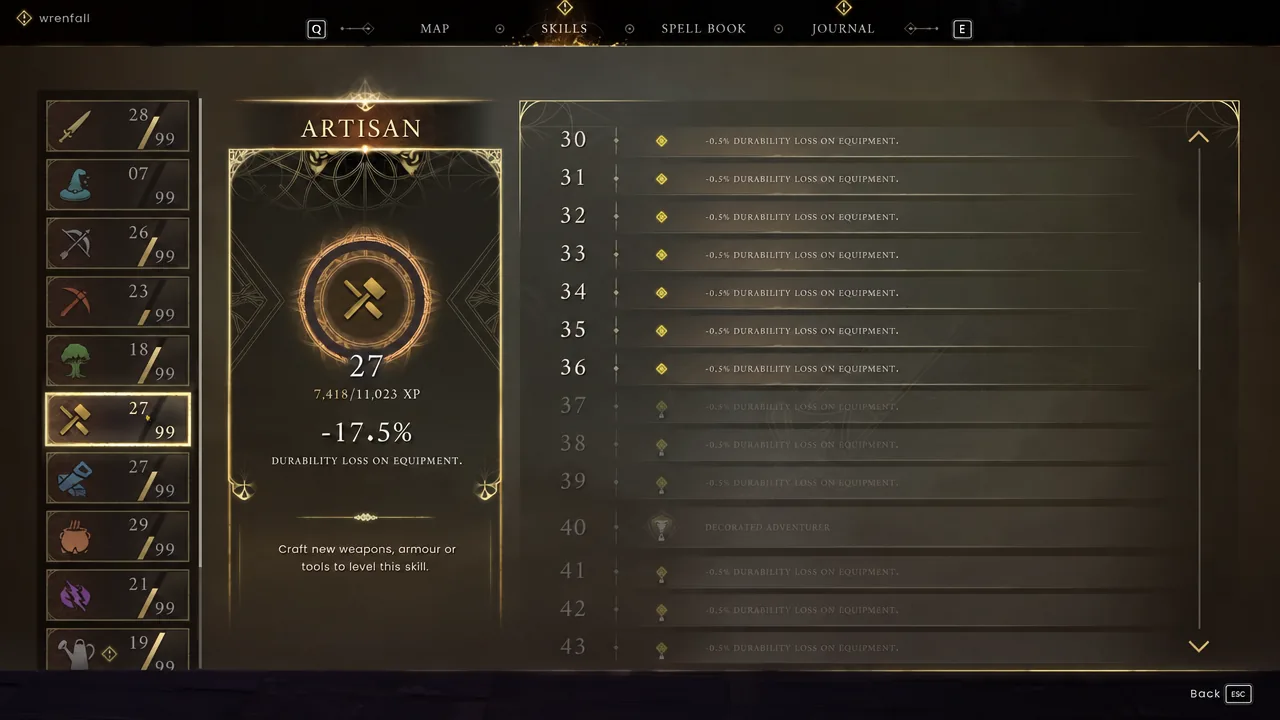
Gathering and crafting skills sit in separate trees, so investing in combat does not slow down Woodcutting, Mining, Artisan or Runecrafting. Agility levels simply by running around Ashenfall, reducing sprint stamina cost and unlocking movement abilities such as Windstep.
Health, food and staying alive in Ashenfall
Food is your healing. Eating restores health immediately, fish generally heal the most directly, and you can keep eating even when you are already fully fed, with a short cooldown between bites. Healing potions no longer exist, though stat-boosting potions do, so carry cooked meals and water before a Vault run, a boss, or any trip far from base.
Your permanent health ceiling comes from exploration. Sanguine urns, also called Constitution Shrines, are scattered across the regions and each one raises your total health pool by 10 points. Power level is the other survival number to watch: Brynmoor caps out at power level 2 gear, and Ghornfell expects bronze and iron at power levels 3 and 4. If ordinary enemies are shrugging off your hits, upgrade before you push further north.
How to confirm your setup applied
Two checks tell you everything worked. First, the world you made appears in the Worlds list with its settings summary visible when selected, and Custom worlds show an Edit Settings option under Custom World Settings. Second, once you load in, the First Steps quest starts automatically and your Journal begins tracking objectives.
If you decide the balance is wrong three hours in, the Custom world settings remain editable from the Worlds screen. Standard and Creative worlds do not offer that dial, so the only thing you really have to get right before you start is whether you want the intended difficulty, a tunable one, or none at all.





