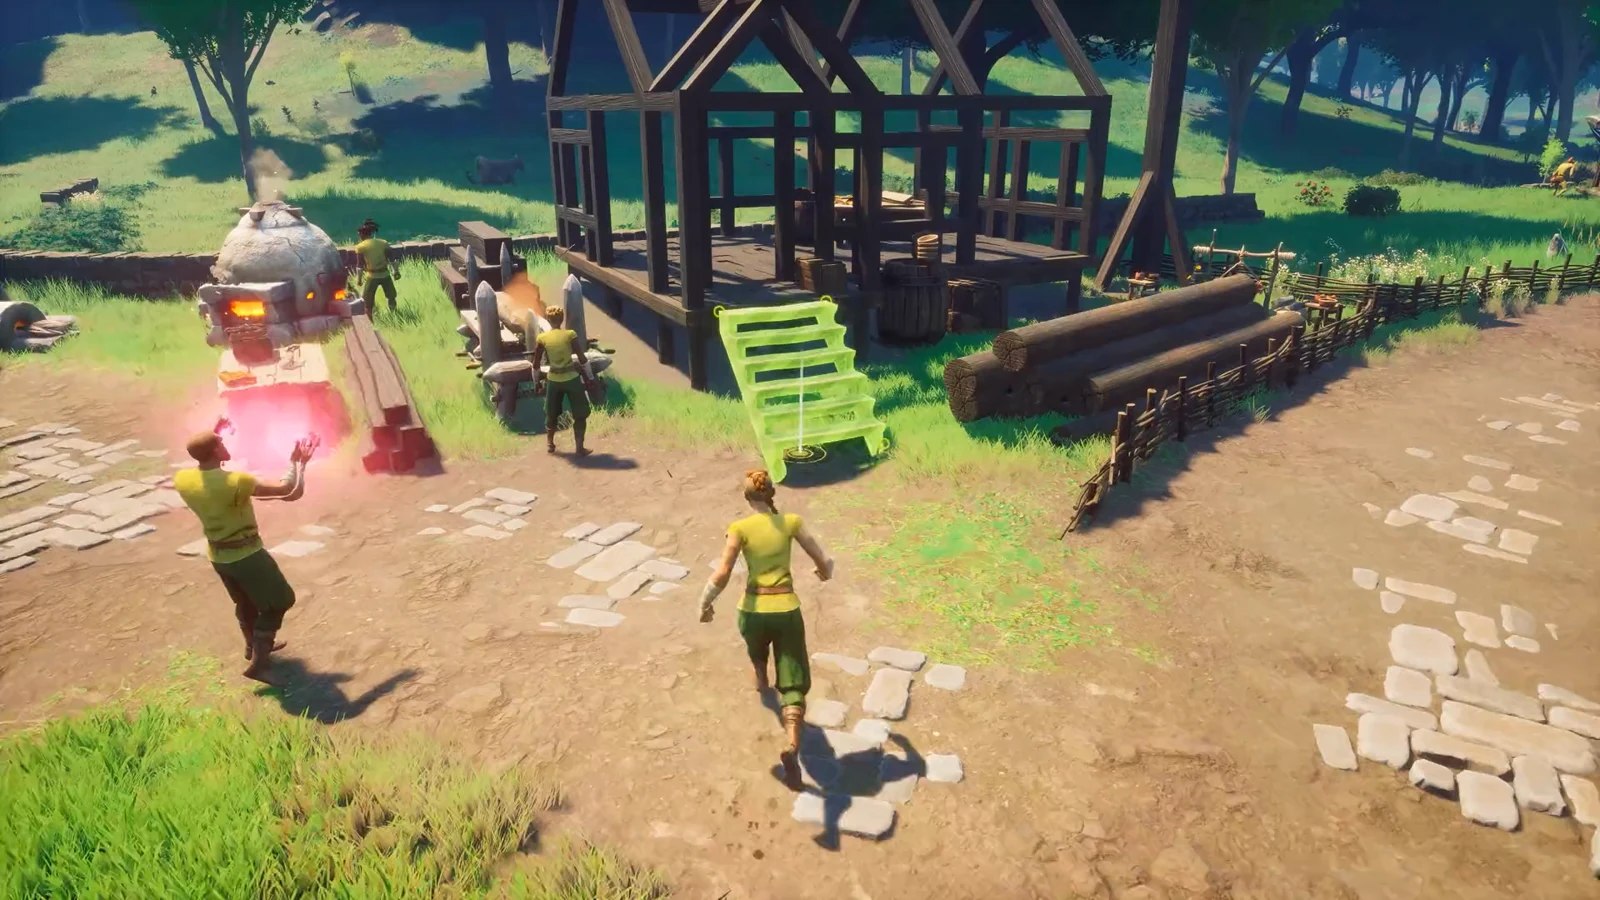
In RuneScape Dragonwilds, building upward is what consumes stability. A simple one-room hut places effortlessly, but adding another story, a high-ceilinged hall, or a roof spanning open space makes the preview shift from green through yellow to red, blocking placement. Usually, swapping the piece will not help; bring a genuine anchor nearer to the unstable section.
Quick answer: Anchor every tall section into the terrain. Stack Square Foundations up a slope, run Vertical Thick Beams from those foundations to the upper corners, and make sure angled beams always end in a grounded vertical beam.
Why tall builds turn yellow and then red
Every piece is scored on how far it sits from an anchor point, and an anchor point is a piece that physically sits in the world terrain. That distance is cumulative. Going four walls sideways and three walls up counts as the whole trip, not the shorter of the two, which is why big open rooms with high ceilings run out of support long before a cramped cabin does.
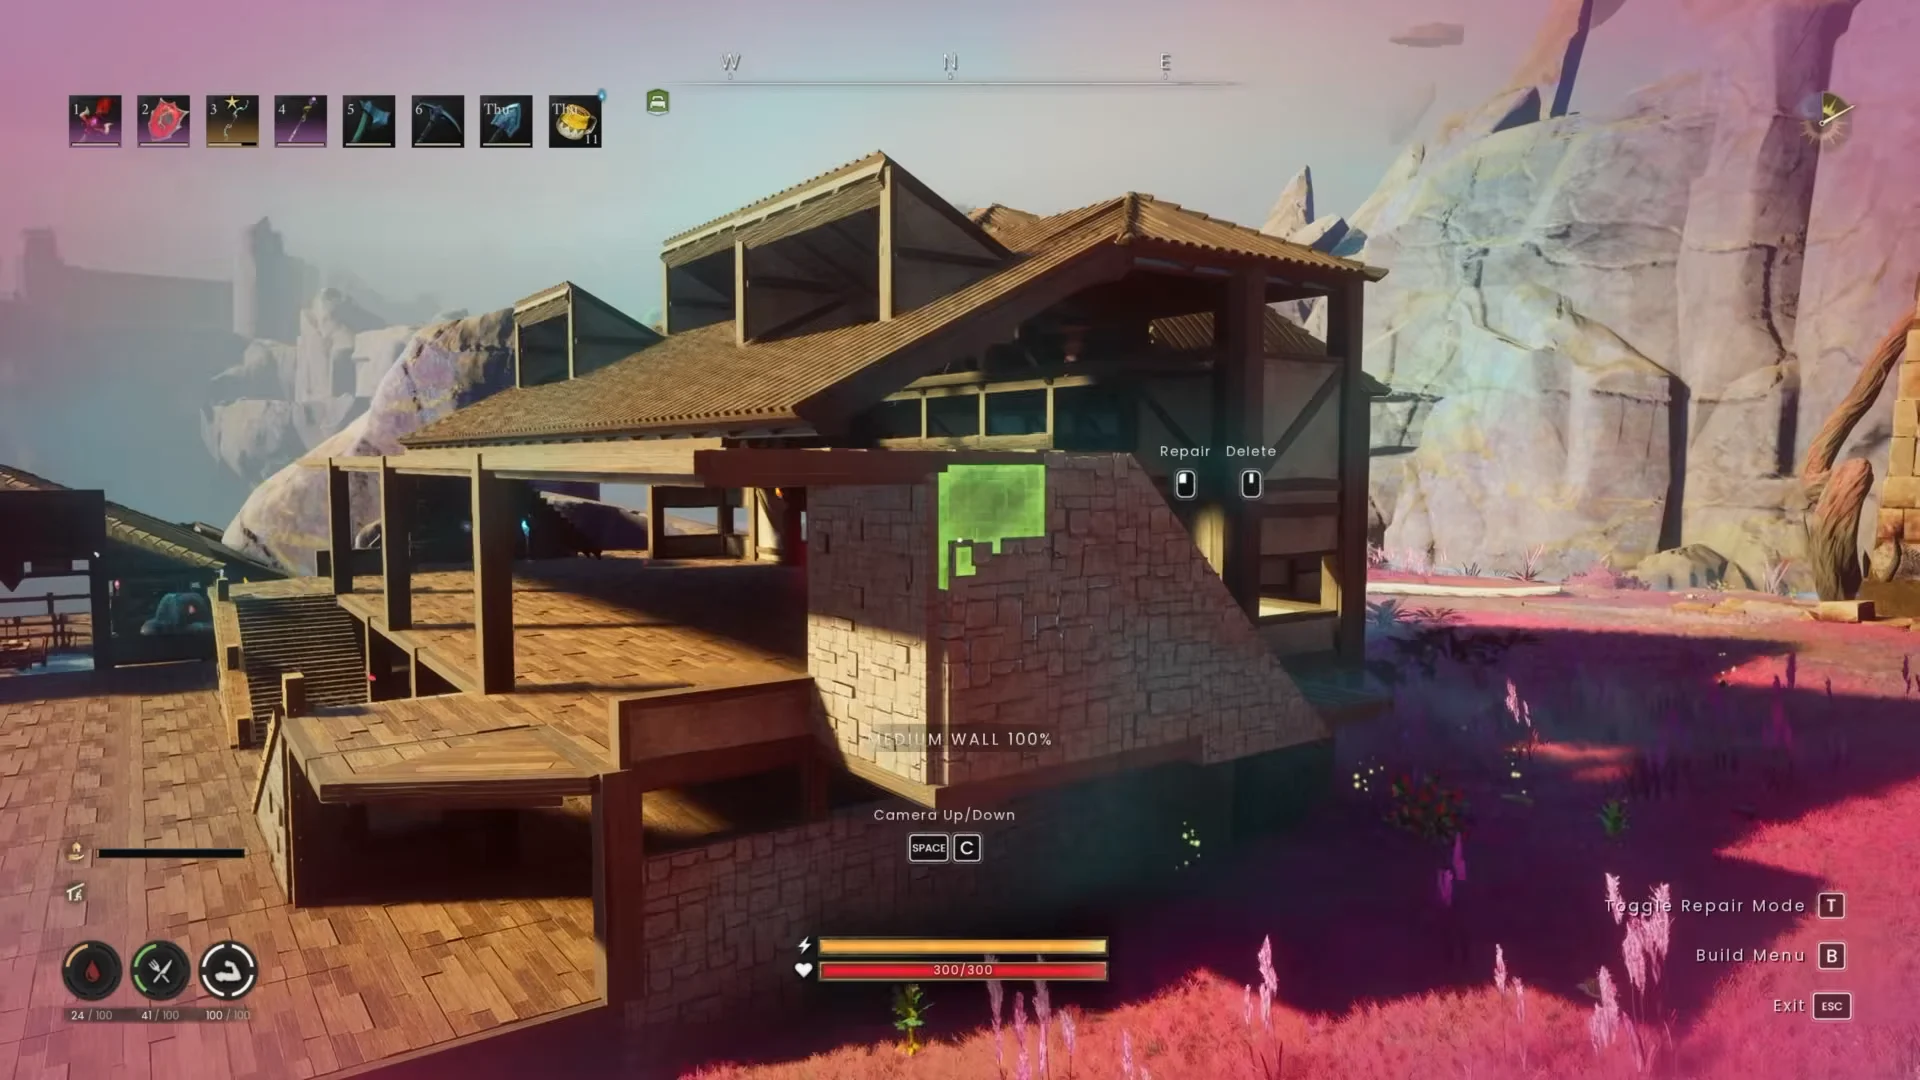
The outline colour on the preview is your only readout, and it works as a spectrum:
- Green — 100% stable, with a clear path back to the ground.
- Yellow — allowed, but the piece can no longer pass useful support to whatever you stack on it next.
- Orange — nearly out of support entirely.
- Red — an Unstable warning appears and the placement is refused.
Yellow should be treated as a failed result. The wall may stand independently and appear normal from inside, yet the roof tile placed on it is the part that turns red.
Anchors: Foundations, beams, and material limits
Foundations provide the game’s strongest stability and are the main way to establish an anchor in the terrain. Beams are next, serving to reduce the structural distance from a remote piece to the ground instead of supporting everything by themselves. Thick and thin beams provide the same support, so choose based on appearance. Walls and stairs can anchor structures as well, but their capacity is much lower, causing a wall column to reach its height limit quickly.
Everything placed on an anchor is limited by the anchor’s material.
| Anchor material | Max height | Max width | Stable travel |
|---|---|---|---|
| Ash | 5 blocks | 3 blocks | About 4–5 blocks |
| Oak | 8 blocks | 5 blocks | 6–8 blocks |
| Stone and above | — | 7 blocks | — |
From weakest to strongest, the sets unlock as Cabin, Cottage, Castle, then Kharidian; each raises the stability threshold, so identical designs can stand higher with later sets. Even without a foundation, walls and floors can rise through six above-ground structures, which is enough only for a starter shack.
If oak is tight, spend it only on the anchors and frame the rest out in ash. The anchor material decides the limits, so cheaper filler pieces above it cost you nothing in height.
Stack foundations to flatten a slope or cliff
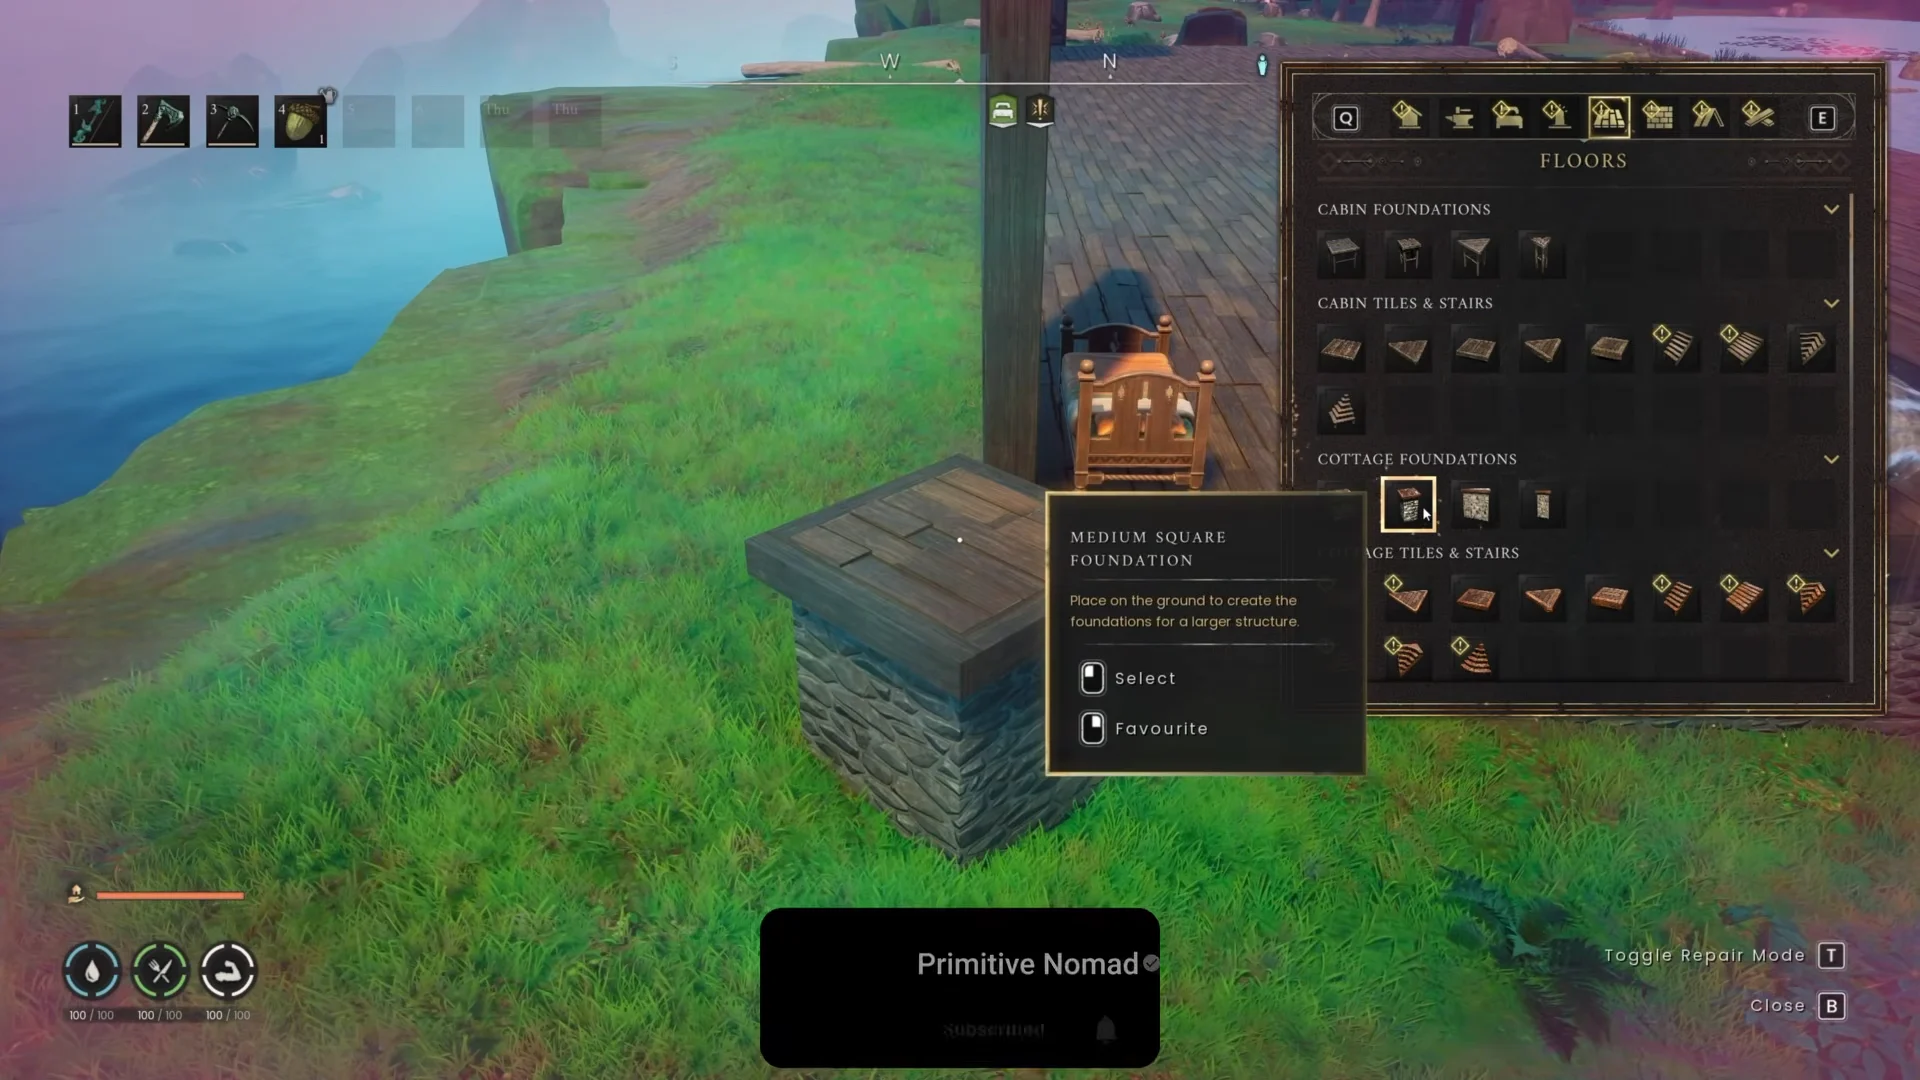
Ground pieces have a rule that trips up almost every cliffside build. Every basic snapping point on the piece has to touch the terrain at the same instant, and on a slope that never happens, so you get a red UNSTABLE message instead of a placement. Square Foundations solve it: they stack directly on top of each other, so you can march them down a drop-off until the surface you actually want to build on is level and properly grounded.
Do that terracing before you start framing. A tall build that begins on solid, stacked foundations gets its full height allowance from the first floor upward, while one that starts on floor tiles bridged across a gap spends that allowance before you have even placed a wall.
Large footprints should also carry several ground foundations rather than one. Each extra anchor adds redundancy, so knocking out or deleting a single one will not collapse the whole structure in a chain.
Run vertical beams from the terrain to the top floor
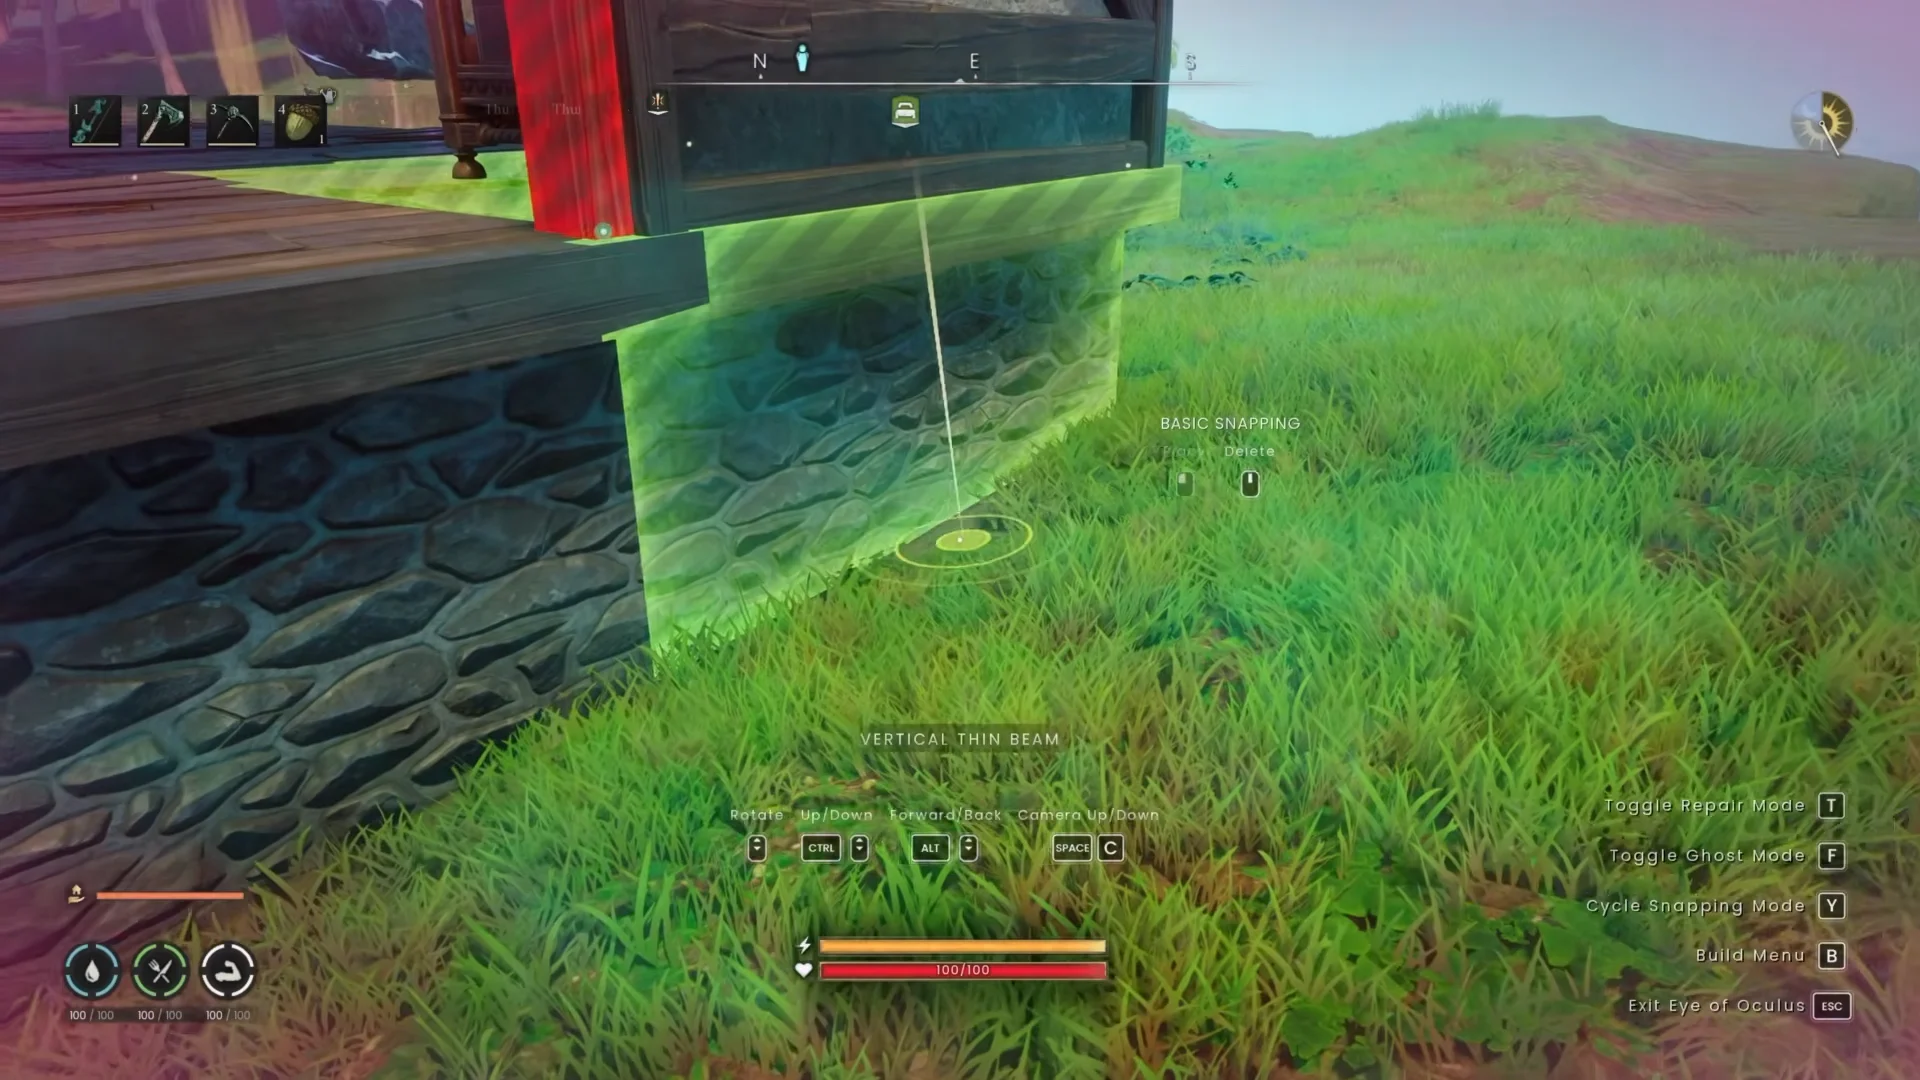
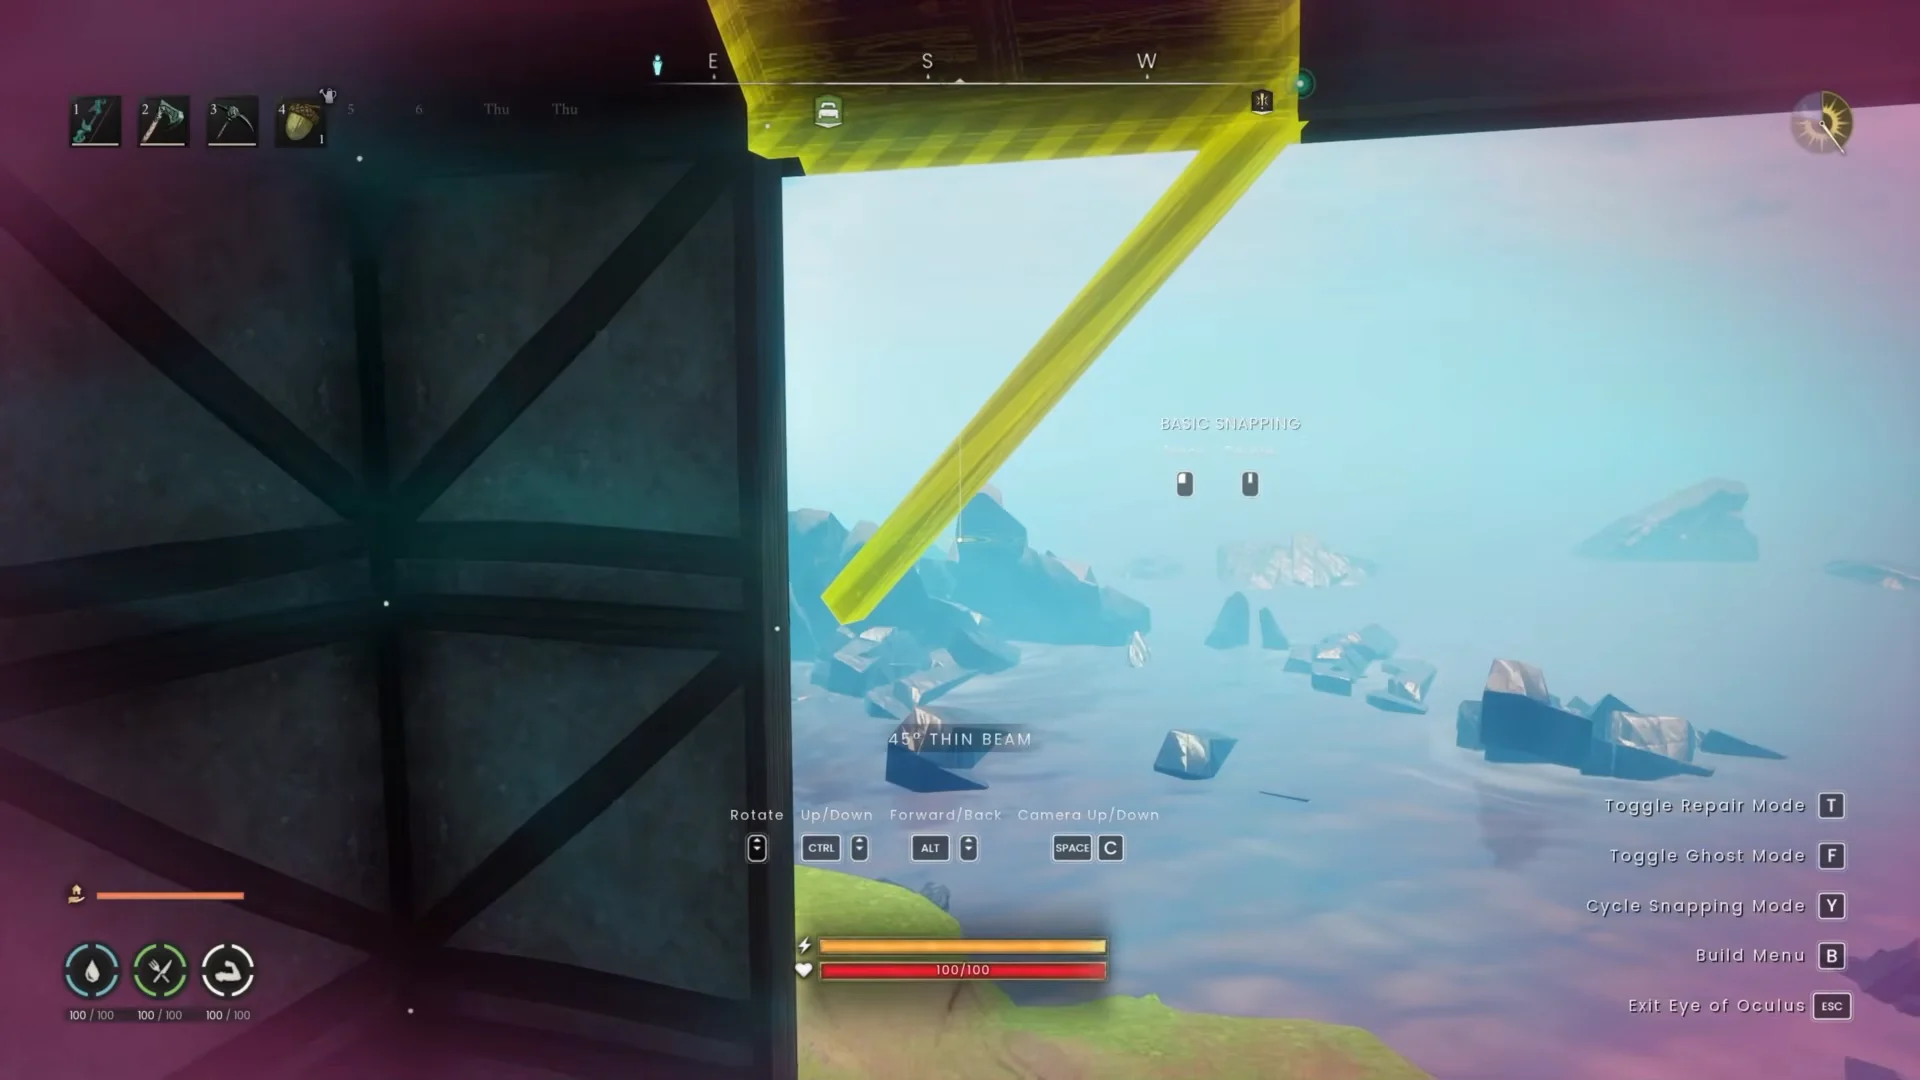
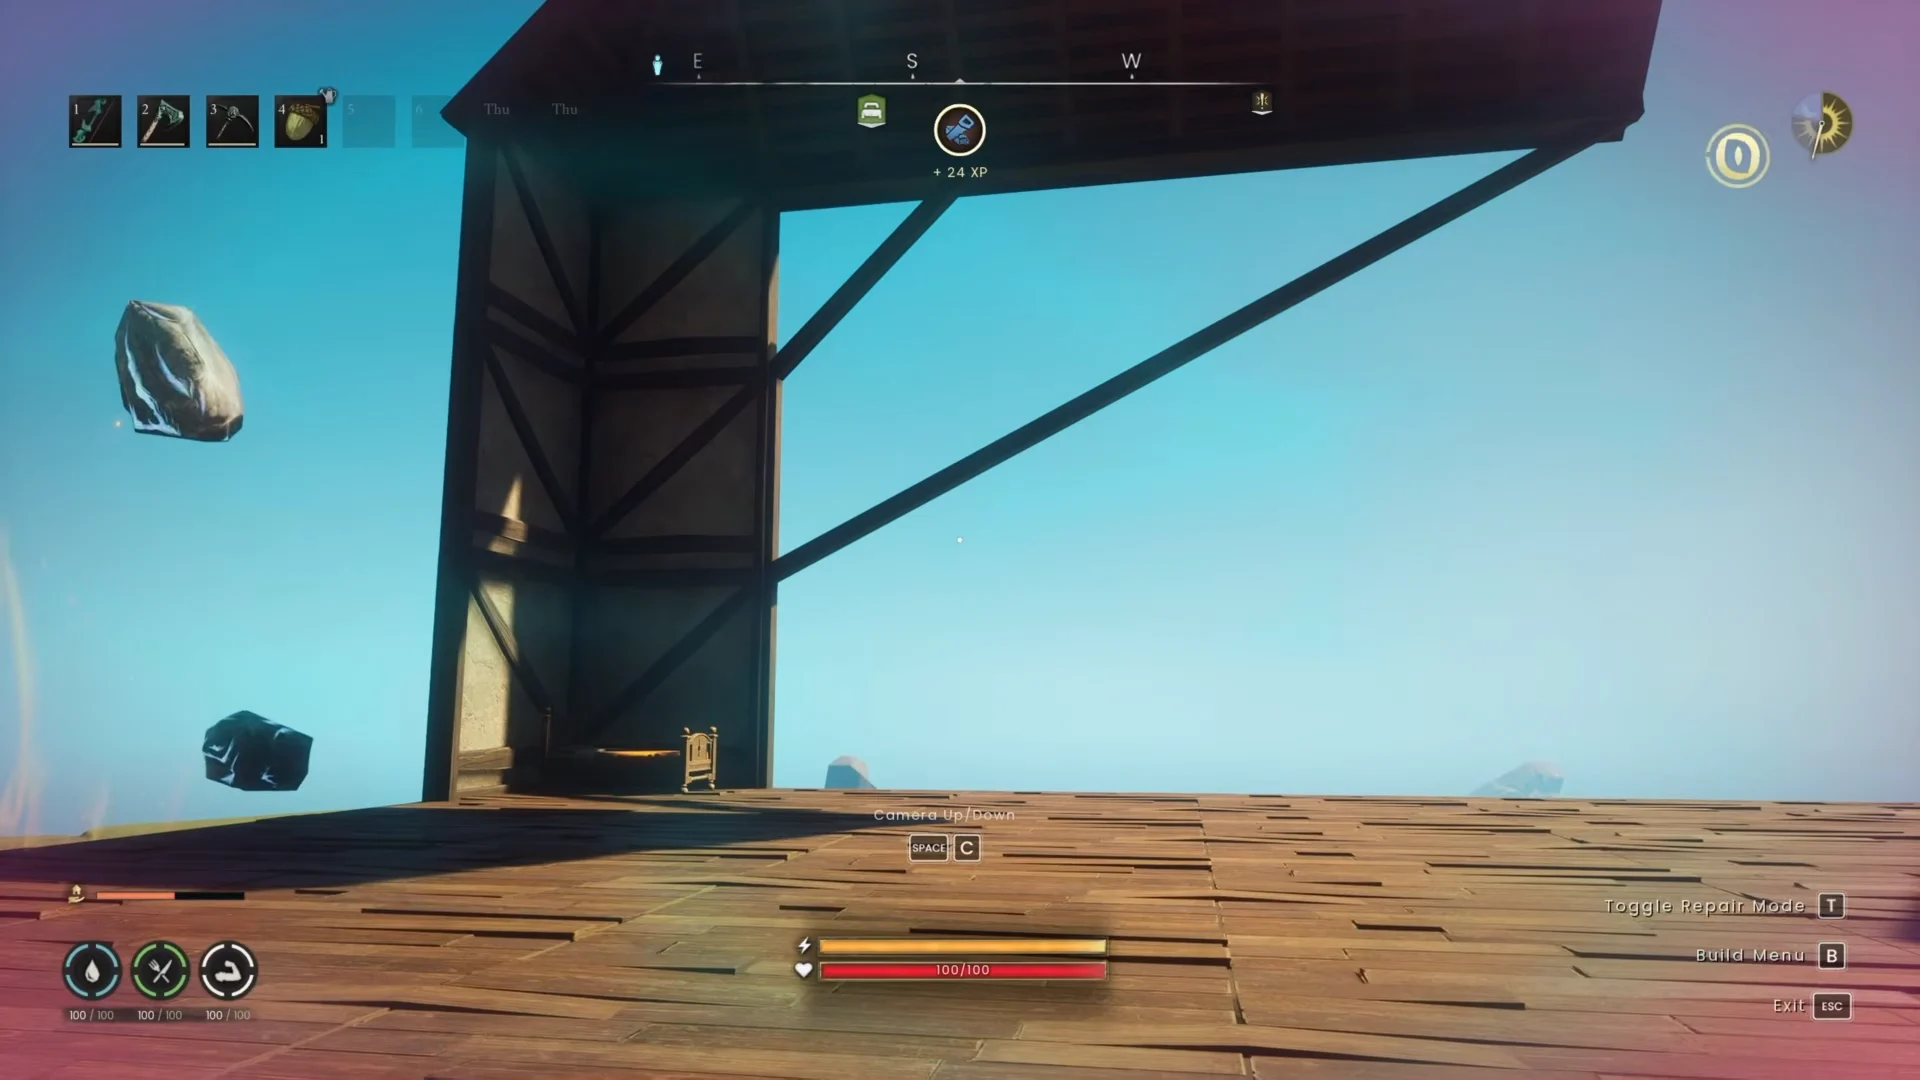
When the ground underneath is already as good as it gets and the upper floor still will not accept pieces, you move the anchor upward instead. A vertical beam sunk into the terrain becomes a new anchor, and everything connected to it is measured from there rather than from a foundation on the far side of the building.
Reinforce a tall base that is already built
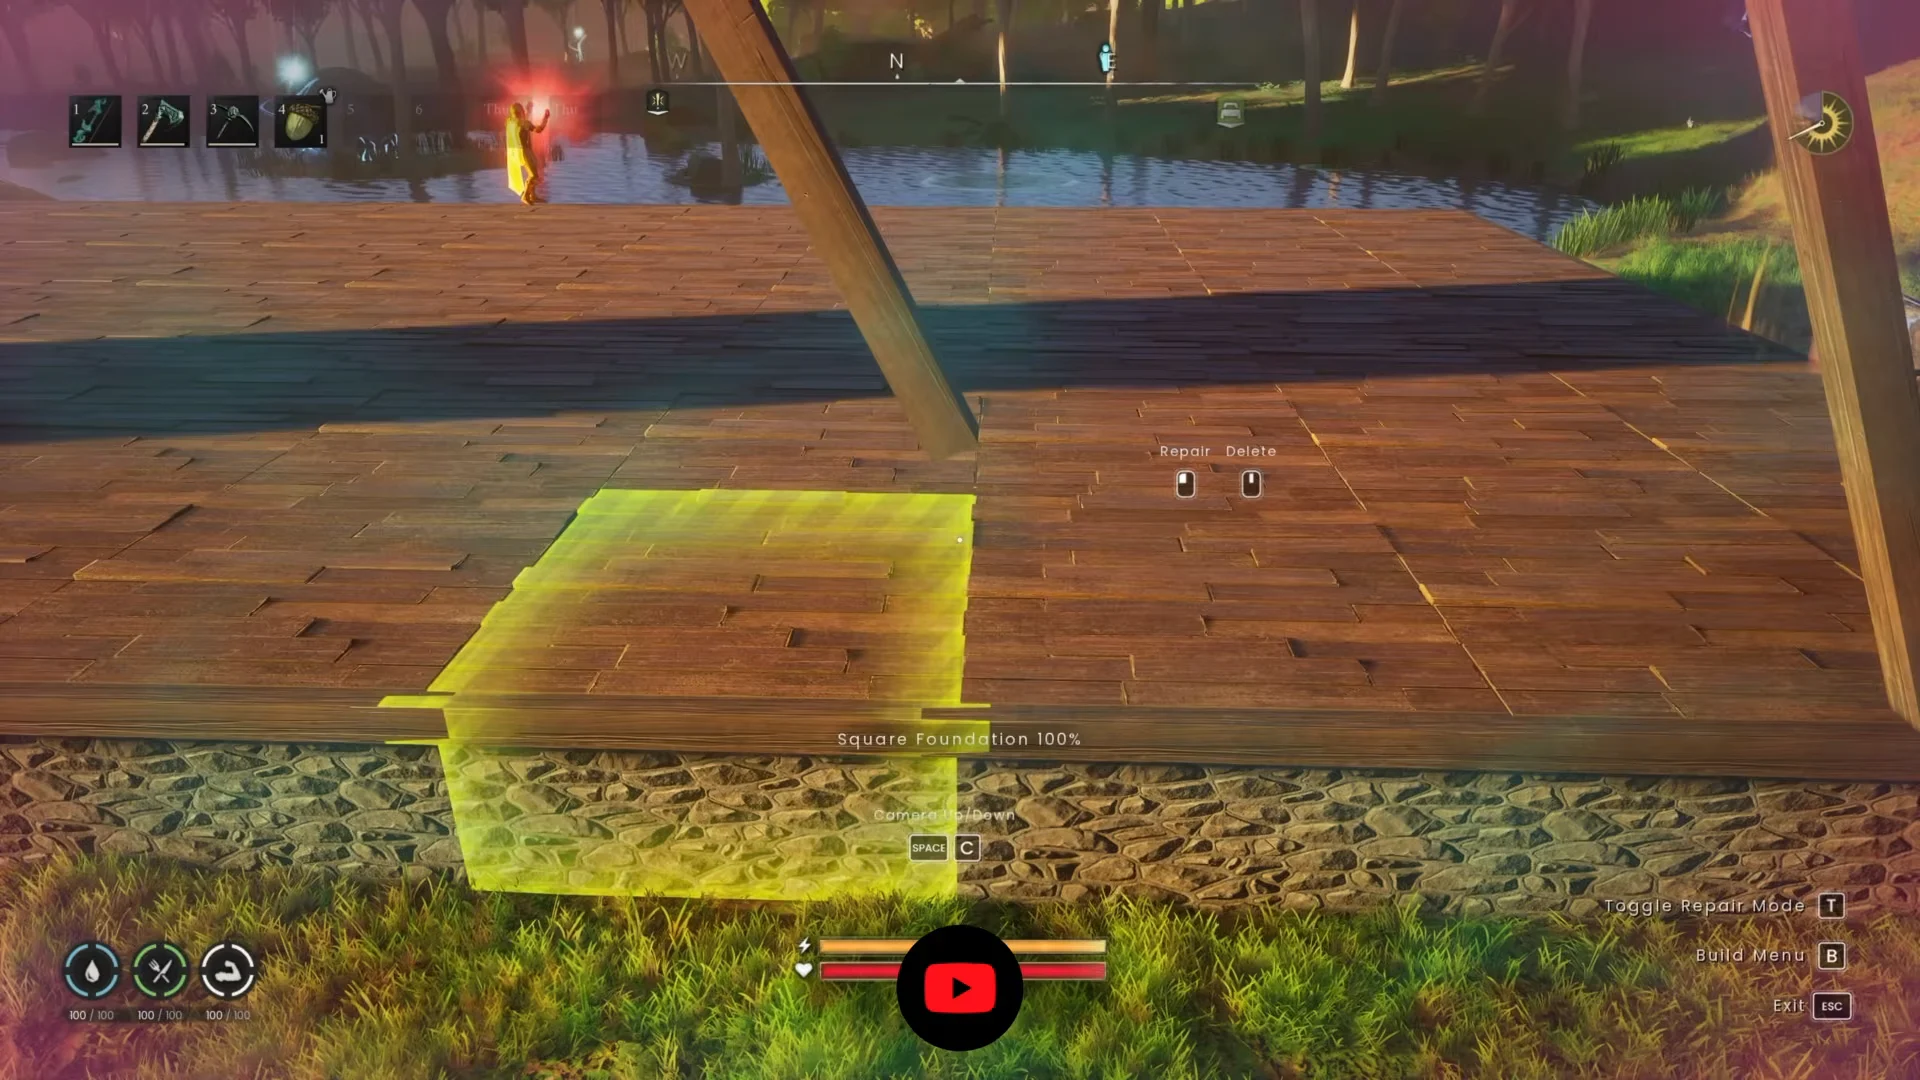
Open Repair mode from the build menu, then inspect the completed building. Placed pieces retain their colour indicators, revealing yellow walls, window frames and roof tiles even in a room that initially appears completely sound. Any such sections will block later additions.
The most effective retrofit does not touch the visible structure at all. Stack Square Foundations into the terrain underneath an elevated floor, then run a Vertical Thick Beam from those foundations up the exterior corners to the walls above. The yellow pieces flip to green as soon as the connection completes.
Open halls most often fail because of tall pillars. Beneath a deck built along a cliff, the upper floor is often supported by long wooden stilts that do not truly connect with the ground; consequently, the roof two levels above remains red regardless of how many beams surround it. Place stone or wooden square foundations against the terrain and the bottoms of those columns to ground the whole section at once.
Be alert for false anchors. Some pieces appear green and seem embedded in the ground but provide no stability themselves, a known problem involving beams placed on cliffs. Before removing a support, inspect everything resting above it.
Replacement is unnecessary for damaged pieces. Any item under 100% health can be repaired using its base material, such as one ash log for a square foundation, while cracks become visible only at 50% health or below. At 1% health, the piece collapses and drops its construction materials where it stood.
Placement controls and snapping modes
Three scroll inputs handle the preview, and the vertical one does most of the work when you are threading beams past a floor edge.
| Input | Effect |
|---|---|
| Scroll wheel | Rotate around the Z-axis |
| Alt + scroll wheel | Move the preview toward or away from you |
| Shift + scroll wheel | Raise or lower the preview from the surface |
While a preview hovers over an existing piece, cycle snapping modes to change how many connection points appear. Basic mode shows only the four necessary contacts where a wall meets a square tile. Advanced mode displays all 13 points for that pair, with three intermediate points between each corner, allowing a beam to sit precisely along a wall. Disable snapping to remove automatic alignment. Only house structures display contact points; decorations such as barrels do not.
Ghost mode and Eye of Oculus for high work
Ghost mode drops a free, translucent version of any piece onto a foundation or wall, so you can lay out a roofline or a support lattice before spending a single log. Press CTRL to build a ghost once you have the materials, or switch to Repair mode and click the scroll wheel to remove one. What it will not do is calculate load, so a ghost frame tells you nothing about whether the finished structure holds — build the pieces for real if you want an honest colour.
Eye of Oculus unlocks at Construction level 11 and costs 3 astral runes with a 3-second cooldown. It projects a free-flying build camera that travels up to 30 metres from your character, which is the difference between reinforcing a third-floor gable and stacking a tower of temporary stairs to reach it. Summon Shelter follows at level 20 for 10 astral and 10 earth runes, raising a tent with a bed on flat ground, though it obeys the same flat-terrain rule as any foundation and cannot be cast inside dragonkin vaults.
Where building is disabled
Three places block construction outright, and ghost mode is unavailable in them as well, so you cannot even sketch a layout inside:
- The temple at Temple Woods
- All vaults
- Instanced areas
For large projects, start by framing the complete shape, then inspect it in Repair mode and place grounded columns wherever the colour indicators show a problem. If the roof still will not place once those supports exist, the footprint cannot support that height; lowering the structure by one floor is generally less costly than building a full support lattice. Because updates have rebalanced stability values before, check the in-game previews before spending a stack of oak on a design that functions only at the limit.