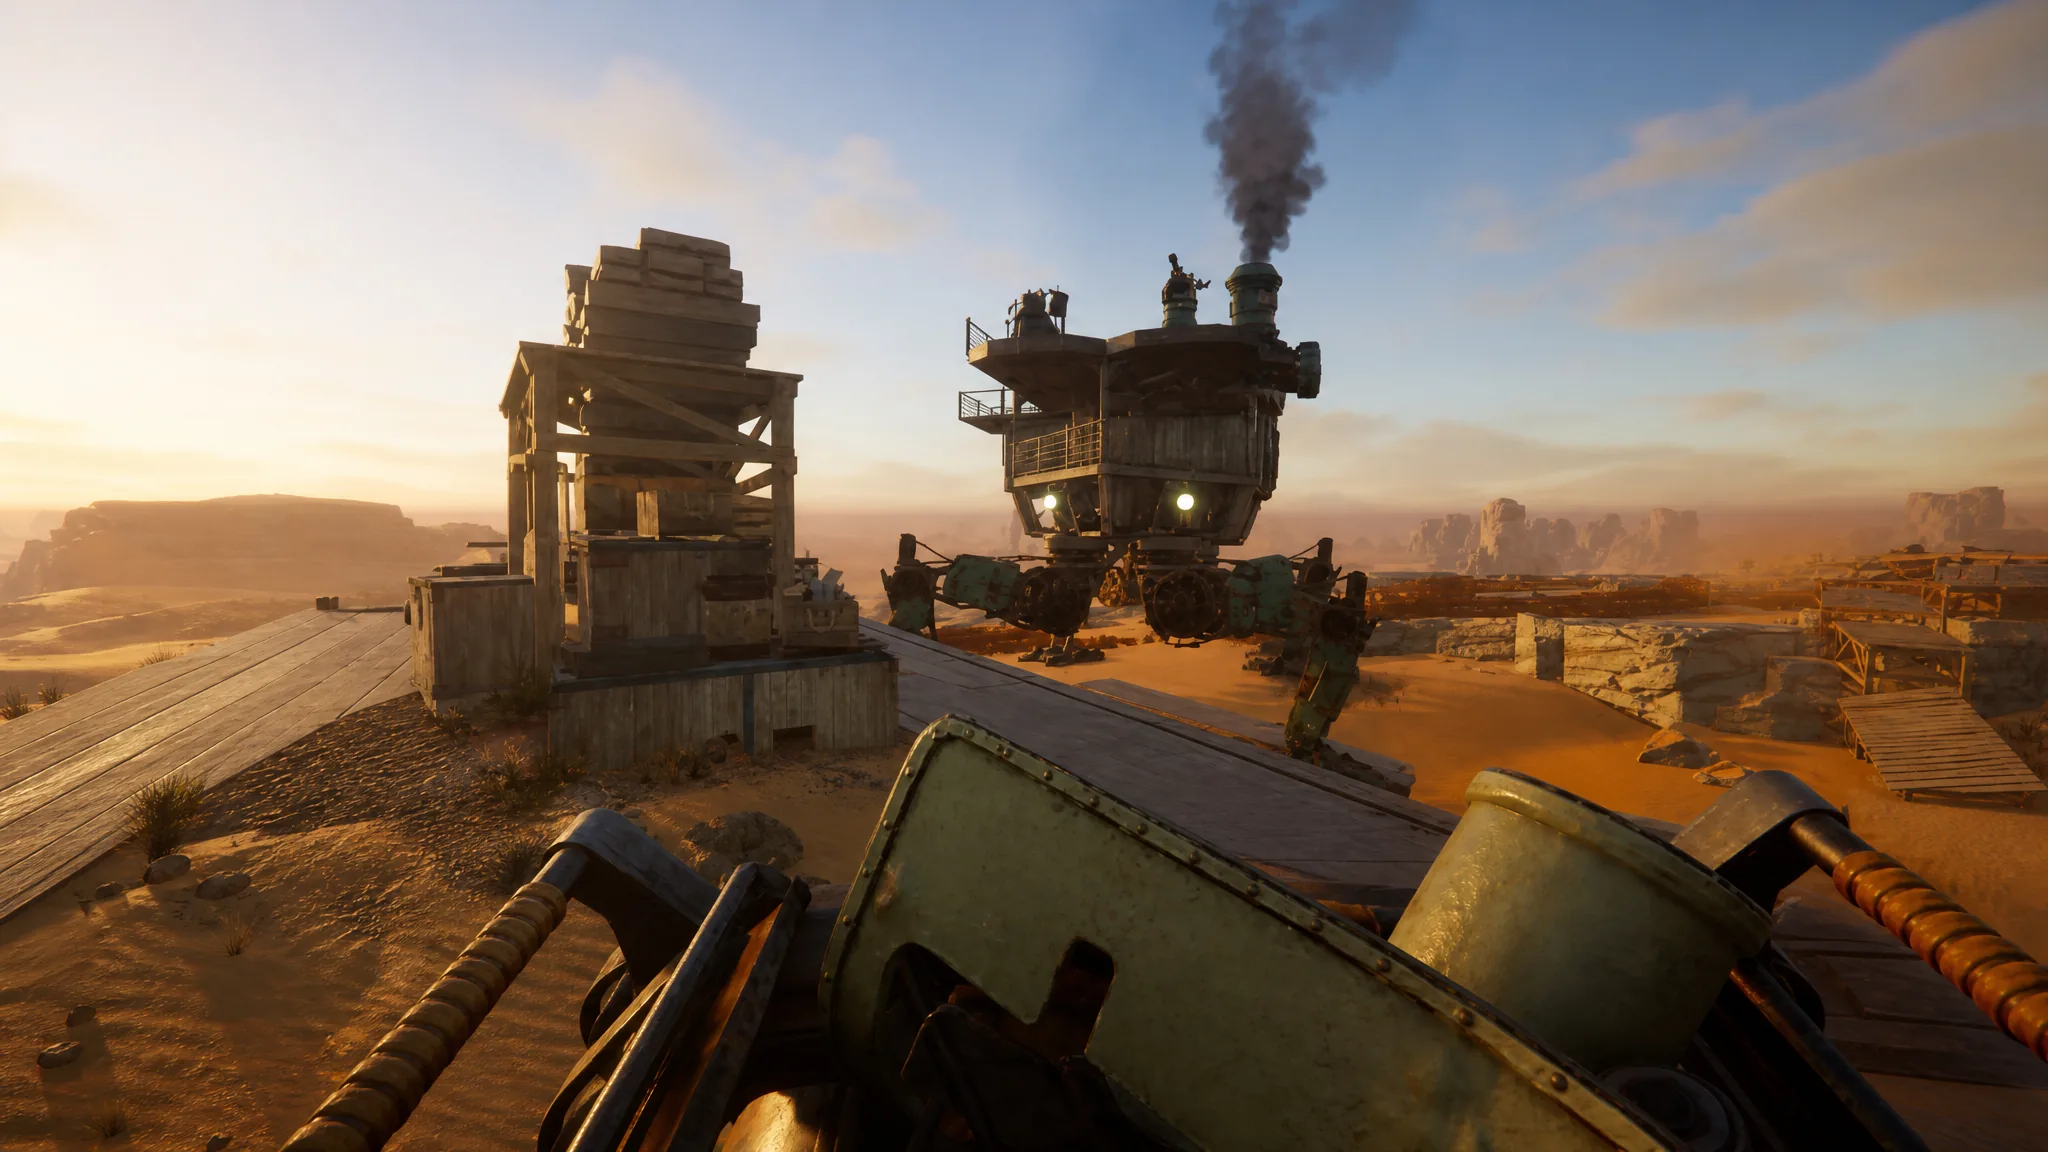
Your Trampler is the walking base you live, fight, and loot from in SAND: Raiders of Sophie, and the default templates barely scratch what the editor can do. The catch is that a strong custom Trampler depends on two separate things working together. You need the parts unlocked, and you need a saved blueprint that uses them.
Quick answer: Unlock new Trampler parts by spending resources in the Tech Tree, stock up on Mechanical Parts from Parts Crates in non-Fort monuments, then open the Blueprints menu, create a design with the five required core modules, connect them with decks until the construction warning clears, name it, and save it for future raids.
Unlock Trampler parts through the Tech Tree
Early on, the editor feels empty because almost every component is locked behind the game’s main progression system, the Tech Tree. This is where new reactors, cannons, chassis, and wooden cover structures become available. You spend gathered resources to research them, and each unlock widens what you can actually place on a Trampler.
Because of that, there is little point in heavily customizing right away. Hold off on ambitious builds until you have pushed several tiers into the tree, since the parts that matter most for surviving PvP, like better reactors and heavier weapons, come from deeper unlocks.
Get Mechanical Parts to actually build the Trampler
Unlocking a part in the Tech Tree is only half the cost. Constructing a Trampler from a blueprint also consumes Mechanical Parts, and the requirement climbs fast. A pre-made blueprint runs around 300 Mechanical Parts, and that number grows quickly once you start adding researched modules to a custom design. If you play aggressively and lose Tramplers often, you will burn through these constantly.
There are two reliable ways to gather them.
| Source | Details |
|---|---|
| Parts Crate (loot) | Cube-shaped crates marked with a cogwheel. They come in brown, green, and red rarity, and higher rarity holds more Mechanical Parts. Found in non-Fort monuments, meaning any named location that does not start with “Fort”. The best crates sit behind key or red doors. |
| Storage store (purchase) | Buy them from the store on the right side of the storage section in the lobby. Each part costs two crowns, so this is best treated as a last resort rather than a main supply. |
Shipwrecks are not the place to farm these, since they mostly spawn weapon and cannon crates instead. If you specifically want a parts run, drop into Voyage mode, where solo players tend to meet fewer hostile crews and have an easier time looting monuments in peace.
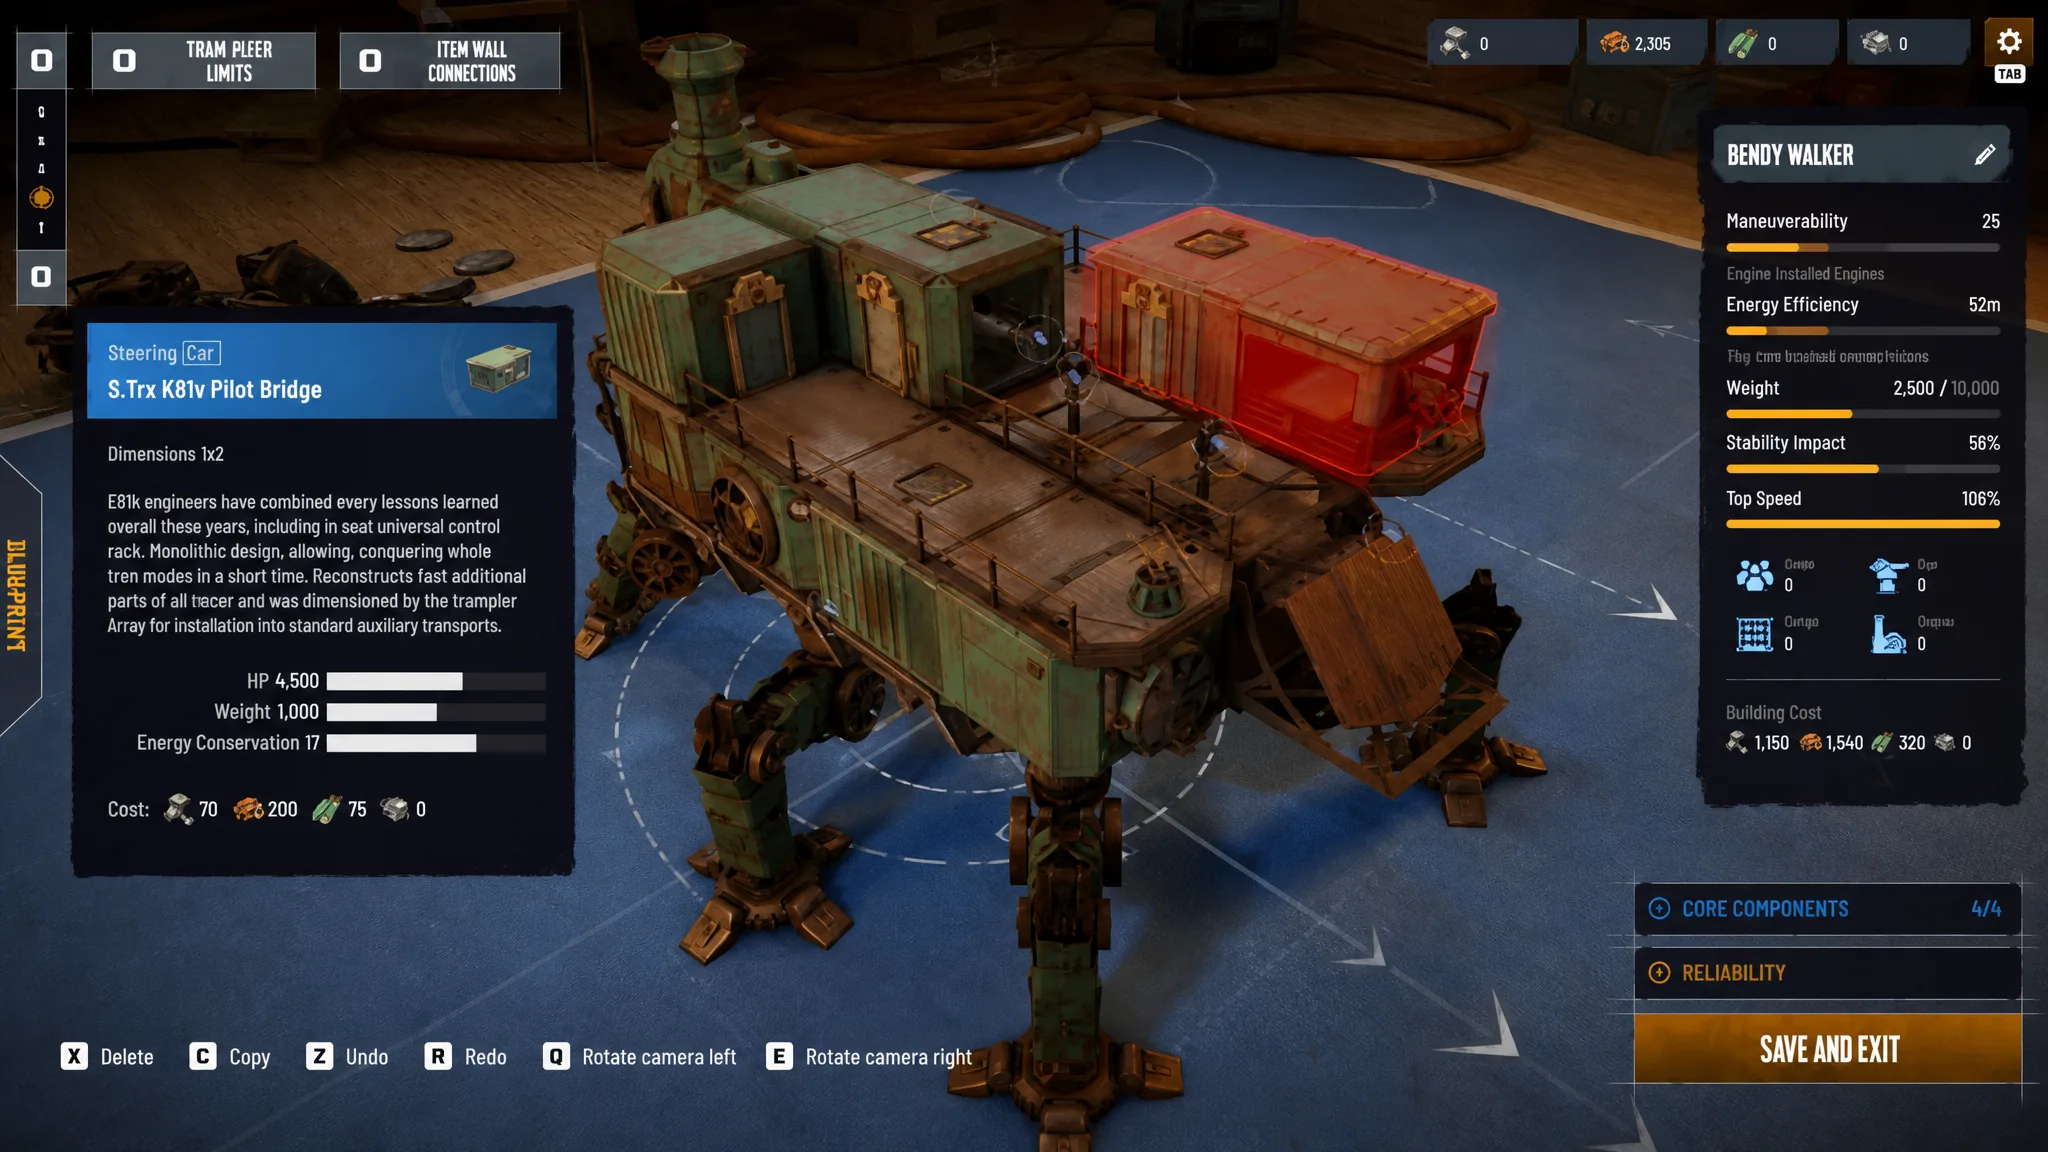
The five core modules every blueprint needs
A design only counts as a valid blueprint once it includes five required structures. Leave one out and the editor keeps flagging a construction warning that blocks you from saving a working ship.
| Core module | What it does |
|---|---|
| Chassis | The main base that walks across the sand and holds everything else. |
| Motor Reactor | Powers the engine and is the single most critical item. If enemies destroy the reactor, the whole Trampler goes down with it. |
| Steering / fly bridge | The steering compartment you use to navigate. |
| Valid Entrance Area | Needs a clear path so a ladder can reach from the bottom of the Trampler up into it. |
| Captain Compartment | Holds your bed and the main console with the controls. You also respawn here after being eliminated. |
Note: Only boxes sitting on your storage racks can be extracted from a raid, so cover both your reactor and your storage with structure to stop enemies from destroying or looting them.
Editor controls for the blueprint screen
| Control | Action |
|---|---|
| C | Create a new blueprint, or copy an existing deck onto empty spaces |
| X | Remove a selected deck or part |
| R / F | Raise or lower the floor view |
| Q / E | Rotate the camera |
| Mouse wheel | Zoom in and out |
Build and save a custom Trampler blueprint
You can either edit one of the three starter templates or start from a blank design. Both live in the Blueprints section of the main menu.
Design choices that keep the build viable
The biggest trade-off is weight against speed. Heavier frames let you mount more modules and armor, but they slow the Trampler down and make it harder to reposition or escape. Over-armoring is the classic mistake that turns a mobile asset into a slow target, so check the statistics panel as you add weight.
Power needs an early cushion. Underinvesting in your reactor leaves weapons disabled or movement stalled mid-Voyage, so make sure the motor reactor can run your full turret loadout and movement at the same time. Building in extra power headroom early means later upgrades will not choke the design.
Turret coverage decides fights in the PvPvE environment. Blind spots, especially toward the rear and high angles, leave you open to flanking, so position turret decks for clear arcs and favor front and high-angle coverage. Scale crew rooms to your team size as well, up to a maximum of six players, or the Trampler cannot support a full squad. Keep storage near the entry point so extracting loot exposes you for as little time as possible.
How blueprints carry over after a loss
Blueprints are shared across all of your characters, so a good design only has to be made once. Your inventory and Tech Tree progress, however, are tied to the region you chose at character creation, which means the parts and resources available to build a blueprint can differ between regions.
If a Trampler is destroyed, you lose that physical machine and any loose loot inside it, but the saved blueprint stays in your collection. You rebuild it whenever you have the materials. If you lose every Trampler and run out of resources entirely, the only ways back are starting a new character or joining another team’s Trampler.
SAND: Raiders of Sophie is in Early Access, so part costs, requirements, and editor details may shift between updates. Lock in the Tech Tree progress and a steady supply of Mechanical Parts first, and the editor stops feeling restrictive almost immediately.