Save It For The Patients Trophy in Silent Hill: Townfall — Full Chapters 5 and 6 Route
The complete no-healing stealth path through Zoe's Rounds and Journey to Medical, and exactly when the trophy pops.
The complete no-healing stealth path through Zoe’s Rounds and Journey to Medical, and exactly when the trophy pops.
by AllThingsHow Staff
Image: Screen Burn
The Save It For The Patients trophy in Silent Hill: Townfall is a discipline challenge, not a combat one. You keep it alive by finishing Zoe’s stretch of the game without ever using a healing item, then carrying that restraint into the mission that follows. The cleanest way to guarantee it is to avoid taking damage at all, which means staying hidden and pulling enemies away with noise rather than fighting them.
Quick answer: Do not use Gauze, Alcohol, or any First Aid Kit during the “Rounds” and “The Patient” missions. If you never heal, the trophy unlocks during Chapter 7.
Trophy condition and when it unlocks
The requirement is simple to state and easy to fail: during the missions “Rounds” and “The Patient”, never apply a healing item. Picking items up is fine — the game hands you Gauze, Alcohol, and First Aid Kits throughout these areas — but the moment you use one to restore health, the trophy is lost for that run. There is no chapter select in Townfall, so a slip means starting the whole stretch again.
The route below covers Chapter 5 (Zoe: Rounds) and Chapter 6 (Journey to Medical) entirely undetected, which is the safest way to avoid ever needing to heal. Keep the no-healing rule active through Chapter 7’s “The Patient” as well, because that mission is part of the same trophy condition.
The trophy does not pop the instant you reach the Medical Centre. If you completed the run cleanly, it appears during Chapter 7, so do not assume you failed if nothing triggers at the end of Chapter 6.
Stealth and distraction rules to avoid healing
Enemies in these chapters react to sound. The whole approach is built on making noise somewhere you are not, then moving while they investigate. A few fixed rules keep you out of danger.
Enemy hearing is sharp, and the noise of Simon running can be louder than the distraction you just threw. Stay crouched and quiet.
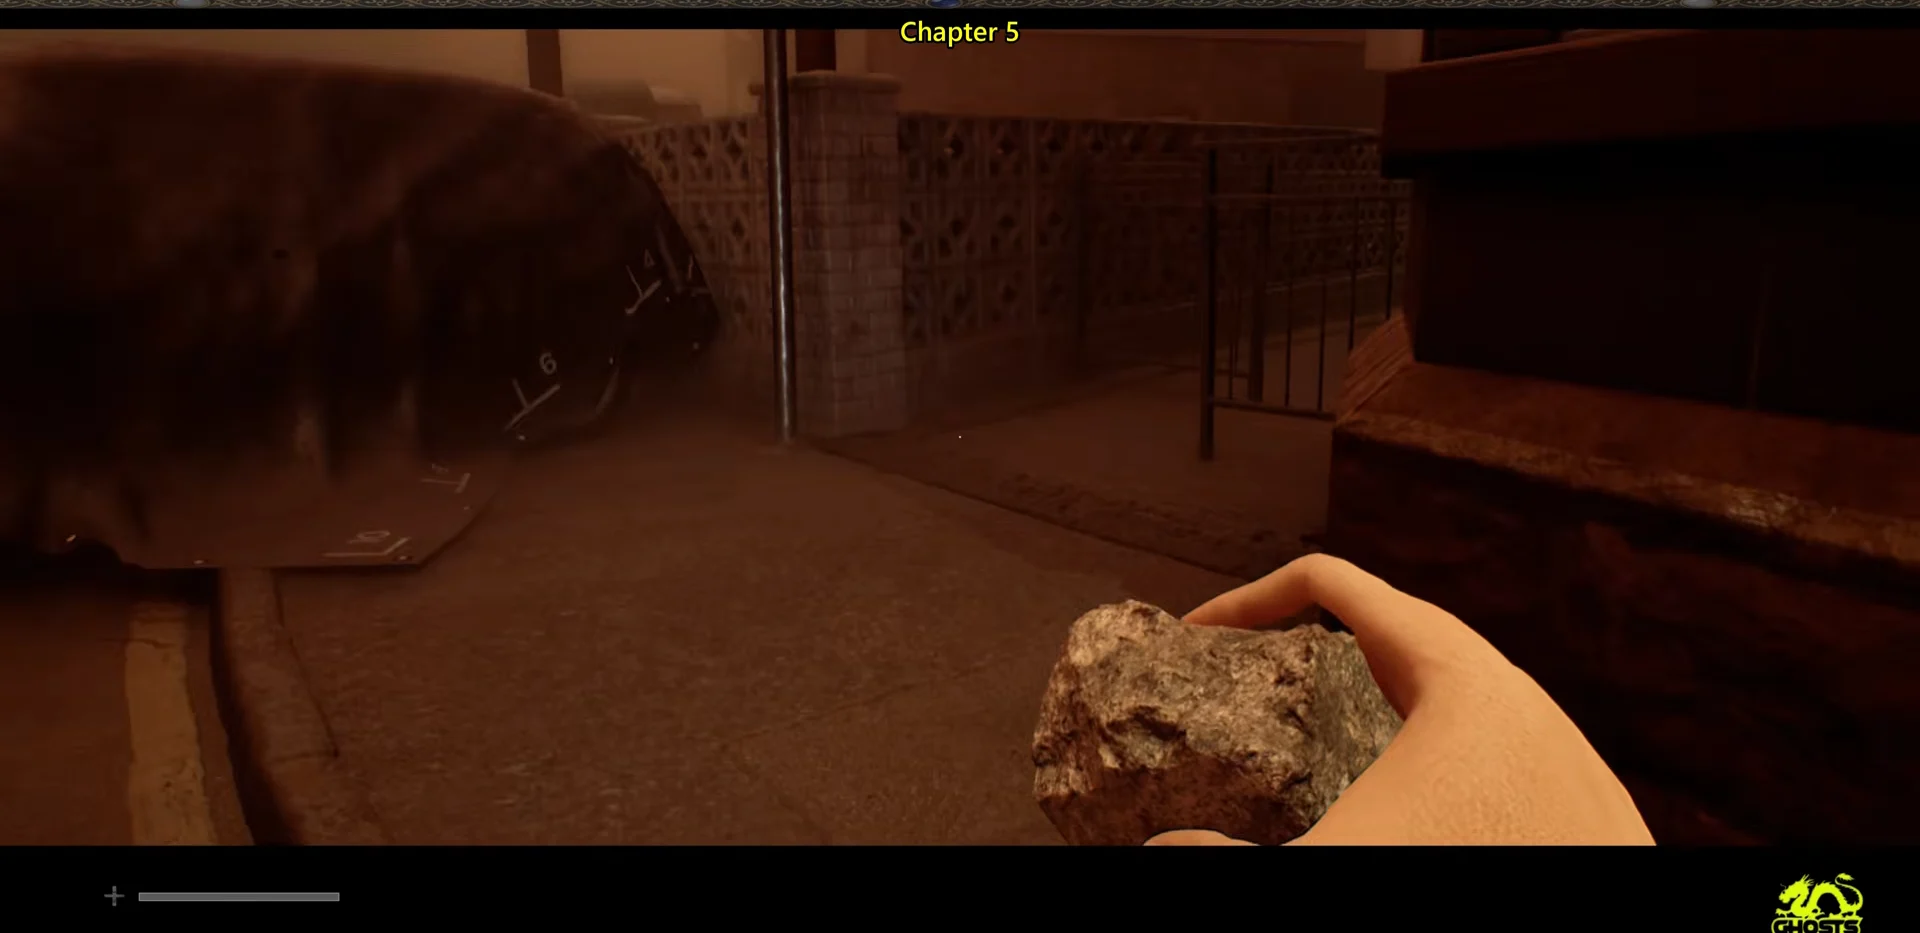
Aim and toss bottles or bricks to draw enemies away from entrances and tight walkways; a direct strike stuns them briefly.
Hitting a car with a thrown object sets off its alarm, creating a long distraction that pulls an entire yard’s worth of enemies.
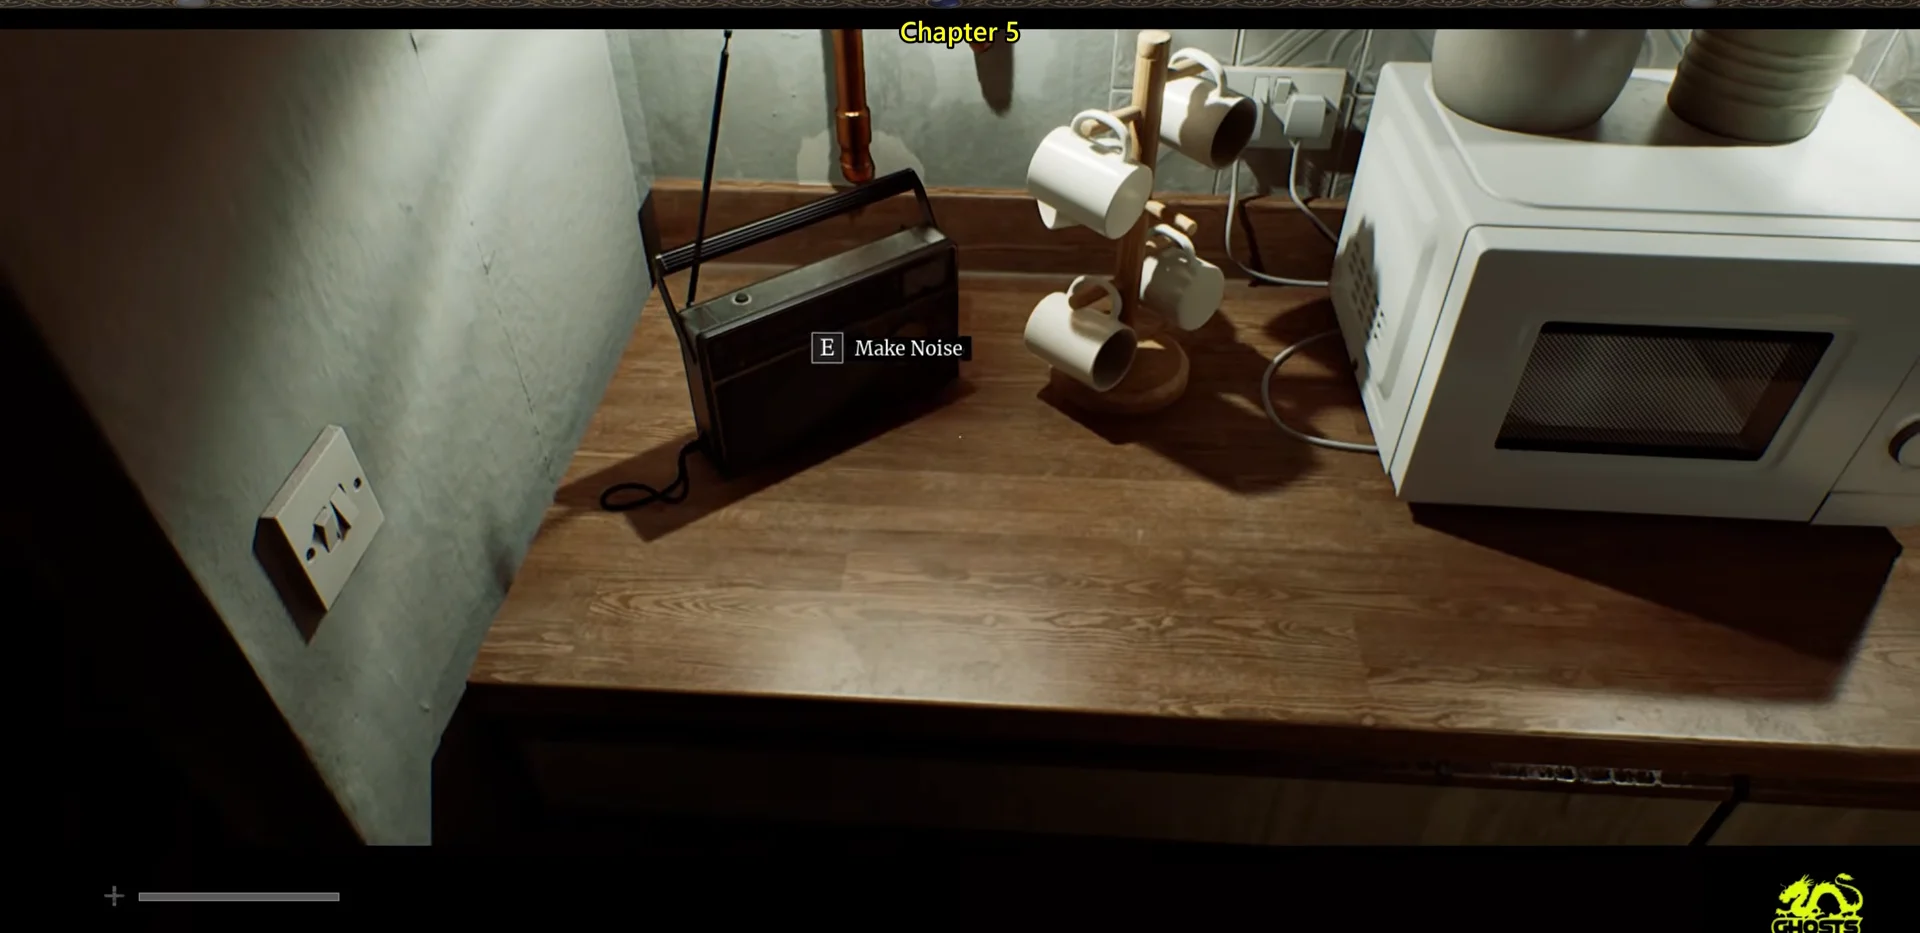
Radios in sheds and on patio tables can be switched on to draw an enemy into a room, letting you slip past or lock it inside.
Use trees, tarped vehicles, and parked cars as sightline blockers while wandering enemies clear the road.
Chapter 5 route: Zoe’s Rounds
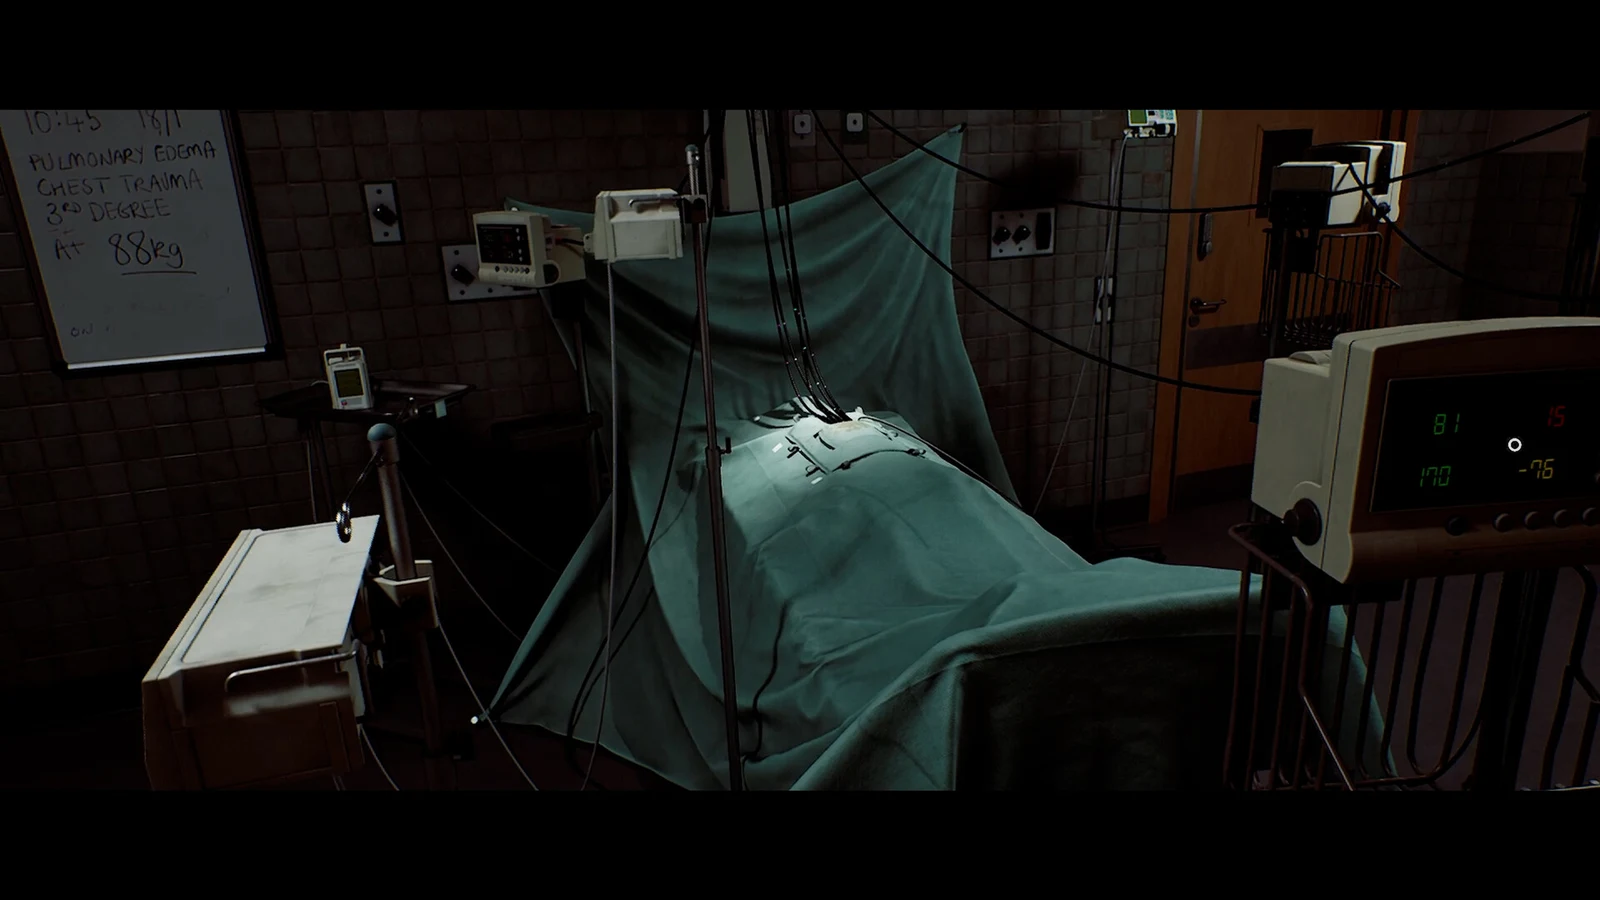
Chapter 5 runs from a house interior out through the foggy back streets of the Shorefront district and into the ambulance depot beside the Medical Centre. The goal is to reach the hospital lobby without taking a hit.
Start in the hallway and move to the kitchen. The counter radio can be switched on to make noise if you need to pull something away later, so note its position.
Enter the bathroom and take Mr Stewart’s Key from the top of the washing machine. Use it on the sliding glass rear door, then leave through the wooden gate into the alley.
In the alley, throw a glass bottle past the parked car to lure the first enemy, then slip by while it inspects the broken glass. Pick up more bottles and a brick as you find them along the street.
Crouch along the curb past the tarp-covered vehicles, hiding behind a covered car and then a street tree while wandering enemies pass. Move only when the road is clear.
Near the hospital boundary, throw a brick at the courtyard ambulance to draw the patrolling enemy away, then make for the Trust Facilities and Ambulance Service building.
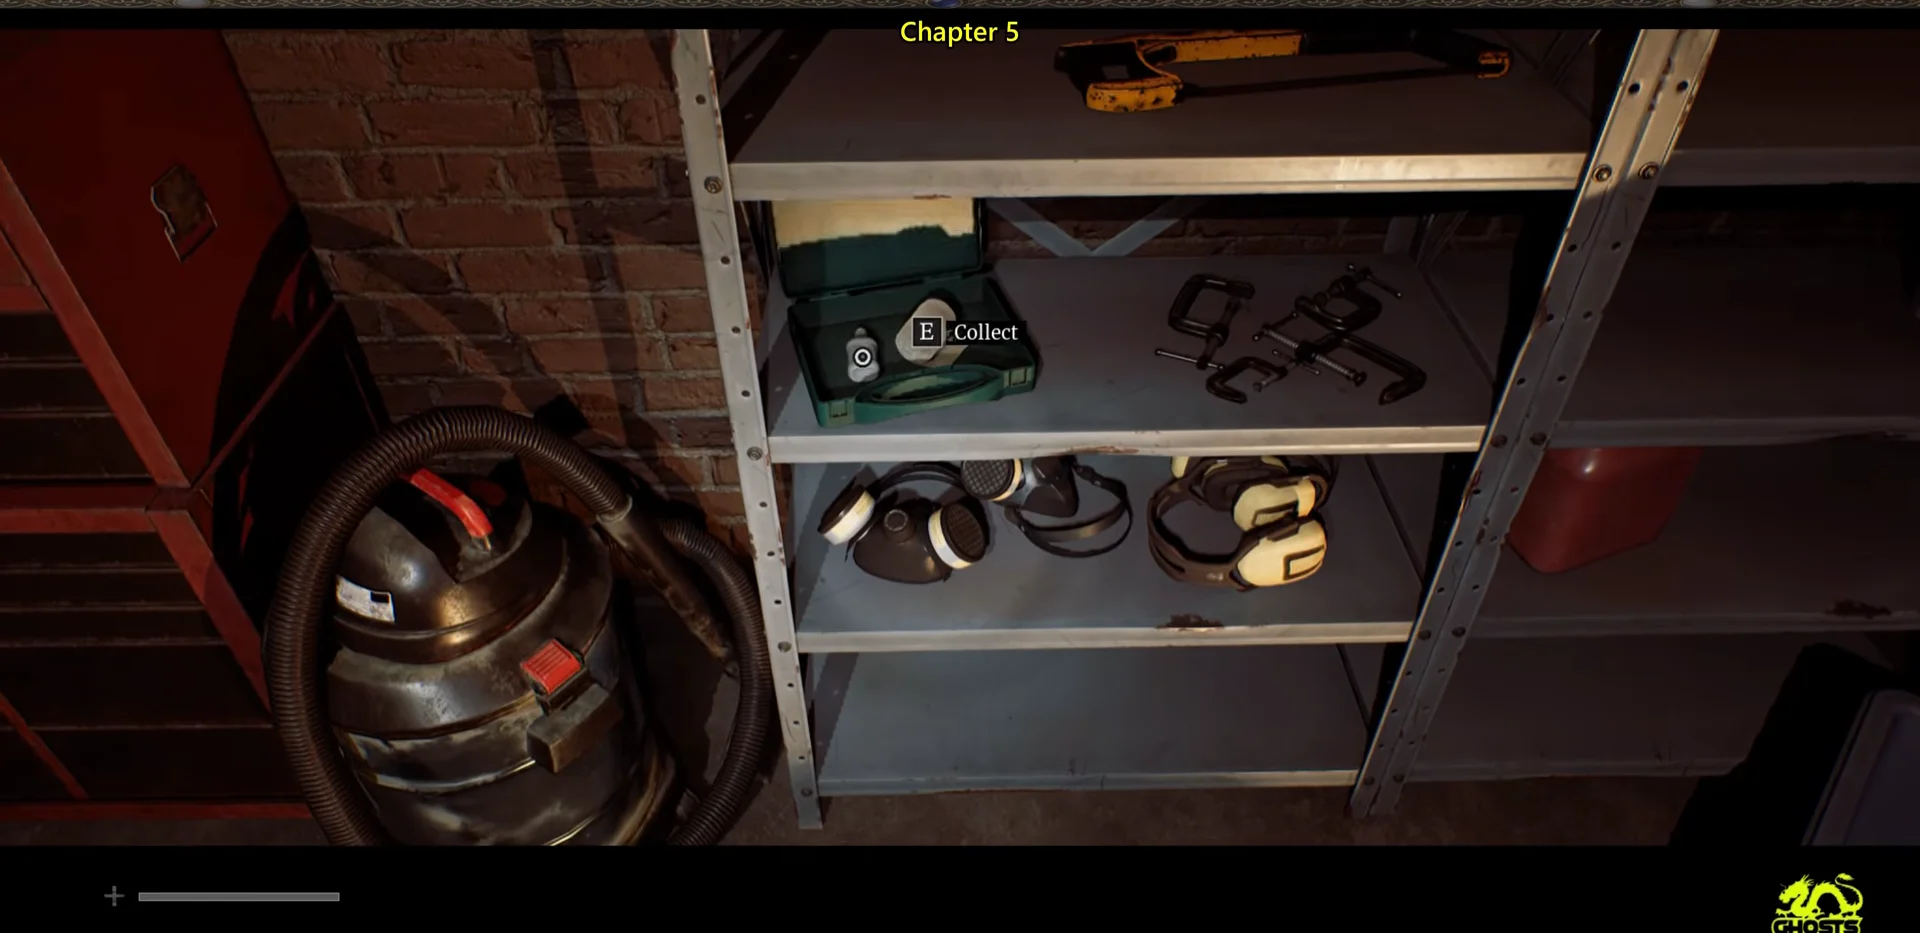
Lift the manual roller shutter to enter the maintenance workshop. A green first aid kit on the metal shelving holds Gauze and Alcohol. Take the supplies if you want them for crafting, but do not use them to heal.
In the security office, press the green button on the desk console to open the facility exit gate. Save at the landline phone on the desk before moving on.
Head out through the push-bar fire exit into the rear lot. Throw a brick at the red hatchback’s rear window to trigger its car alarm, luring the depot guard away.
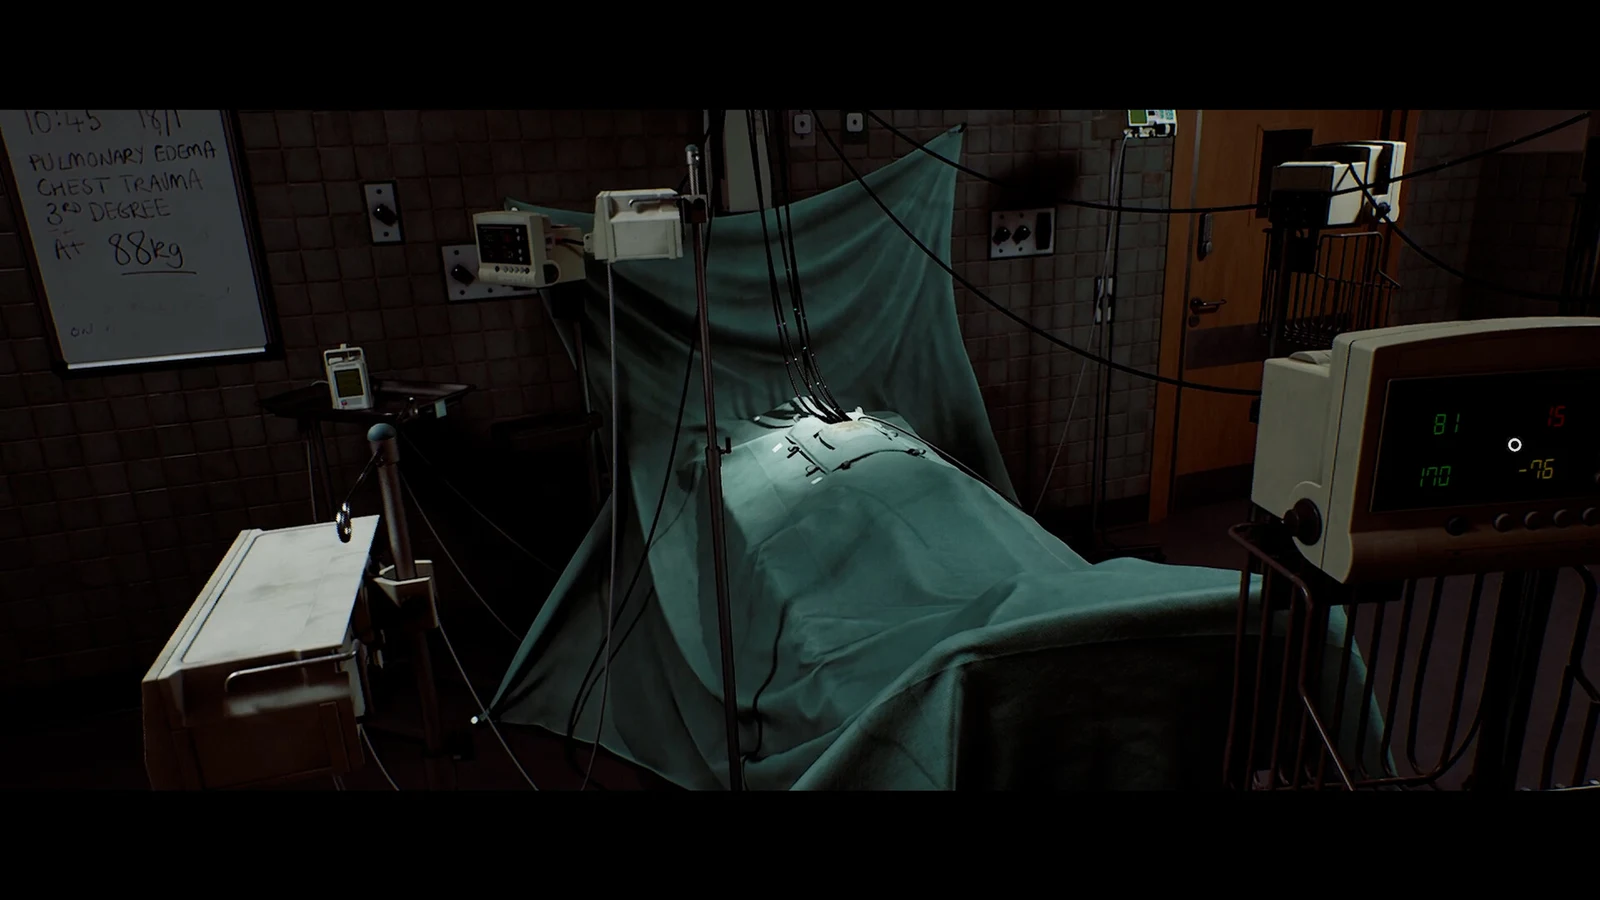
Slip through the opened security gate while the enemy investigates the alarm, then climb the concrete stairs to the hospital reception. Entering the lobby triggers the end-of-chapter cutscene with Zoe and unlocks the story trophy for reaching Dr. Glenn.
Chapter 6 route: Journey to Medical
Chapter 6 drops you into a red-fog nightmare version of the town, armed with a revolver. Keep the ammo in reserve and treat combat as a last resort — the aim is still to reach the clinic safe point without taking damage.
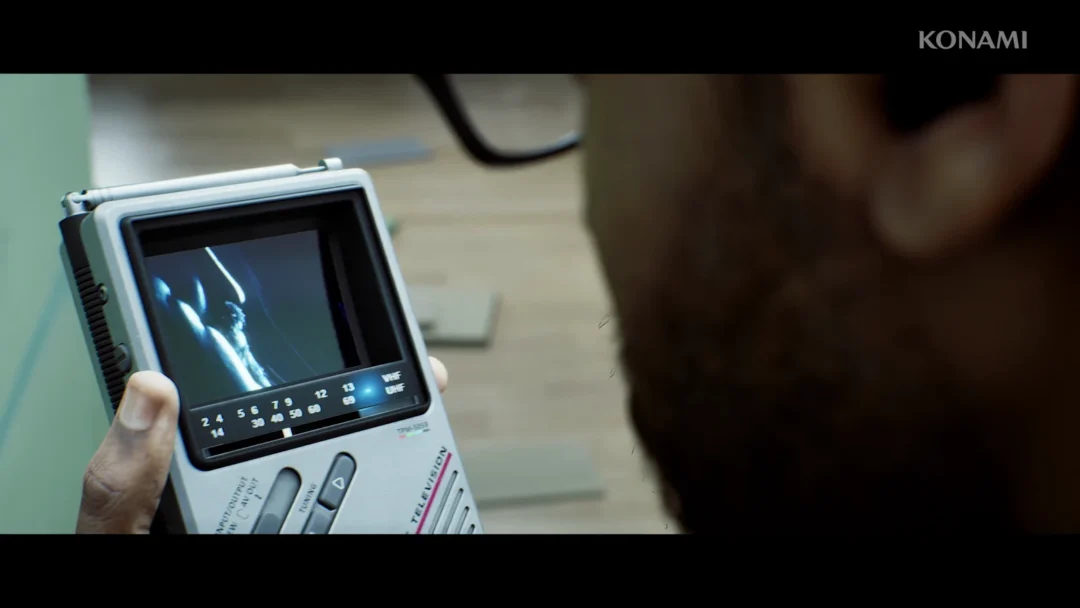
Move through the cage maze to the side street, slipping past the enemy posted there. Take out the handheld receiver and adjust its frequency until Zoe’s broadcast comes through clearly.
Head to the patio behind the house, collect the plank of wood, then switch on the radio in the cabinet to draw attention away. Unbar the neighboring gate, switch the radio on again, and hide under the patio table until the monster enters the shed.
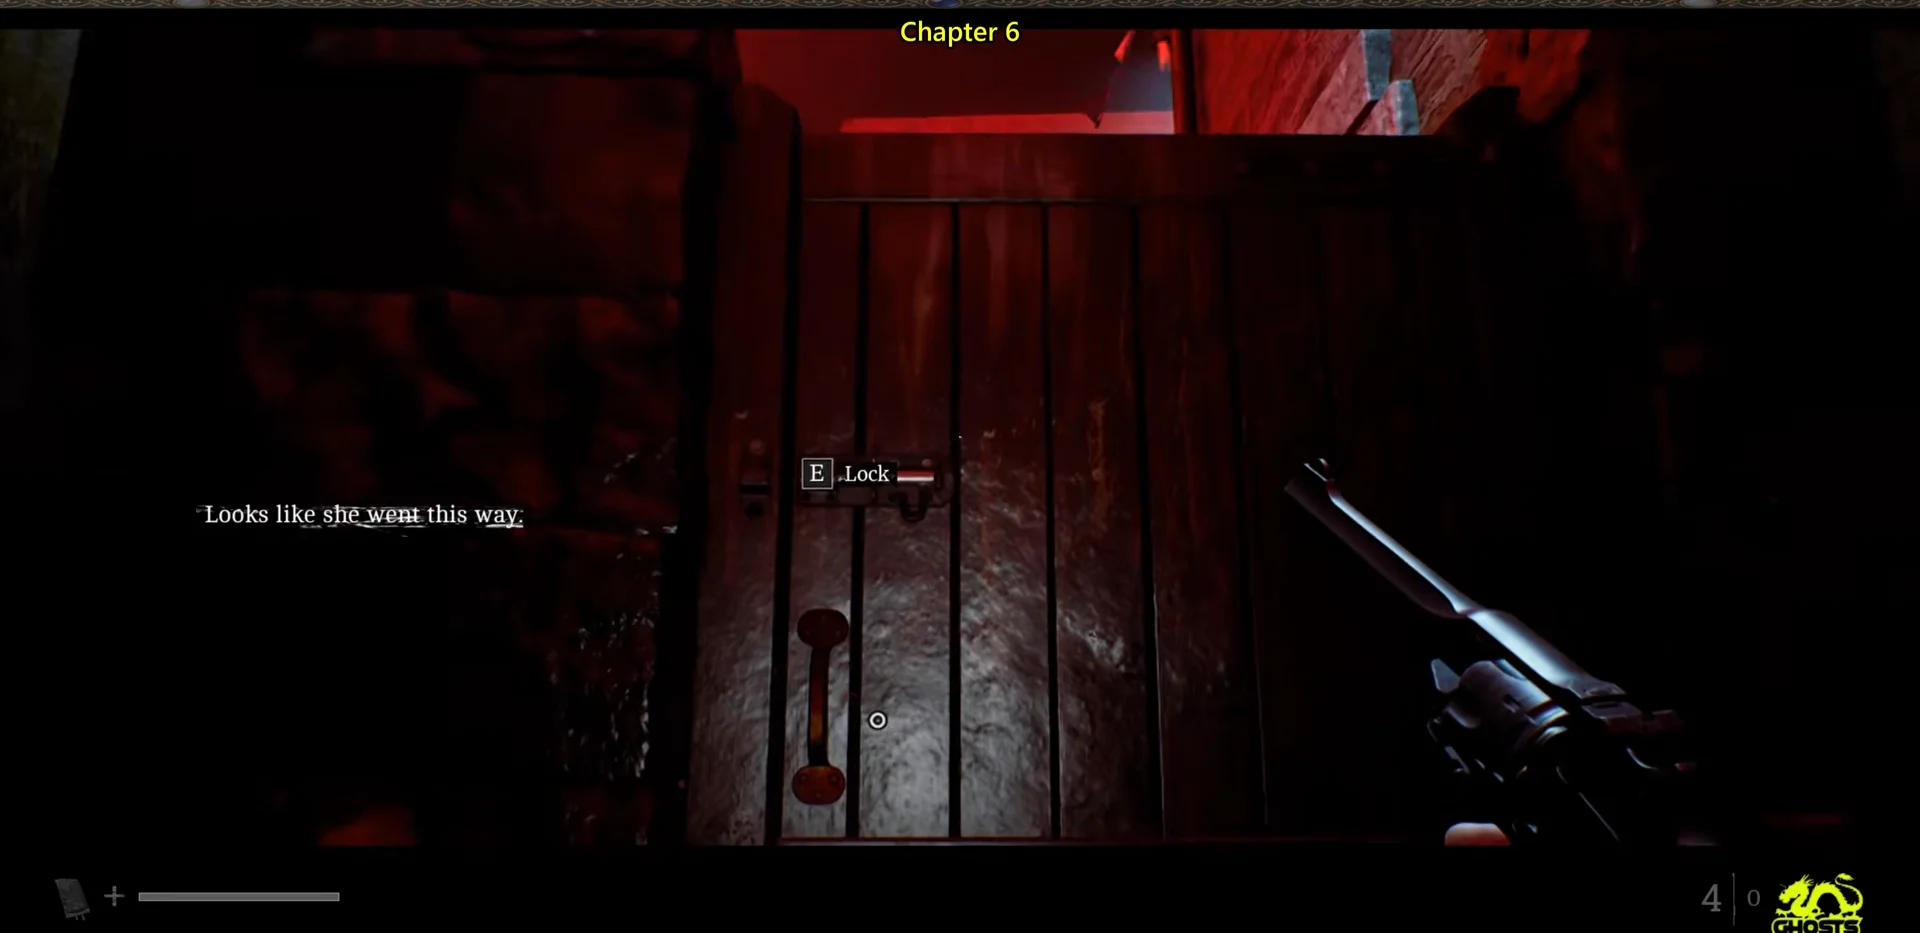
In the swing-bench garden, toss a bottle in the table’s direction to draw the enemy away from the exit. Pull the wooden plank from the passage door, take the Pistol Rounds from the box atop the round table, then shut and lock the wooden gate behind you to stop pursuit.
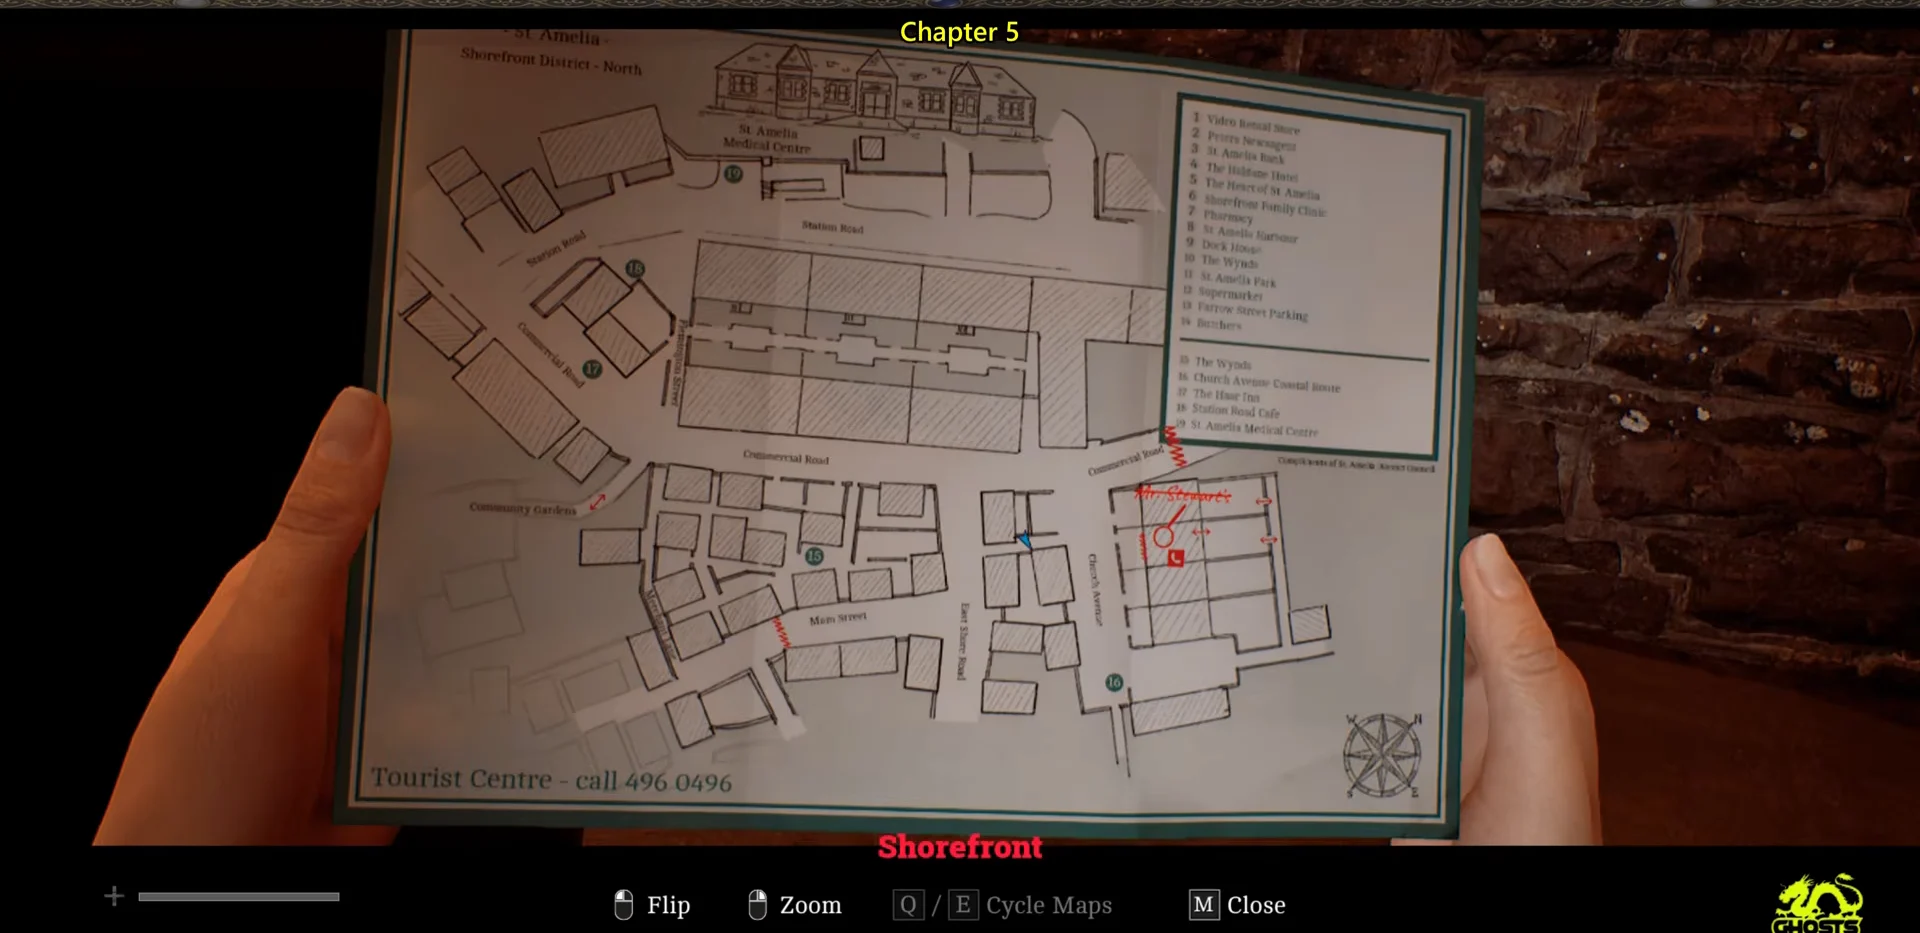
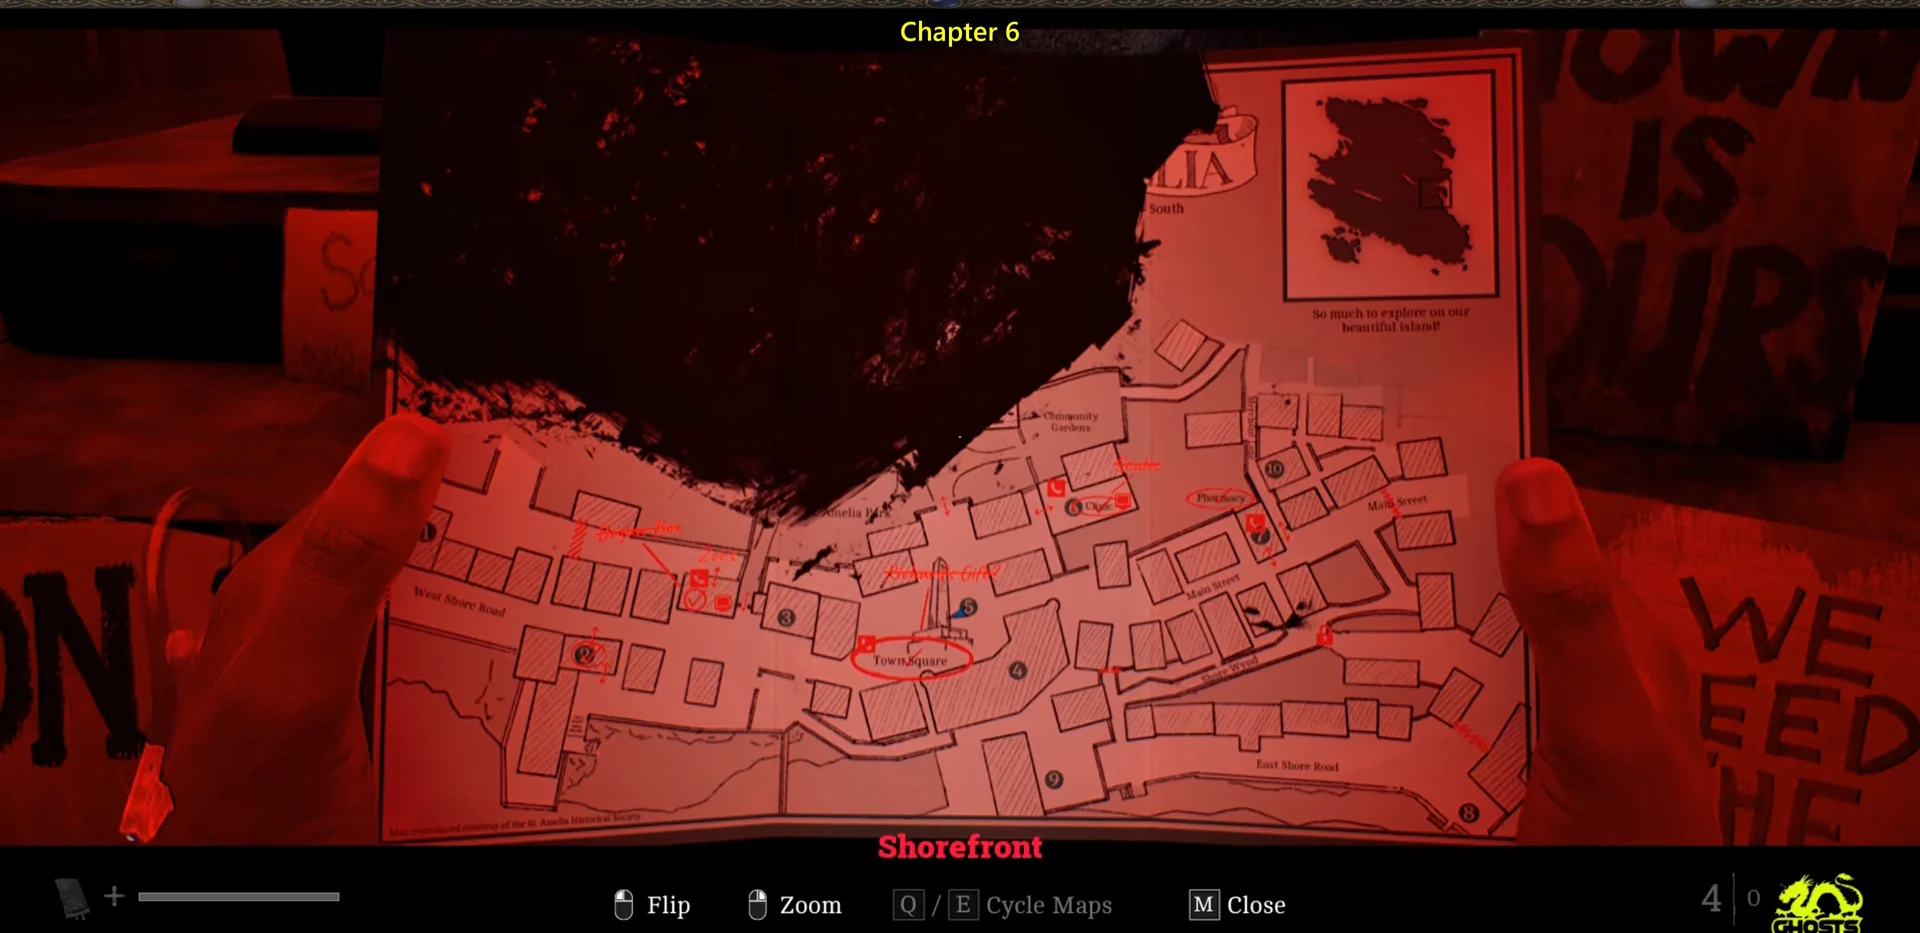
Cross the town square, passing the road closure notice, and pick up bricks and bottles from the picnic benches to use as distractions later. Consult the map as you near Station Road.
Turn on the portable radios on the backyard shelf and patio table to draw searching monsters away, then squeeze sideways through the narrow gap between the buildings. Watch for an enemy that lunges from the dark near the overgrown garden path — evade it rather than fight.
Pick up the brick at the wooden staircase’s top, descend the fire escape quietly, and open the fence gate leading to the clinic backyard. Send a brick between the fence slats and into the courtyard, removing the obstacle to reaching the side door.
Enter the dark room with the rotary telephone and dial the phone to save one final time. Cross the red courtyard and push open the clinic’s double doors to trigger the closing cutscene.
Confirming the trophy unlocked
You will not see the trophy notification at the moment you enter the Medical Centre. If you finished both chapters without applying a single healing item, the pop-up appears during Chapter 7 as you continue into “The Patient.” Keep avoiding healing until that trophy notification shows on screen — that confirmation is the only sign the run counted. If it does not appear, a healing item was used somewhere along the way, and the stretch has to be replayed from a fresh start because there is no chapter select to jump back in.