Day 3 at the Vanderboom estate runs through seven linked duties, and almost every one ends in a puzzle you cannot skip. You start by chasing the cat, help Aldous with alchemy, patch up the wrecked house, cook and serve a full dinner, and finally break out during The Departure. The order is fixed, and each task hands you the item or trigger the next one needs.
Quick answer: Complete the day in this order — Looking for the Cat, Assisting in Alchemy, Unforeseen Maintenance, Preparing Dinner, Dressing up for Dinner, Serving Dinner, and The Departure. The key codes are the alchemy cabinet 2451, the first wine box 1643, and the closing timepieces set to 3, 8, and 5 o’clock from left to right.
Find the cat and open Aldous’ lab
Speak with Kate the maid in the servant’s room. She tells you the cat is missing and that William wants you upstairs. Go into the main room, click the ajar door at the top of the stairs, and click William twice. When he asks for the book you don’t have, he settles for the hammer, so give it to him.
Take the door on the right to the room with the Aldous bust and grab the pebble from the top of its head. Head left into the corridor, open the window, and throw the pebble at the cat’s tail sticking out of the log. Click the cat to send it running.
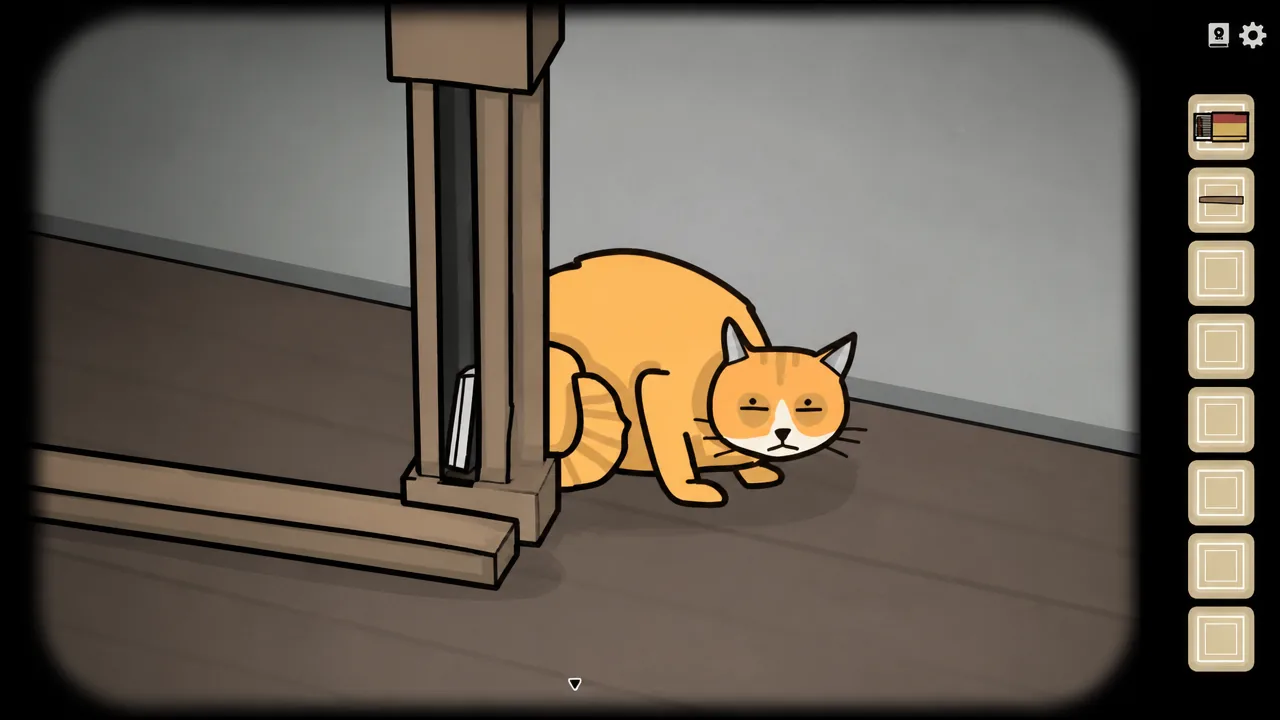
The cat hides in four more spots. Return to the armchair room and click it under the chair, then go back to the bust and click it hiding behind. Return to the armchair room to see William through the cracked door, then open the stove in the servant’s room to find the cat one last time. Kate now holds it on her lap.
Before you talk to Kate, click the cat on her lap repeatedly to pet it until it jumps off. That unlocks the ‘Petting the Cat’ achievement.
Speak with Kate, then read the note on the table. It reads like a hunting instruction, and the order of objects is the clue. Go to the painting of Aldous and the bear beside the bust and click the items in this exact sequence.
- Hat
- Rifle
- Bear head (the bear’s eyes)
- Crow
A hidden passage opens in the wall. Go through it to reach the lab.
Translate the alchemy board
Talk to Aldous, then pan right and grab the two flasks from the crate. The board on the wall needs every symbol filled in before you can read the elixir recipe, and each symbol is hidden on an object somewhere in the room.
Work through the room’s props to match each meaning to its symbol. The river painting gives ‘Water’, the hand painting gives ‘2’, and clicking the soldier makes him step left three times, which supplies both ‘3’ and ‘Left’. Click the small box on the floor, and because you know ‘Left’, press the buttons in this order to reveal ‘Right’ and collect the matches: left, left, right, right, left, right.
Light the candle with the matches to reveal ‘Heat’. Check the note in Aldous’ pocket for the ‘Aldous’ symbol, use the three-siblings picture for ‘Middle’, and feed the parrot water until it drinks (five drops) to lock in ‘5’. The house painting sets the last number, since five plus the missing value equals the number of windows, giving ‘4’. Once the board is complete, you have the four numbers you need.
| Meaning | Source in the room |
|---|---|
| Water | River painting |
| 2 | Hand painting |
| 3 / Left | Soldier steps left three times |
| Right | Floor box after the button sequence |
| Heat | Lit candle |
| Aldous | Note in his pocket |
| Middle | Three-siblings picture |
| 5 | Parrot’s water bowl |
| 4 | House painting (windows) |
Click the parrot to make it lay an egg and collect it. Then open the cabinet below the board, enter 2451 on the symbol lock, and take the flasks inside. You should now hold four empty flasks.
Make oil, acid, blood, and juice
Go to the apparatus in the back room and read the note. Make the oil first, because making acid before oil can jam the machine.
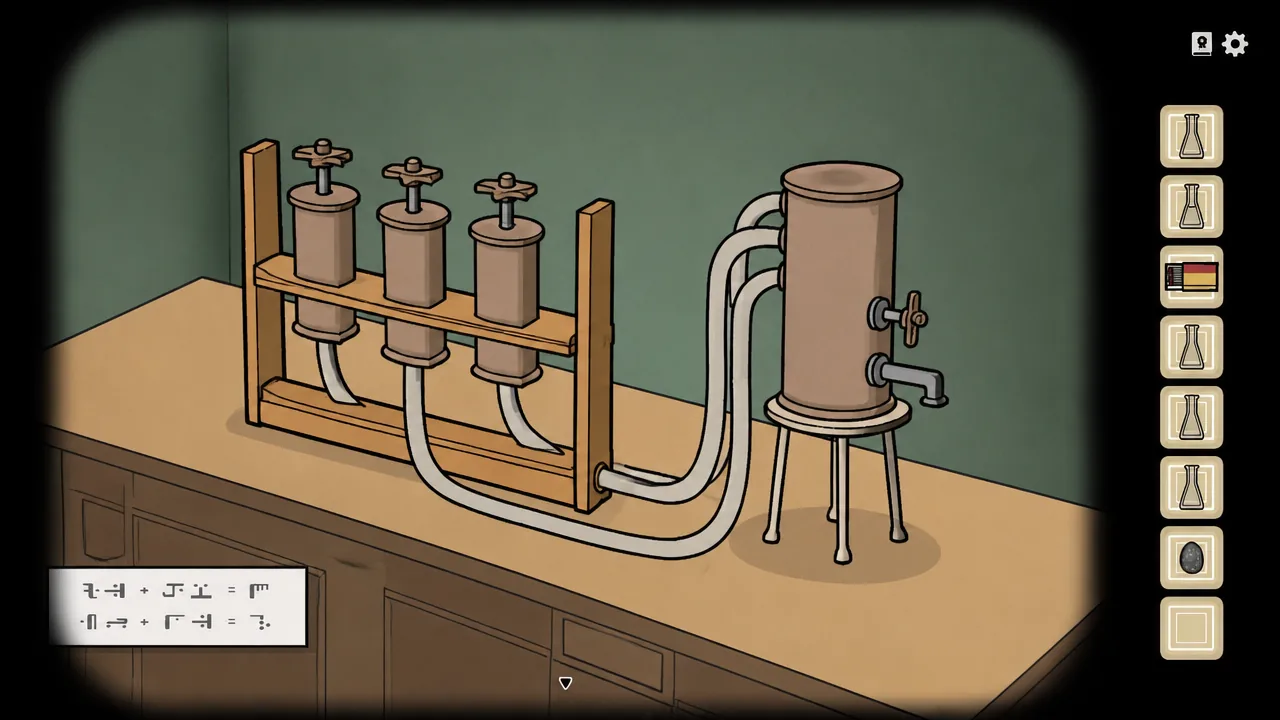
Mix the Life & Death Elixir
Open the recipe book on the table and add the ingredients to the empty flask in this order, starting with the egg.
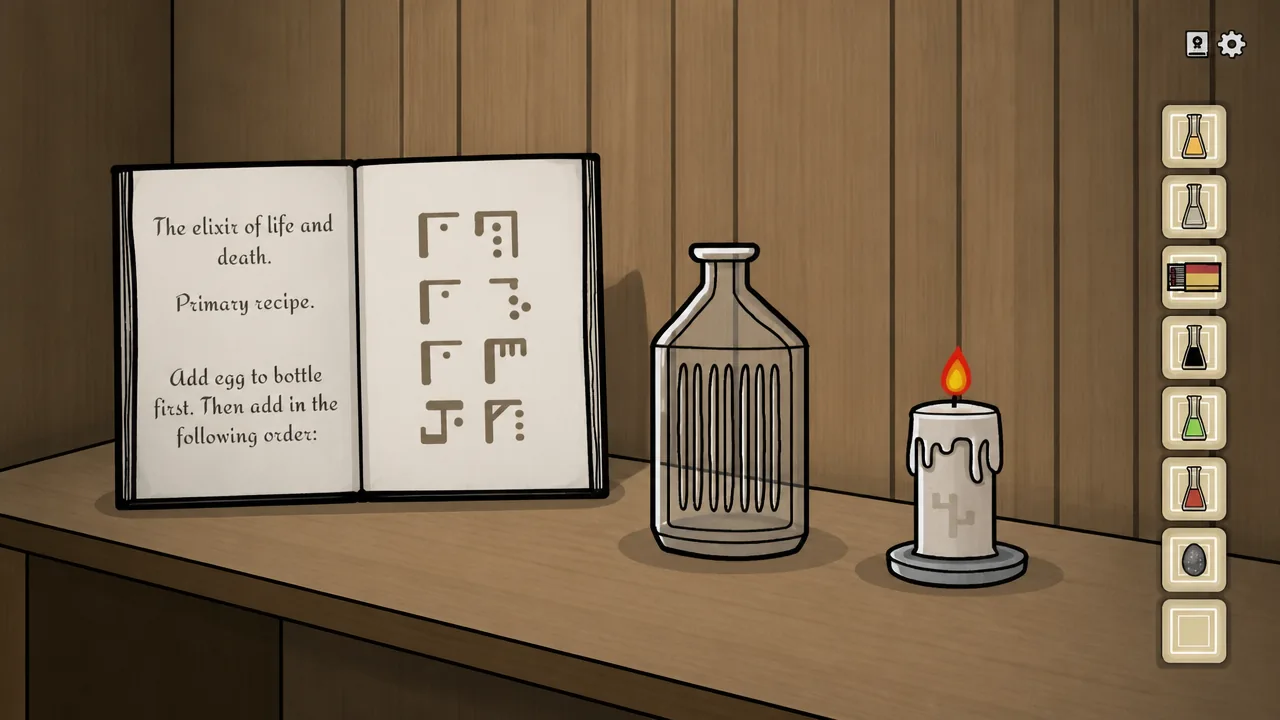
- Egg
- 1 x Juice
- 1 x Acid
- 1 x Oil
- 3 x Blood
Take the finished elixir. Before handing it over, put a drop into the parrot’s water bowl to unlock the ‘Animal Testing’ achievement. Then pour the elixir into Aldous’ glass, click him until he asks for the bottle, and give it to him to end the section.
Repair the house in Unforeseen Maintenance
The estate is now a mess, and Kate wants everything fixed. Start in the servant’s room by clicking the cat under the table, then click the table leg beside it to reveal a hidden note. That unlocks ‘Checking the Furniture’. If the note doesn’t appear, you can replay this section after finishing the game while the cat is present.
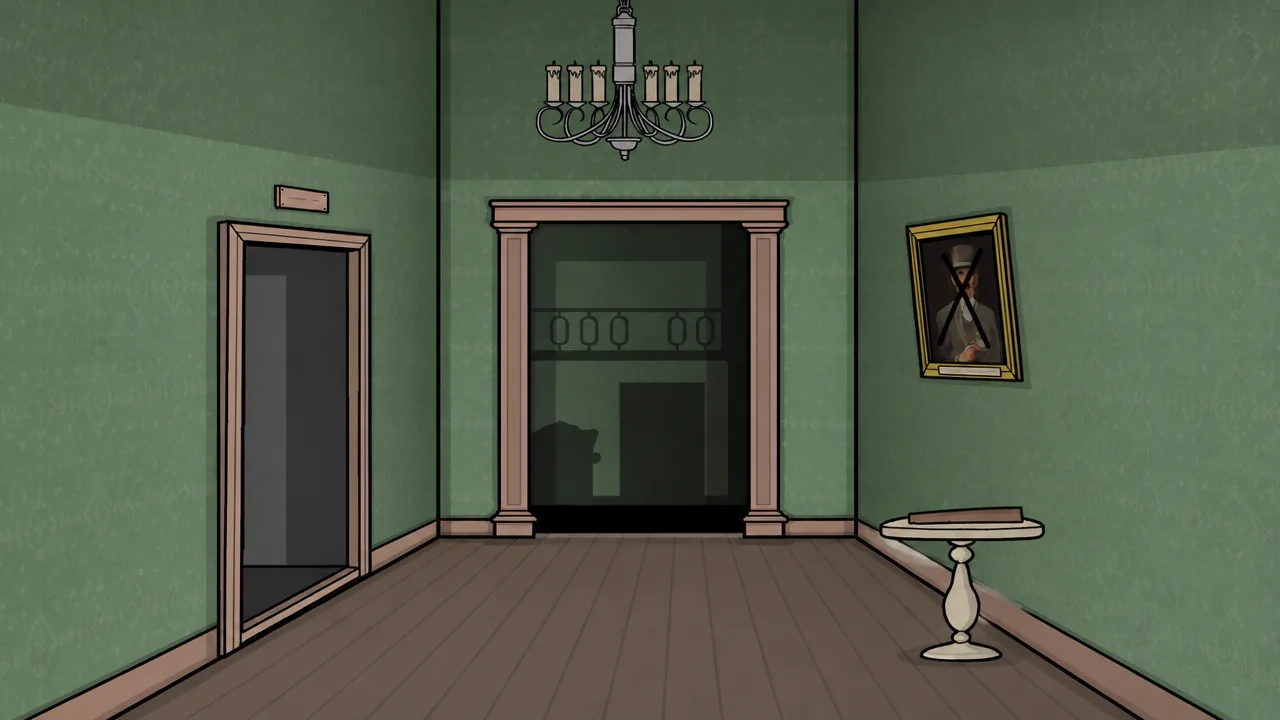
Click the cat until it throws up, and collect the sticky substance. Pick up the bust head from the stove, then take the wooden chair part off the armchair and the chair leg off the table. Click the shadow under the stairs to speak with Kate.
Now put everything back together with the sticky substance. Reattach both chair pieces on the broken chair in the servant’s room, glue the head onto the bust, and seal the rip in the painting. Head left, pick up the fallen balcony piece, and reattach it in the armchair room. Use the sticky substance on Alexandra’s painting, then on the Aldous portrait in the first hallway, and finally put the door back on the stove. Speak to Kate, return to the bust, and go through the open door beside it into the kitchen.
Cake, oil bottles, and the potato tray
Speak to Kate and take the knife. Before finishing the cake, use the knife on the fly buzzing past and collect it when it drops. That fly is needed later for the ‘Seasoning the Soup’ achievement. Light the logs in the lower oven with the matches, then click the cake.
The cake puzzle asks you to cover every hole using the decorations. Place them like this.
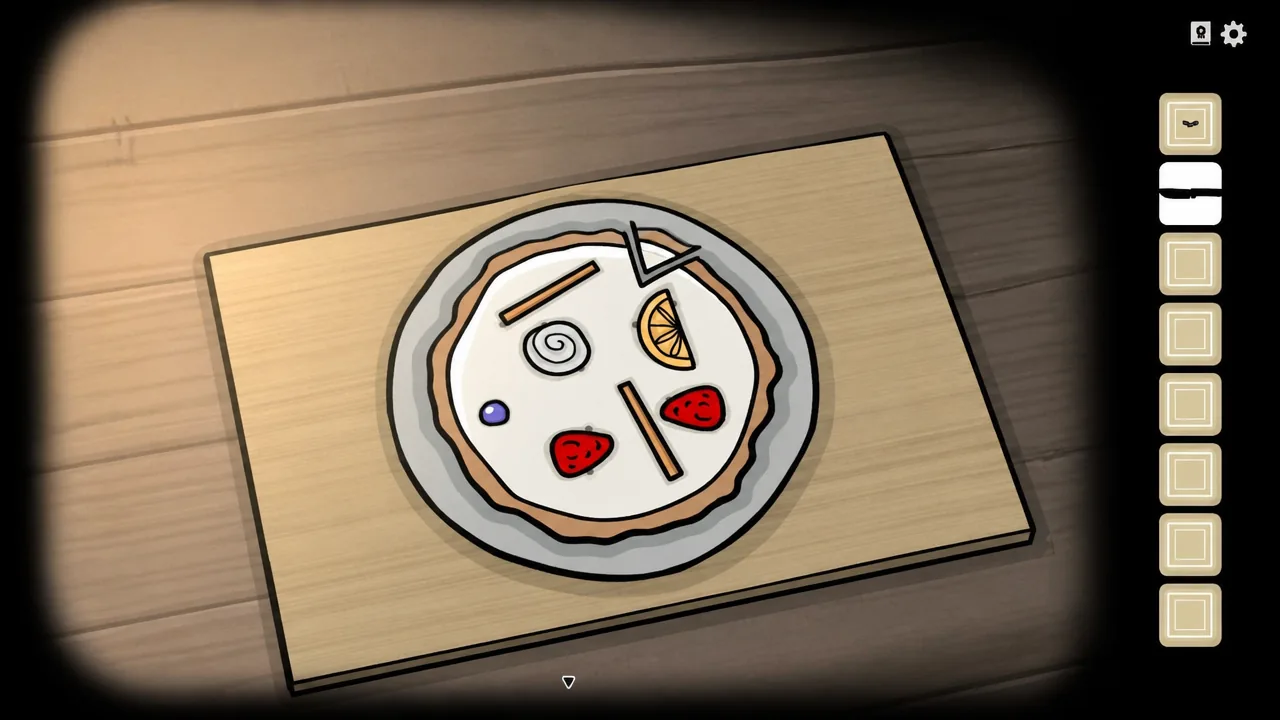
- Horizontal stick at the top
- Vertical stick at the bottom middle
- Lemon slice on the right
- Spiral circle just below the top stick
- Blueberry far left
- Two strawberries on either side of the bottom stick
Grab the cake slice that pops out. Read the note, open the oil cupboard, take the tomato, and click the bottles for the next puzzle.
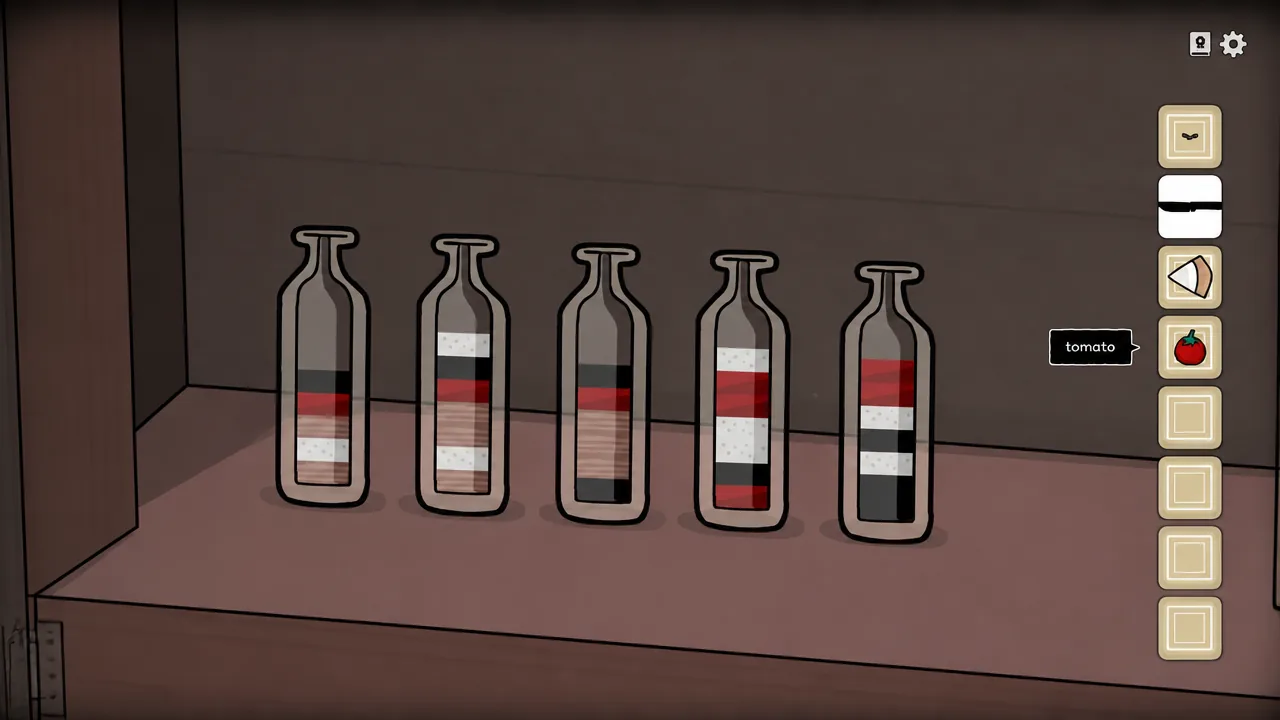
The oil puzzle is a liquid-sorting puzzle. Pour between the bottles until each one holds only a single color, exactly like a color-sort game. Take your time, only pour a color onto a matching color or an empty space, and you can back out of a bad move by continuing to shuffle. When each bottle is one color, take the oil.
Open the right cupboard for the shrimp, potatoes, and onion. Open the window and speak with William to get the mushroom. At the cutting board, chop the shrimp, onion, and tomato with the knife and collect the pieces. Put the potatoes in the top oven drawer and close it.
Click the pot above the stove and add the ingredients in order: oil, onion, shrimp, tomato, mushroom, and the fly if you kept it for the achievement. Take the potatoes out of the oven, then click Kate and ring the bell. Aldous appears.
Give Aldous the potato tray. Feed him the middle lighter potato first, then watch how his face mutates and feed him the potato that matches.
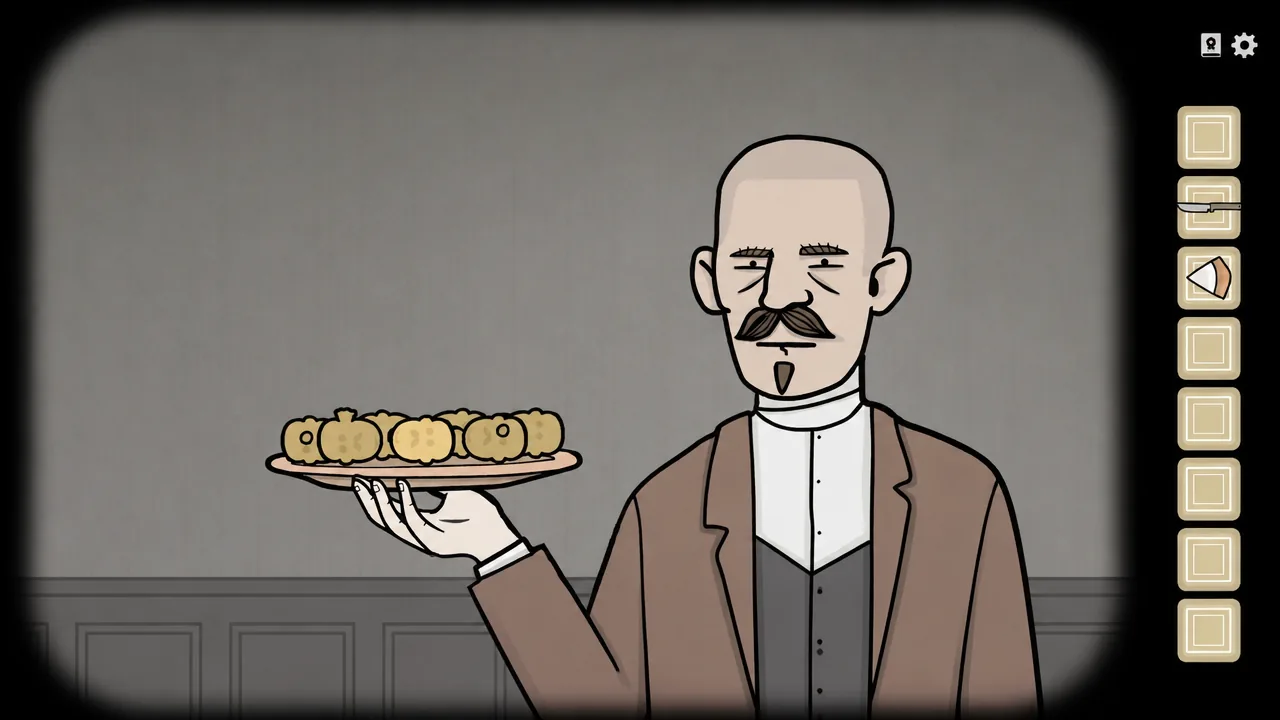
| Aldous’ reaction | Potato to feed |
|---|---|
| Moustache bristles | Outlined moustache |
| Nose gets big | Big nose |
| Right eye goes weird | Matching eye |
| Opposite eye goes weird | Other matching eye |
| Chin goes weird | Weird chin |
| Ear gets big | Big ear |
Feed him the cake slice, take the spoon he offers, dip it in the soup pot, and give the soup to Aldous. He then makes you eat some.
The soup vision sequence
You fall into a dream. Listen to who calls out and what they say, then click the matching silhouette and follow the prompts. A wrong click restarts the puzzle.
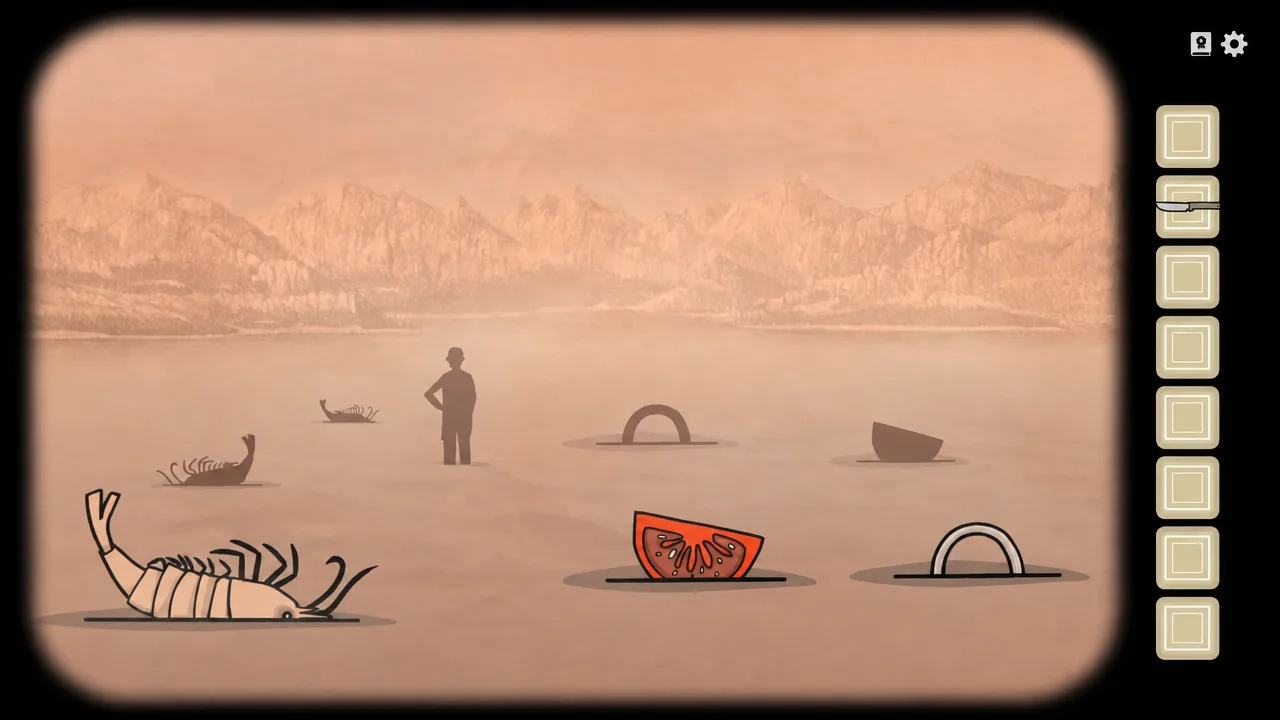
- Click Aldous’ silhouette, then Aldous on the next screen.
- Click William’s silhouette (no hat), then the hat, coffee, wine, and book in that order, then William.
- Click Alexandra’s silhouette (round hat), click Alexandra, and unbutton her dress.
- Click the coach, then the driver, then the only silhouette on screen.
- Drag the moon up, click the basket, click it again, remove the lid, then click the baby.
- Click Aldous’ silhouette (one hand on his hip), then Aldous.
- Click the maid’s silhouette, then the maid, then the silhouette of Aldous lying on the floor.
A giant fly passes during the William step to grant ‘Seasoning the Soup’. Back in the real world, click on Aldous to continue.
Wine boxes and dressing the family
Take the glass from the table, then the tie from the armchair. Go into the cellar, take the glass from the shelf, and click the box on the floor. Solve this second wine puzzle by spelling 1643 on the tiles, using the same rotate-the-tiles method as before, and take the wine.
Grab the bowtie hidden on the bust, then put the wine and both glasses on the tray in the servant’s room and speak to Kate. Pick up the hair ribbon from the crate. Upstairs is now open.
Click the house painting, then click the third window along in the second row from the bottom, then click the fish on the far right. The William portrait becomes a fish. Take the fish pin from it for the ‘Finishing Touch’ achievement.
Go back upstairs, click the box, slide the button aside, and take the necklace. Enter the room on the right, click Alexandra, and take the baby. Give Alexandra the necklace and the hair ribbon. Open the stairs in the armchair room, take the revolver, and give it to William along with the fish pin (for the achievement) and his tie.
Now get Aldous’ rifle. At the bust painting, click the hat twice, then the crow, then the rifle, and take the rifle. Return to Aldous and give him the rifle and his bowtie.
Prepare the baby
At the house painting, place each sibling in their correct window. Put Alexandra bottom left, Aldous in the window to the right of her, and William in the window above Aldous. Then click each portrait to read its symbol.
| Sibling | Symbol | Cellar bottle |
|---|---|---|
| Aldous | Spiral | Silver |
| William | Triangle with a vertical line | Gold |
| Alexandra | S shape | Bronze |
Go into the cellar and place the bottles above their matching symbols: silver above the spiral, gold above the triangle with the vertical line, and bronze above the S. Click the gold box that appears and take the sacred cloth and sacred water.
Go upstairs, put the baby in the basket, use the sacred water on it, then the sacred cloth, and speak to Alexandra. Return to the bust, take the passage on your left, and enter the now-open door ahead.
The four dinner-course puzzles
At the dinner table, click the rope in the top left to unlock ‘Safety Test’. Click Aldous, pick up the wine, and fill his glass, then click him again to begin serving.
Each course puzzle asks you to sort food onto three plates by reading the note first. The music and harp puzzles are physical instead.
| Course | Left plate | Middle plate | Right plate |
|---|---|---|---|
| Appetizer | Broccoli, onion ring | Rabbit ear, bread | Bacon, fish head |
| Main course | 1 broccoli, 1 potato | 2 meat, 1 carrot | Remaining food |
| Dessert | Two cheese | Chocolate circle | Rest of the desserts |
Take each set of dishes from the maid, place them on the table, fill the empty glasses with wine when prompted, read the note, and plate the food as shown above.
For William’s musical intermezzo, click him and guide every note into the wine glass. Single notes fall straight down, notes slanted right drift right, and notes slanted left drift left. The glass position is randomised, so failing just resets it. Take the man out of the drink afterward.
For Alexandra’s harp, mirror her notes on the opposite side of the strings. Pull them in these groups, counting from the right side.
- Right-most string three times
- Third from right, second from right, right
- Right, fifth from right, right, third from right
- Fifth from right, fourth from right, third from right, right, second from right
After dessert, click Aldous, pan out, pick up the knife from the floor, and cut the rope in the top left several times until the chandelier falls.
Escape in The Departure
Click Aldous on the right and take the fork from his shoulder. Click William on the left until he tells you to give Aldous a drink, then take the wine glass from his shoulder. Click the dripping water on the floor, fill the glass there, pick it up, and give Aldous a drink. Keep talking until he hands you a cloth.
For the ‘First Aid’ achievement, click Aldous’ leg, pull back his trouser leg, and use the fork on each wound twice to remove the bullets. Deselect the fork and click all three wounds to close them.
Click William and put the cloth in the wound above the right nipple, then use the fork to pull meat from the left wound. Click the cat’s shadow, give it the meat, then click the cat and take the hairpin. Use the hairpin on the lock, rotate until a screw vibrates, hold until it comes out, and repeat for every screw. Slide the lock over and go through the door.
Keep moving through the doors and slide the panelling aside. When you reach the room with the torch, go back one room, pick up the black flint on the floor to the left, return, and use the flint on the torch. Note the numbers on the statue heads as you go.
The woman’s head shows three. Go through the new door, enter the door on the right to take the plank, go back and take the left door, then use the plank to cross. Continue through the next doors to read five on the cube head and eight on the crow head.
At the statues, set the three timepieces from left to right to 3 o’clock, 8 o’clock, and 5 o’clock. Go through the door, click the figure, and take the baby after the scene.
Click the white square, drag the baby onto it, then keep clicking the square and go through the door. Click the driver, give him the baby, get in the carriage, and close the curtains. That completes Day 3 and the main story. You can now replay any chapter from the notebook to chase remaining achievements or the hidden ending tied to Kate’s missing brother.