Damage numbers in Shindo Life only mean something when everything is held constant, and the Gen 3 tailed beast elemental bloodlines are a good example of why. Run the same full combo, on the same dummy, at the same level, and five popular picks separate into two very different groups. Two of them clear 390k. The other three land in a tight cluster barely 14k apart.
Quick answer: Getsuga puts out the most damage of the five at 408k+ per full combo, followed by Pyromania at 392k+, Powder at 167k+, Magma at 160k+, and Fume at 153k+.
Gen 3 tailed beast bloodline damage ranking
Every figure below is a full moveset run, not a single spec. The totals are what the combo counter reads once the whole sequence has landed on the target.
| Rank | Bloodline | Total combo damage |
|---|---|---|
| 1 | Getsuga | 408k+ |
| 2 | Pyromania | 392k+ |
| 3 | Powder | 167k+ |
| 4 | Magma | 160k+ |
| 5 | Fume | 153k+ |
The two-tier split: Getsuga and Pyromania vs everything else
The gap between second and third place is the headline here. Pyromania finishes a full combo at 392k+, which is more than double what Powder manages at 167k+. Anything below the top two is playing a different game entirely when it comes to raw burst.
Pyromania gets there through a wide area attack that stacks damage numbers quickly on a stationary target, which is why it holds up so well on large hitboxes.
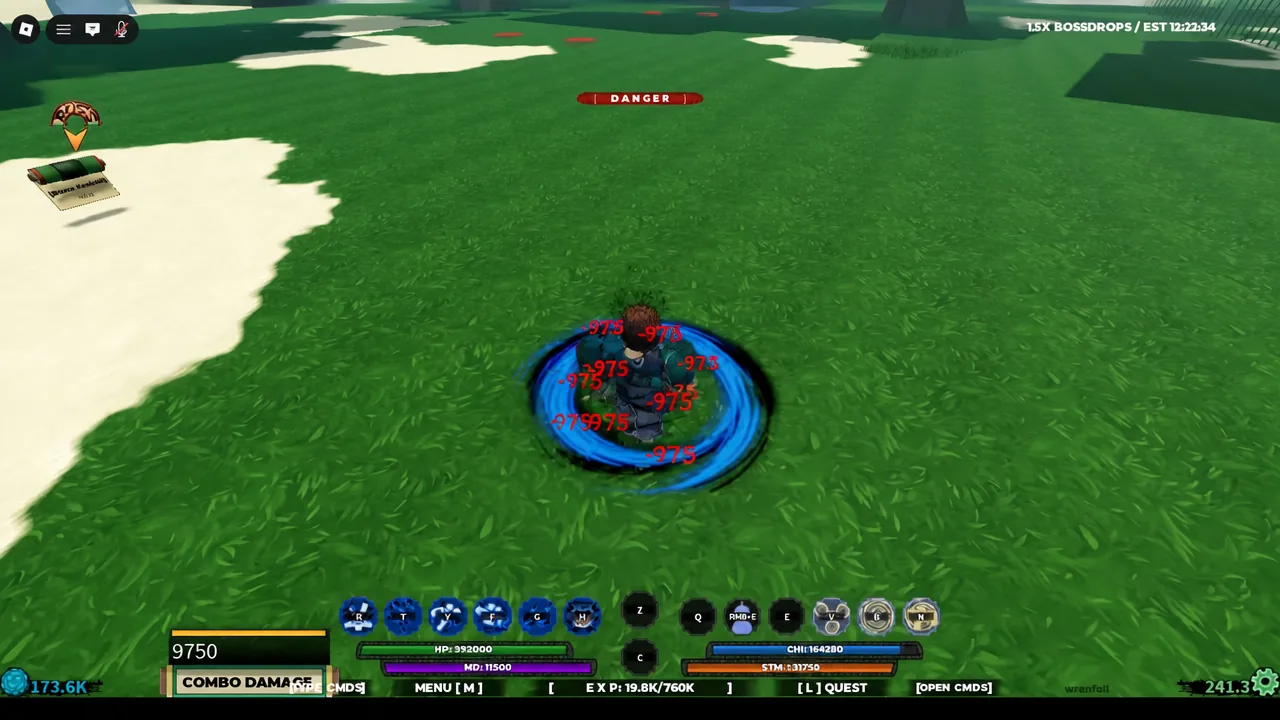
Getsuga takes the top spot at 408k+, edging Pyromania by roughly 16k. That is a small margin in isolation, but Getsuga arrives with the extra layer that the rest of the list does not have.
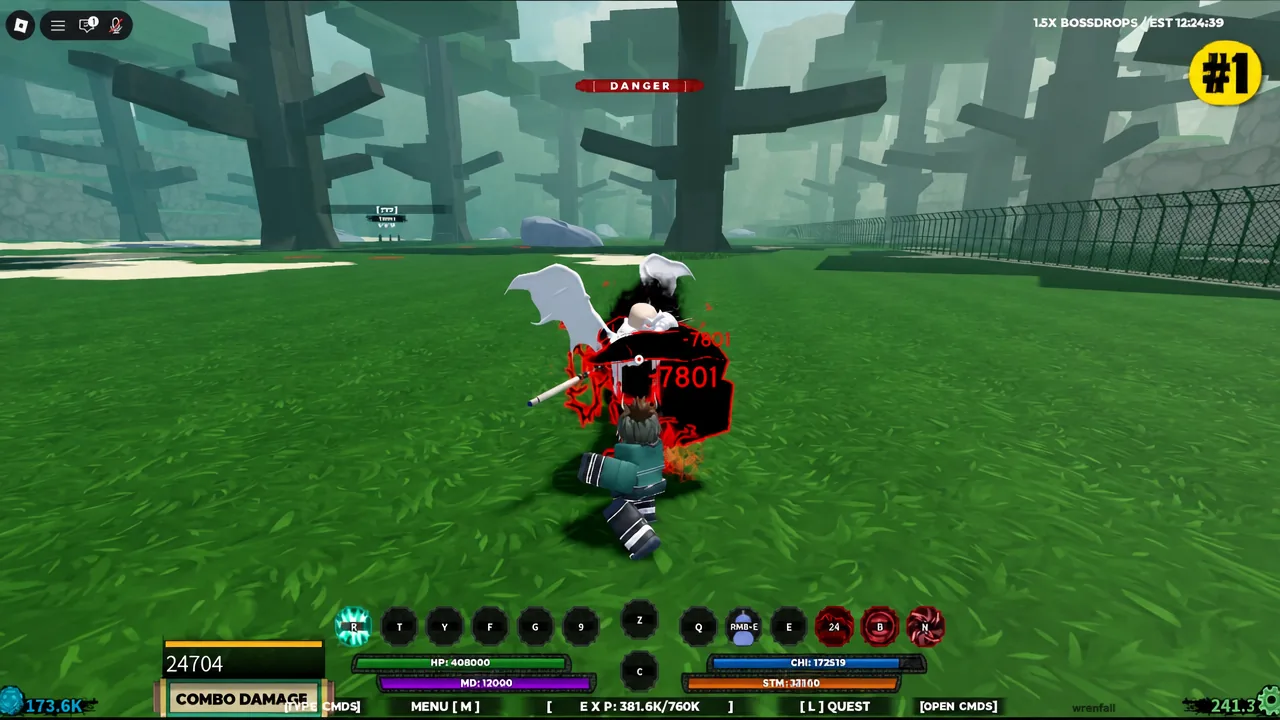
Getsuga Black Form 1 and why Getsuga finishes first
Getsuga has a transformation, Getsuga Black Form 1, that comes with its own moveset and ultimate attacks on top of the base kit. The 408k+ total is what the standard combo produces, and the form gives you a second set of tools to lean on rather than replacing the first.
That is the practical reason to favour it over Pyromania if you only want to commit to one. The raw numbers are close. The number of ways to reach them is not.
Fume, Magma, and Powder: a 14k spread
Powder, Magma, and Fume are close enough that damage alone should not decide between them. Powder tops the group at 167k+, Magma follows at 160k+, and Fume rounds it out at 153k+. Across a full combo that is a difference of around 9 percent from best to worst in the group.
Because the spread is that narrow, a single dropped spec or a missed hit is enough to reorder them in a live fight. Treat them as interchangeable on raw output and pick based on how comfortable the moveset feels to land.
How to replicate the damage test
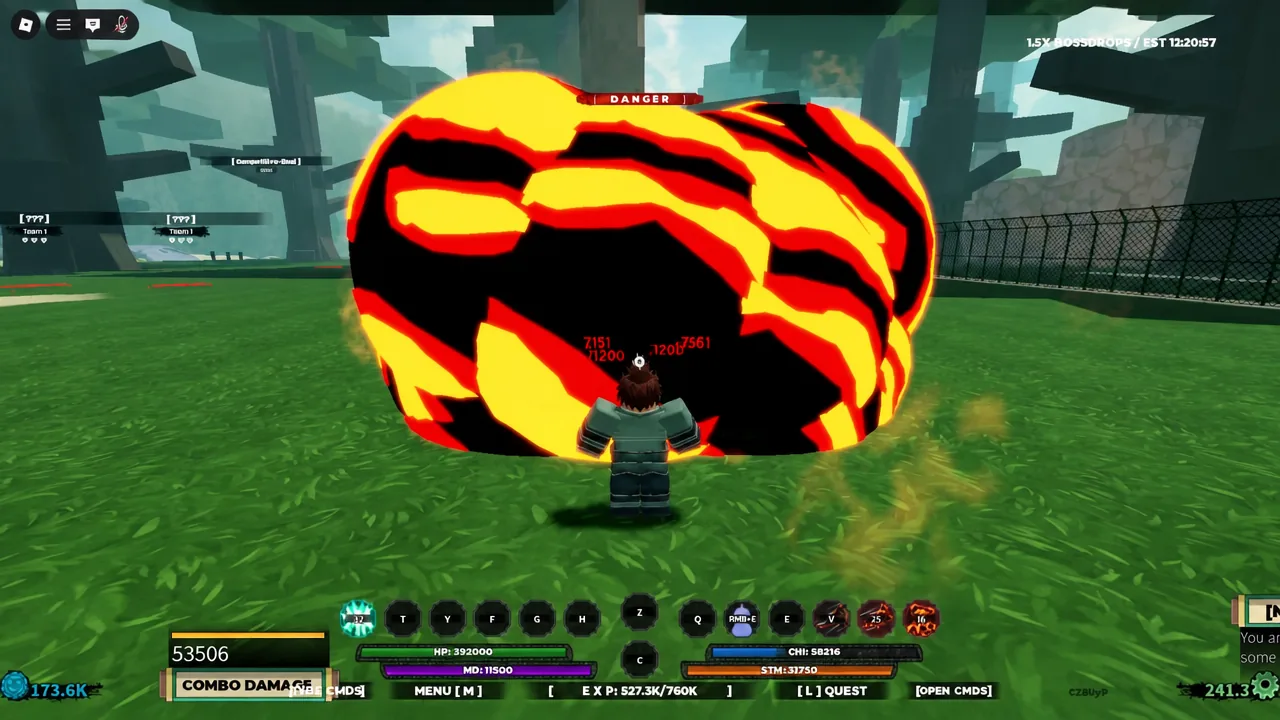
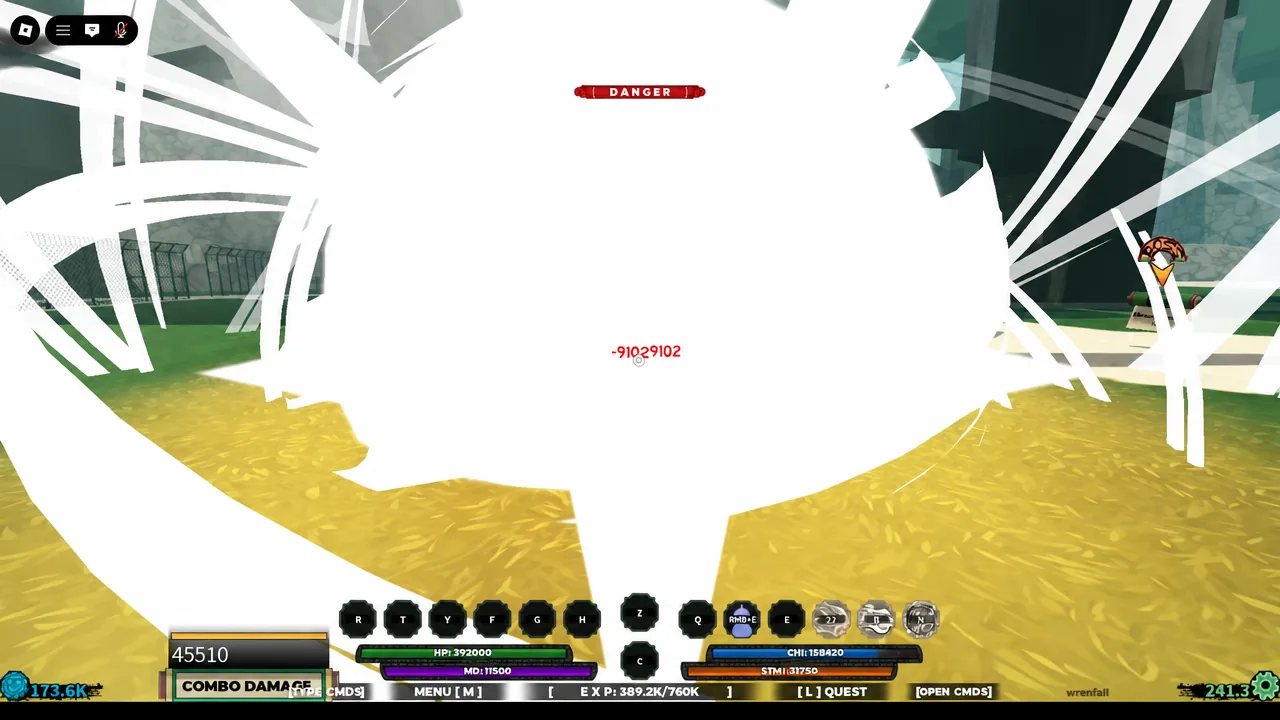
These totals come from a level 1000 character running each bloodline’s full combo into a stationary training dummy. If you want your own numbers to be comparable, the setup has to match.
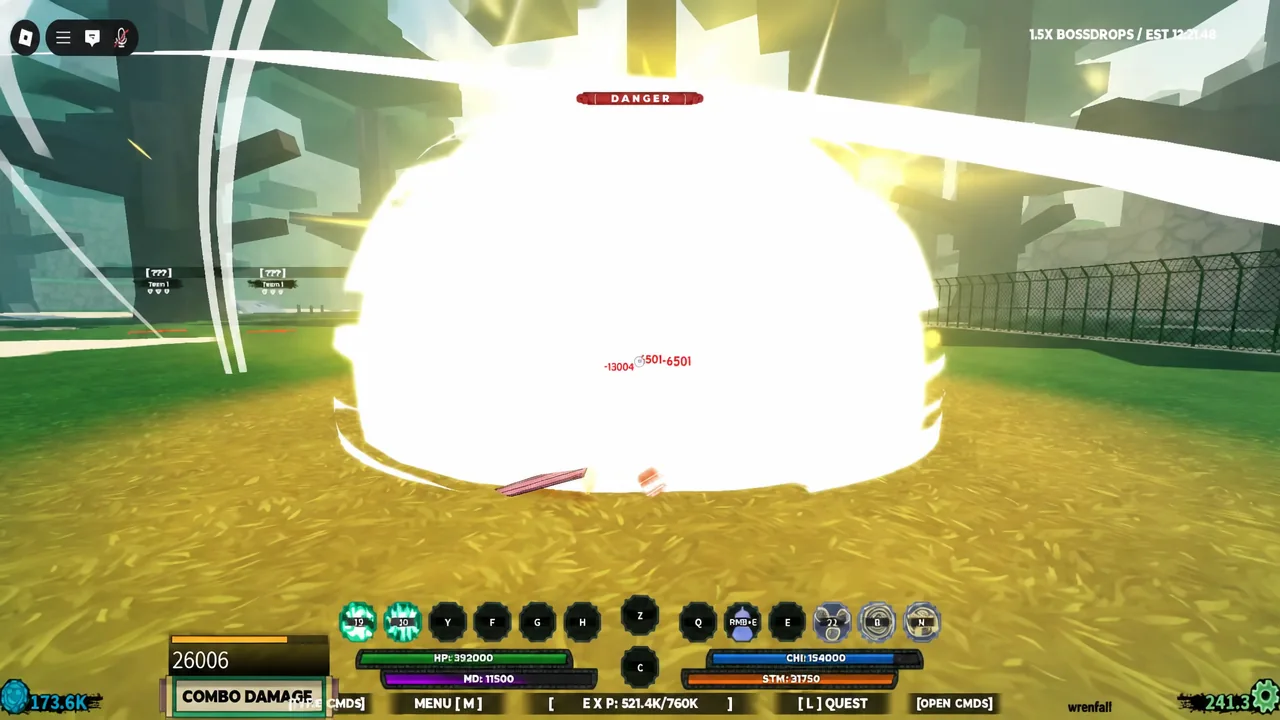
Note: a “You are starving, go eat some ramen for HP regen” prompt affects your own health regeneration, not your damage output, so it will not skew the totals.
Where these bloodlines sit in the wider tier rankings
Raw combo damage and general tier placement do not always agree, because tiers also weigh how easy a kit is to land and how it holds up against other players. The pattern still tracks reasonably well at the extremes.
| Bloodline | Type | Tier |
|---|---|---|
| Getsuga-Black | Clan | S |
| Powder | Elemental | A |
| Fume | Elemental | B |
| Magma | Elemental | D |
Getsuga-Black holding an S-tier slot lines up cleanly with it topping the damage chart. Magma is the outlier — it beats Fume on a full combo, but it sits several tiers lower once consistency and matchups get factored in.
If you are choosing purely for burst against a large, slow target, Getsuga and Pyromania are the only two picks on this list that meaningfully change how fast a fight ends. The other three are a matter of preference.