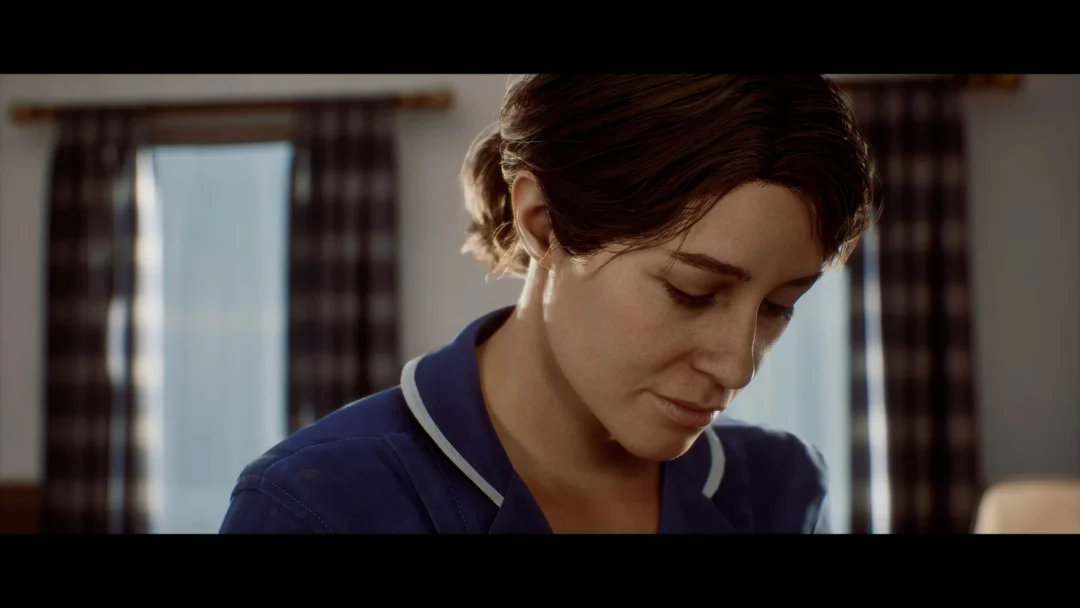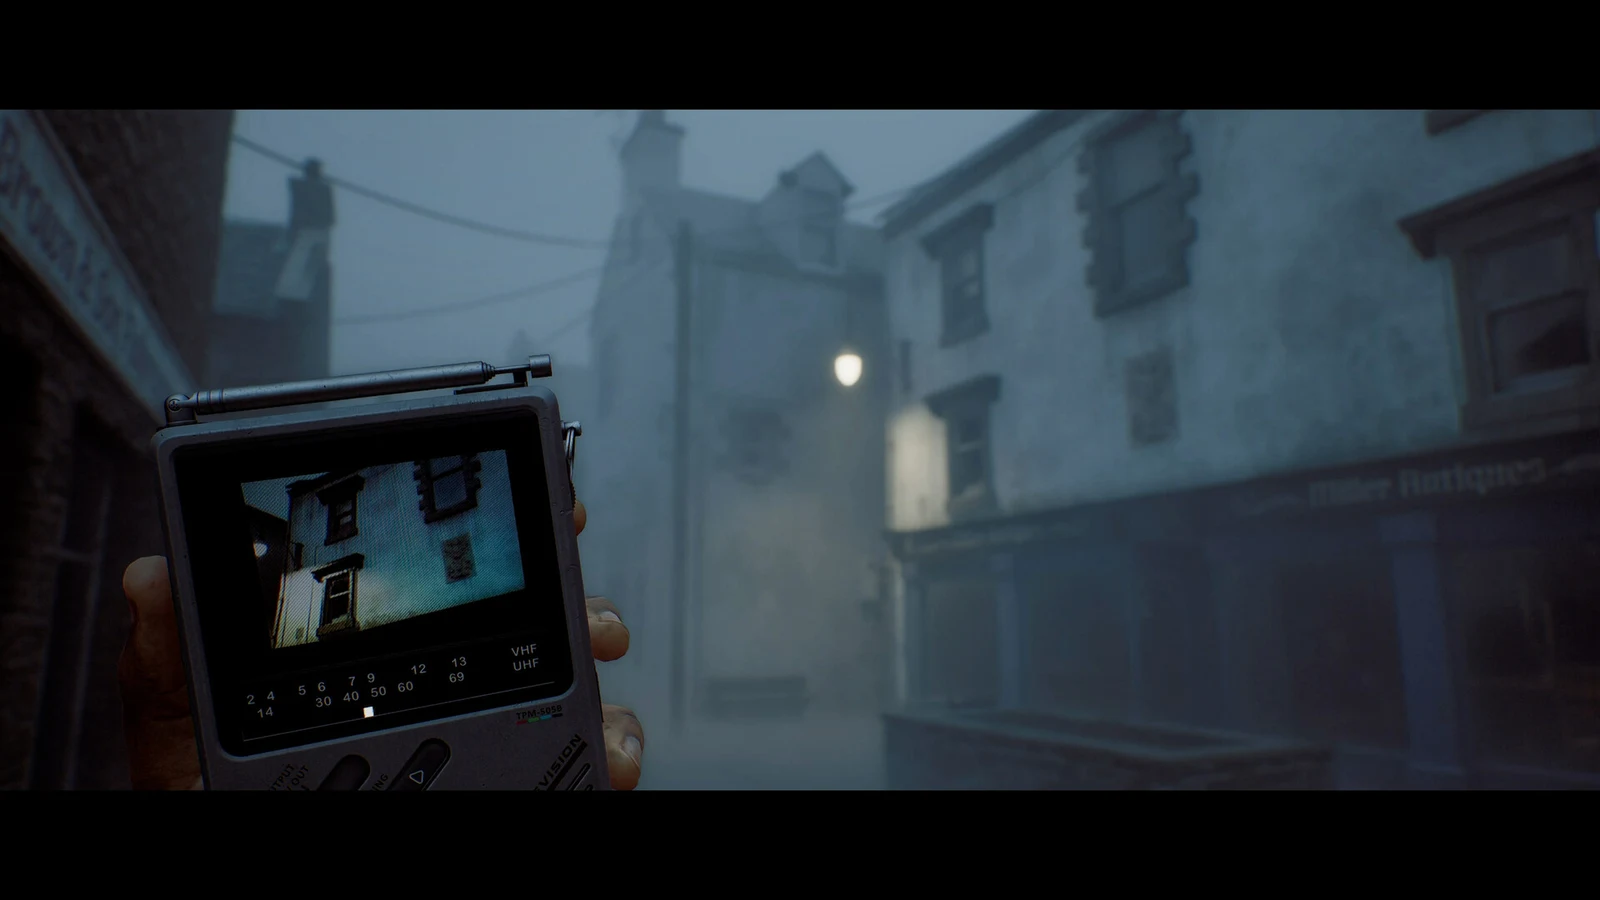
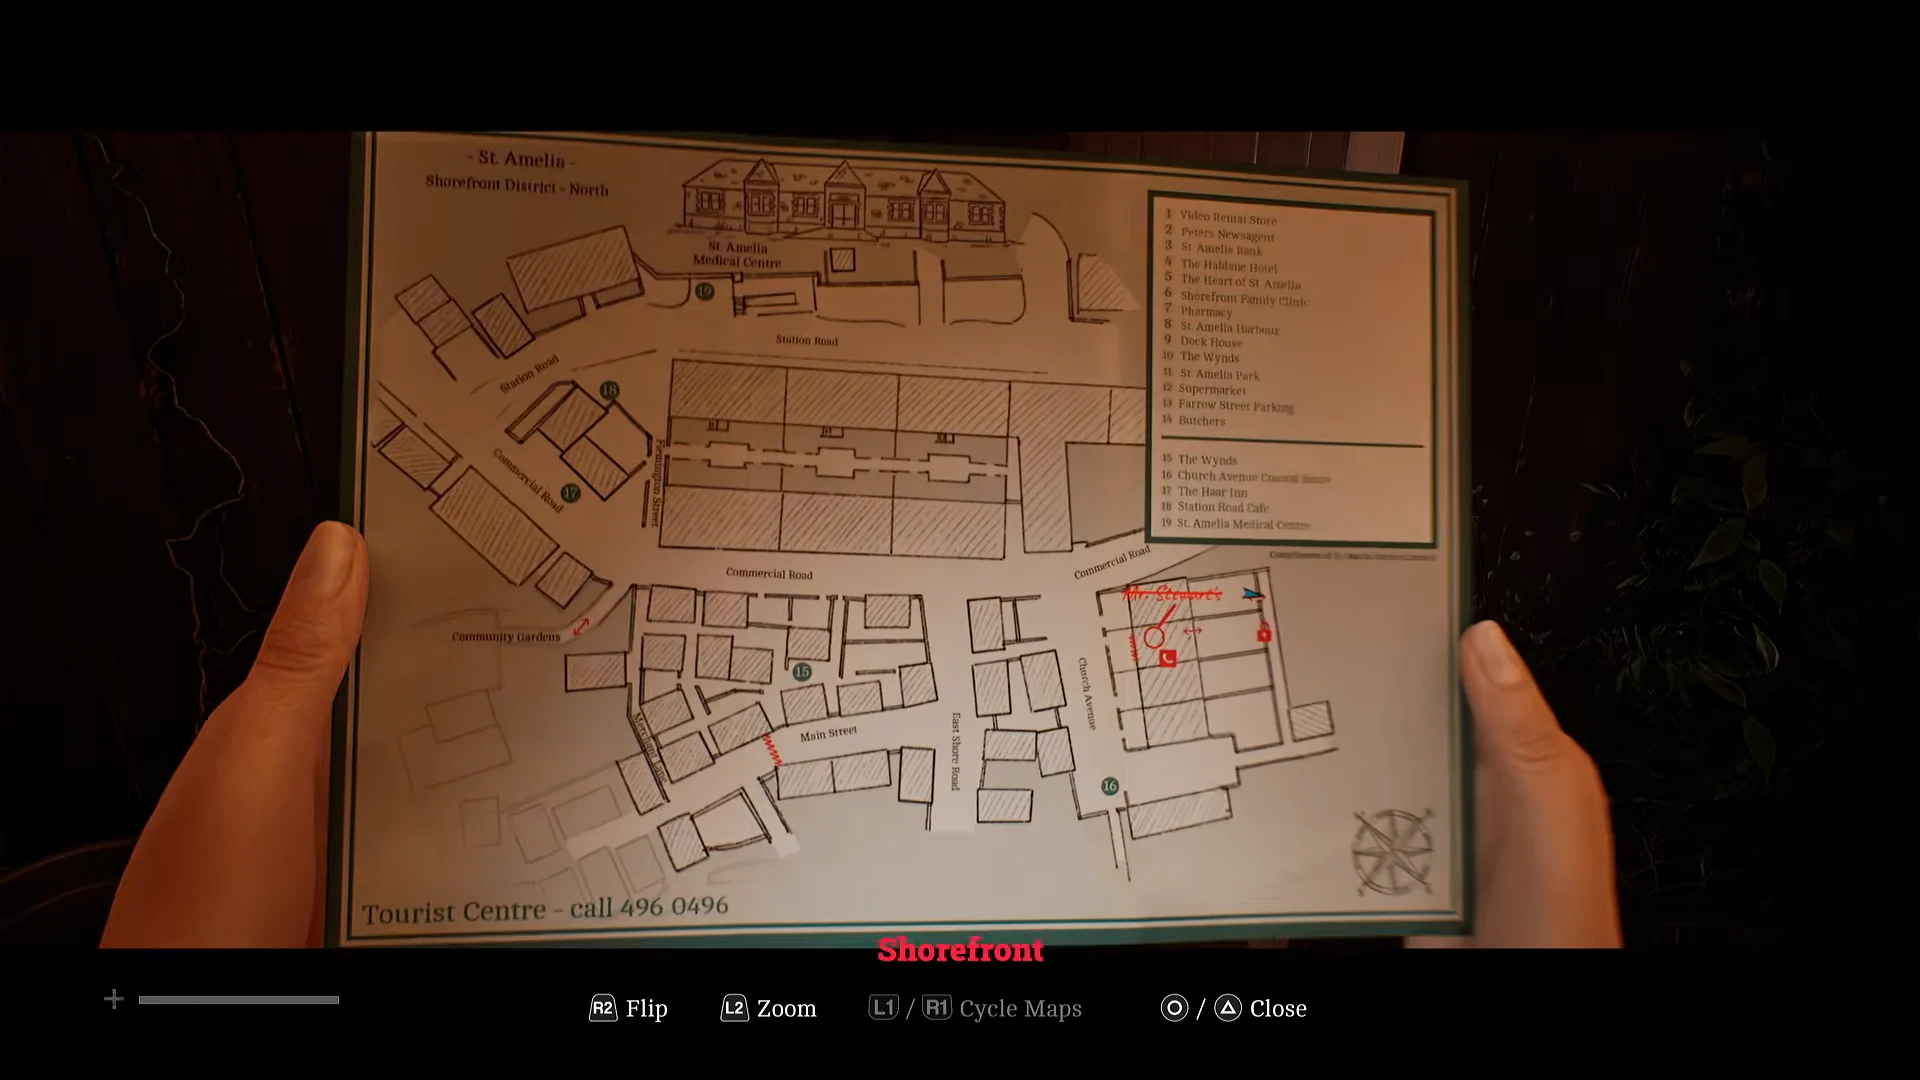
Zoe’s first real trek through the St. Amelie Shorefront District ends at a set of locked gates. The Medical Centre sits at the top-left corner of the Shorefront map, the streets between are crawling with monsters, and no amount of pulling on the gate will get you inside. The way in is a phone call.
Quick answer: Read the Medical Security Note on the guard booth beside the locked gate to get Dr. Glenn’s number, 496 0556, then call it from the nearby phone booth and answer 3, 2, 2, 1.
Leave the apartment with Mr Stewart’s Key
Cross the St. Amelie Shorefront District to the gates
Open the map as soon as you are outside. You are in the Shorefront District, and your objective marker sits in the north section, so keep working up and to the left through the alleys, fenced-off streets and rows of covered cars. Check the map often, because several routes dead-end and force you back around.
The monsters between you and the gates are not worth fighting. Bricks and bottles are scattered all over the streets, and a thrown one pulls an enemy away long enough for you to slip past.
- Equip a brick or bottle, aim with
L2, and throw withR2. - Throws deal small damage and can briefly stun or slow an enemy.
- Aim at a distant wall to lure enemies off your path instead of toward you.
- Crouch and stay out of sight; sprinting is louder than the noise you just made.
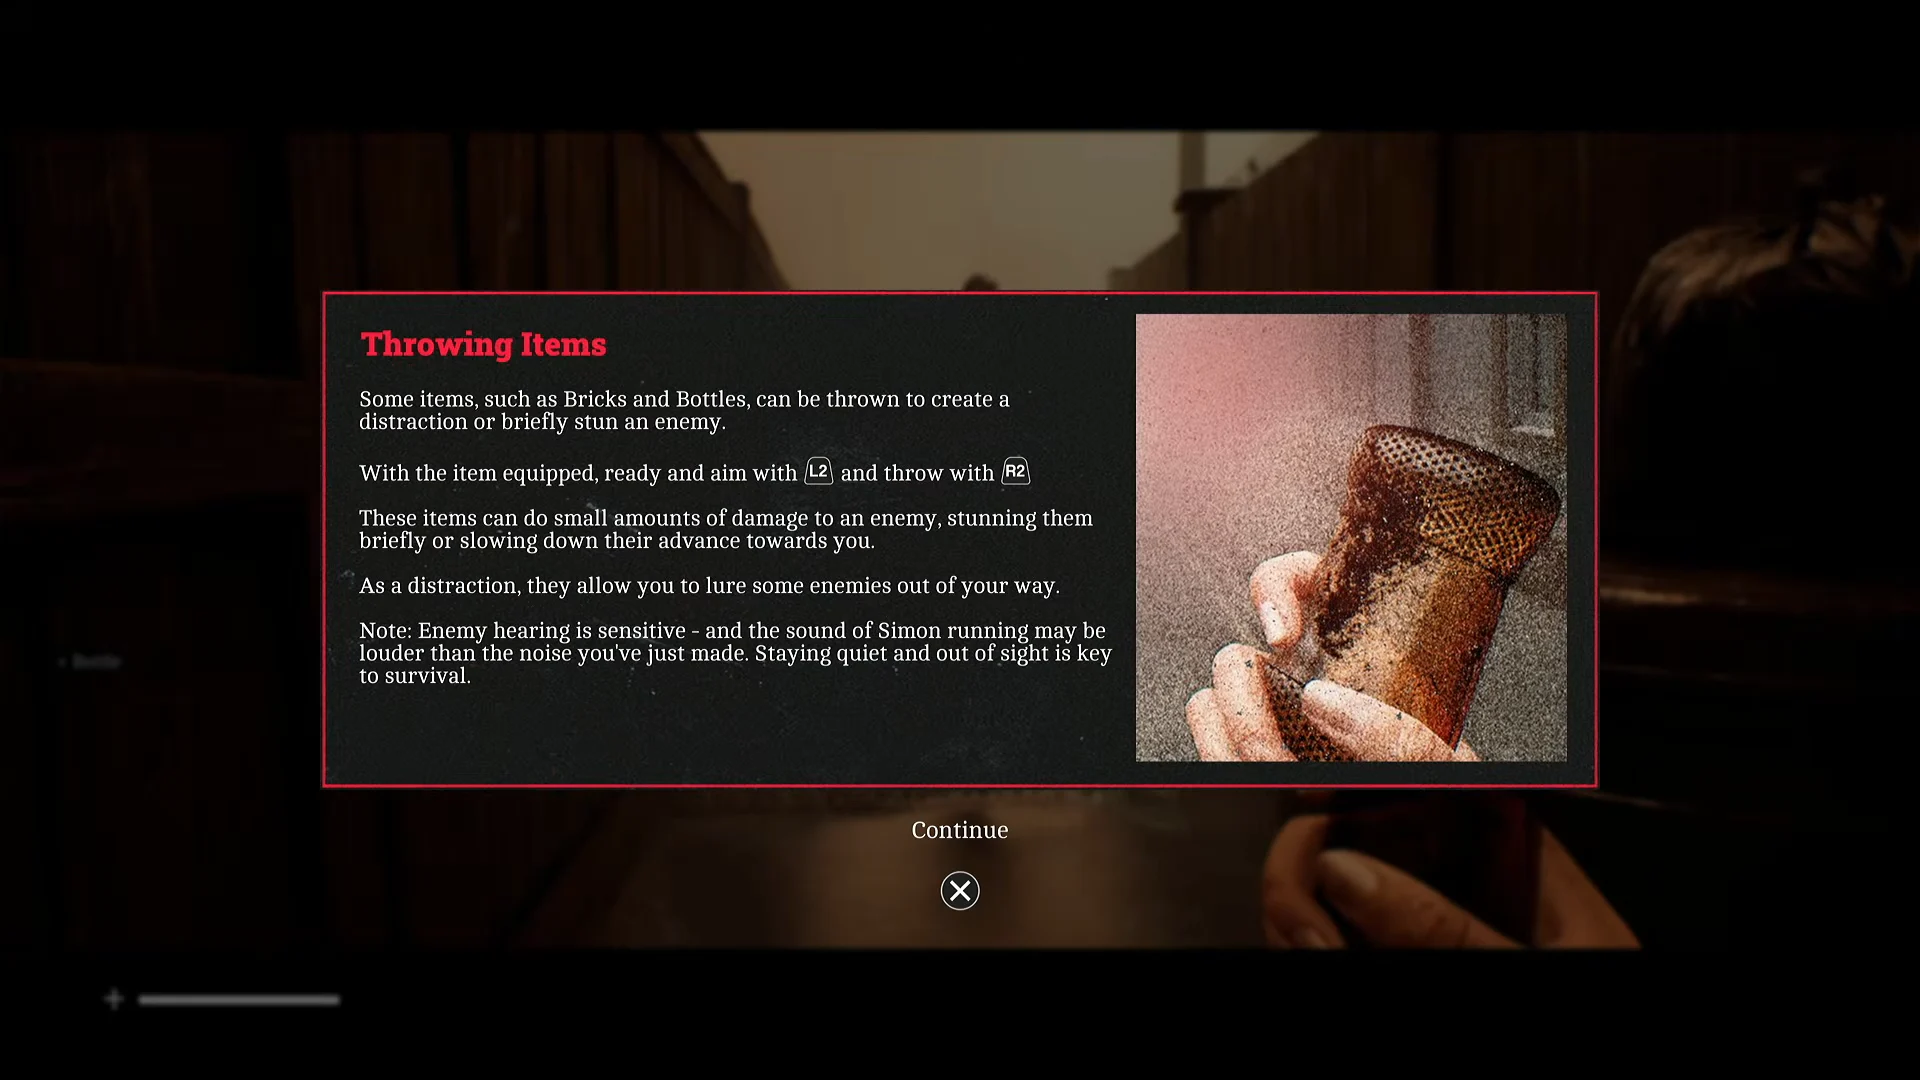
Pick up a spare bottle from the bus shelter near the gates. The stretch of street outside the Medical Centre is patrolled, and you will want something to throw while you read the note.
Read the Medical Security Note on the guard booth
The main gate is locked, so walk up to the guard booth window beside it. Posted on the glass is the Medical Security Note, signed by Dr. Glenn, the Medical Centre Chief. It states that the grounds are off-limits to the public, that all upcoming appointments are cancelled, and that staff who need access should contact him directly.
That direct line is 496 0556. Once you examine the note, a message confirms a new phone number has been added to your directory, and Dr. Glenn appears in your list of discovered numbers alongside entries like the Tourist Centre and Zoe Ellis. If the entry is not there, you have not actually read the note yet.
Call Dr. Glenn: All phone answers
Return along the street until you reach the red public telephone booth where Station Road meets Commercial Road. Go inside, pick up the receiver, key in 4960556, and press OK. An automated survey answers and presents four questions through the keypad.
| Prompt | Press |
|---|---|
| “If you are Zoe Ellis, please press three.” | 3 |
| “Please state your role within the St. Amelia Health Service.” | 2 |
| When you reach the Stewart Residence, what condition is your patient in? | 2 |
| “Who is to blame for the death of Mr. Stewart?” | 1 |
The second input confirms Zoe’s role as a nurse, the third reports that the patient died from neglect, and the last one takes the blame for his death. Answer all four in that order and the call rolls into a cutscene of Zoe listening to Dr. Glenn’s response.
Get through the open gates and reach Accident & Emergency
The cutscene is your confirmation that it worked. The Medical Centre gates unlock, and the time of day flips from afternoon to night, which puts noticeably more monsters on the street. Stick to the right-hand path on your way back and then run for the gate rather than trying to sneak the whole way.
Where to pick up the Medical Centre maps
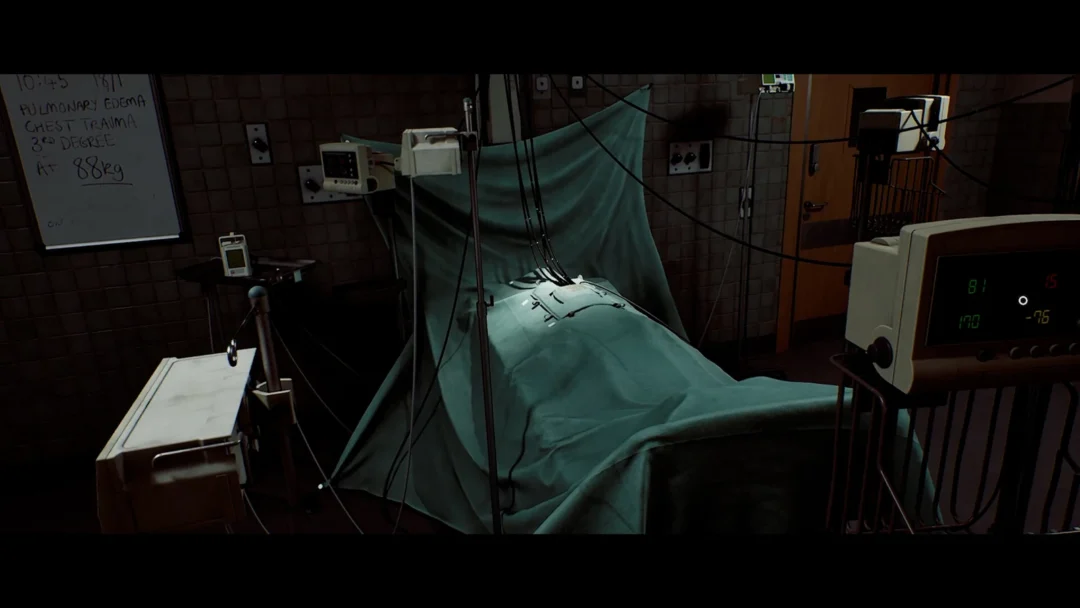
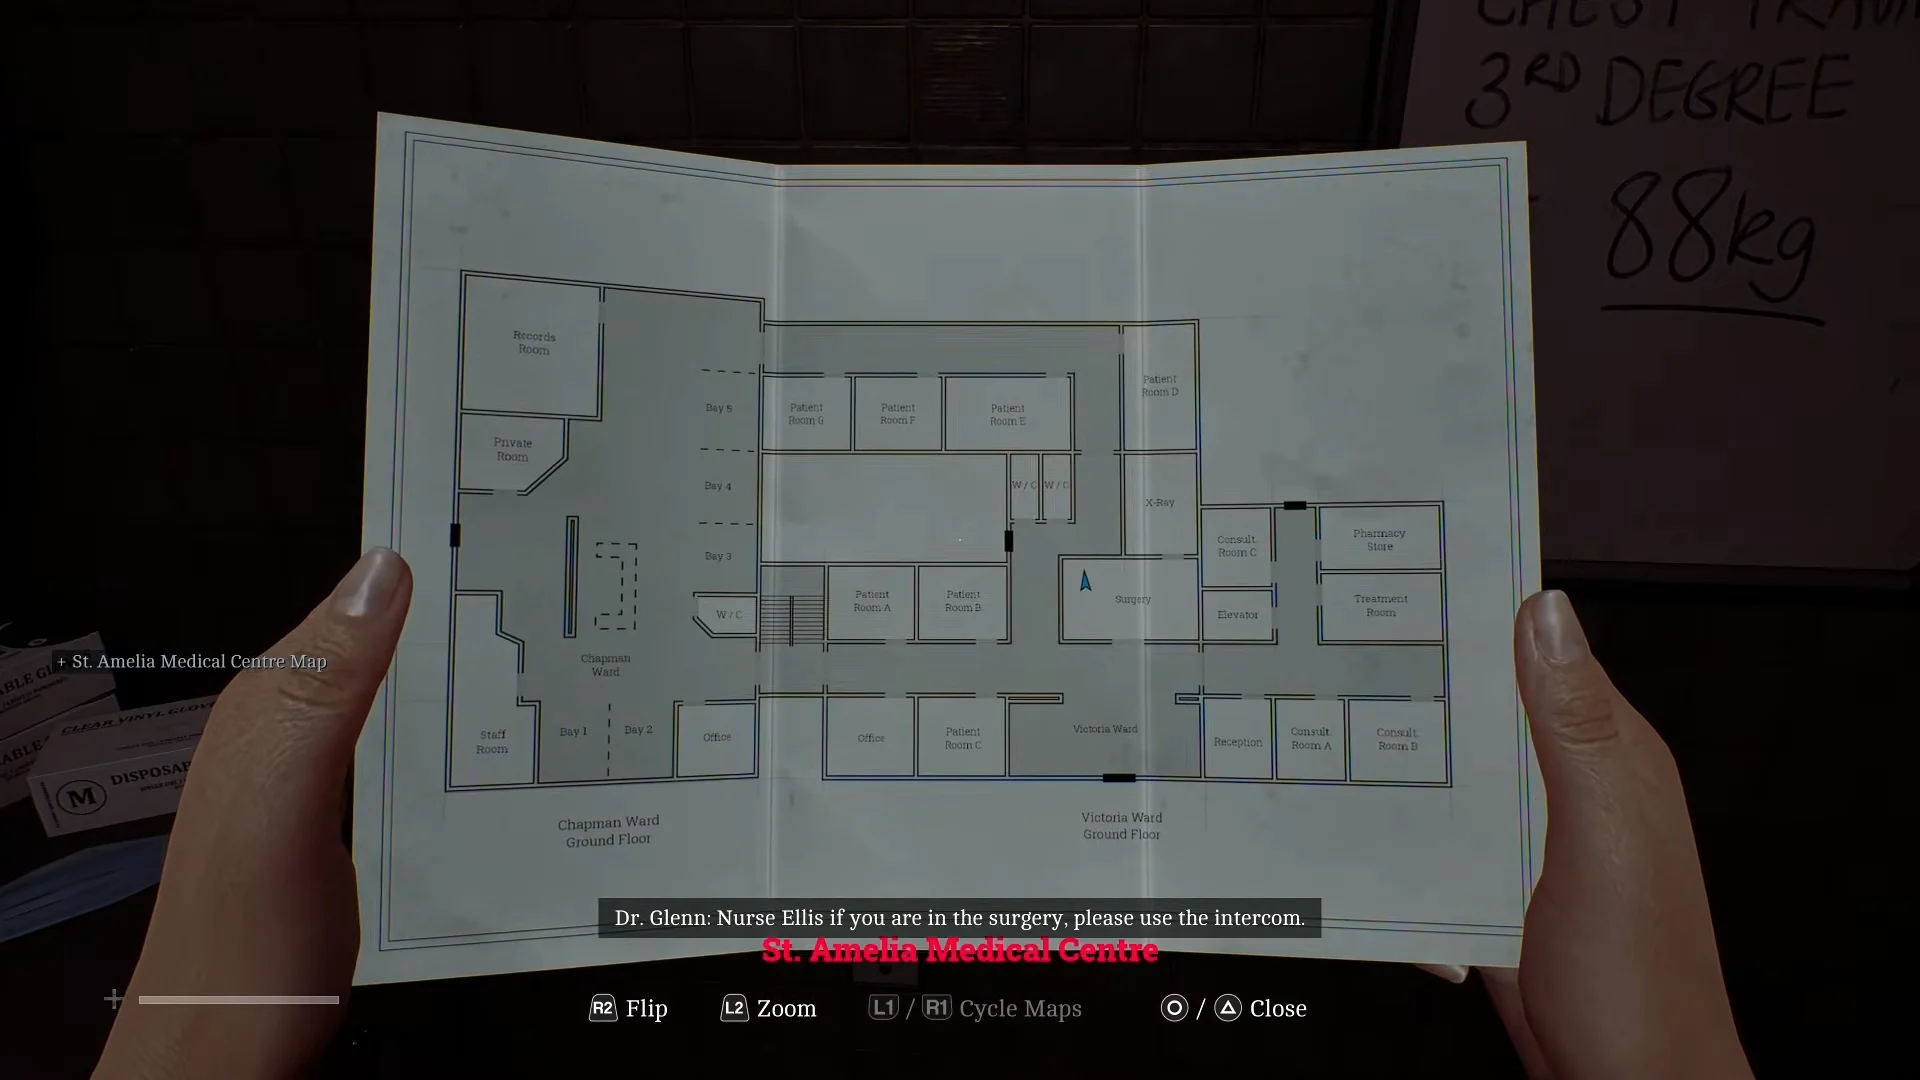
You do not start The Patient chapter with a floor plan. Zoe takes control inside the operating room, and the St. Amelia Medical Centre map is on the wall next to the whiteboard, collected with the Collect prompt while Dr. Glenn talks over the intercom. It opens with the patient’s room already marked.
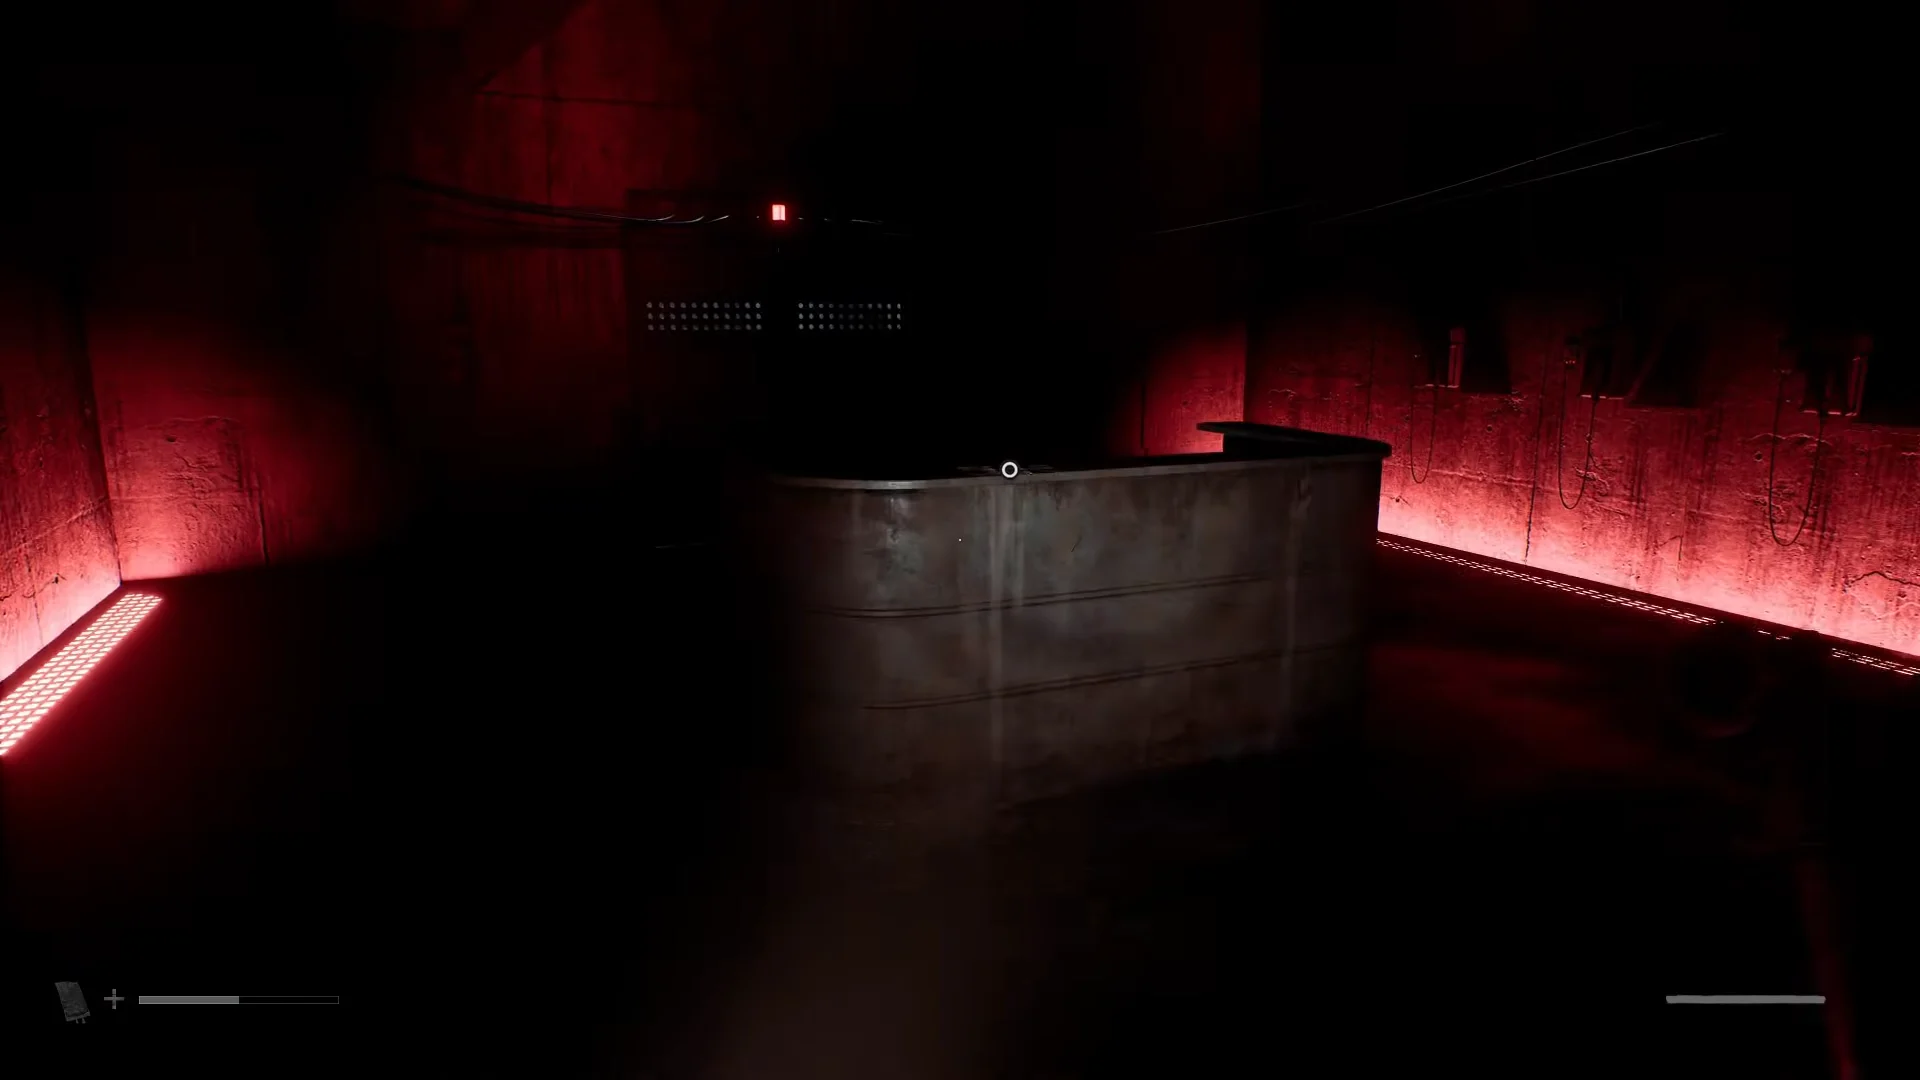
The Otherworld version of the building has its own map. Playing as Simon, crawl out of the vent, pass through the tiled bathroom and follow the narrow corridor to the red-lit room with the curved reception counter and barred security gates.
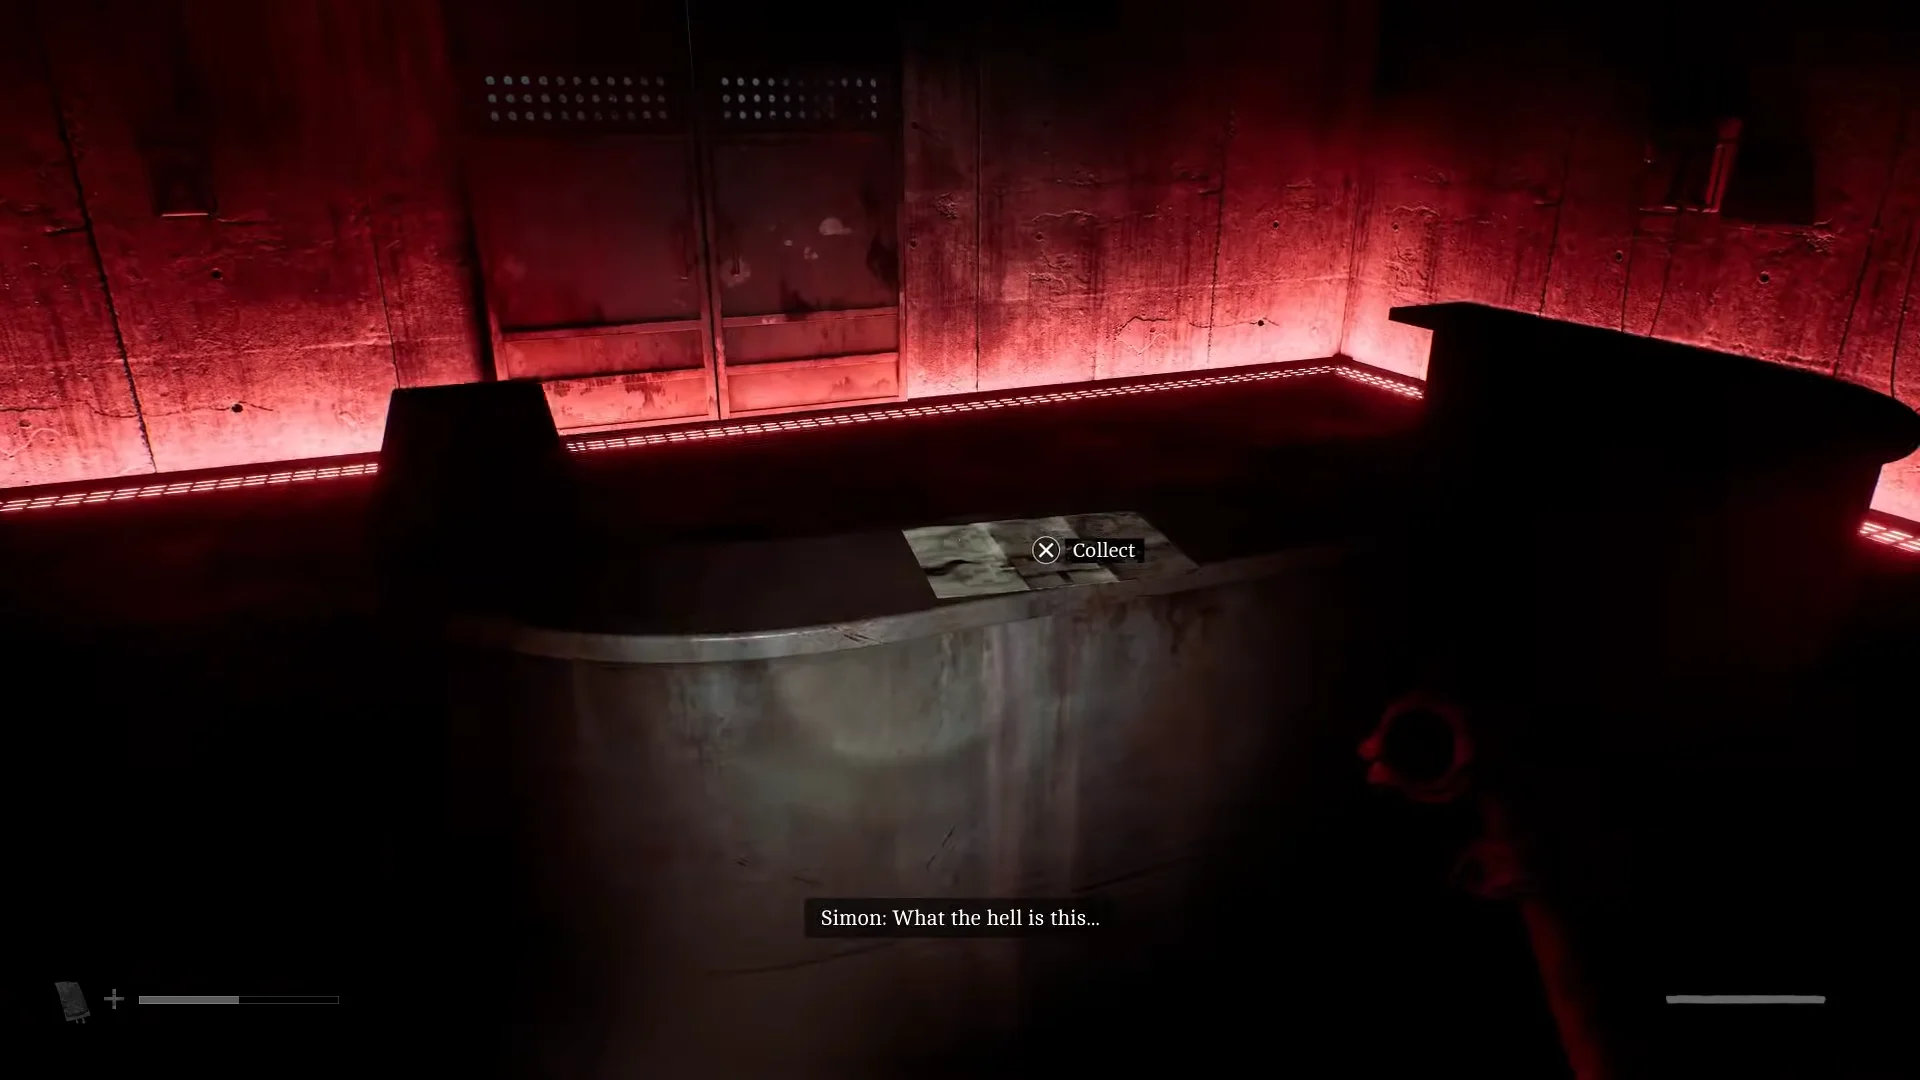
A document is sitting on the counter with a Collect prompt over it. That is the map titled Medical Centre – Different, and it shows the floor layout along with a marked Blood Transfusion room, which is where that stretch of the level is headed.
Grab both maps as soon as you can. Neither building marks every route you need, and the Otherworld floors in particular are far easier to read once the layout is in your inventory.