Earn Pinpoint Inaccuracy with one precise shot from a difficult-to-handle weapon. In Chapter 10: Missing Parts, go to Clara Woods and fire the Flare Gun at an enemy’s head from a distance greater than 10 meters. The gun’s sway makes aiming awkward, and it holds only one round.
Quick answer: Open locker 075 (PIN 184) in the CEG Employee Lockers building to collect the Flare Gun, save the game, then aim up at the enemy on the courtyard walkway and fire a headshot from over 10 meters.
Trophy requirements in Silent Hill: Townfall
Everything for this trophy happens in one spot, so there is no backtracking across chapters. You do need the Flare Gun in hand and enough space to stand back from your target.
- Go to Clara Woods during Chapter 10: Missing Parts.
- The Flare Gun, collected from locker 075 in the CEG Employee Lockers building.
- At least one Flare Cartridge loaded, since the gun fires one round at a time.
- A save made just before the shot, because the aim sways.
How to get the Flare Gun in Chapter 10
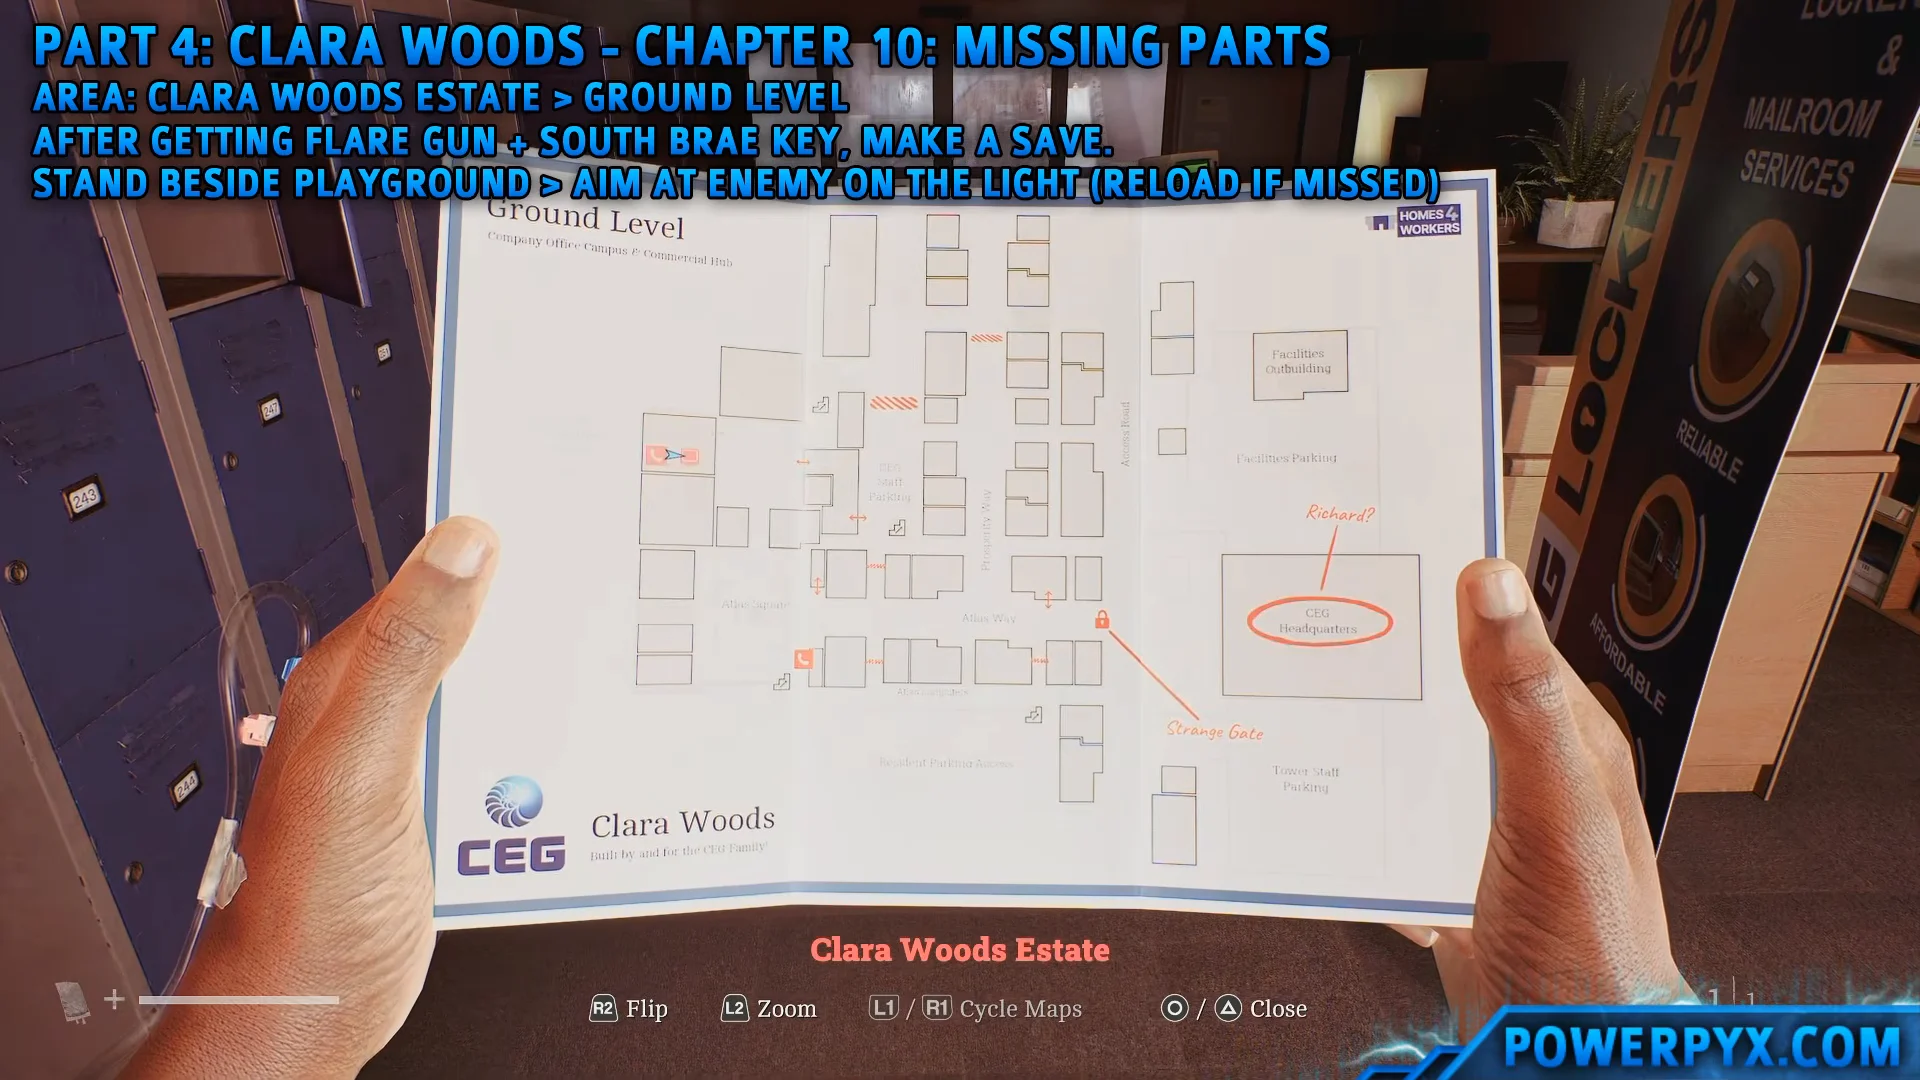
The Flare Gun sits inside a locked locker at the CEG Employee Lockers building on the Ground Level of the Company Offices Campus. You retrieve a rental slip, scan it for the PIN, then open the locker.
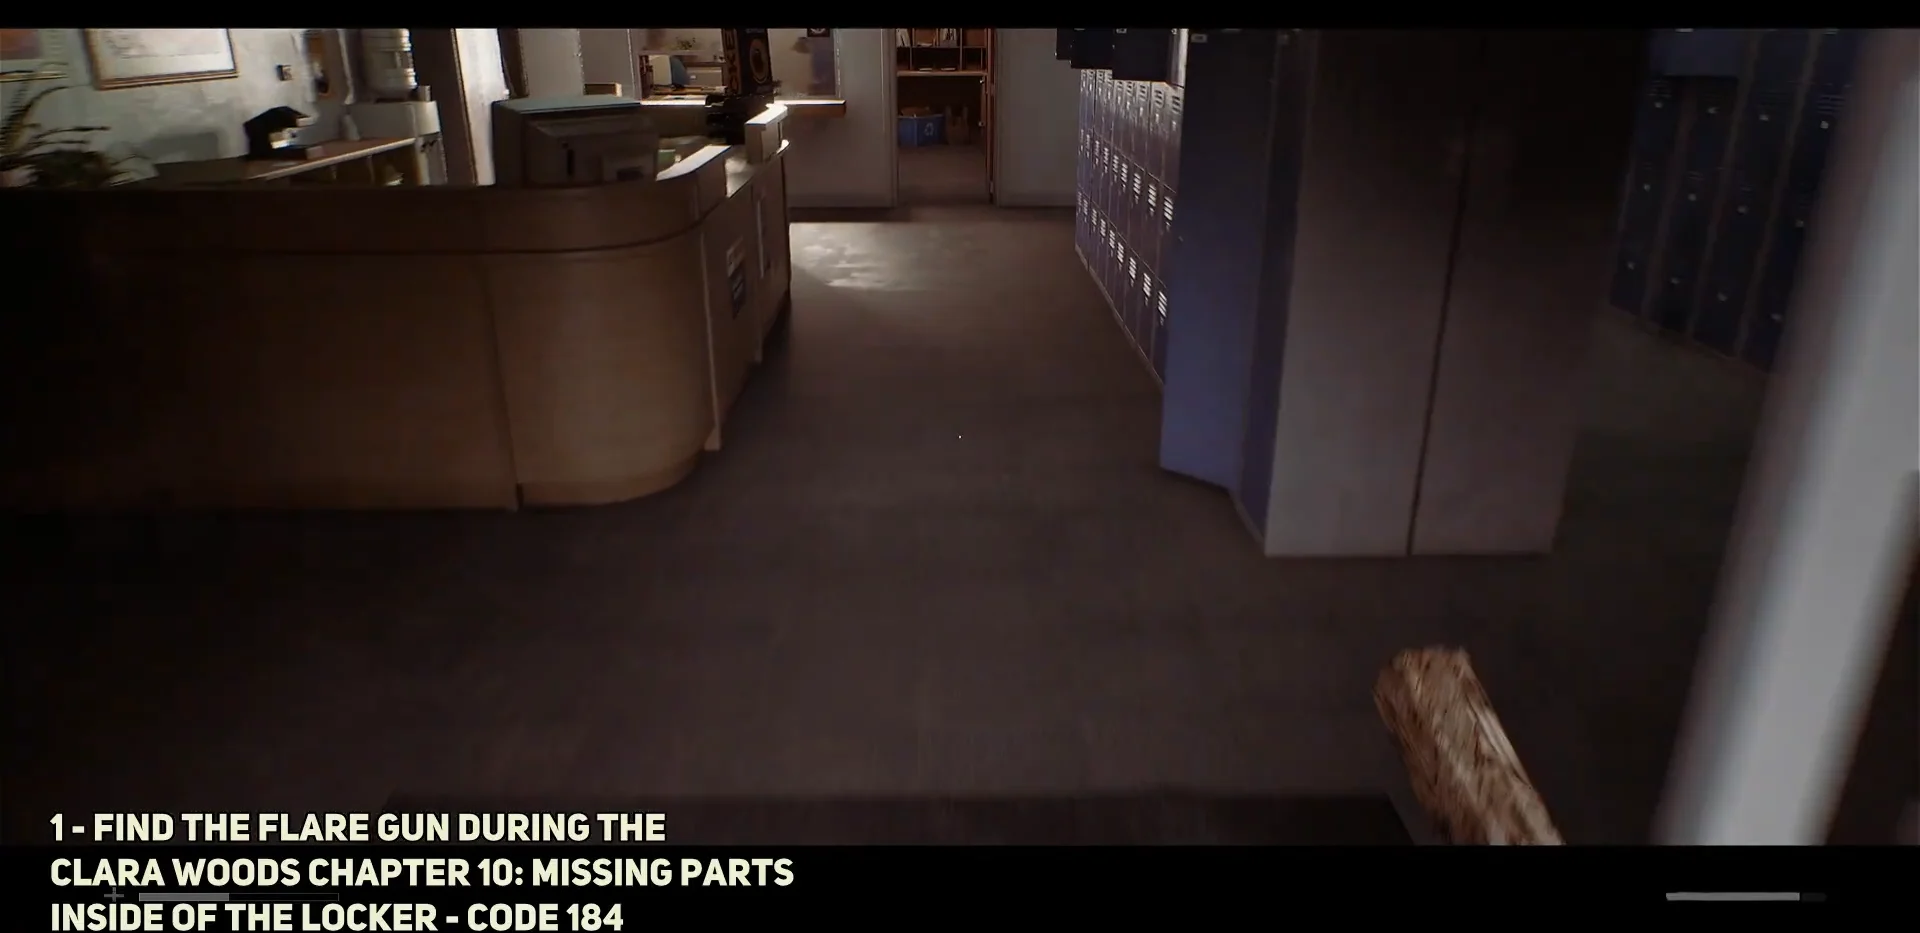
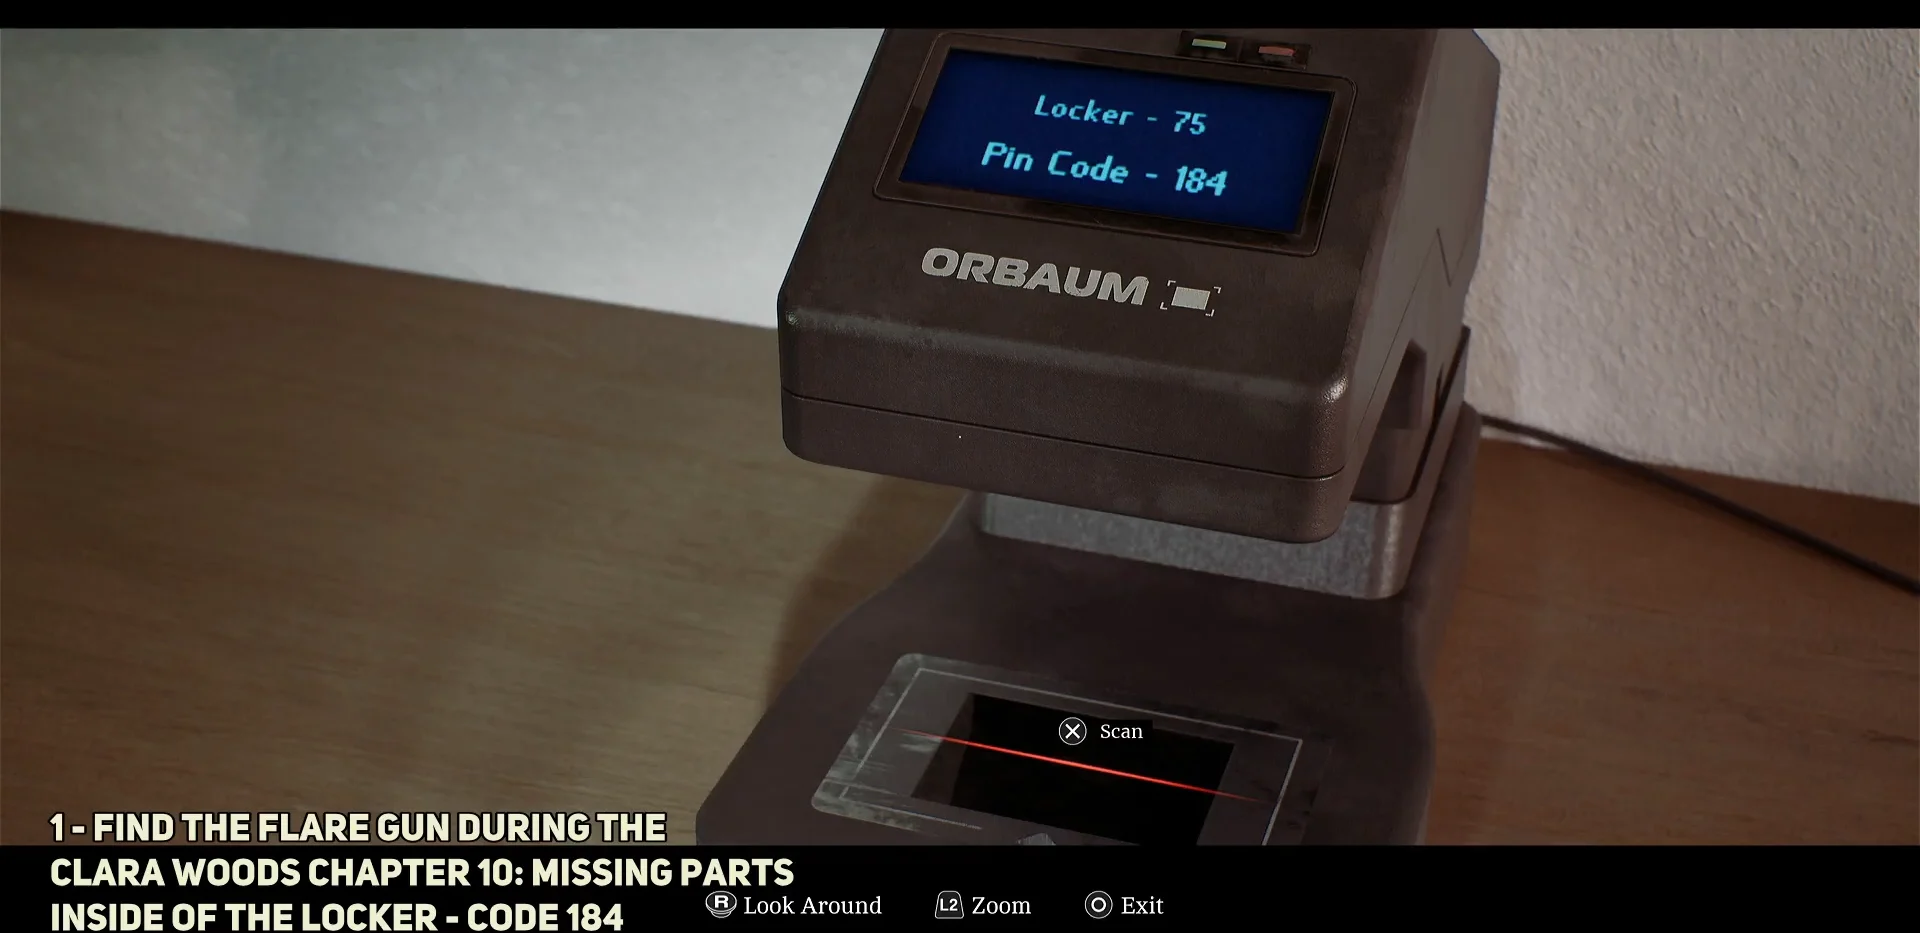
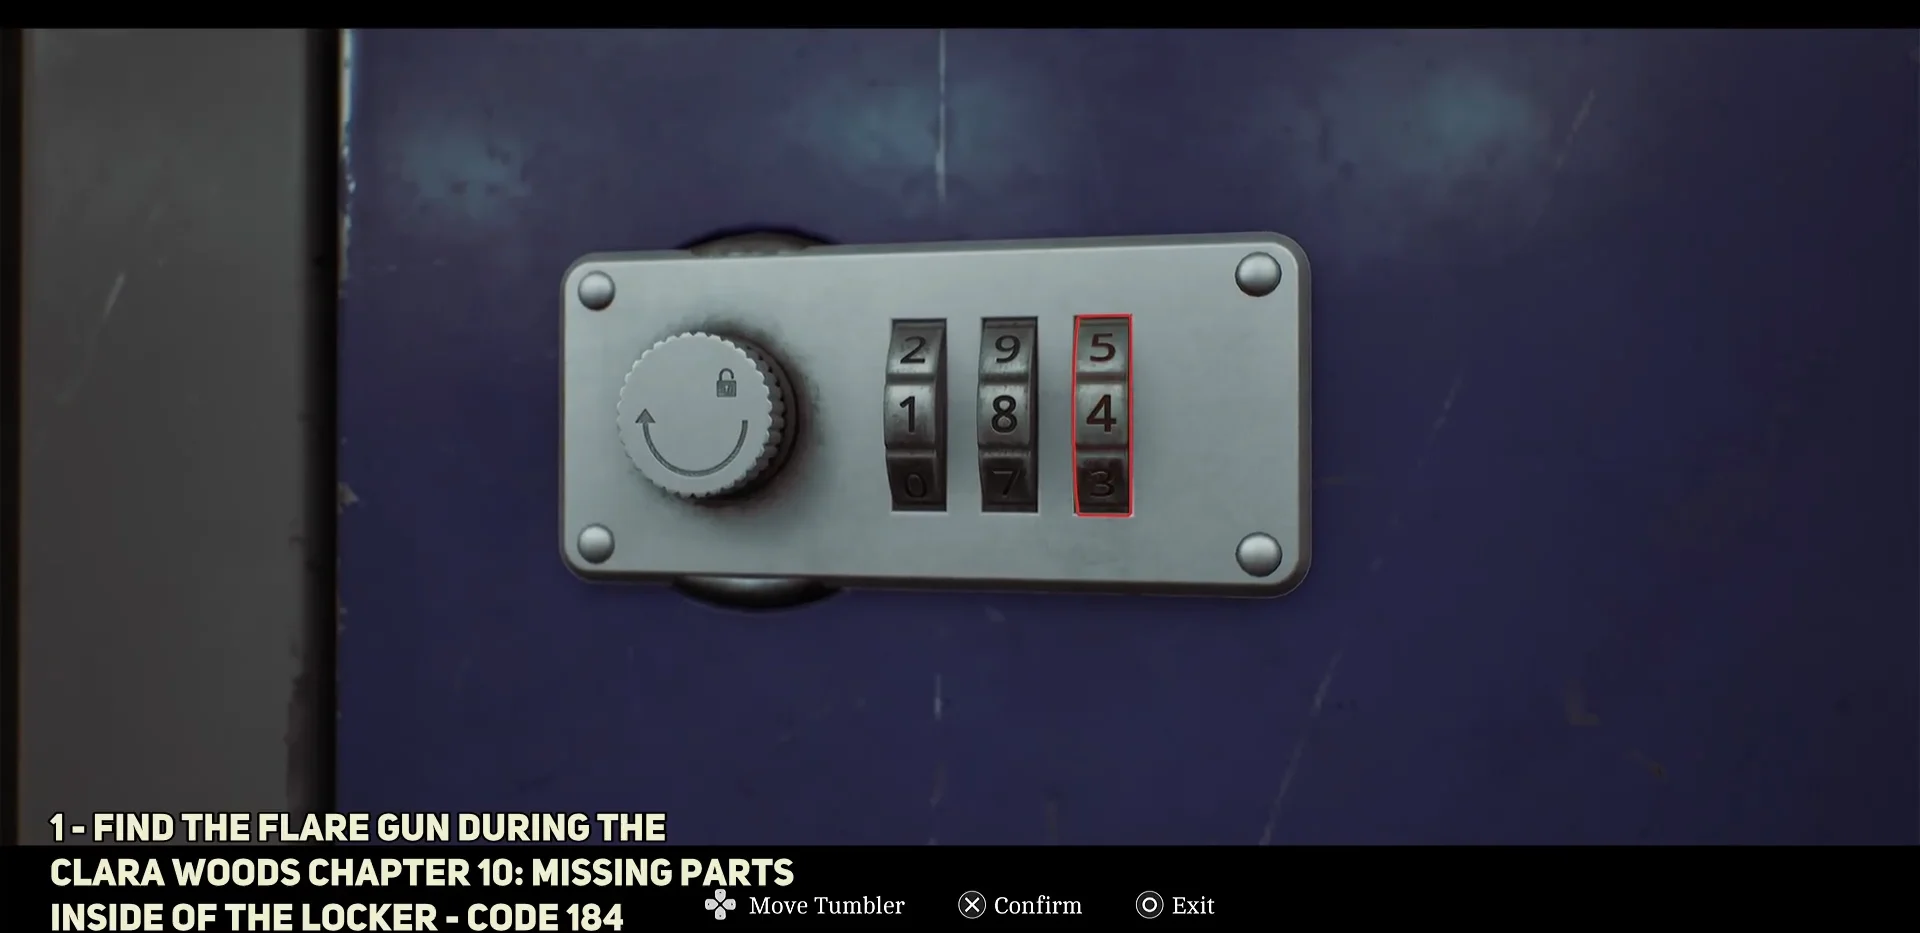
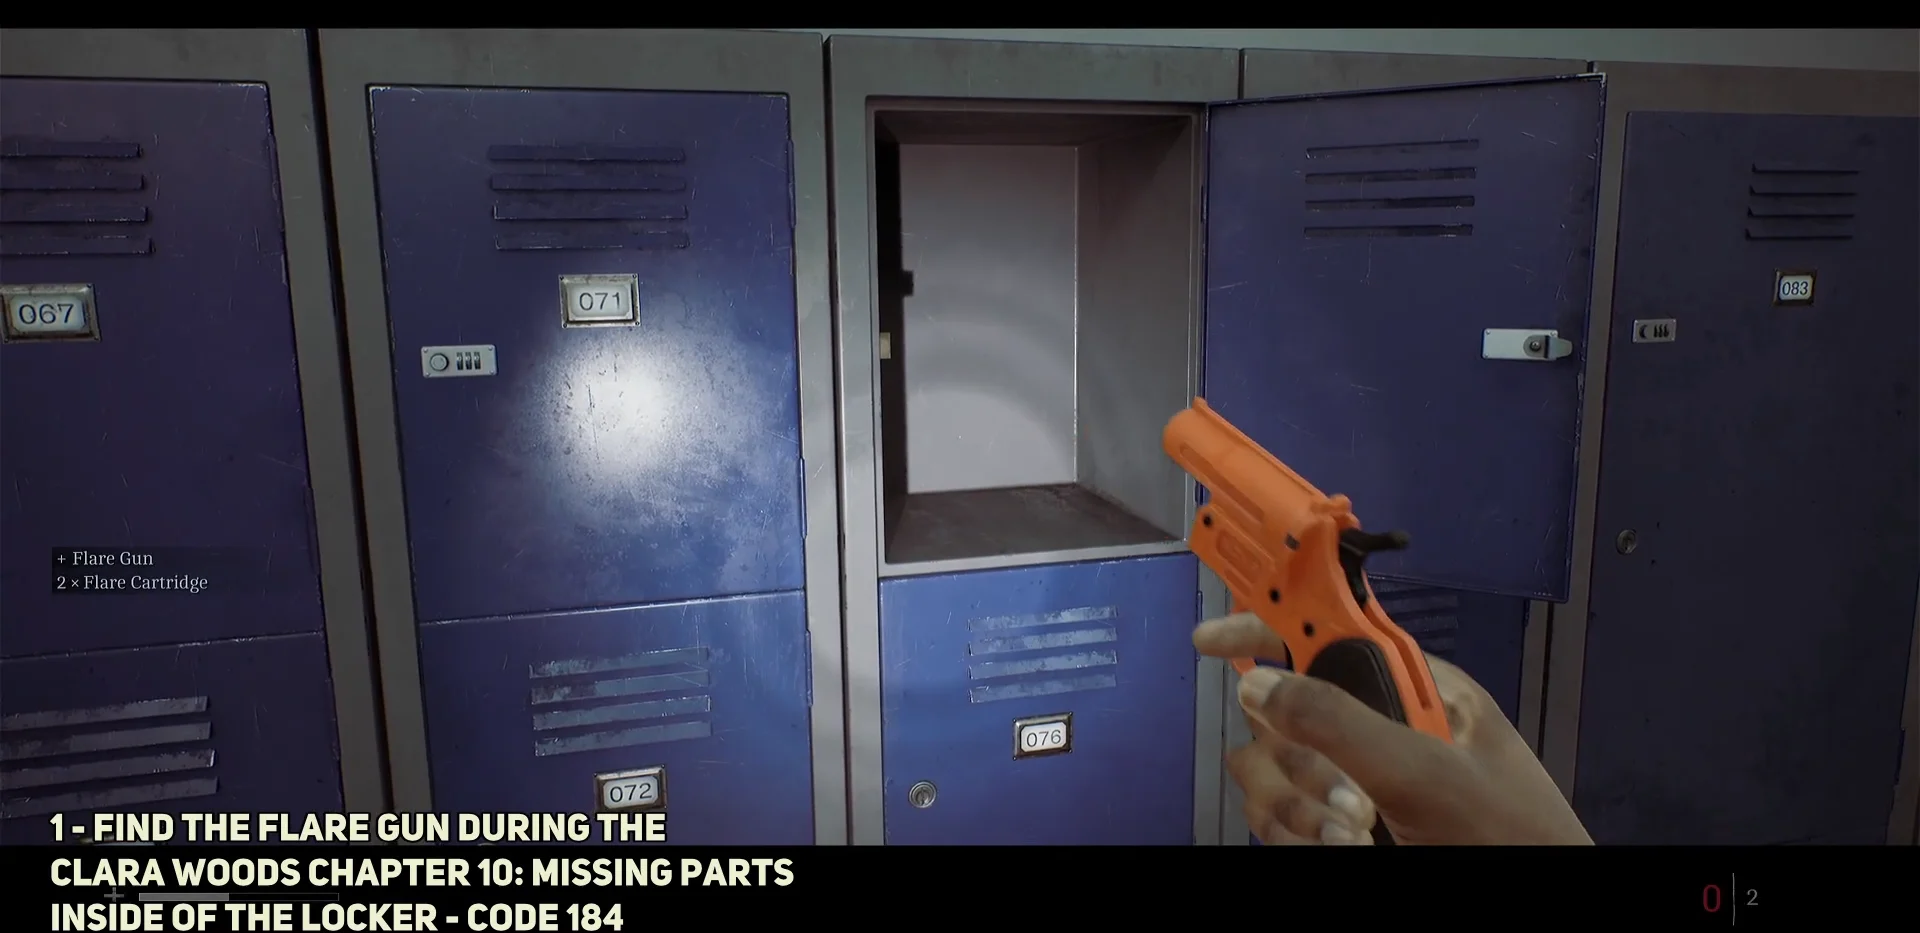
The Flare Gun aims with L2 and fires with R2, the same as the pistol, and reloads with Square. It only chambers one round at a time and its rounds follow an erratic path, so treat each shot as a one-off attempt.
How to land the 10-meter headshot
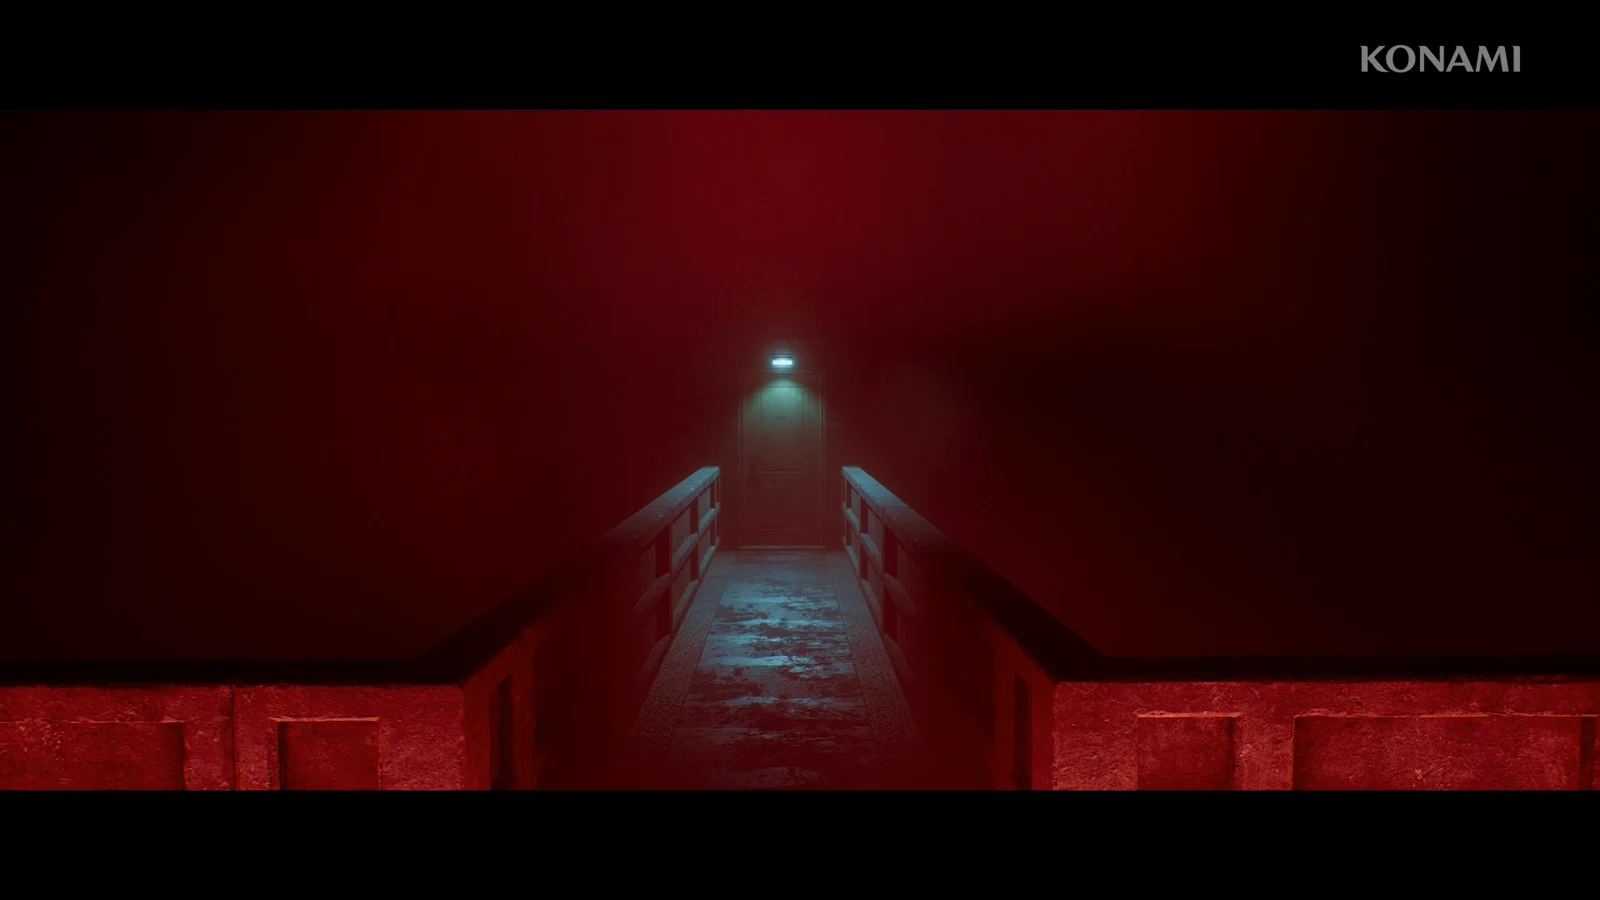
With the Flare Gun equipped, step out into the misty courtyard that holds the children’s slide. An enemy is positioned overhead on the rooftop walkway, which gives you a clear target to aim up at from a distance.
The Flare Gun’s erratic trajectory means a shot can miss even when your aim looks correct. Saving first lets you reload and retry without losing progress.
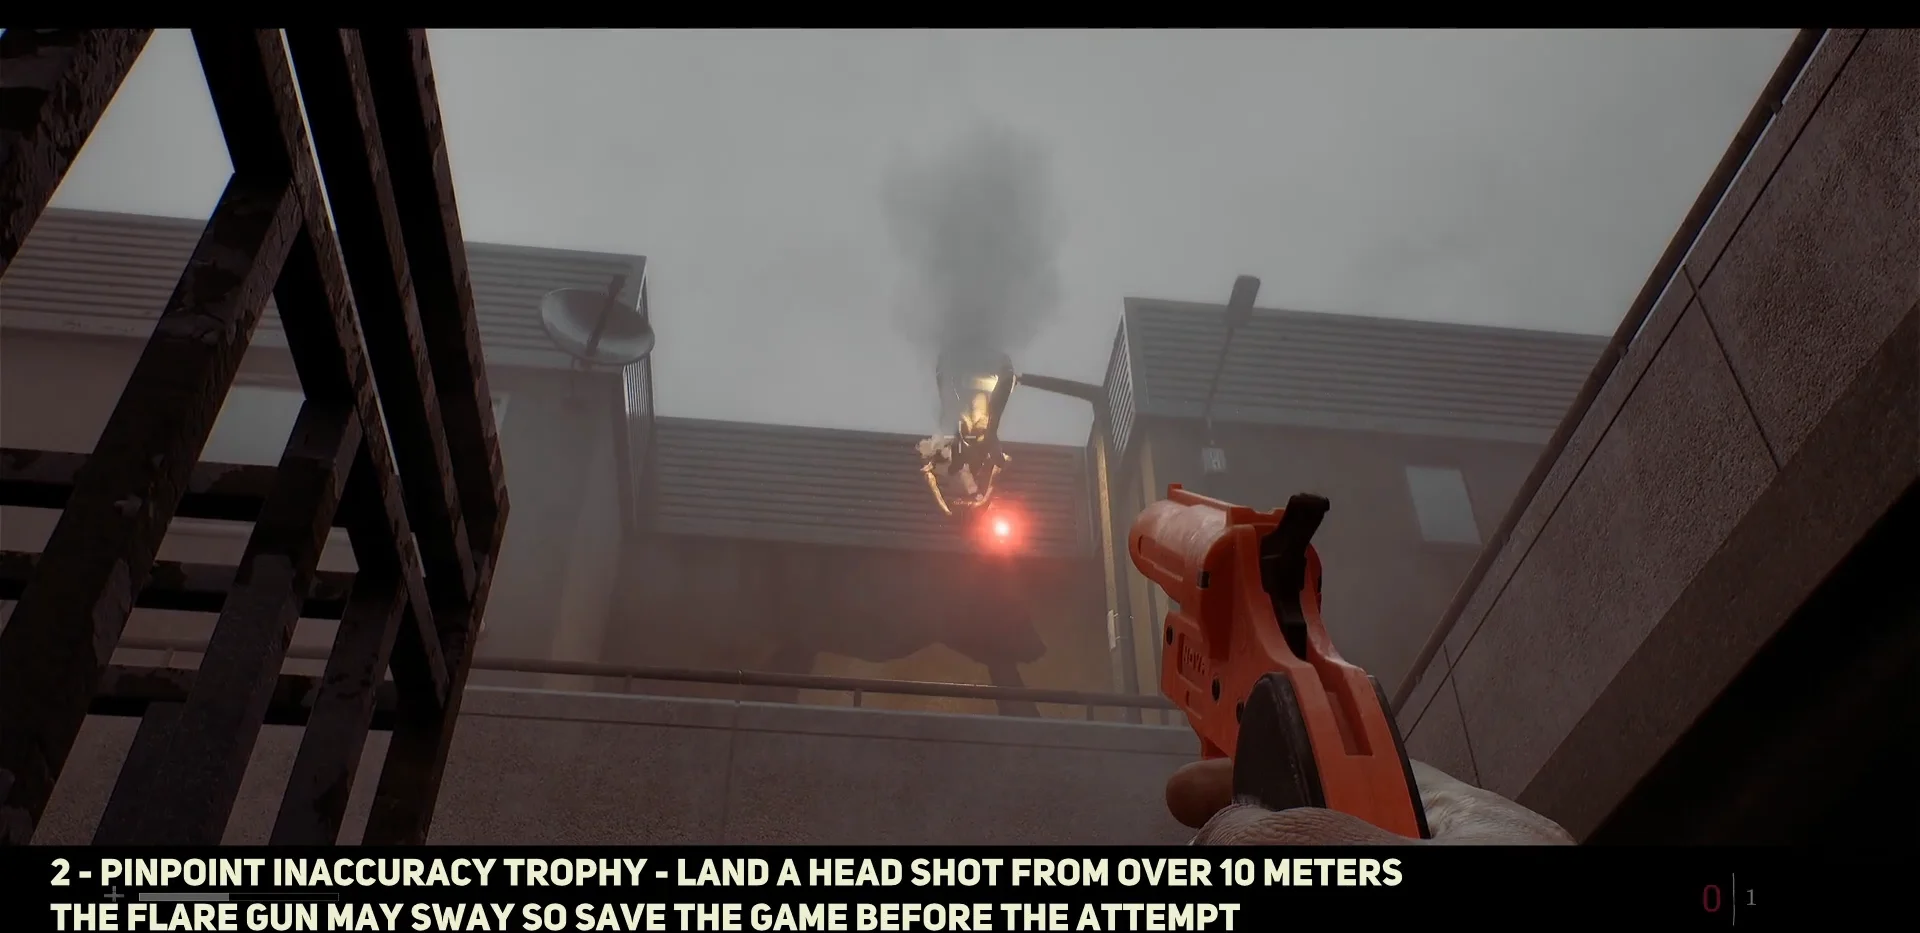
If you miss, reload with Square and fire again, or reload your save and reposition. Any enemy counts for the requirement, so a crawling creature elsewhere on the misty street works too as long as it is alive and standing over 10 meters away when the flare connects with its head.
How to confirm the trophy unlocked
When the flare lands as a headshot from the required distance, the on-screen notification reading “Pinpoint Inaccuracy / Trophy earned!” appears immediately after the enemy goes down. If it does not pop, the shot either missed the head or was taken too close, so back up further and try again from a saved point. Pinpoint Inaccuracy is one of the rarer trophies in the game, so nailing this single flare shot in Chapter 10 clears a notable box on the list.