

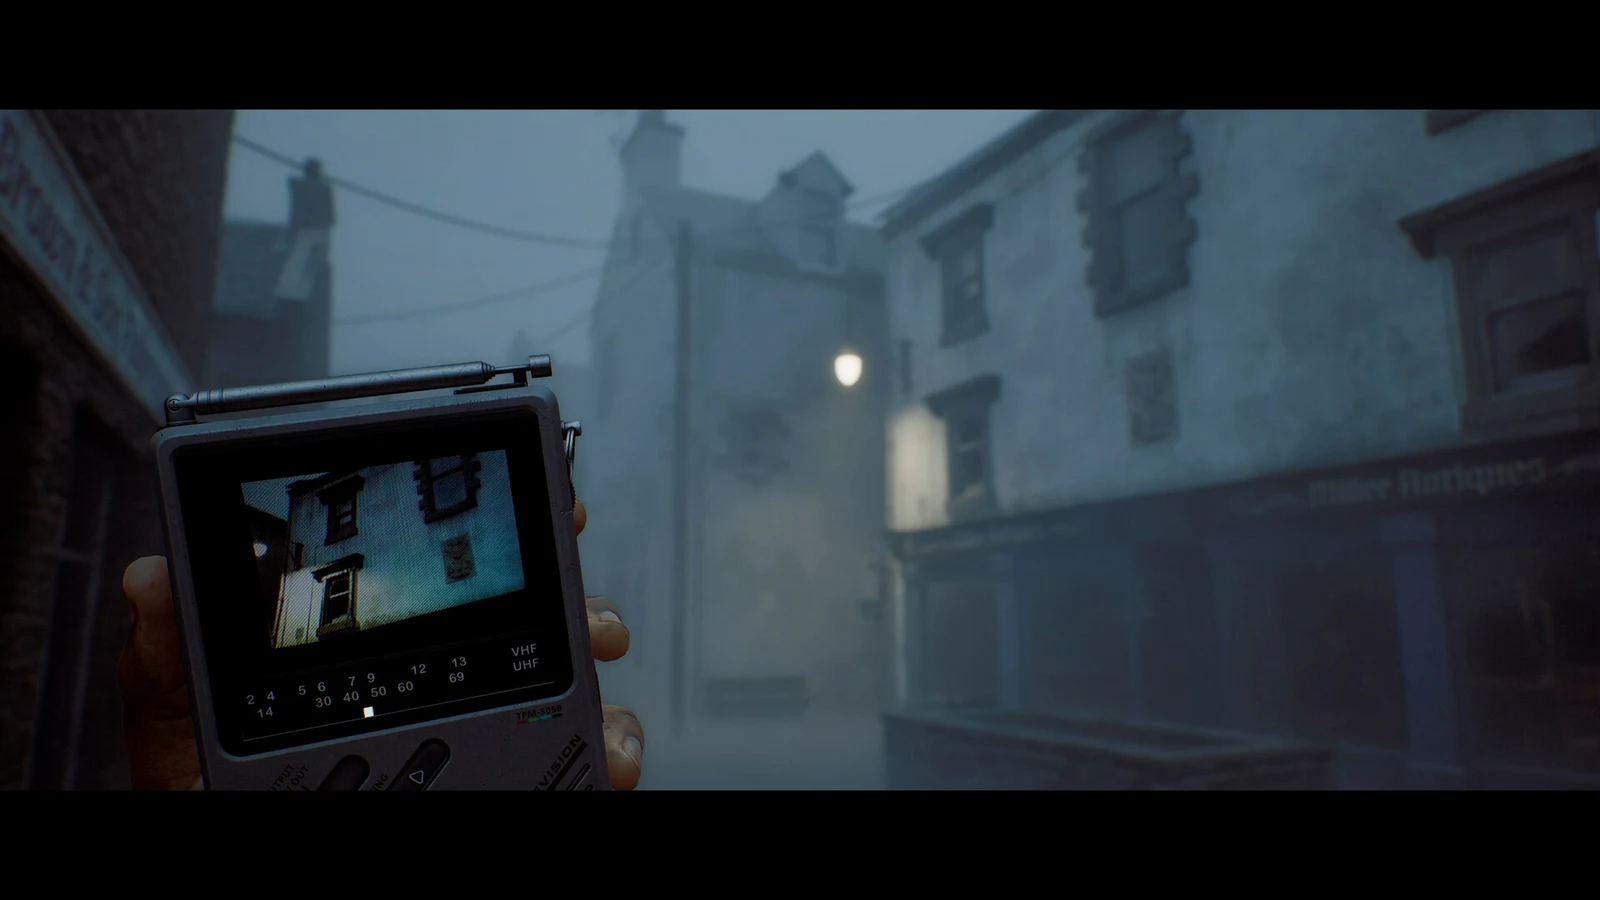
Arrival is much longer than a standard opening chapter. Simon Ordell’s first moments are spent waking on a pier beyond St. Amelia with an IV still attached to his arm; the chapter finishes in a clinic examination room, where three objects rest on scales. Along the way, you visit a hotel nightmare, a powerless house, a poster-covered pharmacy, and a paperwork-heavy district. Nearly every Part 1 collectible sits behind one of four locks, making code hunting and item collection inseparable.
Quick answer: Part 1 holds 23 Clues and Documents, four Strange Postcards, and three phone numbers. Sweep the harbour first, then clear Zoe’s House, the clinic, the pharmacy, and Jess’s House before touching the scales.
Every code and phone number in Part 1: Arrival
The chapter’s four locks must be handled in a set sequence. Finding their answers ahead of time will not bypass the objectives, since the game generally leaves each puzzle inaccessible until you obtain its required items.
| Lock | Location | Solution |
|---|---|---|
| Calendar door wheels | Hotel room 204 (Elsewhere) | 18 / January / 1996 |
| Organ transport container | Zoe’s House kitchen | Left 956, right 133 |
| Power panel | Zoe’s House crawlspace | Power Card, Button A, Button B, main switch |
| Rusty locker | Pharmacy back room (7) | 6539 |
The payphone keypad is a collectible category of its own. A Local Services flyer sits to the right of the first handset in the town square, and all three numbers on it count.
- 900 — Emergency Services
- 010 — Operator
- 100 — Save Yourself, allowing a game save from any phone in St. Amelia
Pier and harbour front documents before the red fog
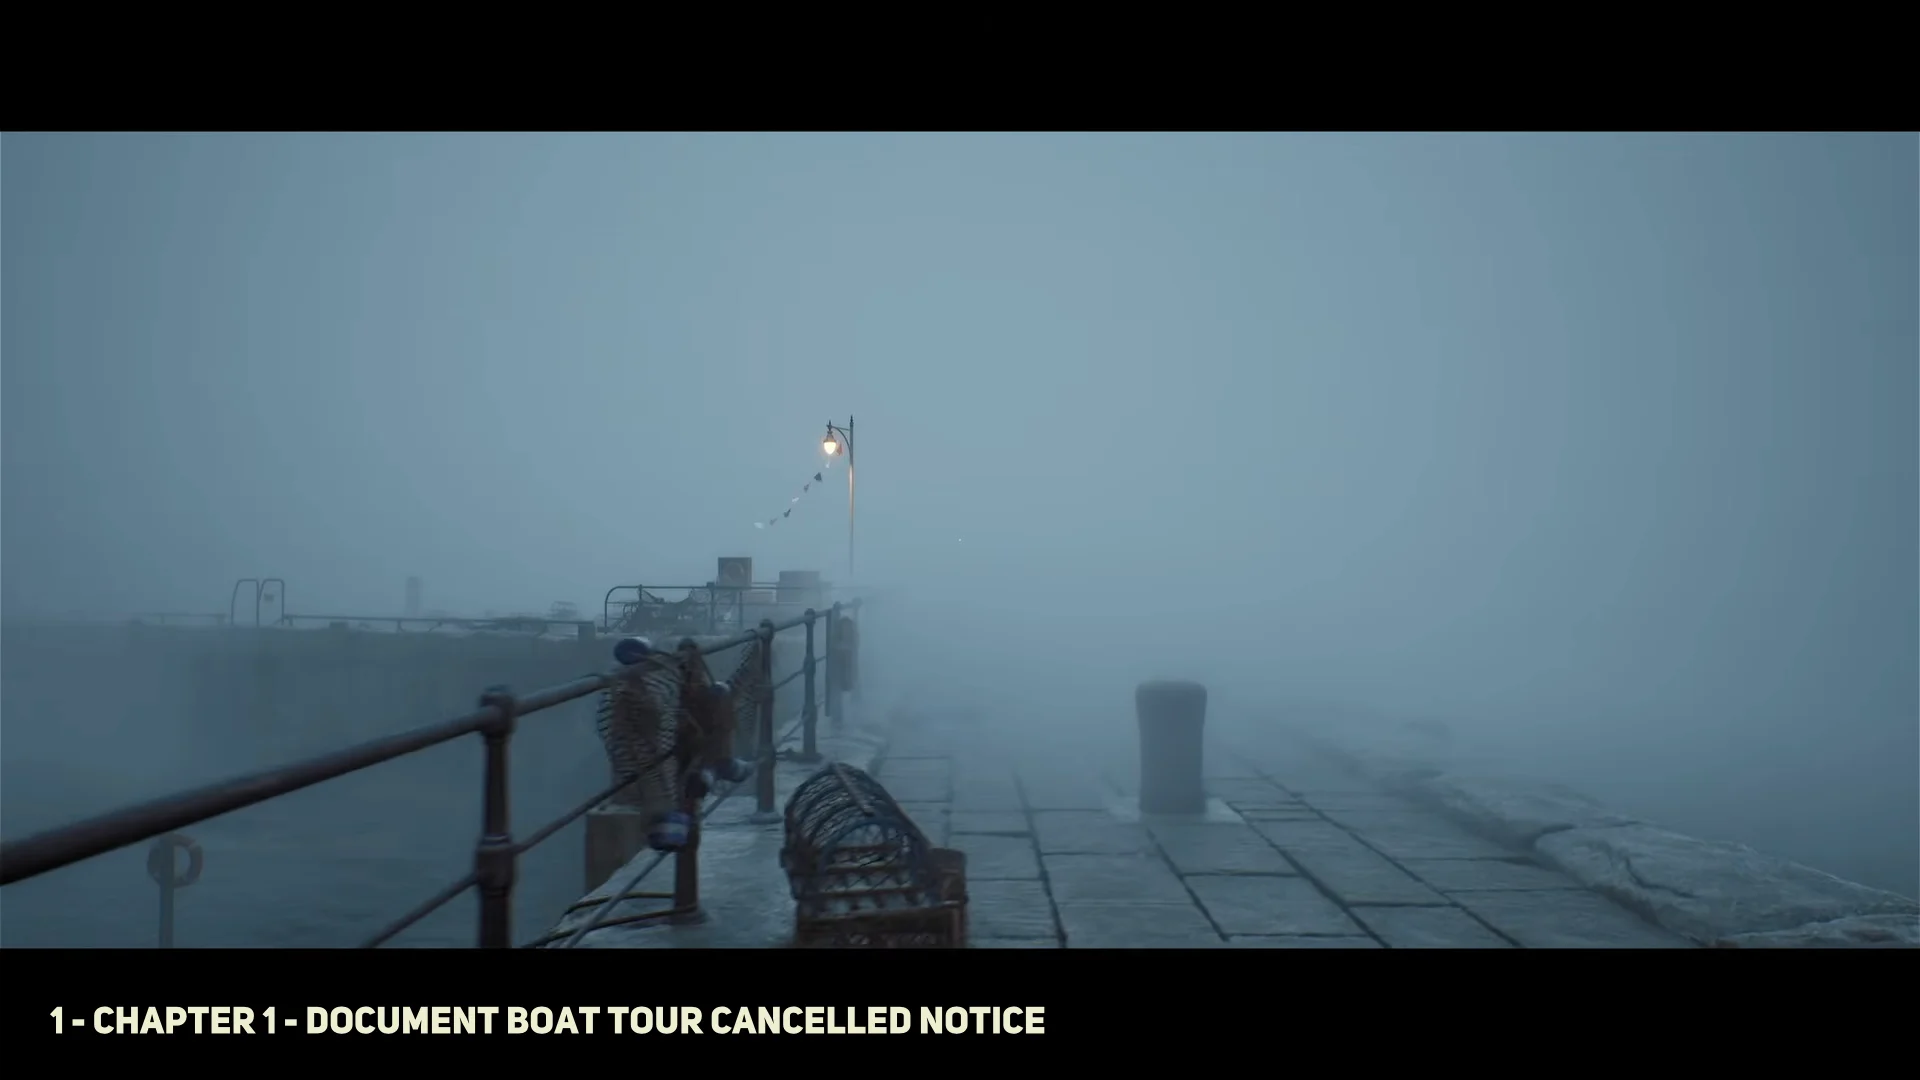
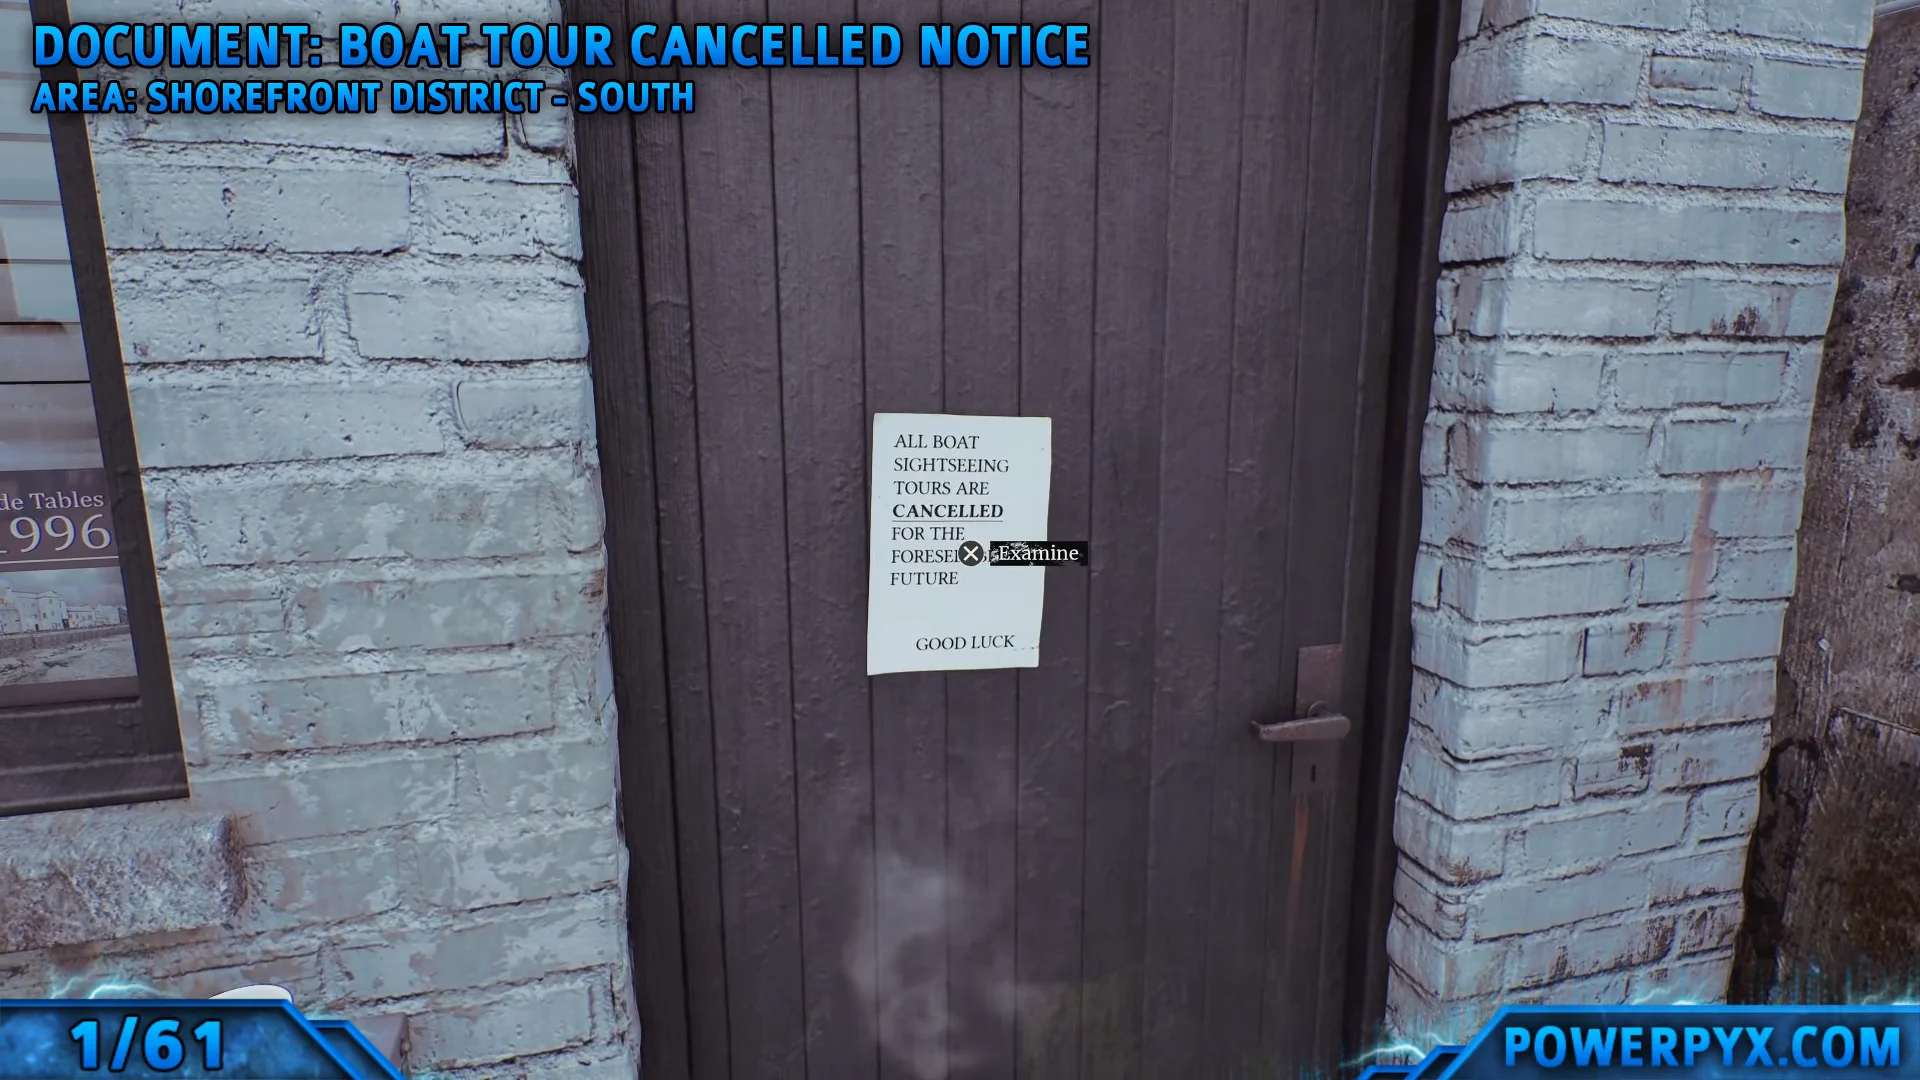
Simon wakes on a wooden dock with a hospital wristband bearing his name. Walk along the pier until the wind exposes the St. Amelia sign, then inspect the small building on the right. Its door has the Boat Tours Cancellation Notice, the game’s first Document.
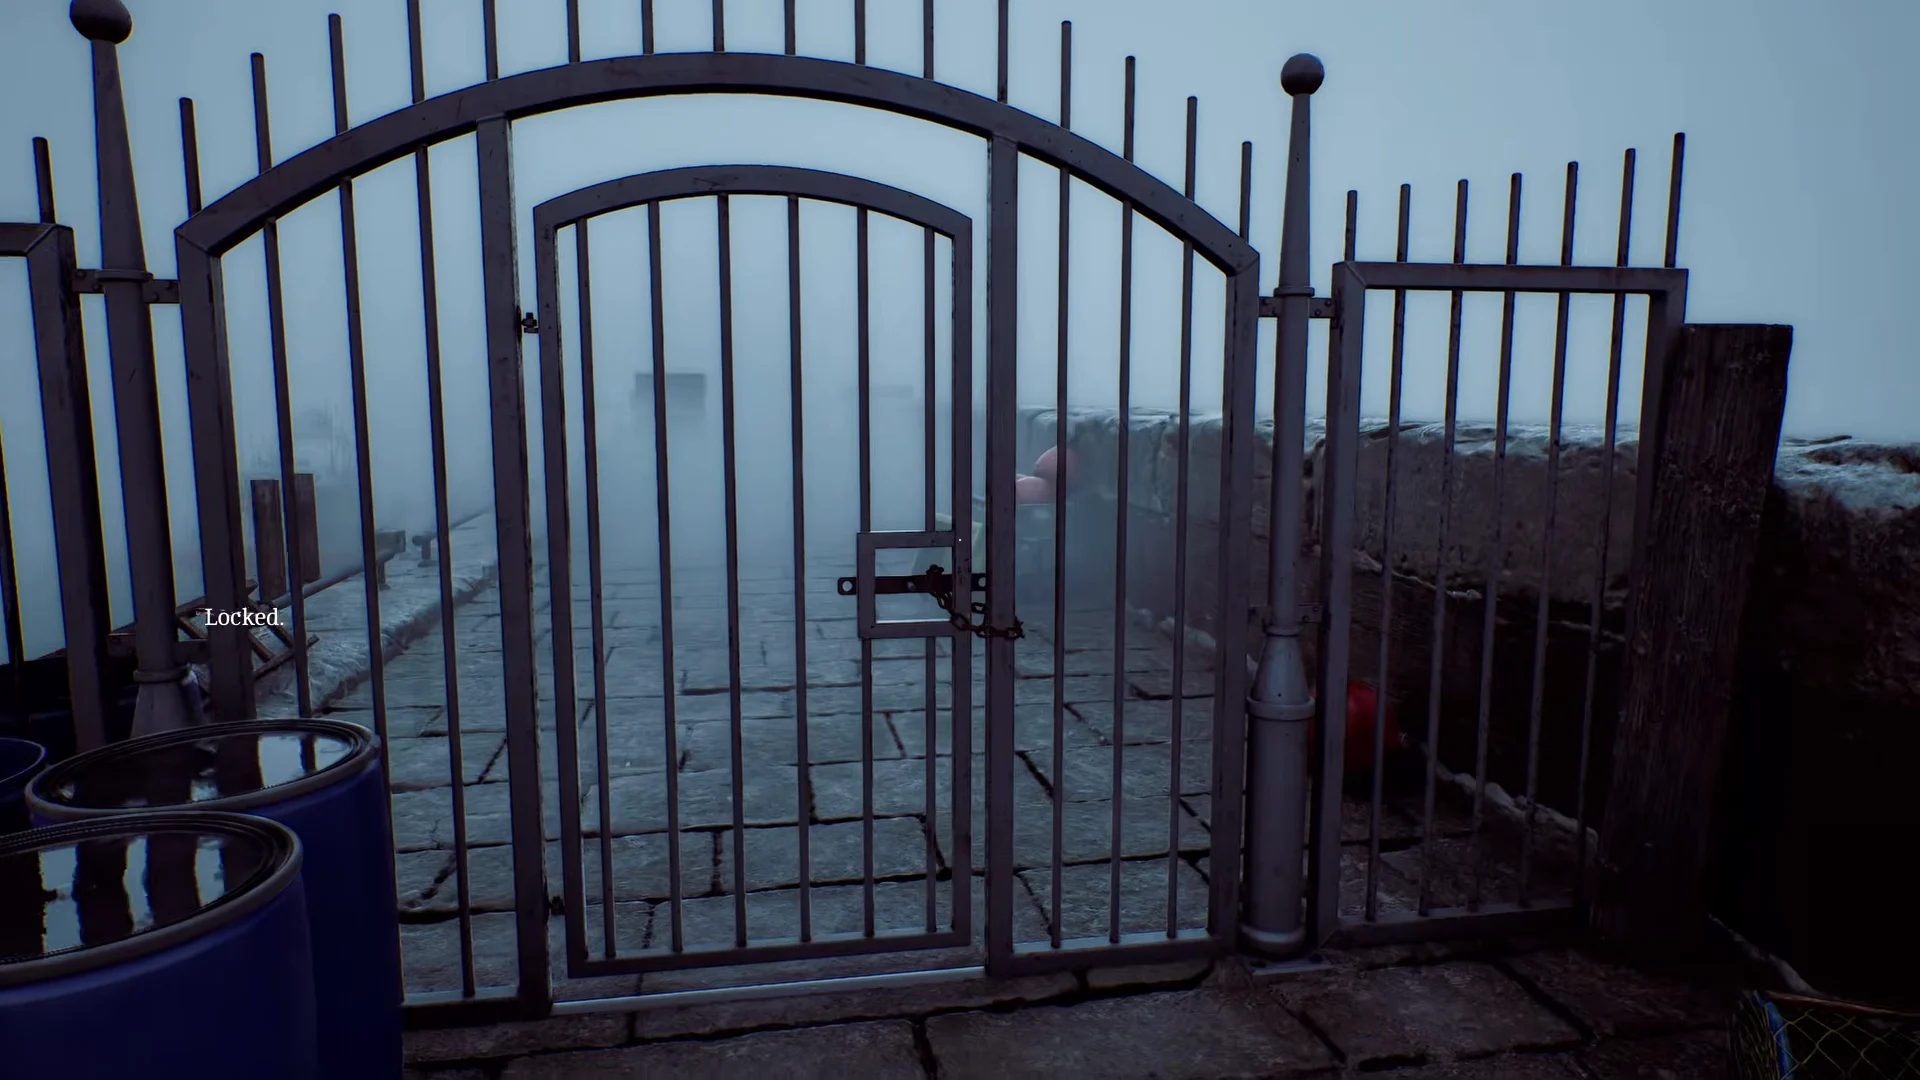
The dock’s distant iron gate remains chained and padlocked throughout the chapter, making it a dead end. Climb the rusty ladder against the sea wall to reach the paved walkway; it is the only way up.
At the top, you can quickly work through several readable objects along the harbour front. They are not Clues or Documents, but they introduce names and locations used by later puzzles. Reading them all now prevents a return trip after the red smoke arrives.
- The Welcome to St. Amelia billboard and the ferry schedule board
- A community notice board with a local map, a Haircuts 4 Kids flyer, and a missing cat poster for Ash
- The St. Amelia Harbour Regulations plaque
- Outside the closed Tourist Centre sits a naval sea mine converted into a collection box for The Mariners’ Society
- The Ice Cream Shop chalkboard menu
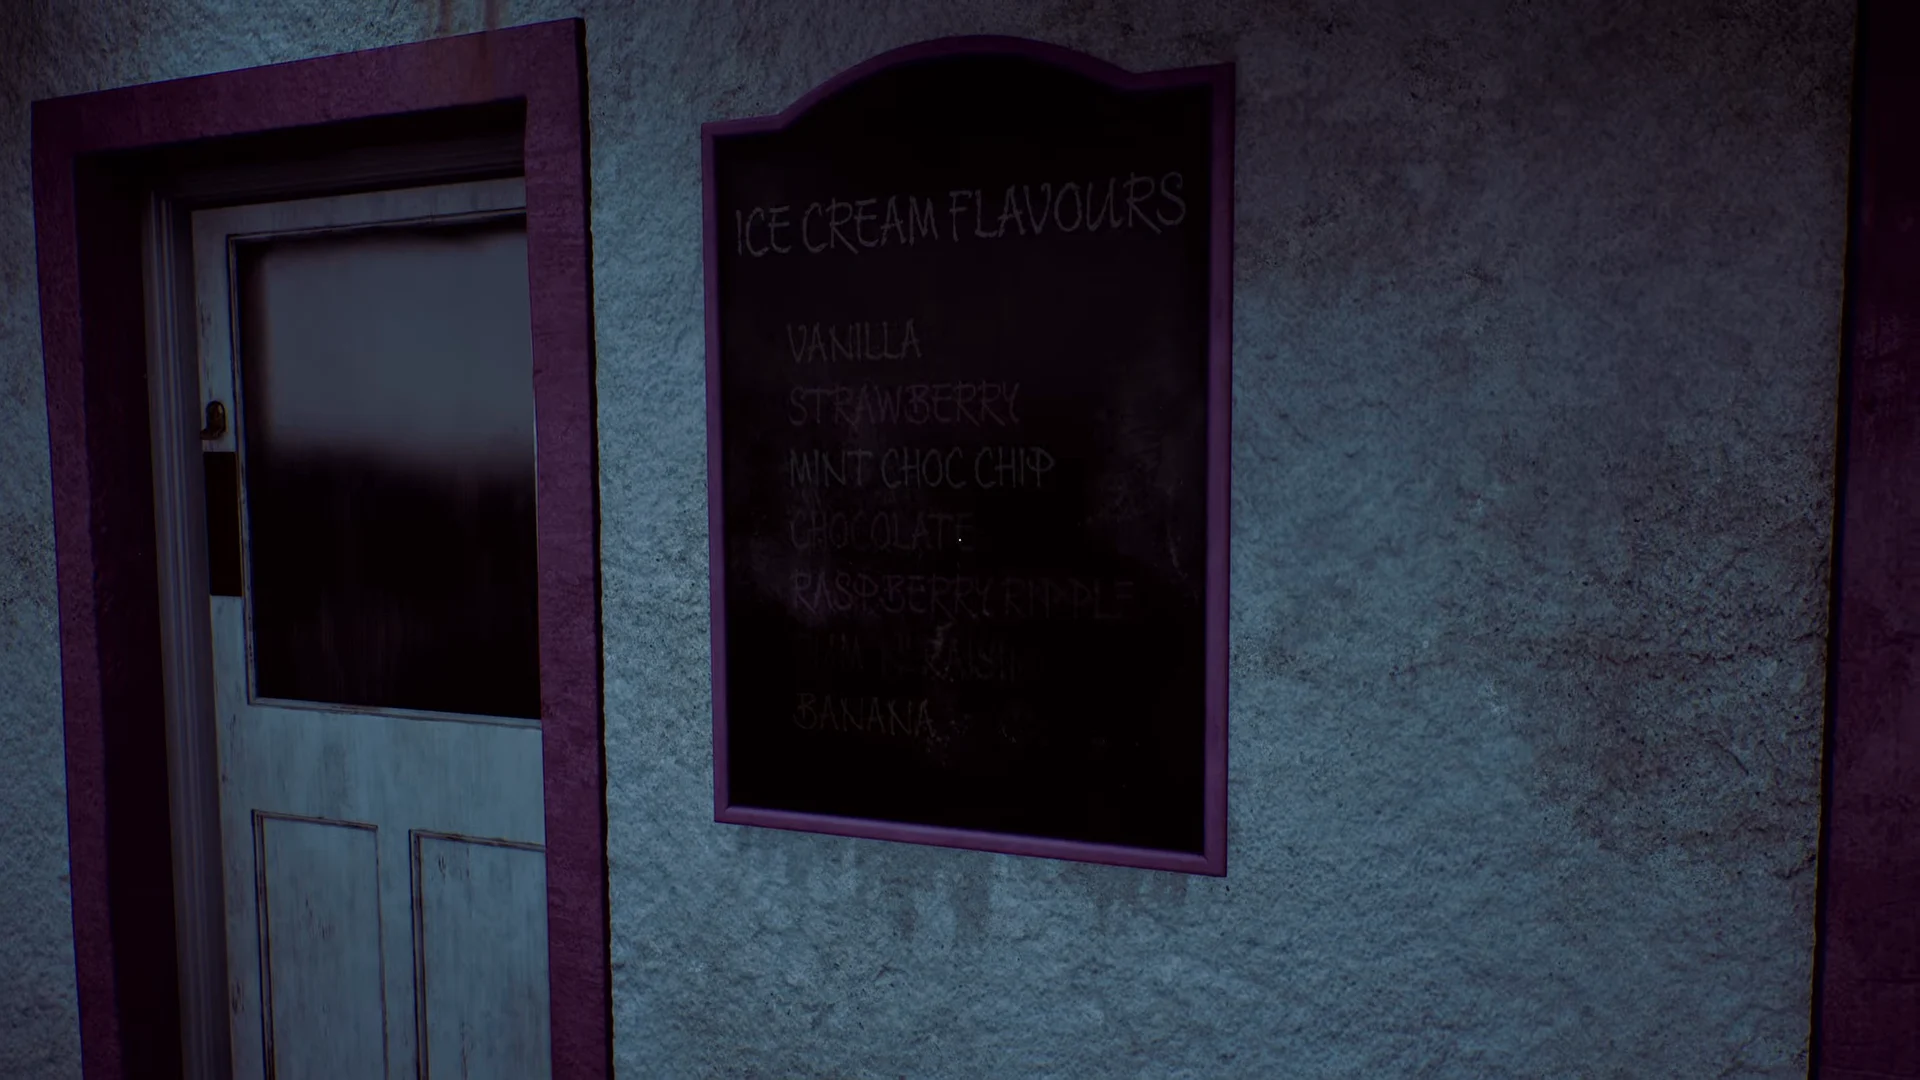
Heading for the beach path sets off a flare and floods the streets with red smoke. Follow the Town Square street sign through the alley lined with For Sale boards, stopping for the Public Notice on a lamp pole about a road closure for an authorised protest. The pharmacy door here asks for an item you do not have yet, so leave it.
Town square: district map, the save phone, and two more Documents
Entering the square automatically adds the Coastal District — South map. Its numbered landmarks include the clinic (6), pharmacy (7), and Peters Newsagents (2), all of which are referenced later in the chapter, so check the map before exploring.
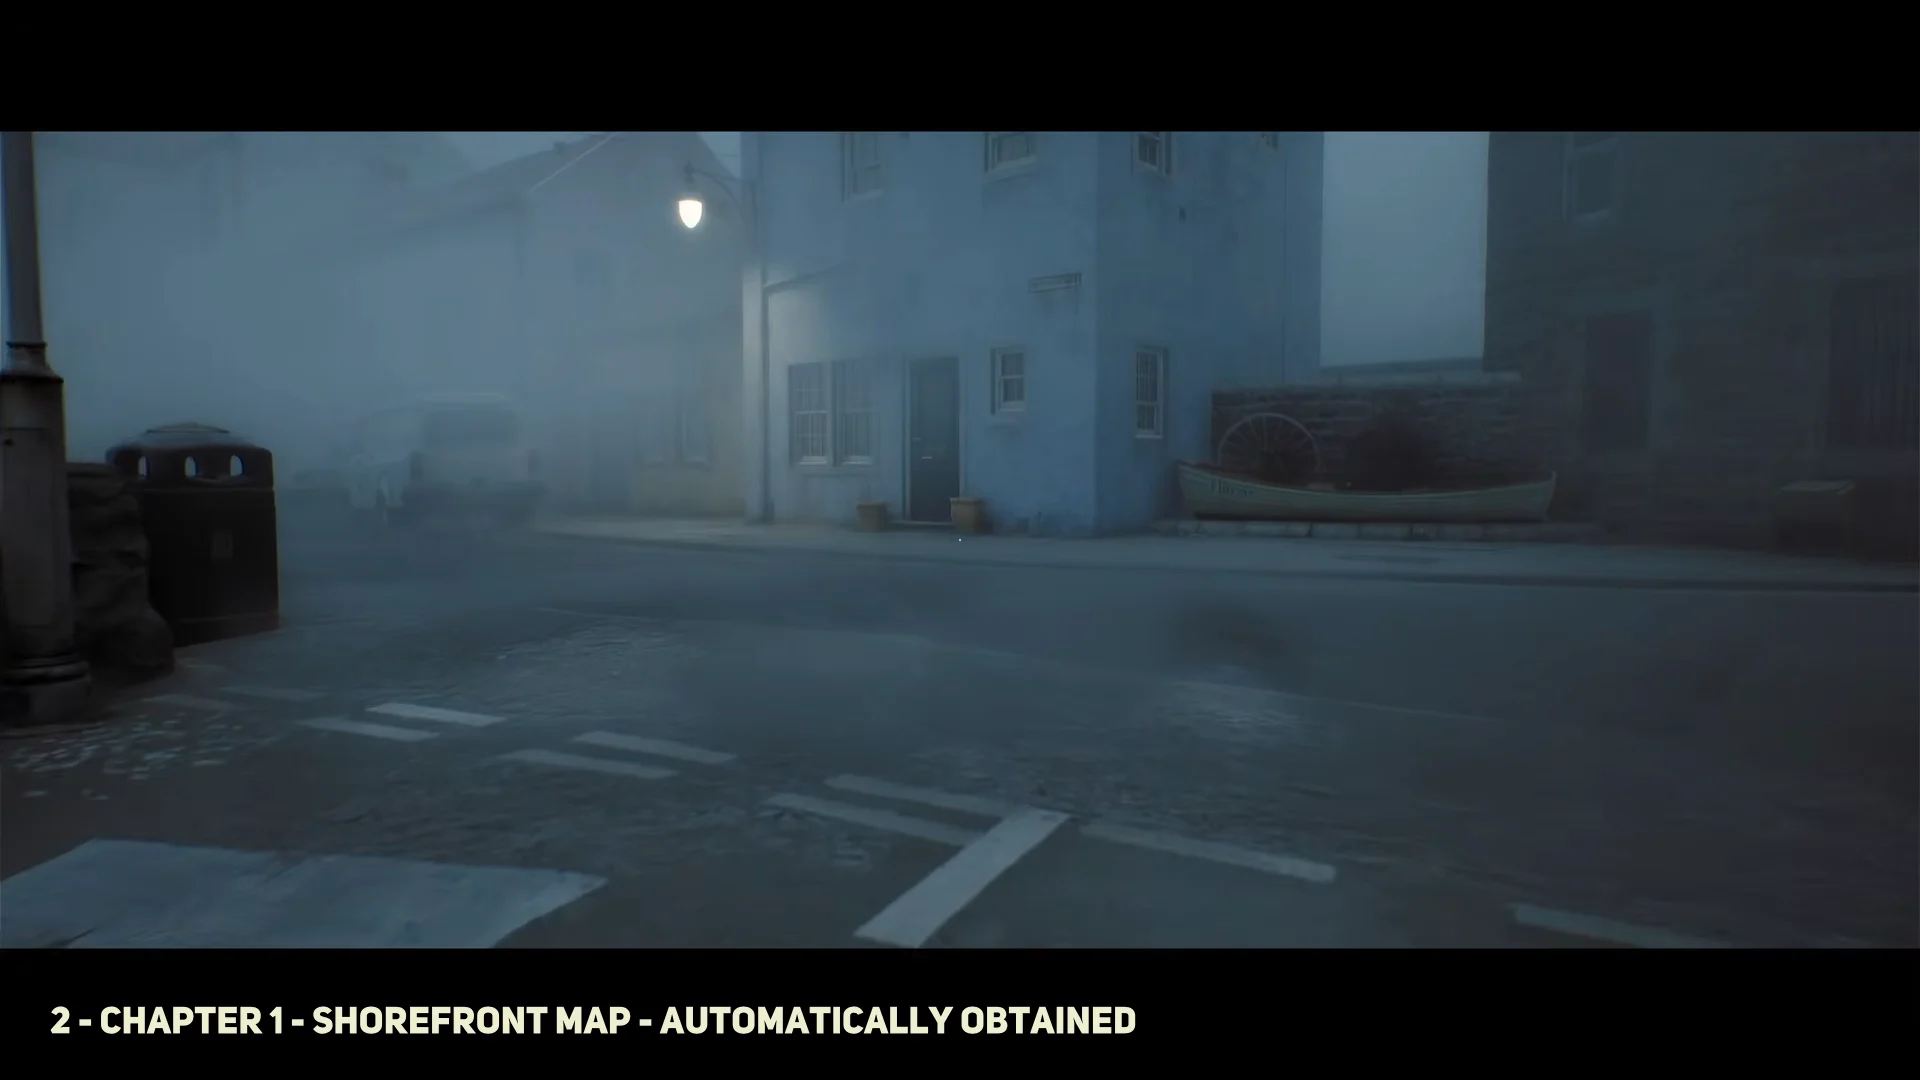
Two collectibles sit around the square itself. Walk the western side of the column to find the Vigil and Protest Flyer on a bench in front of the red LET THE FERRIES IN poster. Then head northeast toward the clinic (6) and read the Coastal District Family Clinic Notice posted on the wall beside the entrance.
A lit payphone starts ringing as you near it. Pick up, wait through the static, and dial 900 followed by 010 to hear their recorded messages; dial 100 afterward. The last call reaches the caller and brings up the Save Game menu. Slot one is named Cold Open, confirming that saving will work for the rest of the run.
Leaving the booth triggers a scene at the obelisk, where a collapsed man tells Simon to find her before vanishing and dropping him into the Elsewhere.
Hotel room 204: the CRTV, the calendar door, and three pickups
Grab the reception document before you leave the lobby — the square is a one-way transition once you confirm at the doors.
Zoe’s House: flashlight, power card, emails, and the organ container
West of the town square (5) is Zoe’s House, the chapter’s most densely packed stop. You will also make one round trip here, leaving and returning.
Clinic and pharmacy: the scalpel and locker code 6539
At the clinic entrance (6), operate the panel on its left and choose Zoe’s Lanyard Badge to release the lock. Since the badge functions as both a story item and a key, do not discard it.
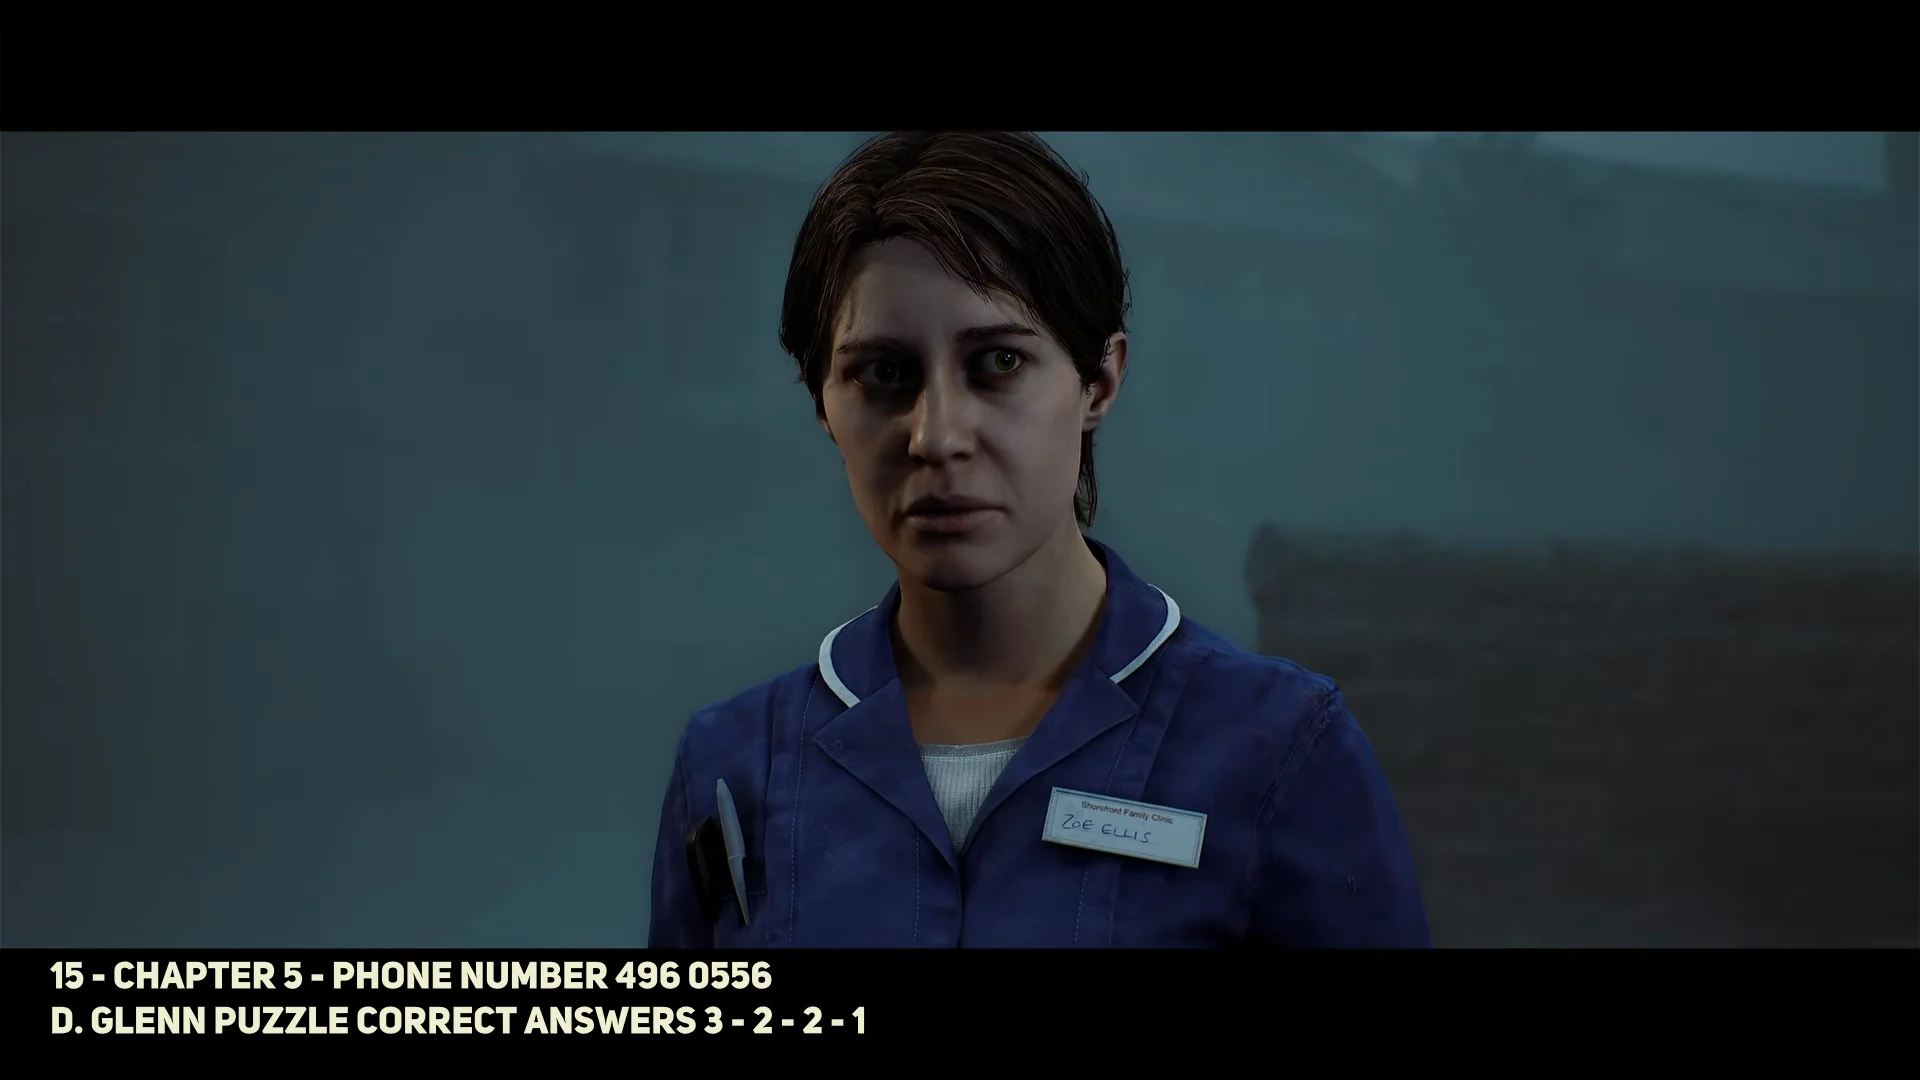
Clinic collectibles
- Patient Medical Records Note — first door on the right, in Dr. Stevenson’s desk drawer
- Resignation Letter — the paper positioned left of the scales in the Z Ellis room
- Clinic Email “Where Are You?” and the Reception Answering Machine Message — both on the Z Ellis computer, counted separately
- Nurse Rounds Sheet — on the clinic reception desk
The item that matters most is the Scalpel, sitting in the green container on the desk beside that computer. It opens any rusty door with a hatch in the middle, which covers the pharmacy and the south gate of St. Amelia’s Park (11).
Pharmacy back room
At the pharmacy (7), select the Scalpel at the door to cut through and enter. The Restocking Problems document lies on the front counter. In the rear room, open the rusty locker with 6539. The pharmacy posters provide the four digits, but arrange them according to the order in which they appear on CRTV broadcasts, not their locations in the room.
Remove the Prescription Dosage Error Record from the unlocked locker. It is the second item required by the scales.
Farrow Street and Jess’s House: the last required item
All four Strange Postcards in Part 1
Strange Postcards are a separate collectible track from Clues and Documents, and they are much easier to walk past. Collecting all 15 across the campaign unlocks the Blur Your Eyes trophy, and four of them are in this chapter.
| Postcard | Where to look |
|---|---|
| #1 — Video store | Far-left side of the island, immediately left of Zoe’s House |
| #2 — St. Amelia Park | Behind House 3, south of the park, search the bins next to the locked white door |
| #3 — Farrow Street | Left from the phone box, at the blocked wall |
| #4 — Building 16 | Opposite Jess’s House, upstairs in the child’s bedroom |
Postcard #2 is only reachable after you cut open the park’s south gate (11), so pick up the Scalpel before you plan that detour.
Finish Arrival: the scales in the Z Ellis room
Go back to the clinic (6) and into the Z Ellis room at the far end of the corridor, then use the scales. The arrangement is fixed.
- Left — Broken Stethoscope
- Middle — Prescription Dosage Error Record
- Right — Zoe’s Lanyard Badge
With all three seated correctly the puzzle resolves and the chapter closes out, rolling straight into Part 2: Zoe. If nothing happens when you approach the scales, you are missing one of the three items and need to finish the pharmacy locker or Jess’s House first.
Everything found in this chapter remains useful later. The Scalpel continues opening rusty hatch doors farther into town, the flashlight is still required in rooms without power, and every St. Amelia payphone continues to use 100 for saving. Your discovery total influences the ending, so collecting the paperwork is worthwhile; for a sub-four-hour Fleeting Visit achievement run, having the Arrival codes ready saves most of the time.





